Core Maps #4 and 5: The Permaculture Zone Map and Master Plan
We made our Base, Sun and Sector Maps early in the pandemic, and to cap our first year of attempted permaculture design we completed our Zone Map and Master Plan.
Making a Zone Map
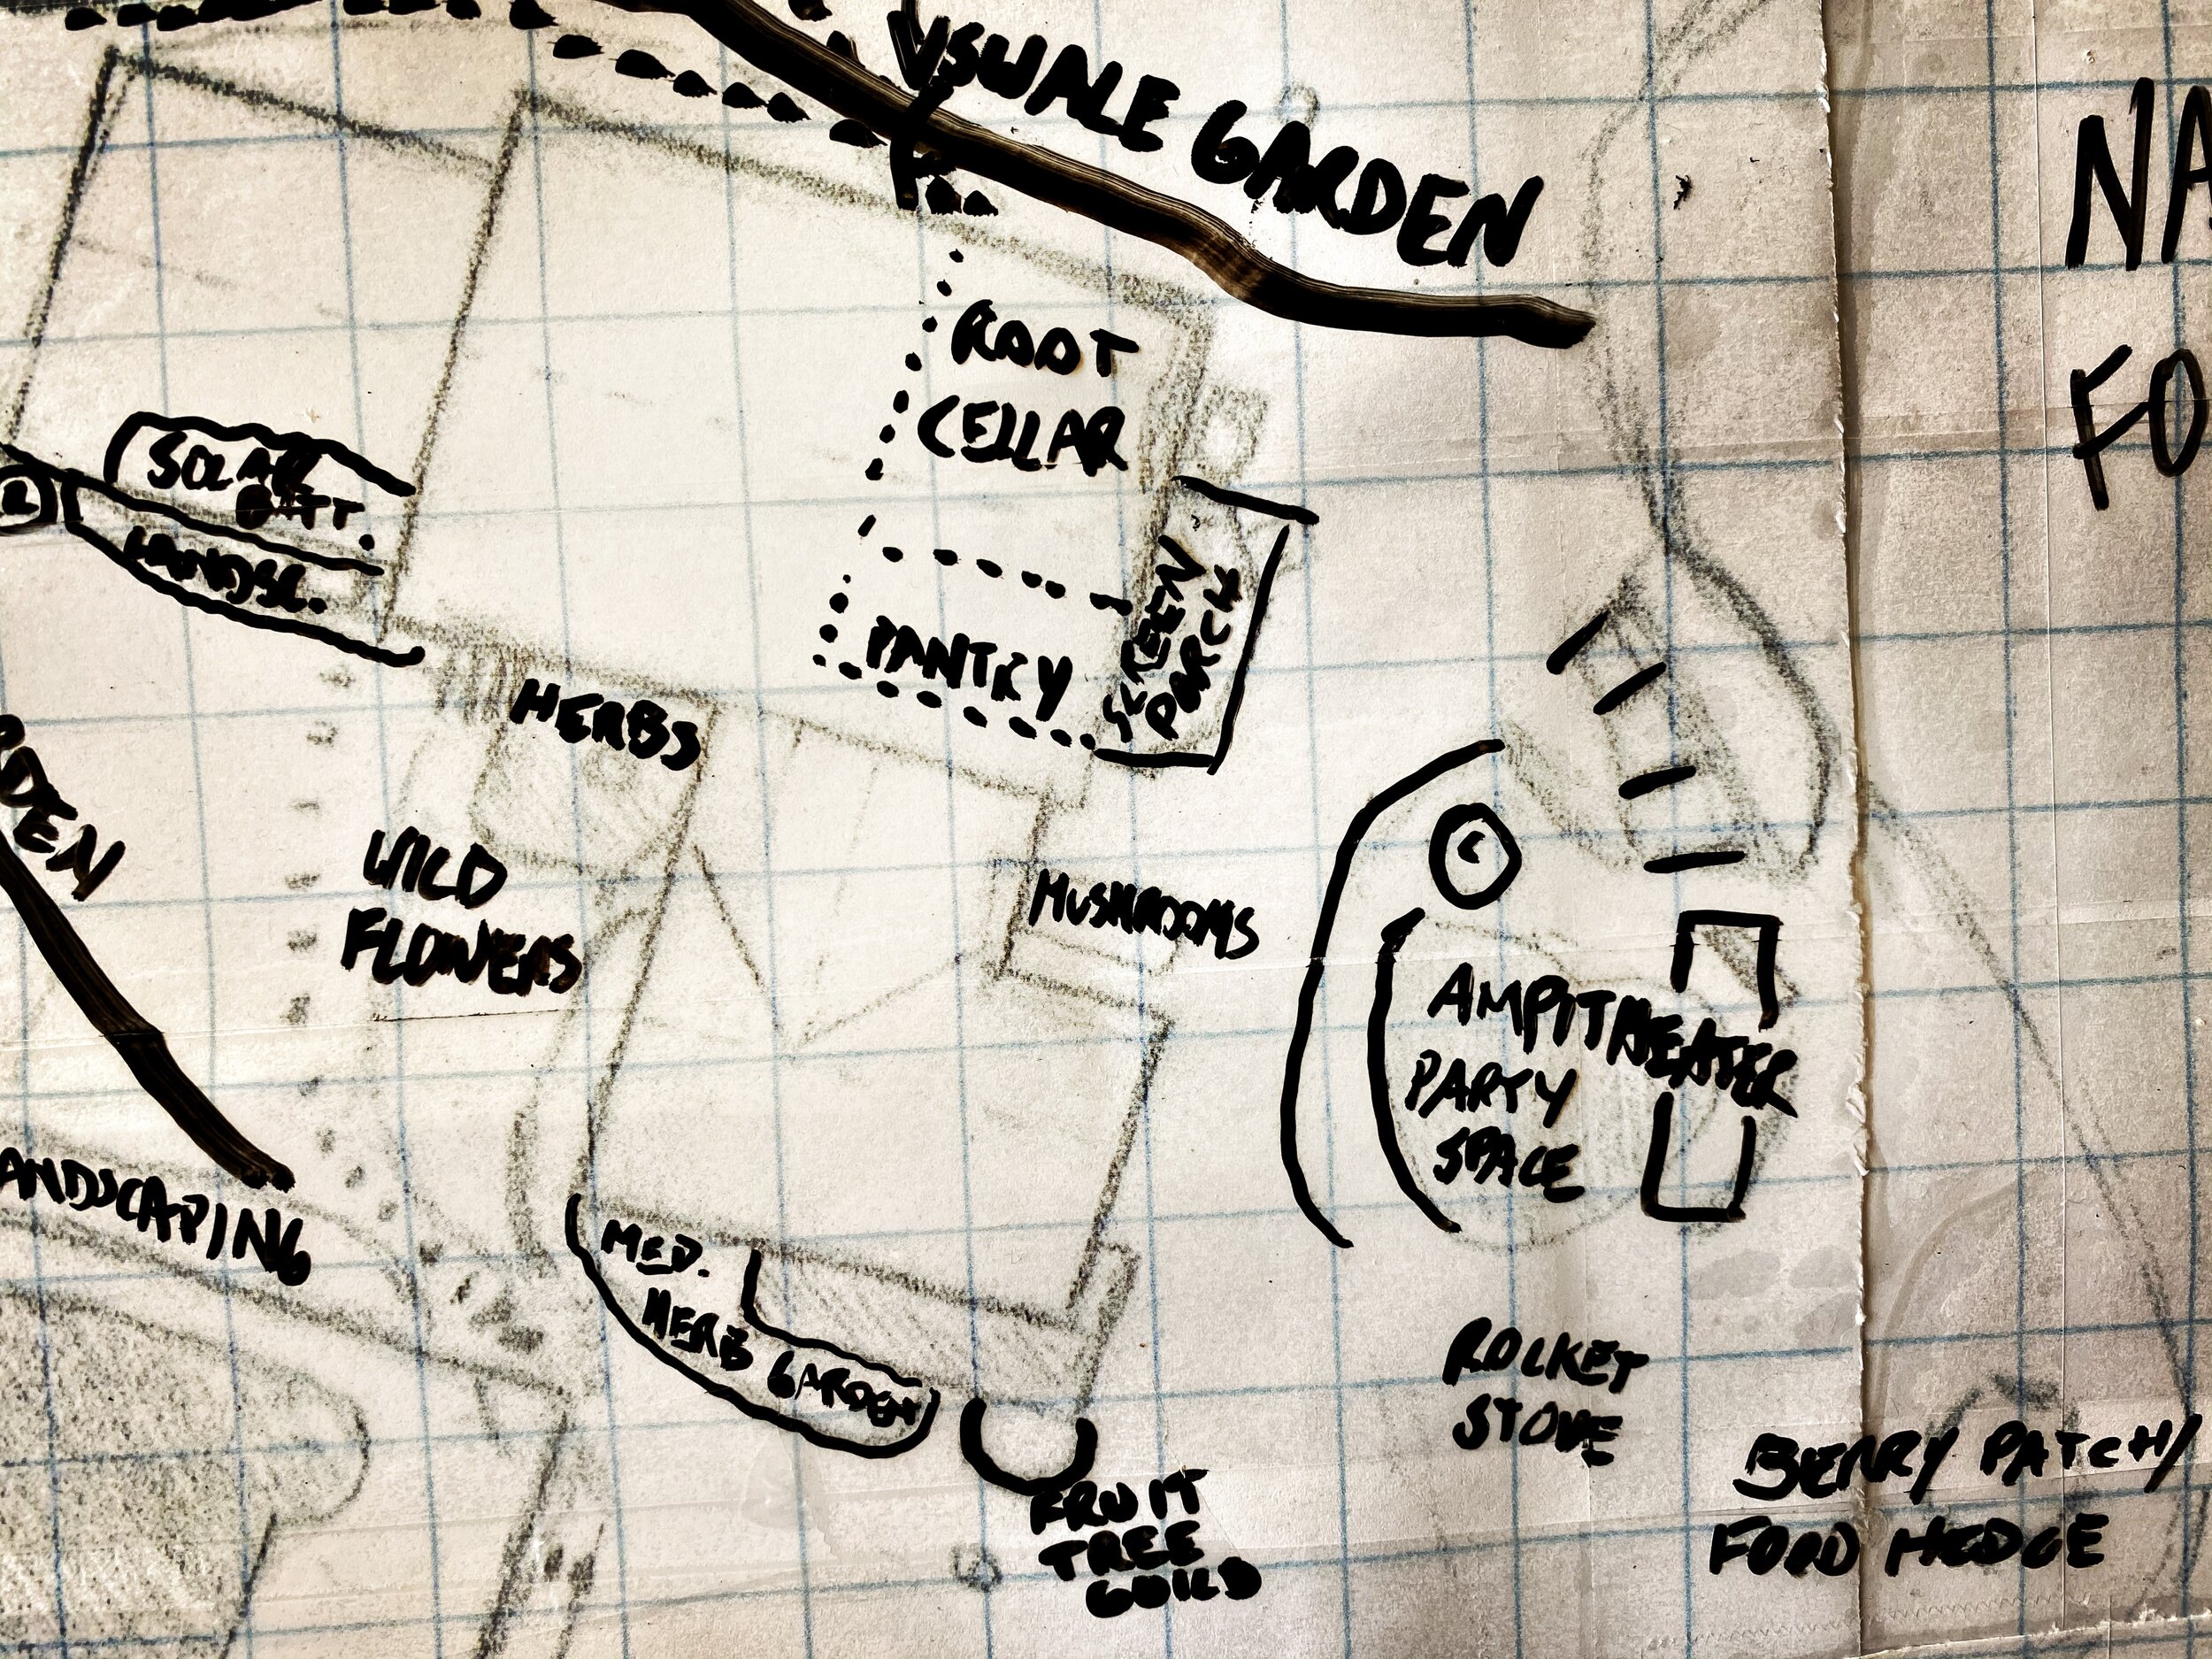
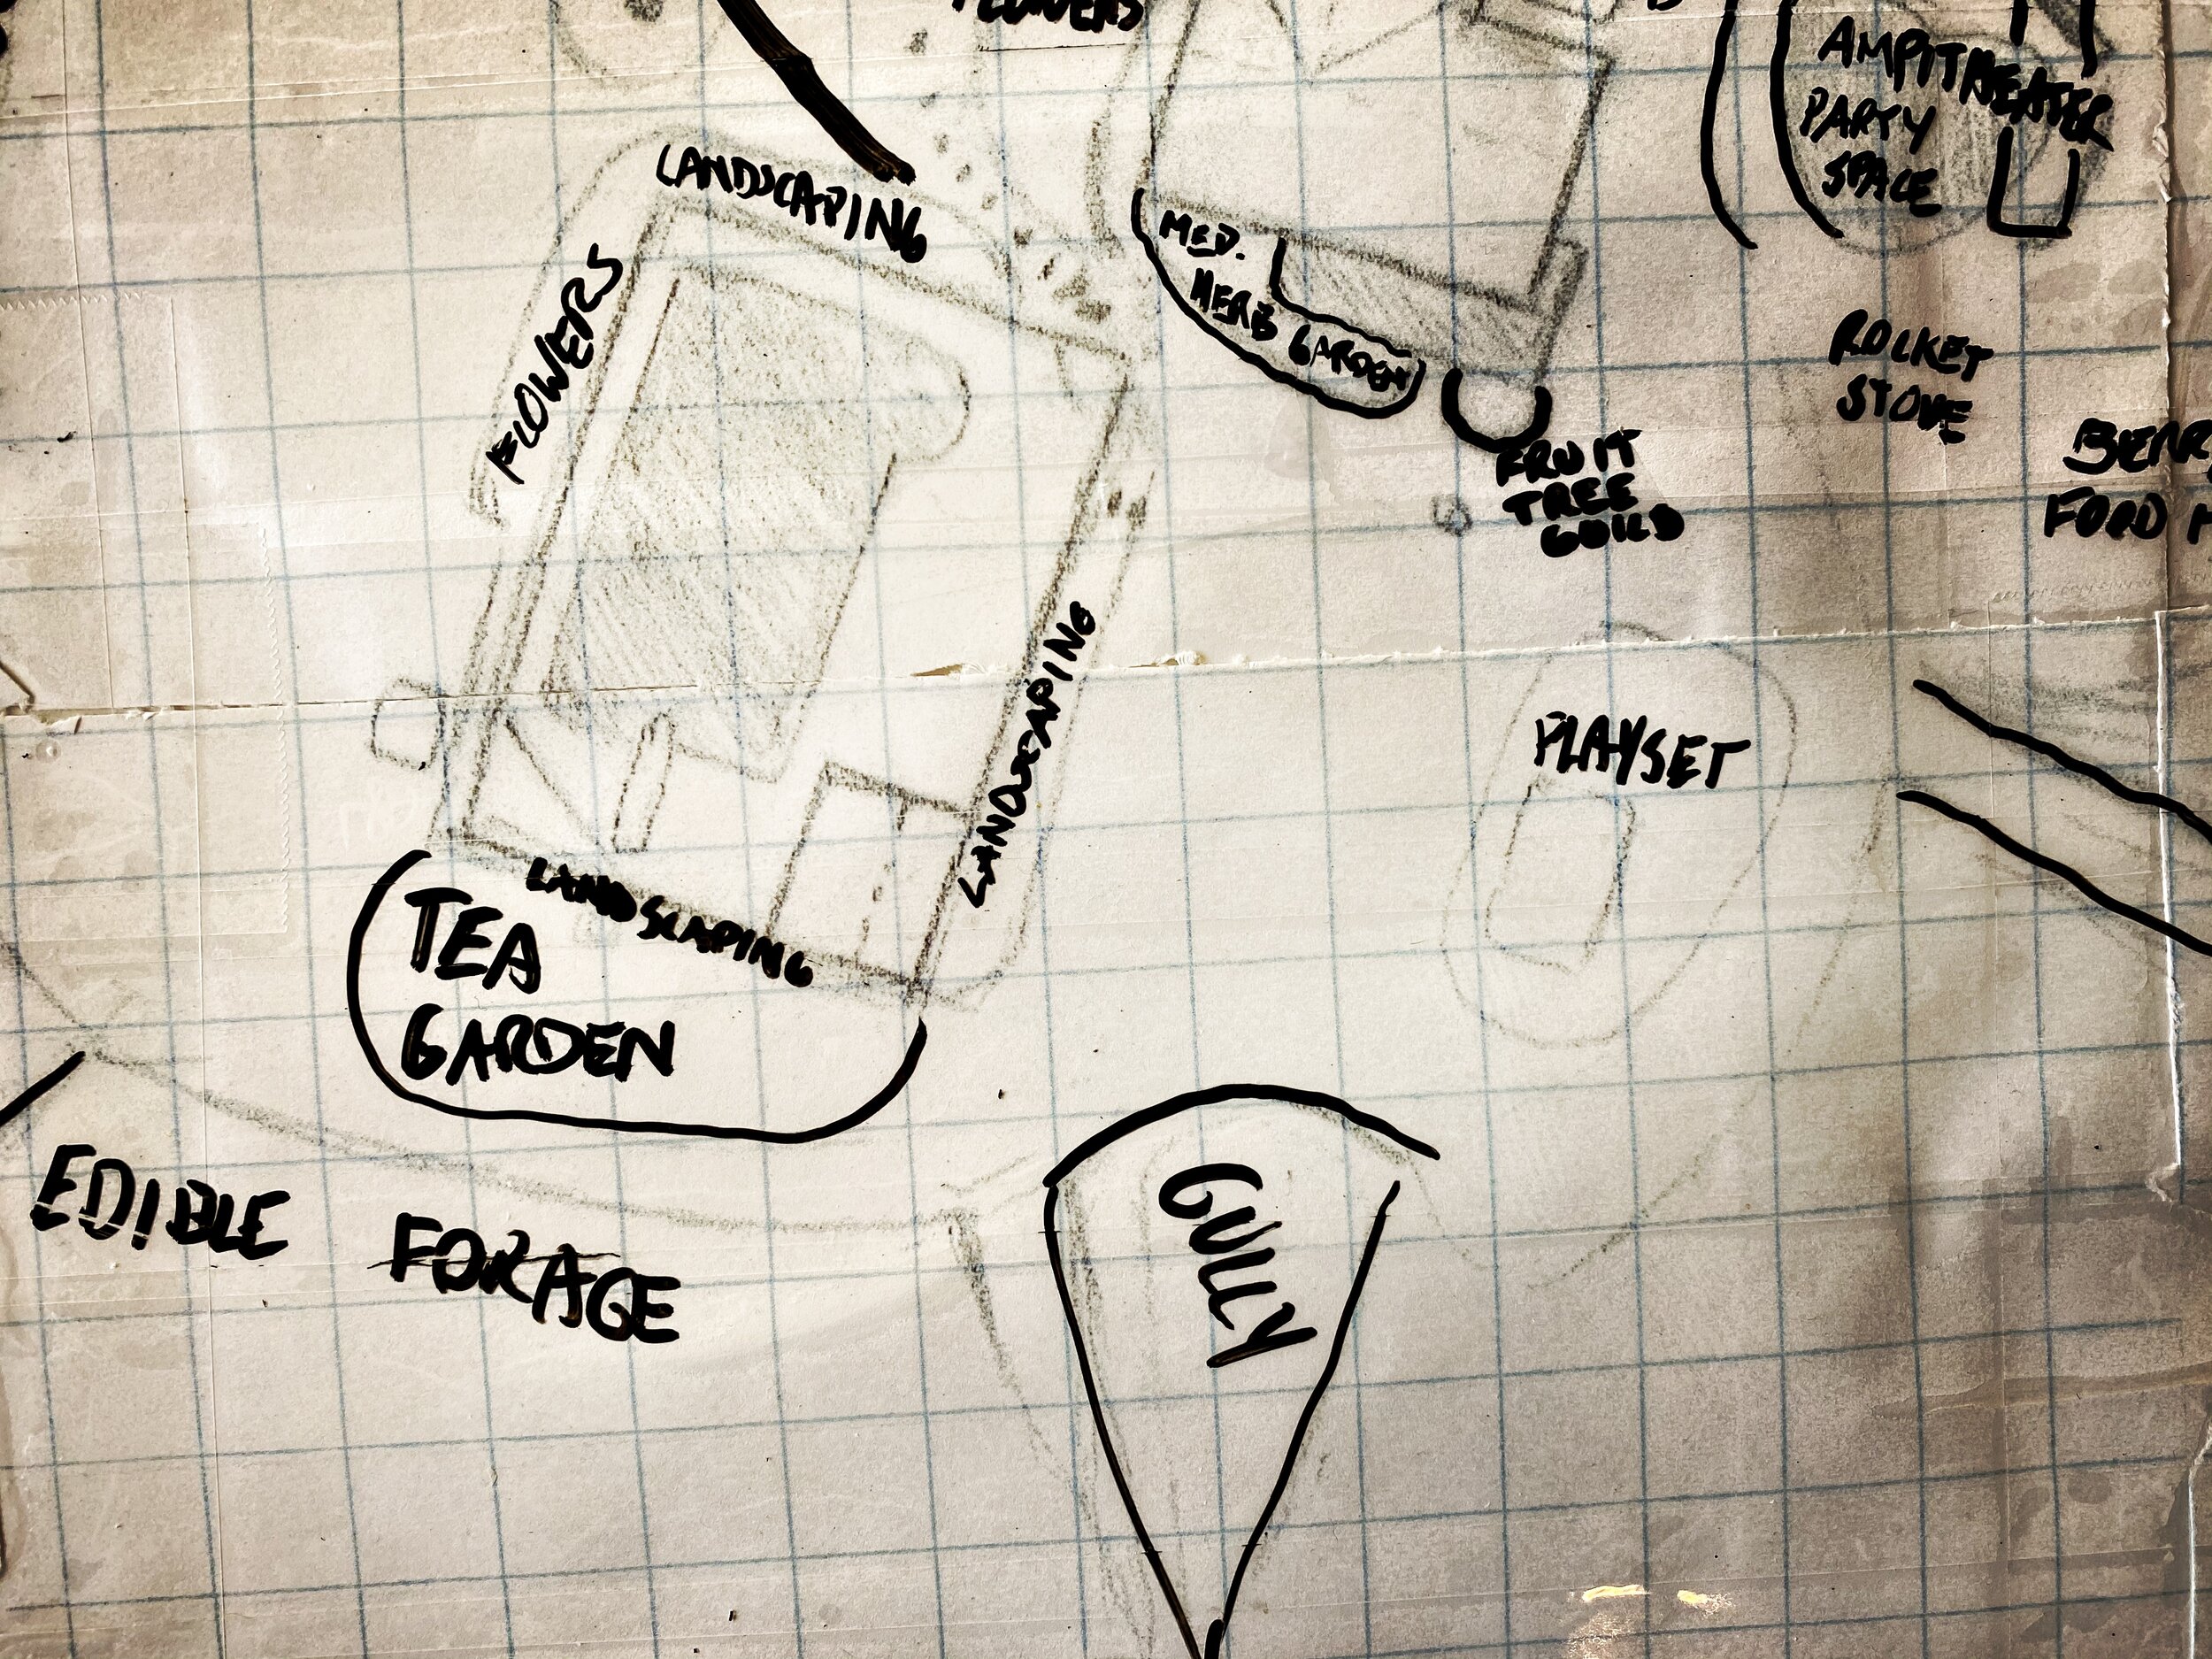
The ZONE MAP looks at our property from the standpoint of use and accessibility. Zone 0 is inside the house, Zone 5 is wilderness, Zones 1-4 are the spaces in between, from the daily-used spaces "where walkways lead to buildings" (1) to managed woodlands used for timber and forage (4), like where we've carved trails in our forest. In some cases, Zones 4 and 5 may simply be the farthest from the house, but for us, considering the woodland trails we’ve carved and can easily traverse, we think of only Zone 5 to be the more untouched spaces between the house and some of the trails. More specifically, here’s how we thought of our spaces (Jack did the coloring here, and note the differences in the yellows and greens):
Zone 1 (light yellow, below): all the hardscaping and pathway-d areas, from our front, back, side doors, stretching to our garden, outbuildings, and pool.
Zone 2 (dark green): our mowed lawns and other cleared areas easily traversible
Zone 3 (red): “familiar” wooded areas visible from the house where we might walk or drag fallen leaves and brush
Zone 4 (yellow/green): carvedwoodland trails
Zone 5 (dark yellow): wilderness
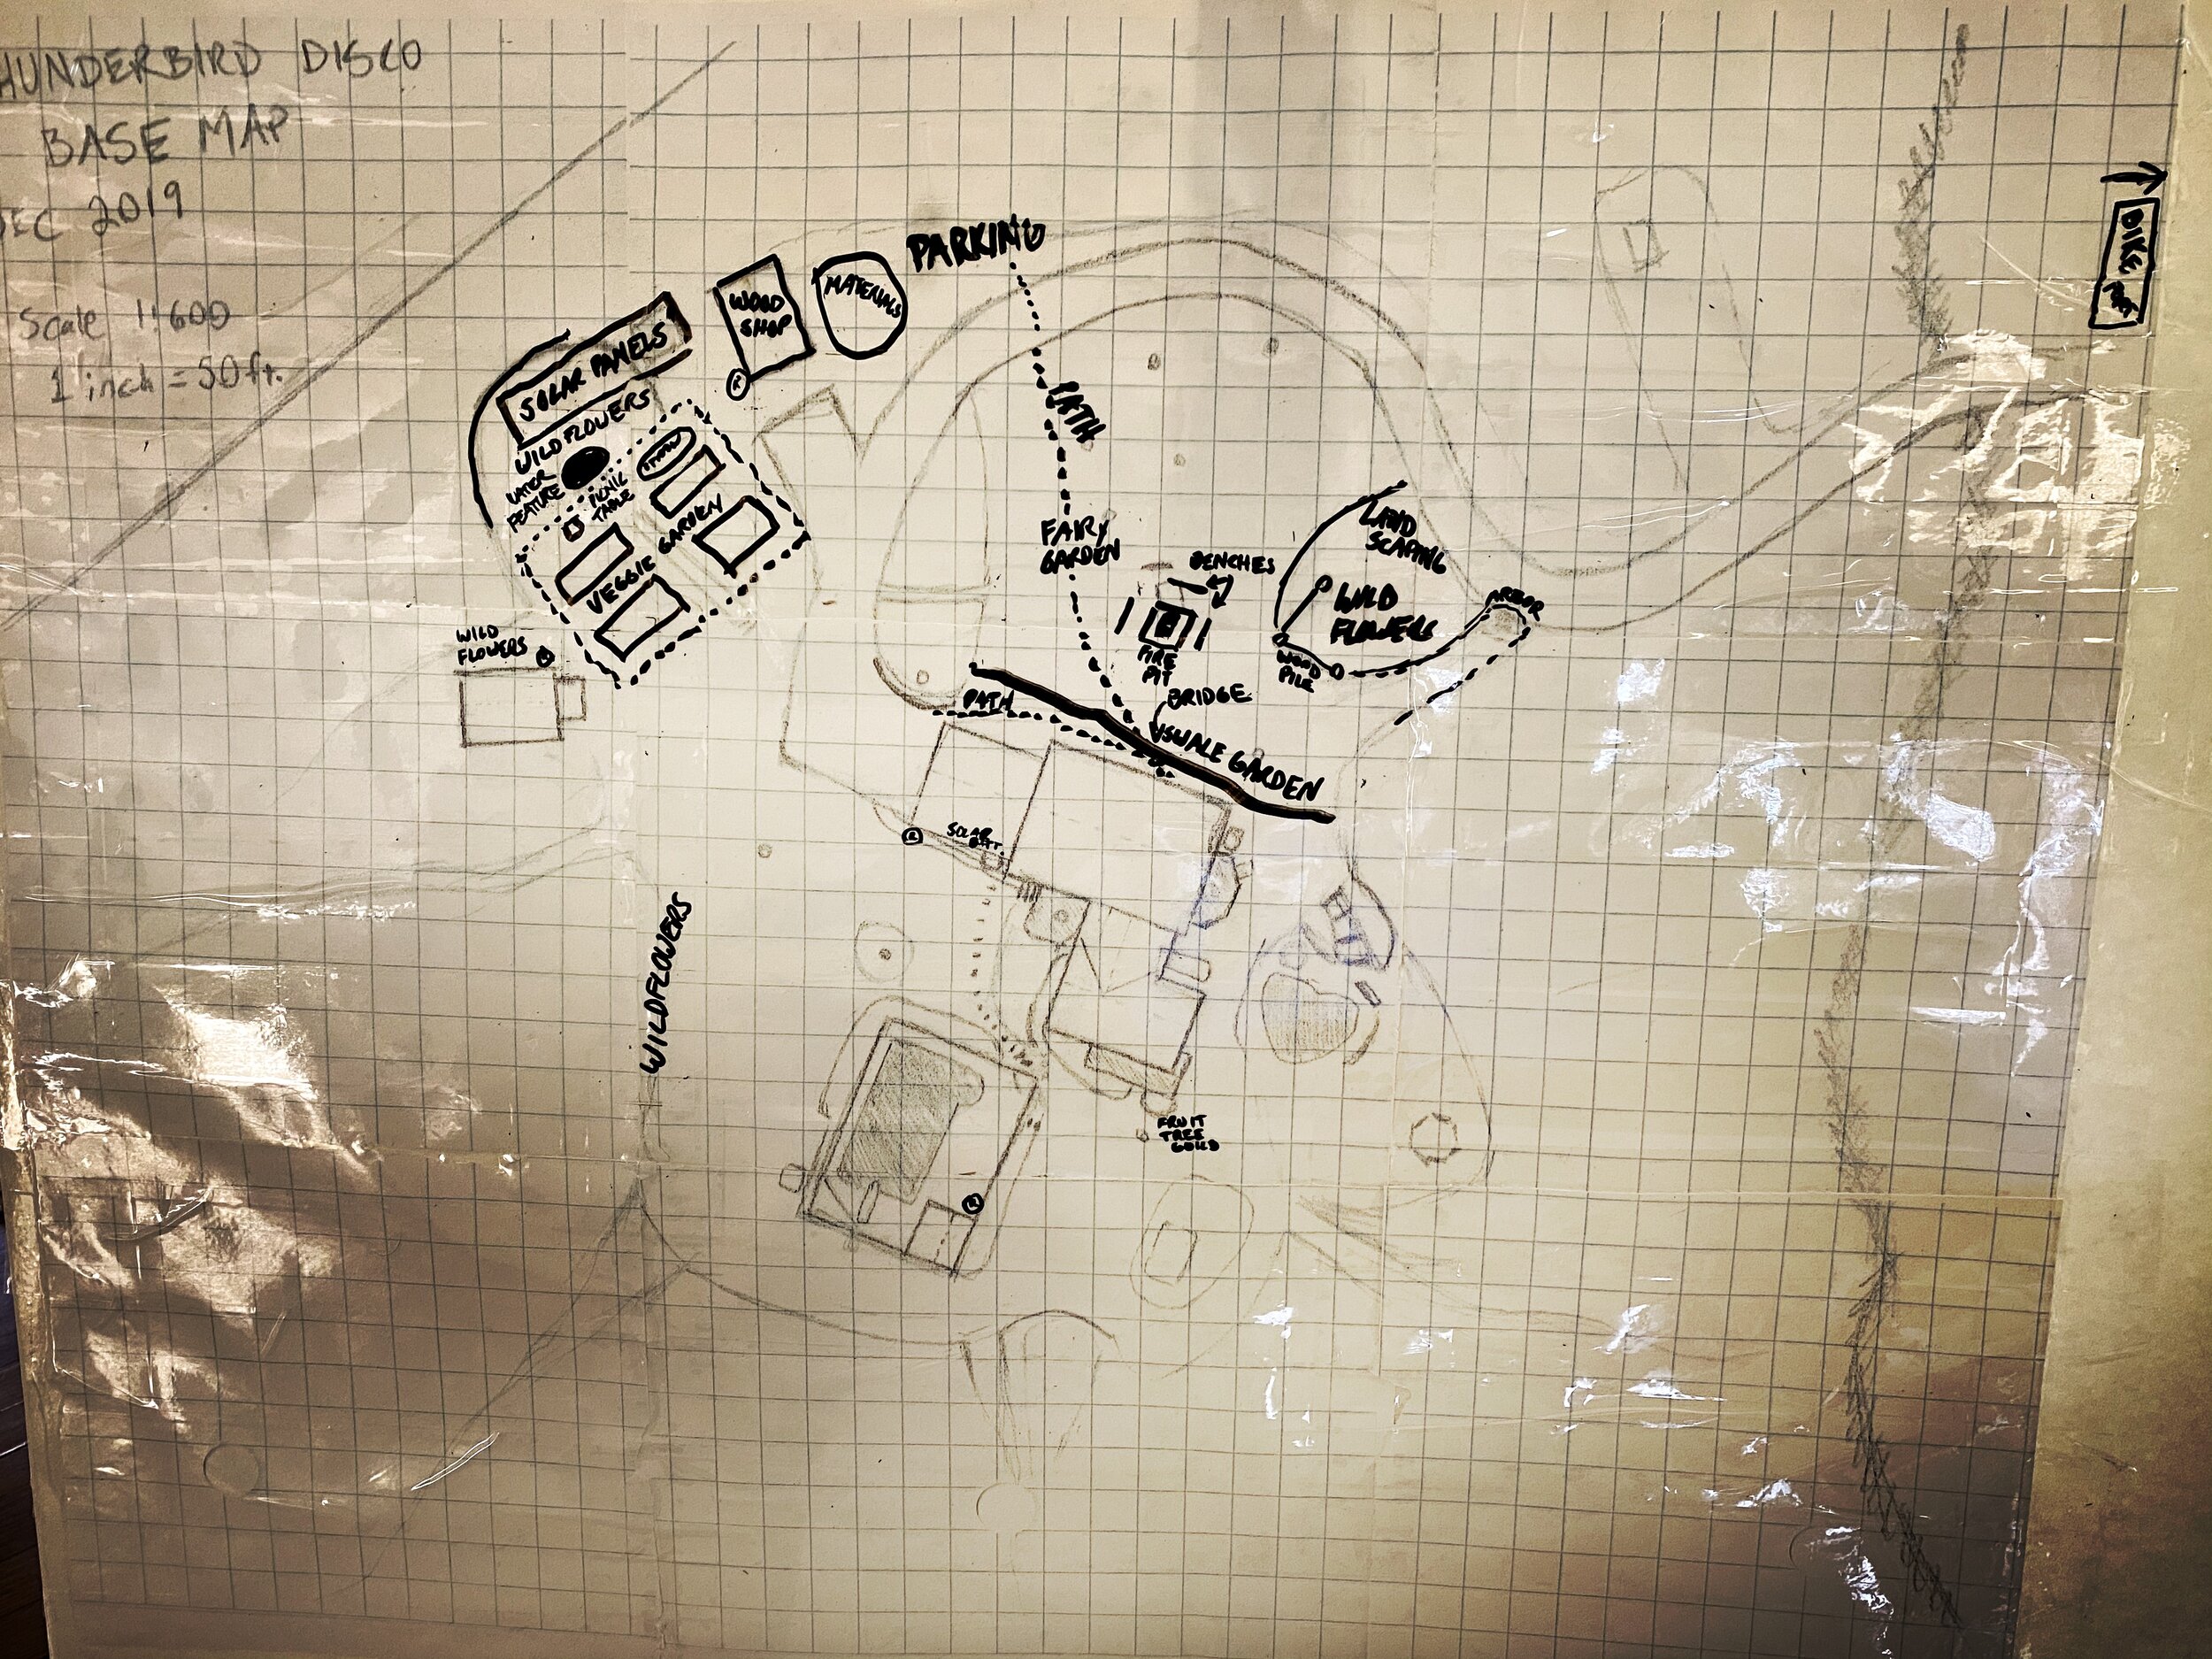
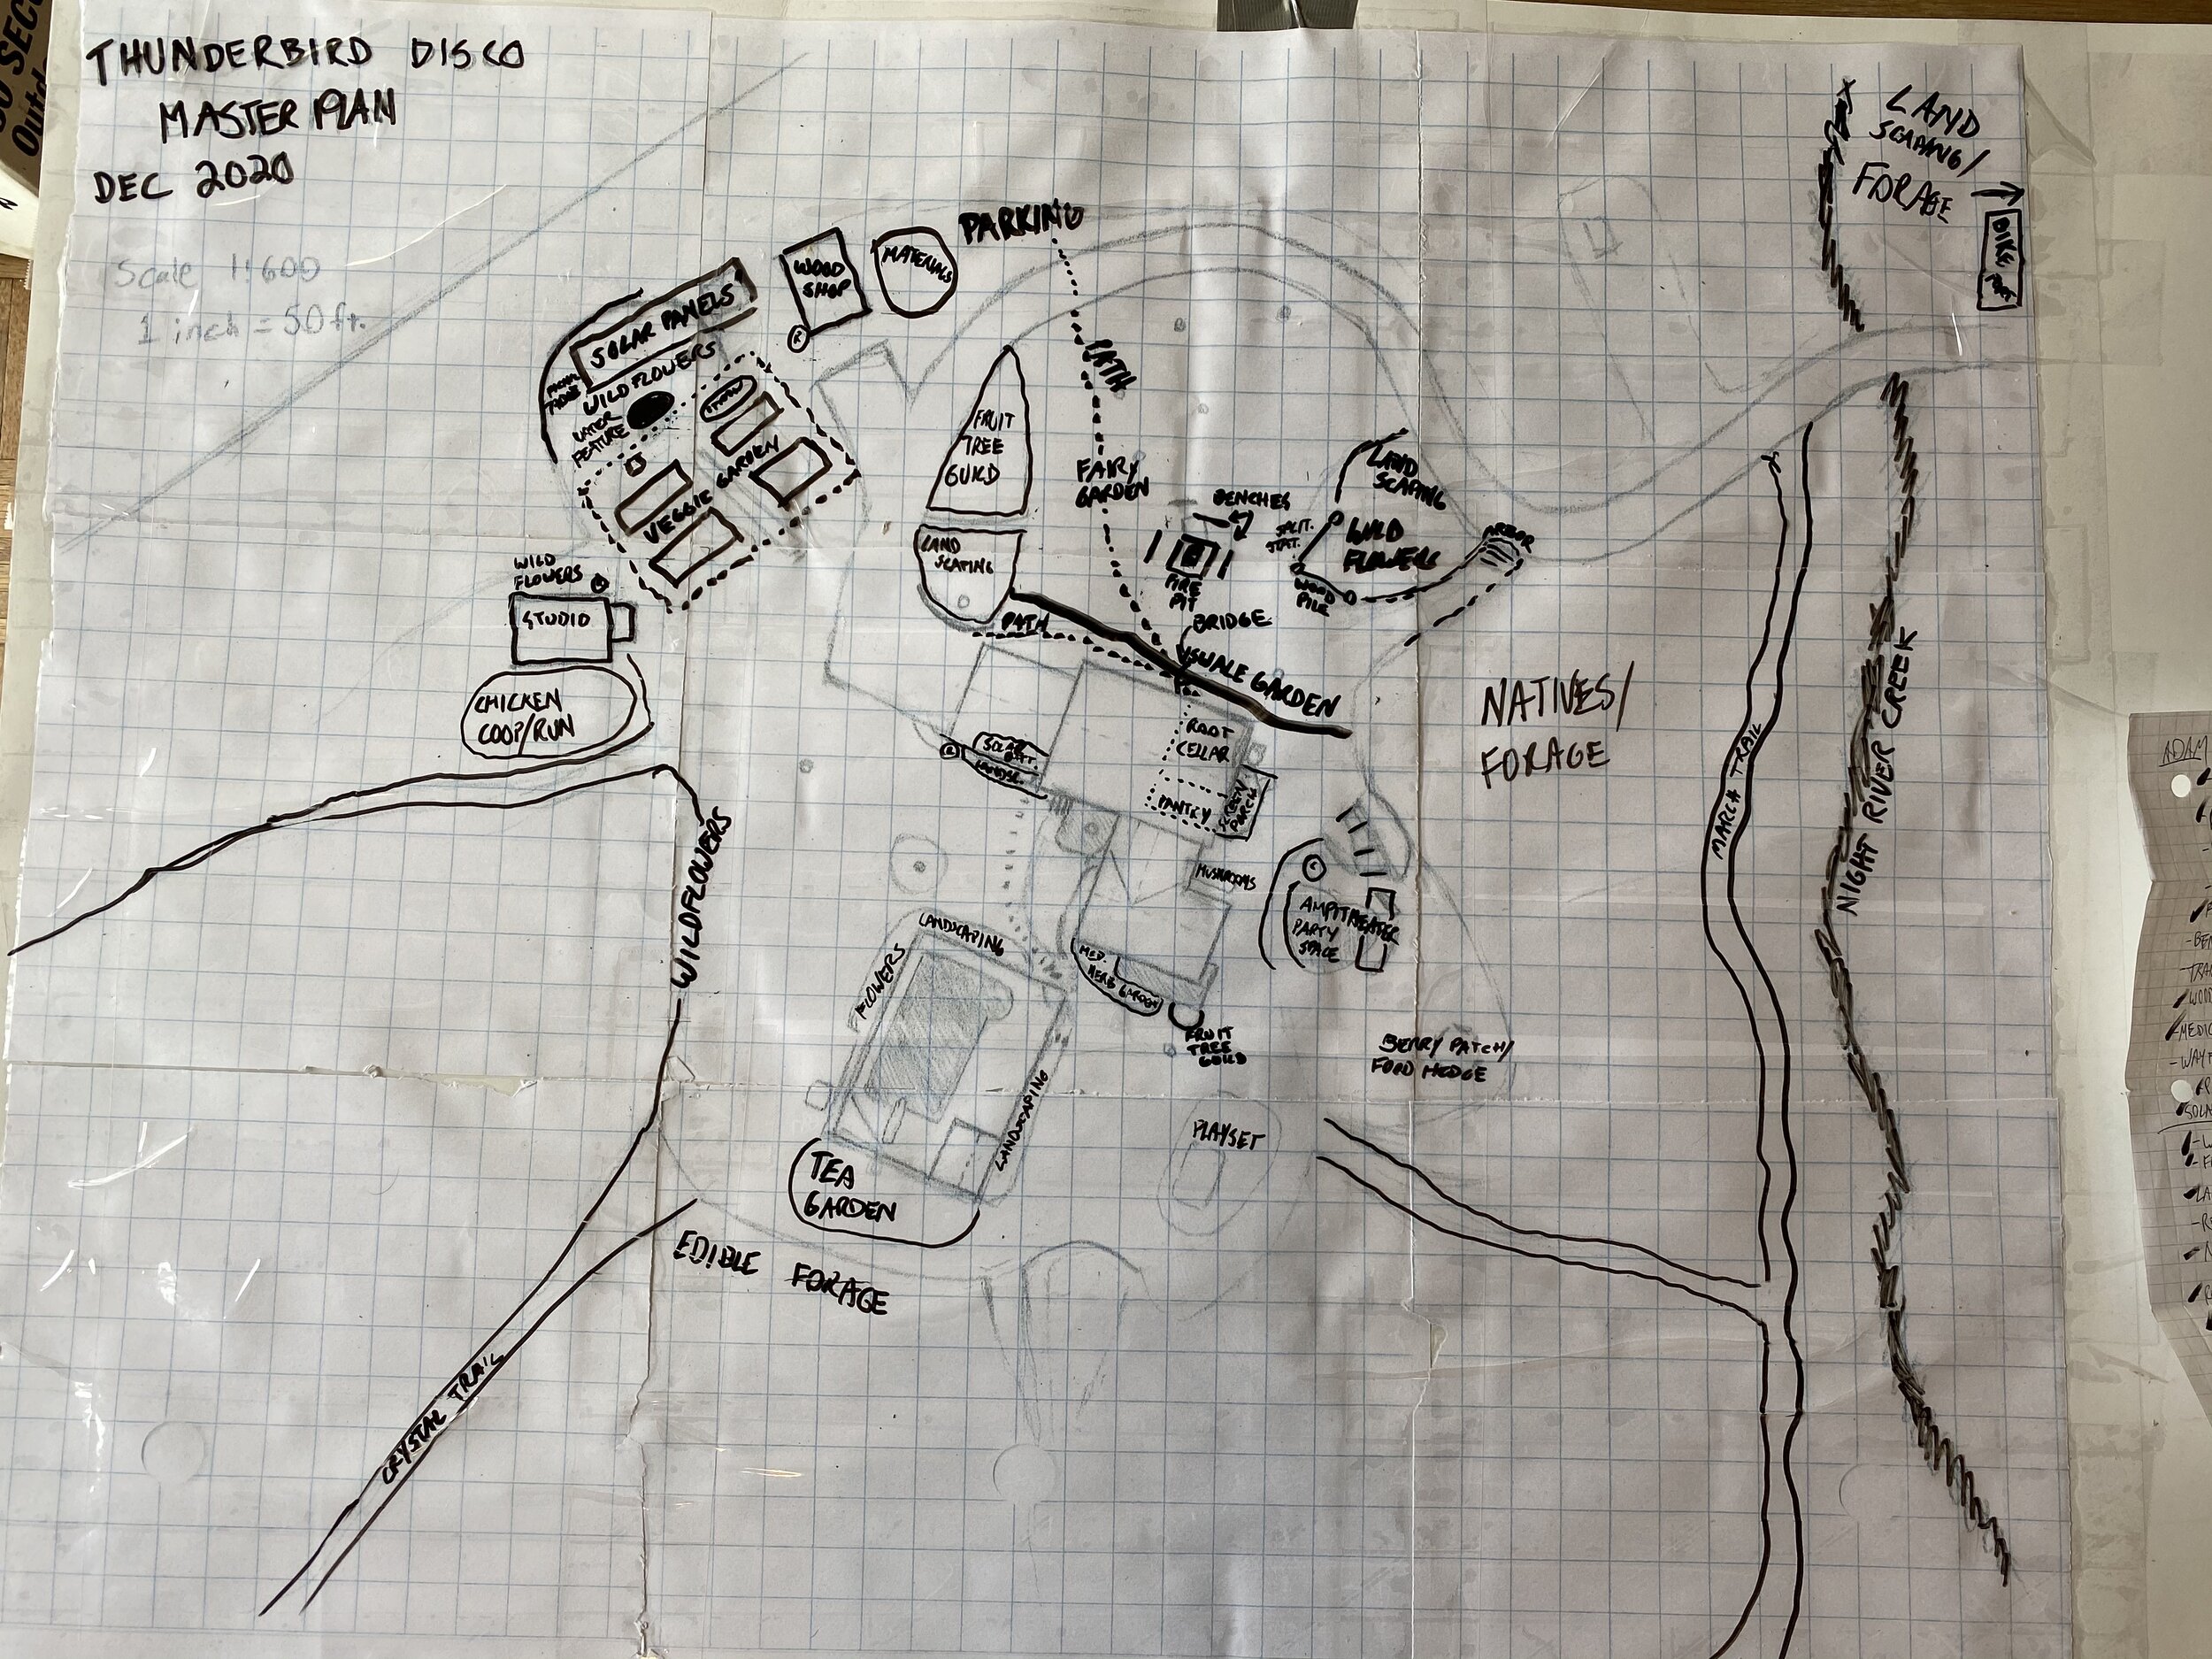
MAKING A MASTER PLAN
Next, we dove into the Master Plan, a flexible, sketchy vision of what we want to do at Thunderbird Disco. Using advice from Tenth Acre Farm:
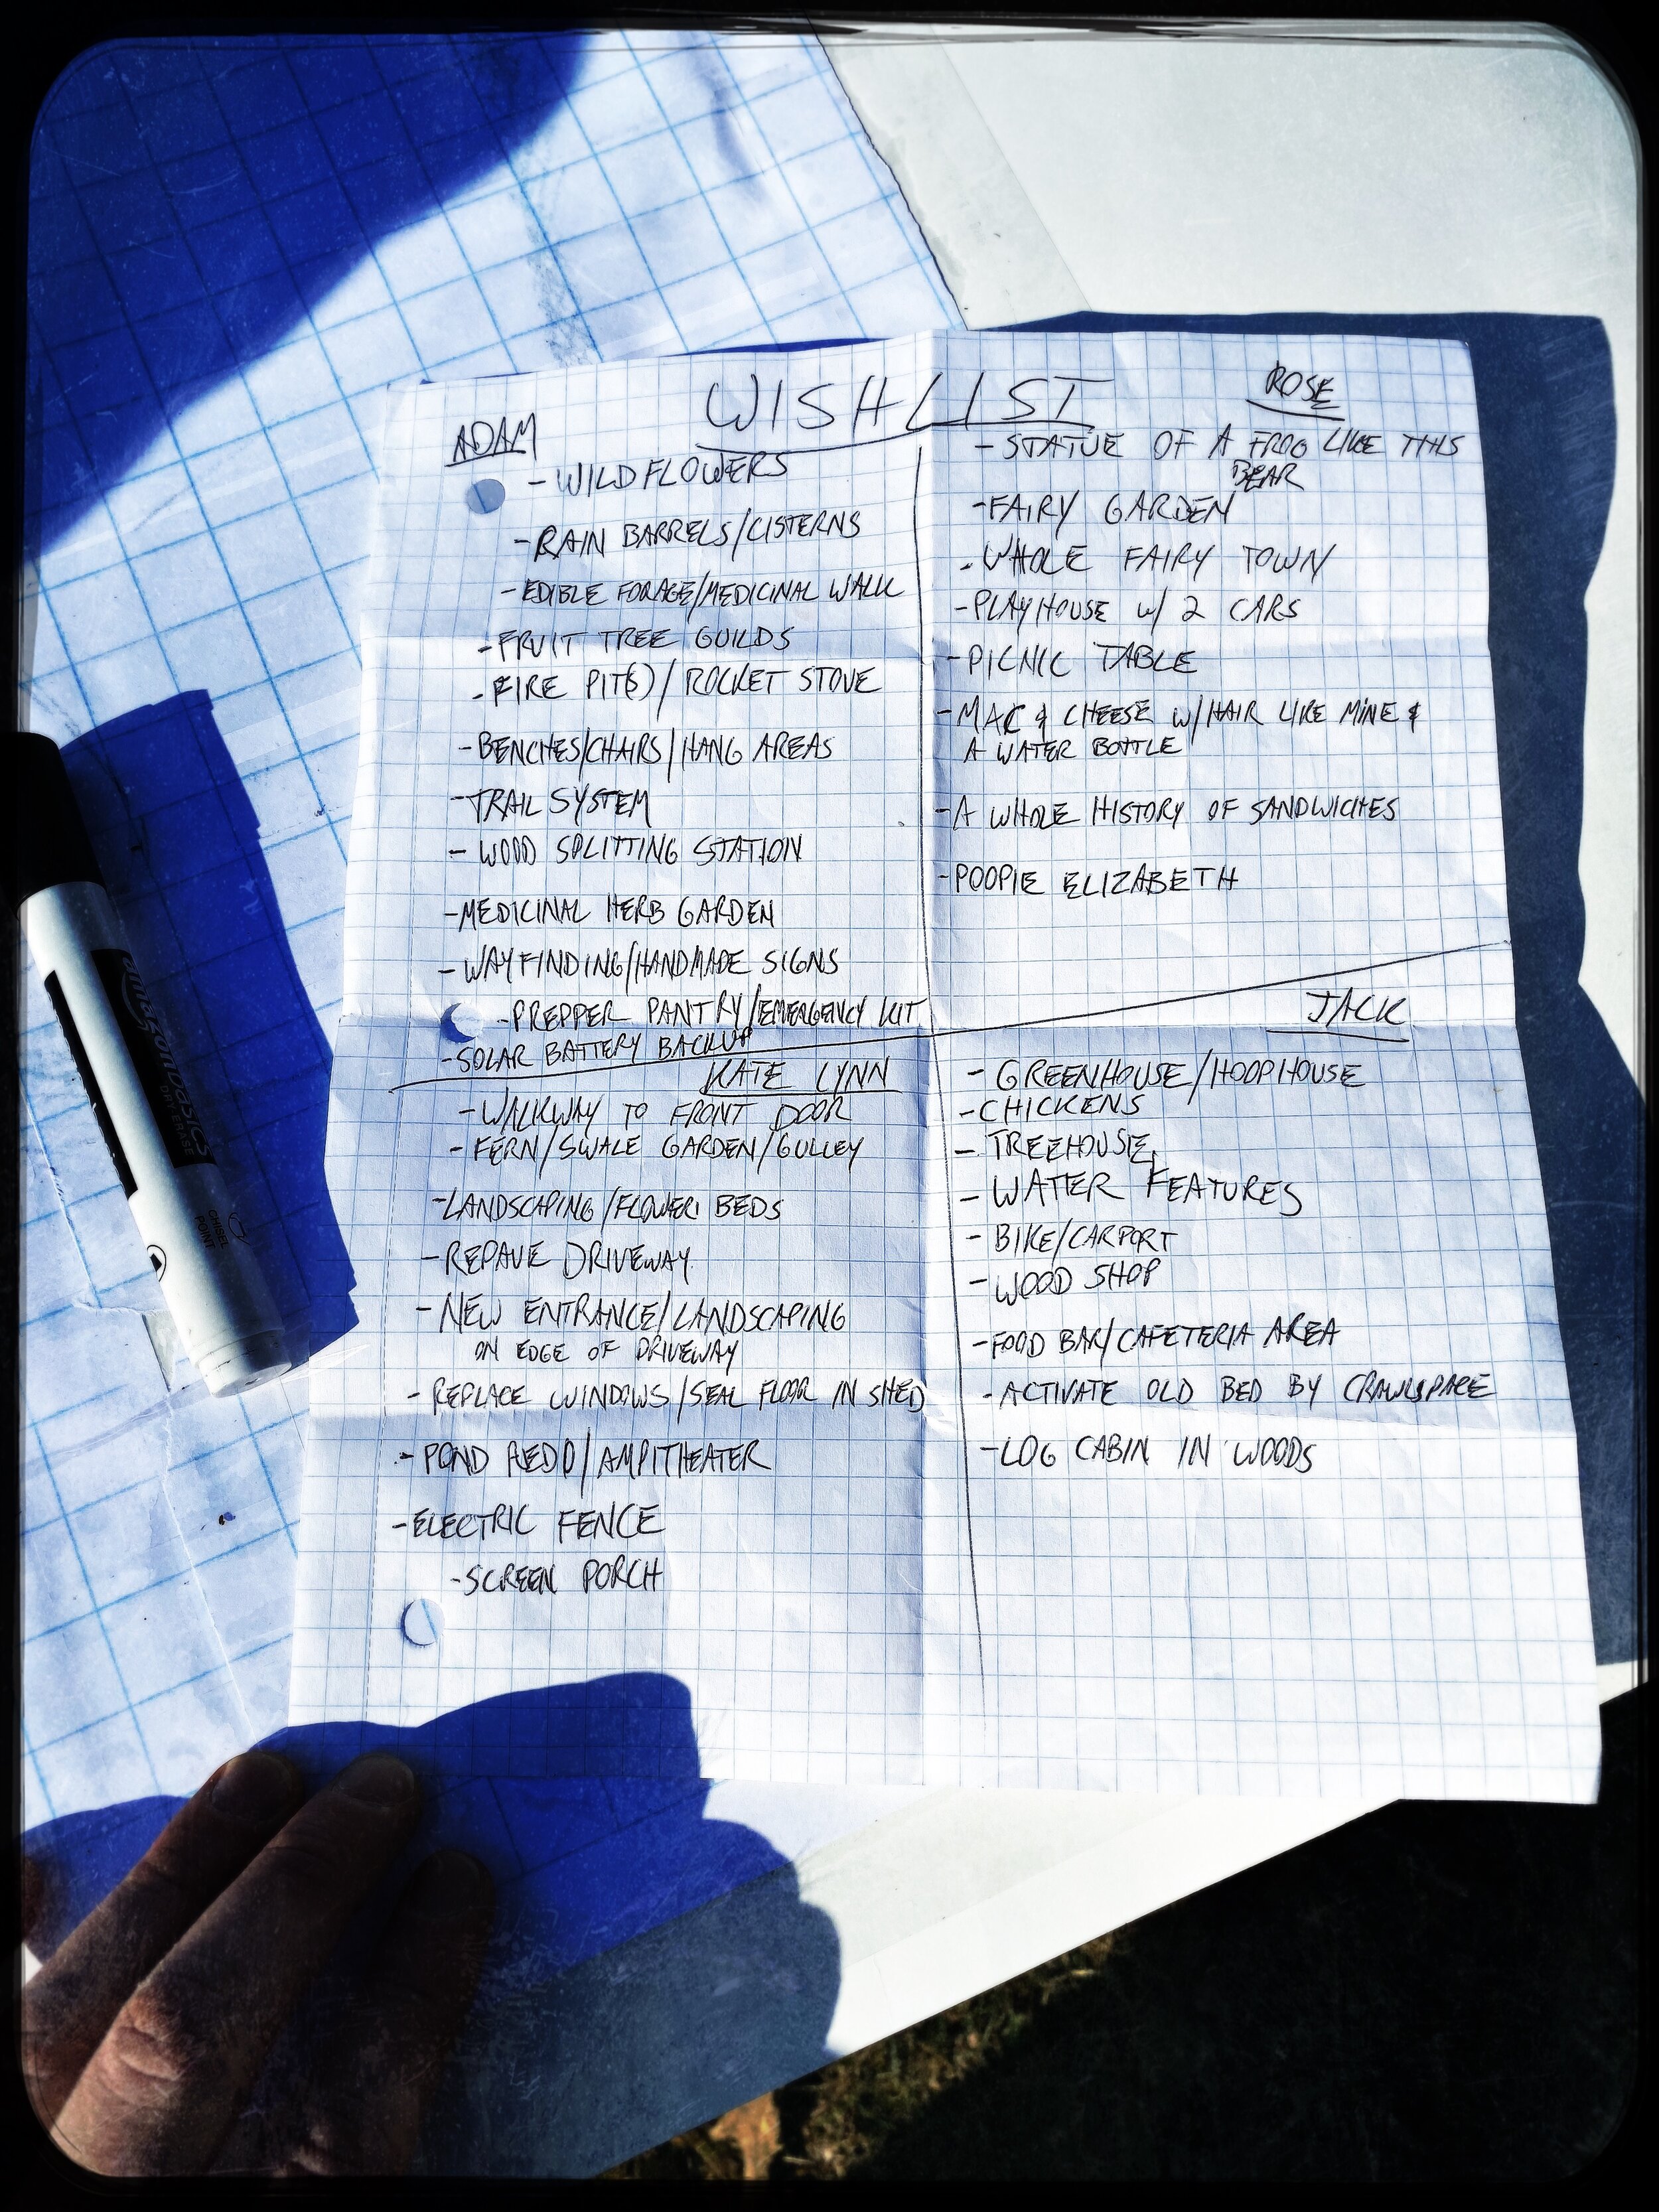
STEP 1: WISHLIST
All four of us made a wishlist of what we want to build, plant or create (not all at once but over maybe 3-7 years). Here's a sample:
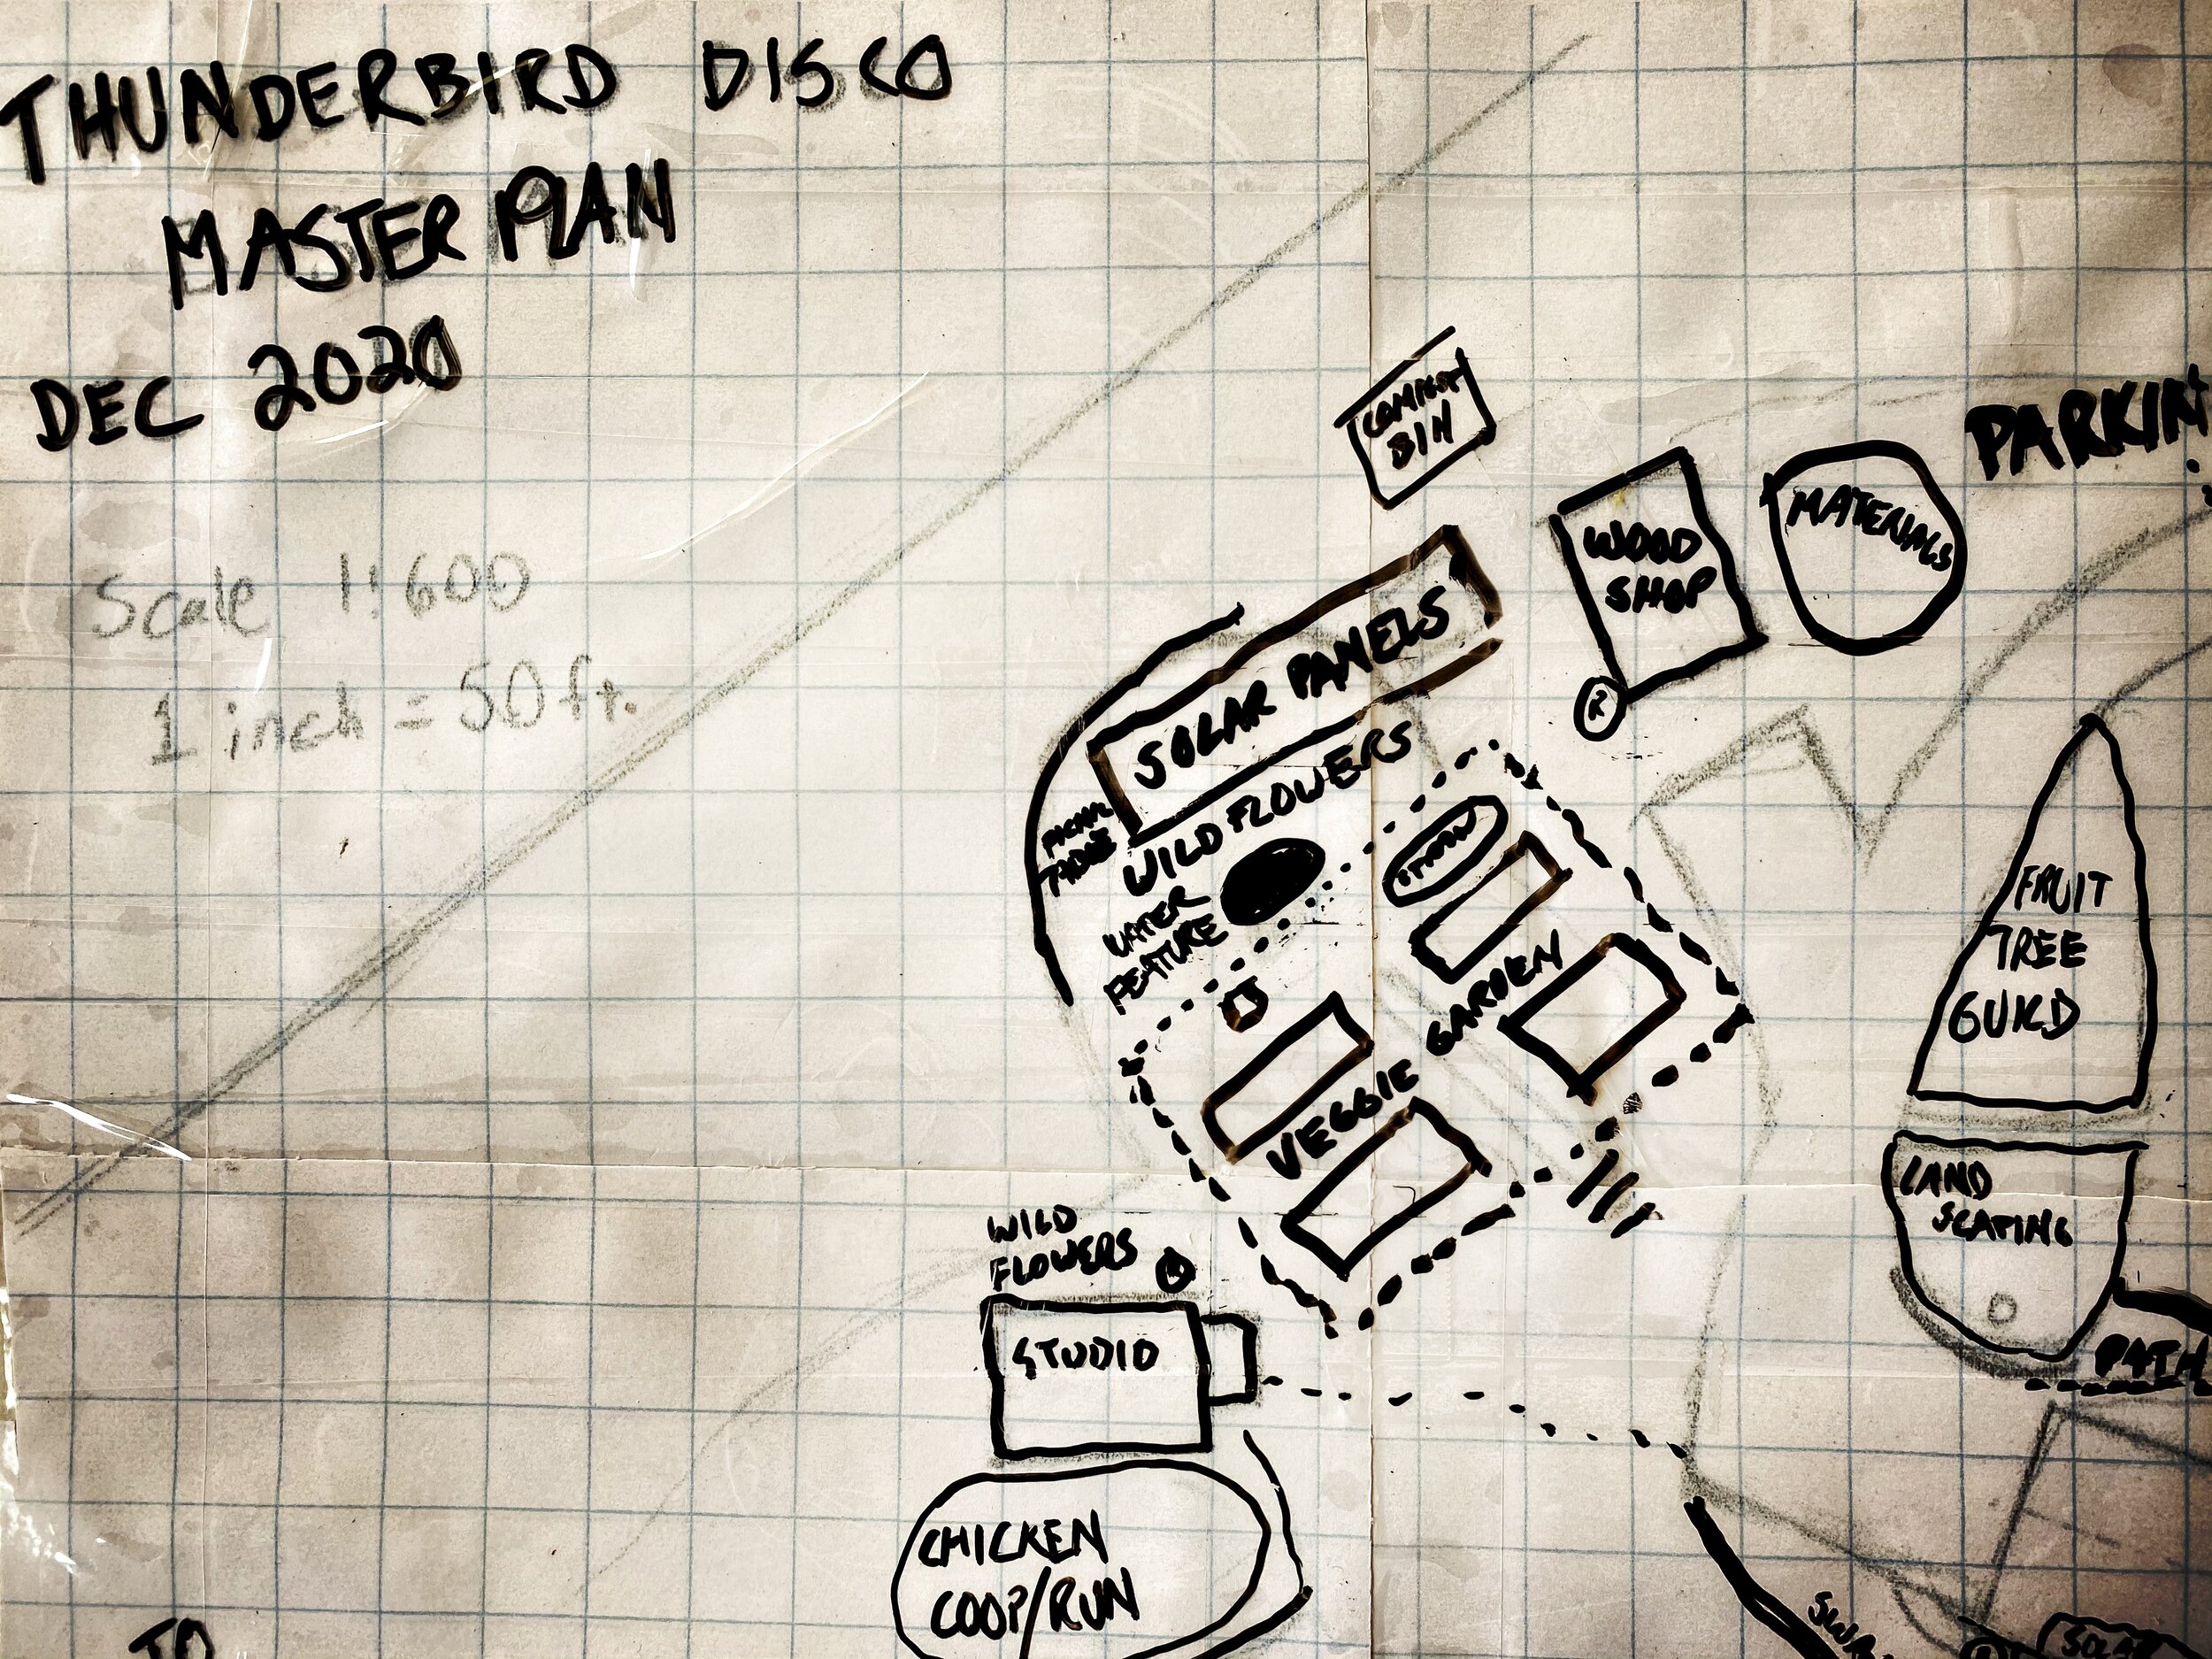
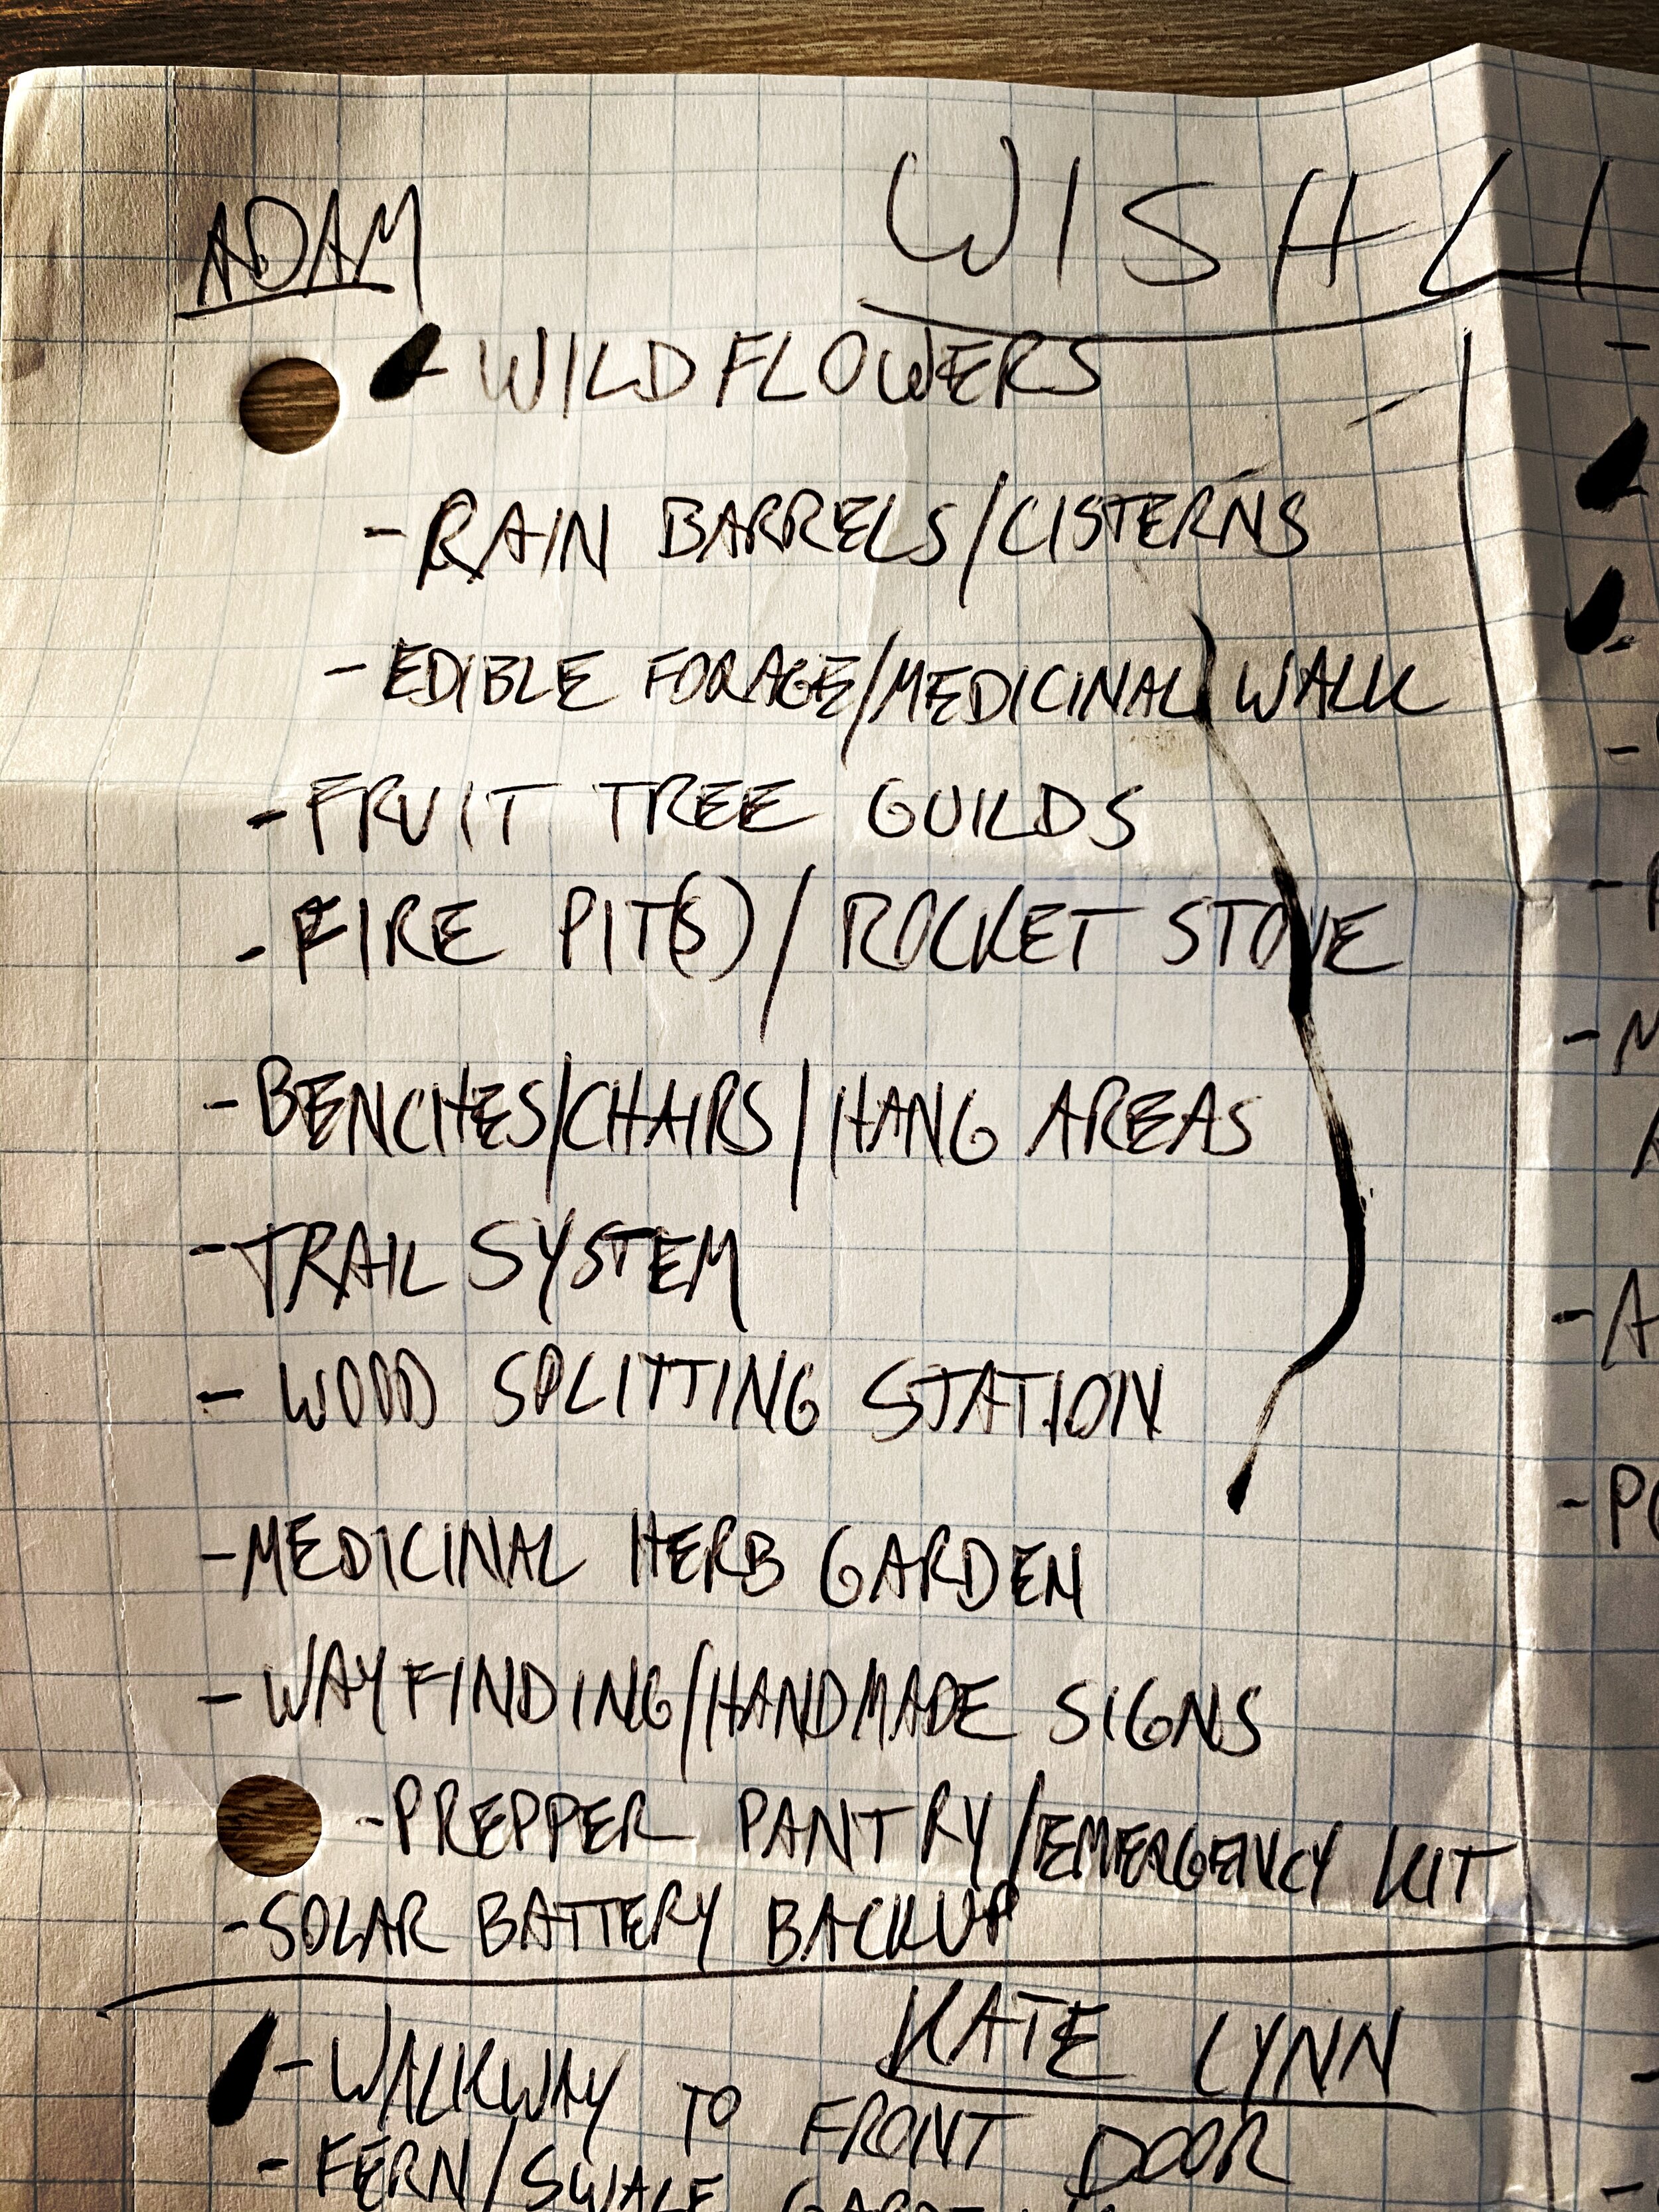
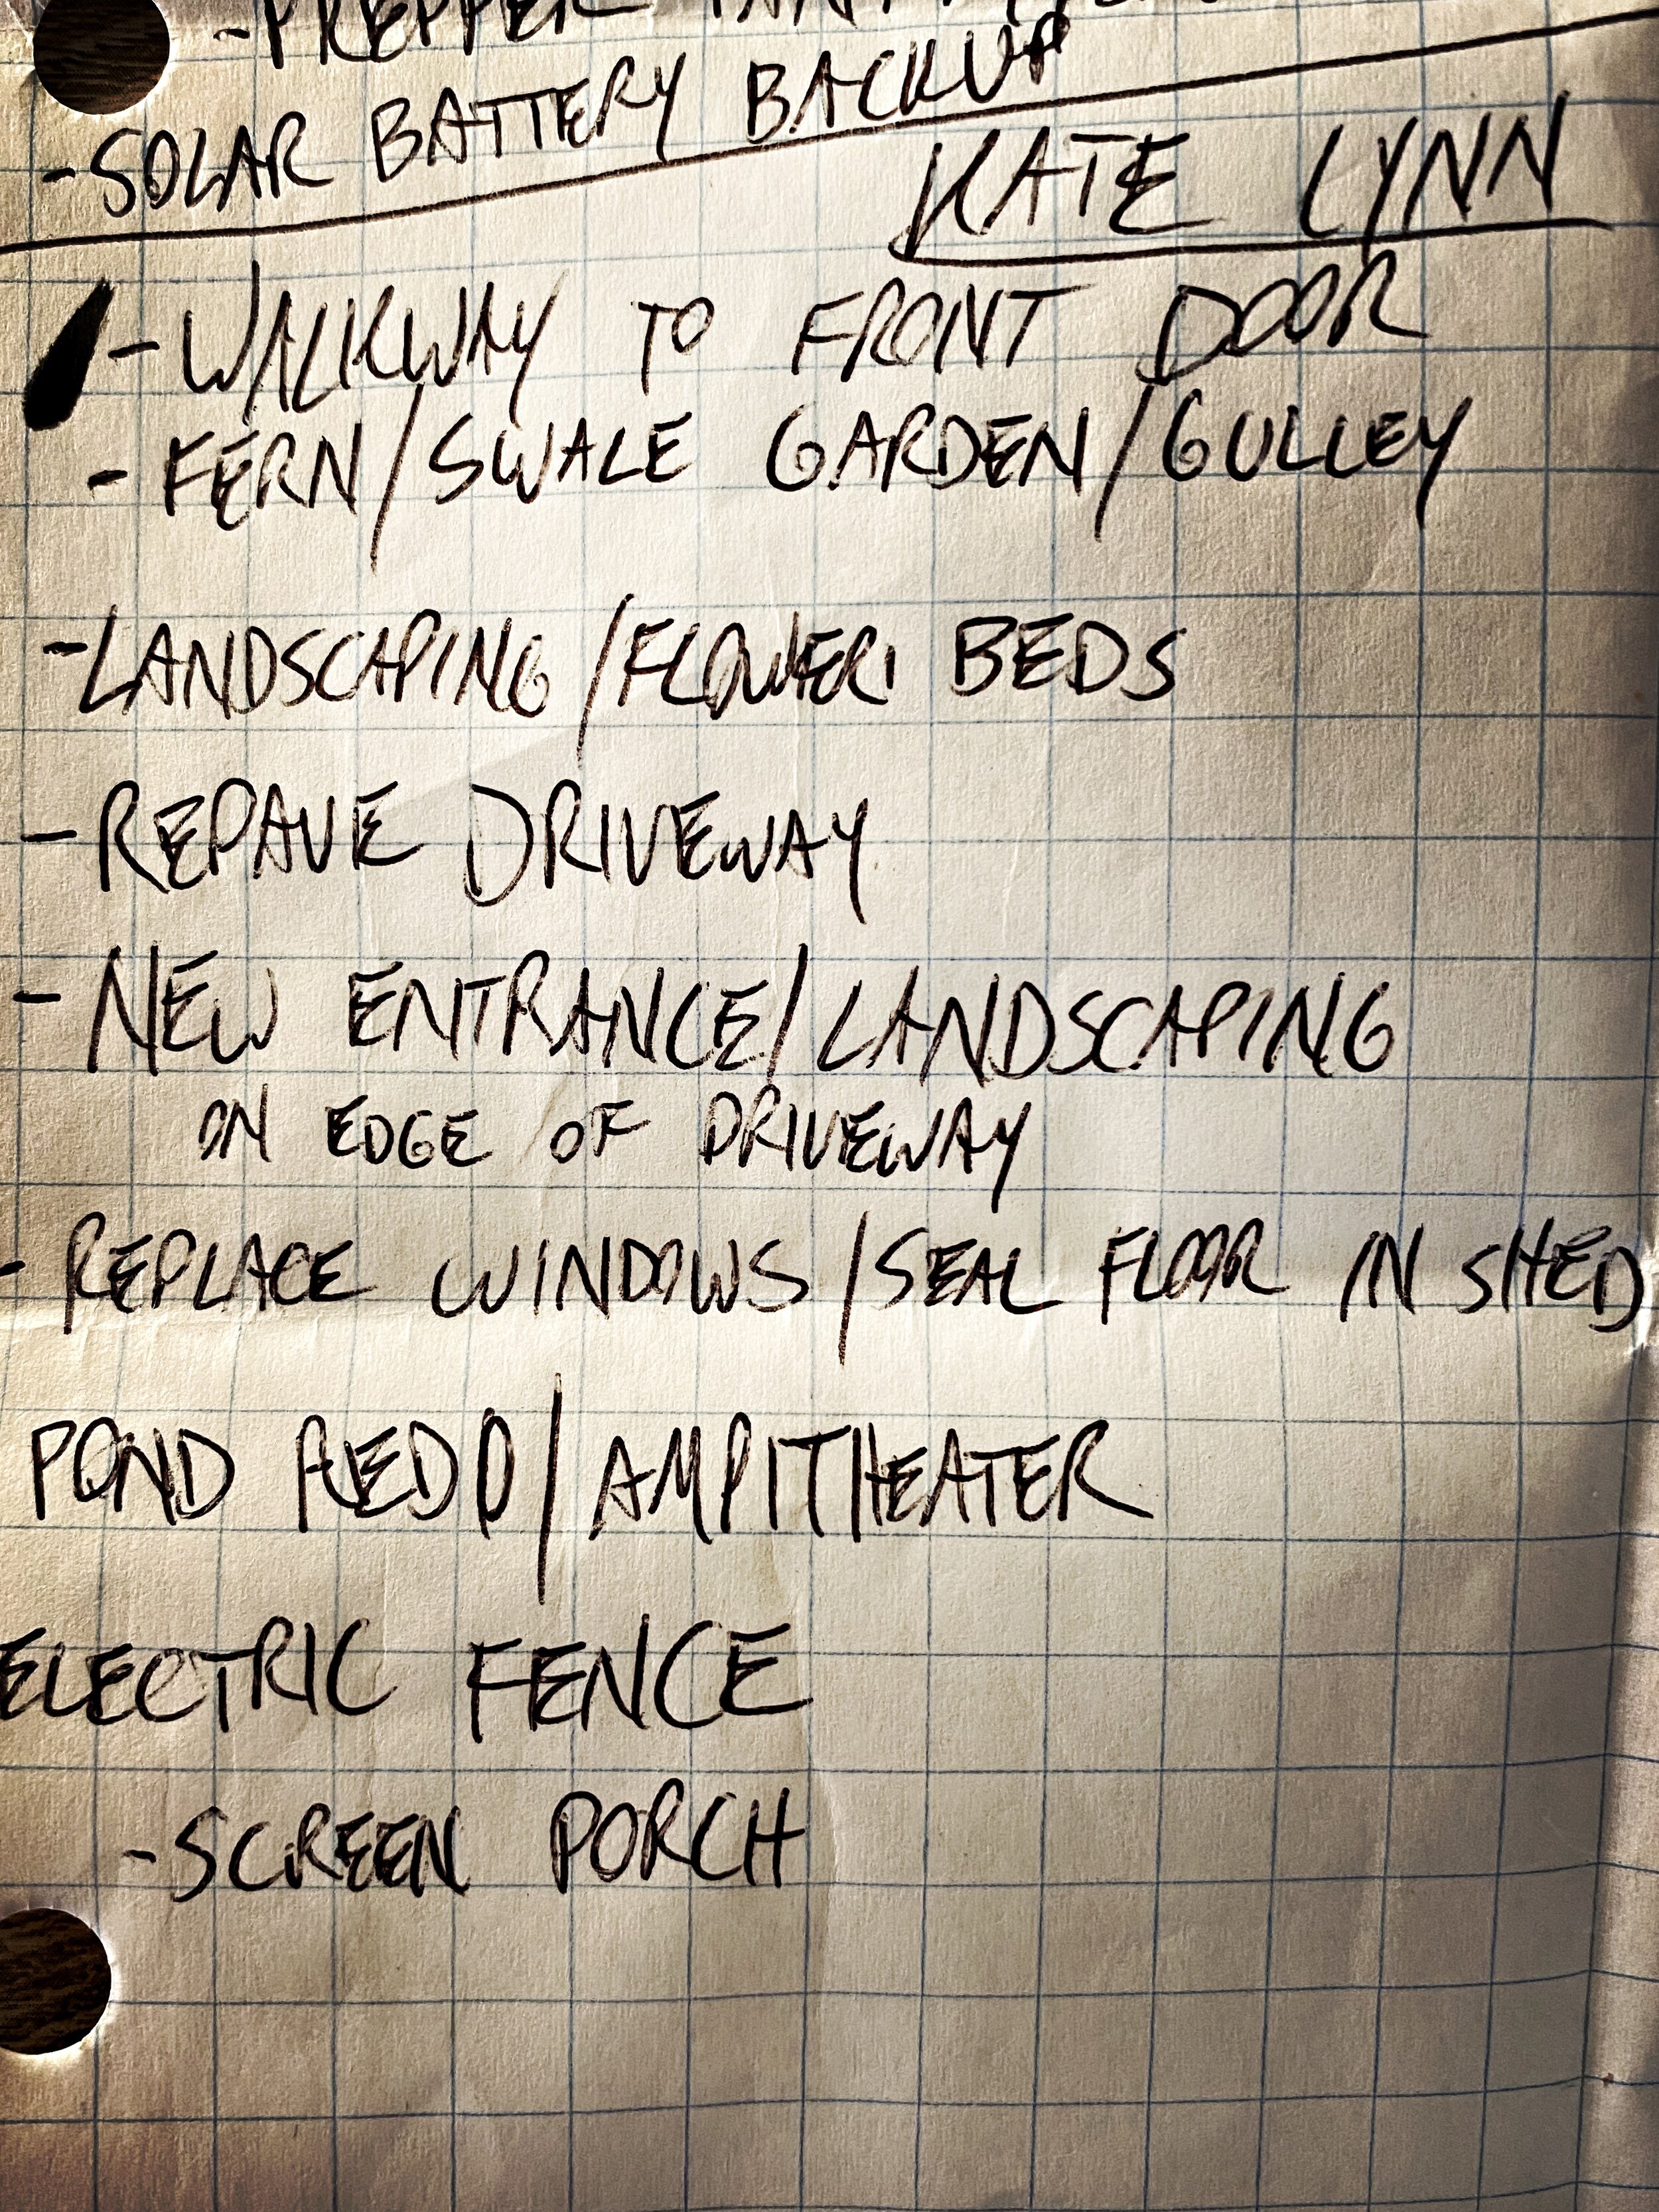
Mine: solar battery backup, rainwater cisterns, home brewing and fermenting, caffeine/tea garden
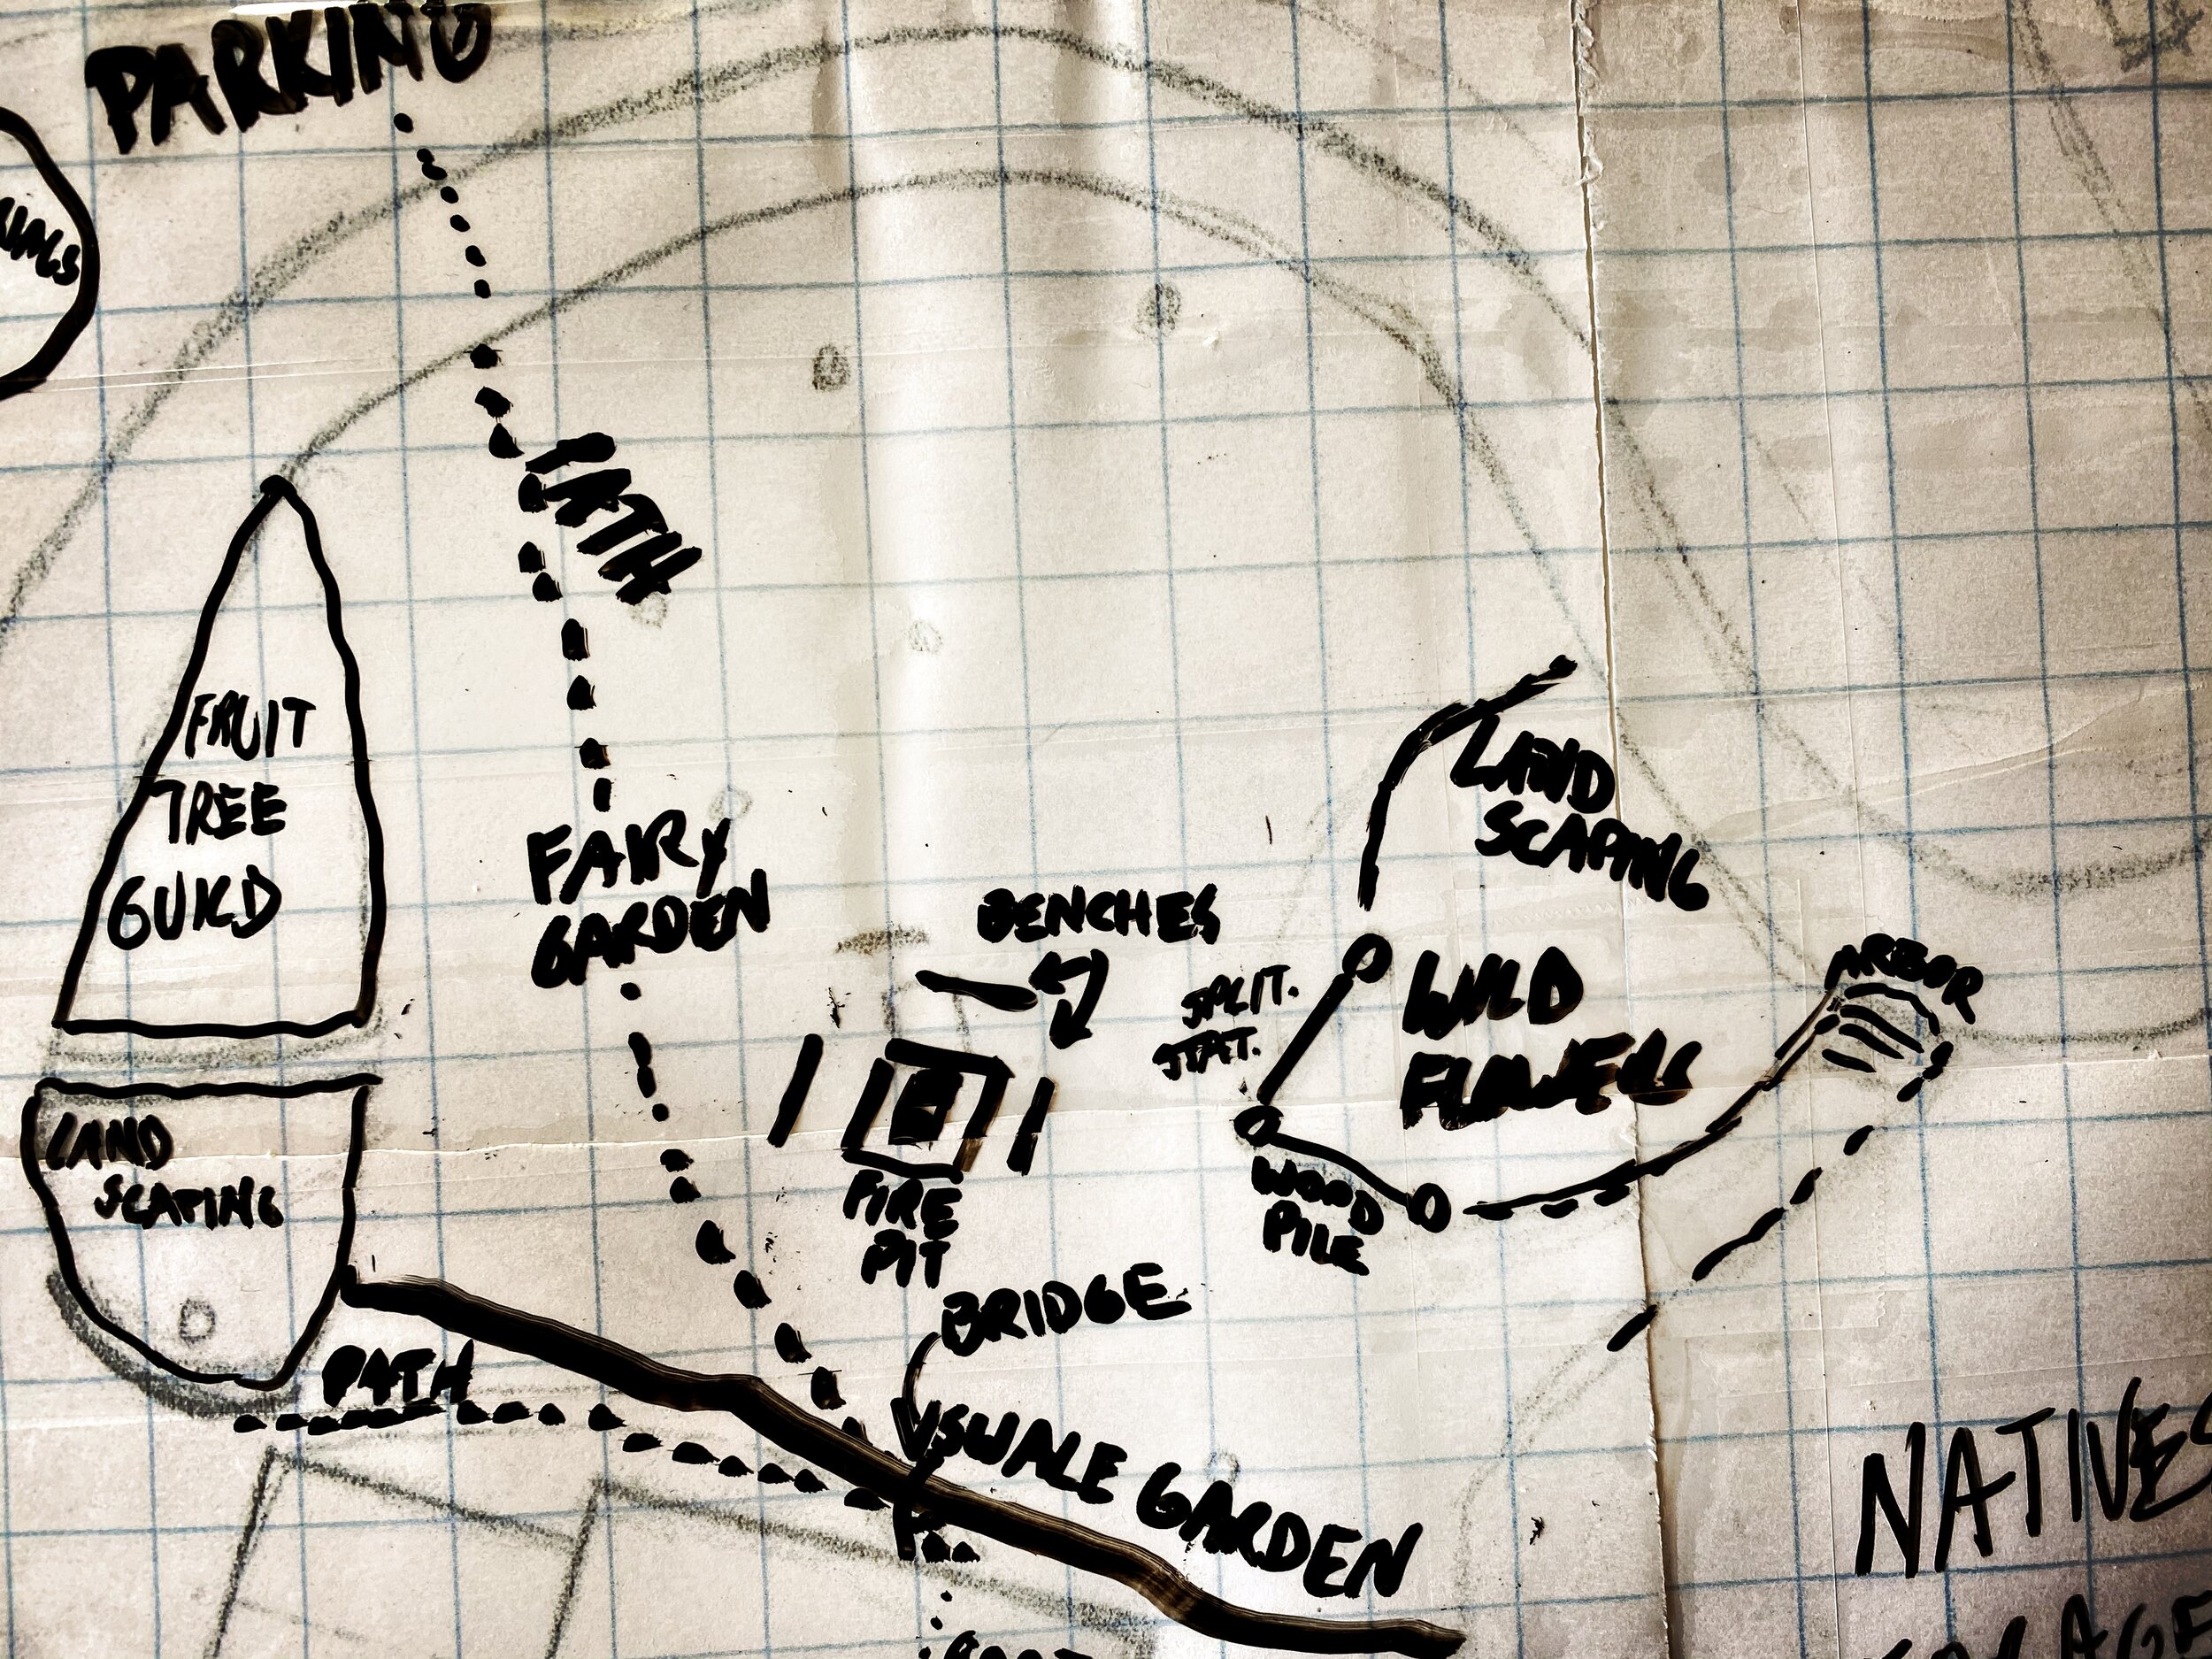
Kate: turn pond area into amphitheater, make walkway to front door, swale garden.
Jack: greenhouse, hoop house, treehouse, chicken house, log cabin in the woods, water garden.
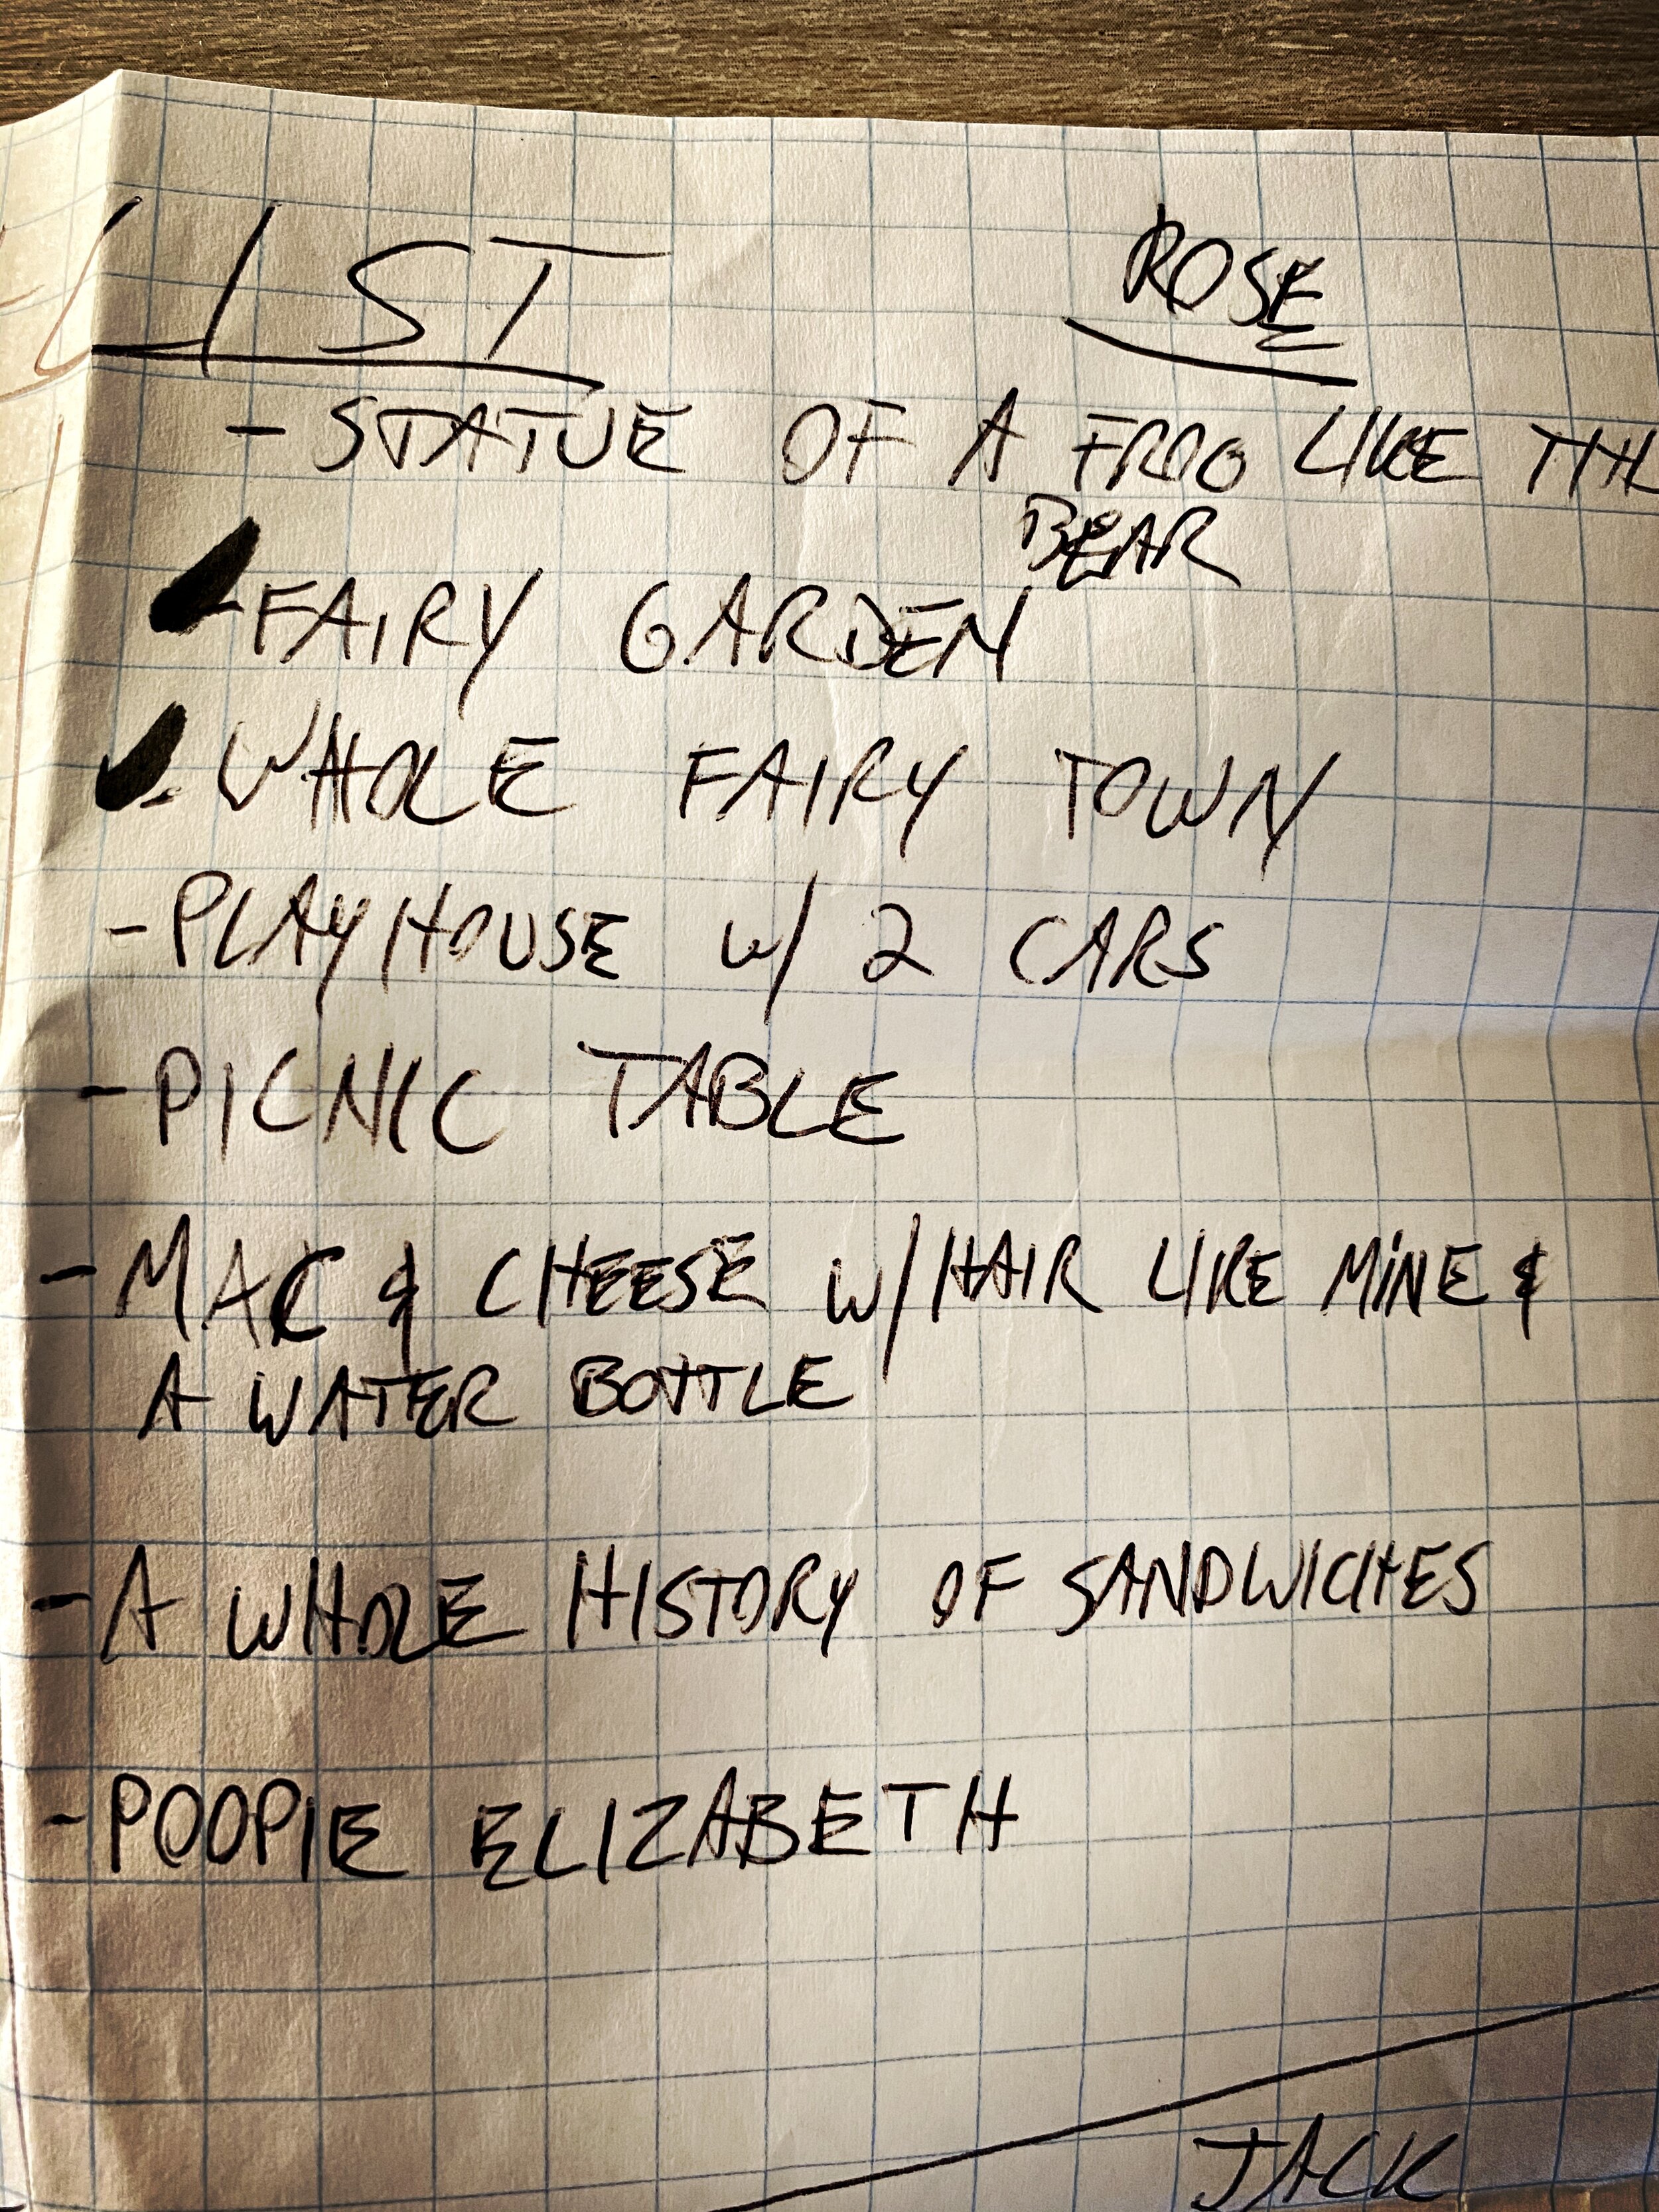
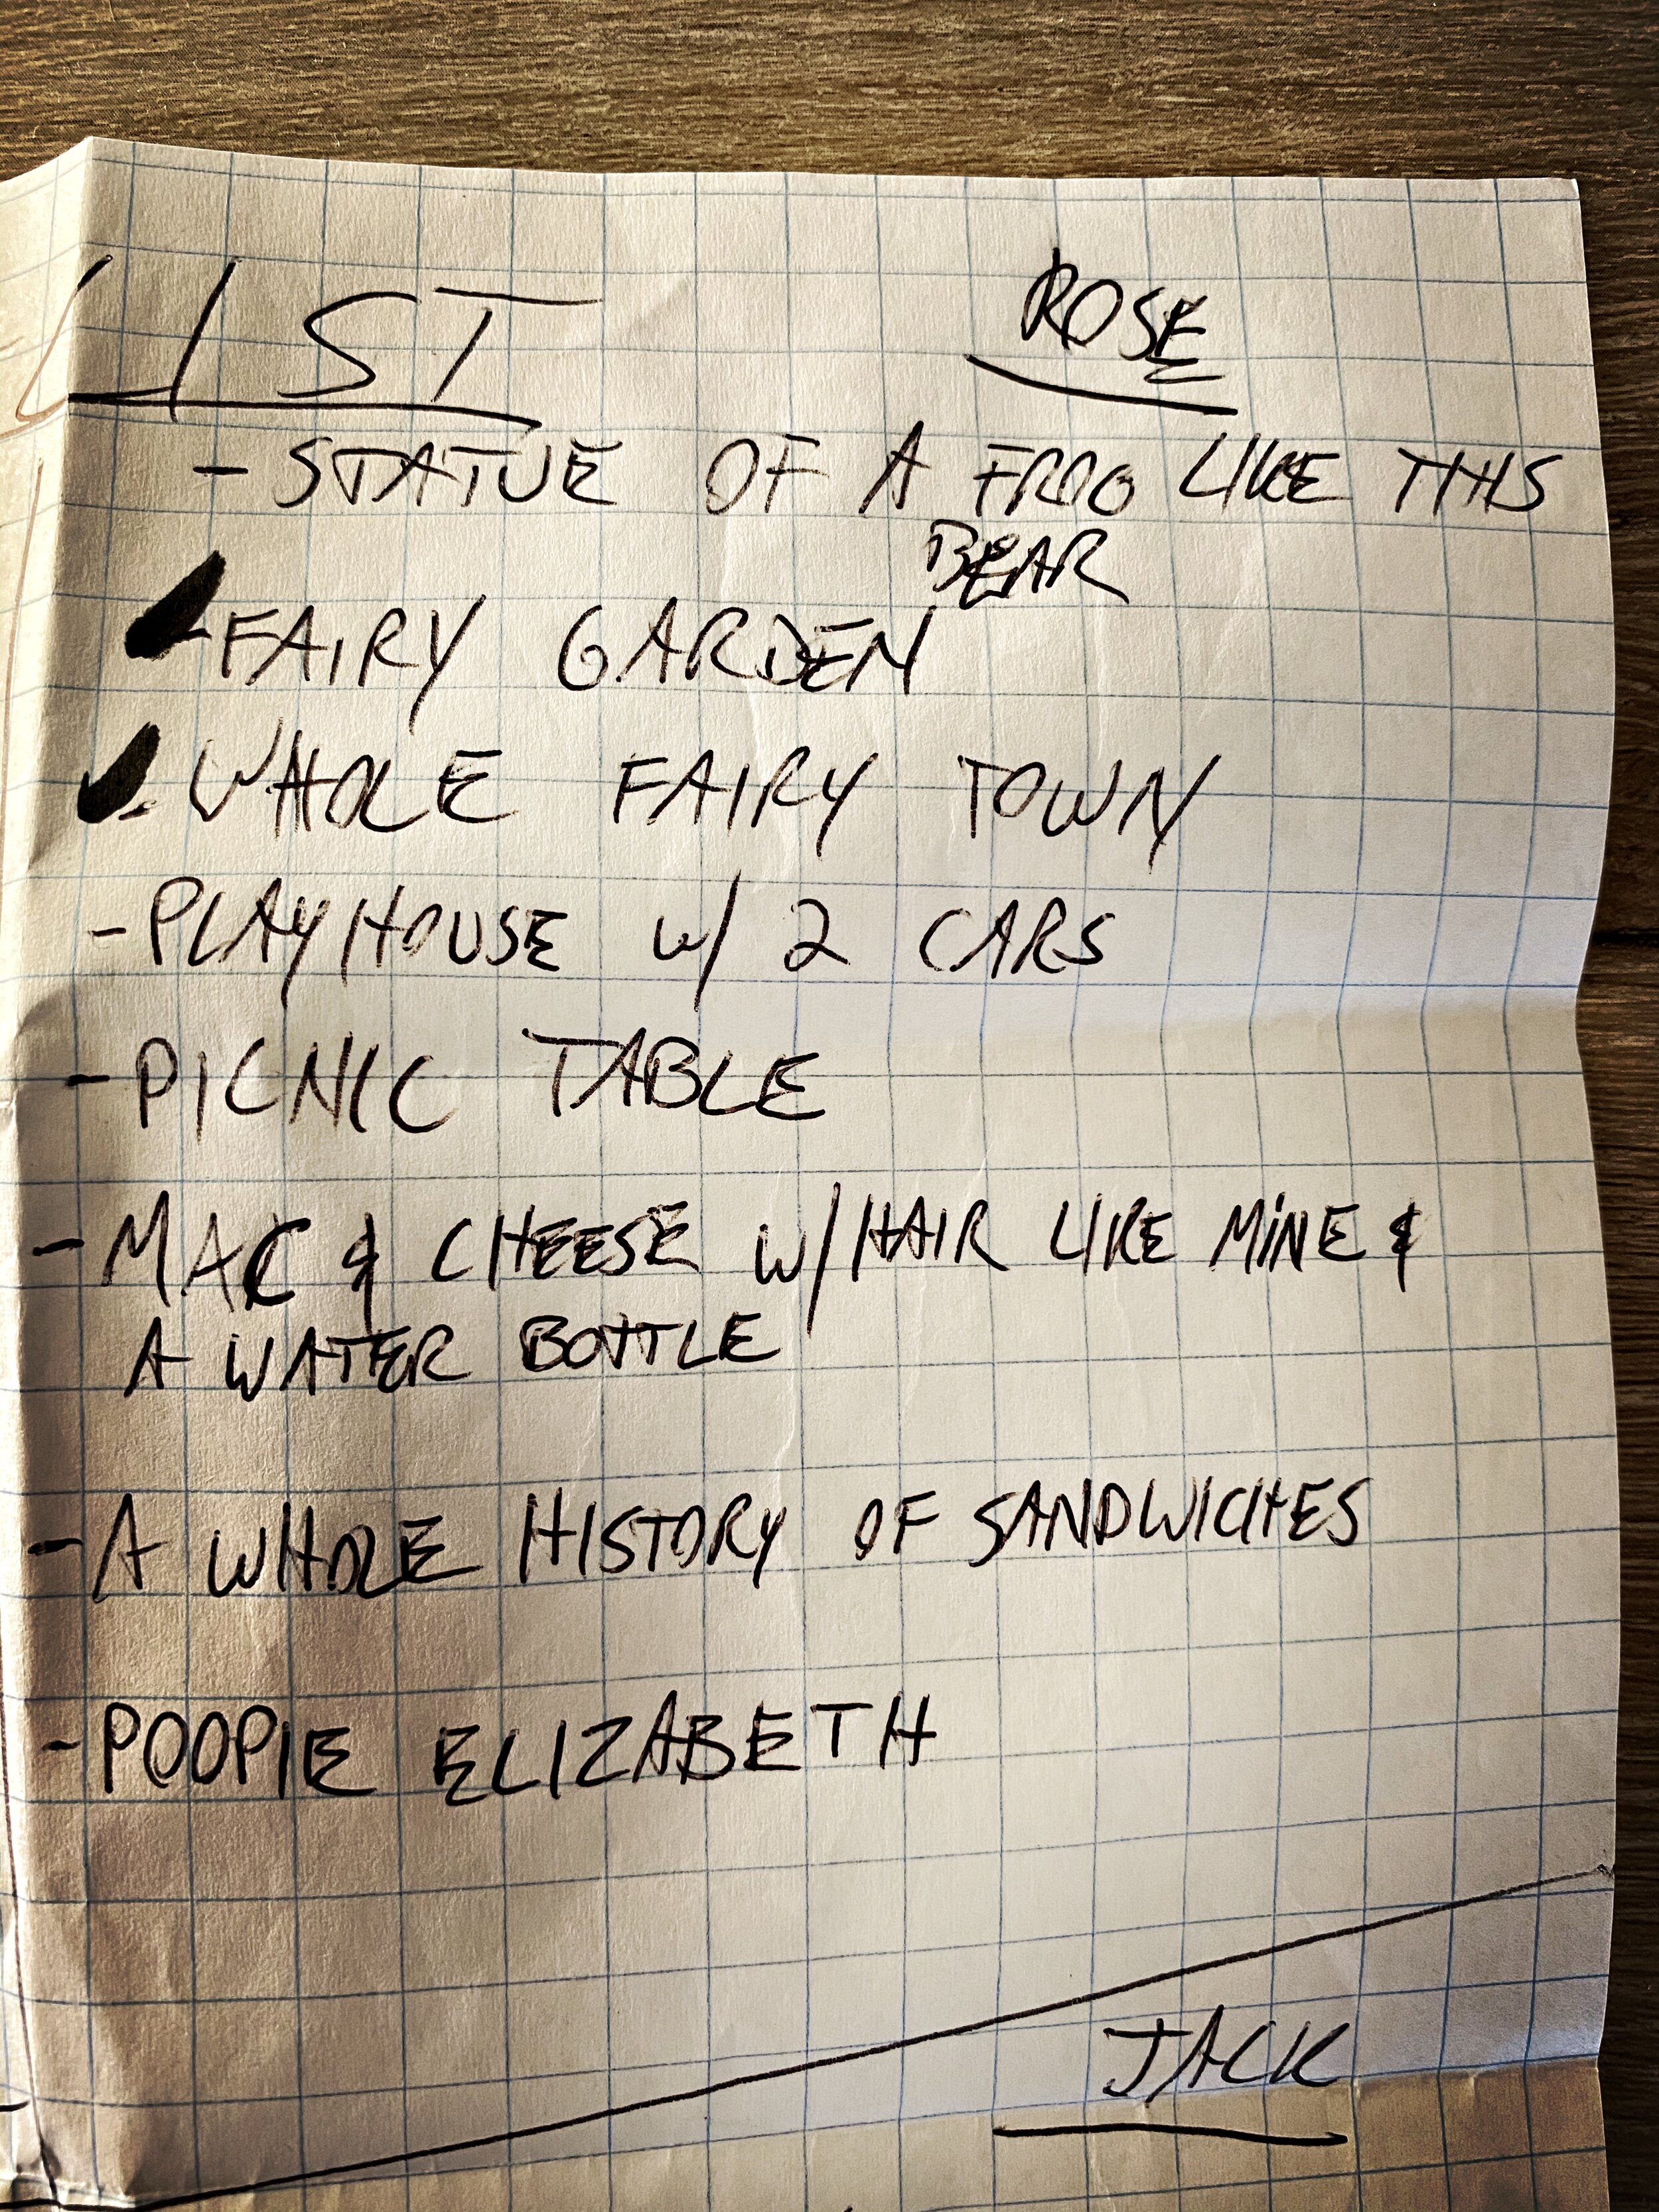
Rose: statue of a frog like this bear, mac and cheese with hair like mine, a whole history of sandwiches, Poopie Elizabeth, fairy garden.
You can see from this list that we each have different interests and priorities, and it’s a good idea to keep everyone’s goals in mind as we move forward. Especially when it involves a whole history of sandwiches.
STEP 2: PRINT BASE MAP
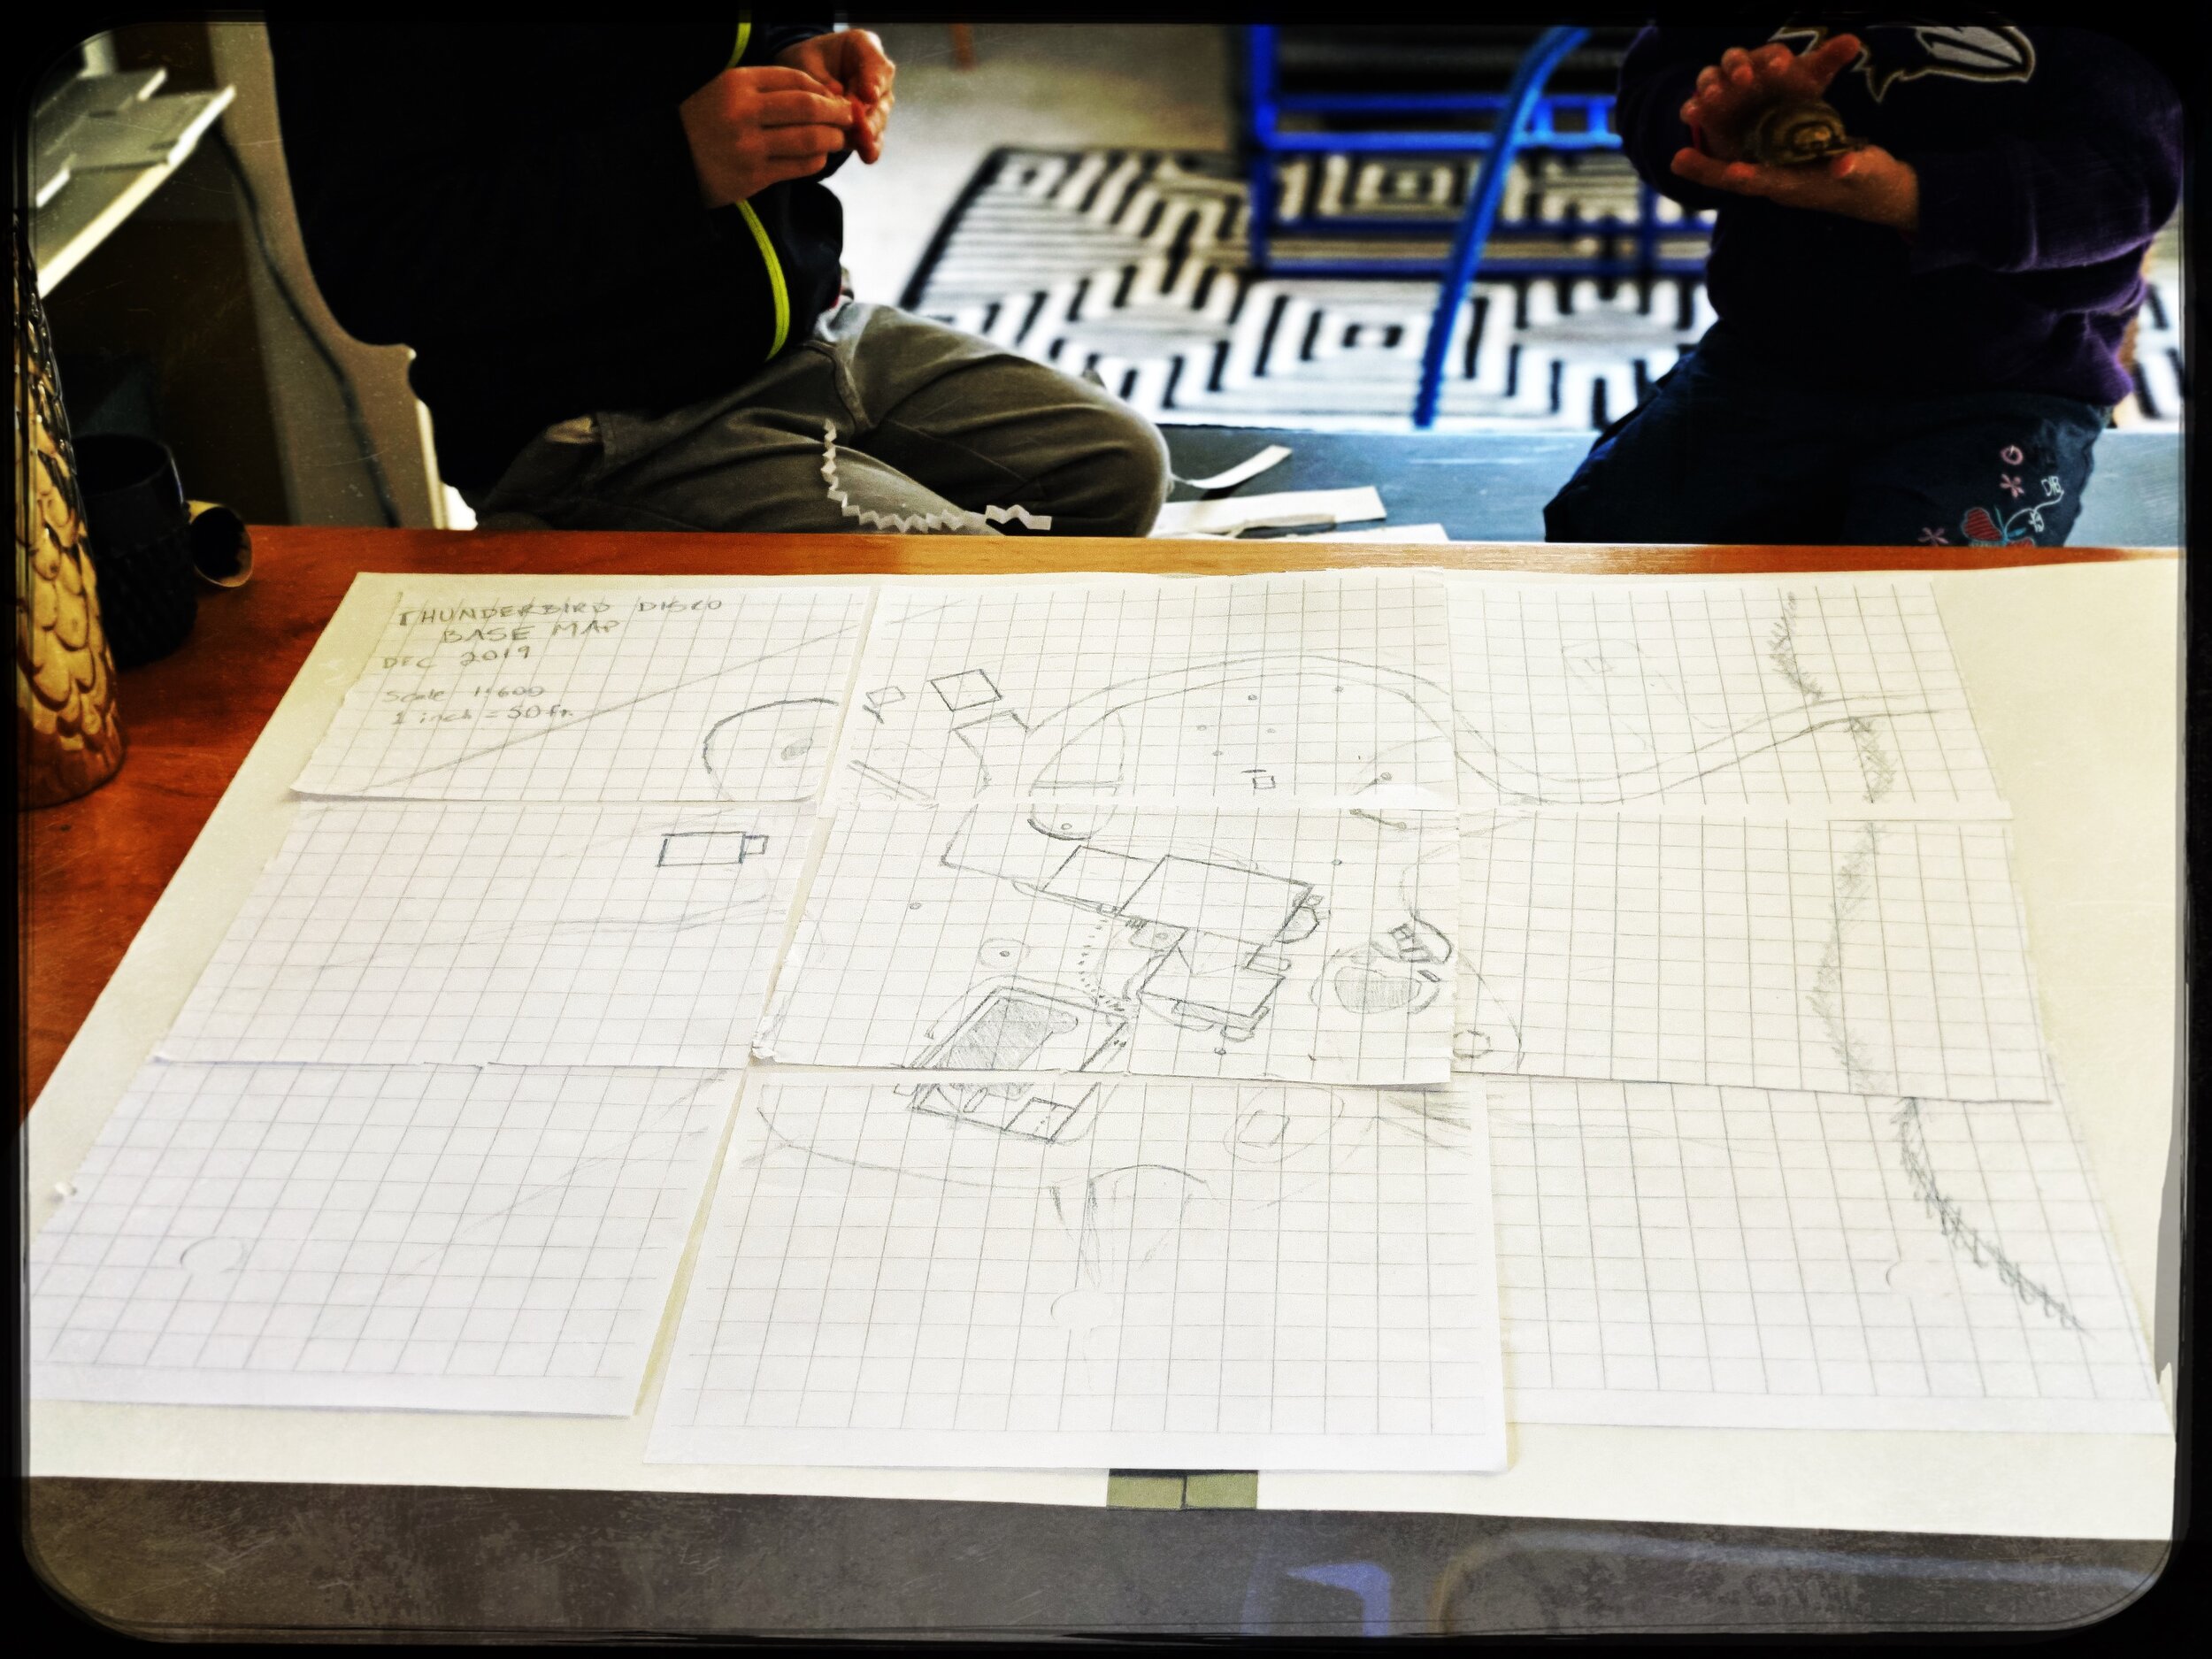
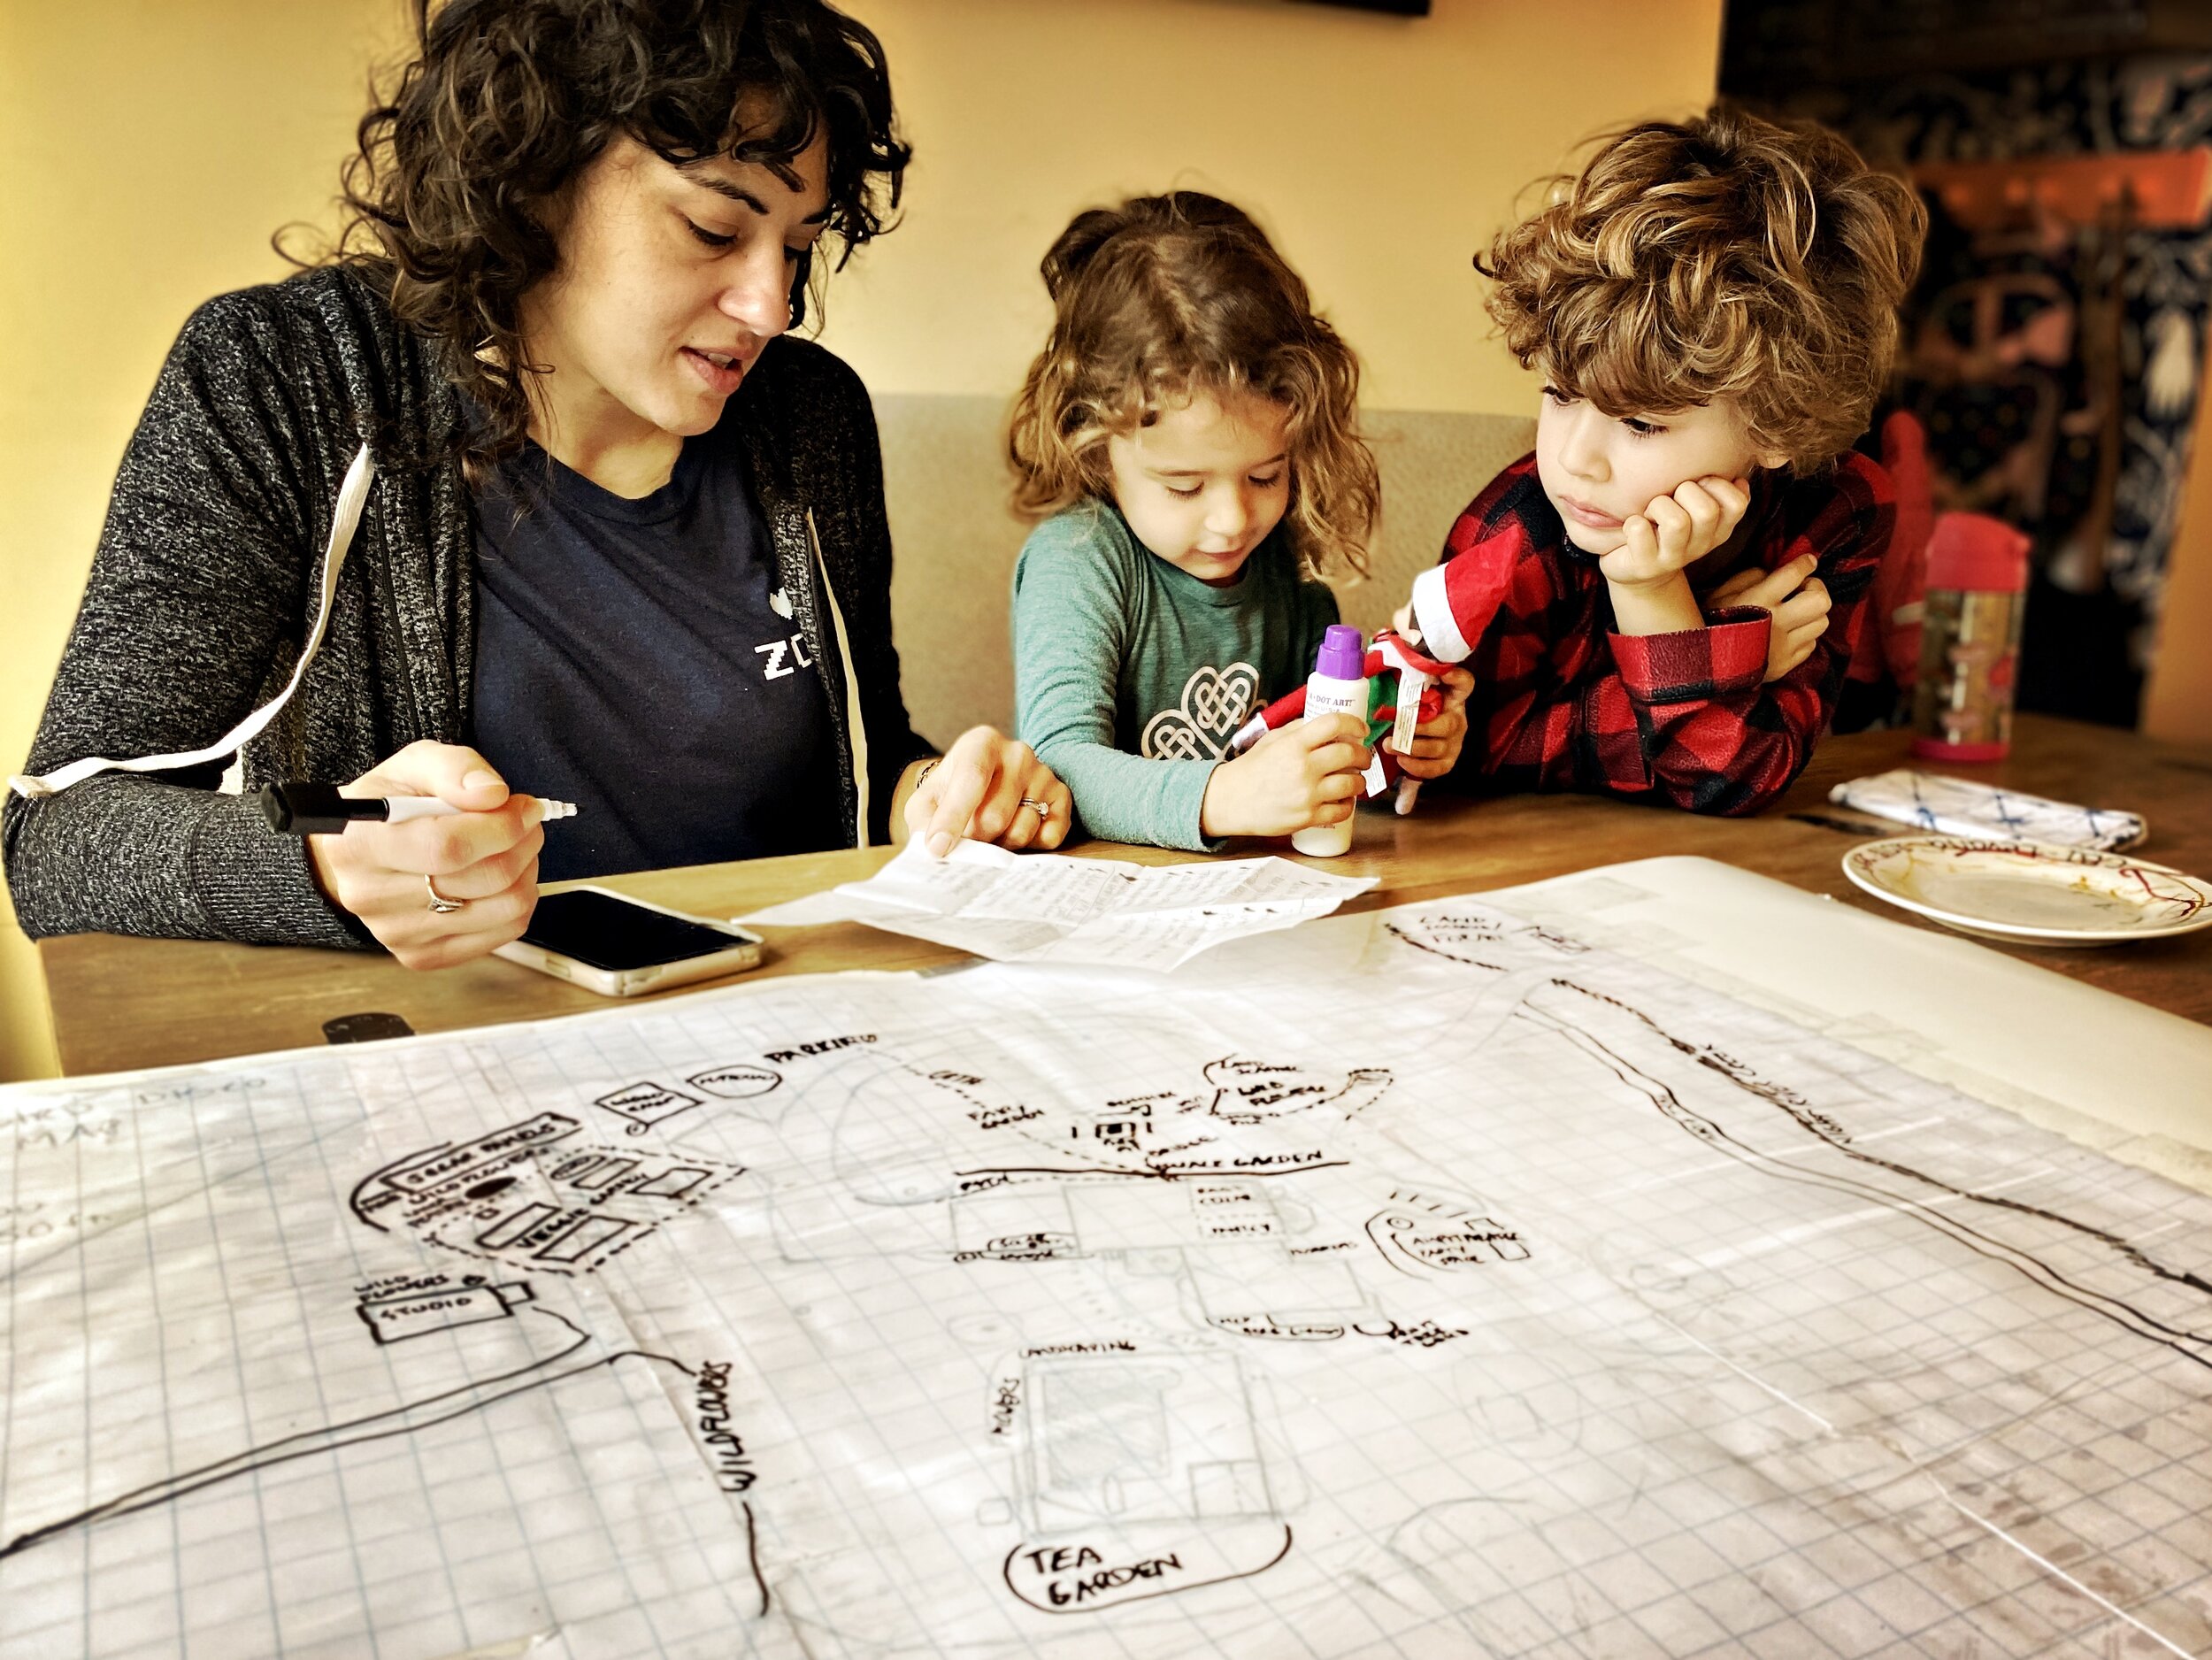
We printed our Base Map onto multiple sheets of computer paper to make a poster, which we DIY-laminated with strips of packing tape so we could draw on it with a dry erase marker. The kids had fun with this and it was way cheaper than trying to get a full-size poster printed at Kinko’s or wherever.
STEP 3: EXPLORE ON FOOT
We wandered our Zones and started placing elements from our Wishlist onto the map, erasing and relocating where necessary. It’s one thing to do all of this planning on paper, but you have to actually wander through the zones to get a clear sense of what can work where.
STEP 4: CREATE PHASED PLAN
We'll next create a year-by-year phased plan for developing all of this. We know we can't do everything at once, so we'll take it piece by piece, based on what we can afford (time/money), what's most essential (and fun!), and the general complexity level (you can see below that Jack doesn’t do things half-assed; to hell with my basic-ass swale bridge). Here we go into Year Two!