Learning Lacto-Fermentation
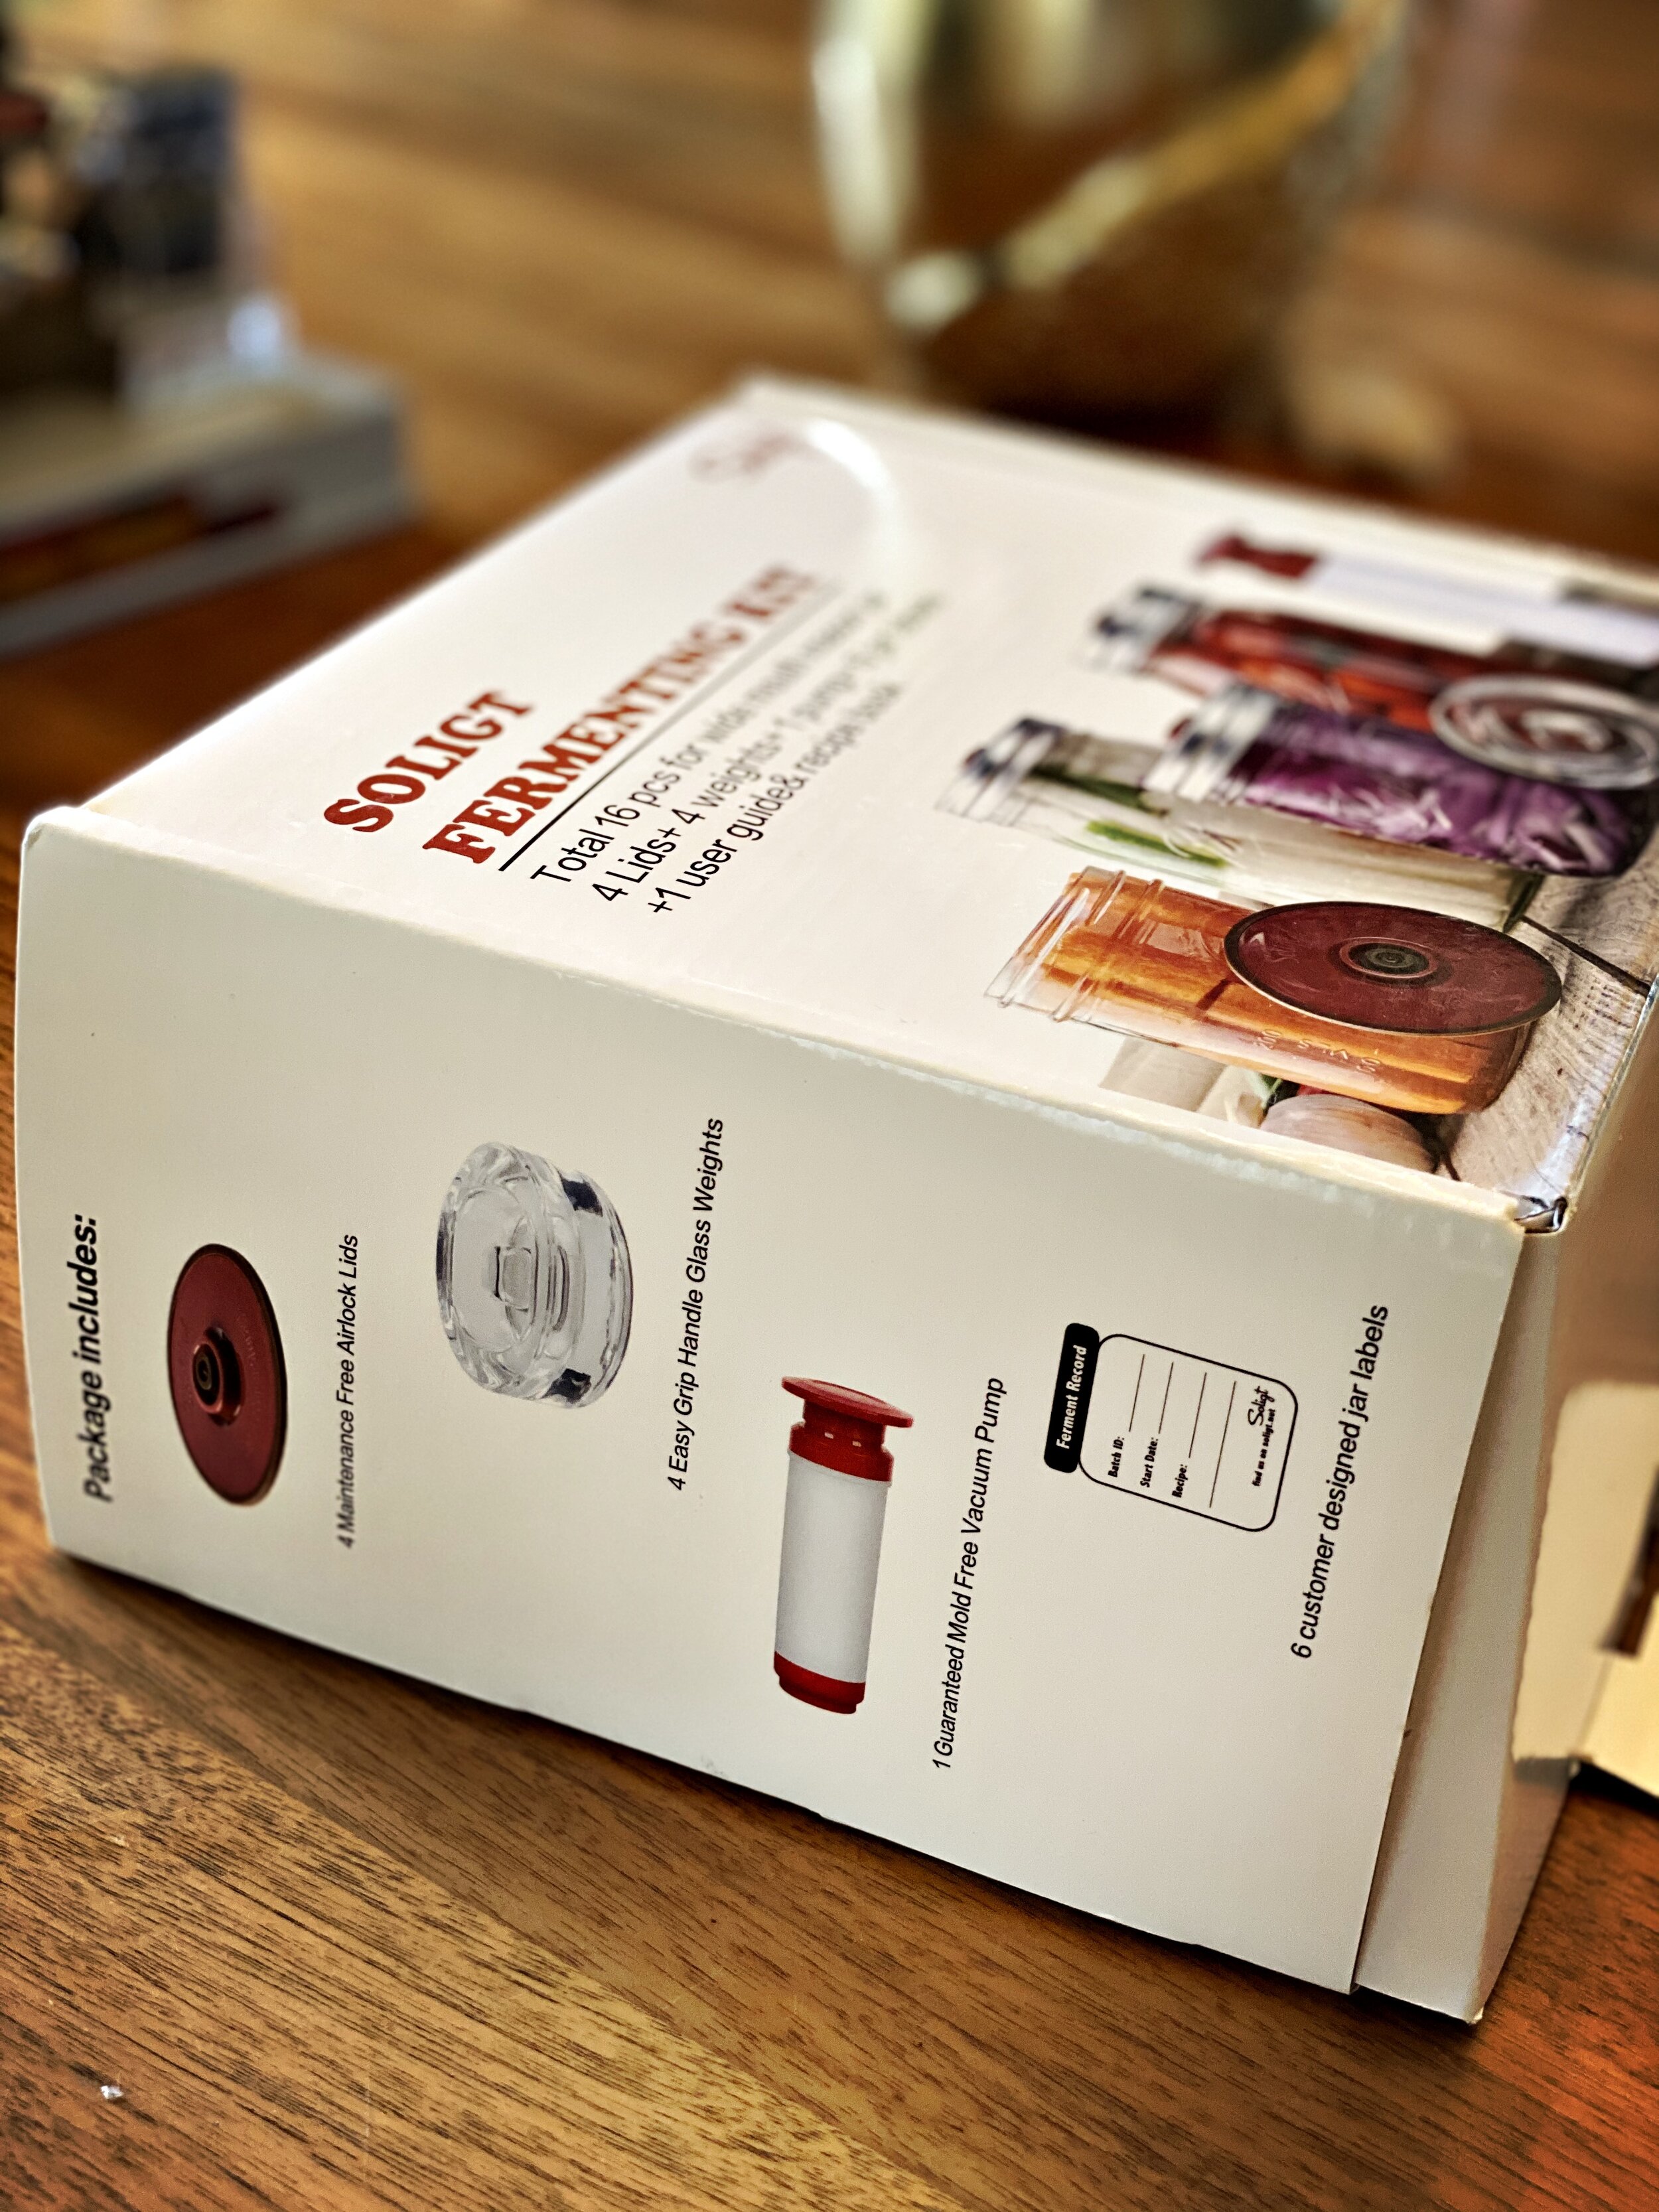

I enjoy a good brine. So, for the holidays, I got this beginner's fermentation kit from Soligt Fermentation so I could learn lacto-fermentation.
WHAT IS FERMENTATION?
First, definitions: fermentation is where microbes like yeast or bacteria break down carbs (starch, sugar, etc.) into other tasty things. There are different types of fermentation. Alcoholic fermentation uses yeast; vinegar is fermented with acidic bacteria; and lacto-fermentation is where lactobacillus bacteria breaks down sugars to create stuff like yogurt (from milk), sourdough (from flour), or pickles (from cucumbers).
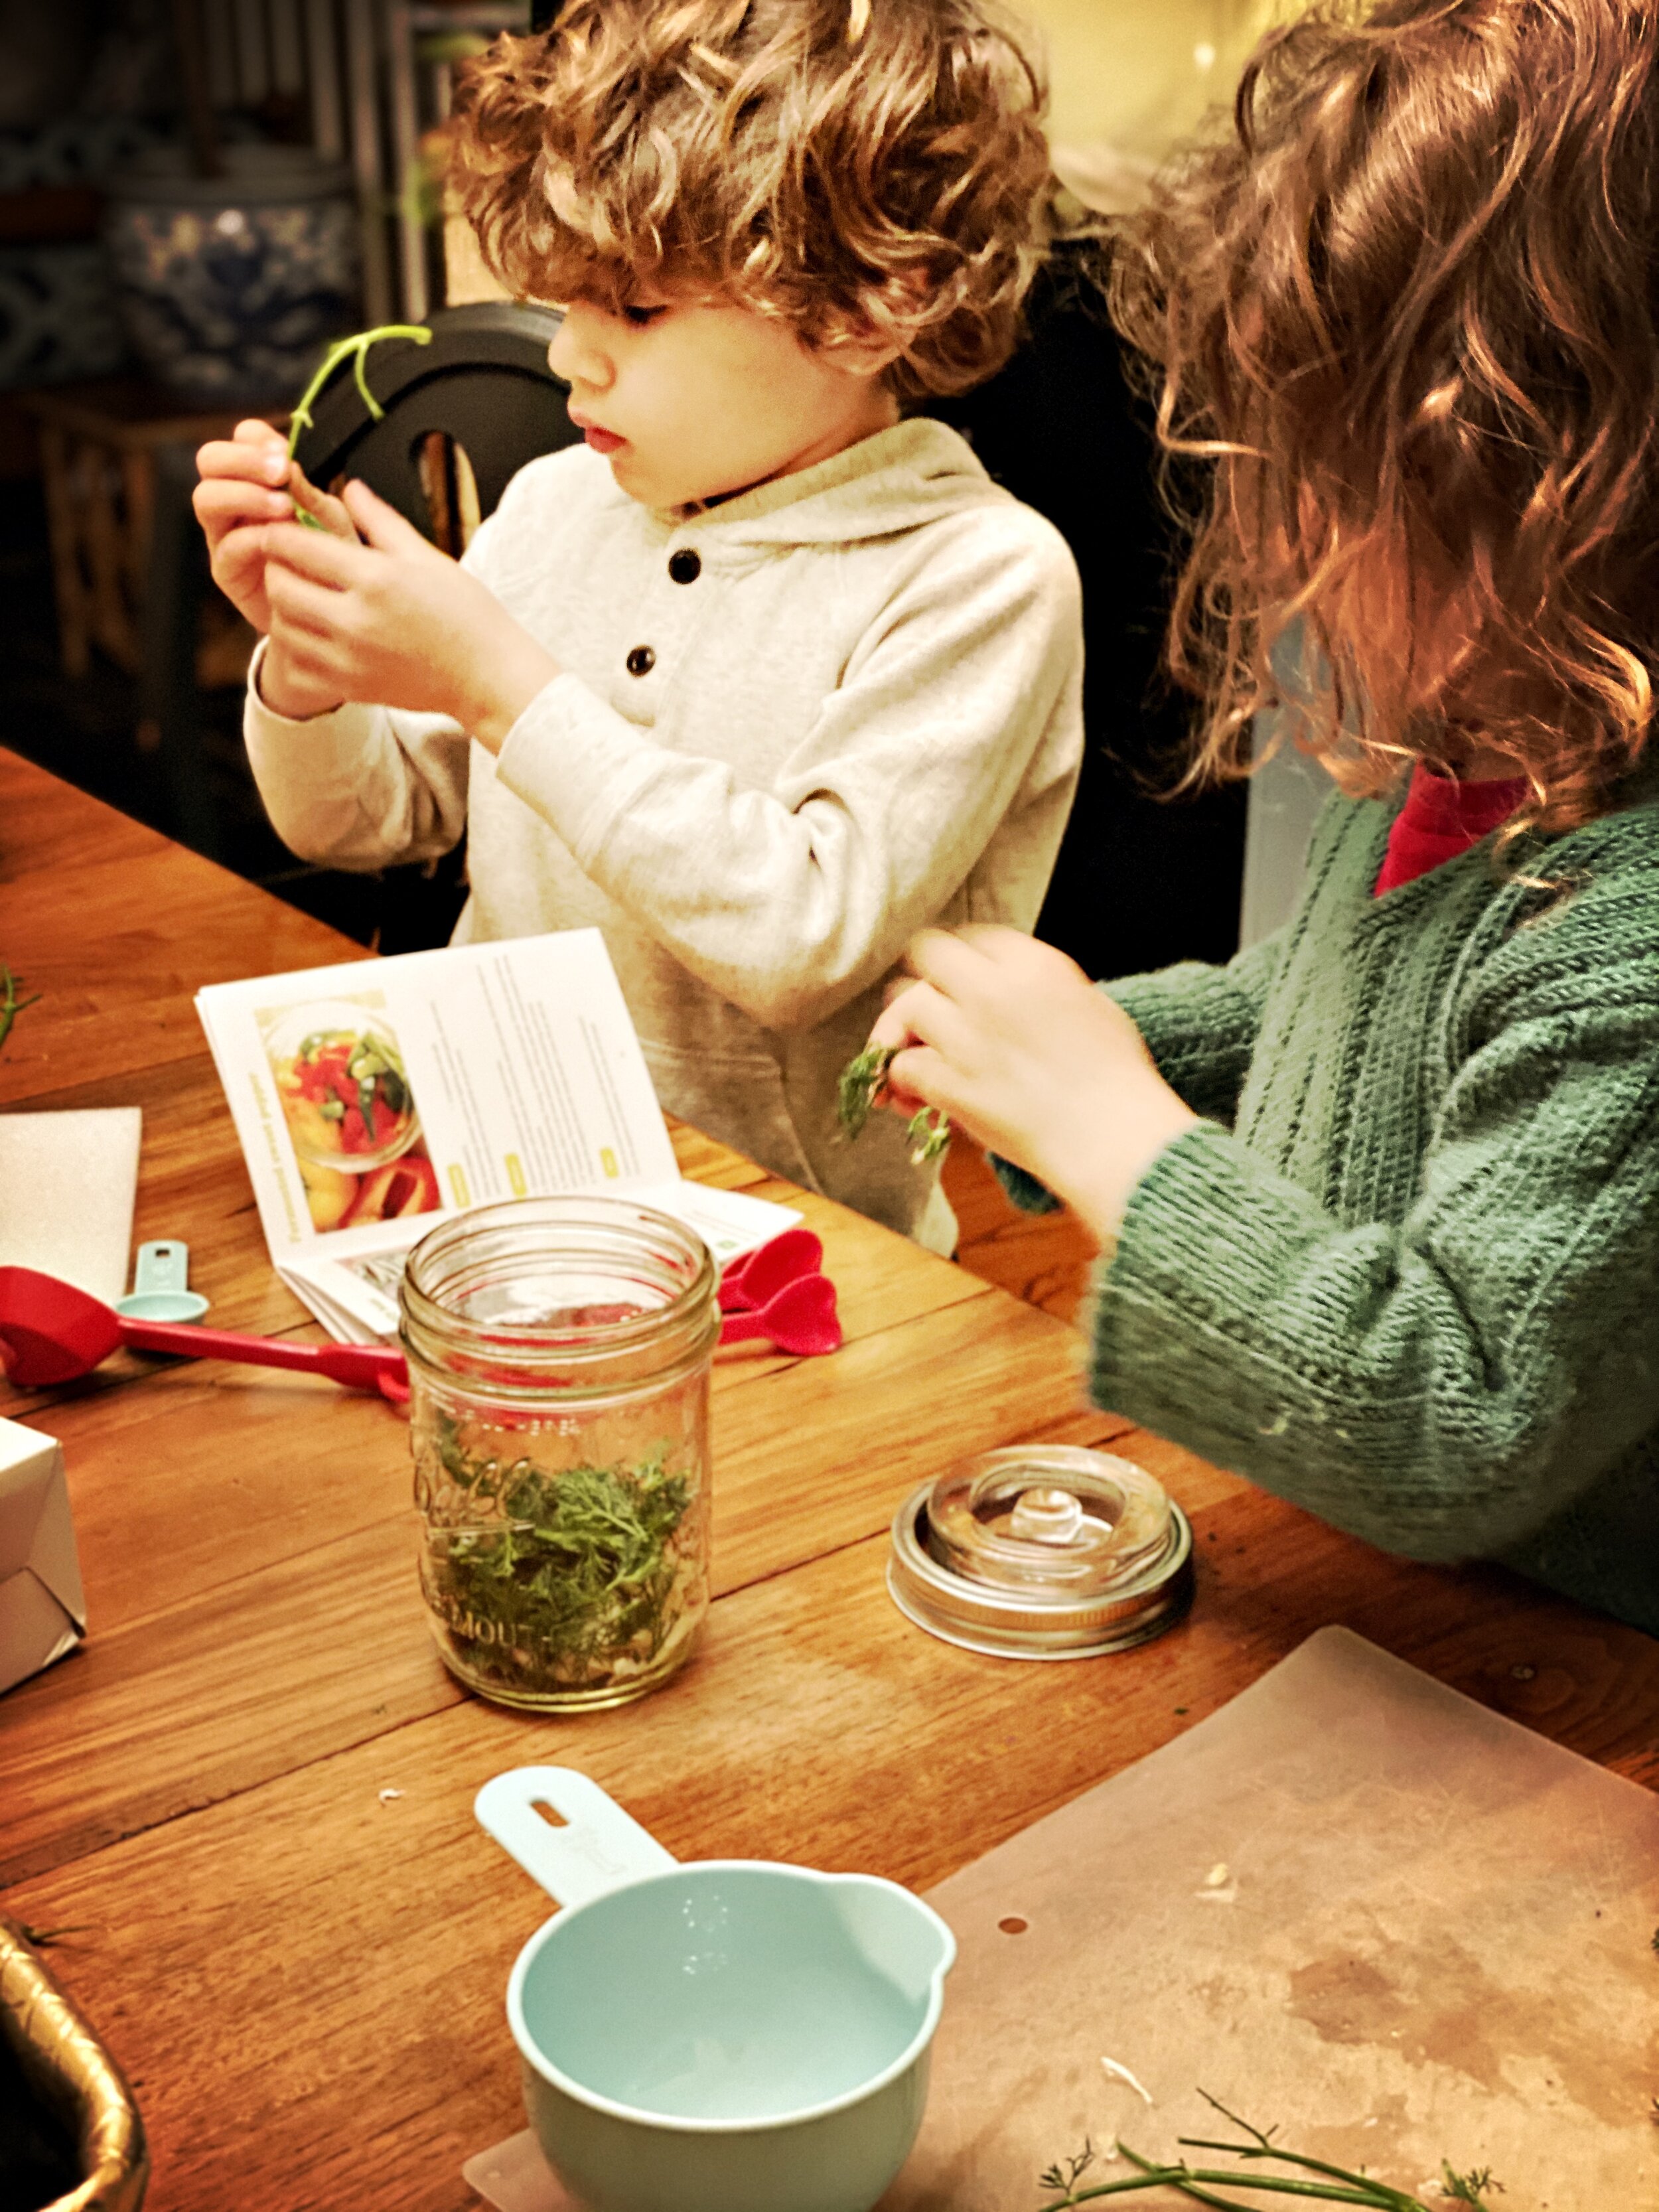
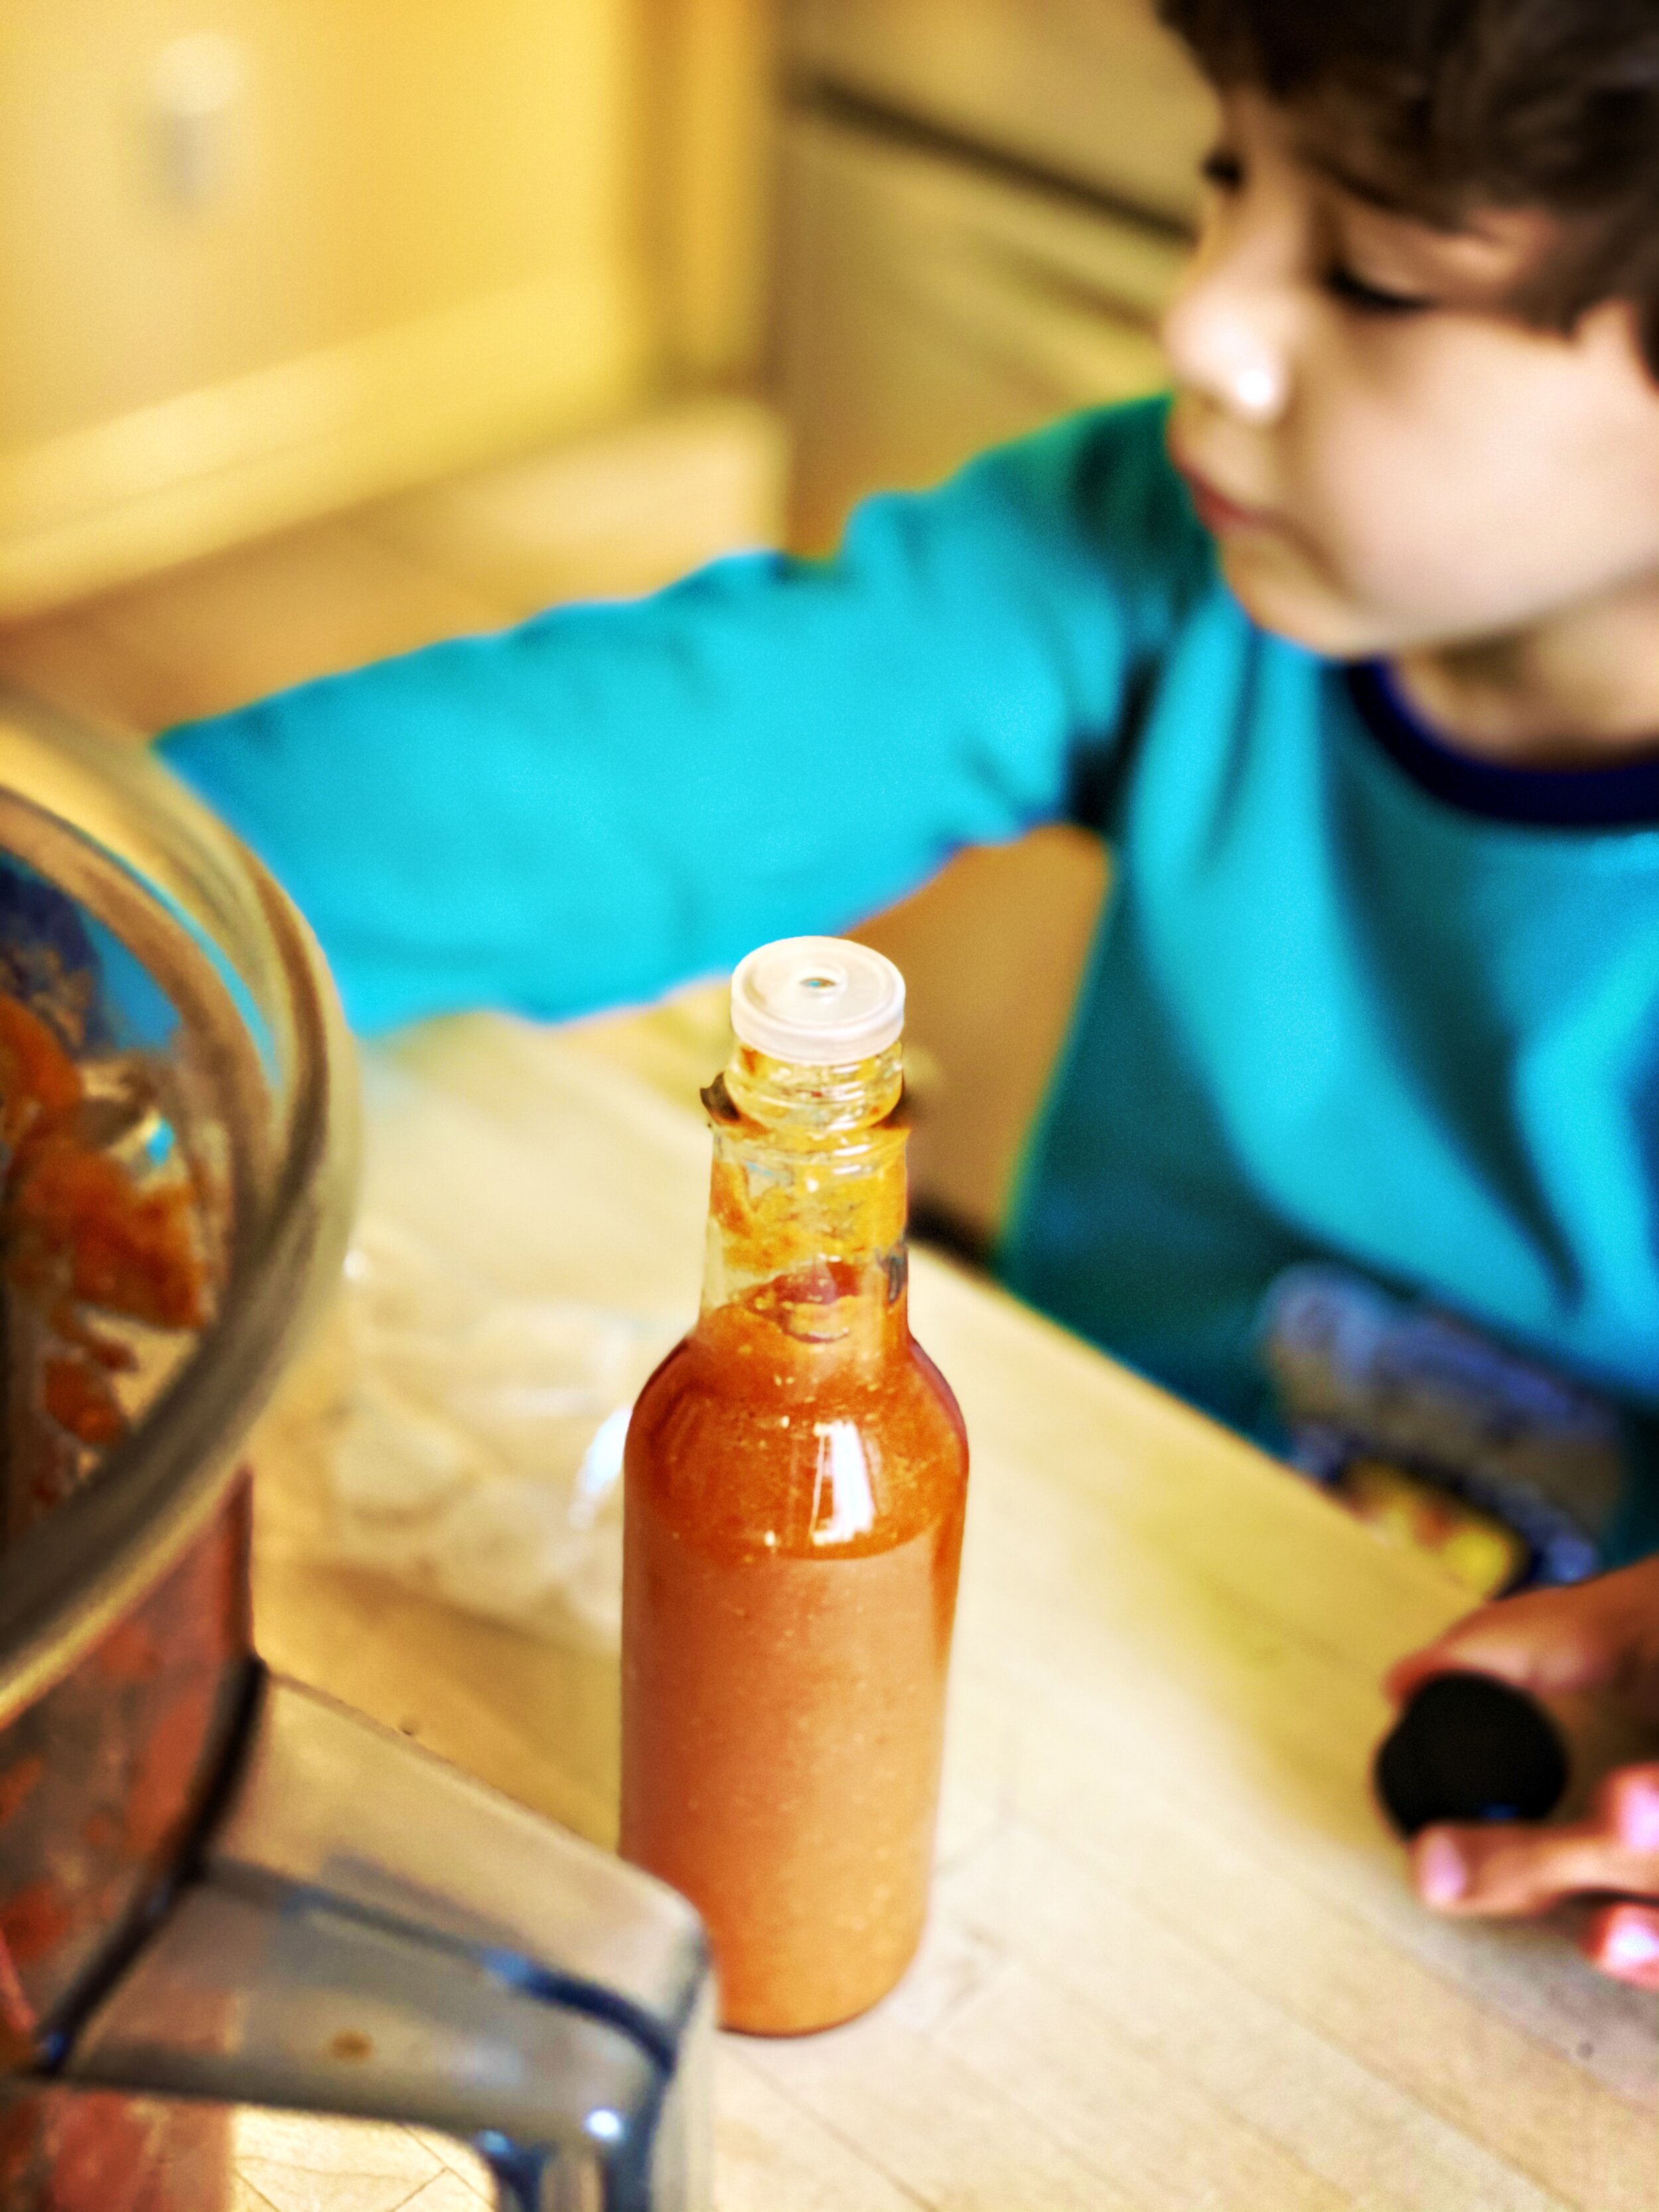
I get incredible bread from Wholly Schmidt Sourdough so don't need to dip into those waters, but I tried my hand at pickled vegetables, sauerkraut, and hot sauce. It's easy, a fun way to get kids involved, and mostly involves doing nothing.
This post may contain affiliate codes or links that are no additional cost to you, and I may earn a small commission when a purchase is made.
TOOLS FOR FERMENTATION
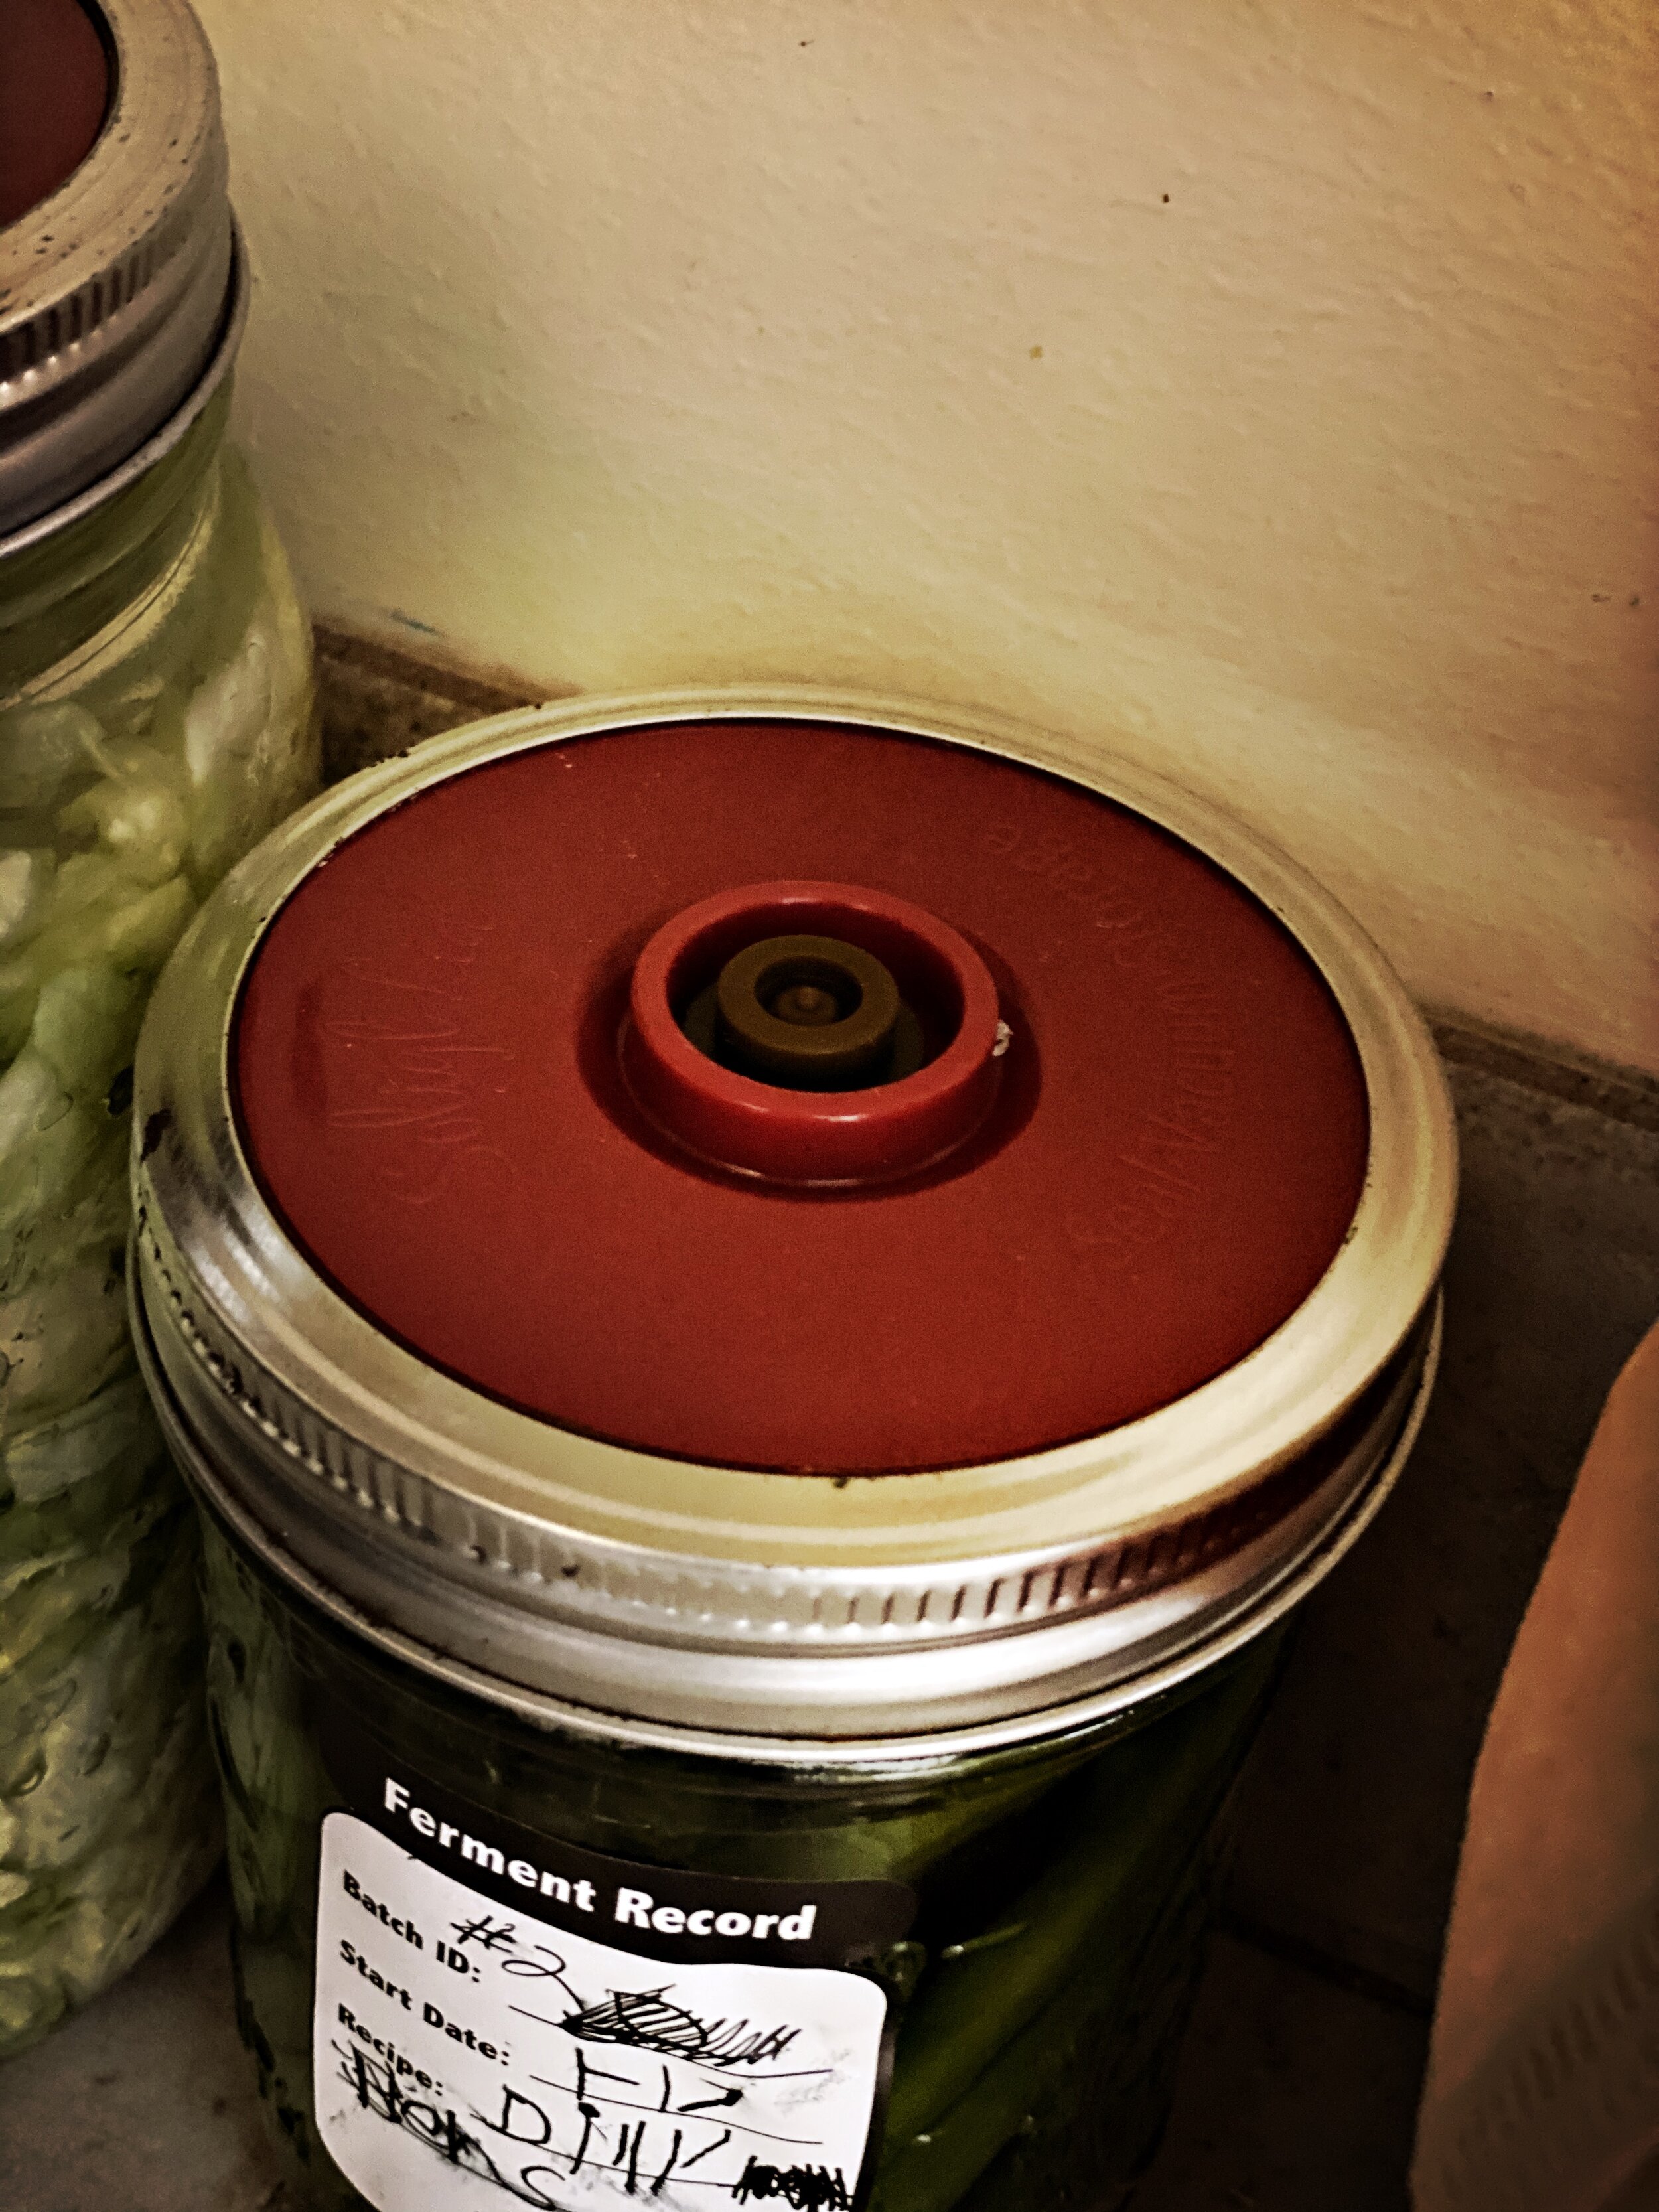
Oxygen is fermentation's enemy (it's an "anaerobic" process), so the Soligt kit comes with glass weights (to keep the vegetables submerged under the brine, otherwise they get moldy), fermenting lids (with one-way valves to allow oxygen out but not in) and a pump (to remove oxygen after you open the lids to taste-test), plus a recipe book. Also got a 12" sauerkraut pounder [insert joke here].
Brine is generally about one tablespoon of high-quality salt (sea, Kosher, Himalayan; don't use iodized table salt) dissolved per cup of water.
For pickled vegetables, we add this brine plus extras like garlic, peppercorns, dill, etc. (recipes below).
For sauerkraut, we sprinkle salt directly onto the cabbage and pound it with that pounder. The cabbage's water mixes with the salt to create its own brine.
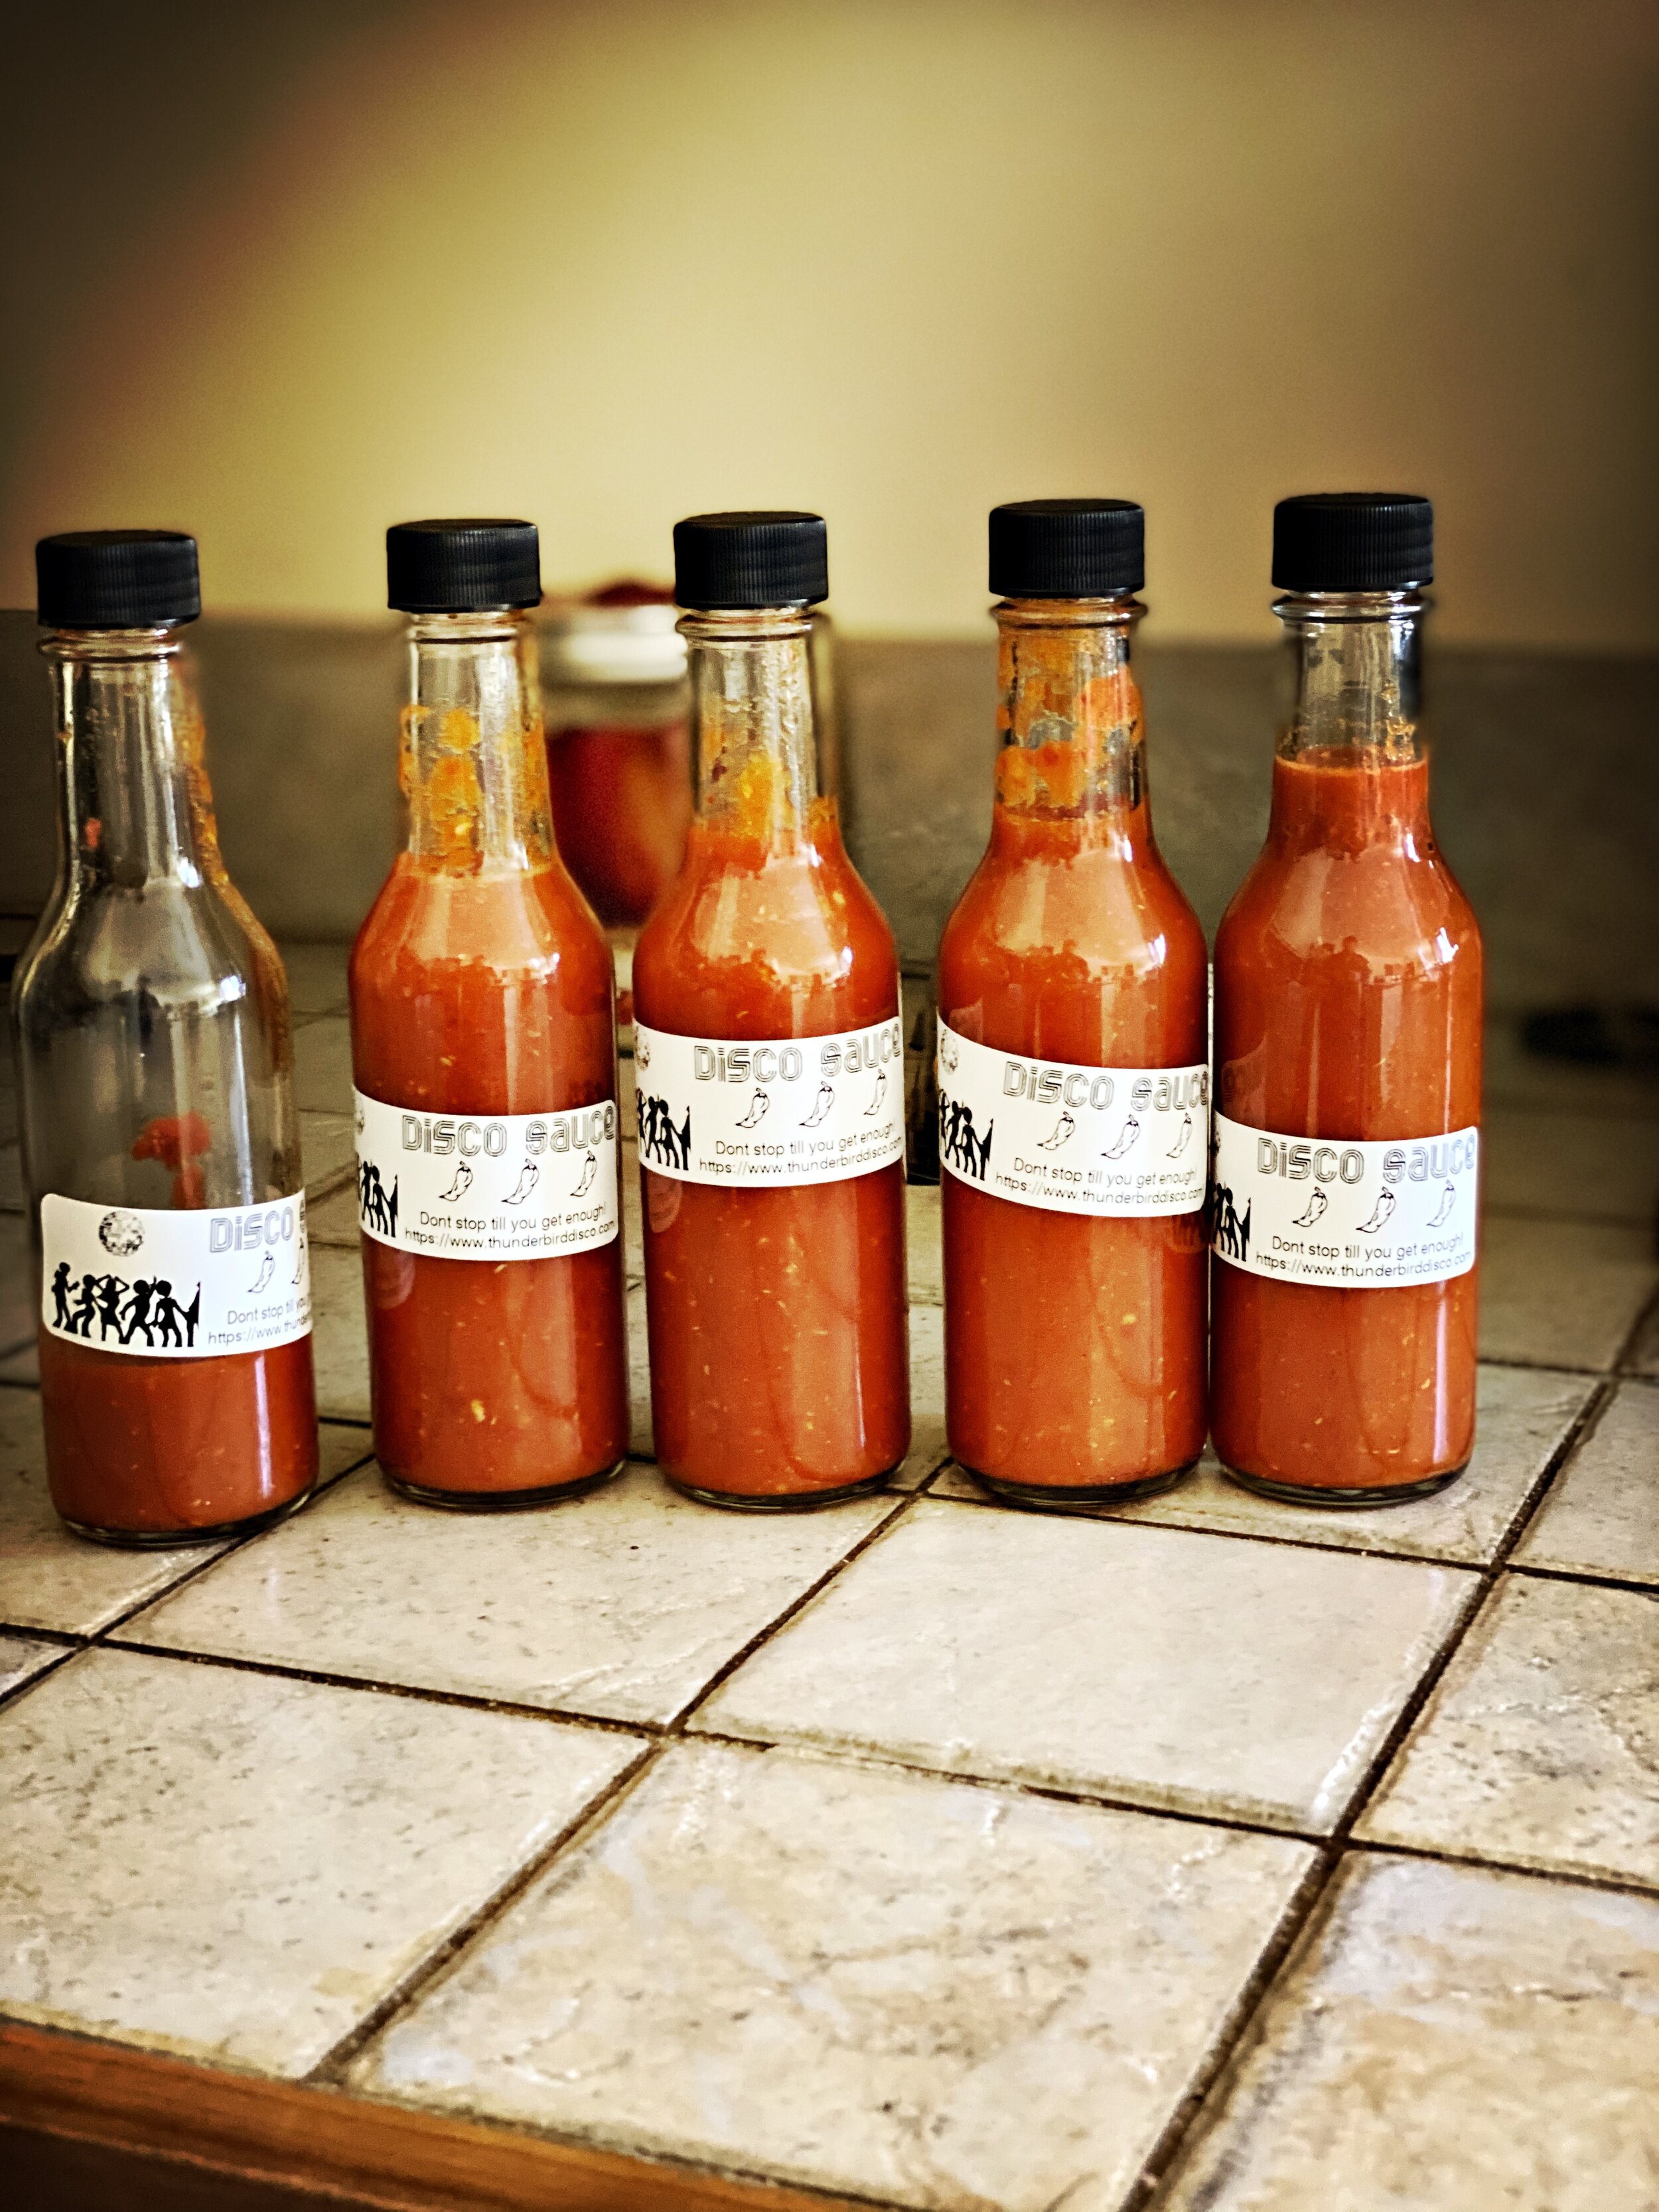
For hot sauce, we blend Fresno, bell and habanero peppers with spices, let it ferment for 30 days, then blend with vinegar at the end. We're bottling some as gifts and got these sweet "Disco Sauce" labels from my buddy Grant. Do it!
See below for the recipes:
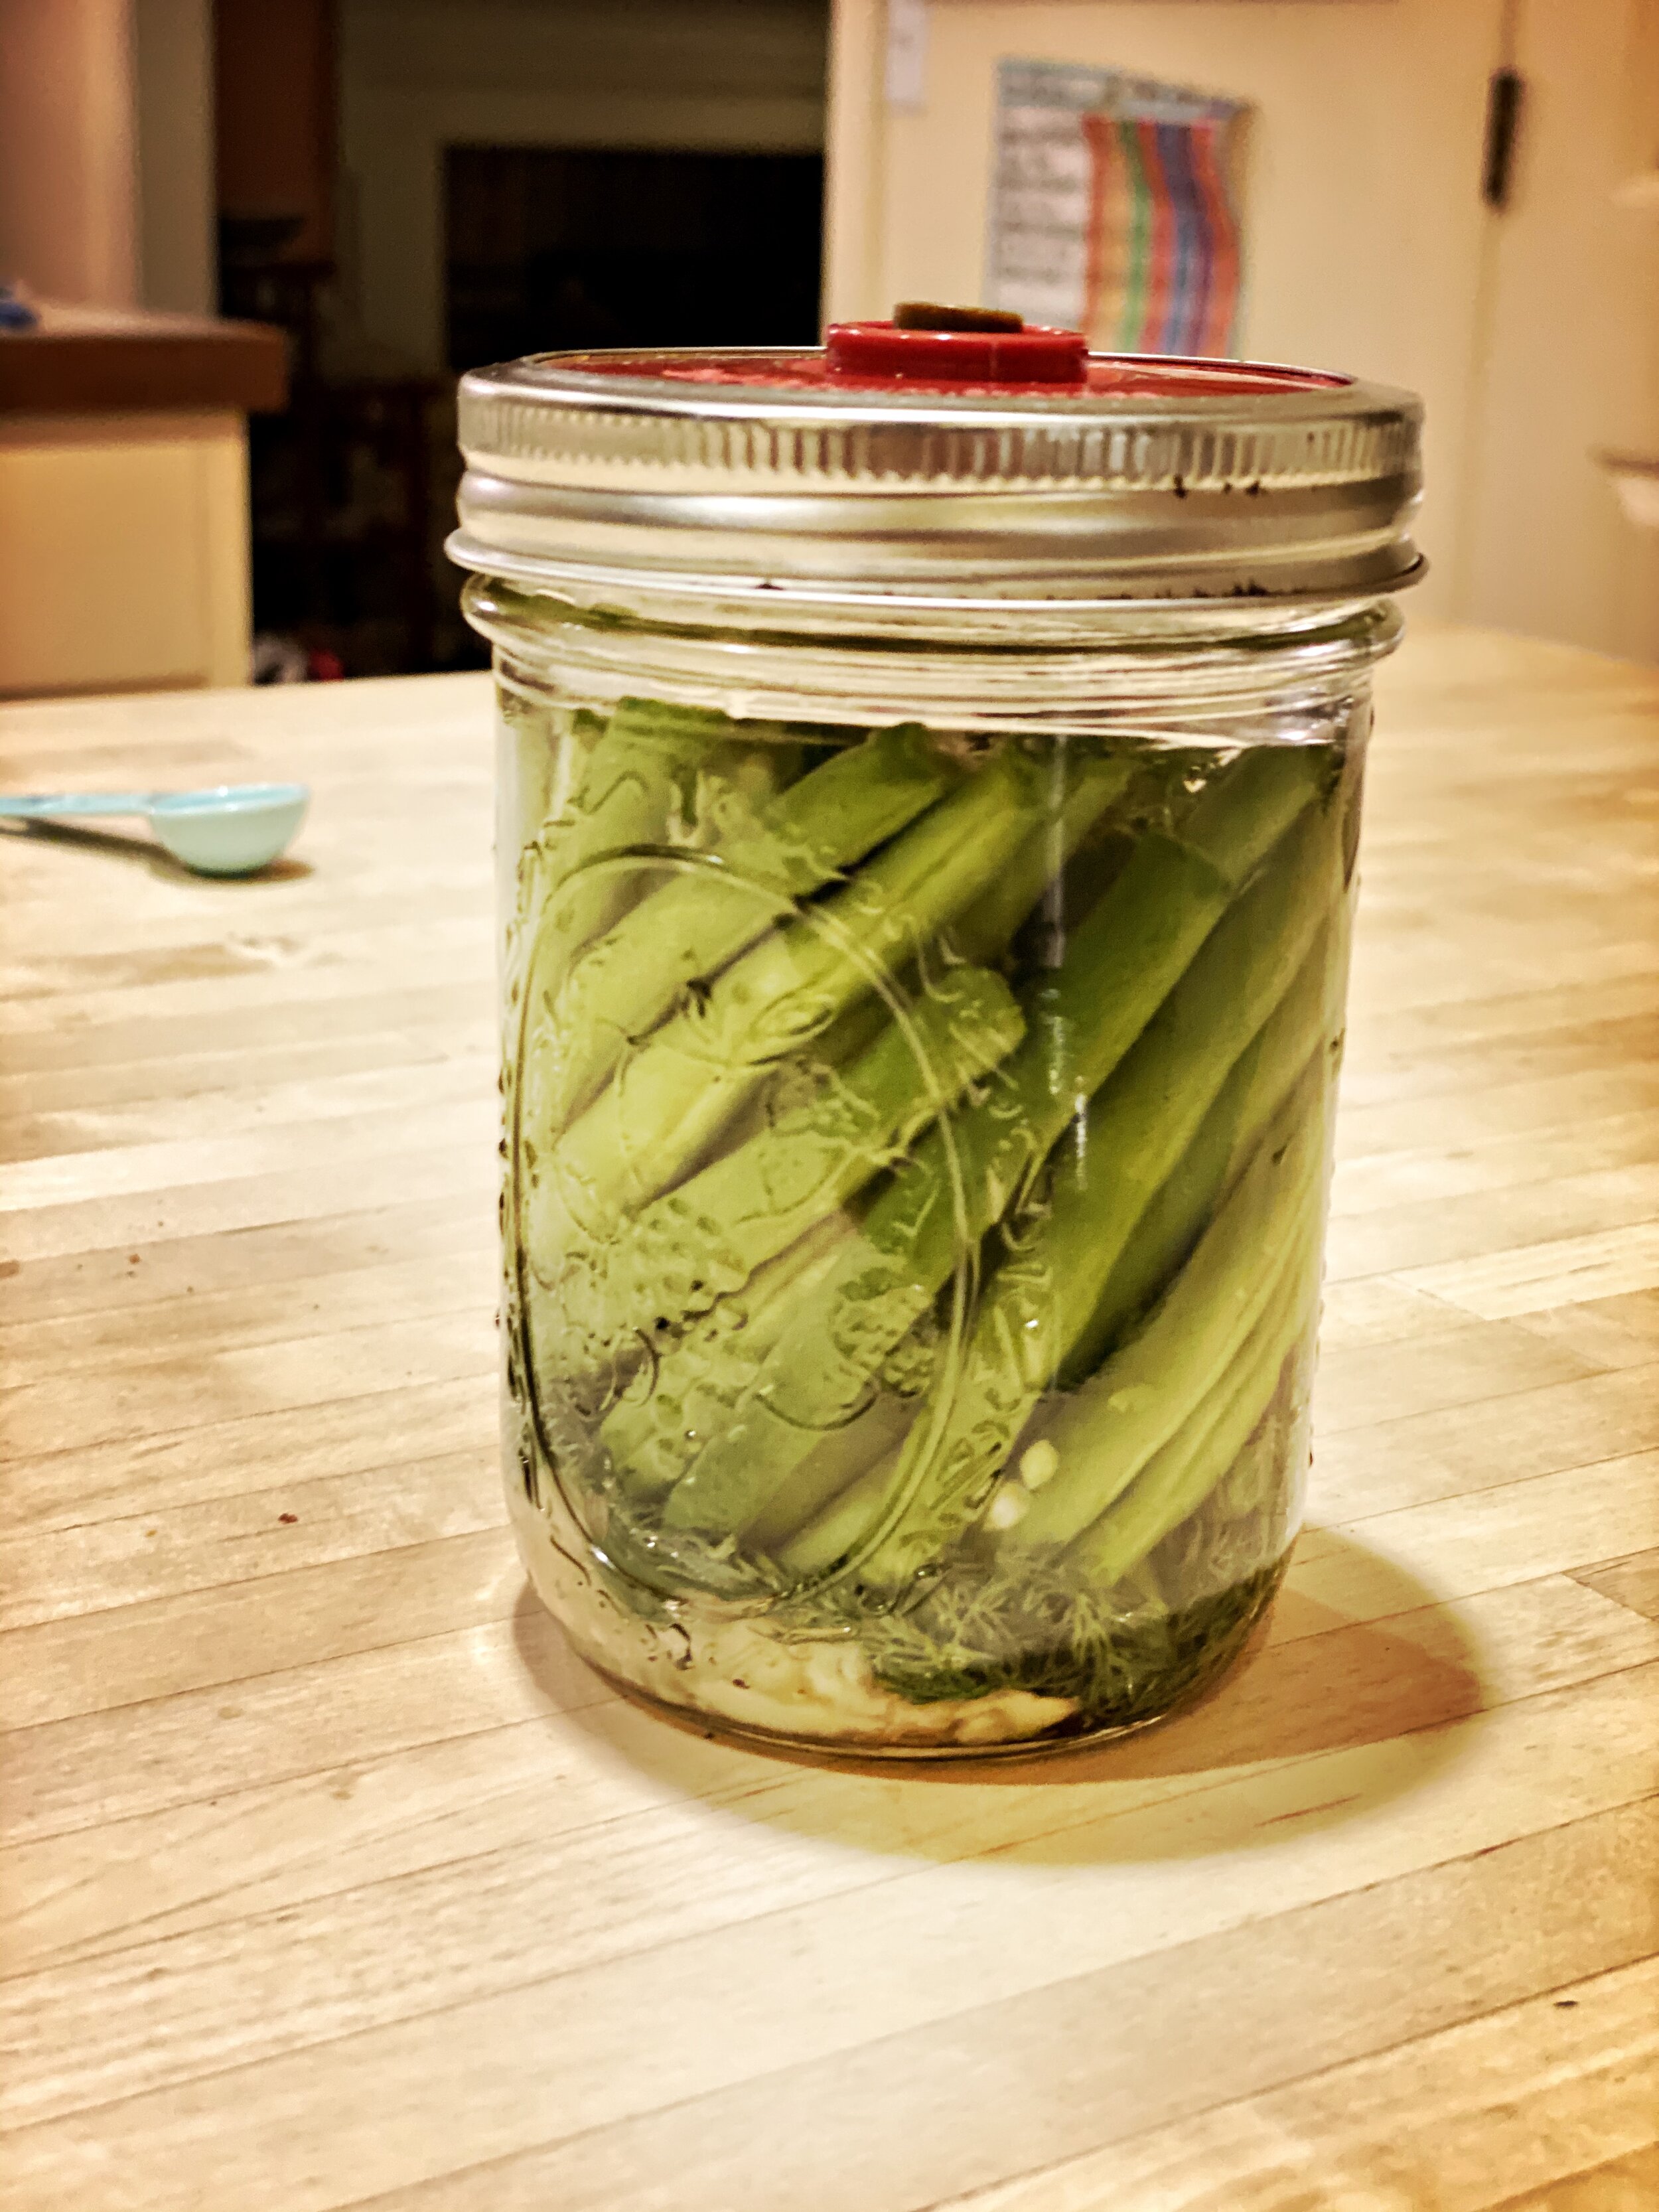
DILLY BEANS
(similar recipe for dill pickles, etc.)
INGREDIENTS
Brine (2 tbsp. salt dissolved in 2 cups water)
.5-1 lb of green beans
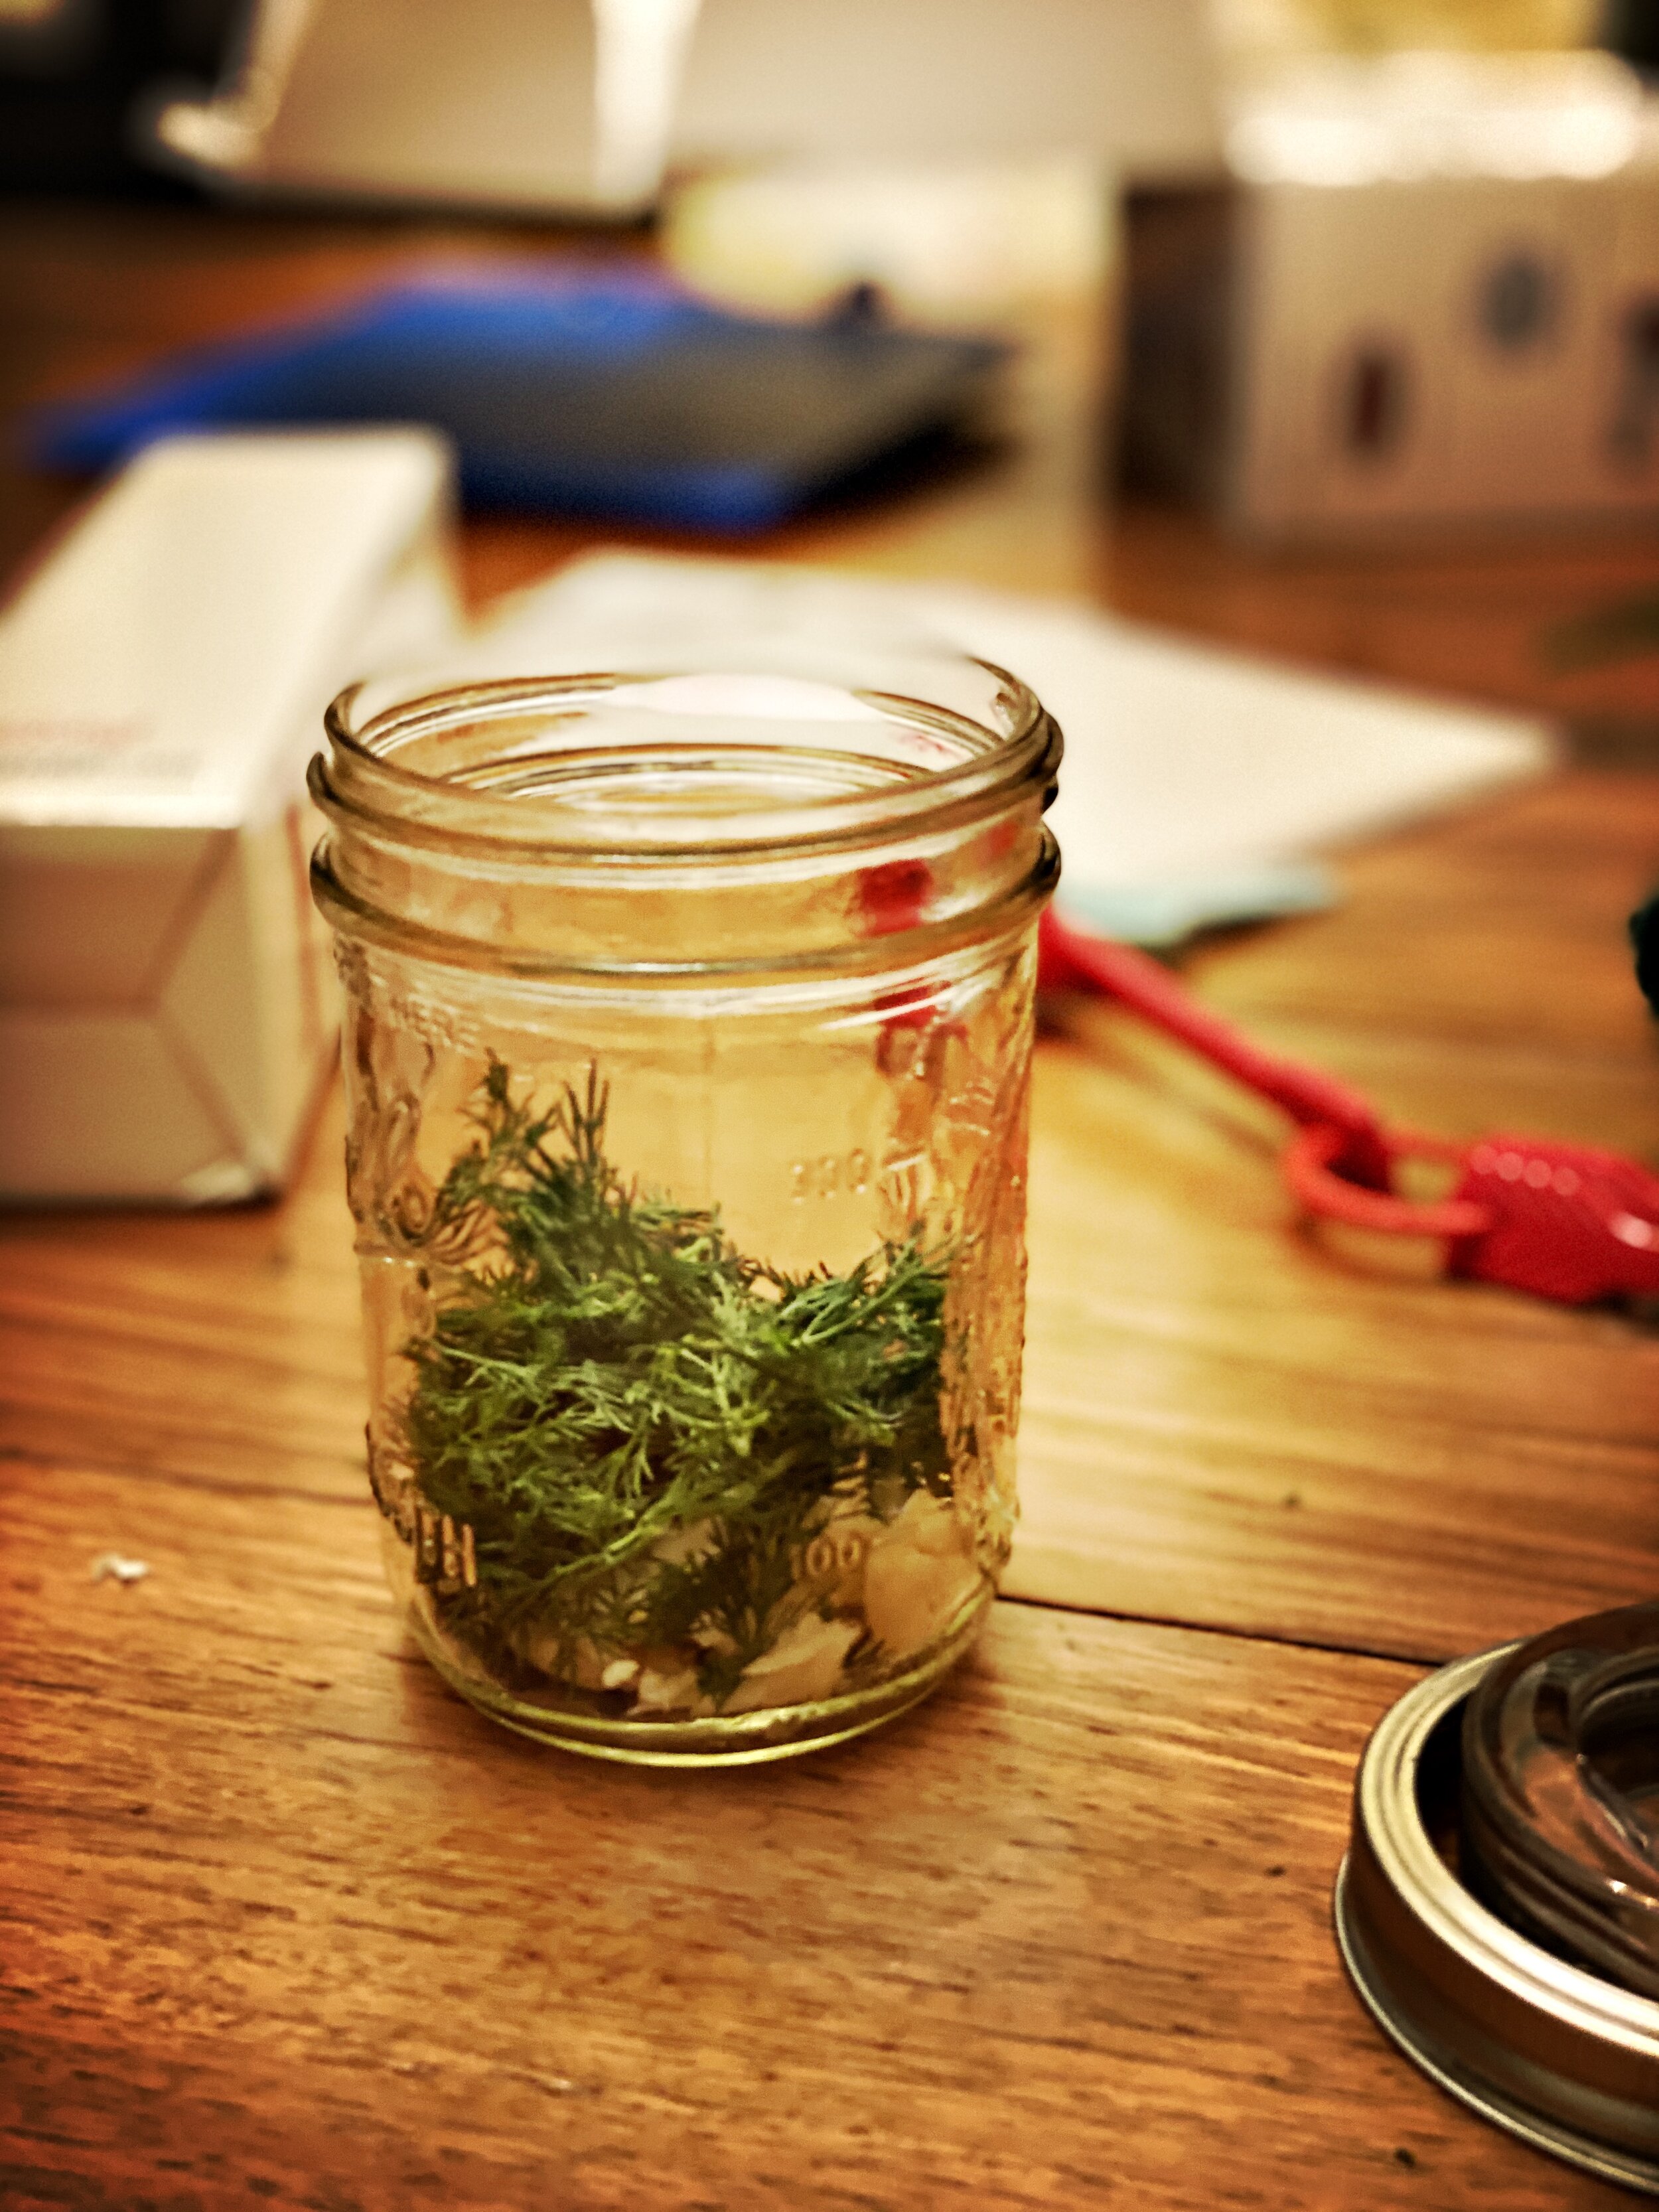
4 garlic cloves
2 handfuls of dill
1 tsp. black peppercorns
1 tsp. red pepper flakes (optional)
STEPS
Smash garlic. Layer cloves with peppercorns, dill, red pepper flakes, and any other spices on the bottom of the jar.
Trim beans to fit mason jar
Put in as many green beans as you can fit
Add brine, leaving about 1-2” of room at the top.
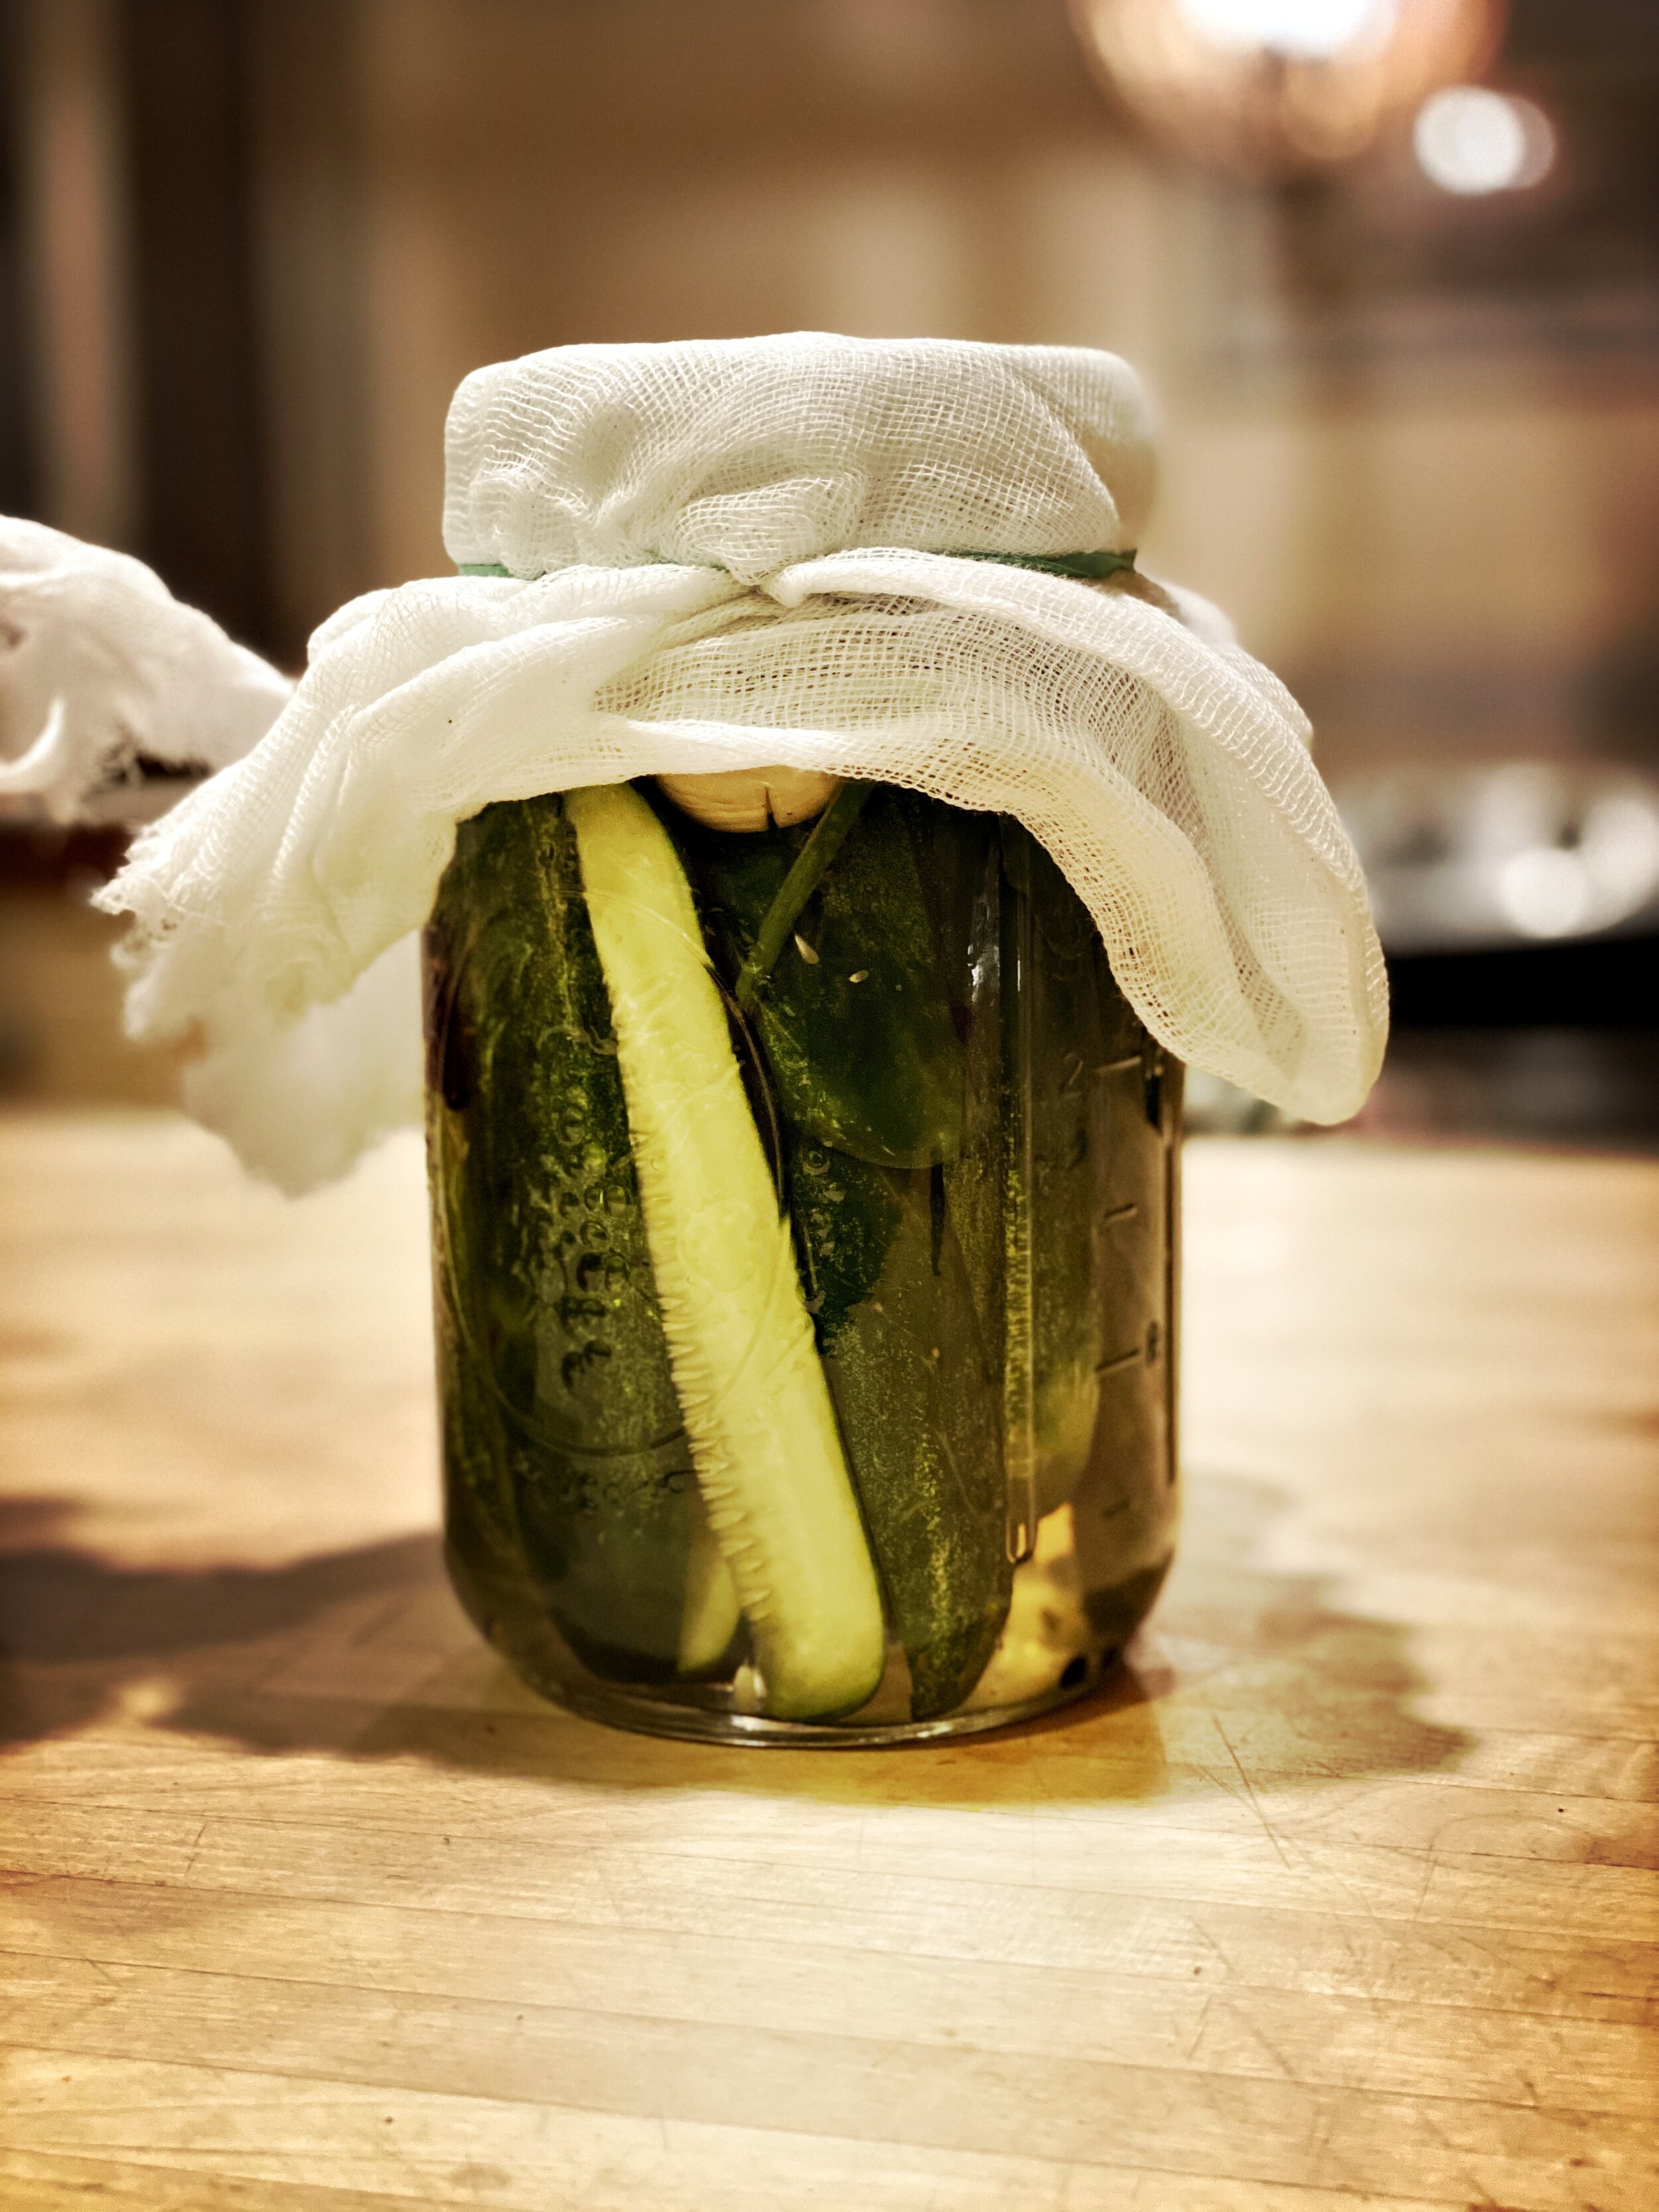
Add fermentation weights and lids (if you have them; otherwise cover with cheese cloth, a coffee filter or similarly vented material) on top and secure lid with metal ring.
Let sit at room temperature (60-70 degrees F) for around 3-7 days (you can taste test each day, just try to remove the oxygen when you re-cover).
Cover with normal lid and move to fridge.

If you’re not using fermenting weights you may see activity on the surface of your ferments. This white film is OKAY! It’s not mold, it’s called Kahm yeast. You can skim it off or leave it be. ven when in the fridge you may see some of this at the surface or sinking to the bottom of your mason jars. Totally harmless.

SAUERKRAUT
INGREDIENTS
1 small cabbage (1-2 lbs)
1 tbsp. sea salt (or Kosher, Himalayan, etc.)
1 tsp. spice mix (try dill, fennel seed, and/or celery seed)
STEPS
Chop/shred all the cabbage
Sprinkle with salt and spice mix
Massage salt/spices into cabbage until a decent amount of liquid is released.
OR you can add one layer at a time into your mason jar and use a long pestle or other blunt object to pound the cabbage inside the jar, continuing to add and smash until you’ve filled the jar, leaving about 1-2” of room at the top.
If it looks too dry, you can add a bit of brine (1 tbsp. of salt per cup of water)
Add fermentation weights and lids (if you have them; otherwise cover with cheese cloth, a coffee filter or similarly vented material) on top and secure lid with metal ring.
Let sit at room temperature (60-70 degrees F) for around 15-30 days (I recommend 30).
Cover with normal lid and move to fridge.

This, however, is mold, and it’s NOT OKAY to eat. If you see these raised, fuzzy, colorful growths at the surface, it means too much oxygen got to your food, and the batch is spoiled. It happens. Just toss it, clean the jar thoroughly and give it another shot sometime soon.

DISCO HOT SAUCE
INGREDIENTS
1 red bell pepper
1 lb. red Fresno peppers
3 habanero peppers (more/less based on preference)
5 cloves garlic
1-2 shallots
1/3 cup sea salt
2 fresh bay leaves
Other spices (feel free to experiment; I add Old Bay)
Later: 2 cups distilled white vinegar
STEPS
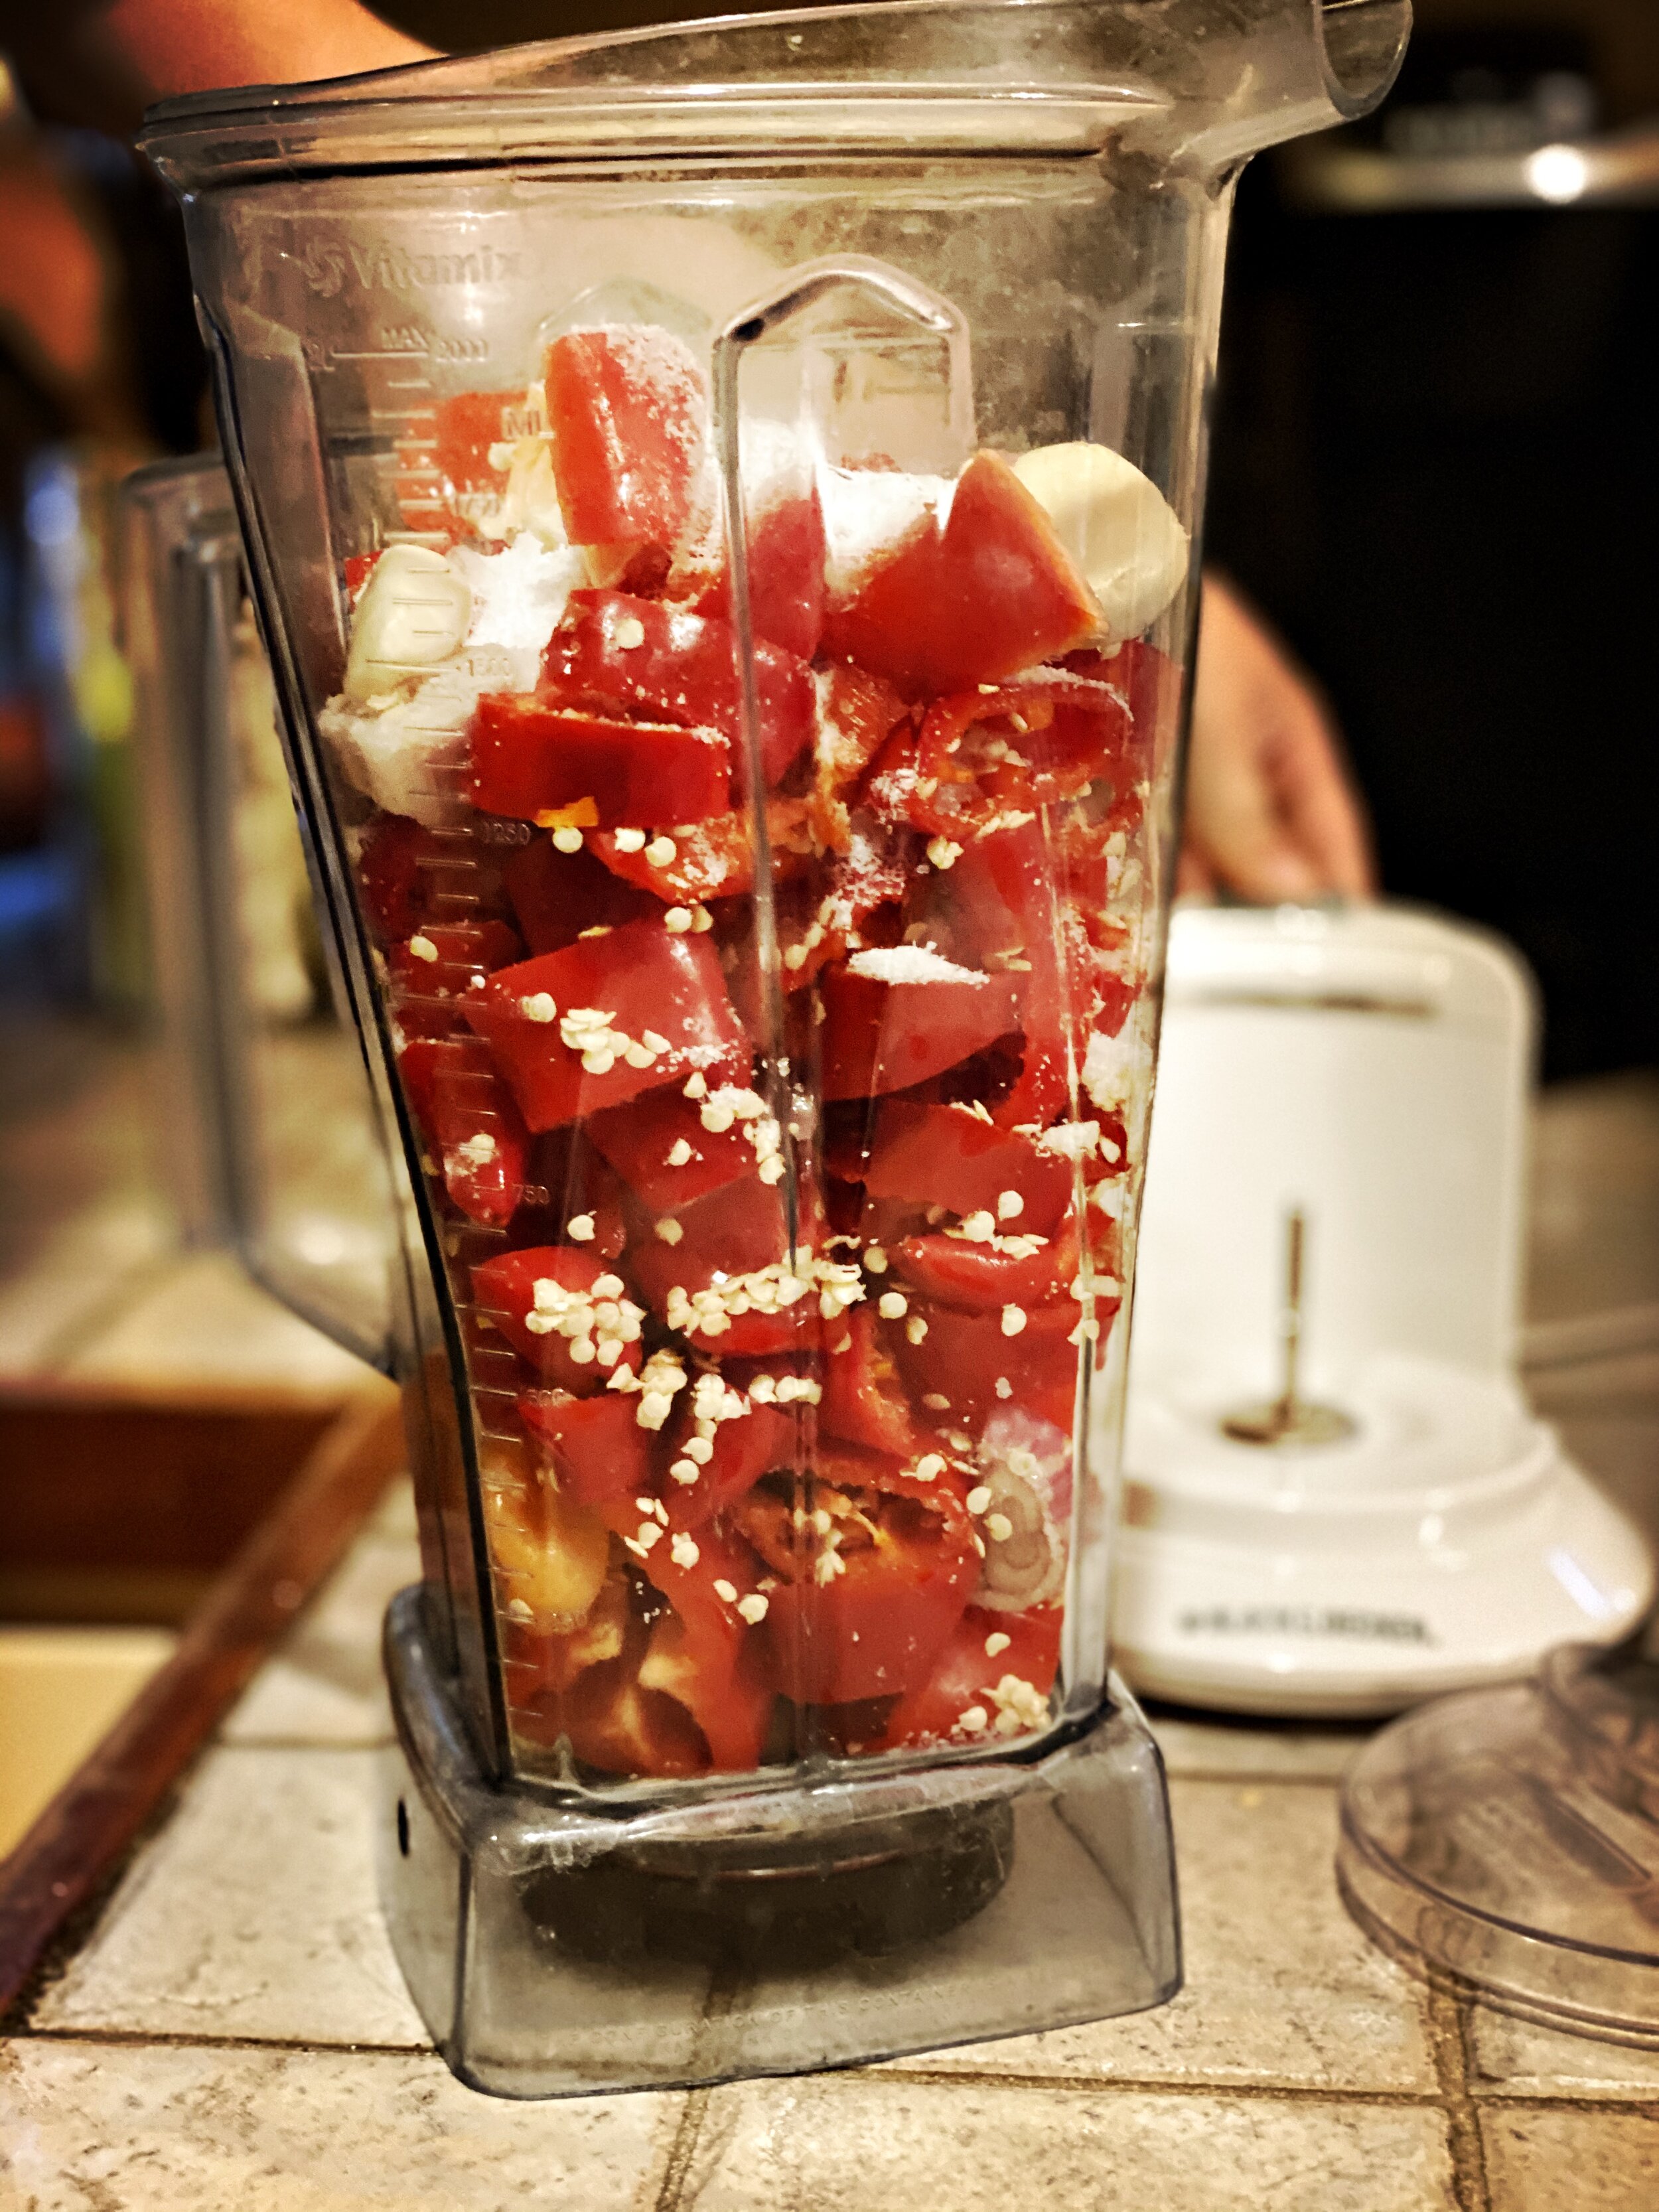
Remove stems from peppers (leave seeds), and roughly chop.
Peel and roughly chop garlic and shallots.
Place all ingredients in blender or food processor
Add salt
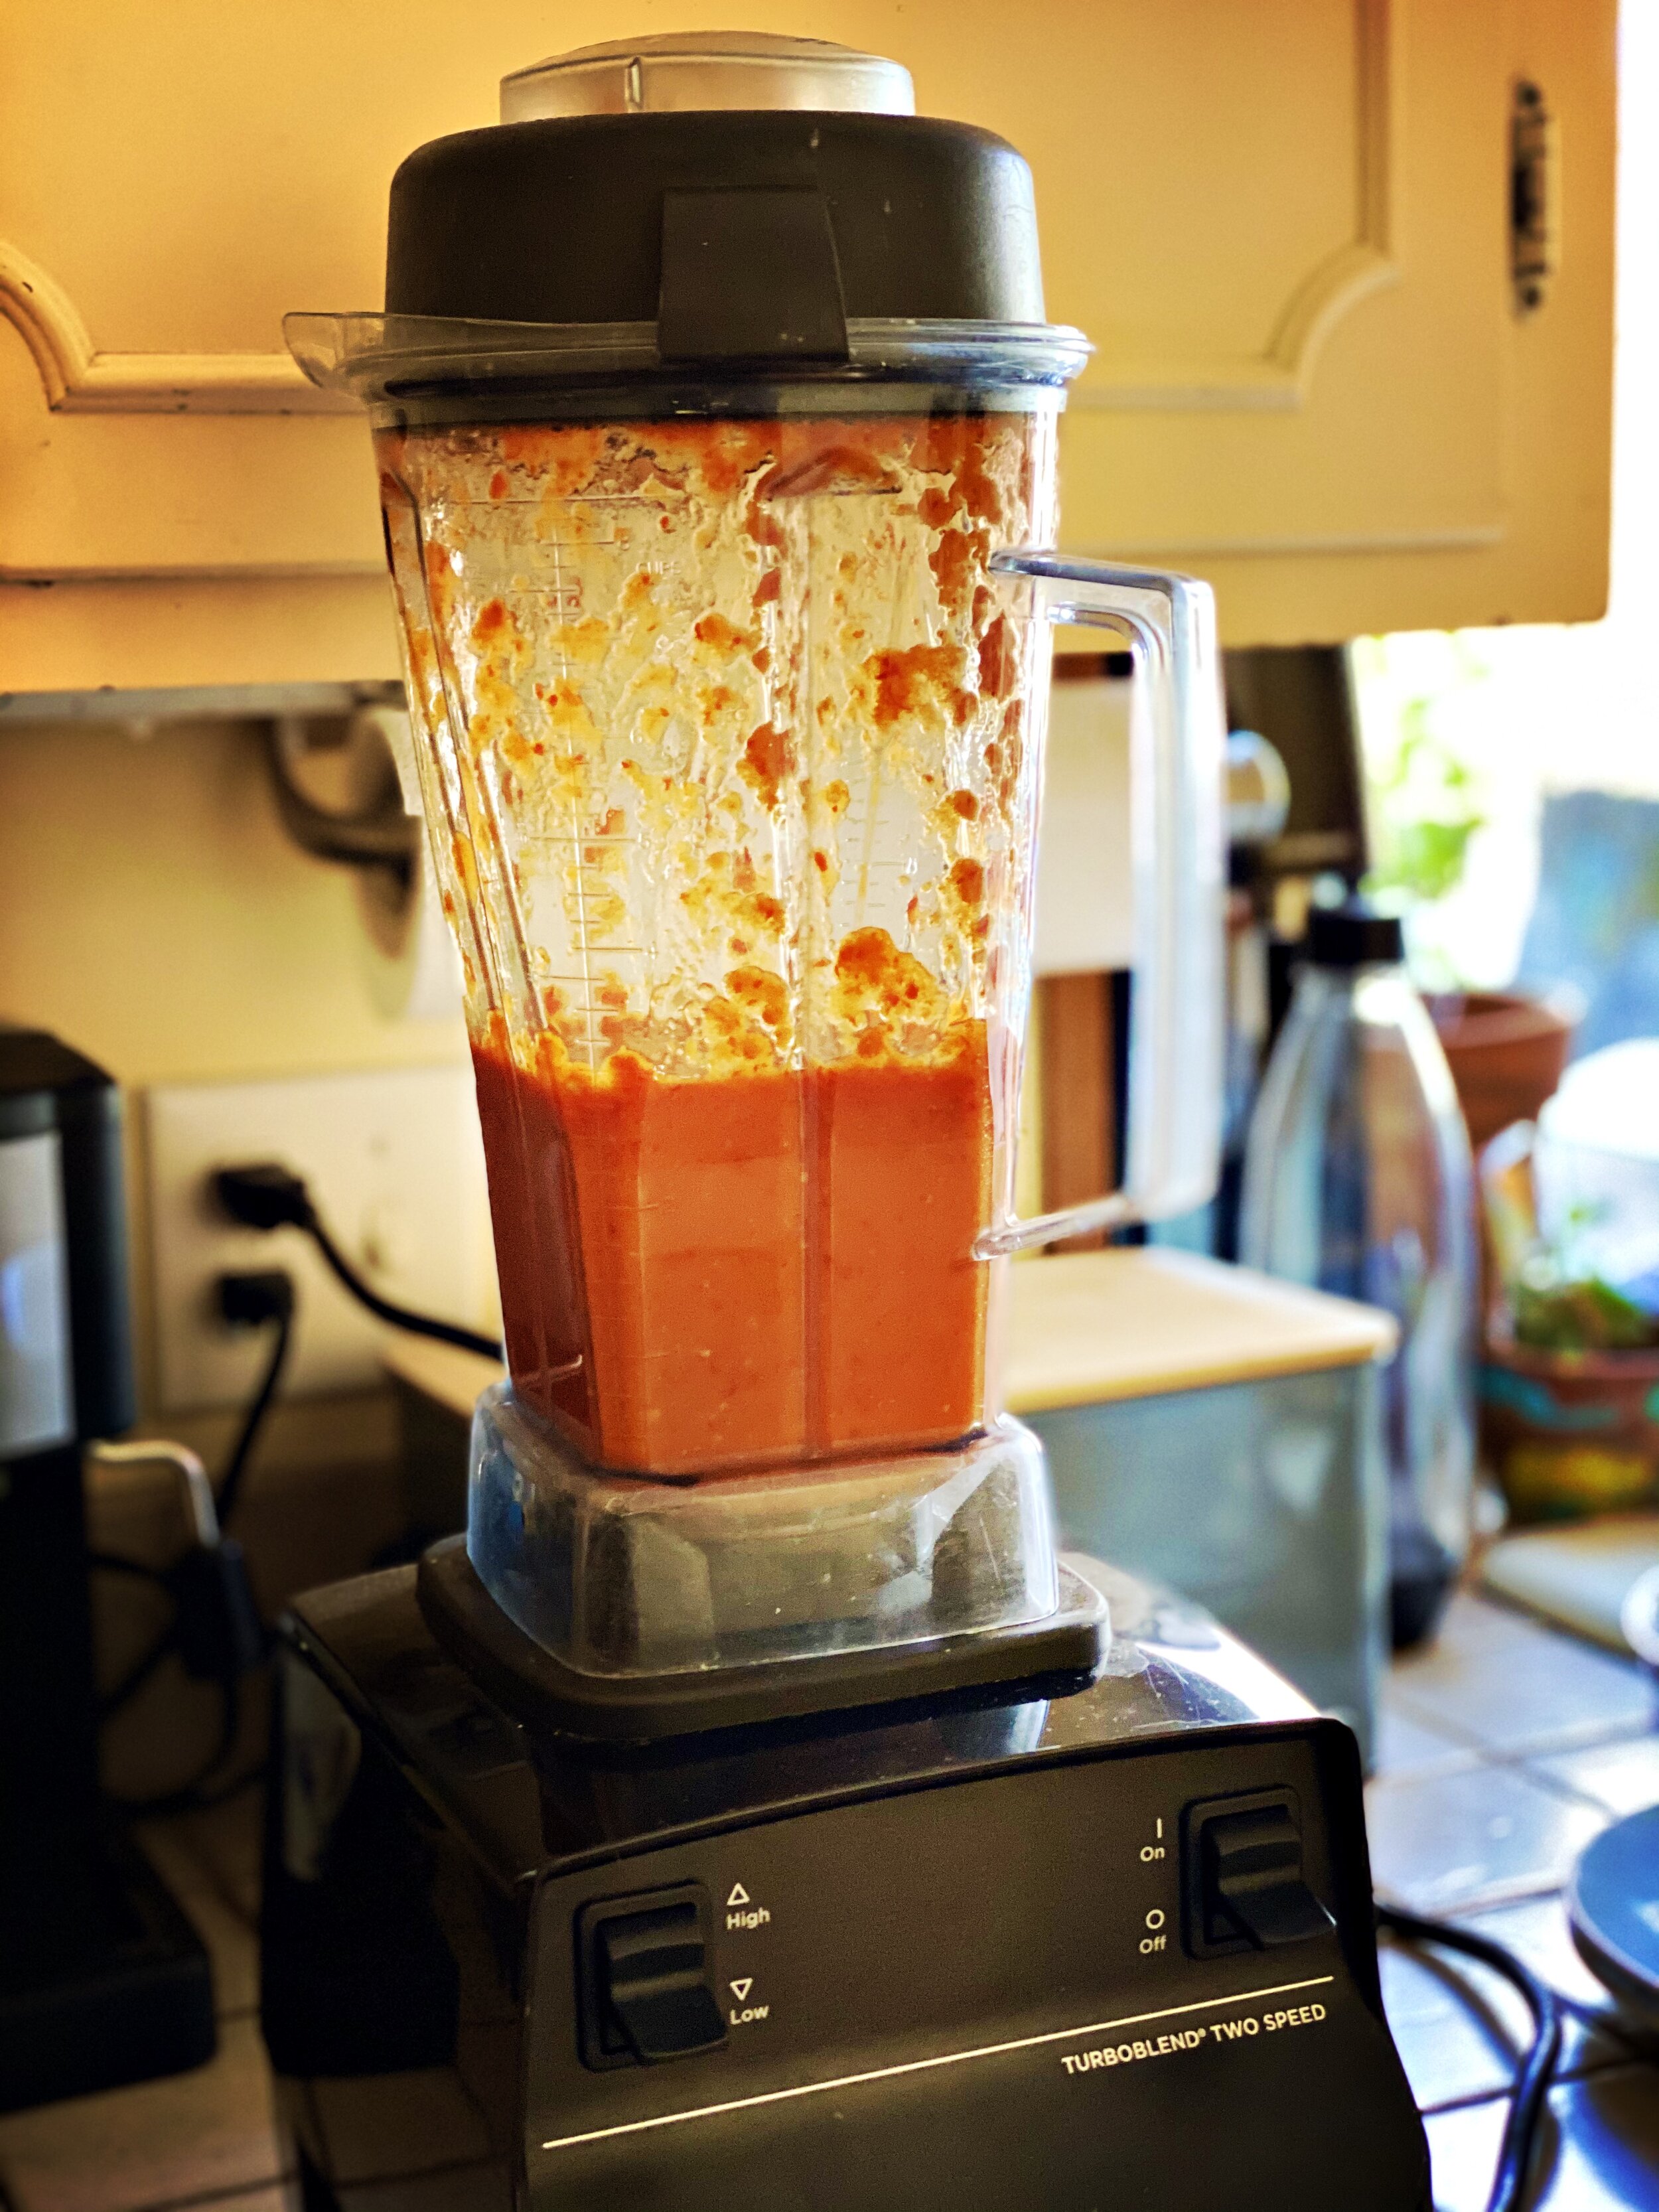
Pulse until a coarse red mash is created. The bell pepper should release enough liquid that you don’t need to add water. You may have to do this in batches but be sure to combine everything in a large mixing bowl after processing.
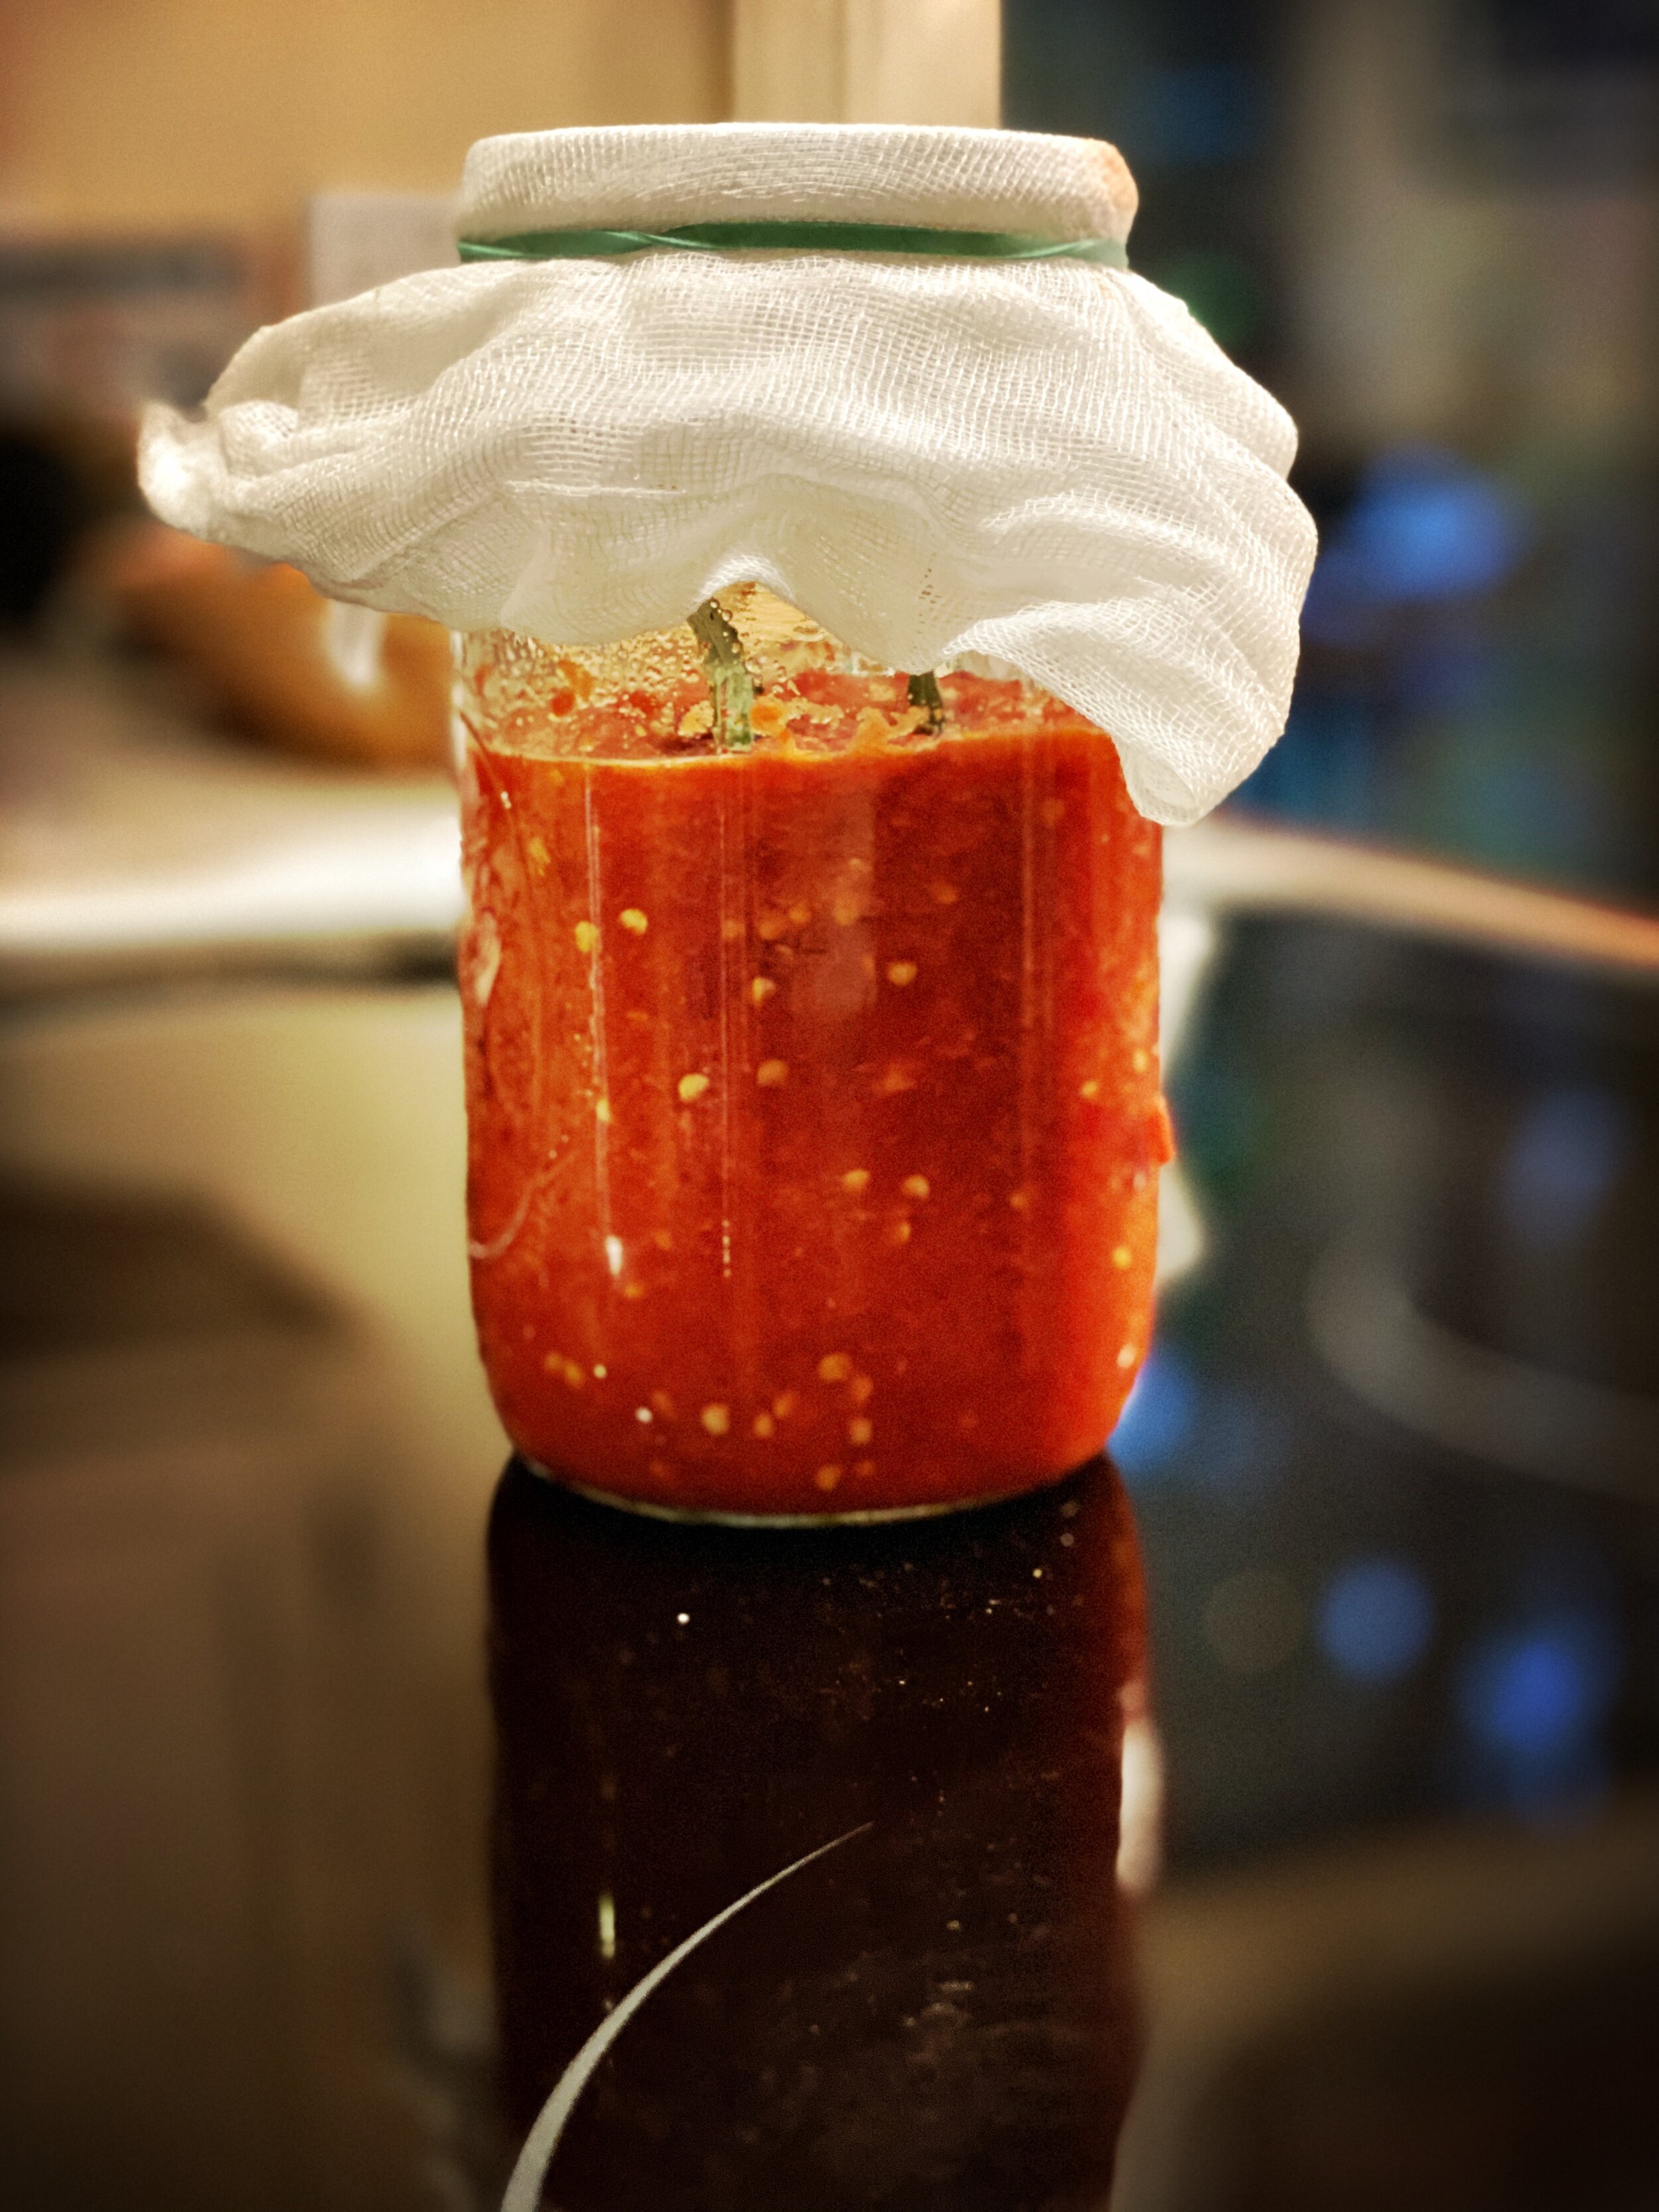
Place pepper mash into 1 quart mason jar and stick the whole bay leaves in there.
Cover with cheese cloth or coffee filter, secured with a rubber band
Let sit at room temp for at least 30 days. Stir thoroughly every day or two. After a few days, you should start to notice activity (bubbles forming, solid part rising to the top leaving excess liquid layer in the bottom).
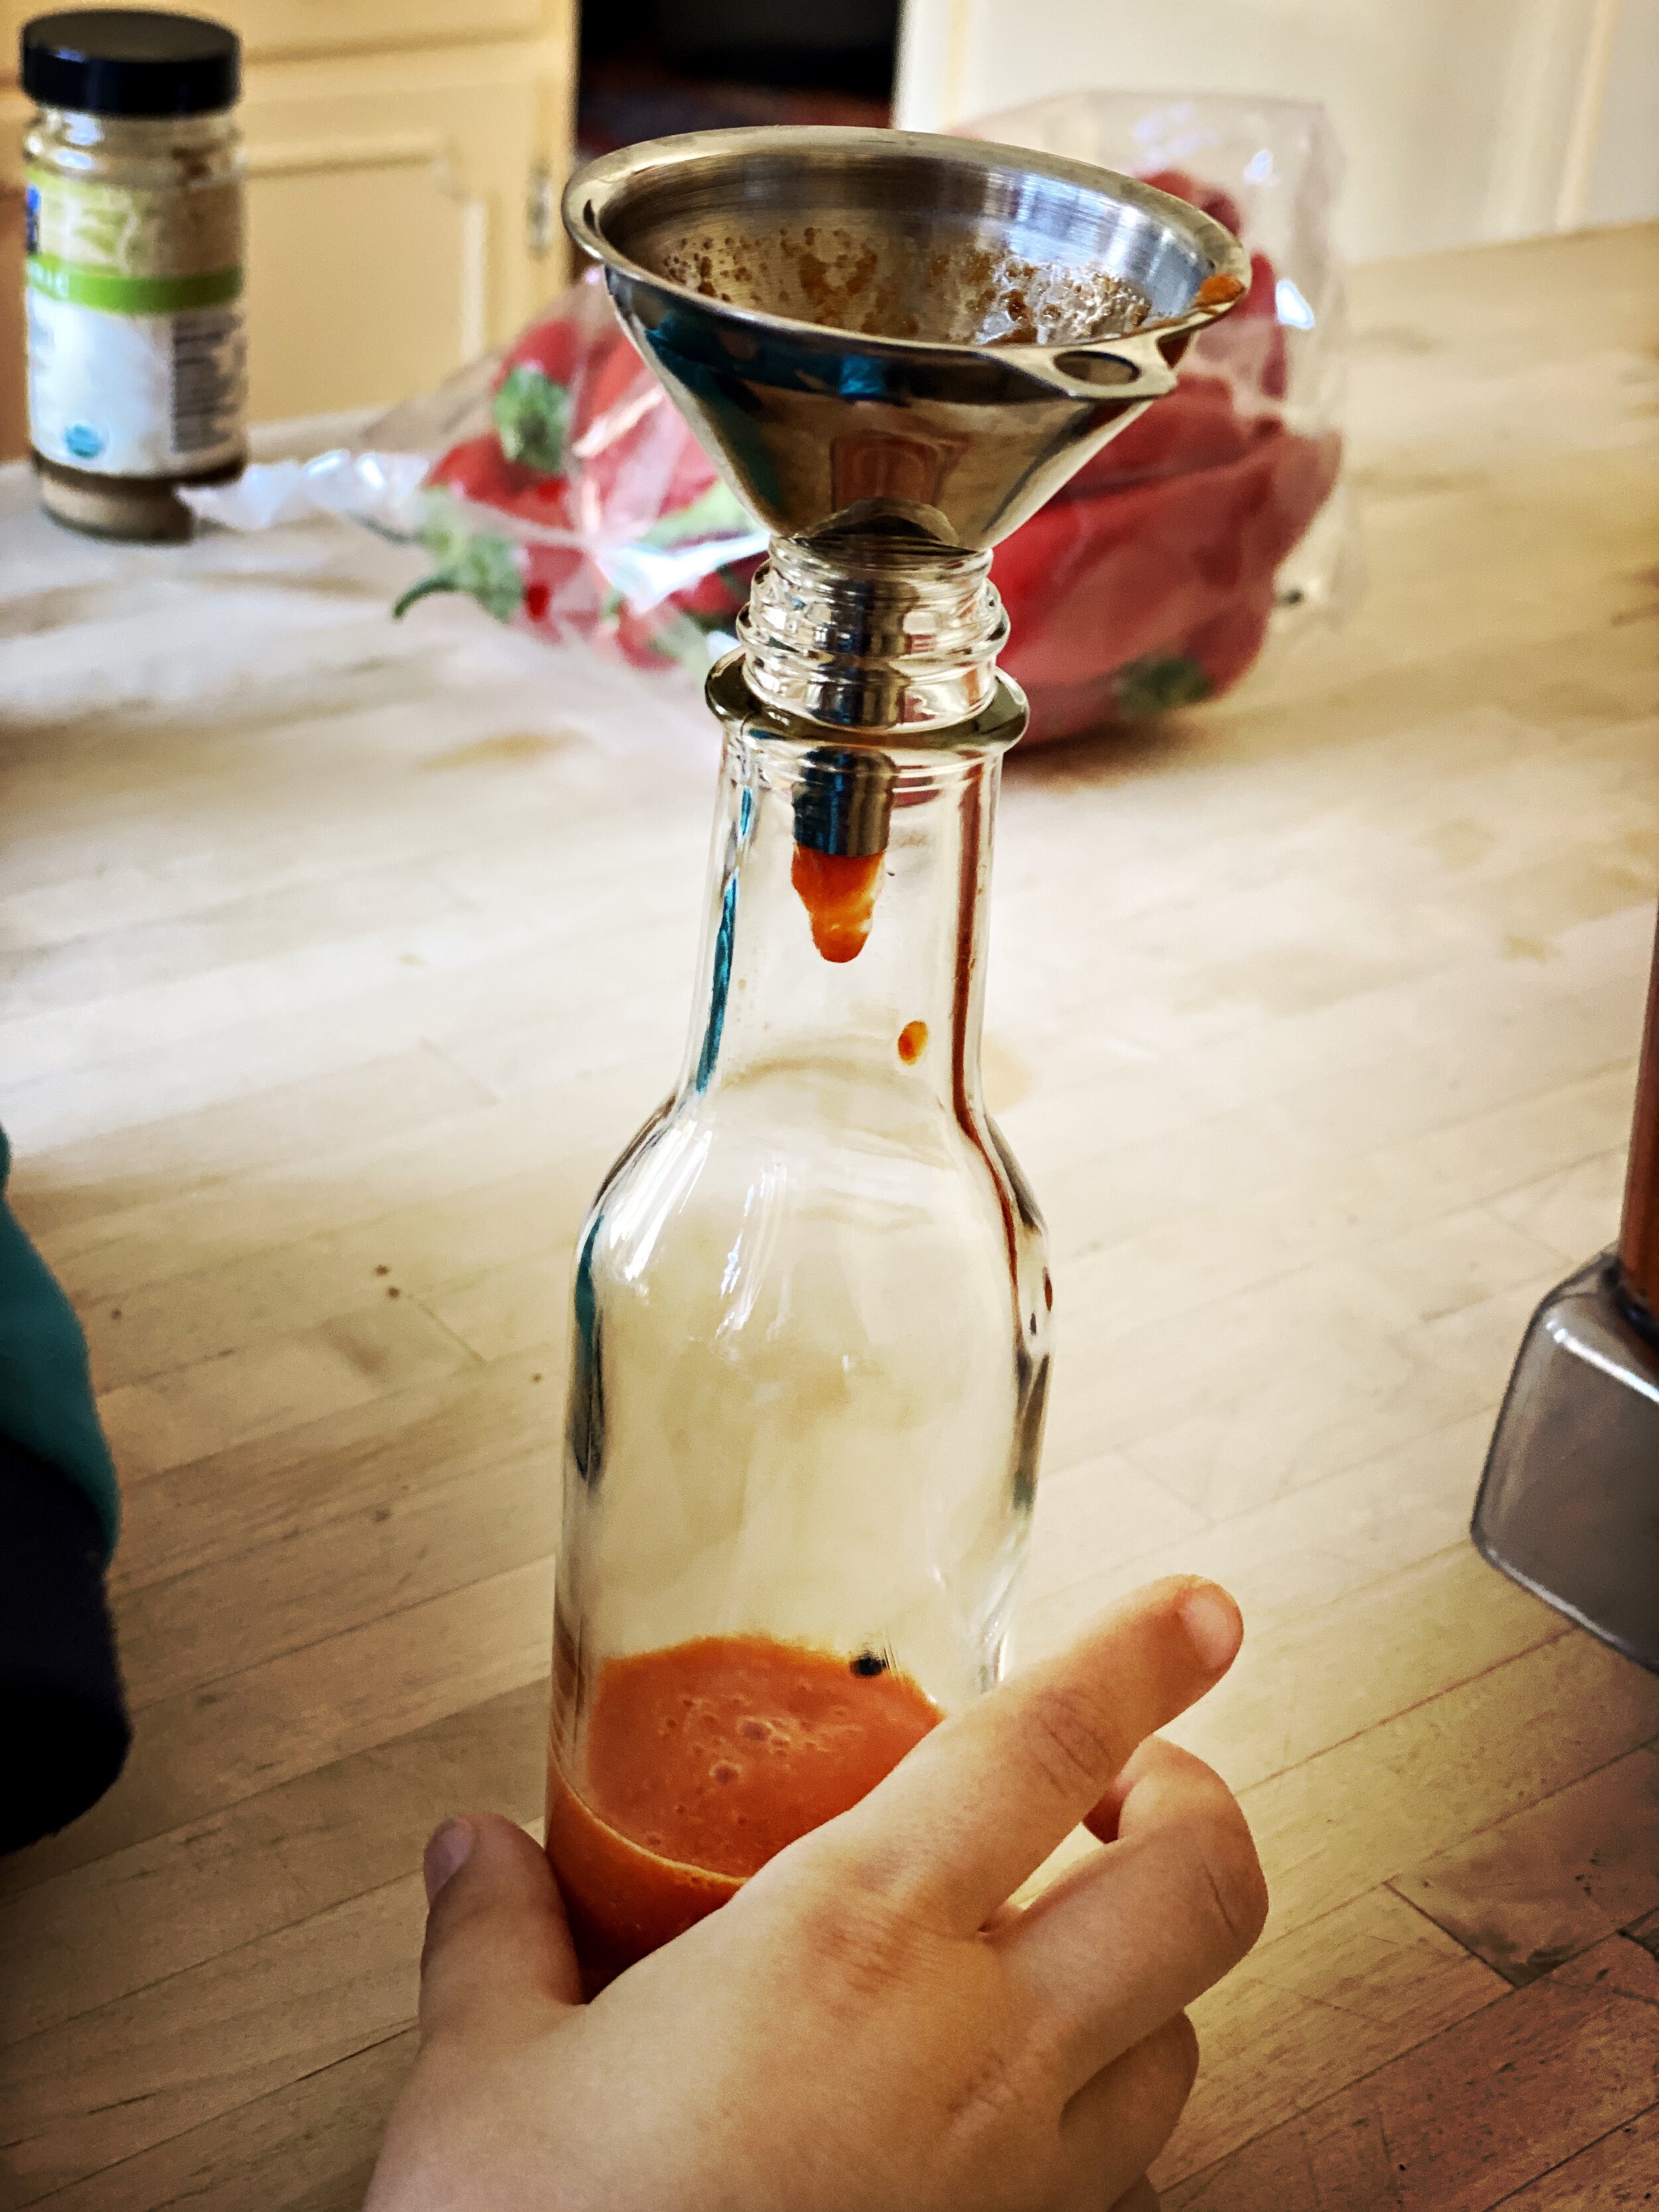
After 30 days, puree finished hot sauce bin the blender with distilled white vinegar (around 2 cups).