How to Grow Tomatoes (From Seed and From Starts)
YEAR ONE: GROWING TOMATOES FROM STARTS
🍅 🍅 🍅 🍅 🍅 🍅 🍅 🍅 🍅 🍅 🍅
Tomatoes ended up being one of our most successful crops during our first growing season (2020). We spent the early months of the pandemic building raised beds, filling them with our hugelkultur/soil mix, and getting Spring plants in the ground, so with that late start we ended up buying some seedlings or “starts” from some local garden stores. You can plant seeds (see below) but the main reason to use starts is TIME.
You don’t have to do the labor-intensive work of growing from seed (and generally spend the time babying your seedlings for 6 to 8 weeks).
They’re past their infancy/toddler period and (hopefully) healthy and ready to plant in your garden.
You can buy the exact number of plants you want to tend (rather than taking your chances with seeds and either having too many or not enough).
For first-time growers, starts are a great choice. That said, even these “head start” plants need some care. Here are a few things we learned during our first year.
This post may contain affiliate codes or links that are no additional cost to you, and I may earn a small commission when a purchase is made.
CHOOSING TOMATO VARIETIES
There are determinate and indeterminate varieties of tomatoes. Determinate grow to about 4 feet and produce all at once. Indeterminate can grow to 8 or 10 feet (or longer vines), producing all season. We went with indeterminate and planted six plants in mid-May 2020. Here’s a good video from Self Sufficient Me, one of our favorite Aussie YouTubers, that talks about indeterminate vs. determinate tomatoes and the growing space needed for each. Note that you can keep indeterminate plants to ~5 or 6 feet if necessary.
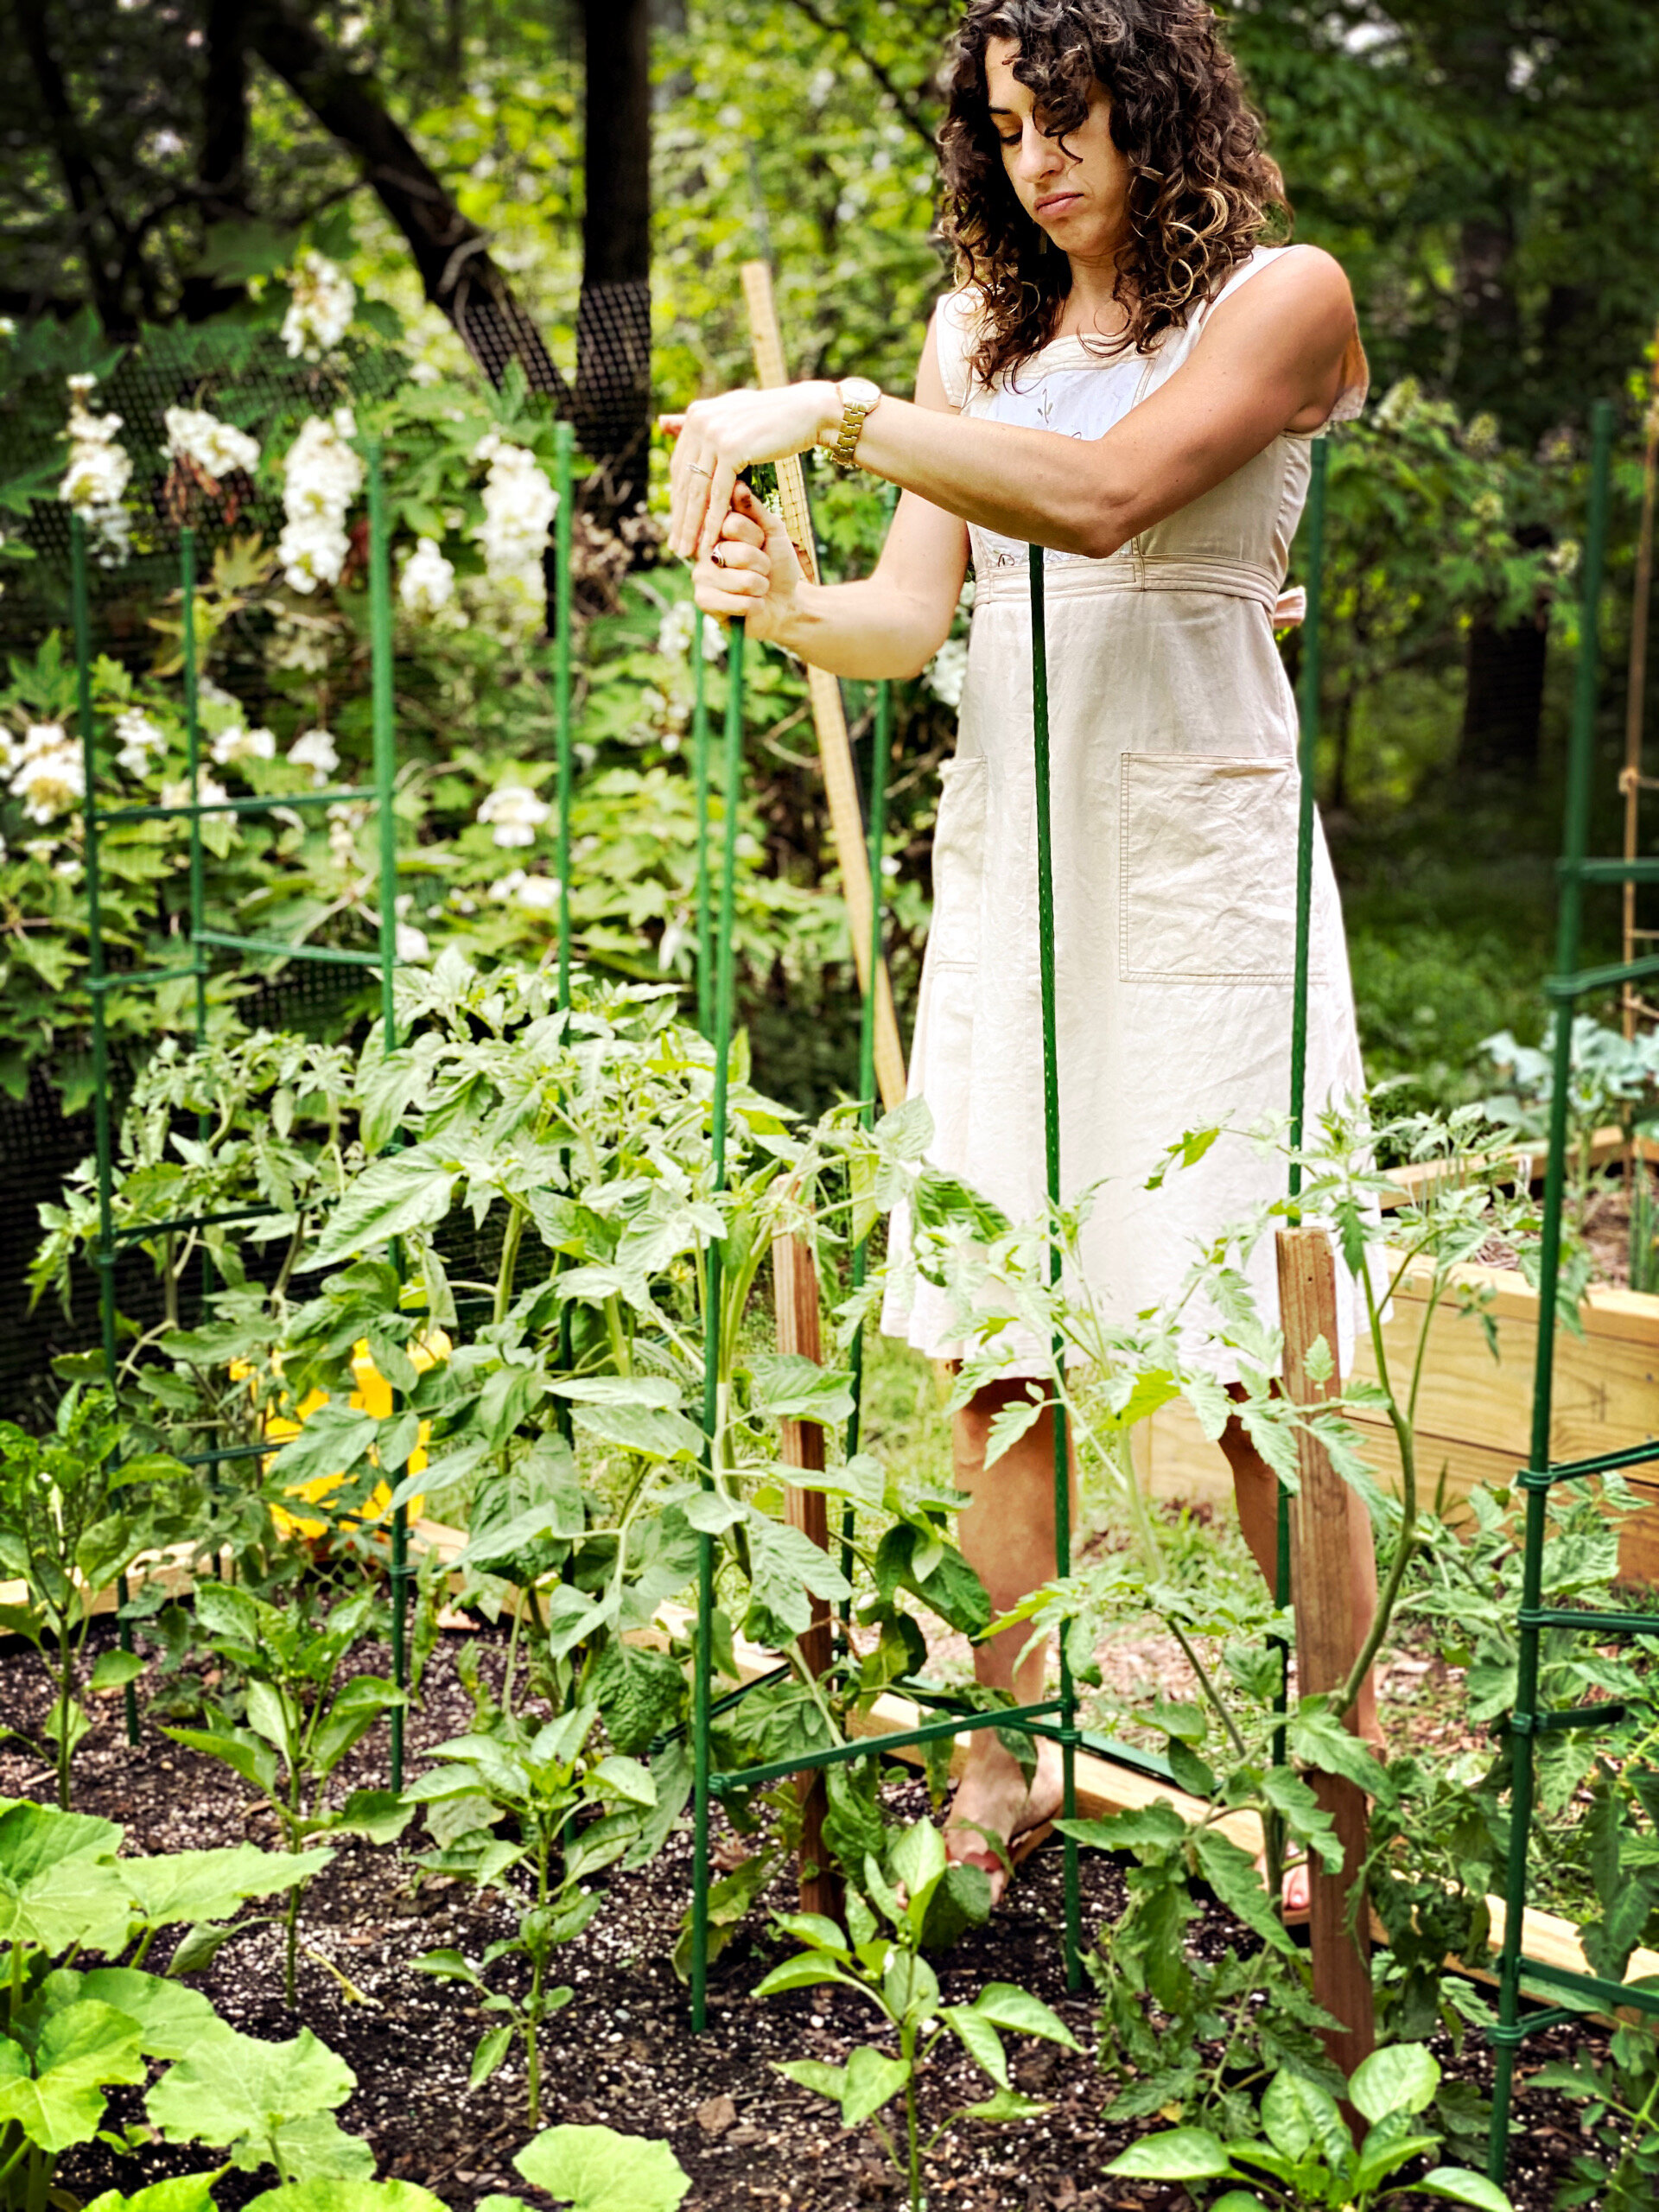
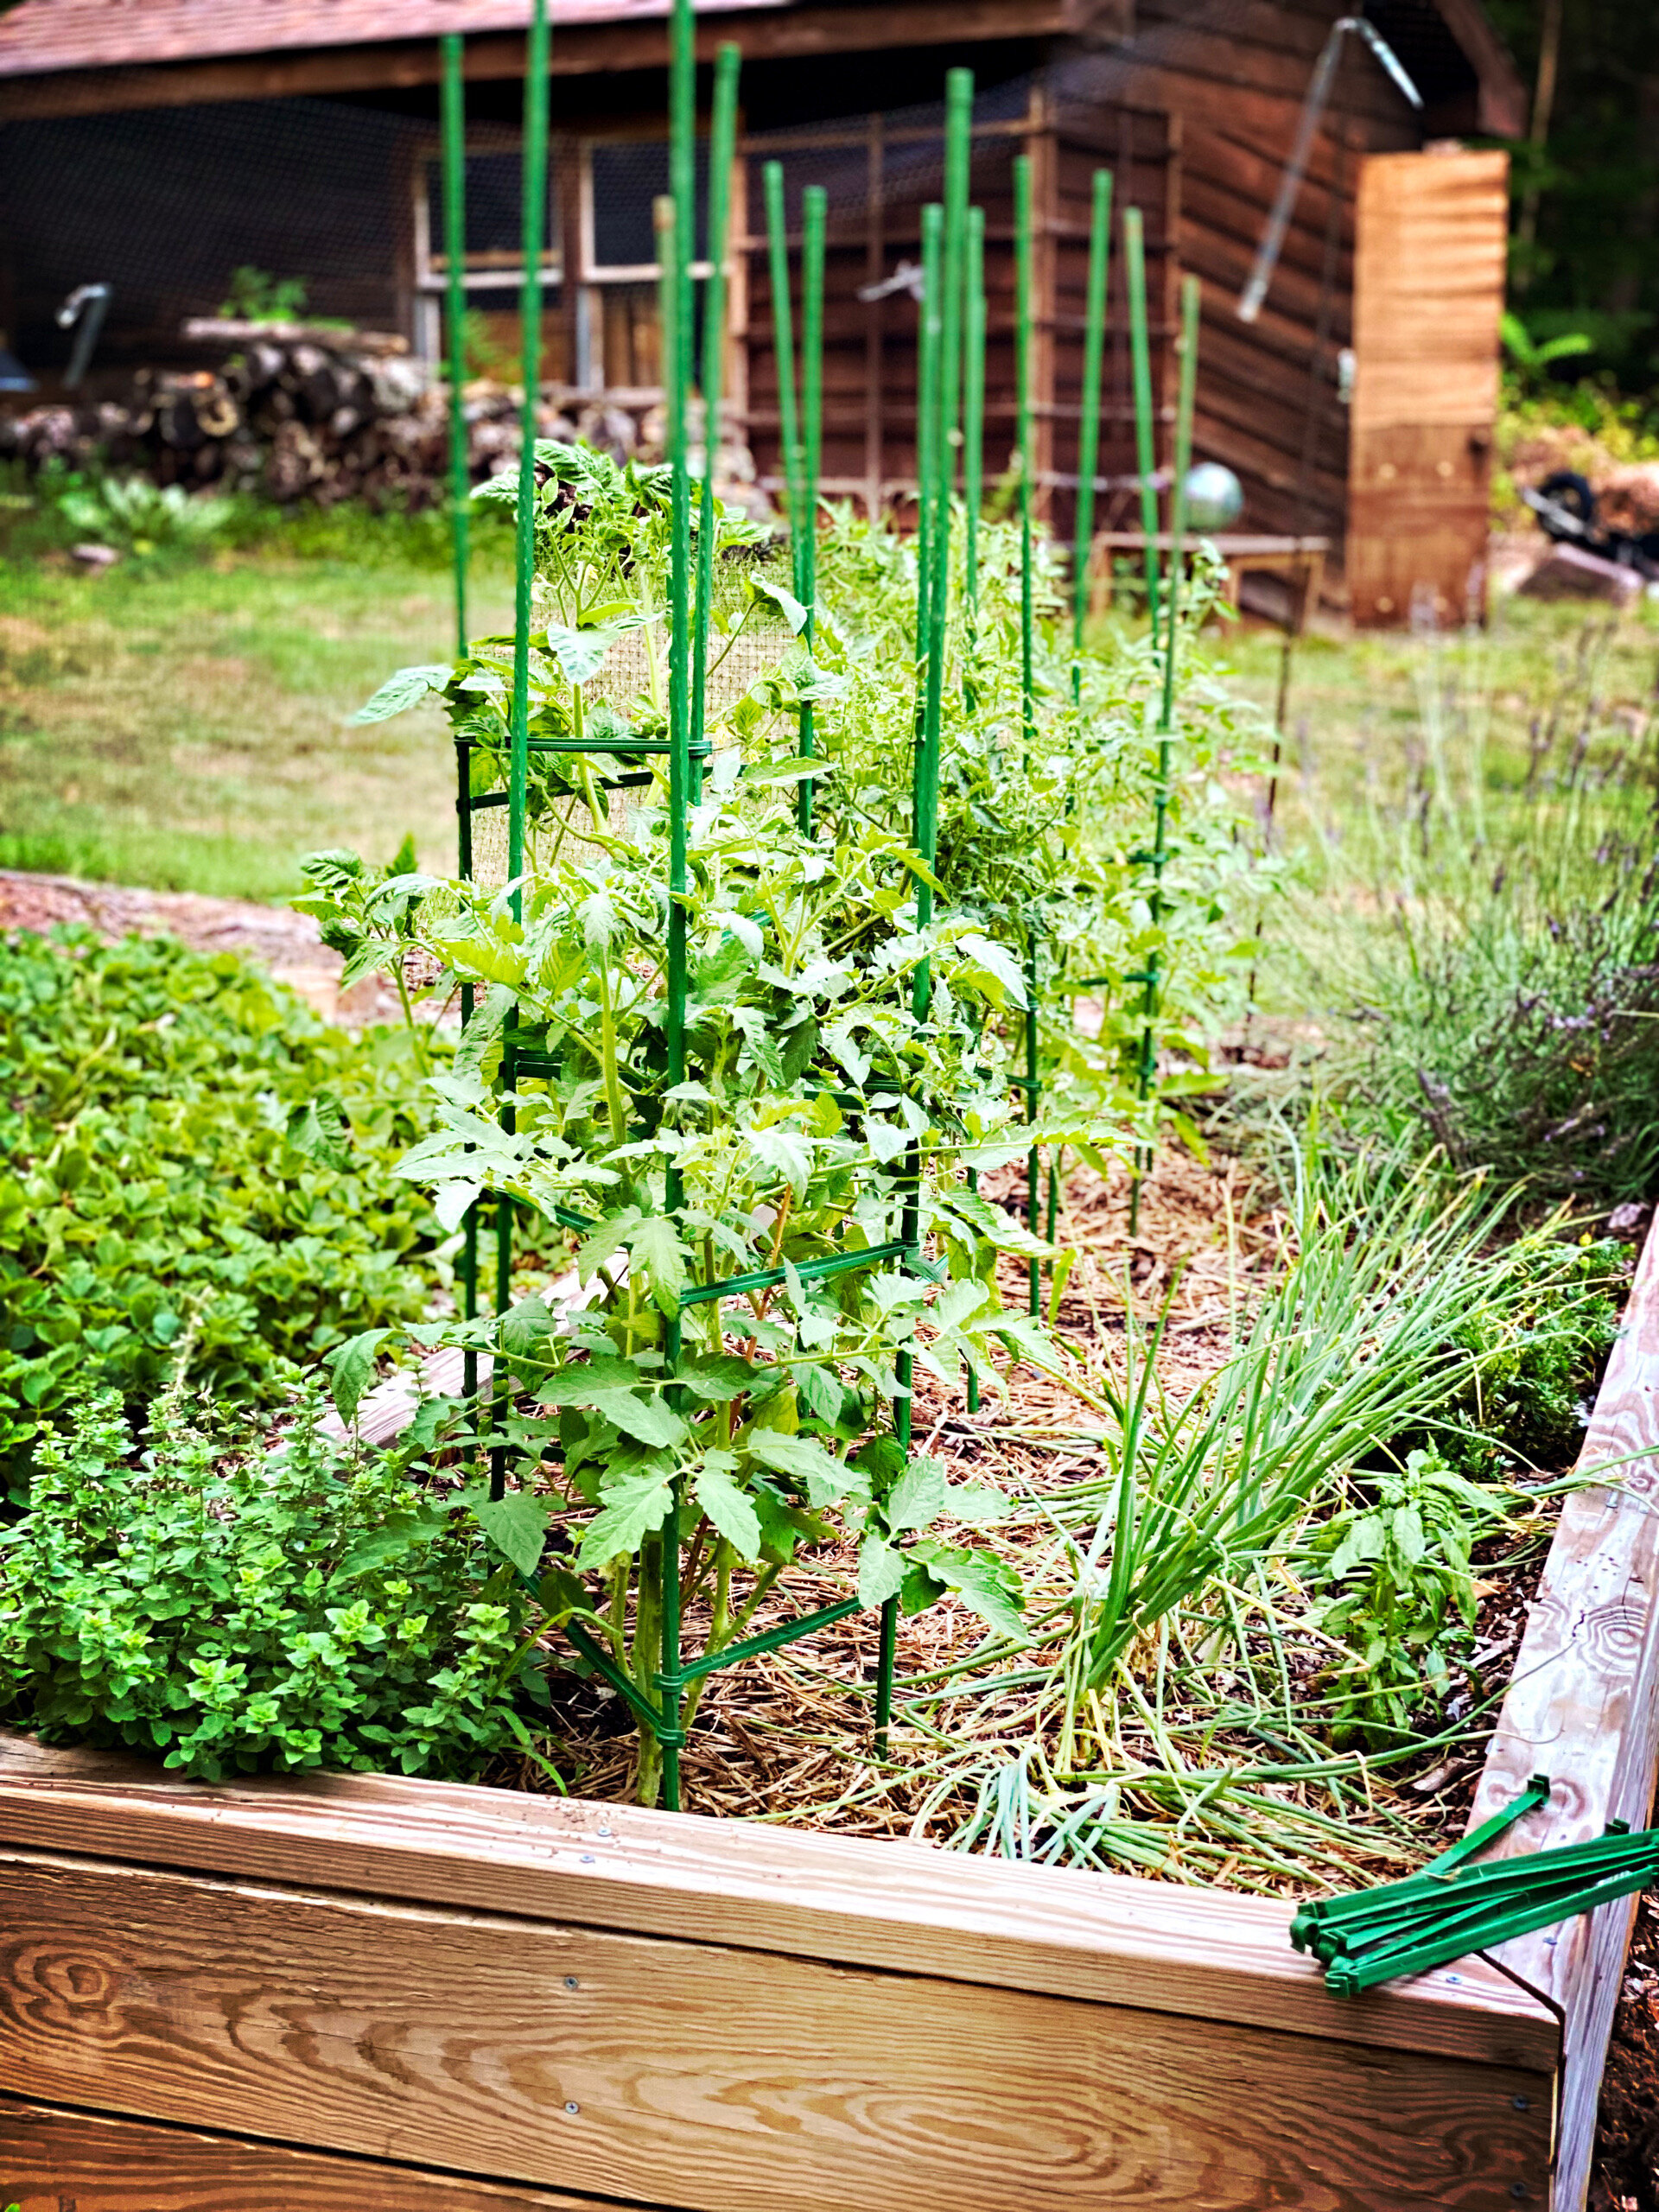
SUPPORTING YOUR PLANTS
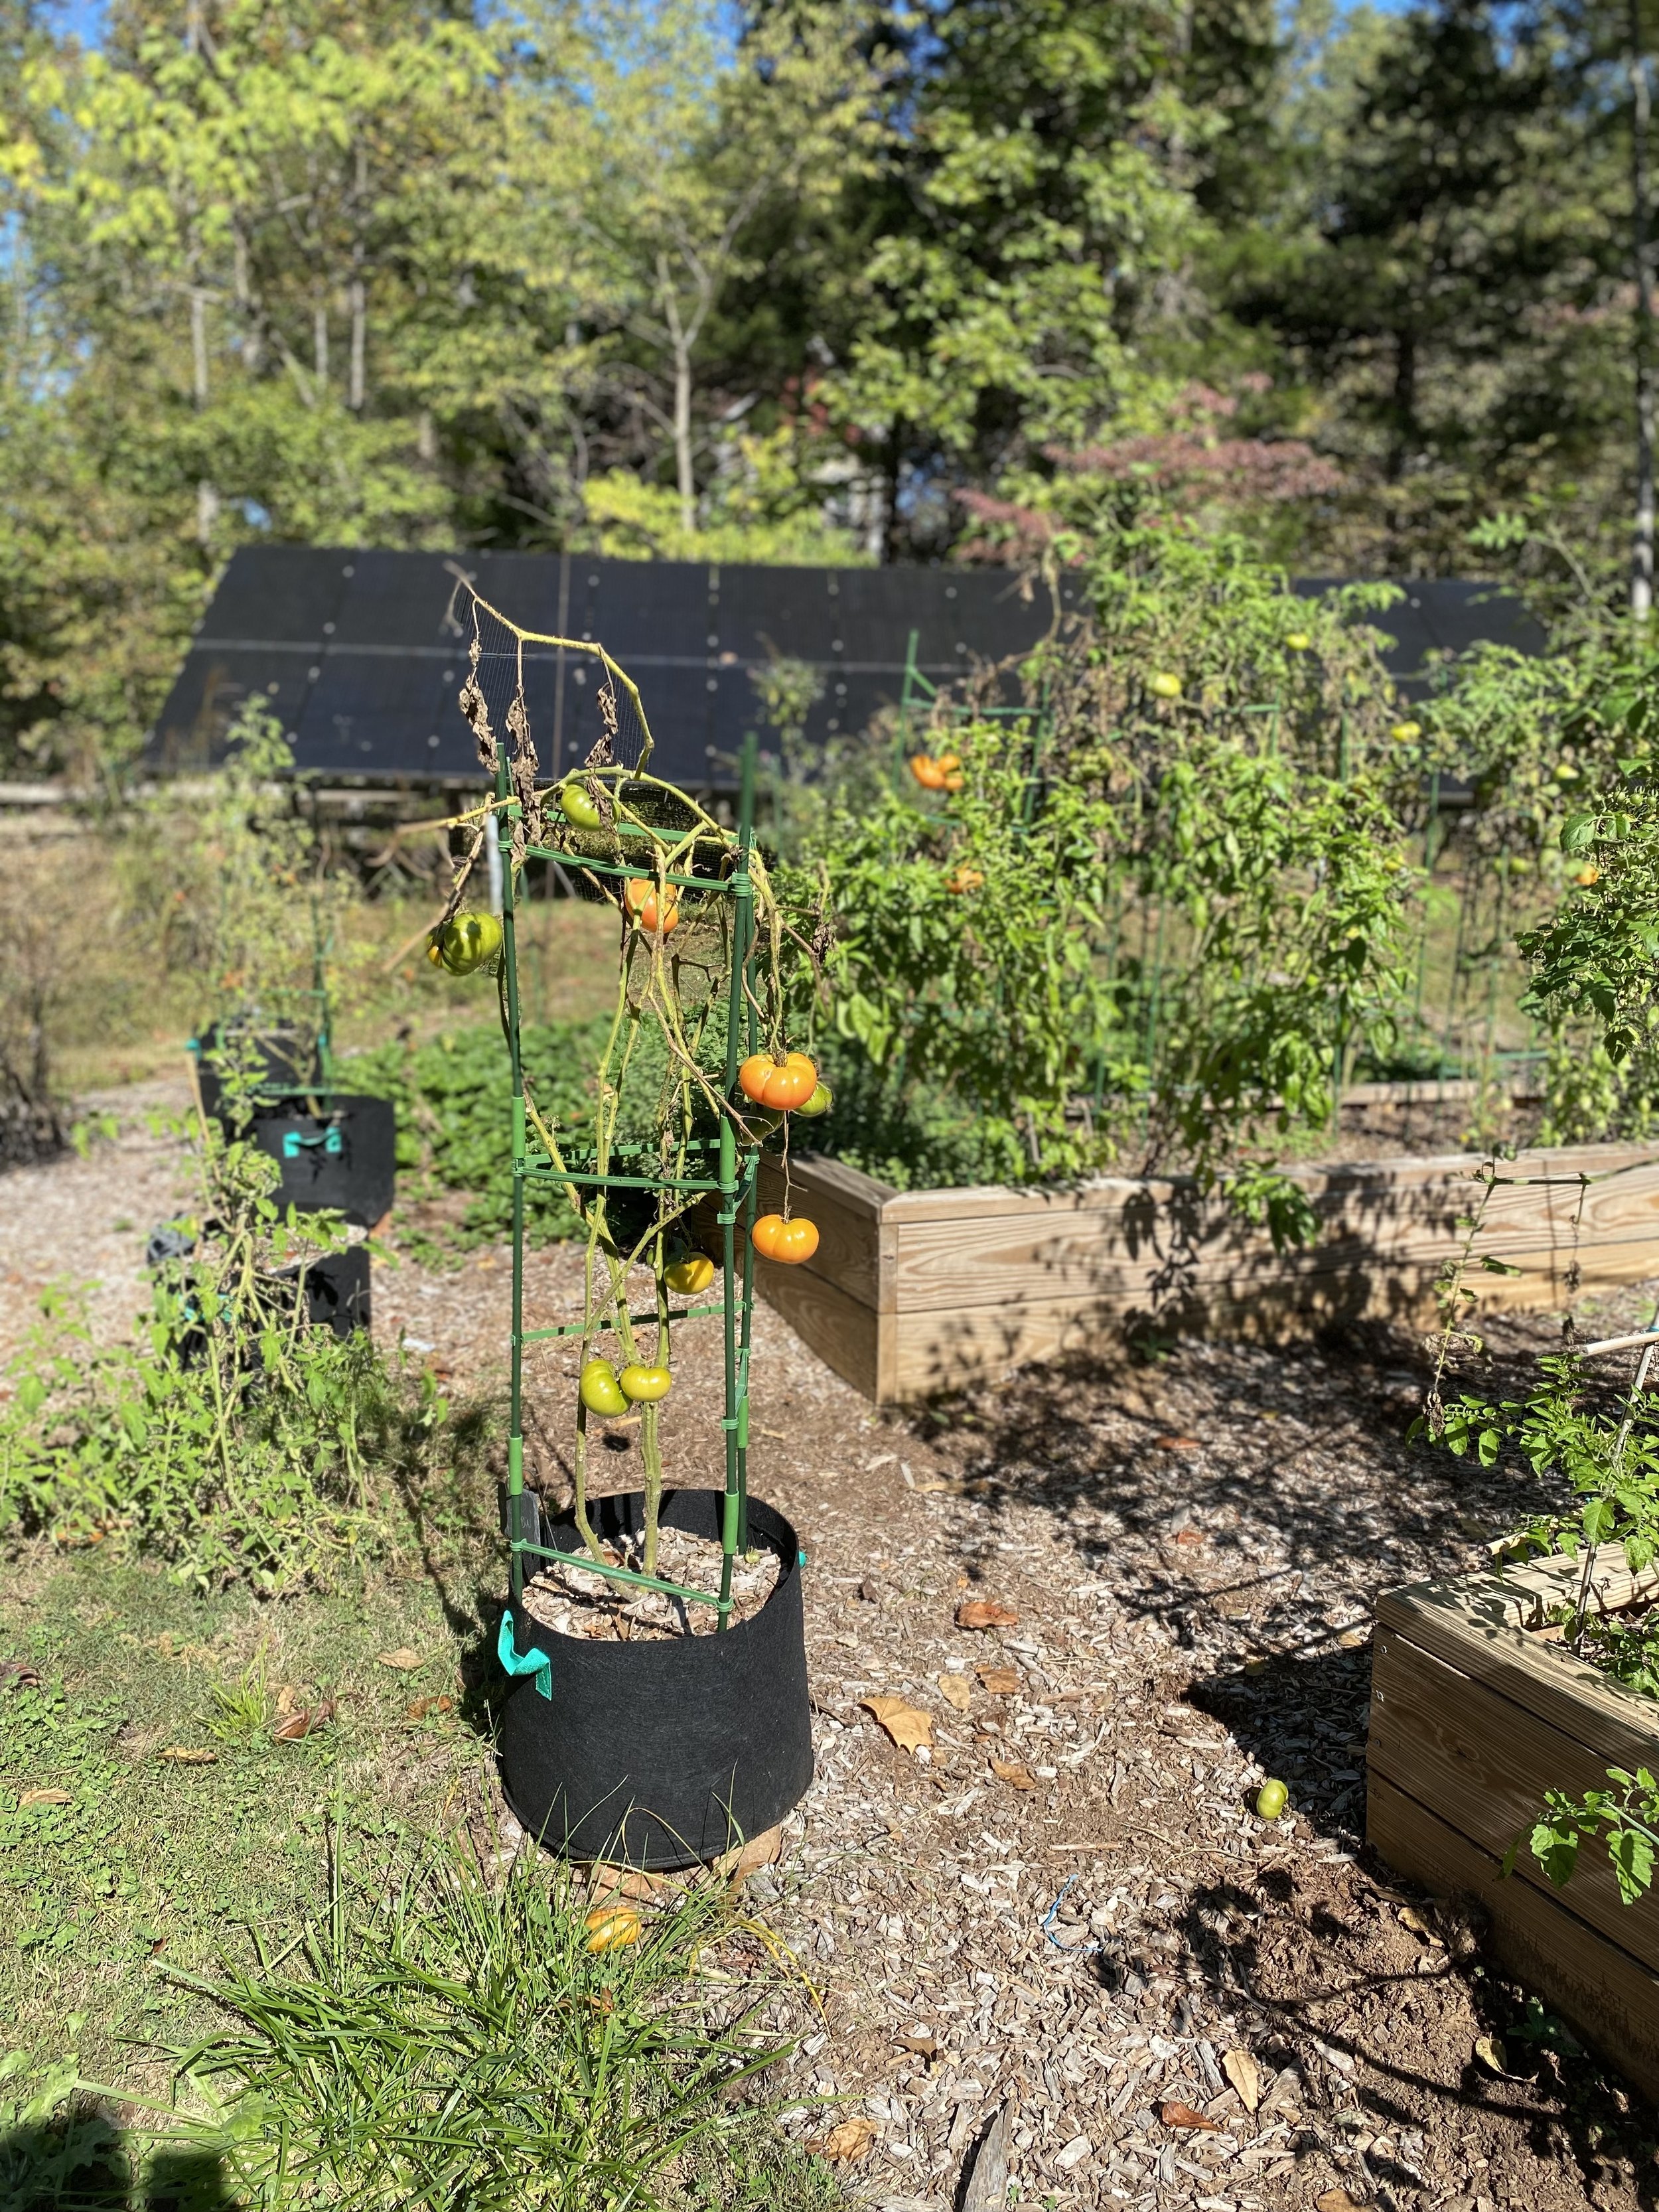
Our plants took off quickly, and soon started snapping or flopping over. You need cages or stakes to keep them upright. I recommend cages. We bought Ultomato cages with 5-foot stakes and movable supports that can adjust as the plant grows, and it’s nice to have this ability to customize and tweak rather than using fixed cages that don’t allow you to fine-tune.

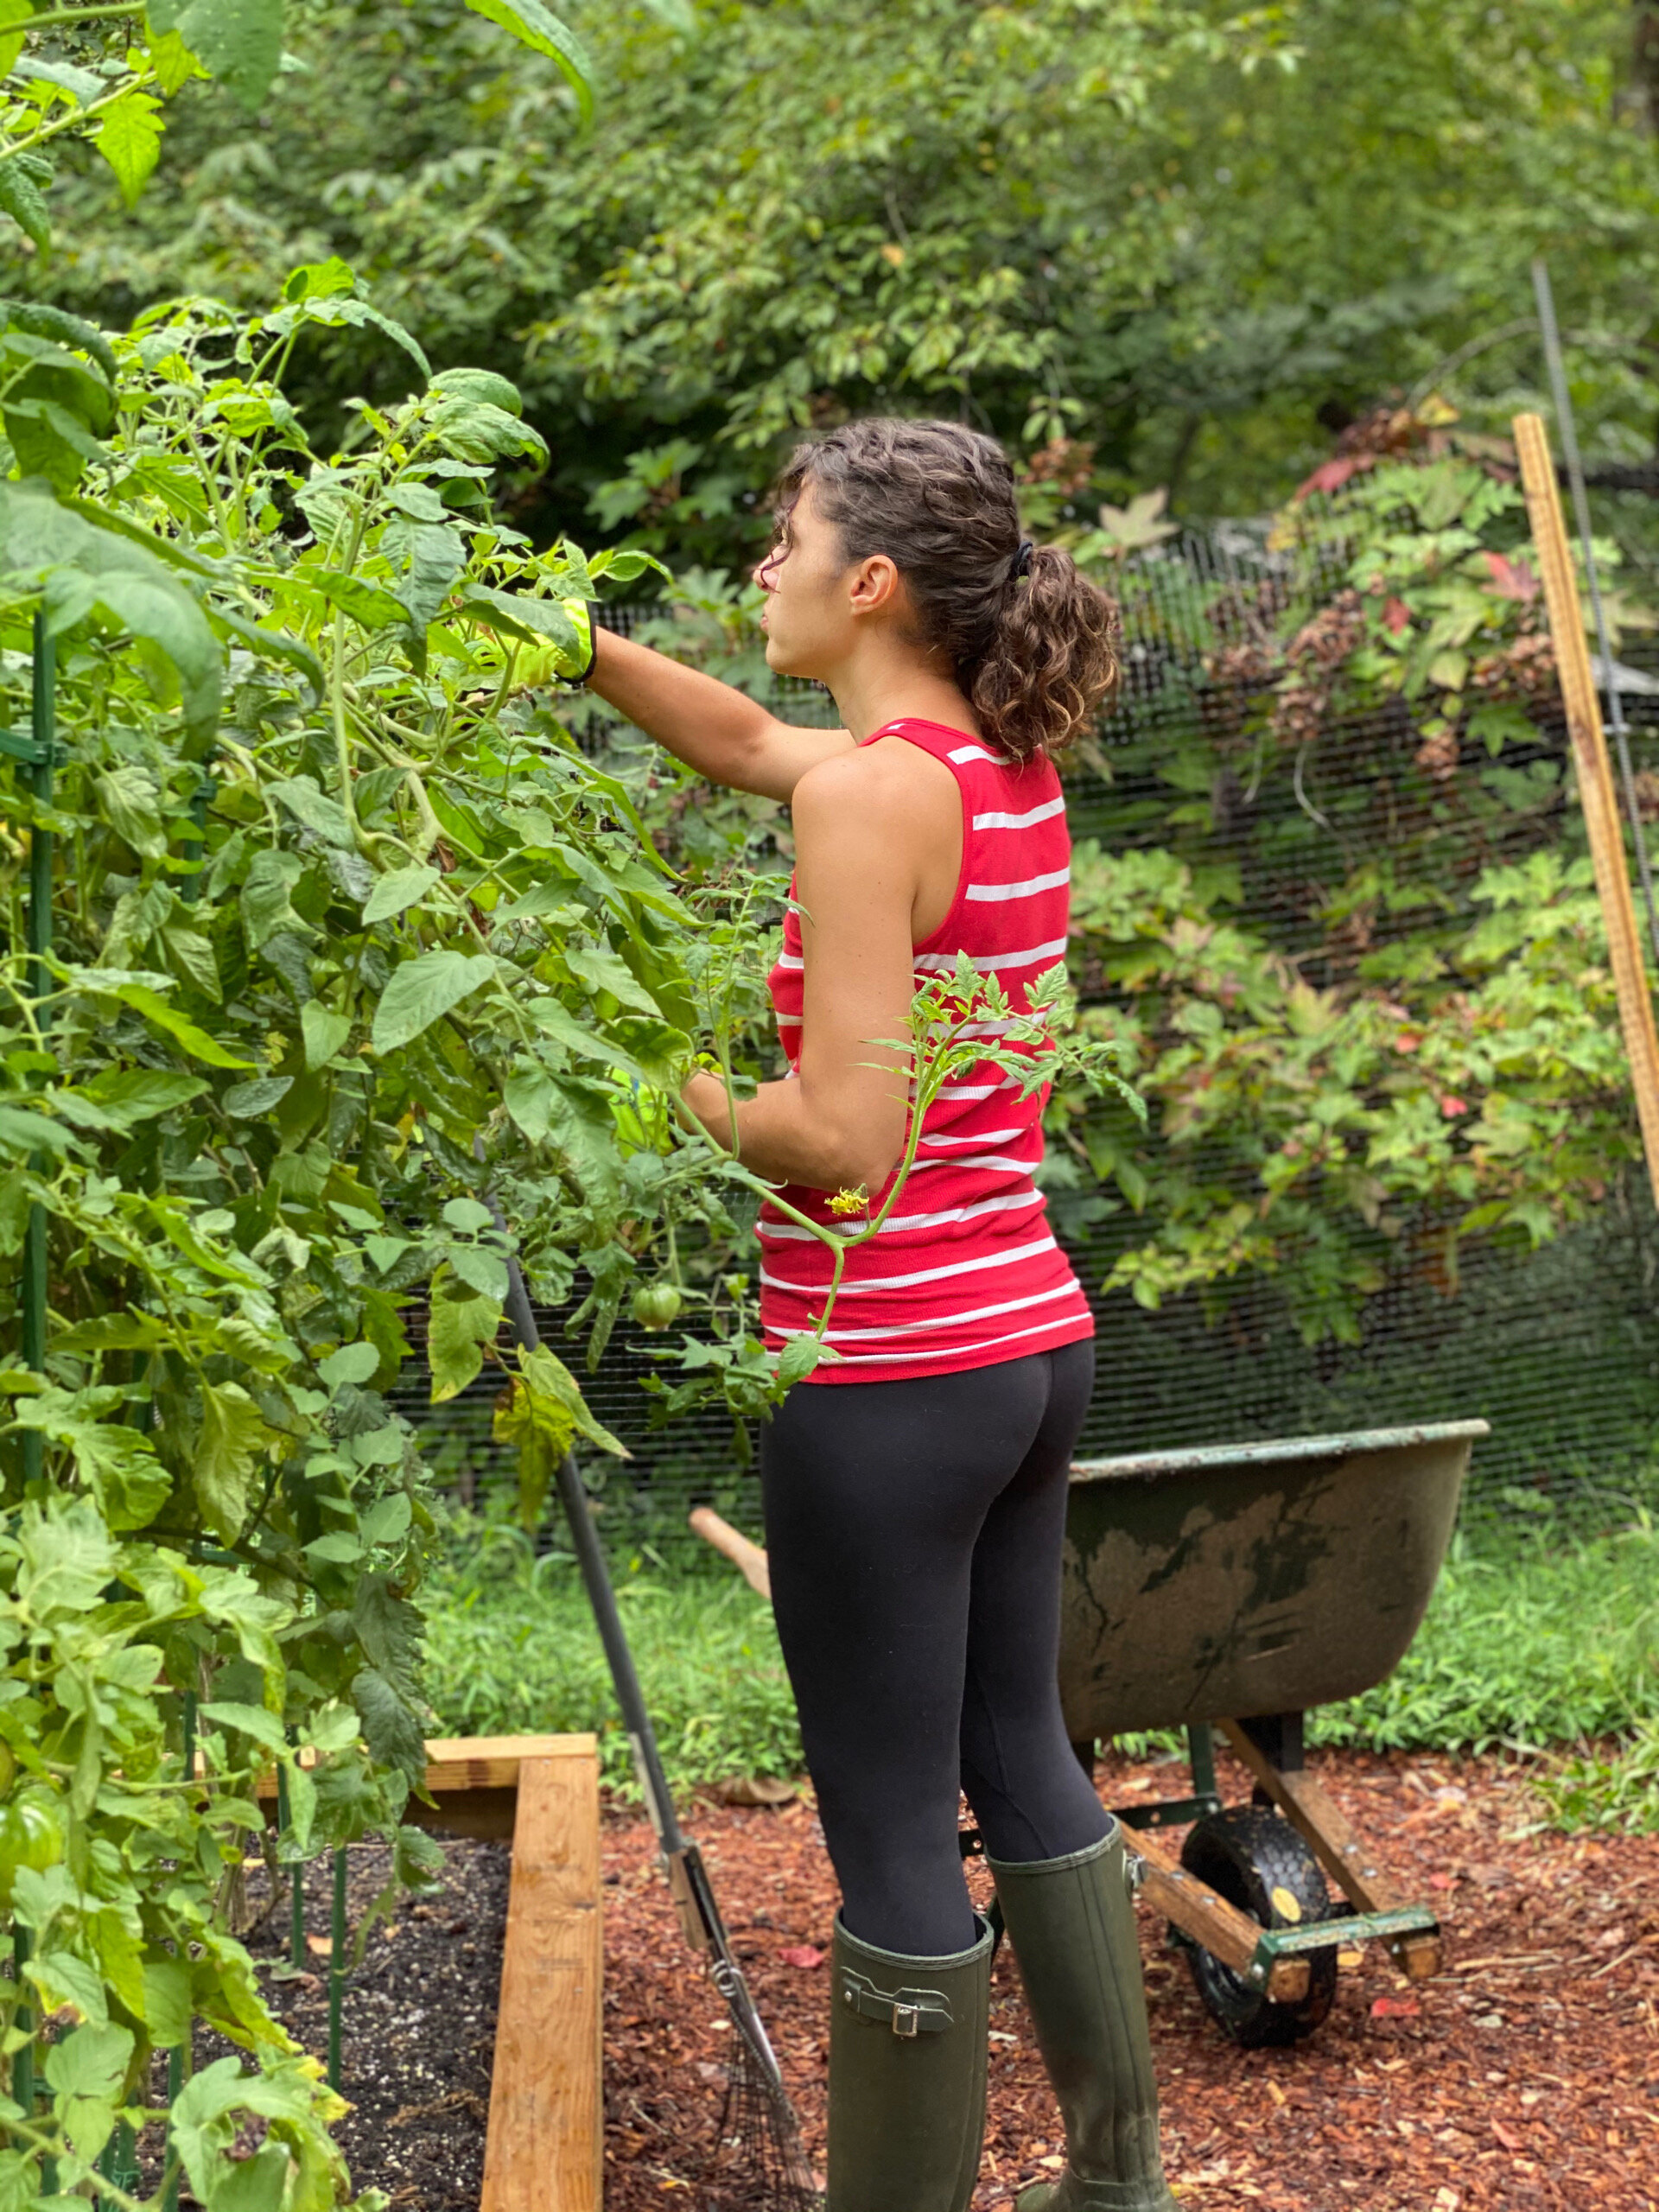
PRUNING TOMATOES
Still, our plants quickly outgrew their cages and encroached onto their pepper neighbors, so I finally learned about the importance of pruning. There are great videos on how to prune tomatoes to ensure they put as much energy and sugar into producing fruit rather than stems and foliage. Here’s a great one from Epic Gardening. The main tasks are 1) trimming the lower leaves and branches to keep them away from the dirt (where pests and diseases can quickly infect your plants) and increase aeration 2) every couple days, do a check and pluck off any "suckers" that form in the "crotch" between the leaves and main stem. If you want to plant those suckers in dirt (ones from the main stem that are large enough and have little hairs on them), they will propagate into their own new tomato plants!
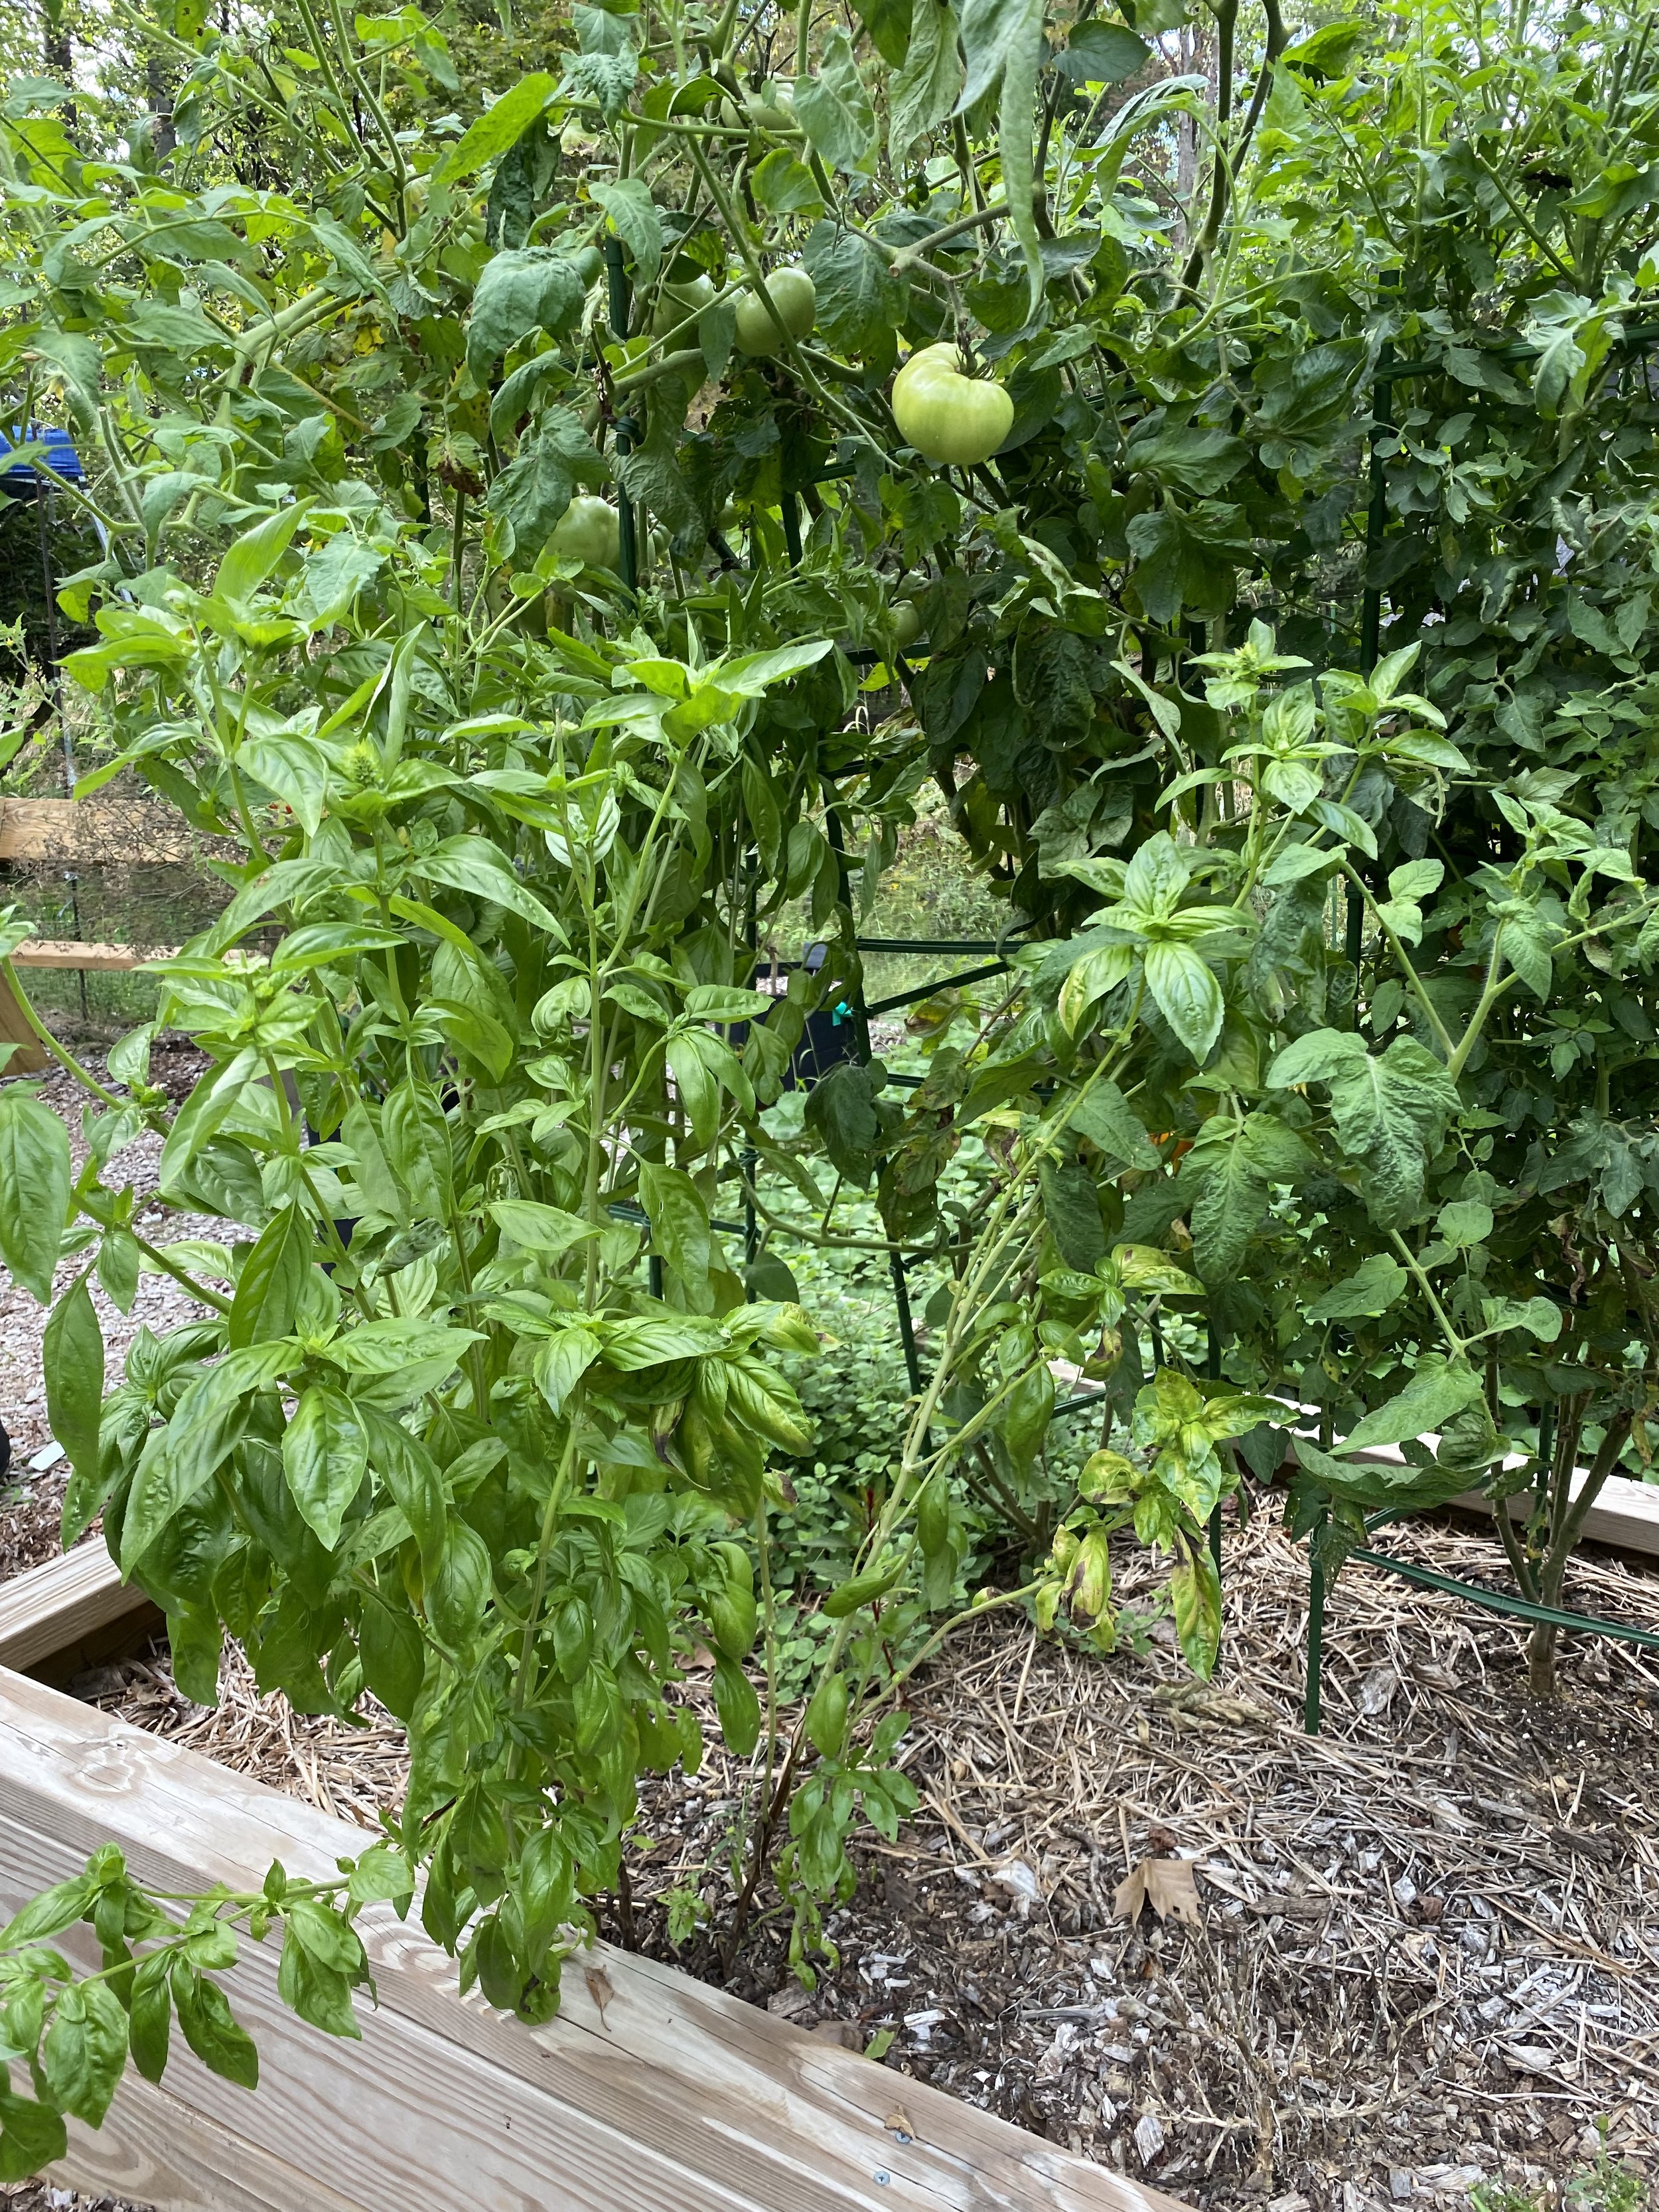
COMPANION PLANTING for tomatoes
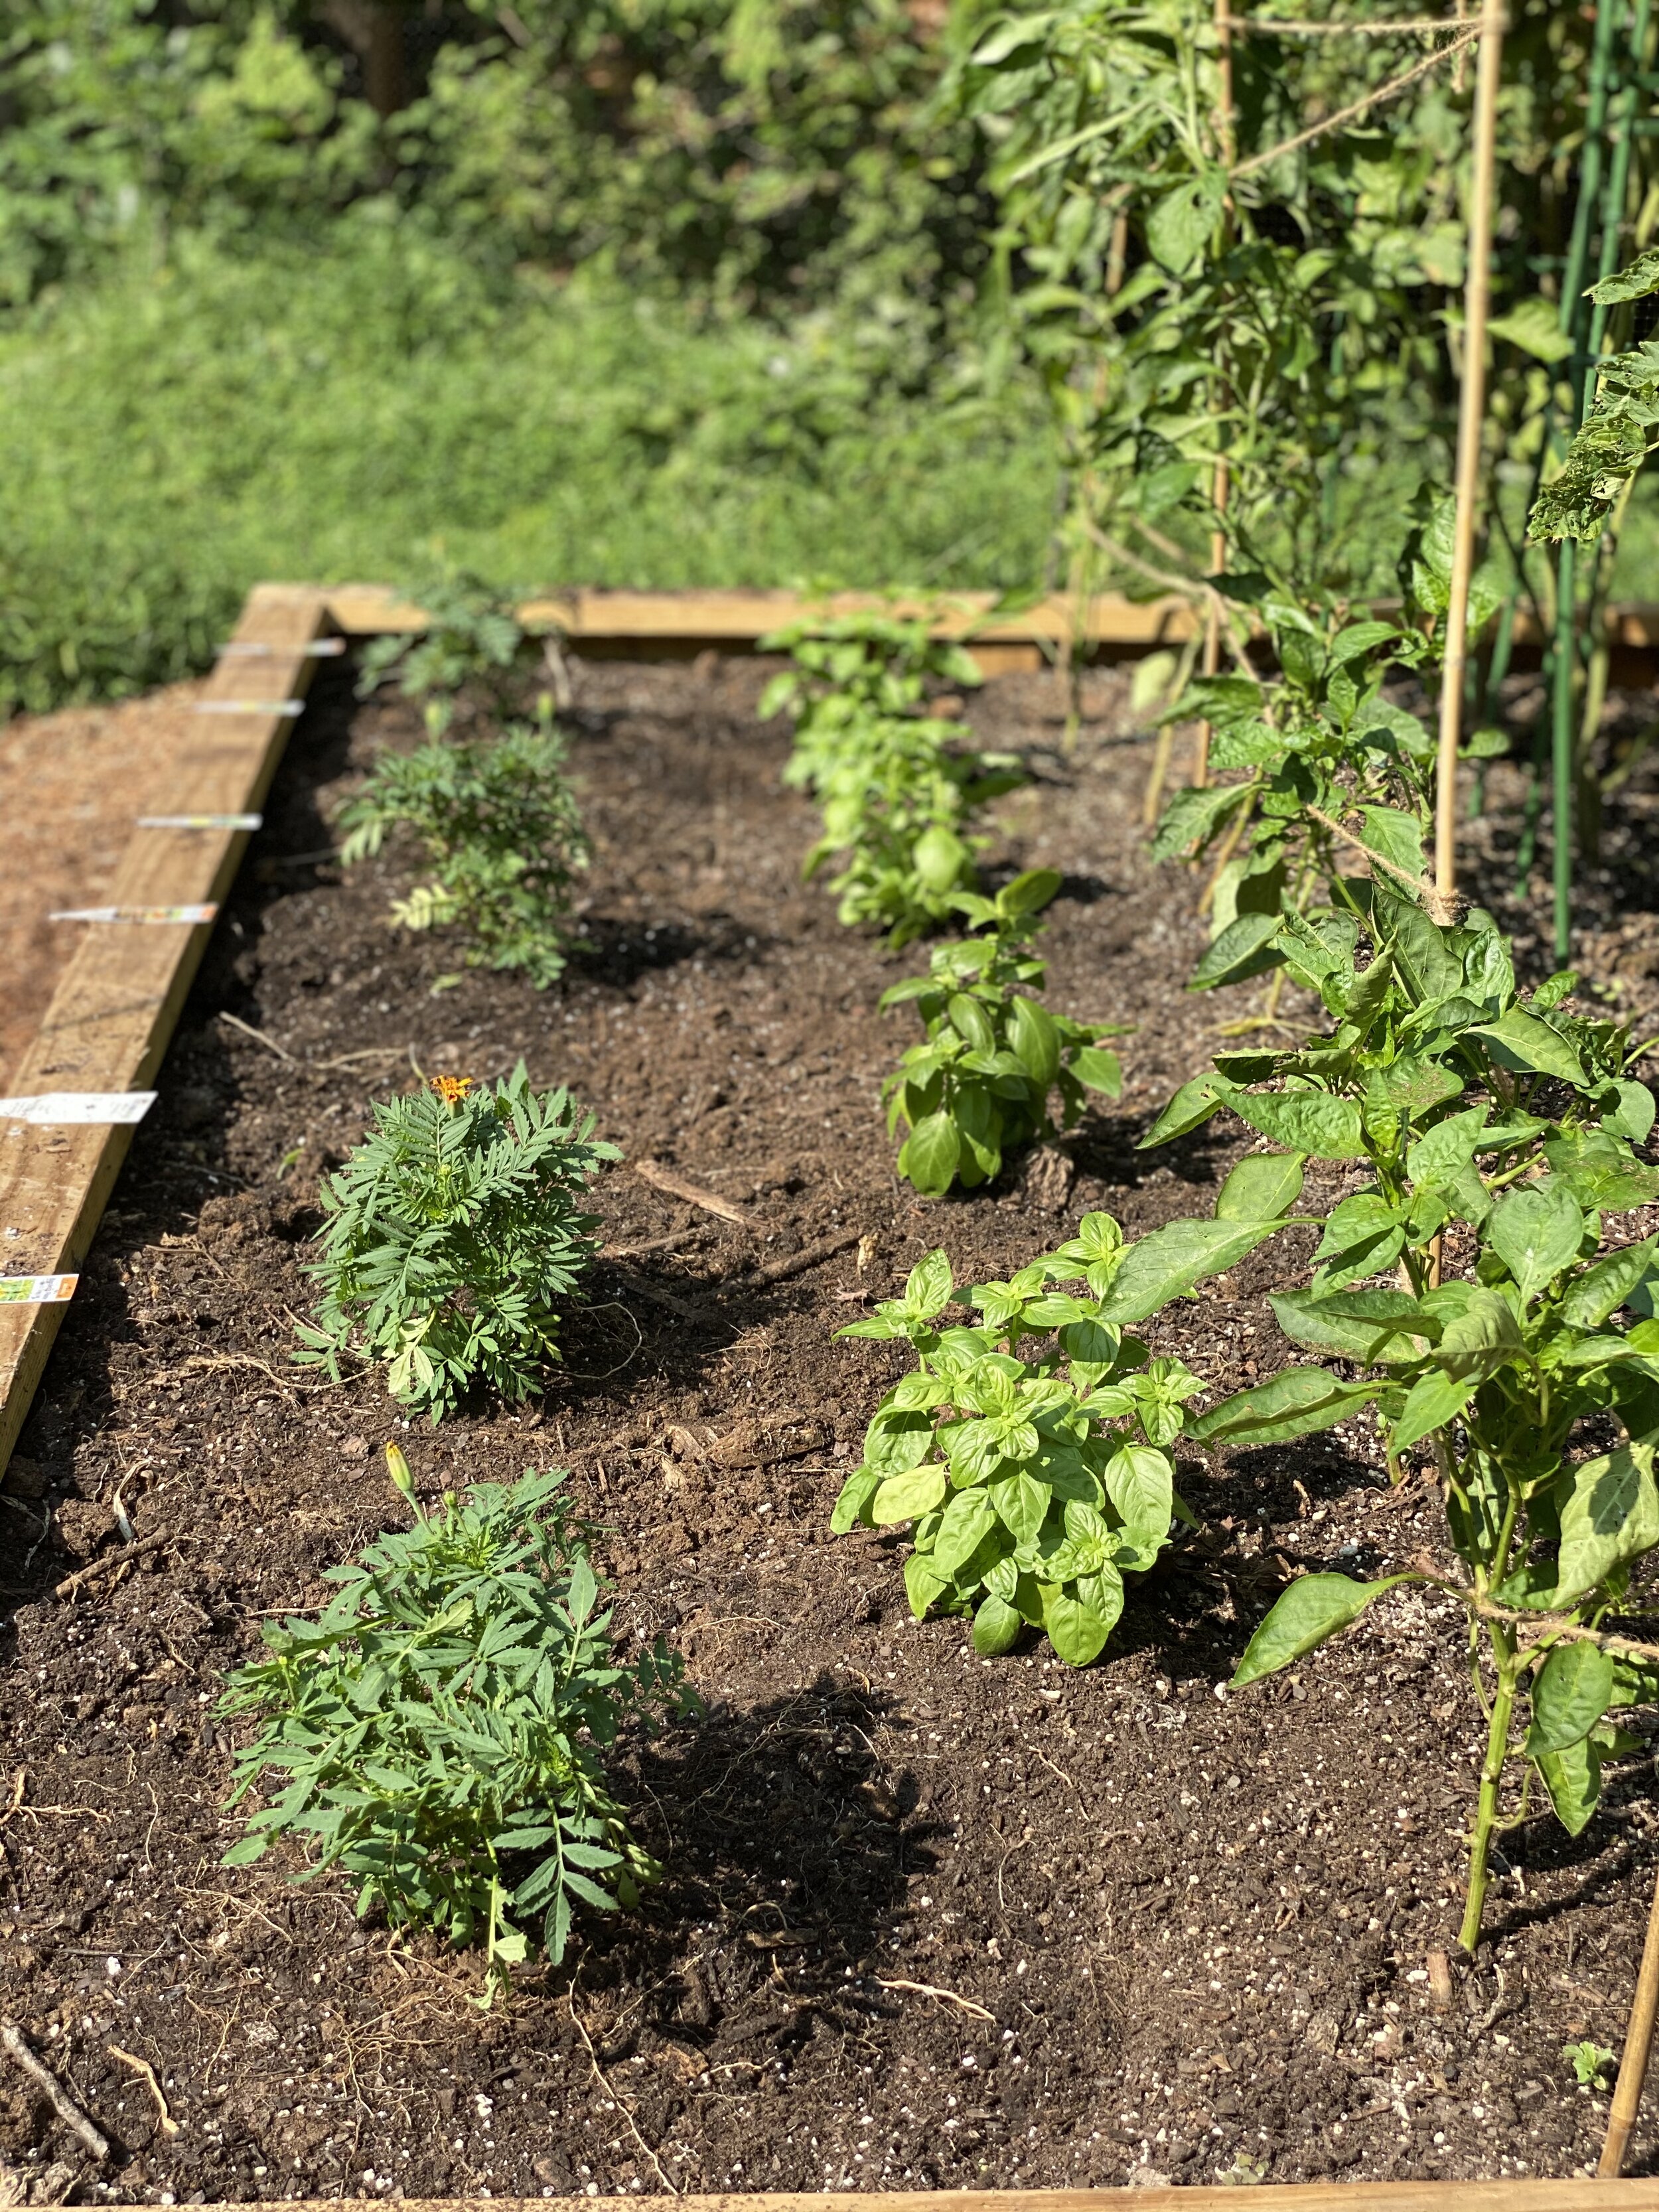
Pruning also gives you more room around the base of the plants to interplant or add companion crops that hang out closer to the soil. We planted peppers, basil and marigolds as companion plants for the tomatoes. The marigolds repel nematodes and the basil is supposed to make the tomatoes taste better, which is definitely true if you just, like, eat the tomatoes WITH the basil, and get some fresh mozzarella and maybe a little drizzle of olive oil and balsamic vinegar hell yes please and thank you. I will say that in retrospect the pepper plants were not great companions for the tomatoes because they got shaded out and didn’t produce as much as we were hoping, so in year two we separated the peppers into their own bed.
PROPER WATERING for tomatoes
Water deeply but infrequently. I was initially watering every day until a friend told me the trick is to neglect tomatoes and stress them out. If the plants think they're in distress, the roots go deeper and wider in search of water (thus strengthening the plant) and they put more energy into producing fruit (thinking they’re going to die, their biological urge to reproduce kicks in). A simple moisture meter can help you know when the soil is dry, or if you’re planting in grow bags, lifting and learning the relative weight of the plant when it’s dry vs. drenched will help you know when to water again. But no need to water every day. And don’t just spray the whole plant/foliage—that’ll encourage all manner of disease—try to just water down by the soil while minimizing the splashing of soil onto your stems and leaves.
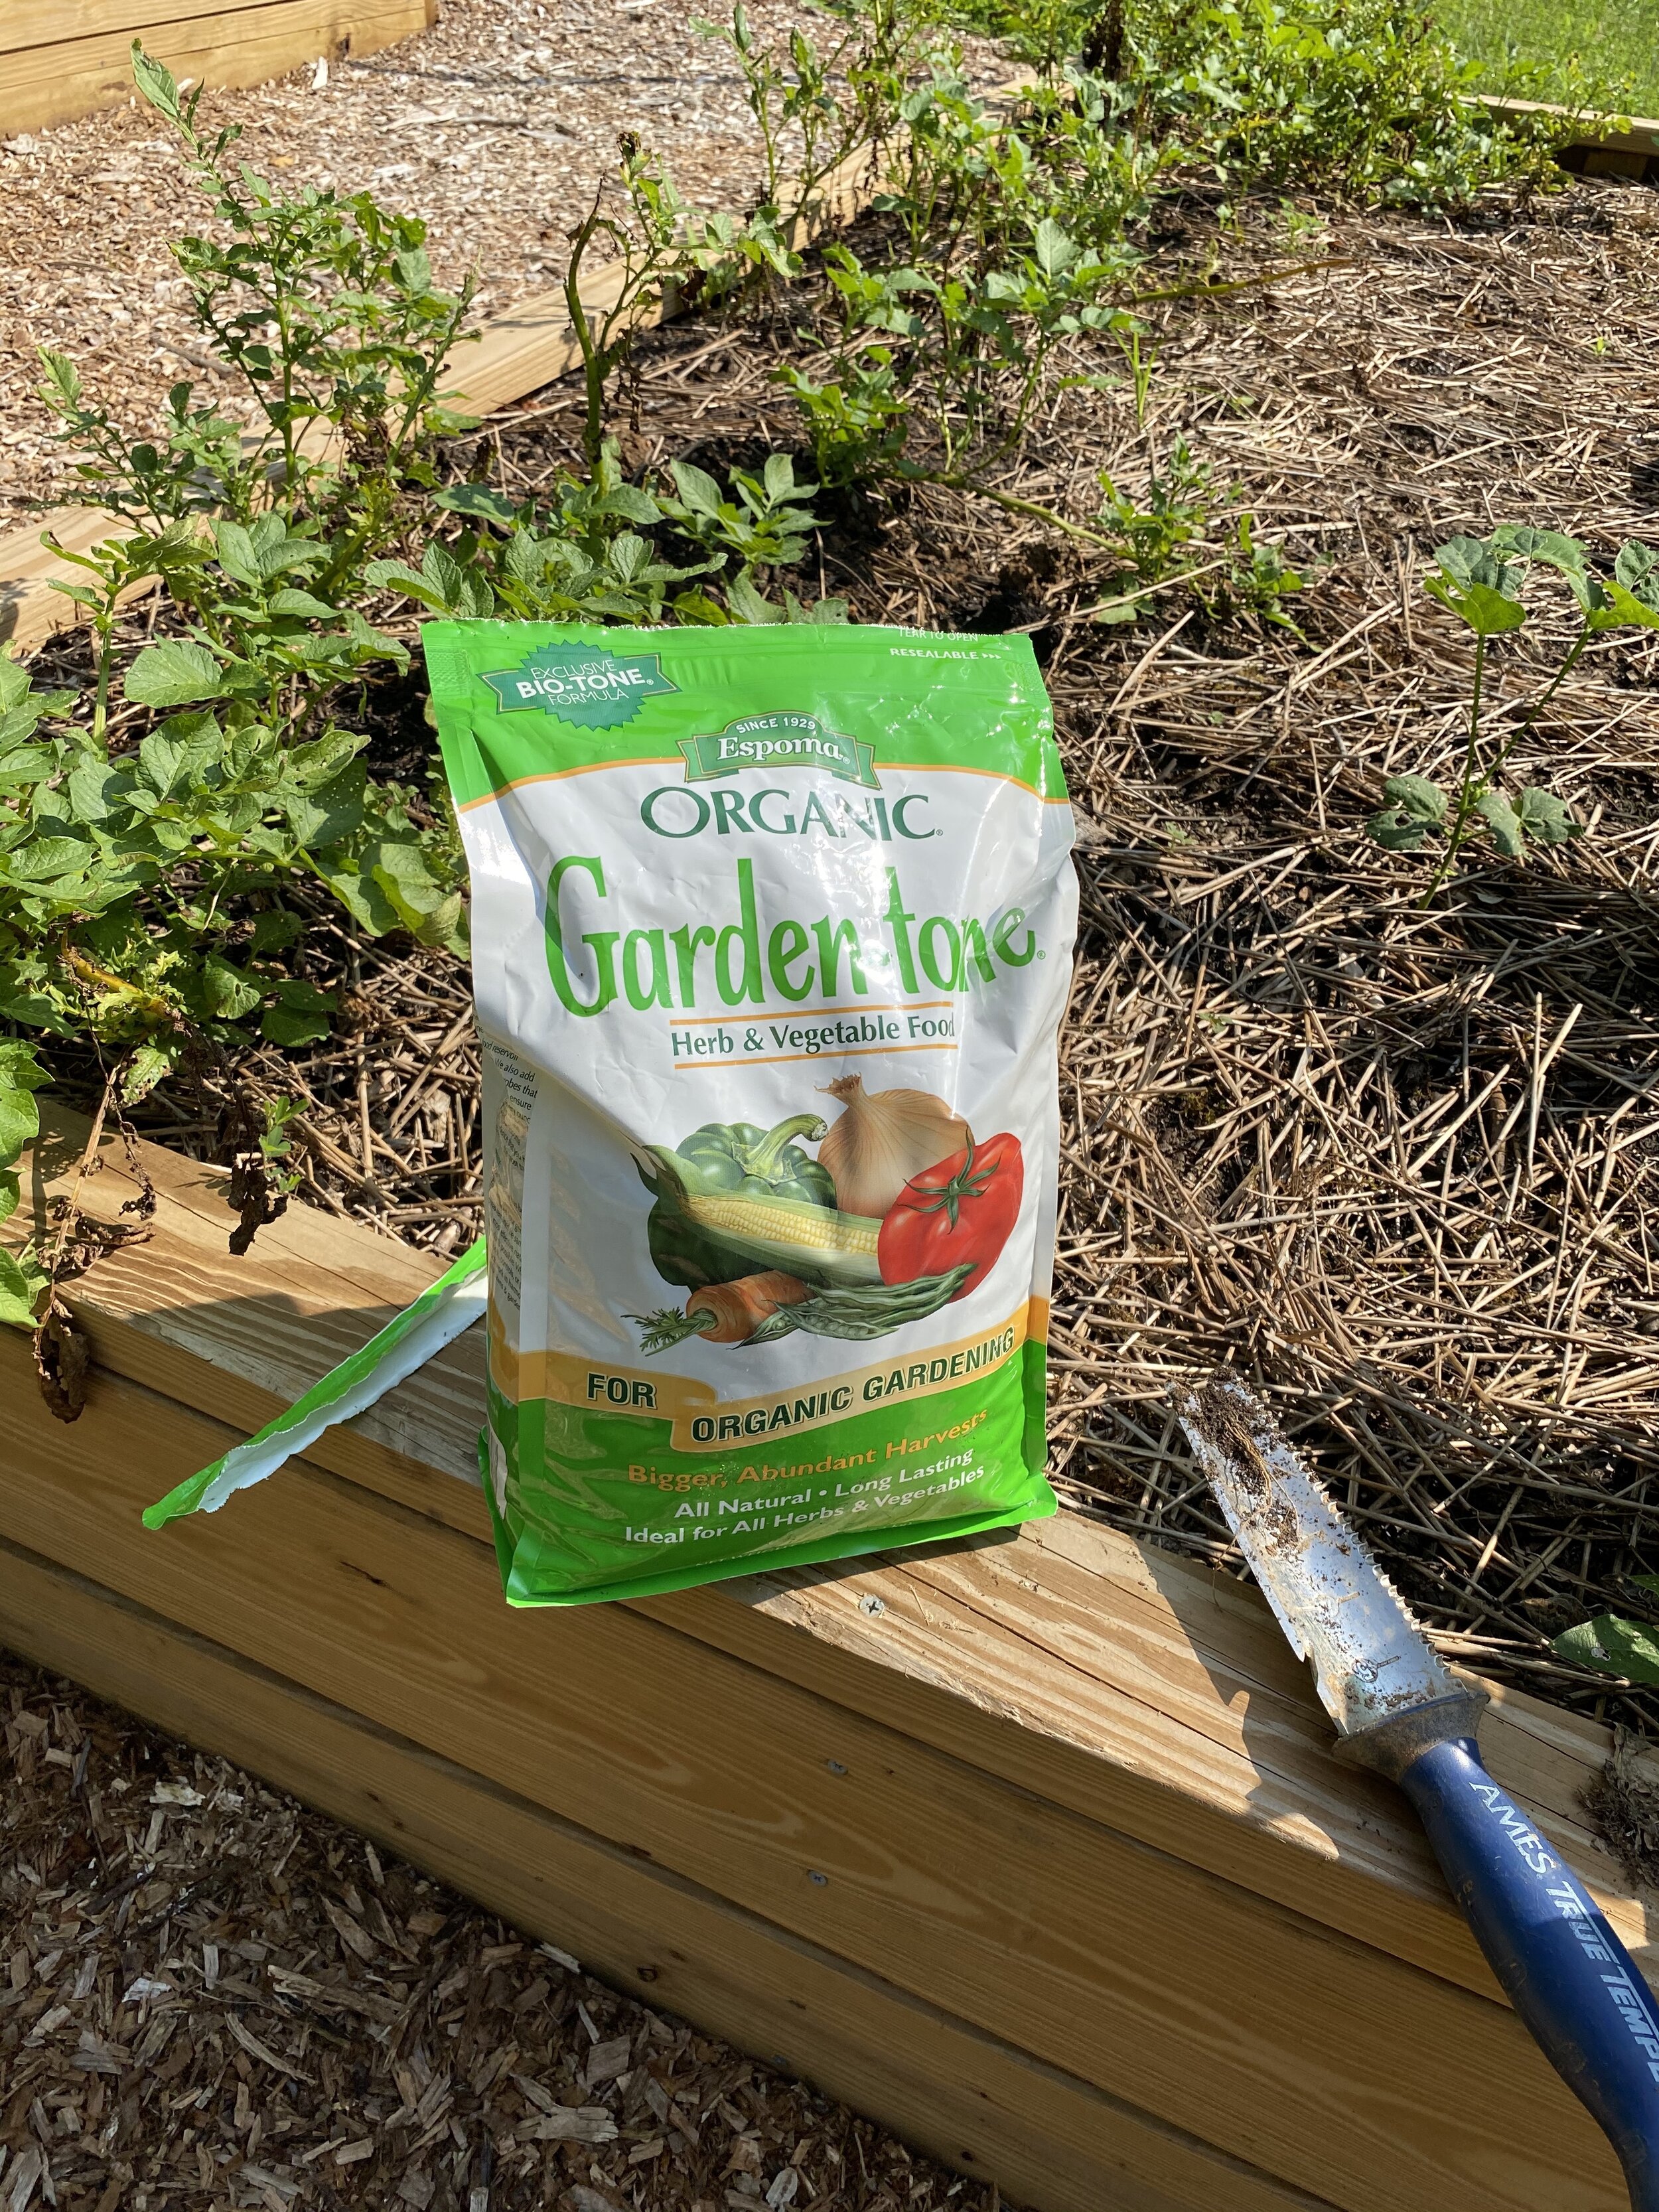
PROPER FEEDING for tomatoes
This was more of an intermediate skill for us, one we largely neglected during our first growing season. If you have great soil, you can still grow good fruit without feeding/fertilizing your tomatoes, but adding some organic fertilizer is worth the effort—you’ll get higher yields and healthier crops. You can go down many internet rabbit holes when it comes to fertilizer (organic vs. inorganic; granular vs. liquid, dozens of types, brands and methods), but for our first time we just used some all-purpose Espoma Garden Tone organic fertilizer, spreading a little in the holes when we planted them and then reapplying around the base (~6 inches from the stem) every month. Your plants will thank you.


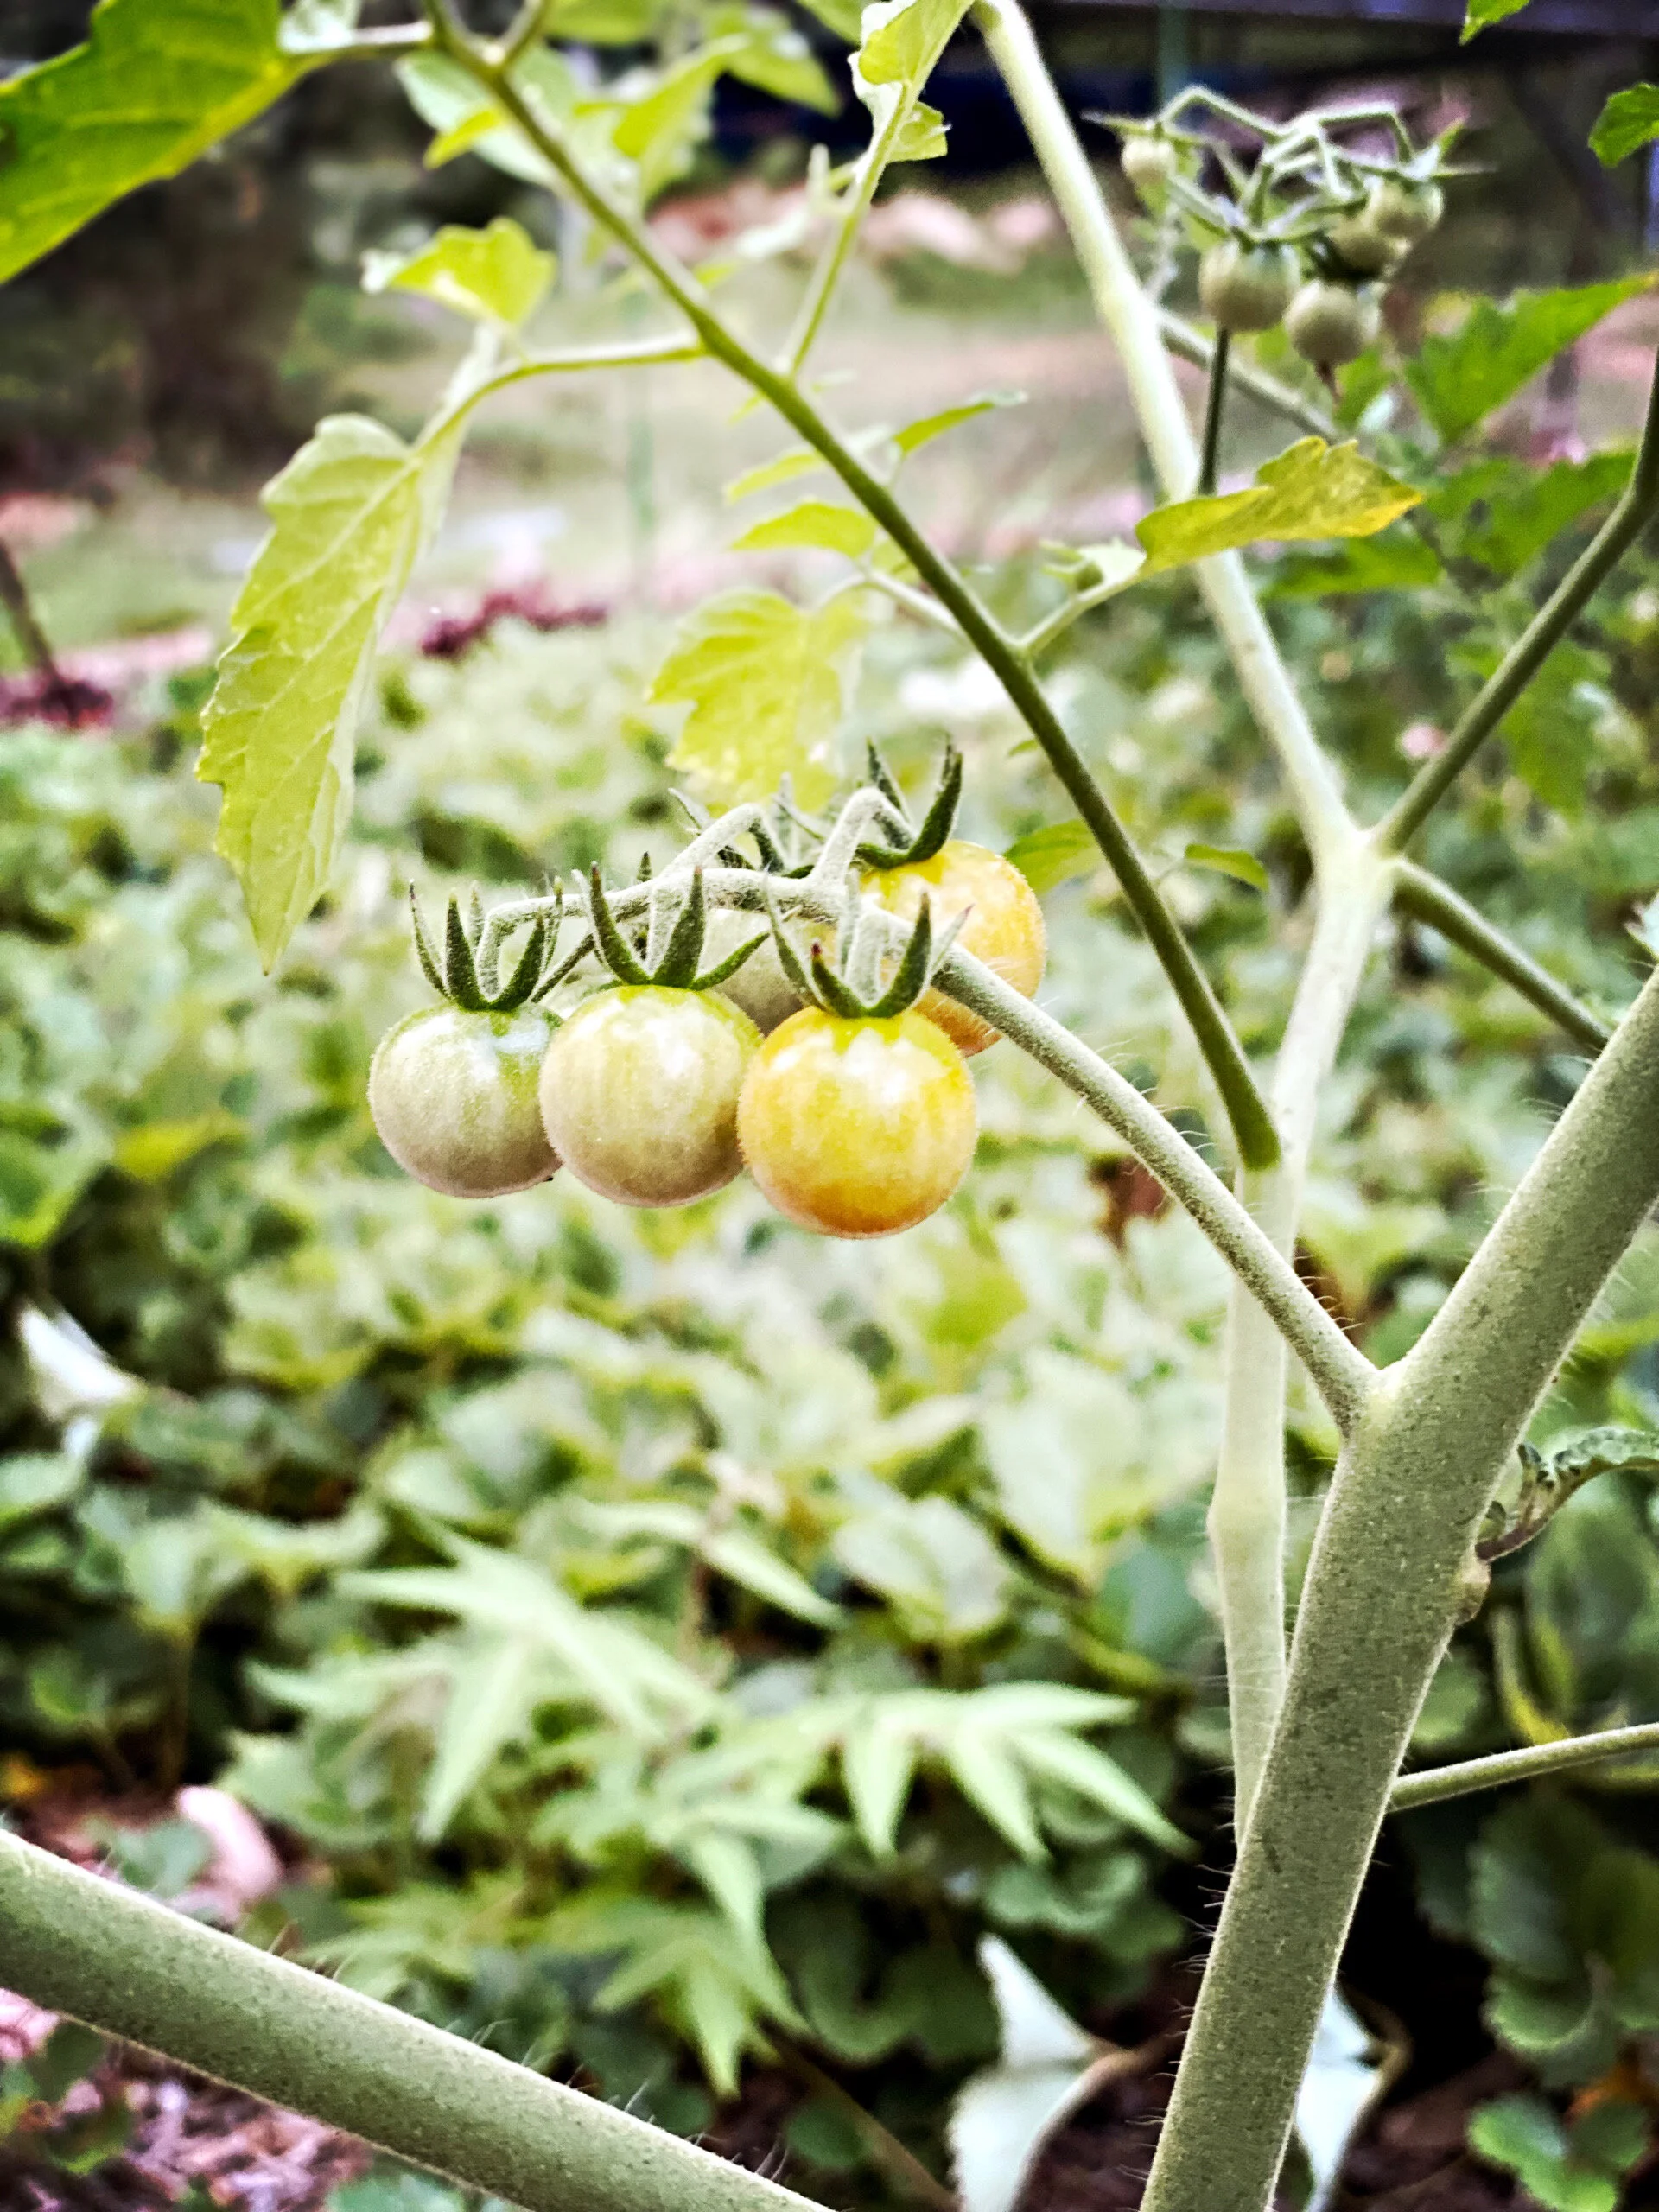
WHEN TO HARVEST tomatoes
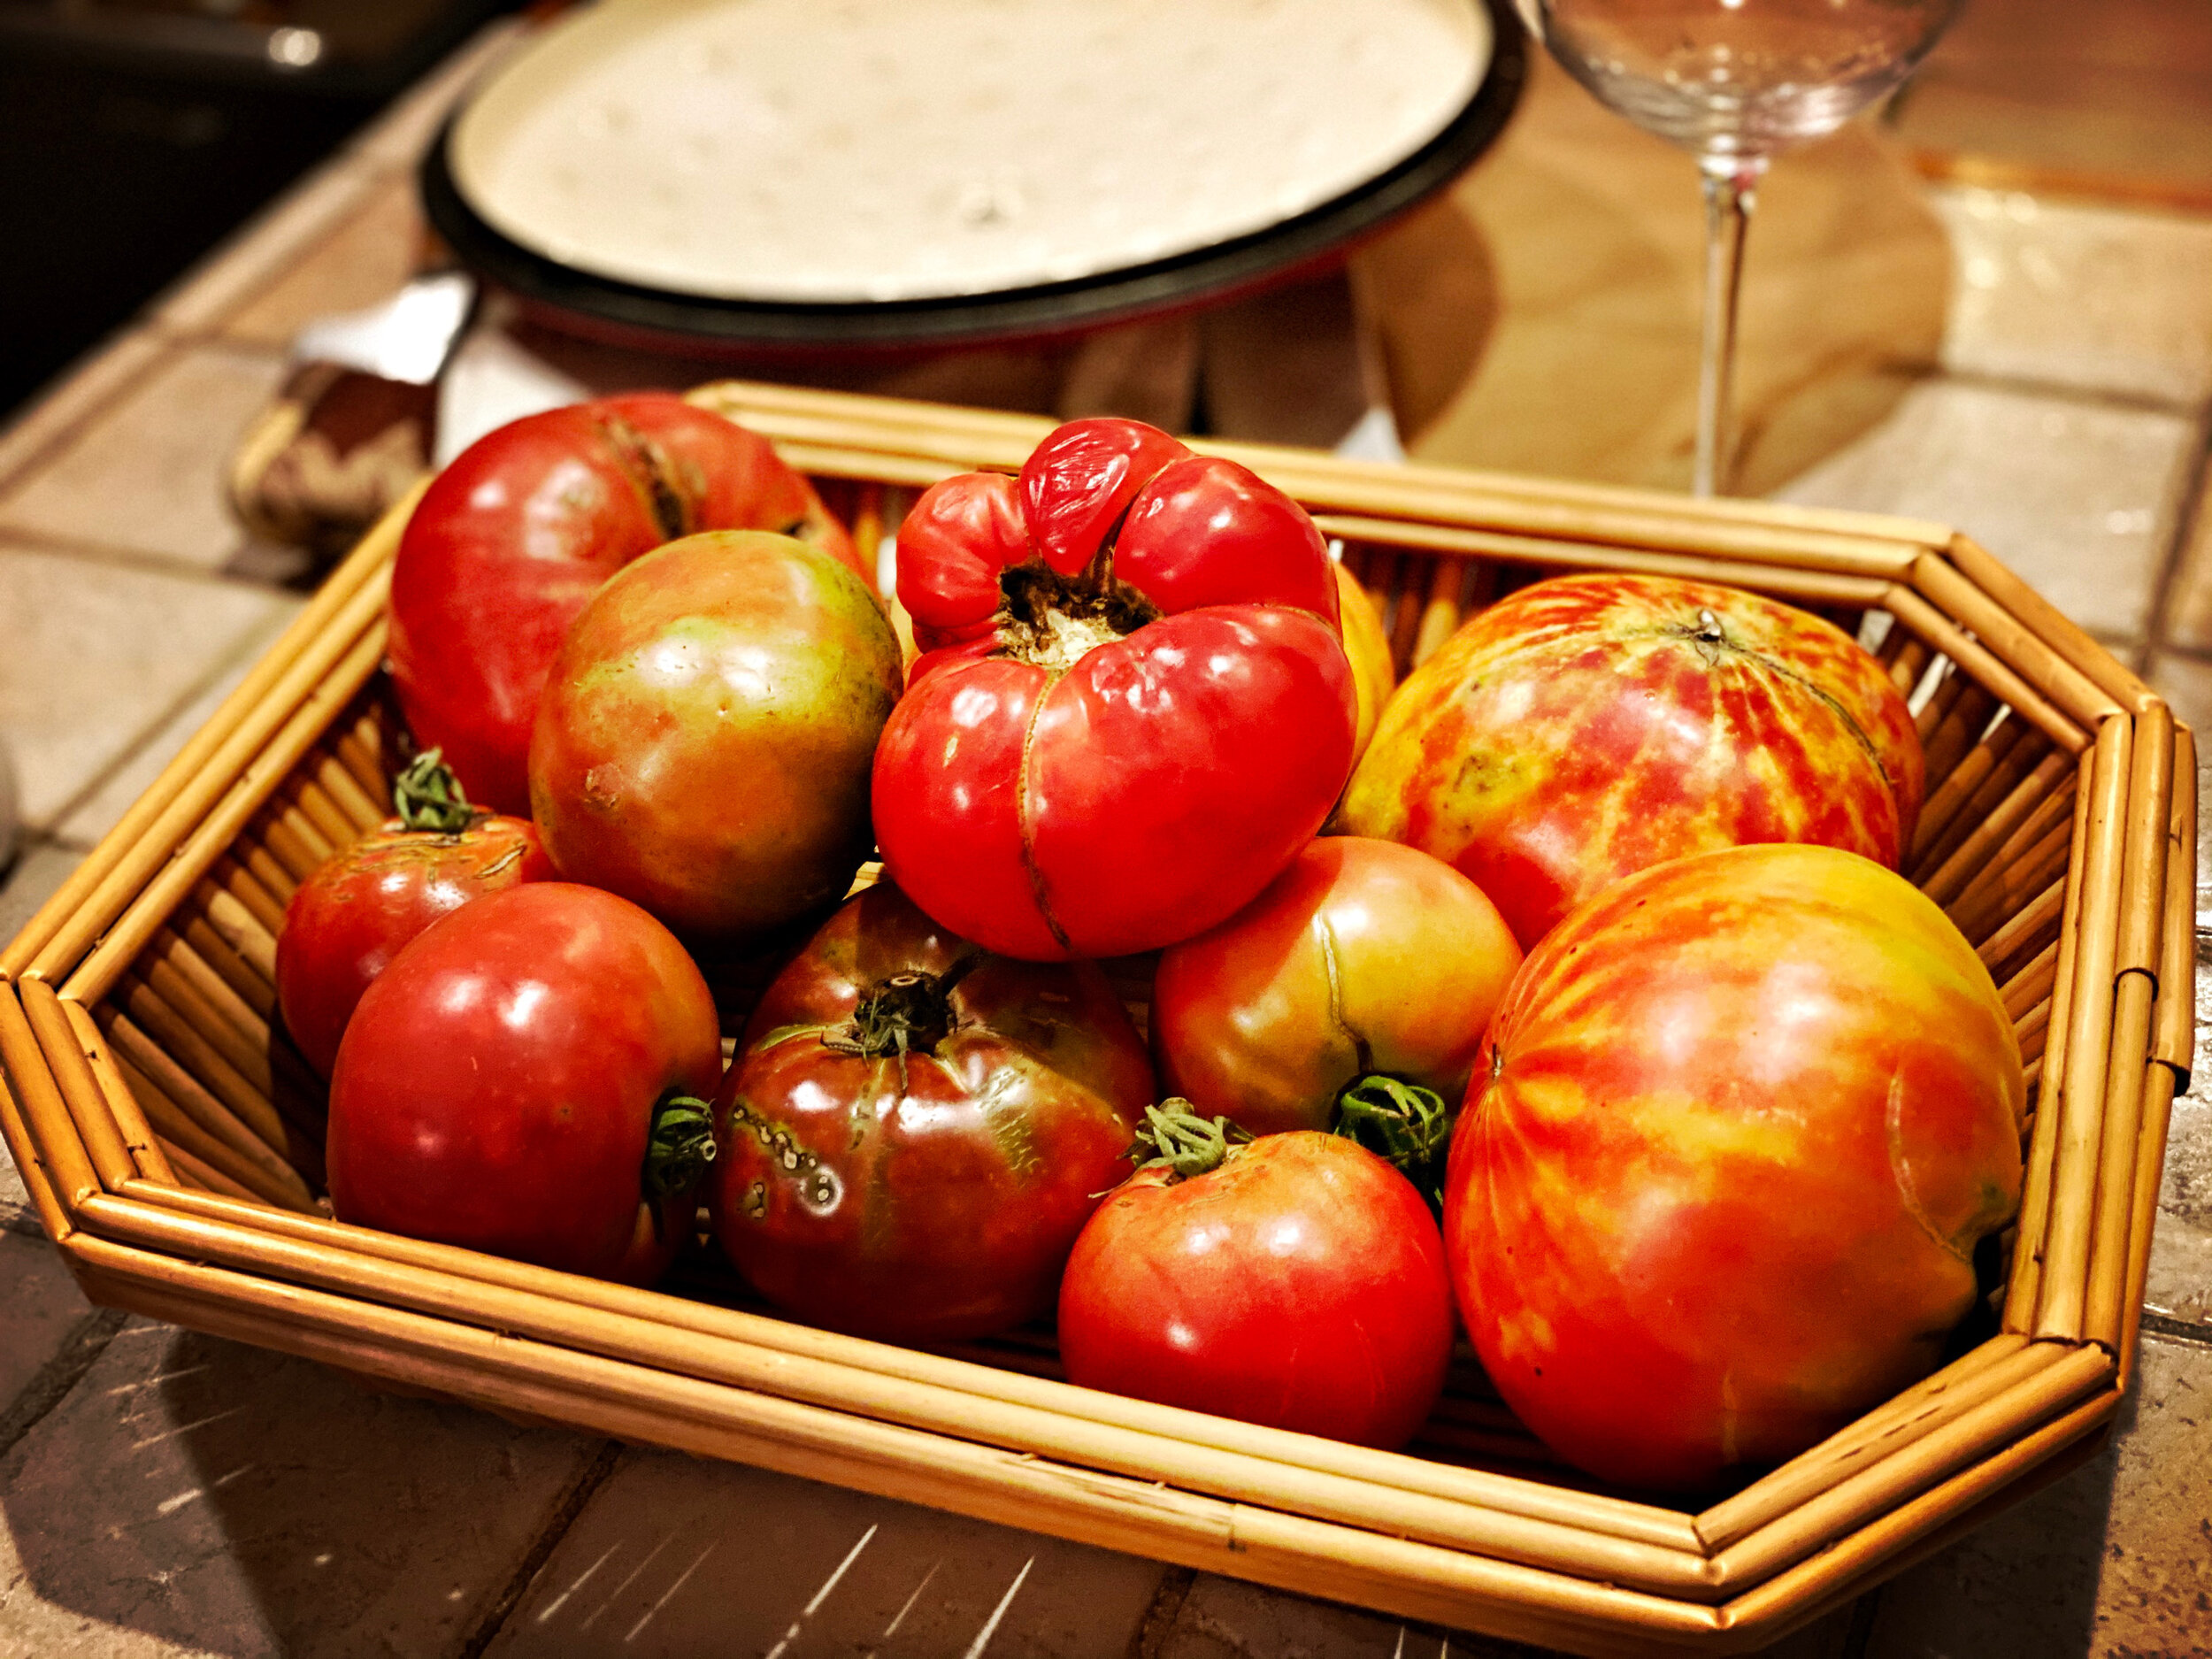
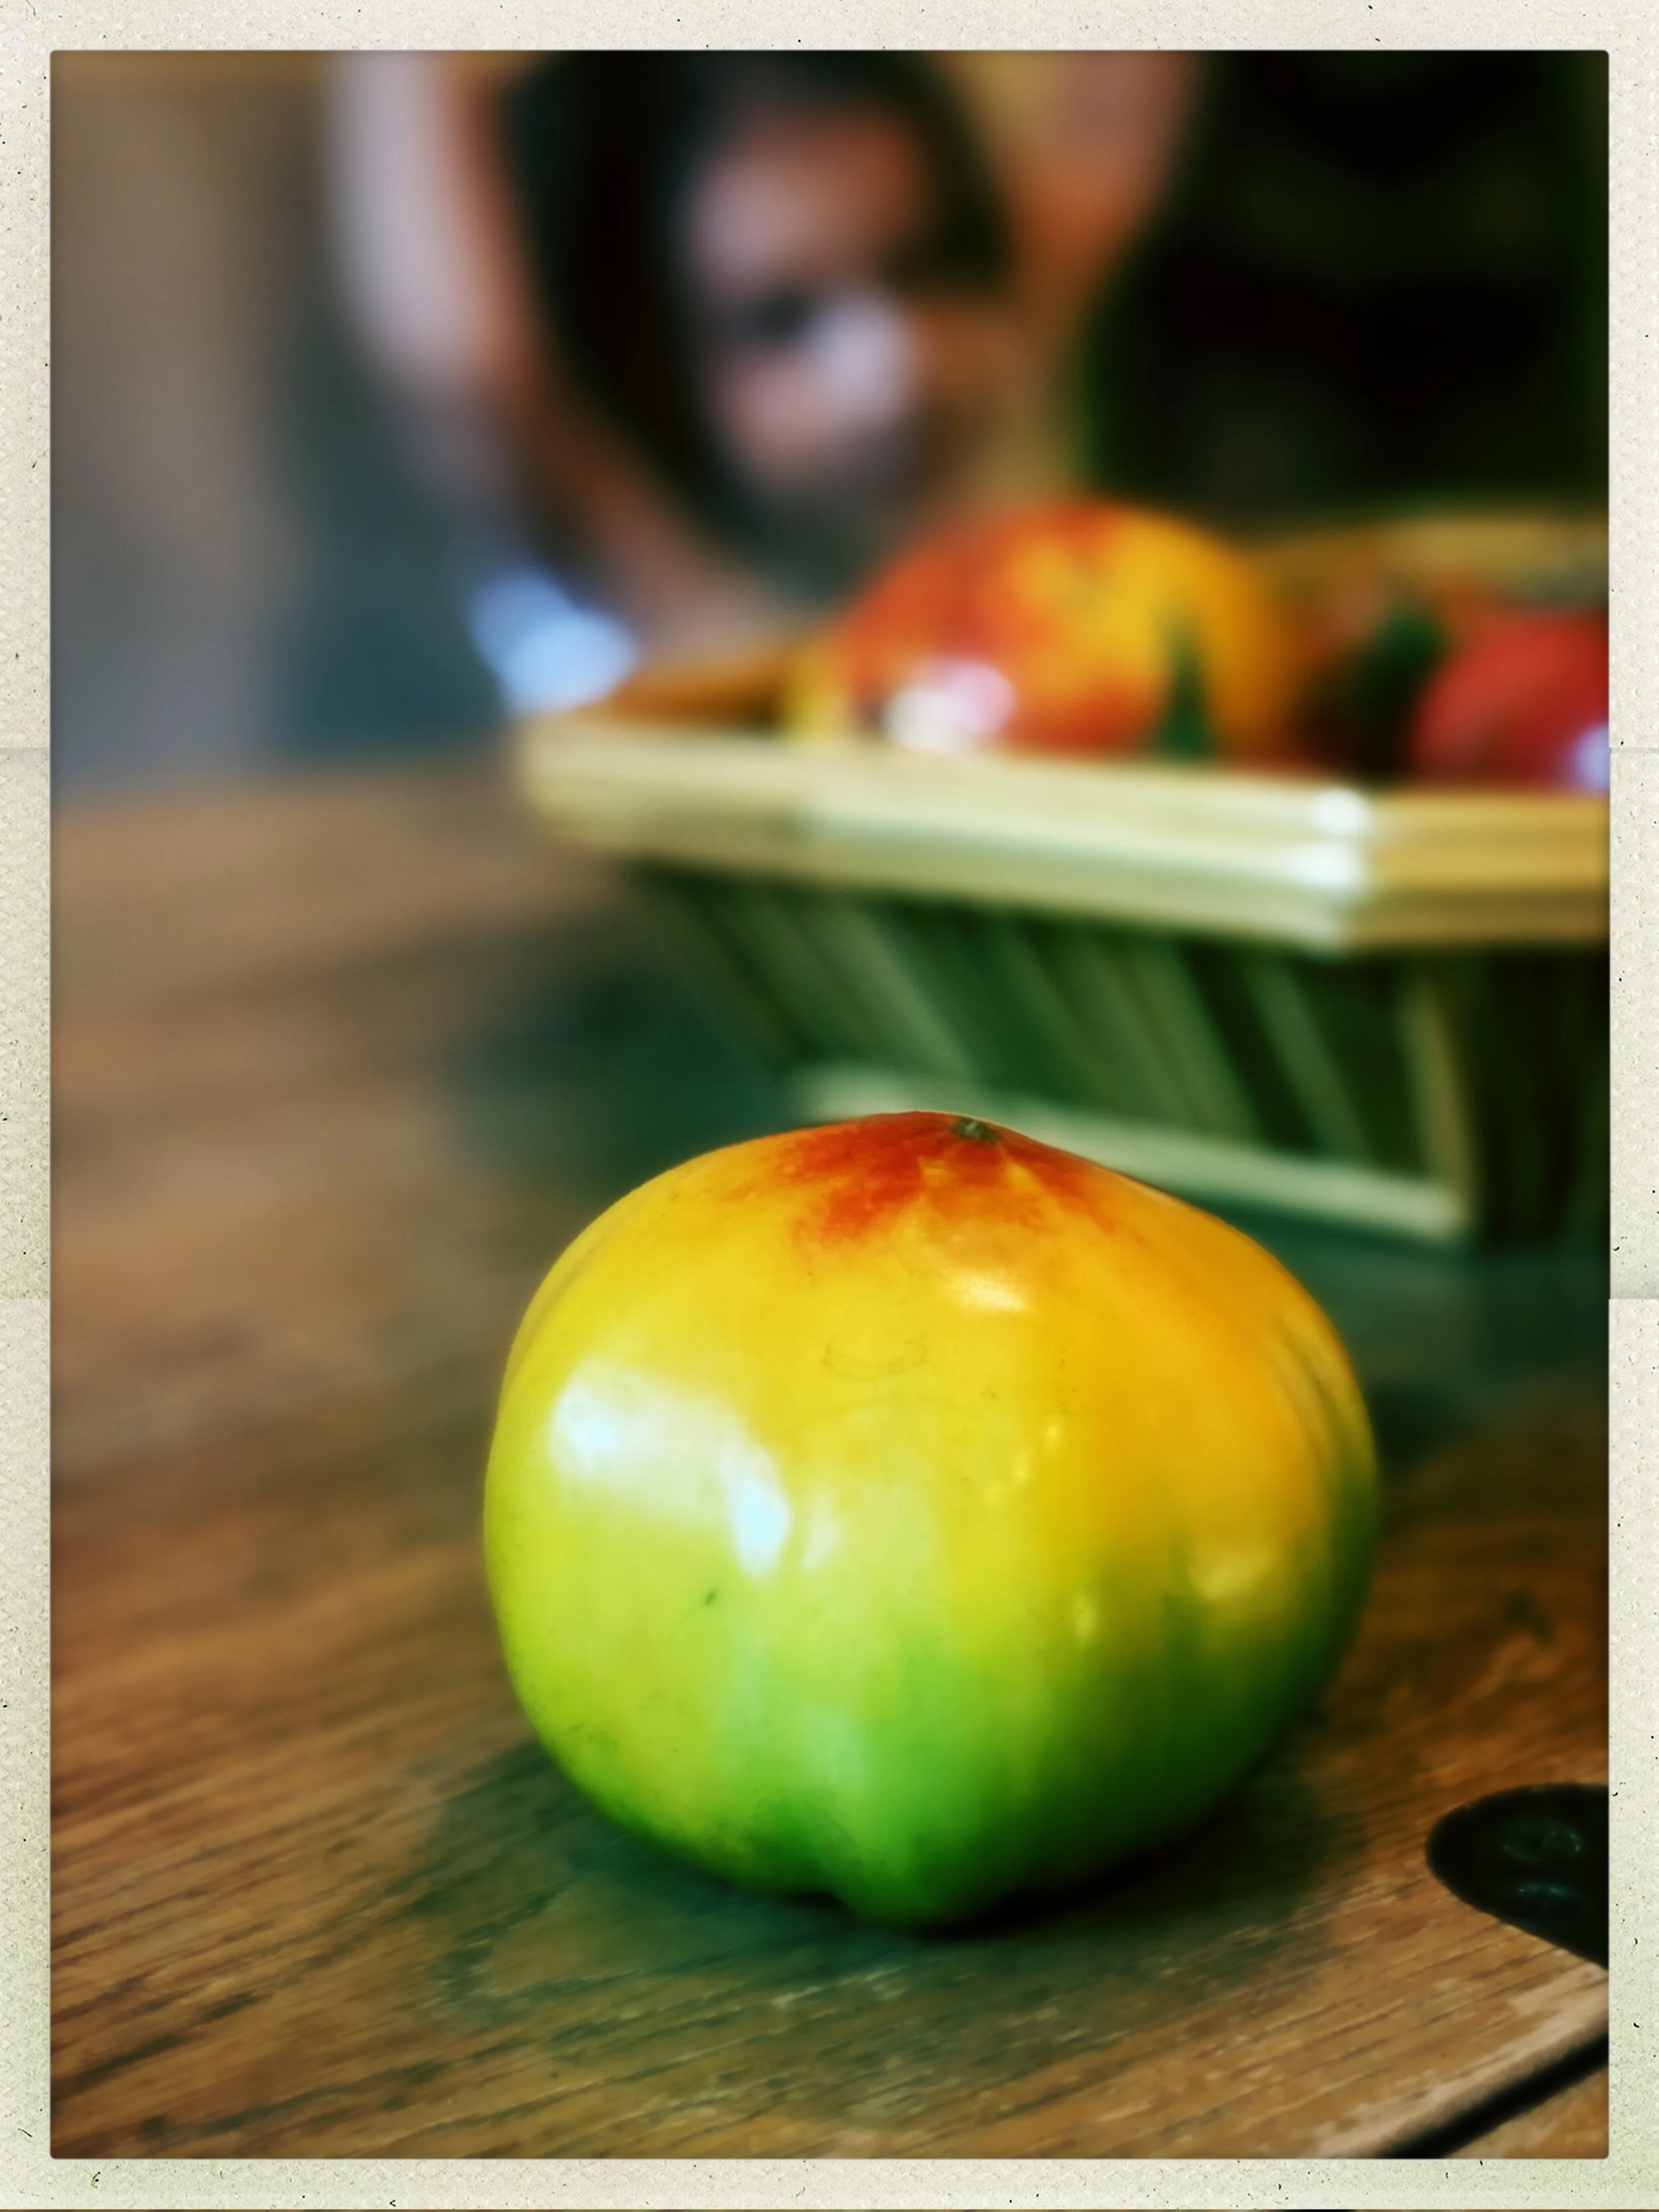
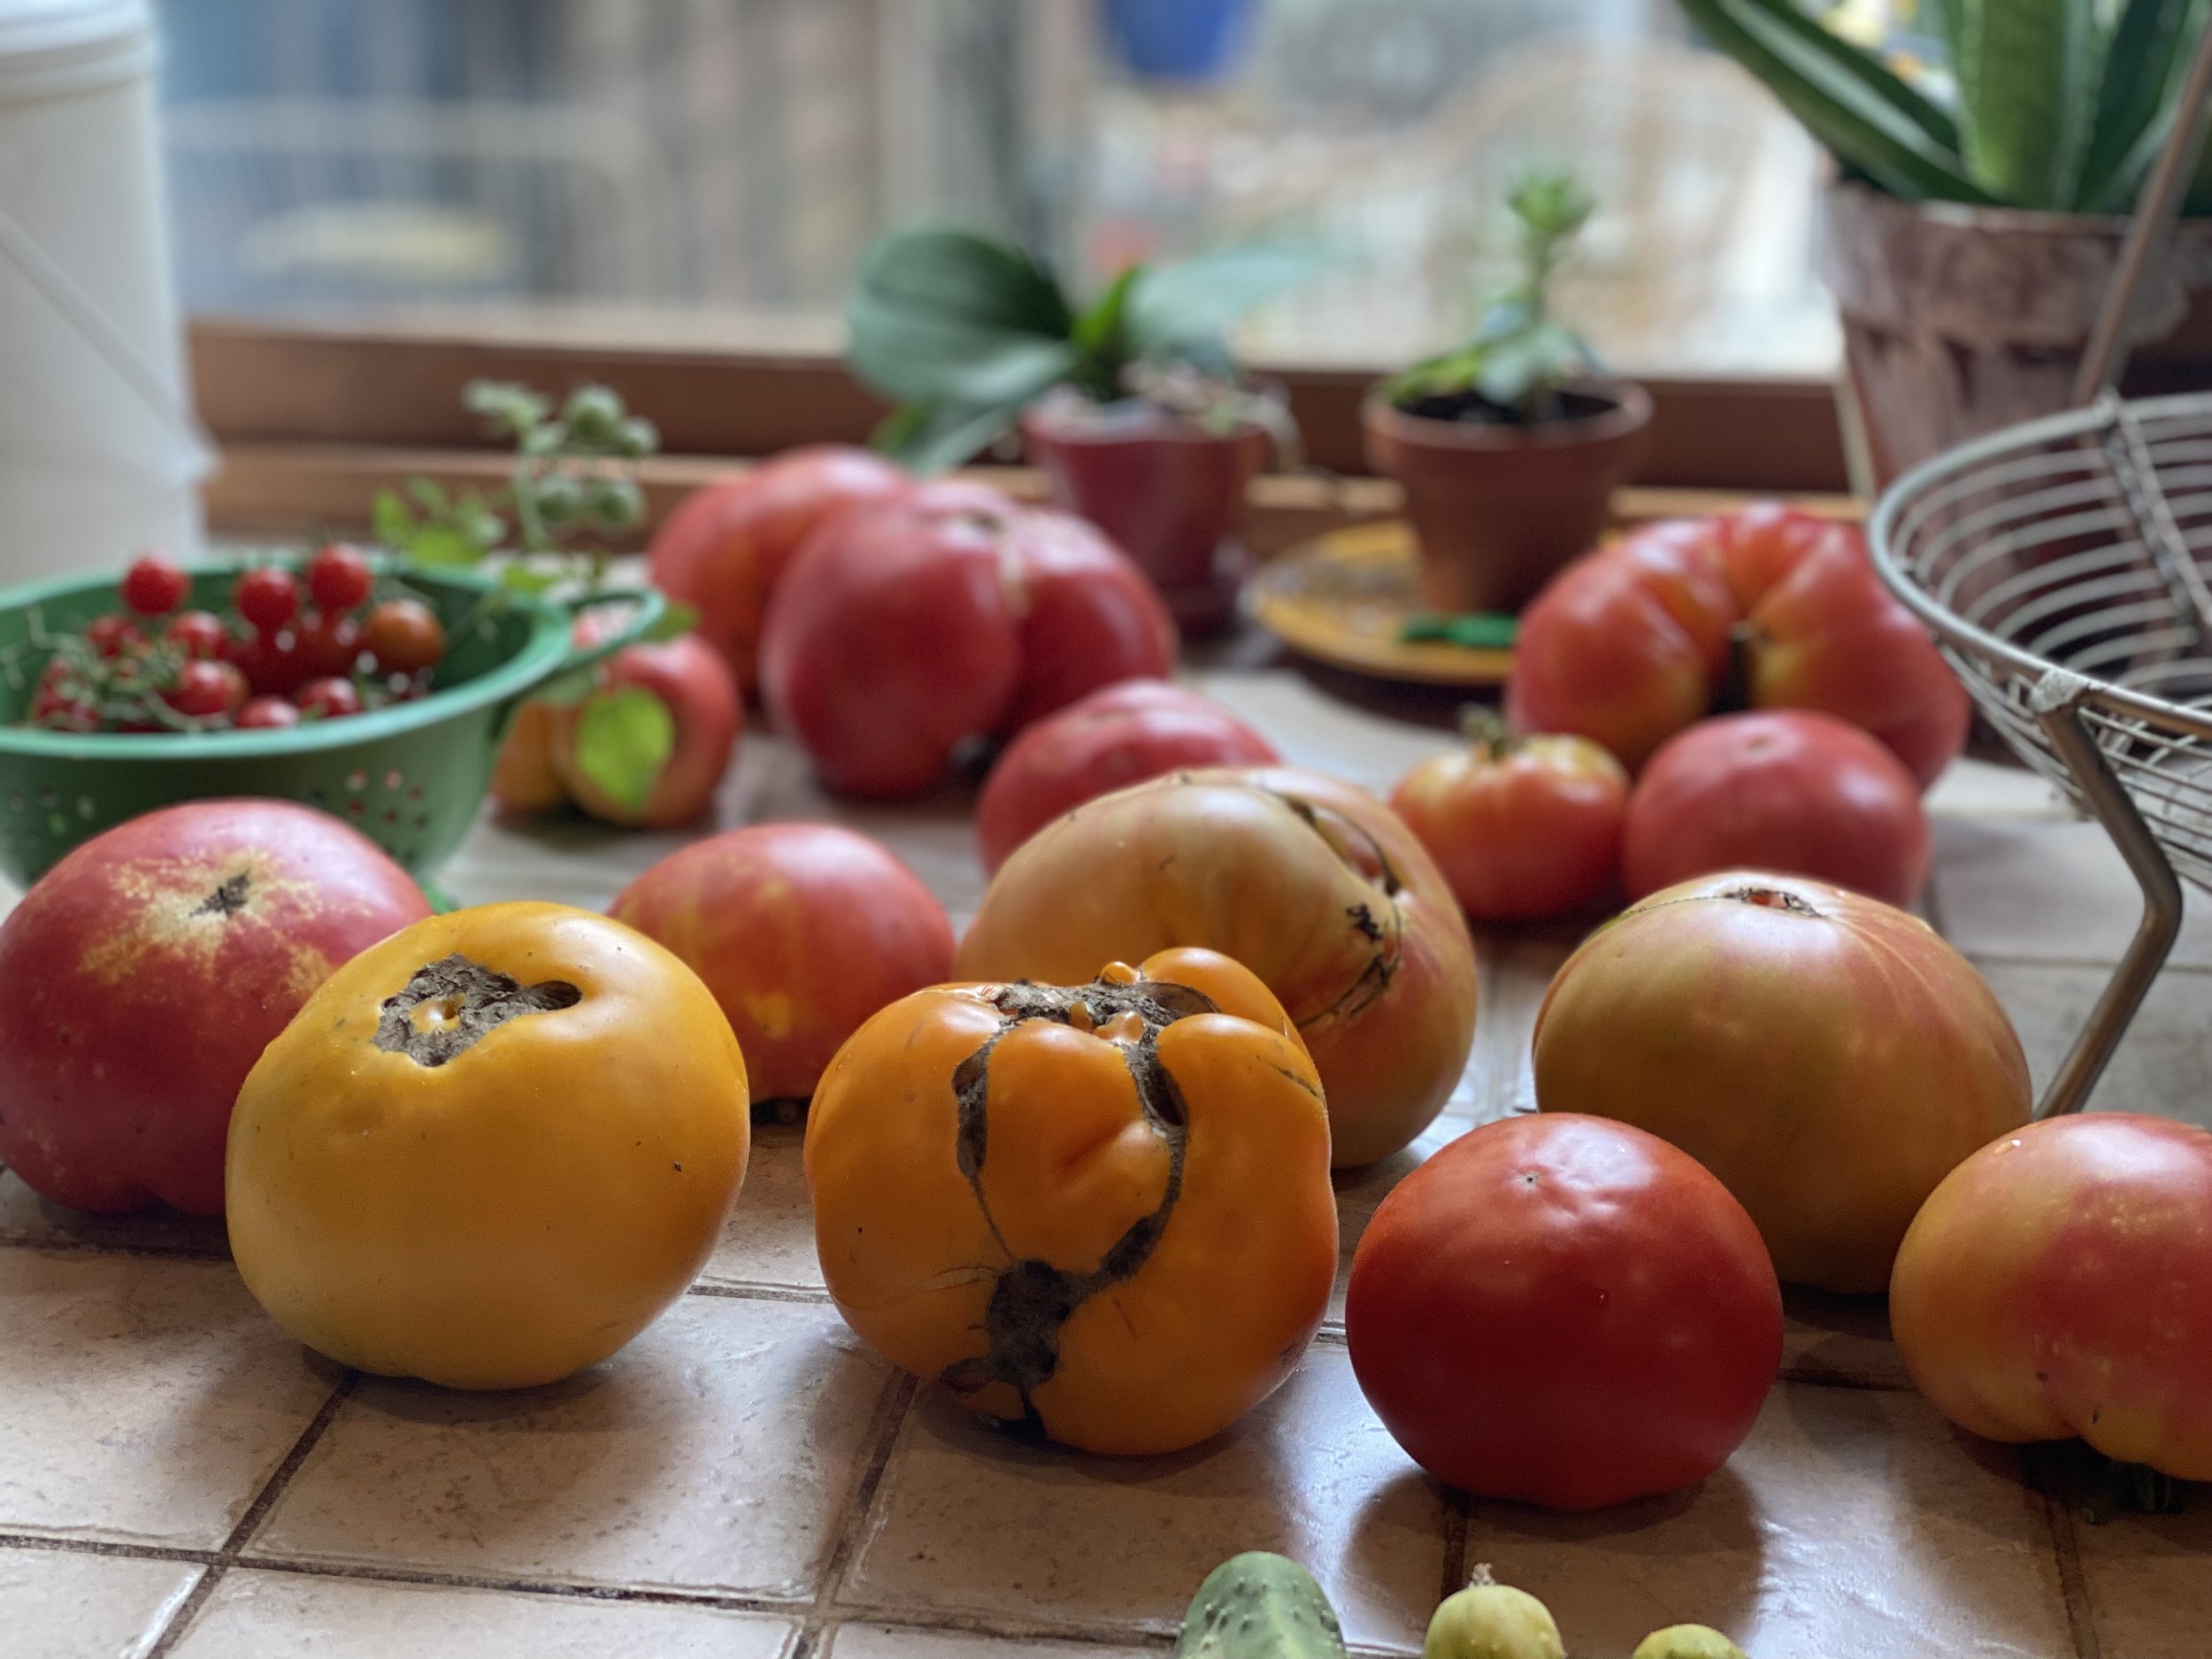
I also initially made the mistake of harvesting some tomatoes too late, when they started getting scorched by the sun or fell prey to pests or disease. You can actually harvest most tomatoes shortly after they start showing color and then let them fully ripen indoors. Sit 'em on the counter stem side down, maybe near a window.
SAVING SEEDS FOR NEXT YEAR
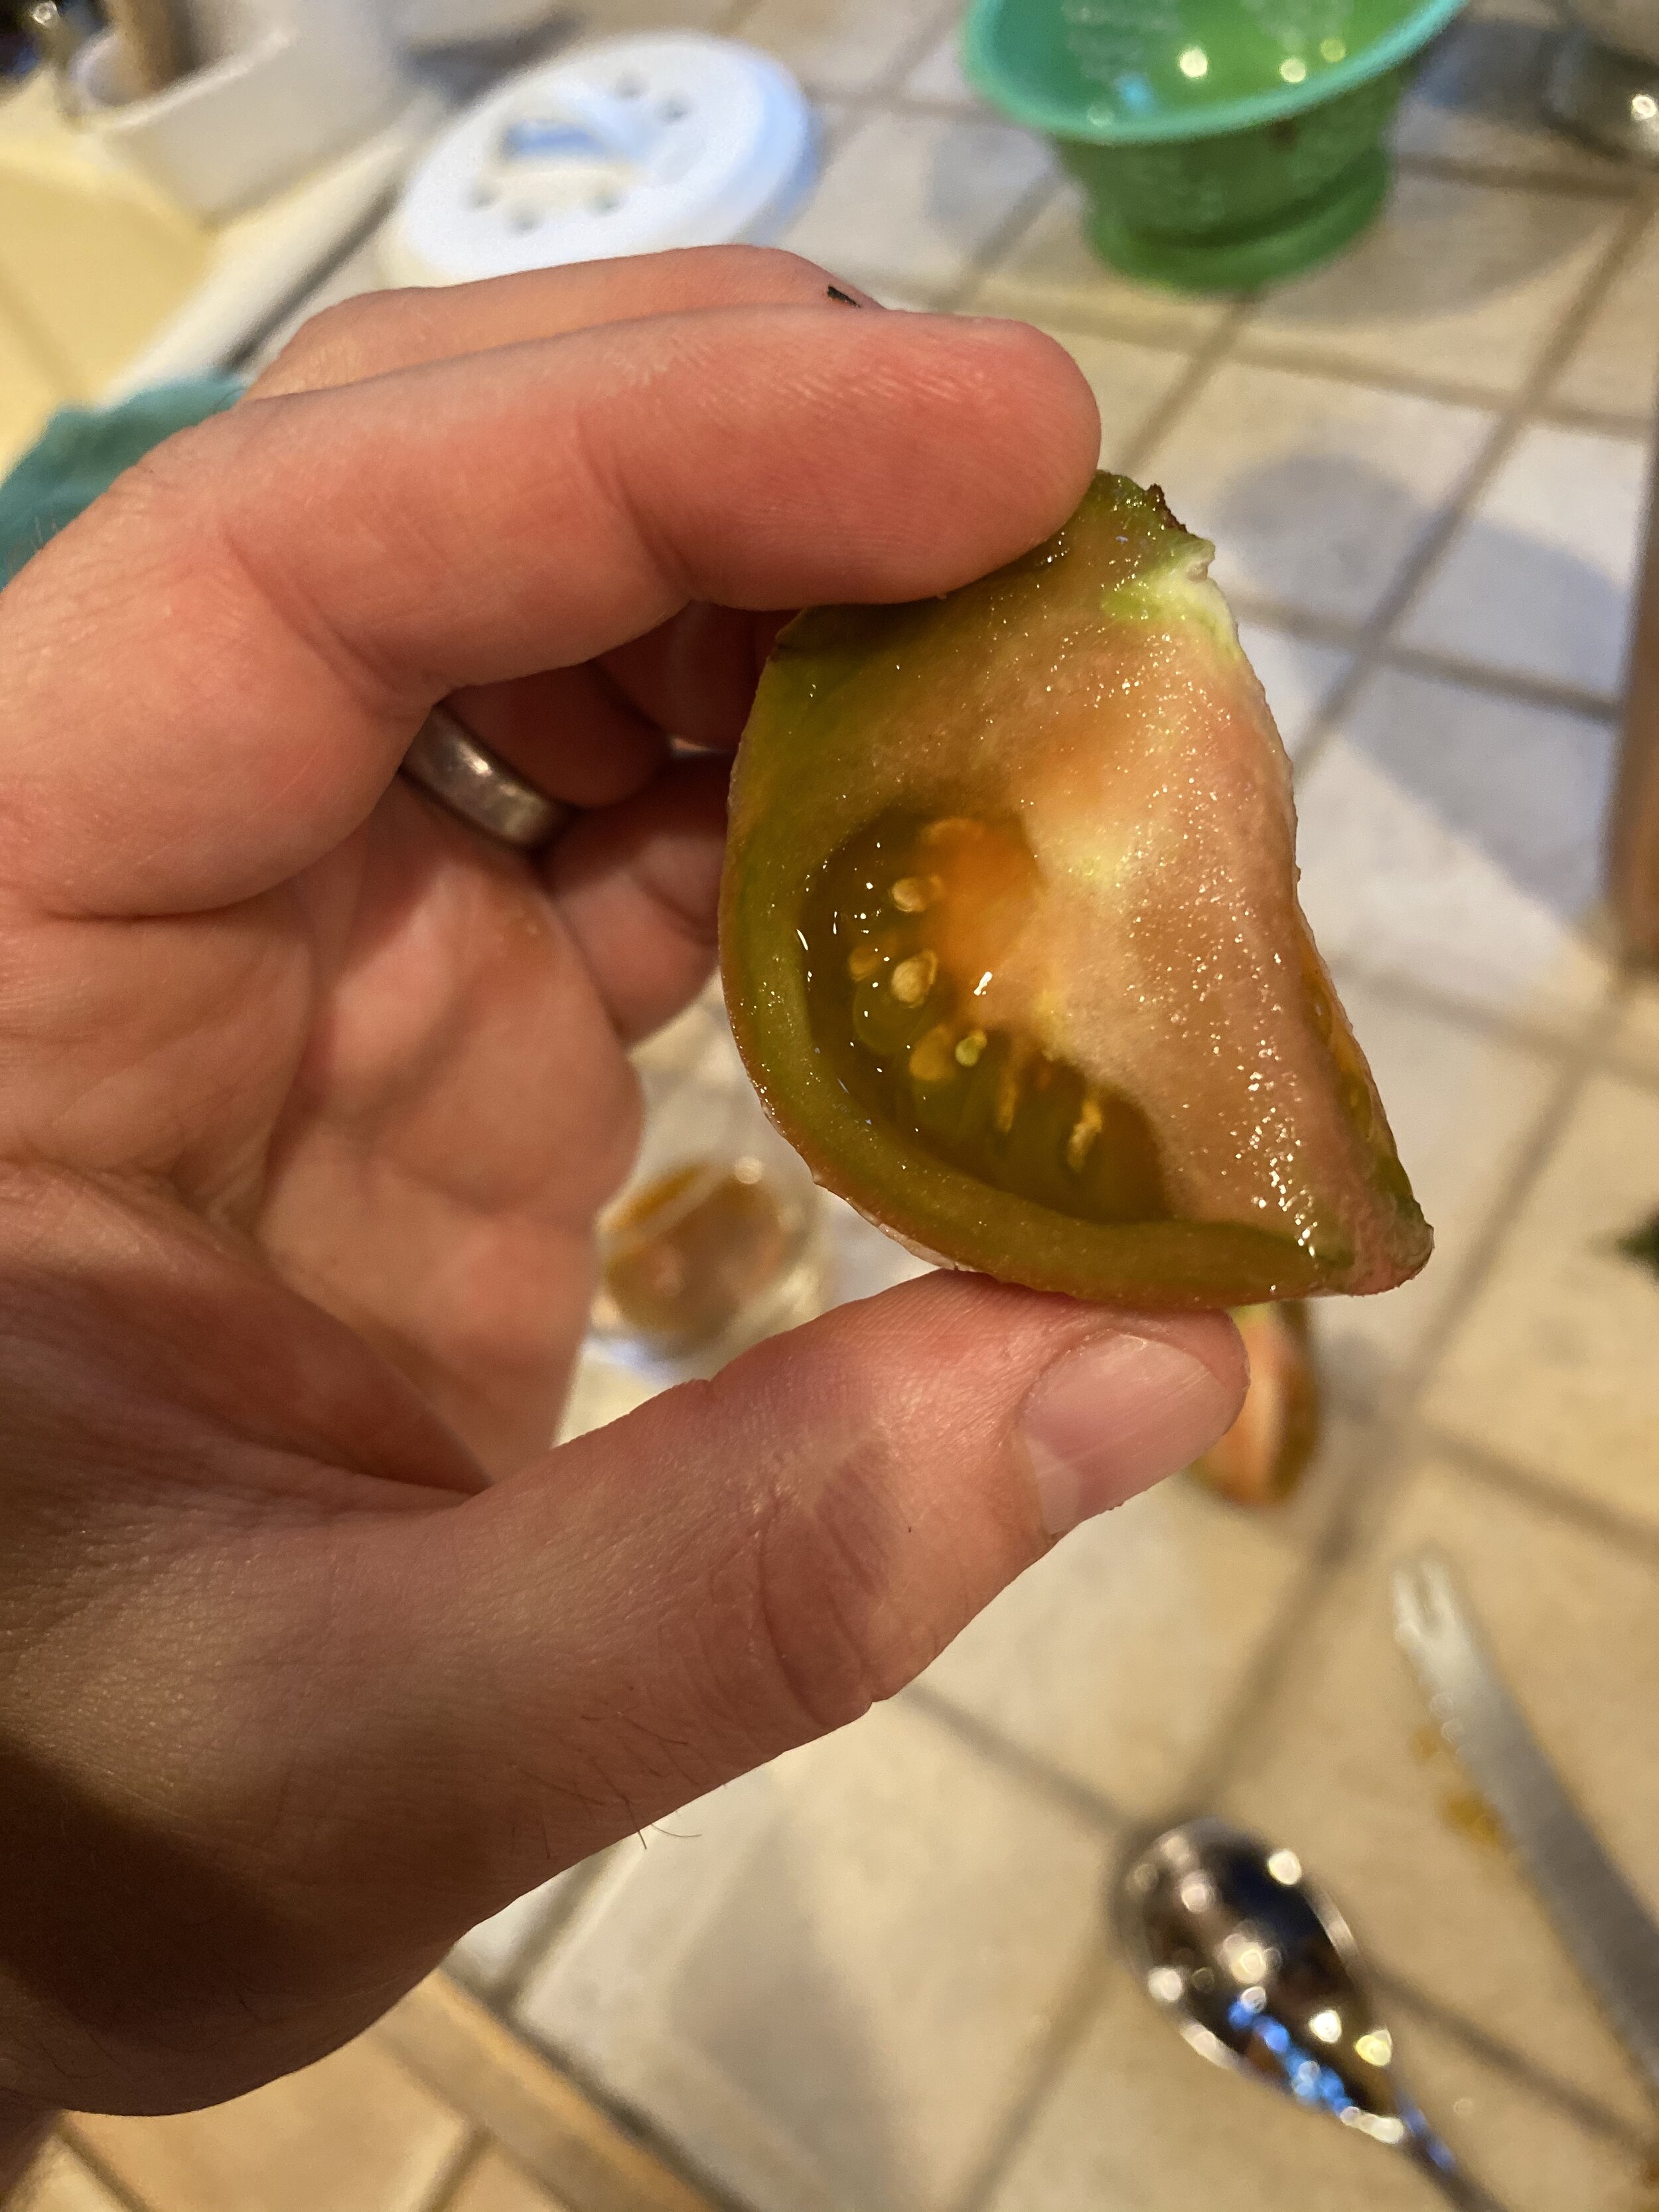
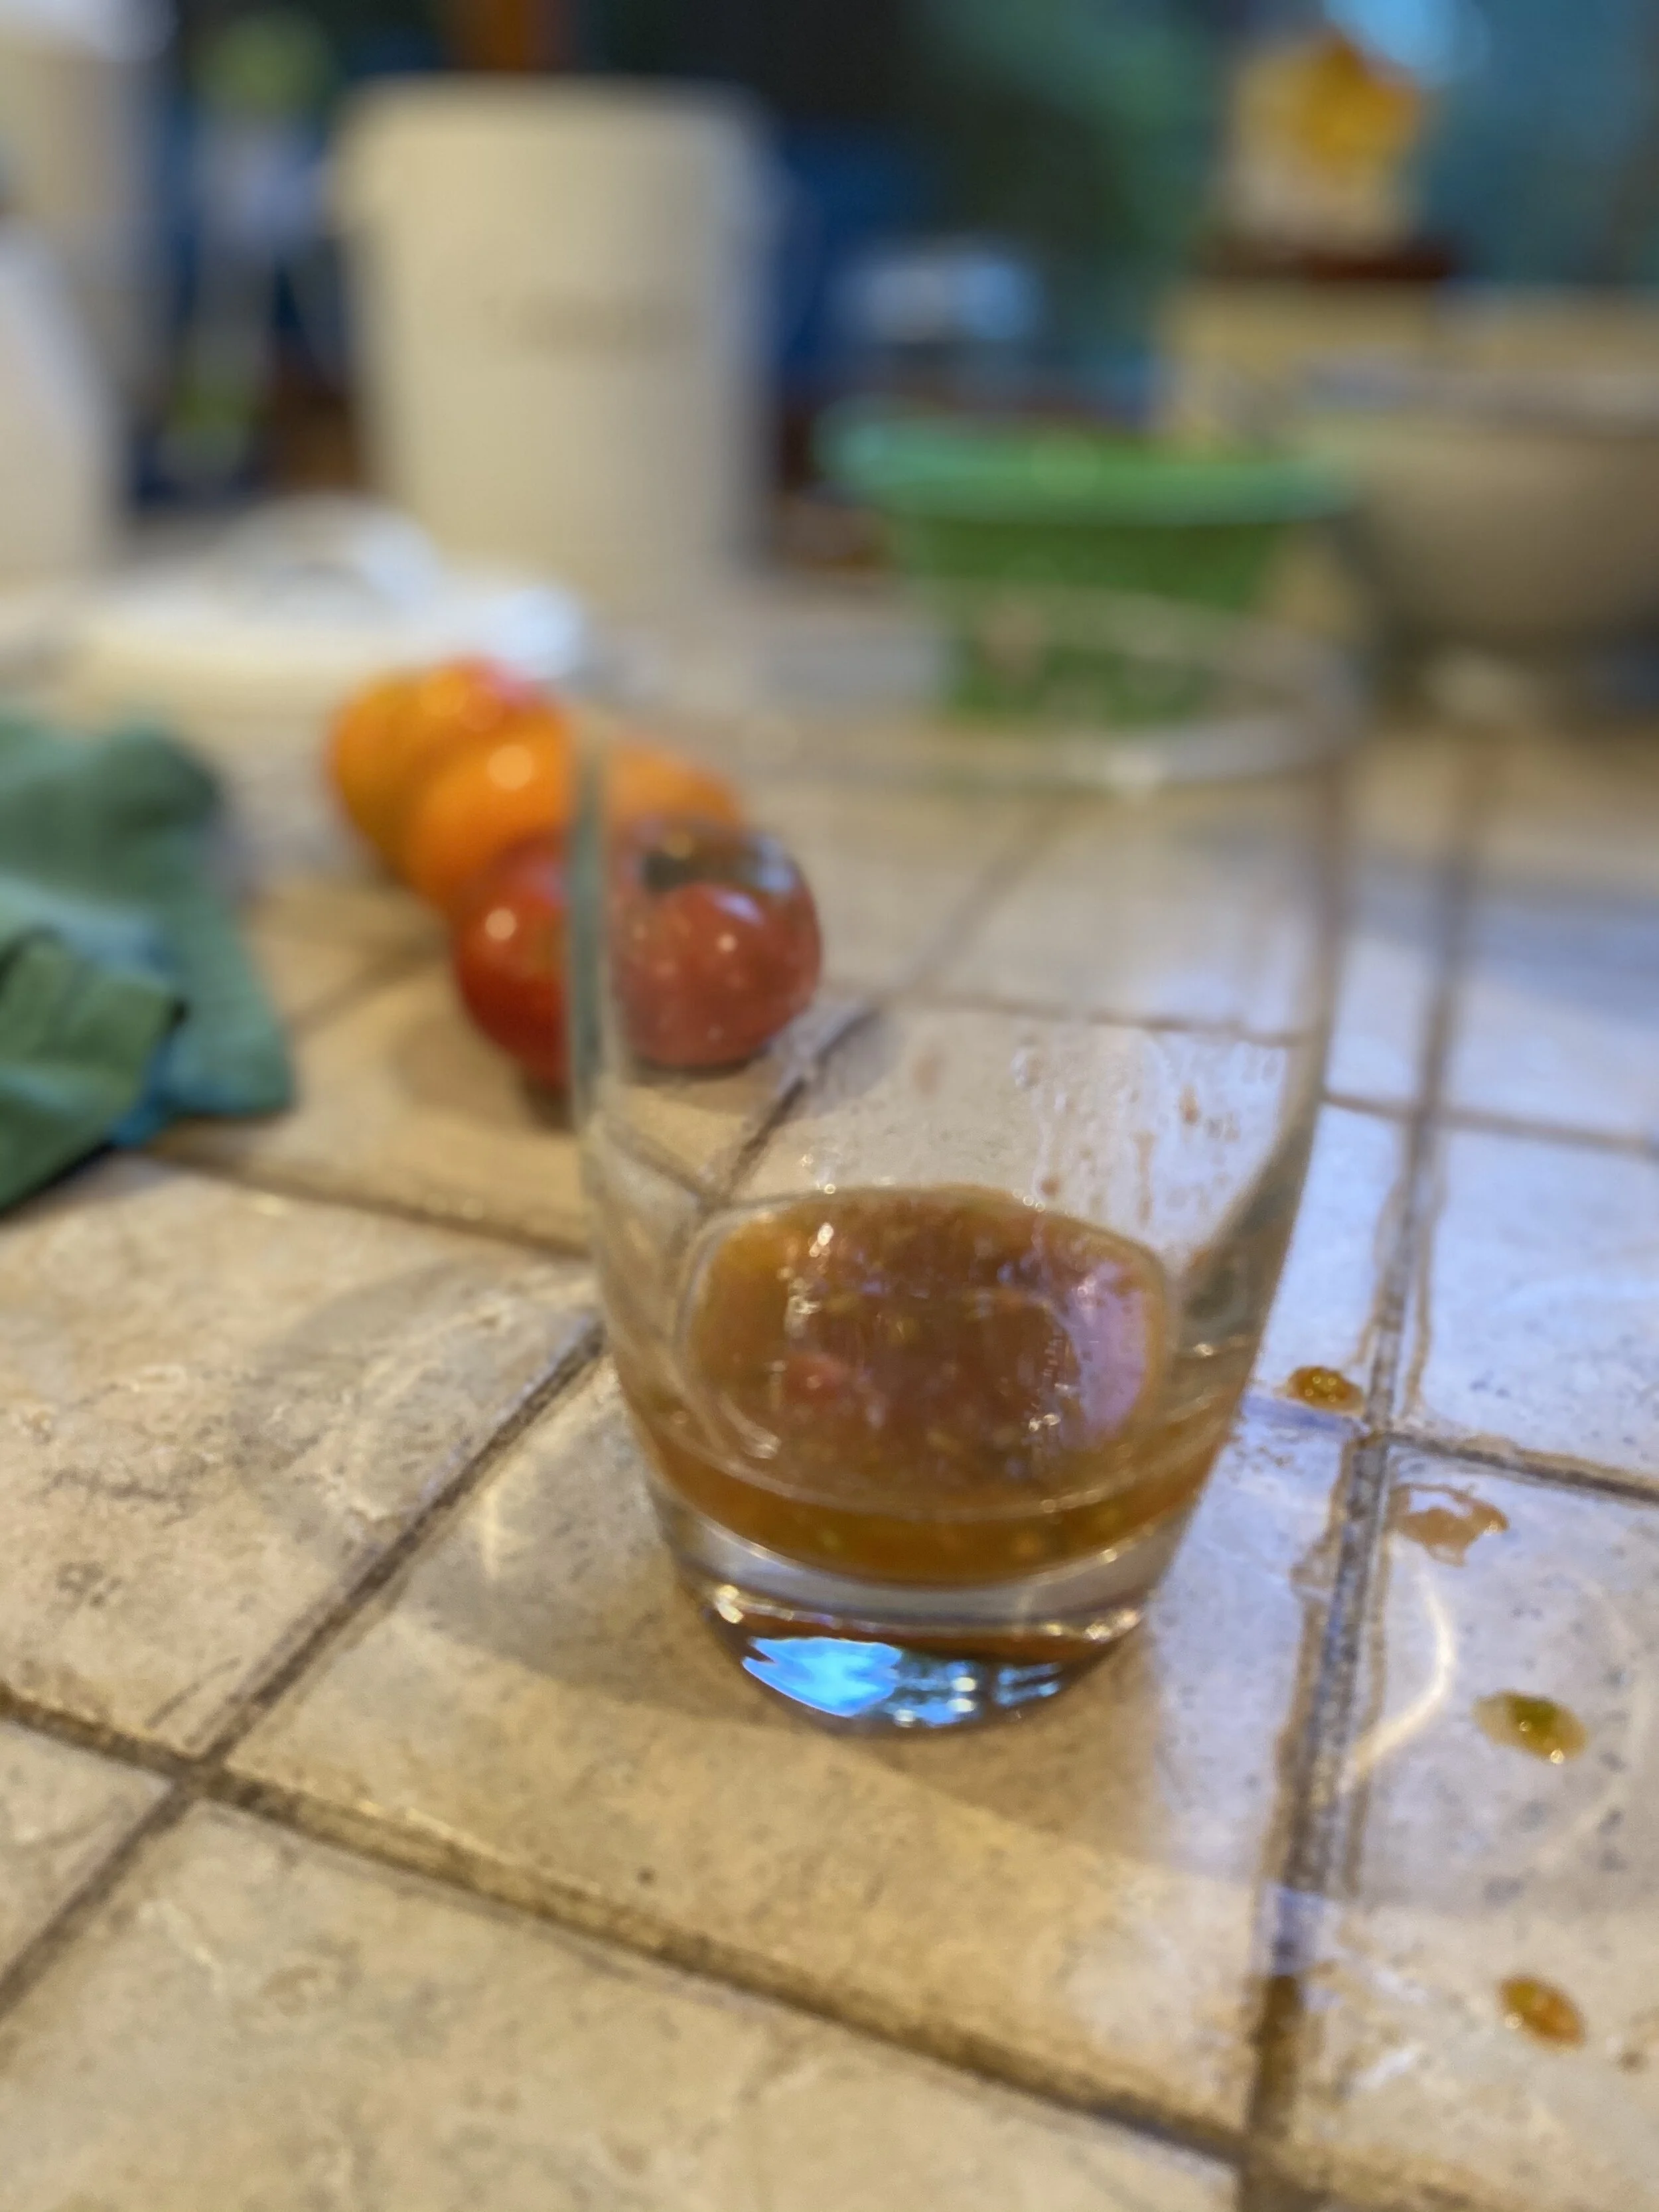
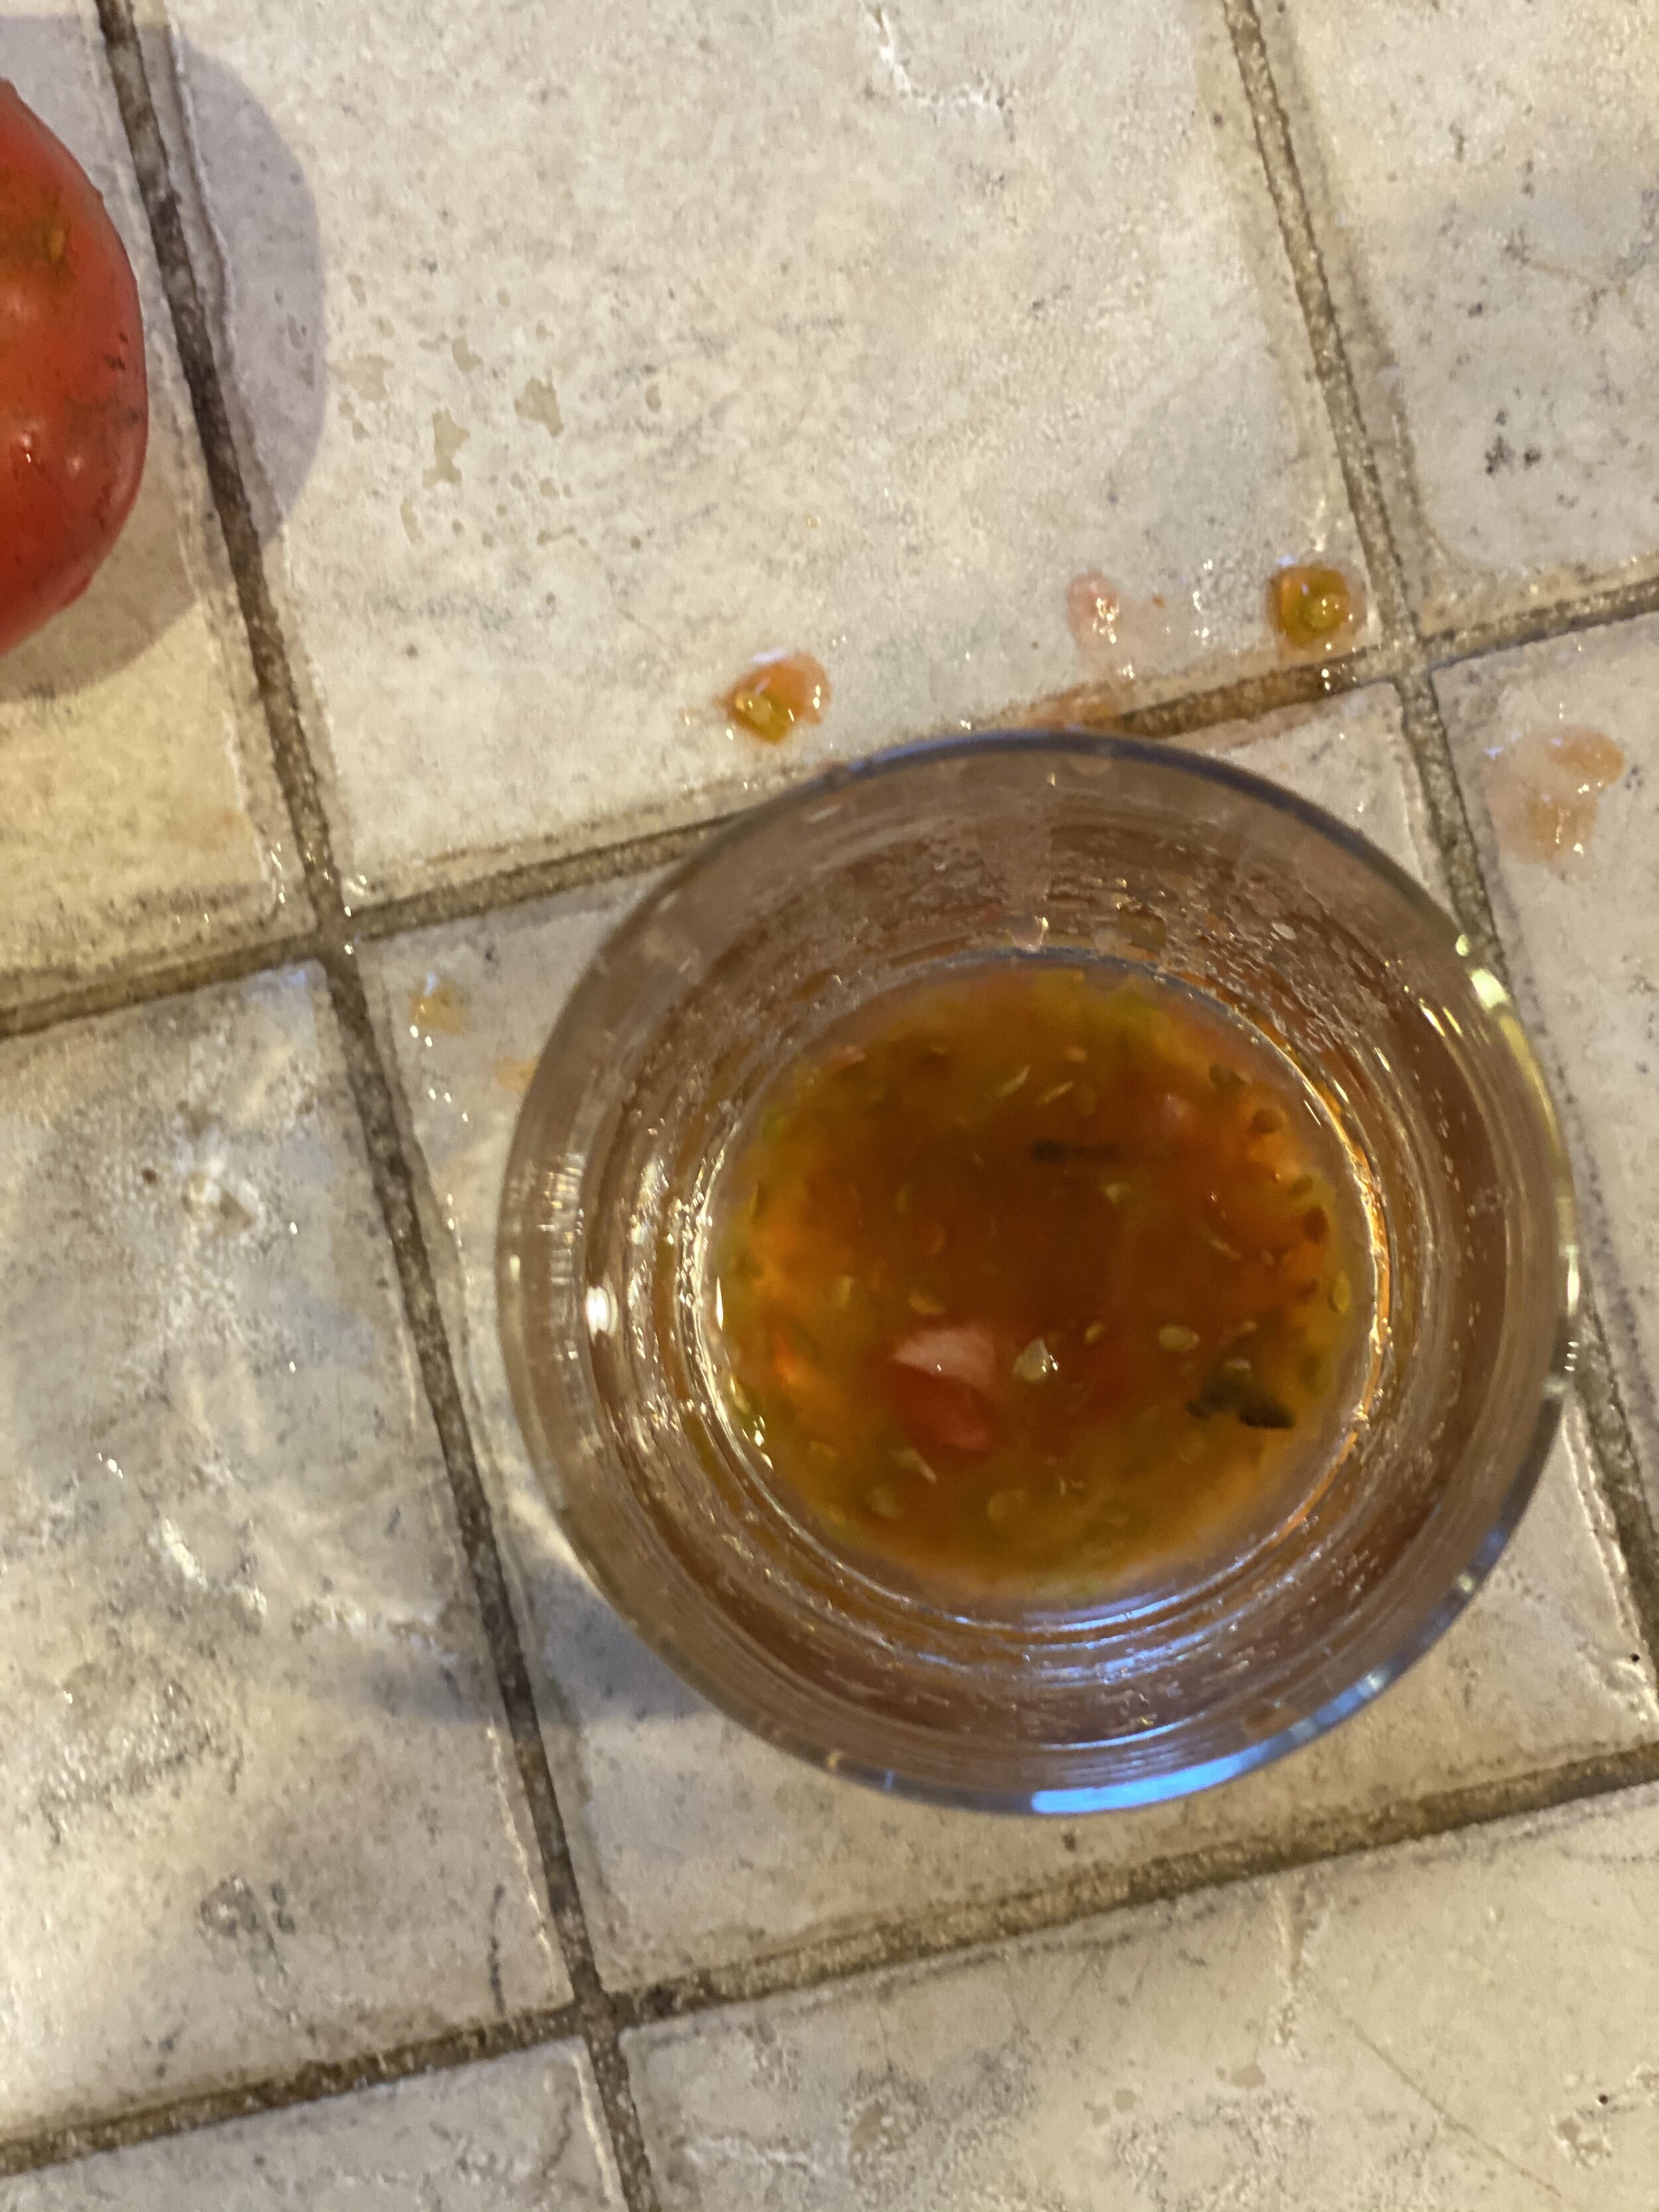
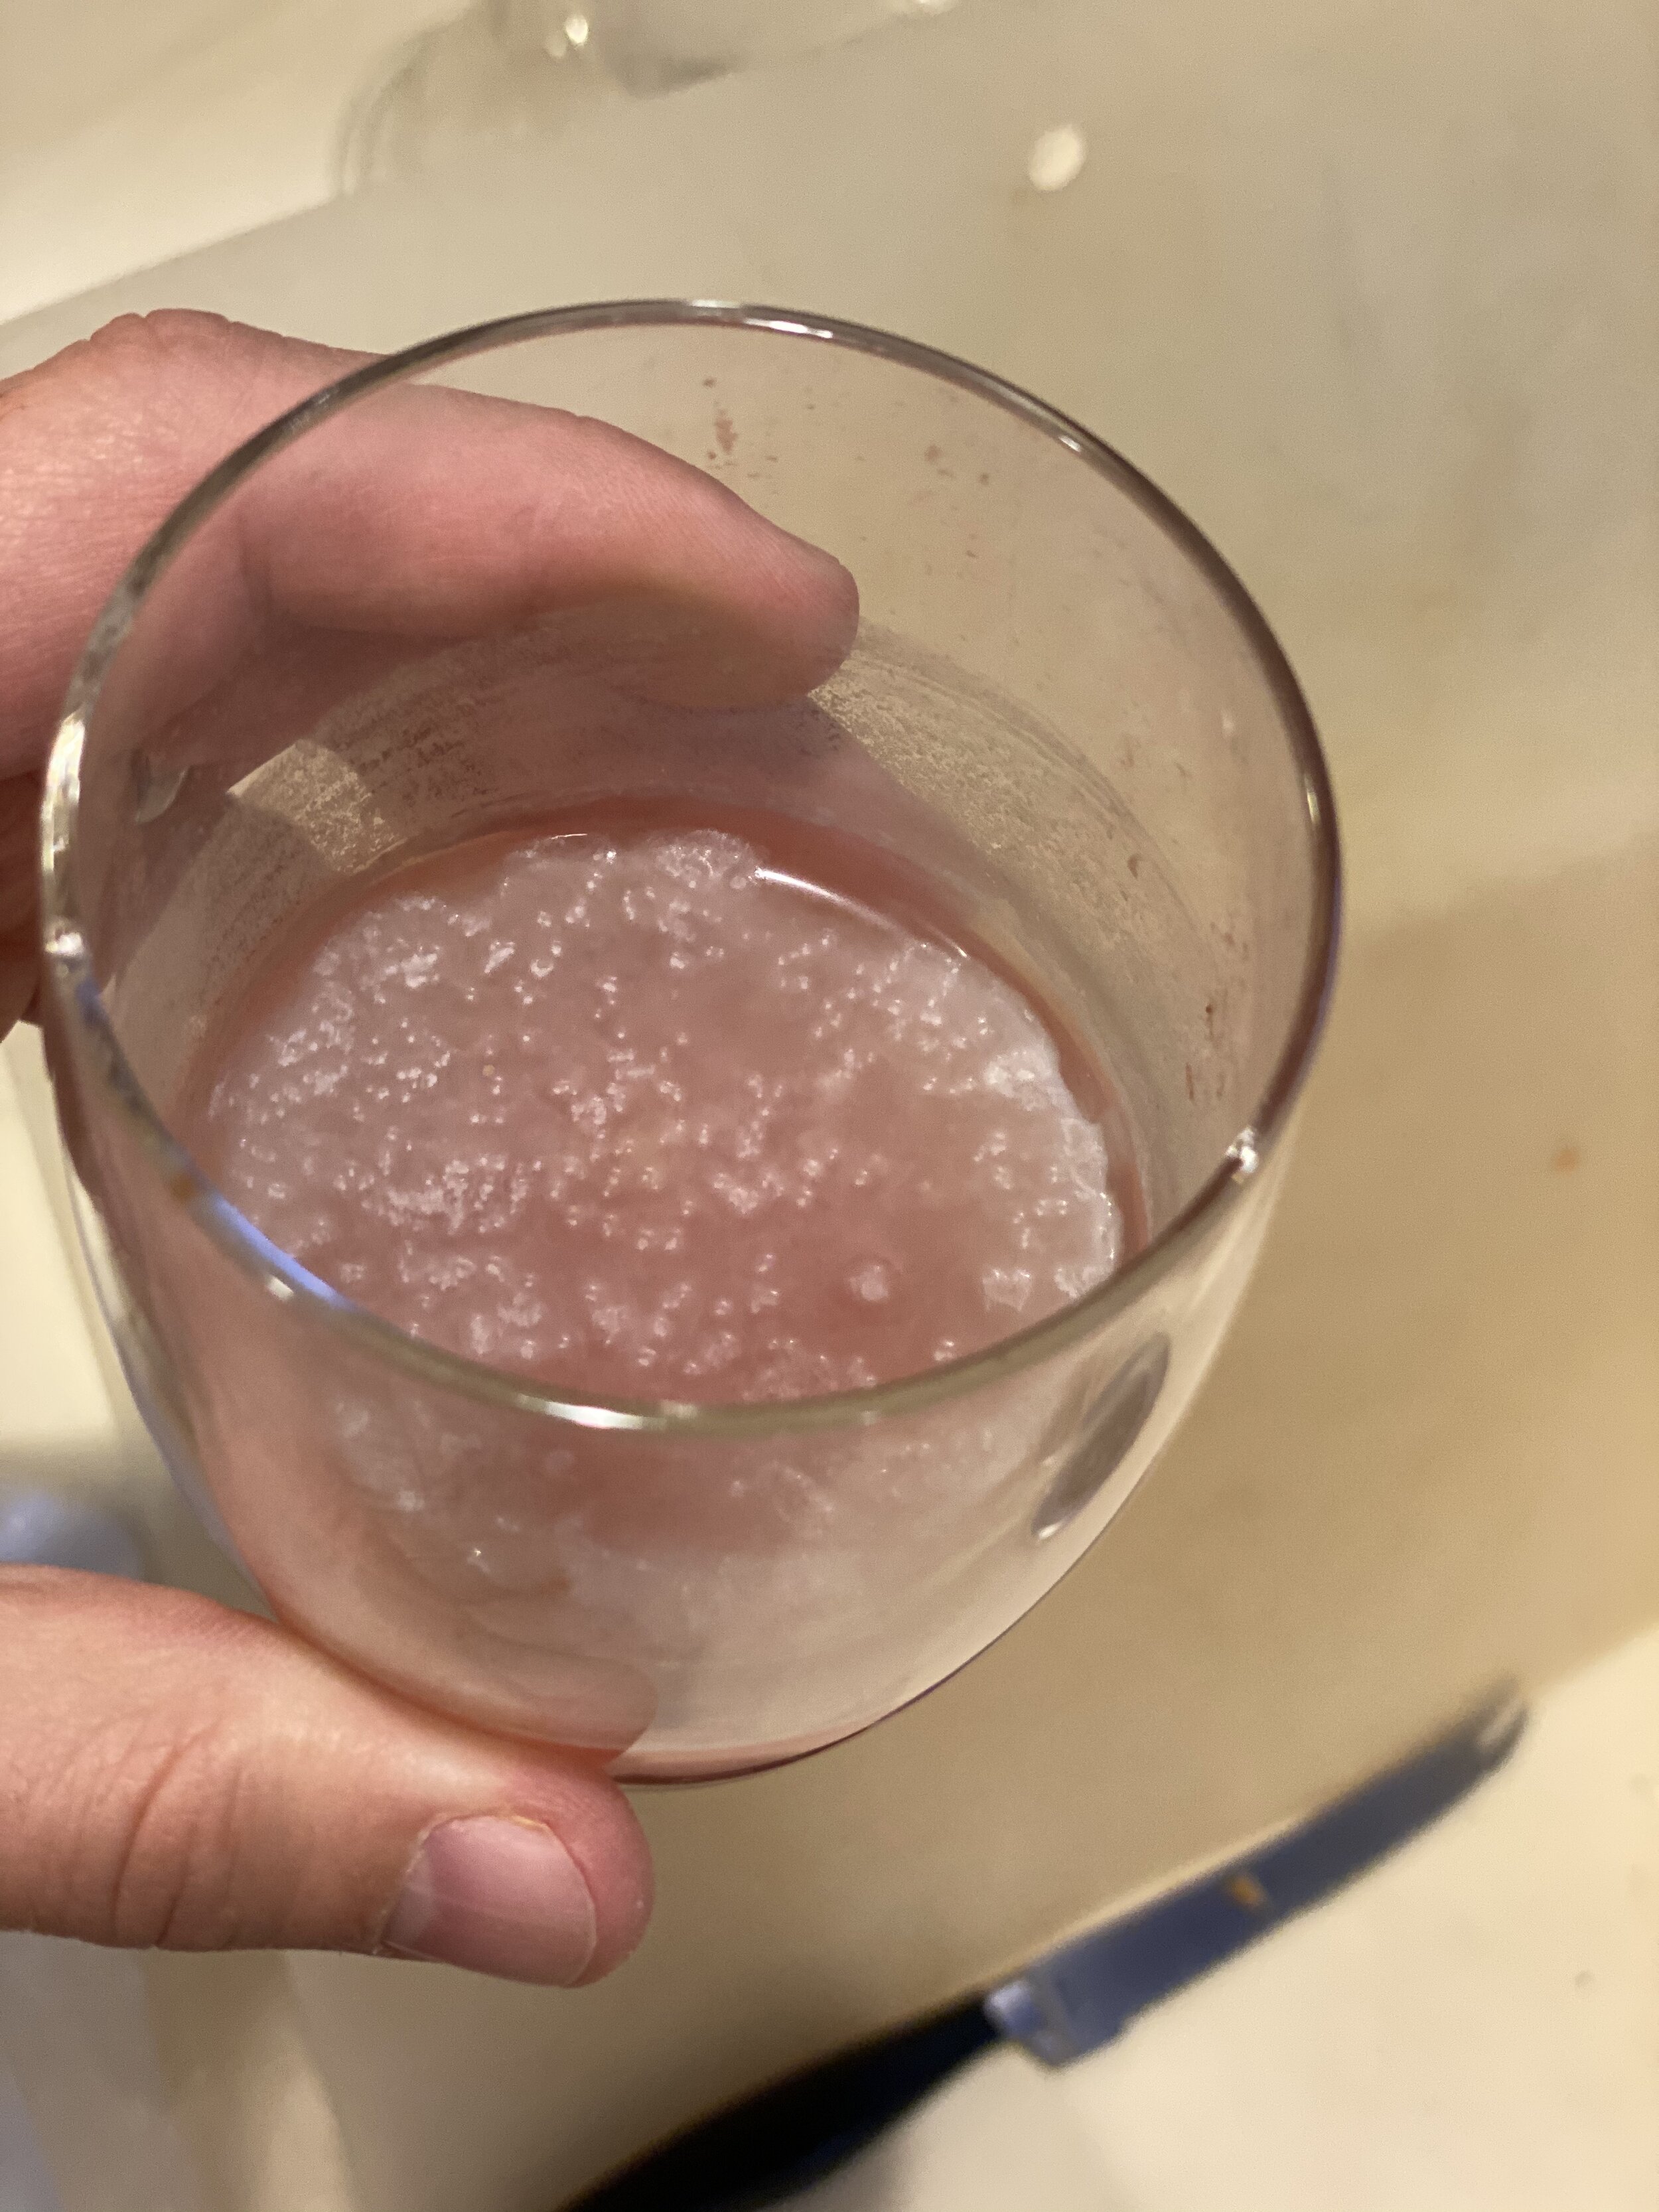
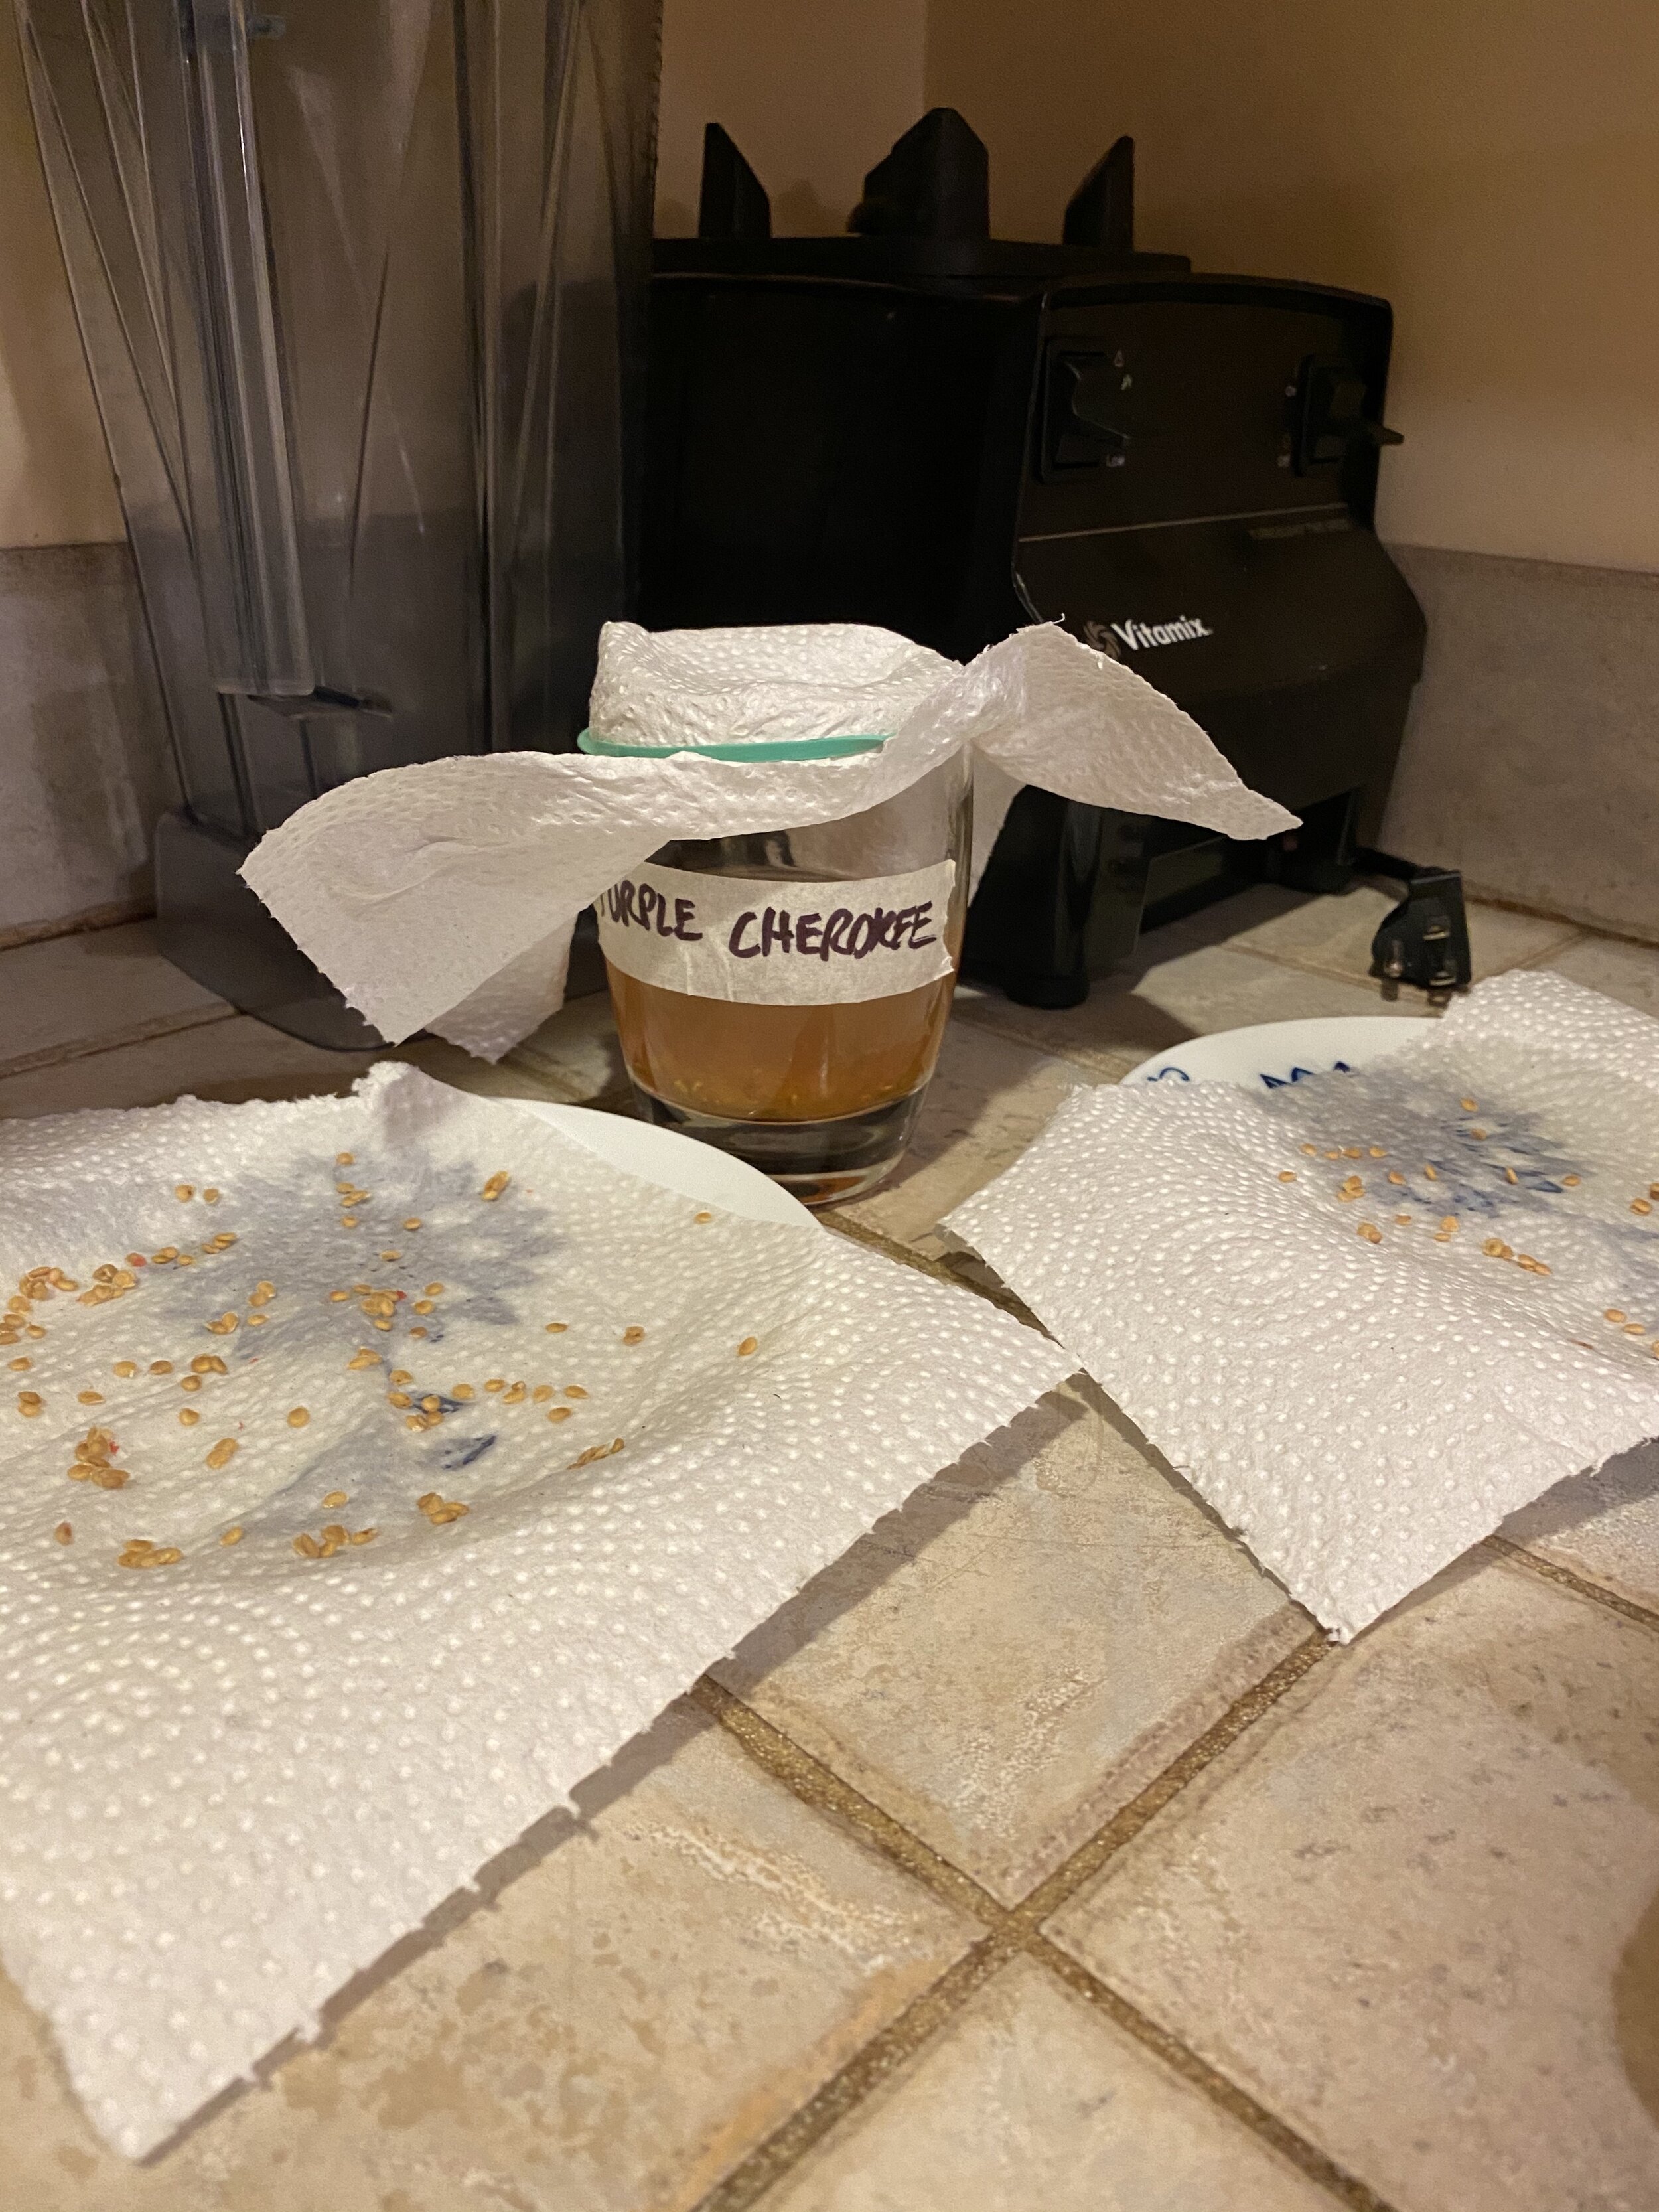
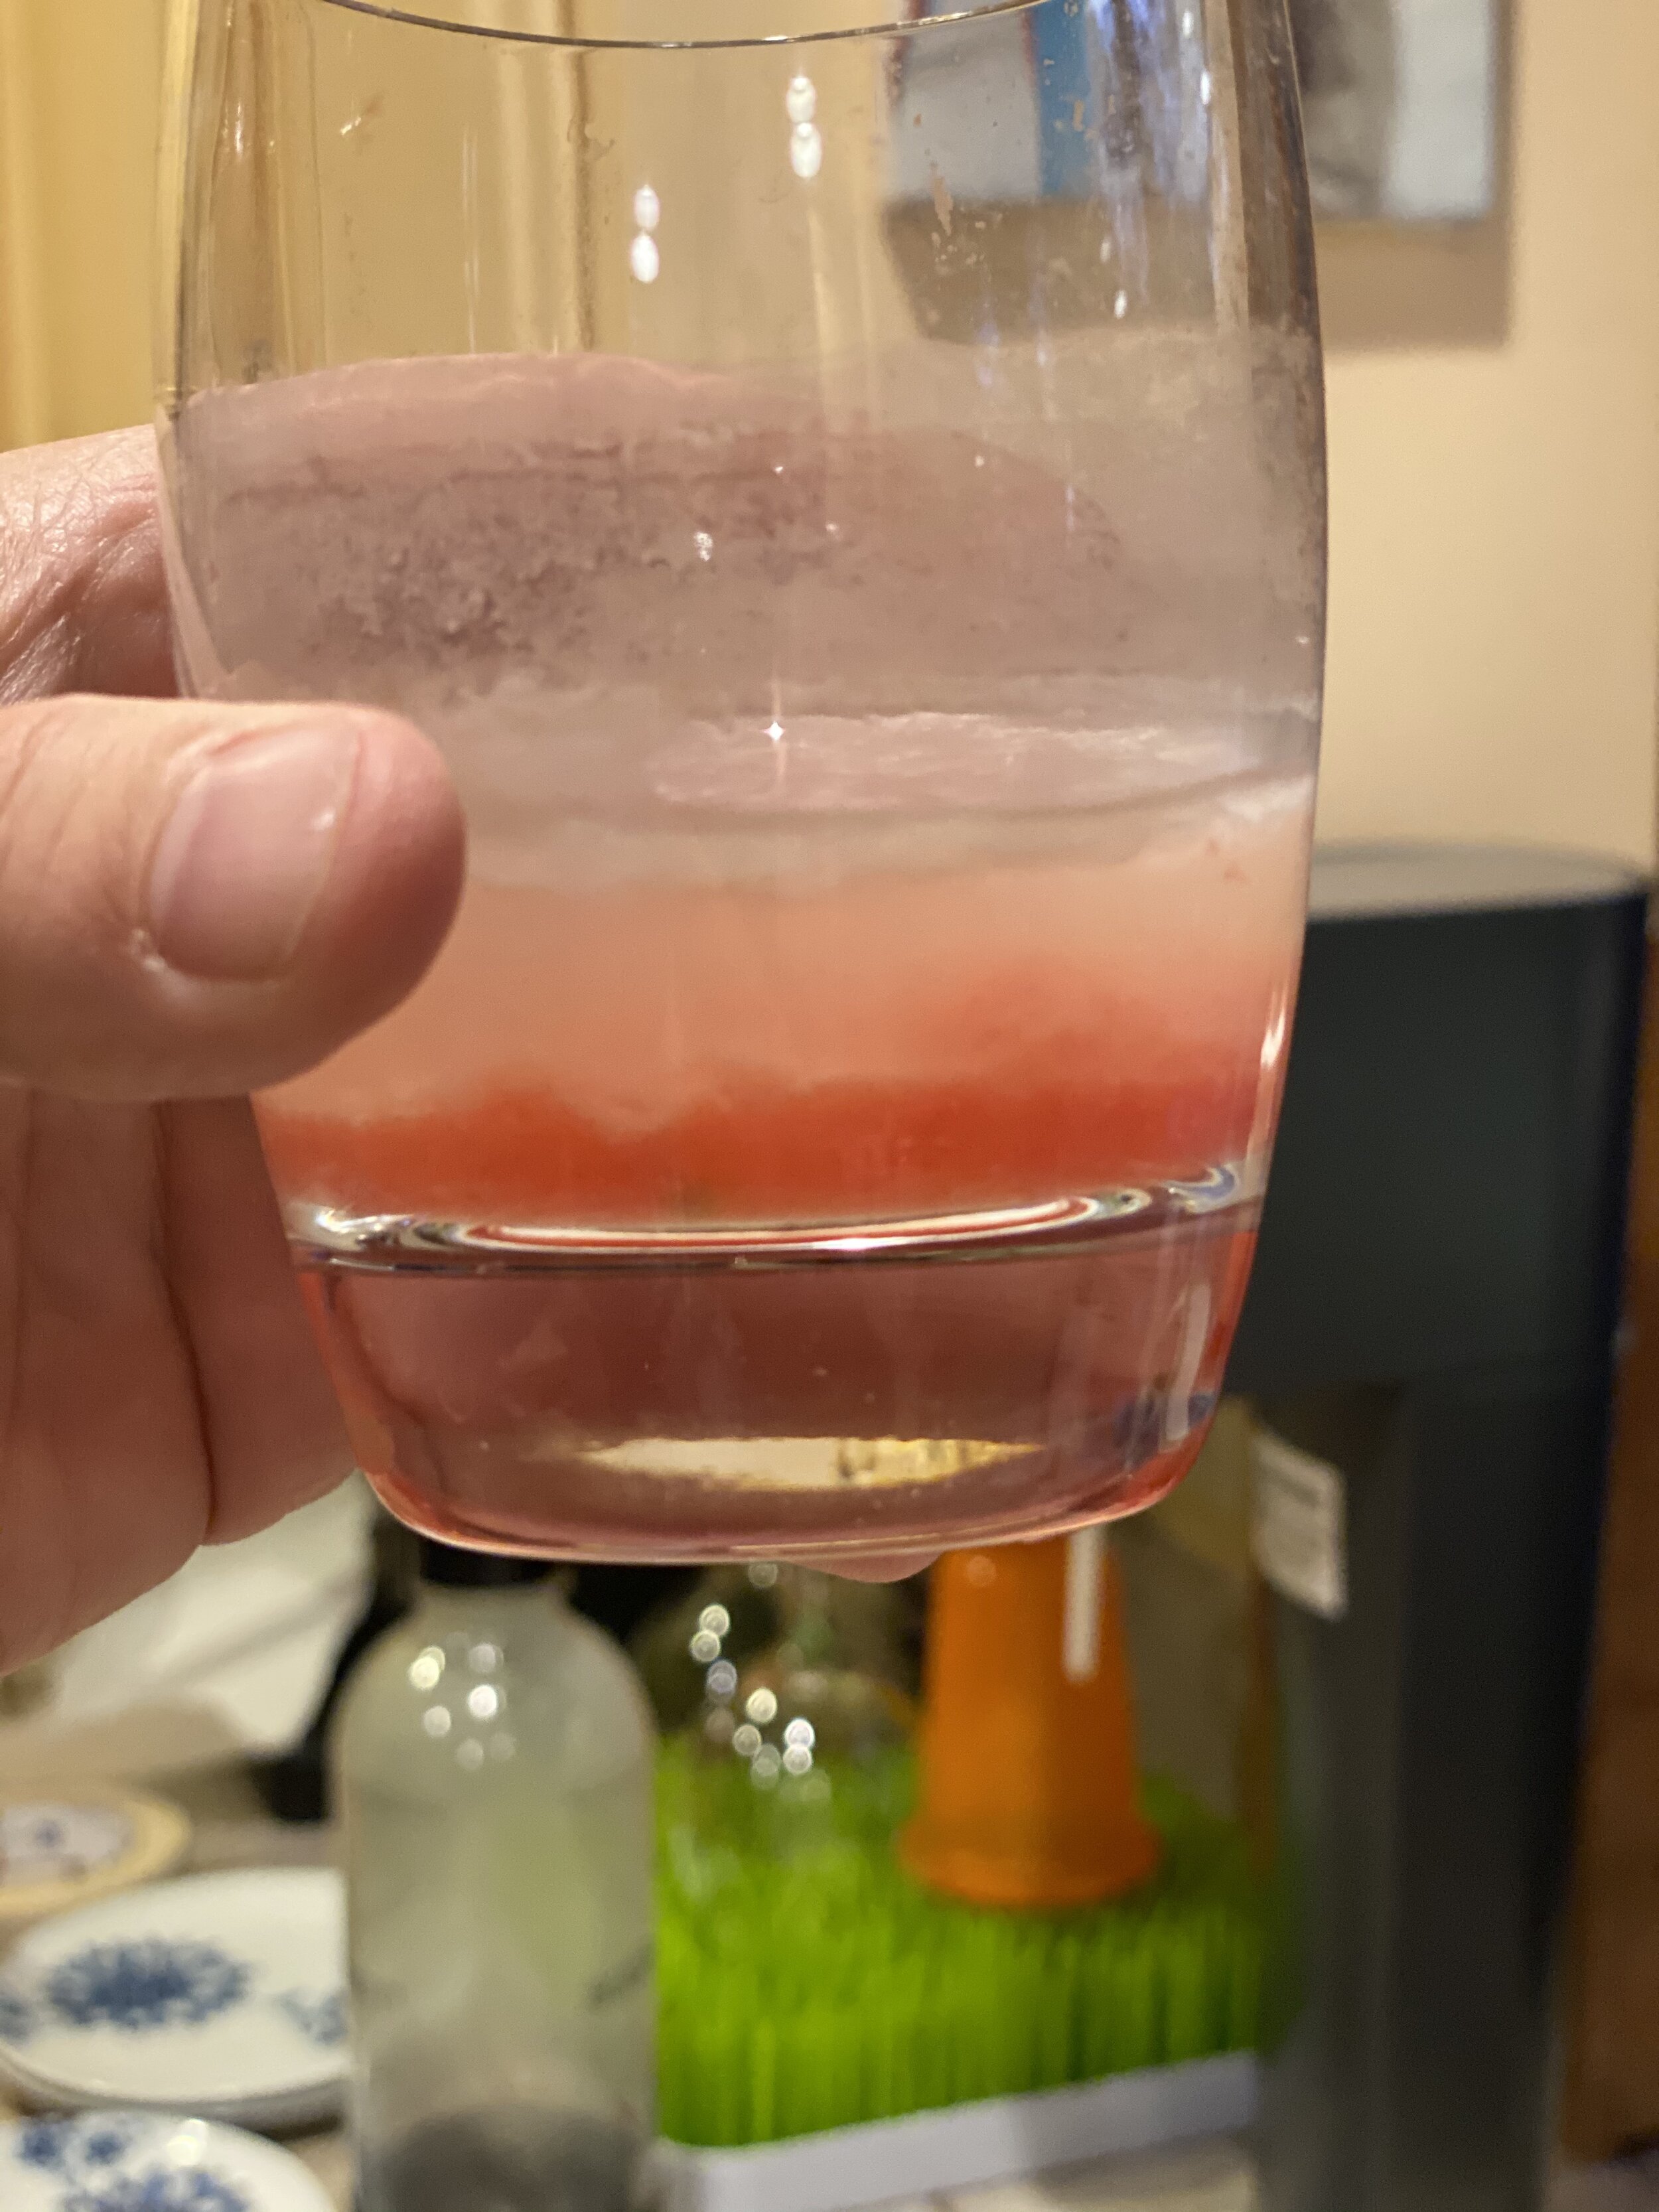
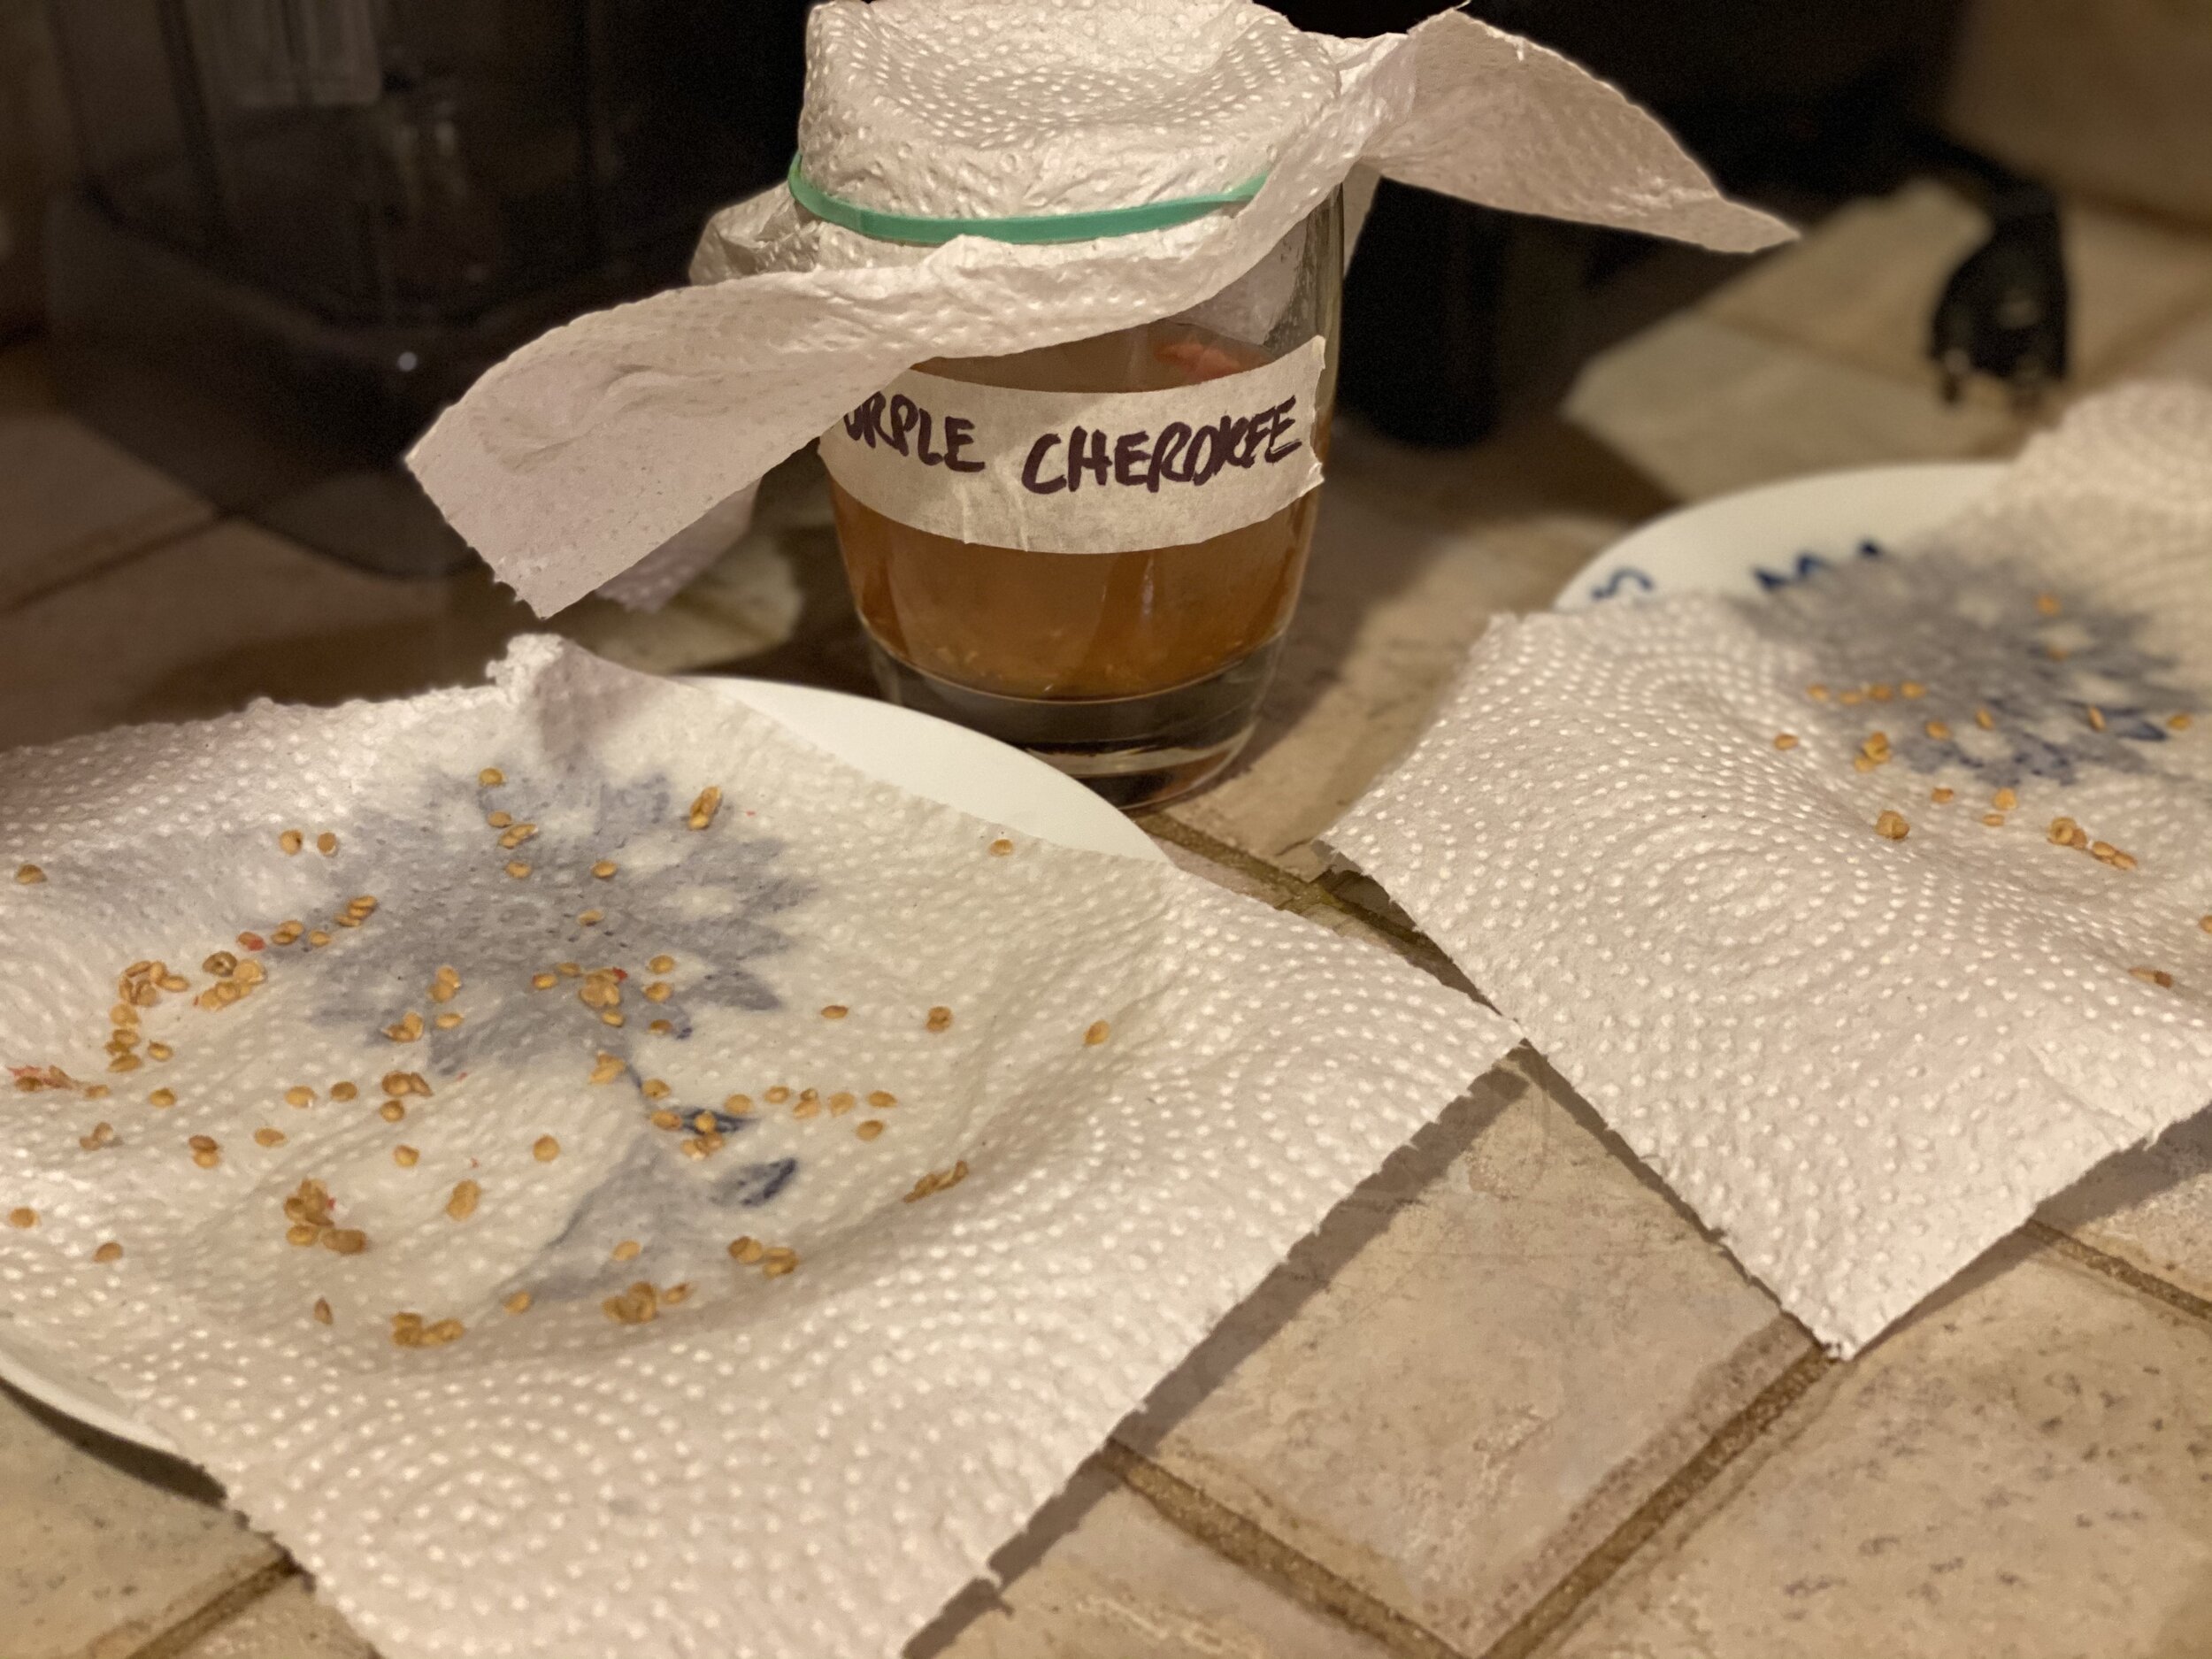
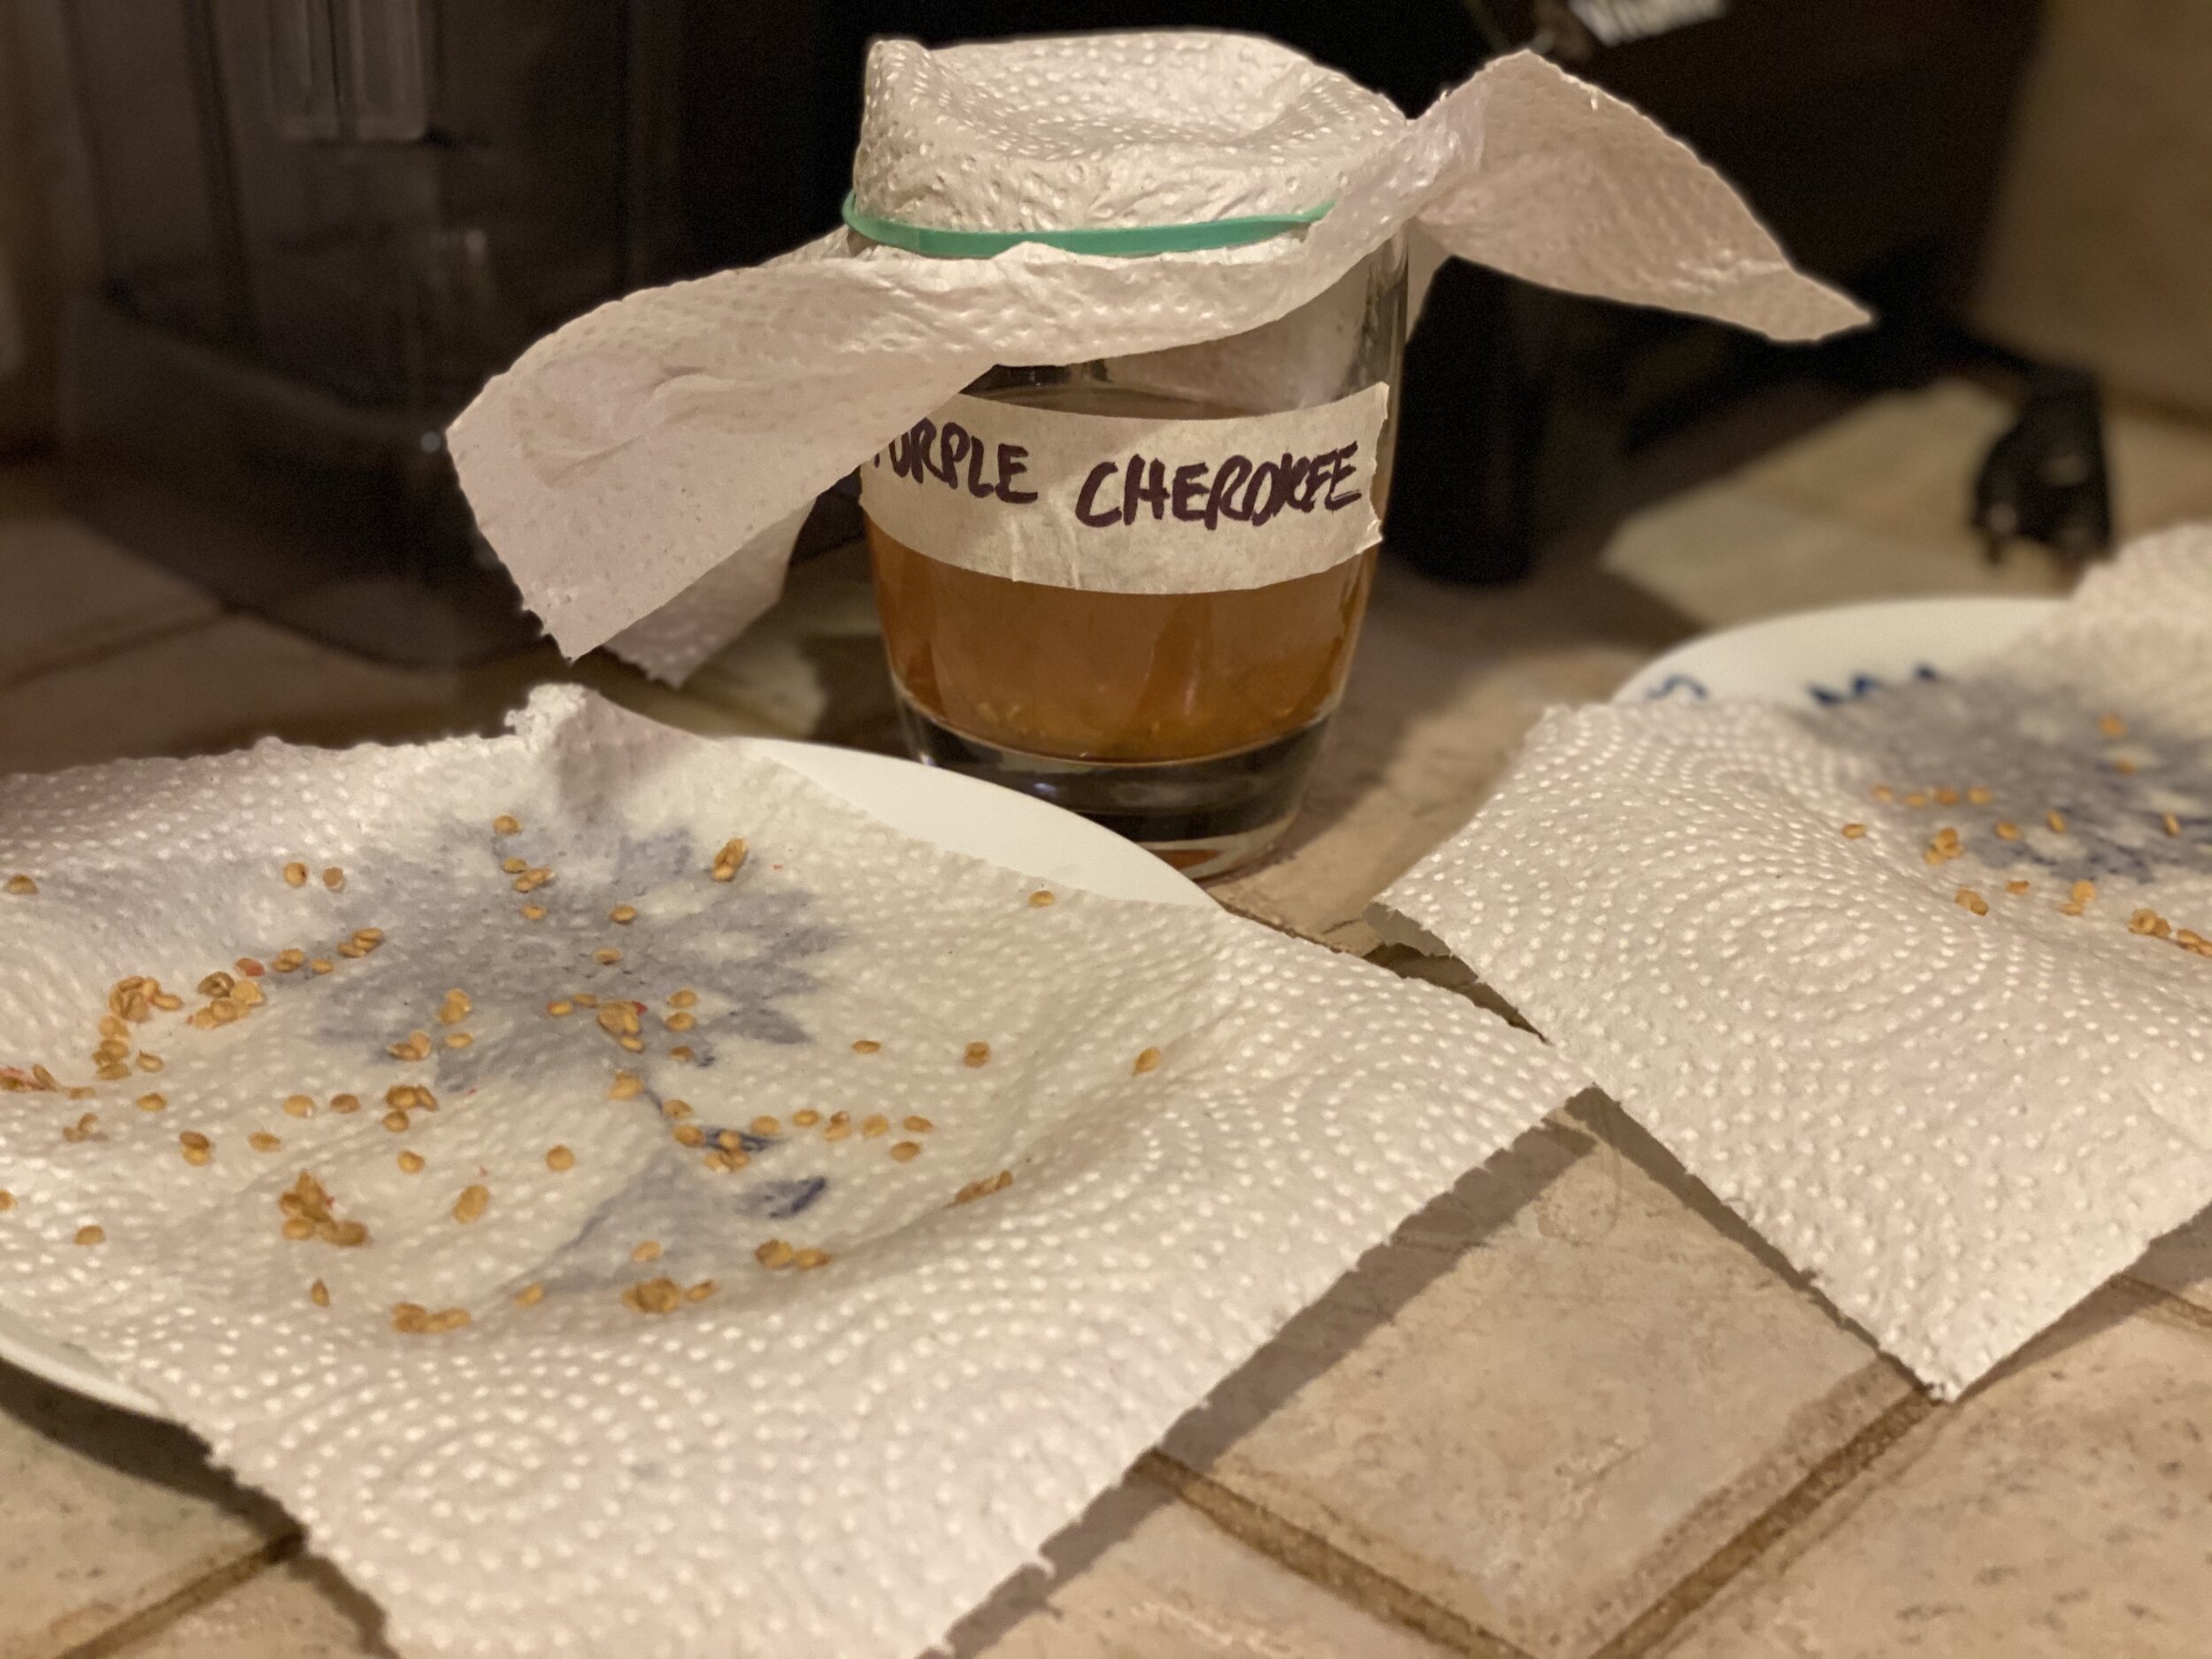
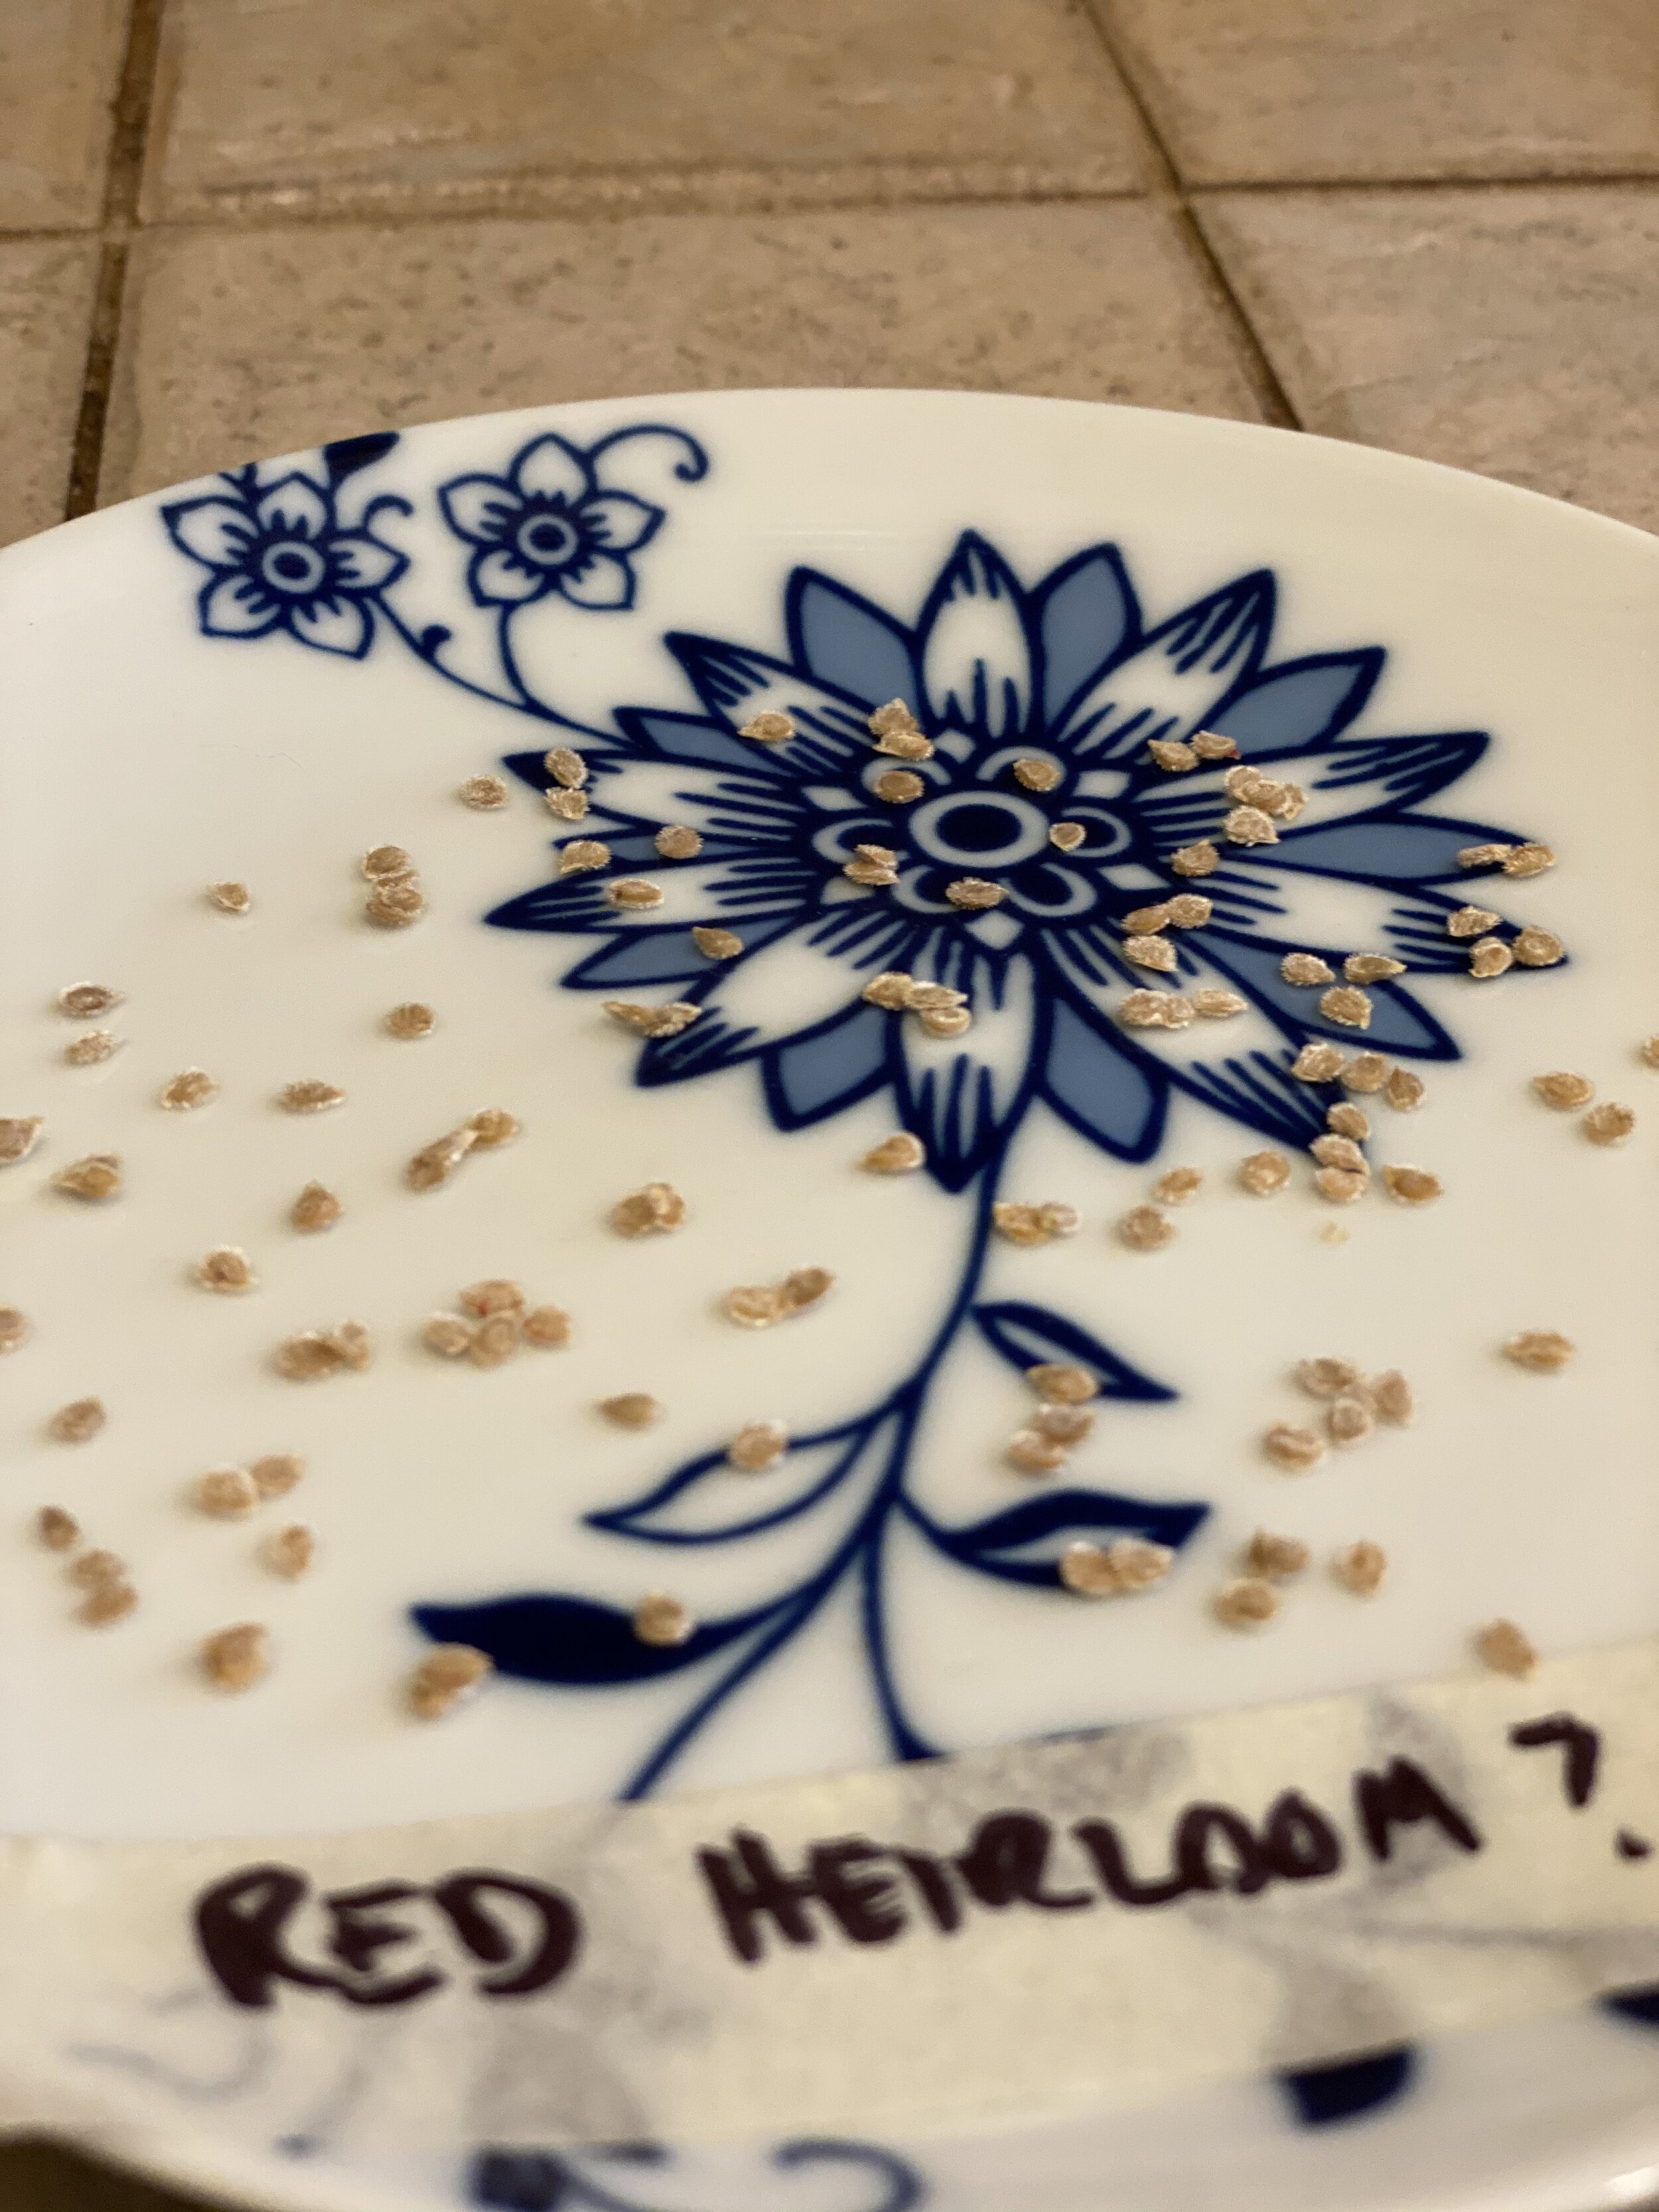
To save seeds (only heirlooms) scoop the seeds of a ripe tomato into a glass, add a little water, cover the glass with a paper towel and rubber band, and then let it ferment for 3-5 days, swirling once a day. This breaks down the gel around each seed, and you’ll see it start to separate, like wheat from chaff. After 3-5 days, strain the seeds with a colander (you may want to rub them a little with a wooden spoon to get off any remaining gel coating) and then dry them on some paper towels for a couple weeks. Make sure to keep the varieties clearly labeled and separate. Save seeds in a mason jar or envelope to plant next year!
Which brings me to…
YEAR TWO: GROWING TOMATOES FROM SEED
🍅 🍅 🍅 🍅 🍅 🍅 🍅 🍅 🍅 🍅 🍅
BENEFITS OF GROWING FROM SEED
SELF-RELIANCE
Our tomato starts did well the first year, but a big part of our project is about self-reliance; no judgement on buying plants from the local garden store—it’s great to support small businesses, they typically have great crops, and can give you a boost if you get a late start—but this inherently skips the important early stages of the growing process. So this year (2021) we tried growing 'maters from seed instead.
COST
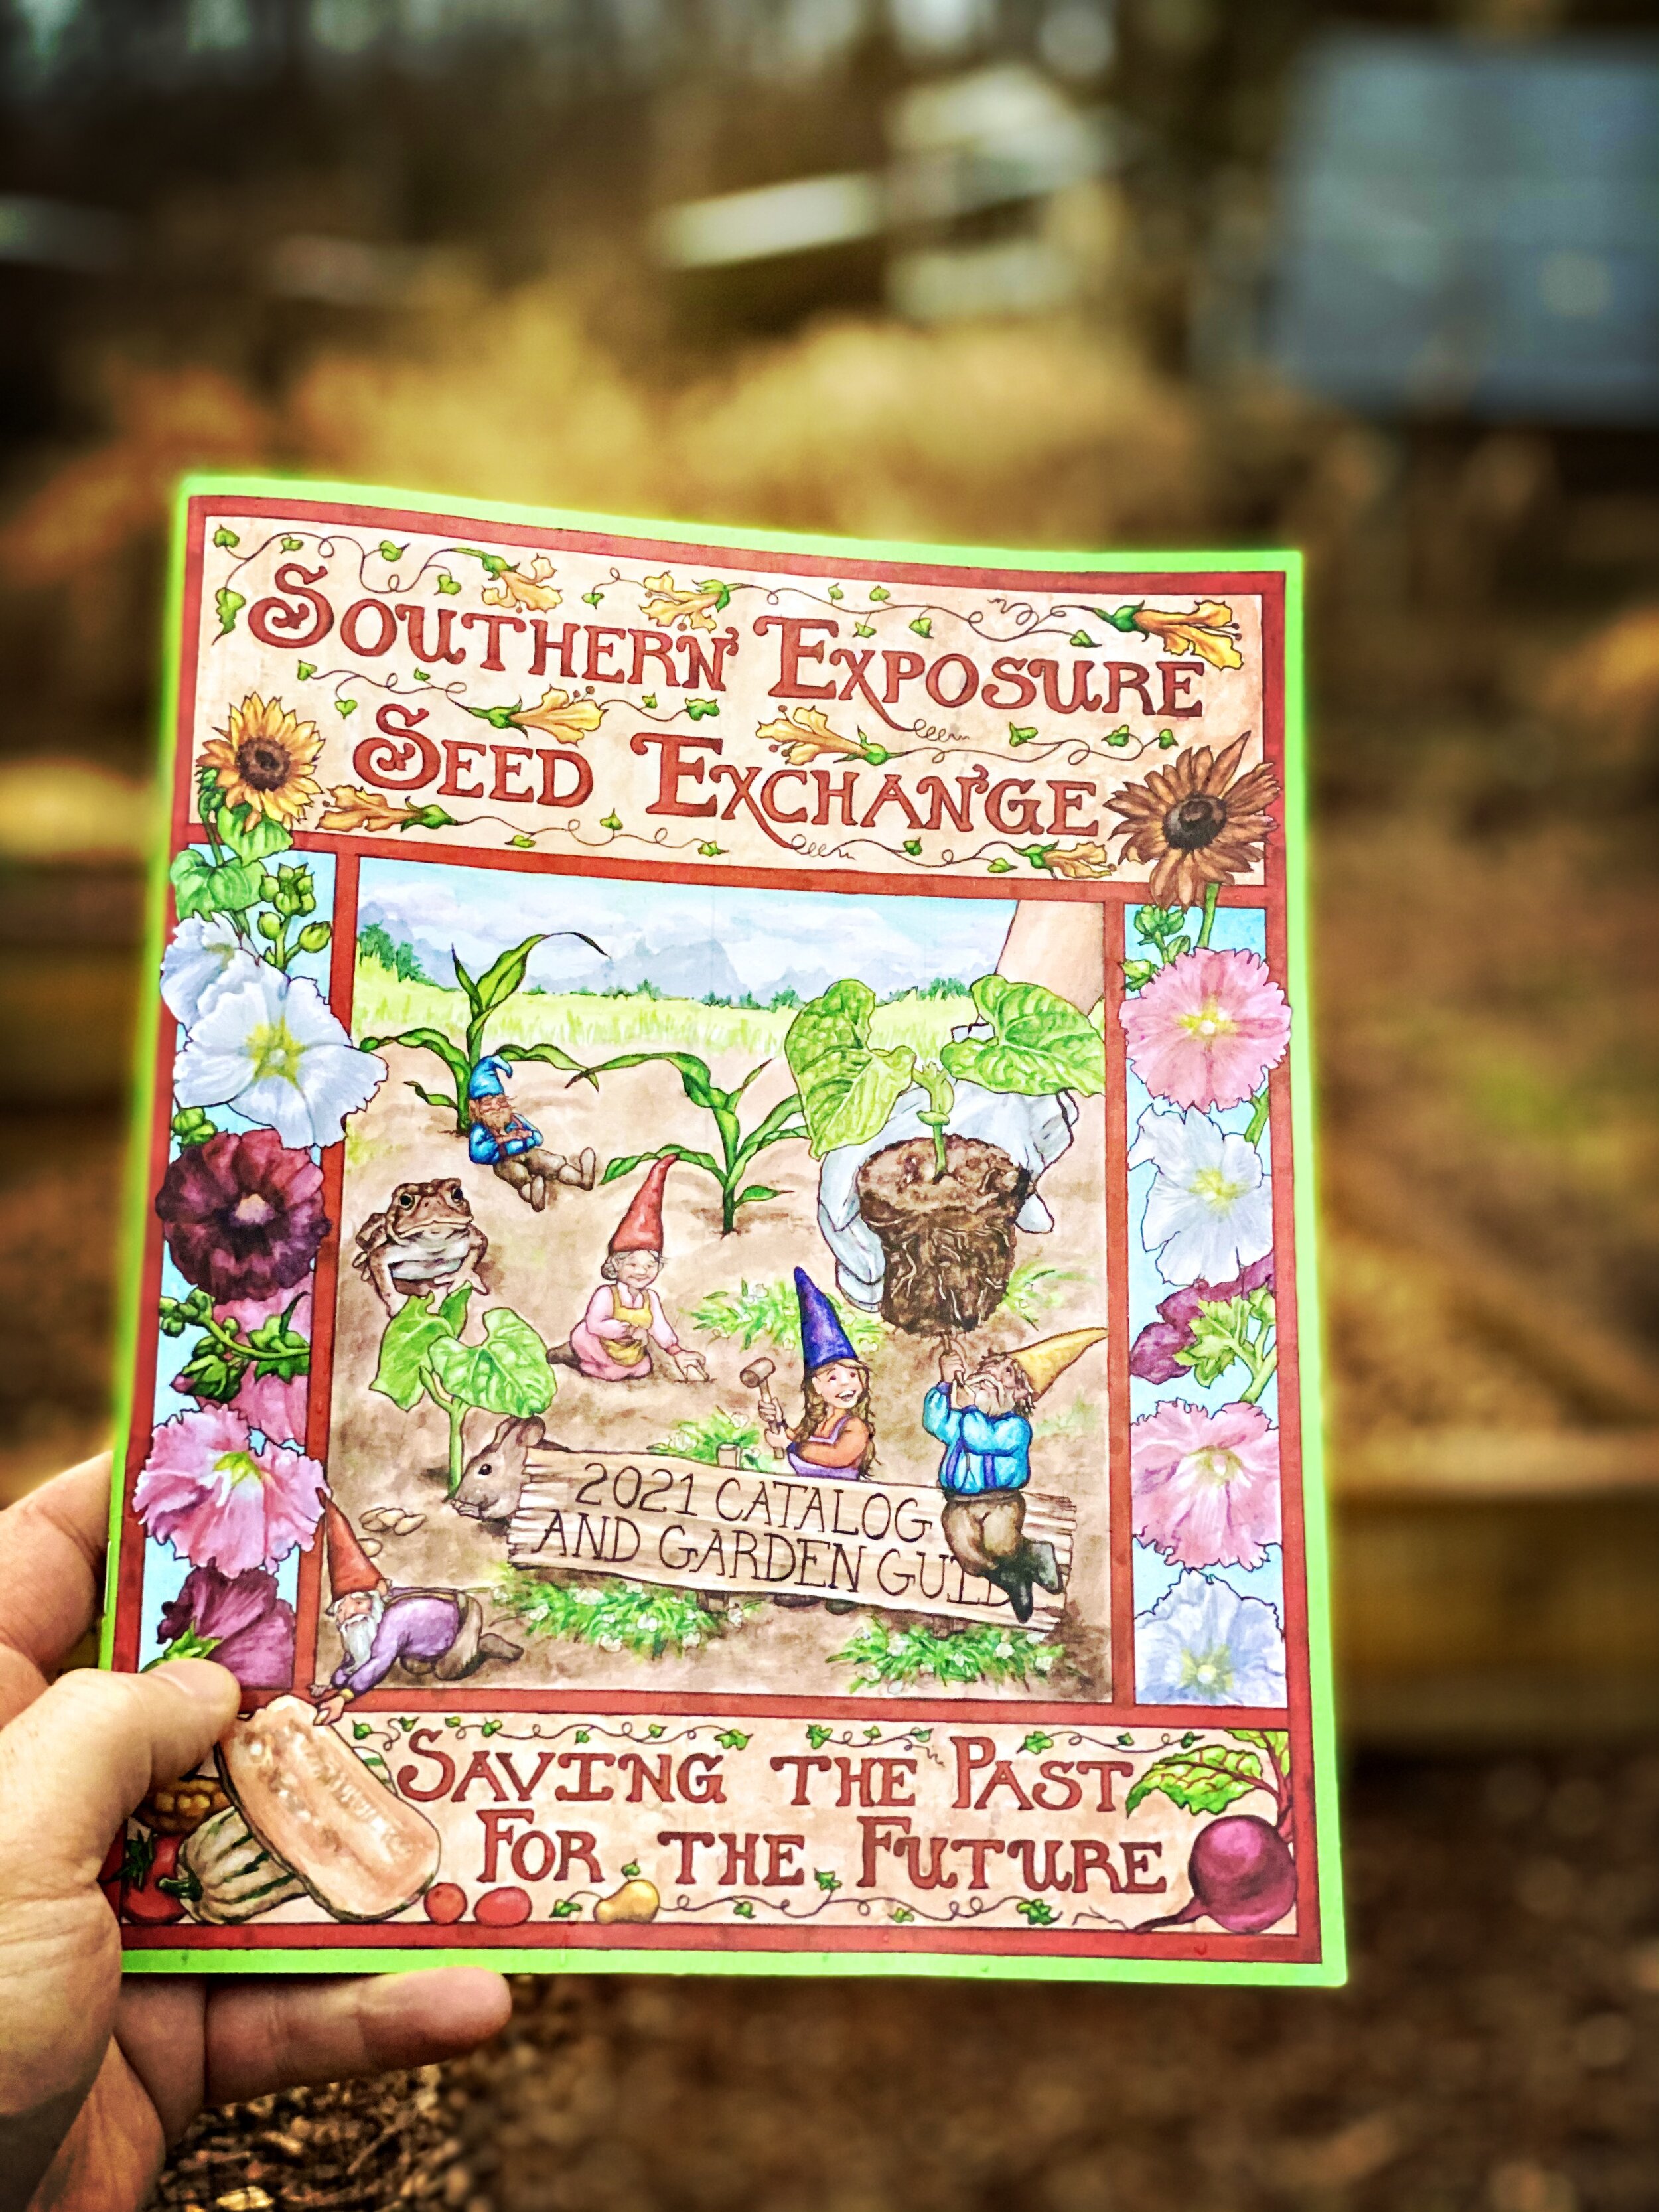
It's obviously cheaper to plant seeds than buy starts or produce from the store. Grow Journey does a good cost breakdown, but the upshot is: you can buy a tomato start from the store for about $3 per plant, which isn’t bad but can add up if you’re buying a lot of plants…or you could buy a packet of 75 seeds for about $3 from Southern Exposure Seed Exchange. With each seed/plant potentially yielding around 20 lb of fruit (works out to $.002/lb of tomatoes when you grow from seed), it’s hard to beat those prices, especially when organic heirloom tomatoes go for about $4/lb at the local Whole Foods or Kroger. If you had the room to grow and all 75 of your seeds produced, that’s like growing $6,000 worth of tomatoes from a $3 packet. I’m not saying you should quit your job and grow tomatoes for profit…but I’m not saying you shouldn’t.
VARIETY
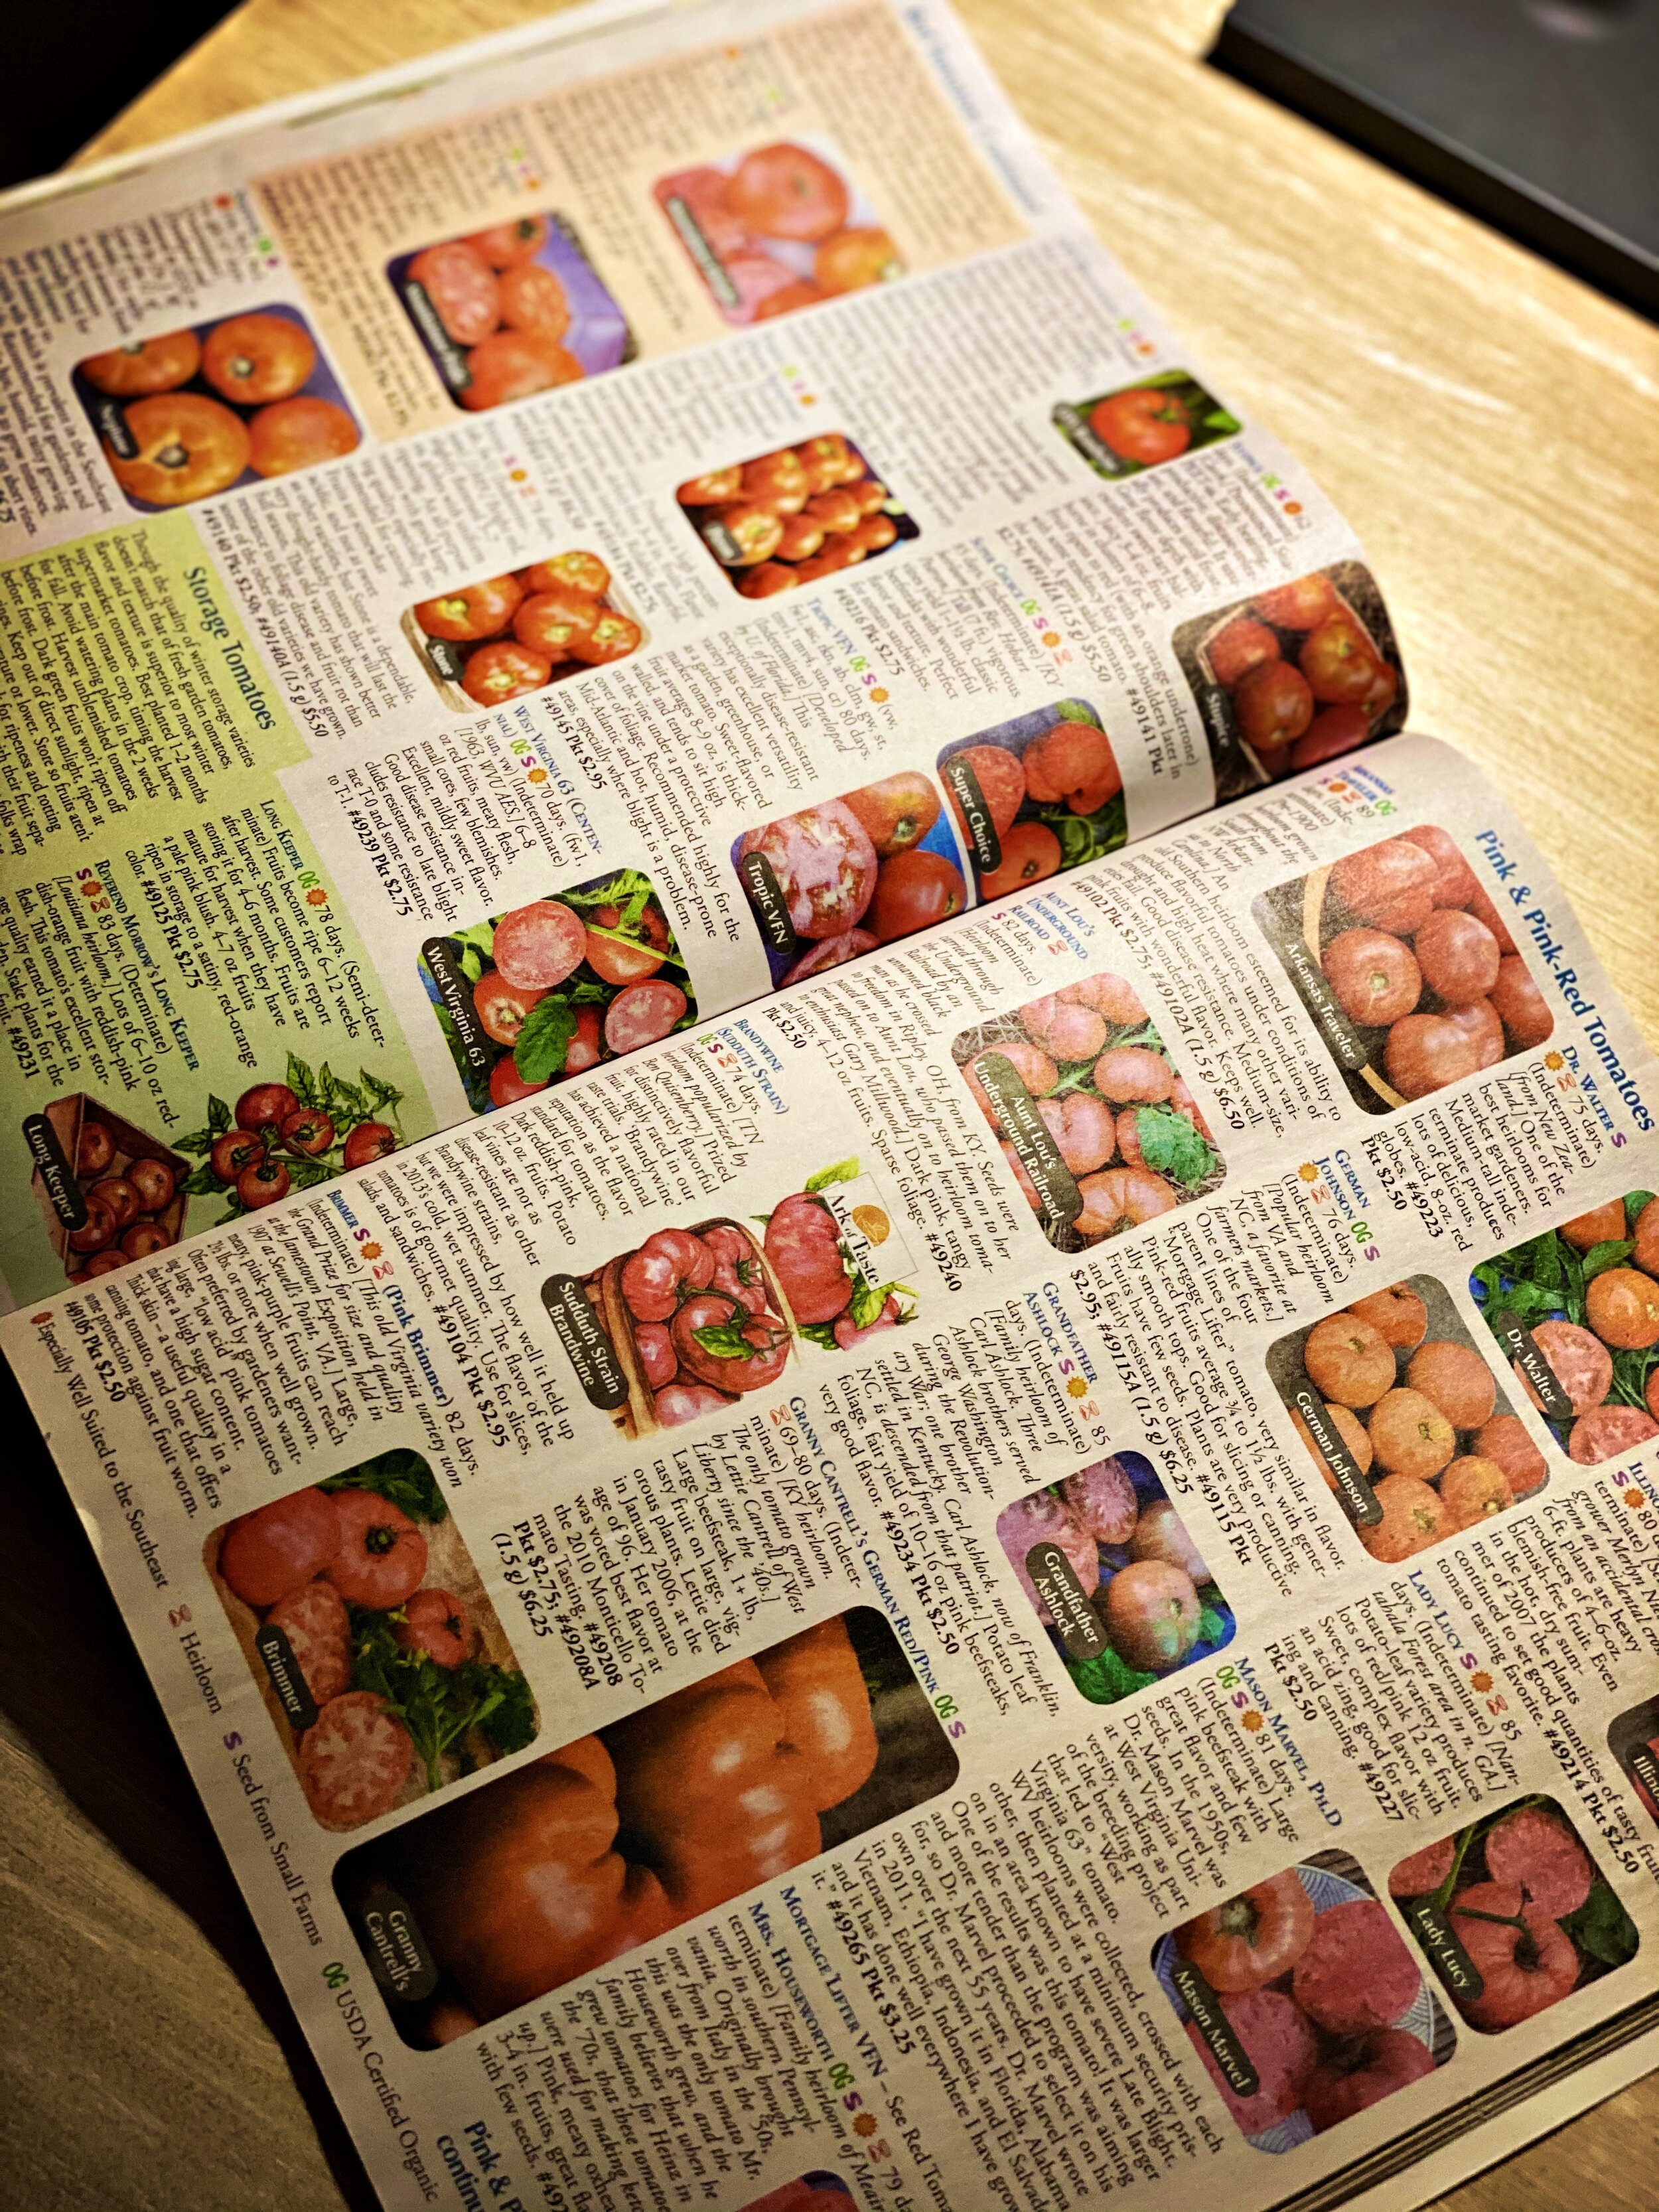
Seed purveyors like Southern Exposure offer more than 100+ varieties of tomatoes, so you can mix and match, figure out what grows best in your area, what your family likes to eat, etc. When buying starts from a store, you might only have 5 or 10 options to choose from, and you get what you get.
TIME
The main point of growing from seed is to get a jumpstart growing indoors (while the weather is still cold) and then have seedlings ready to plant out once the threat of frost has passed.
Results were mixed. But here's some more stuff we learned.

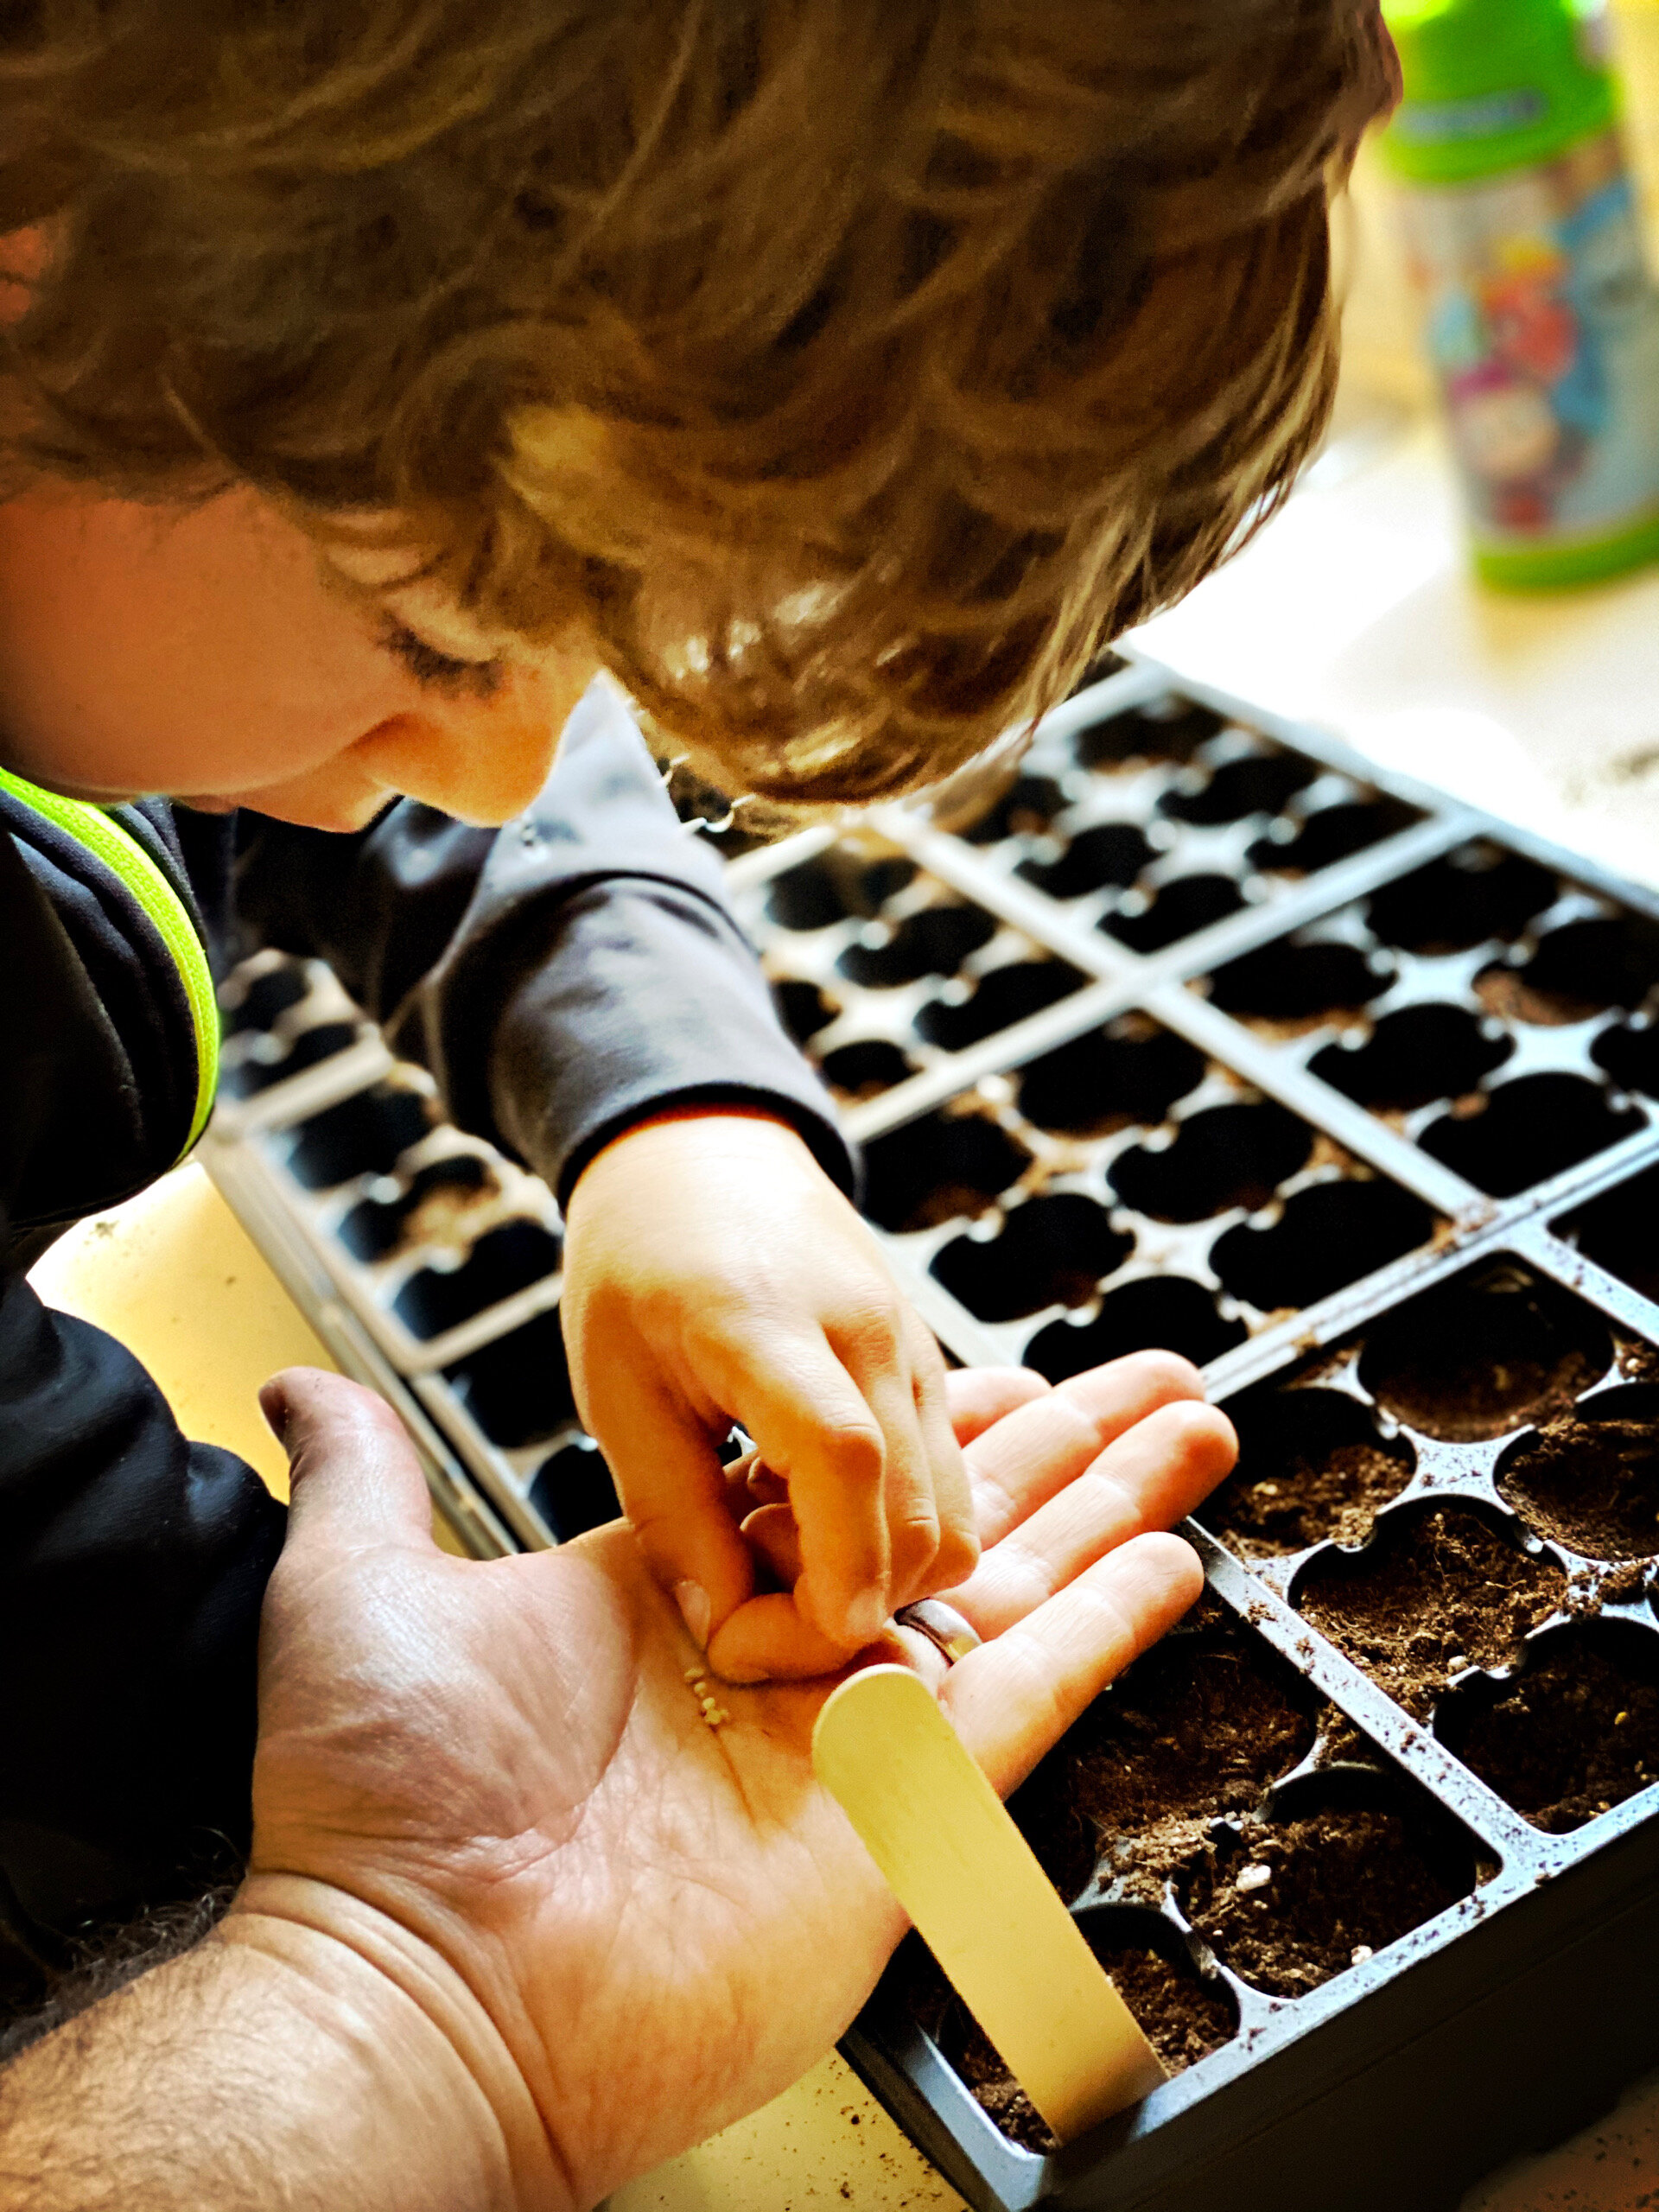
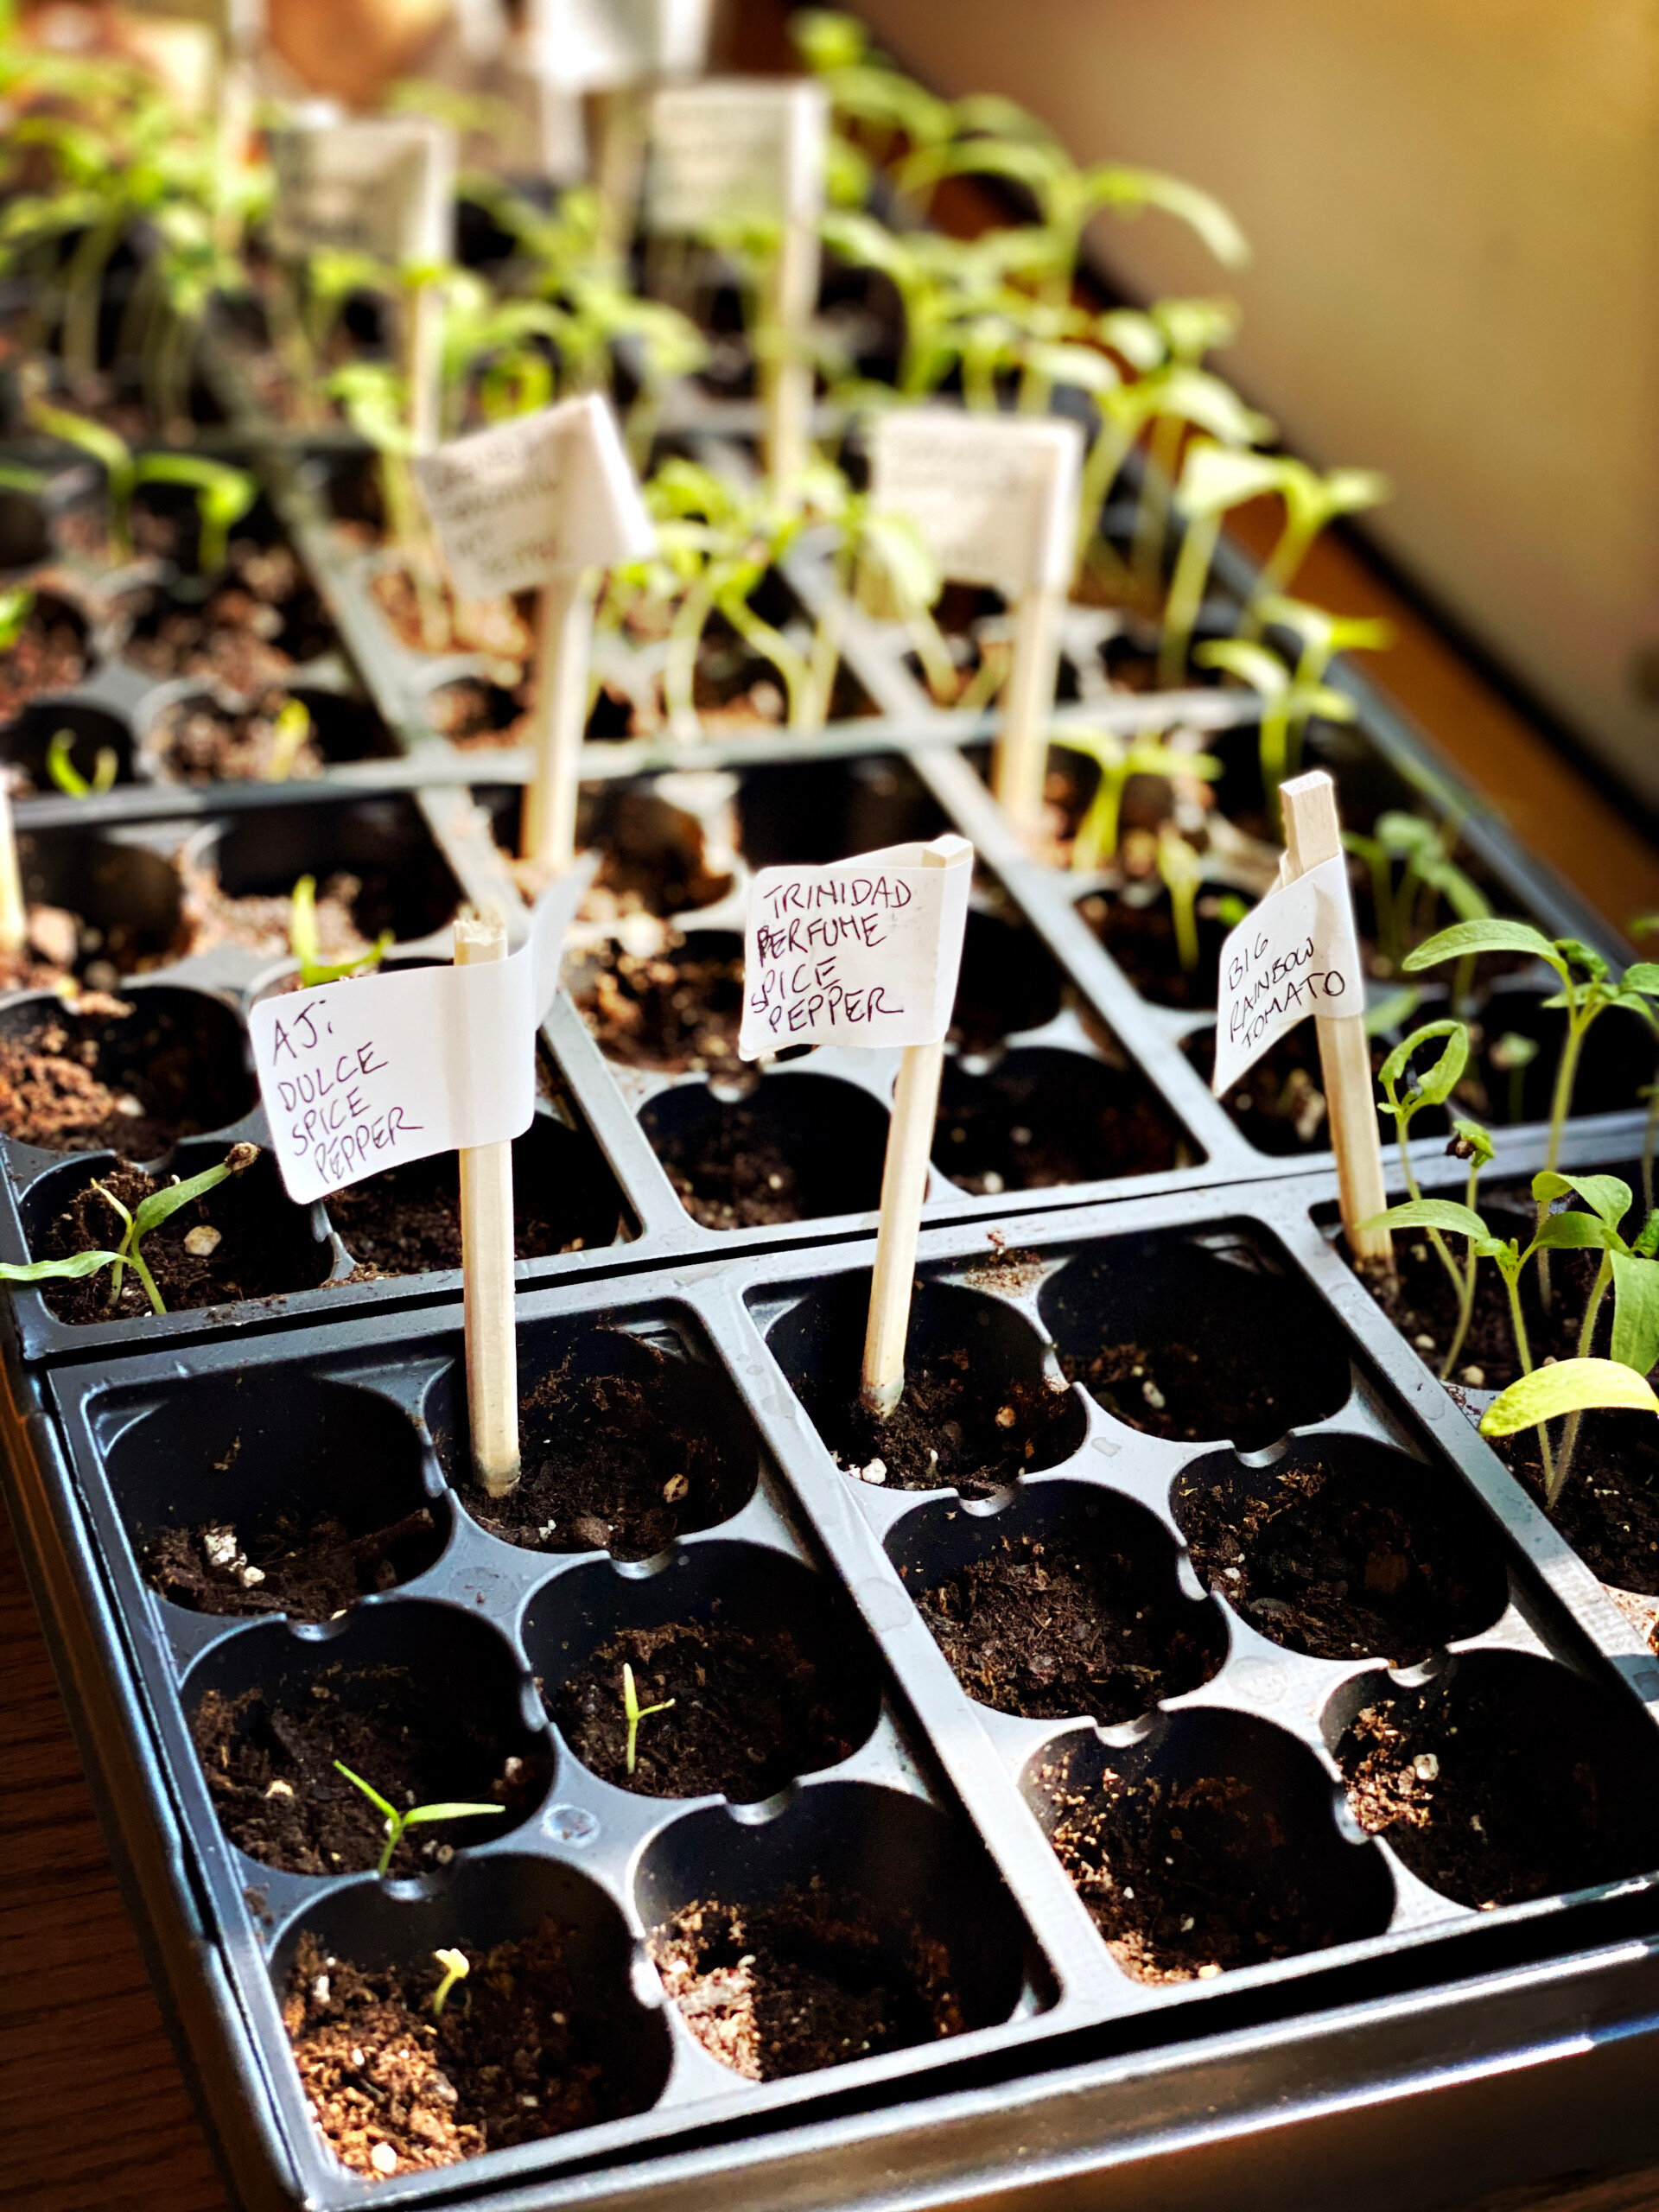
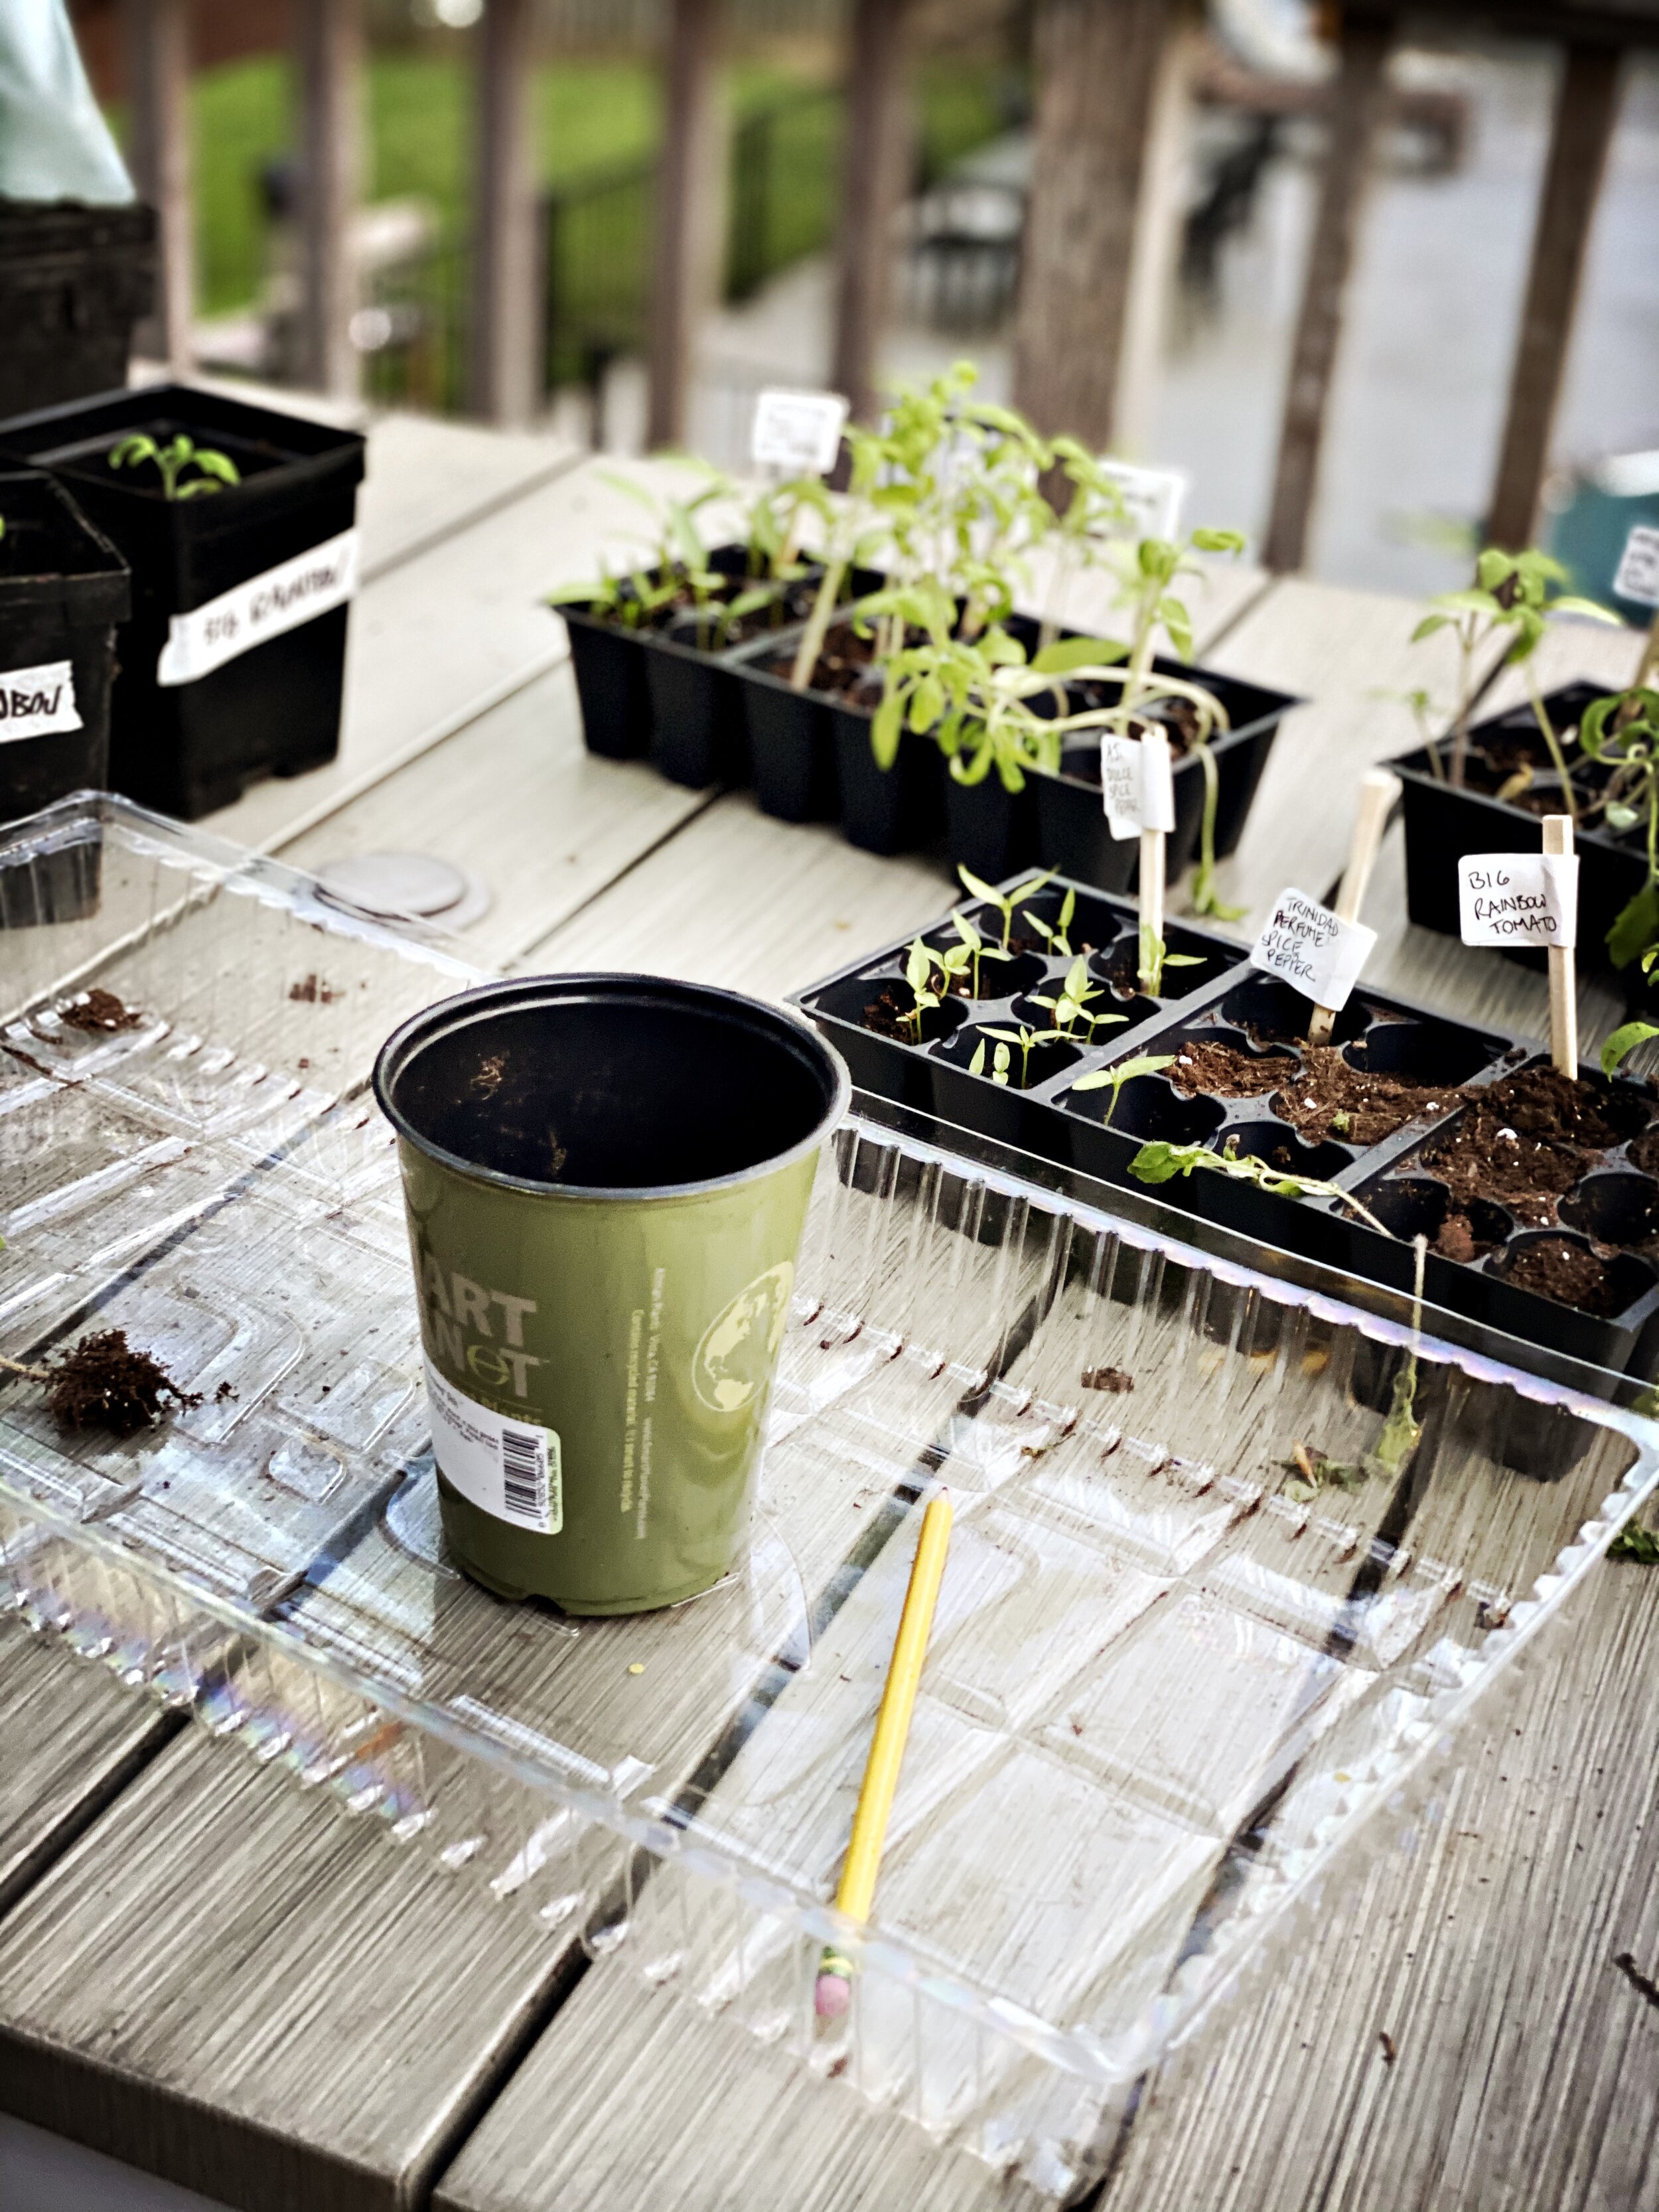
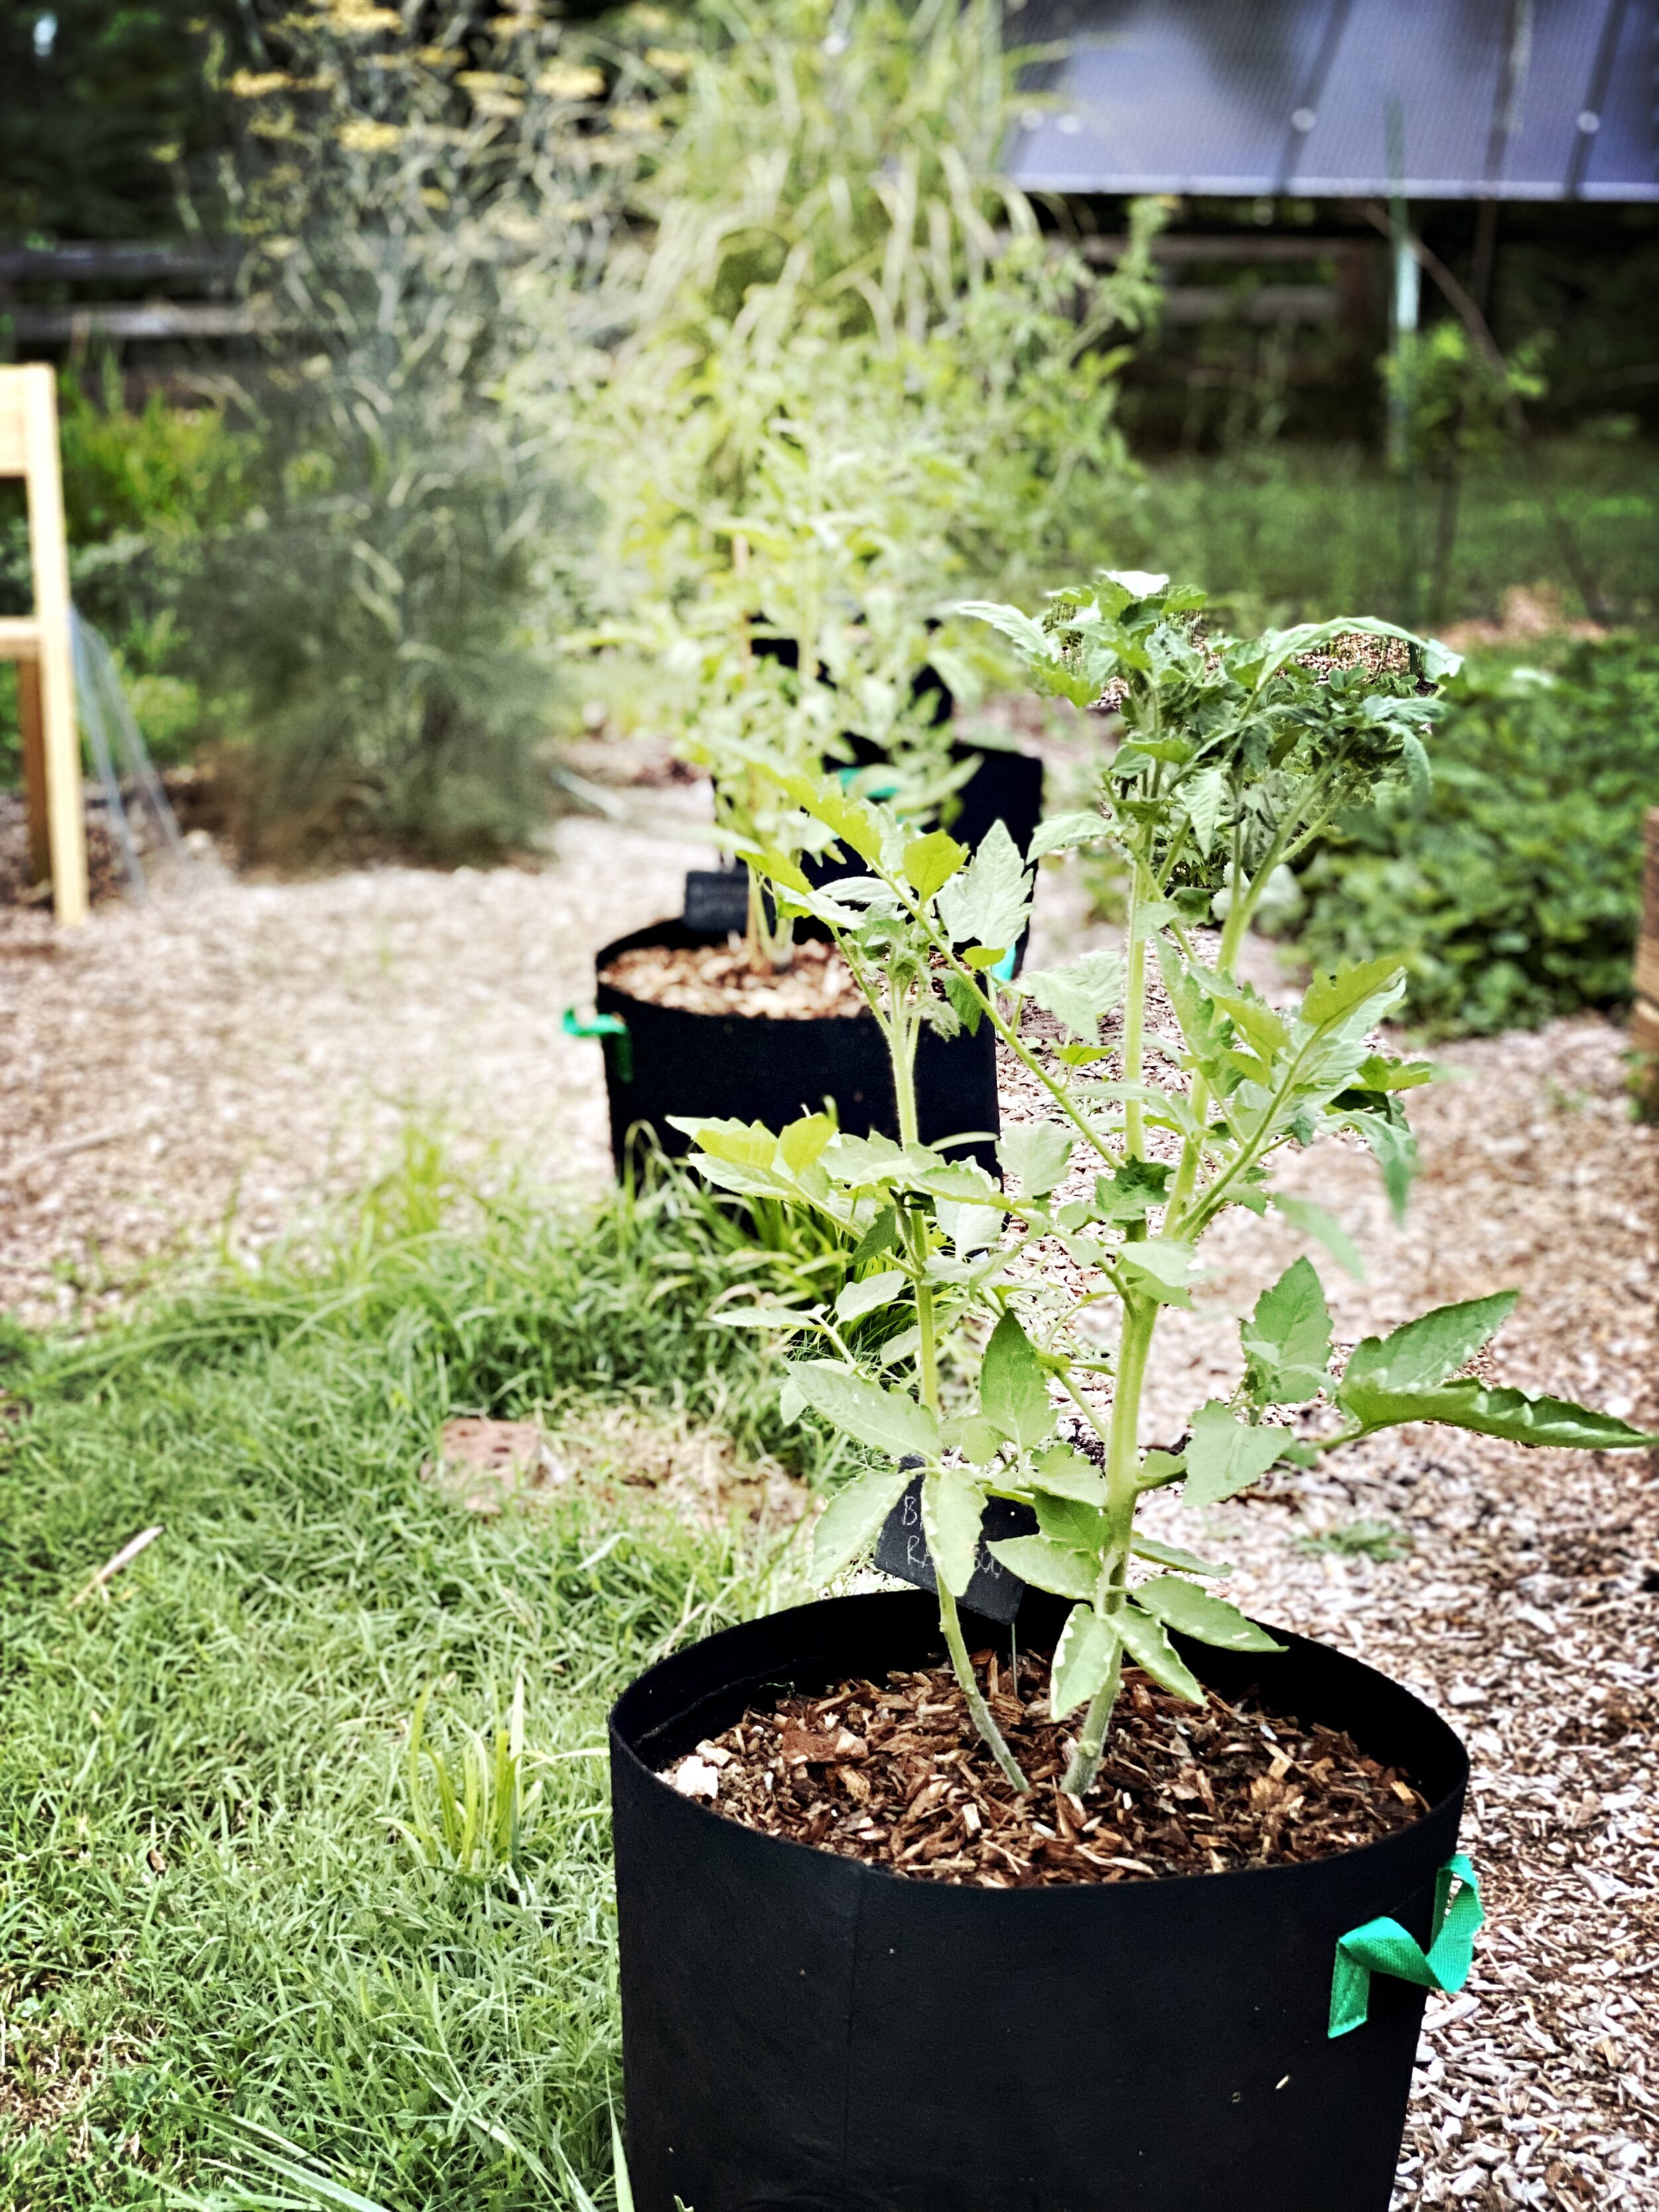
MEDIA & CONTAINERS
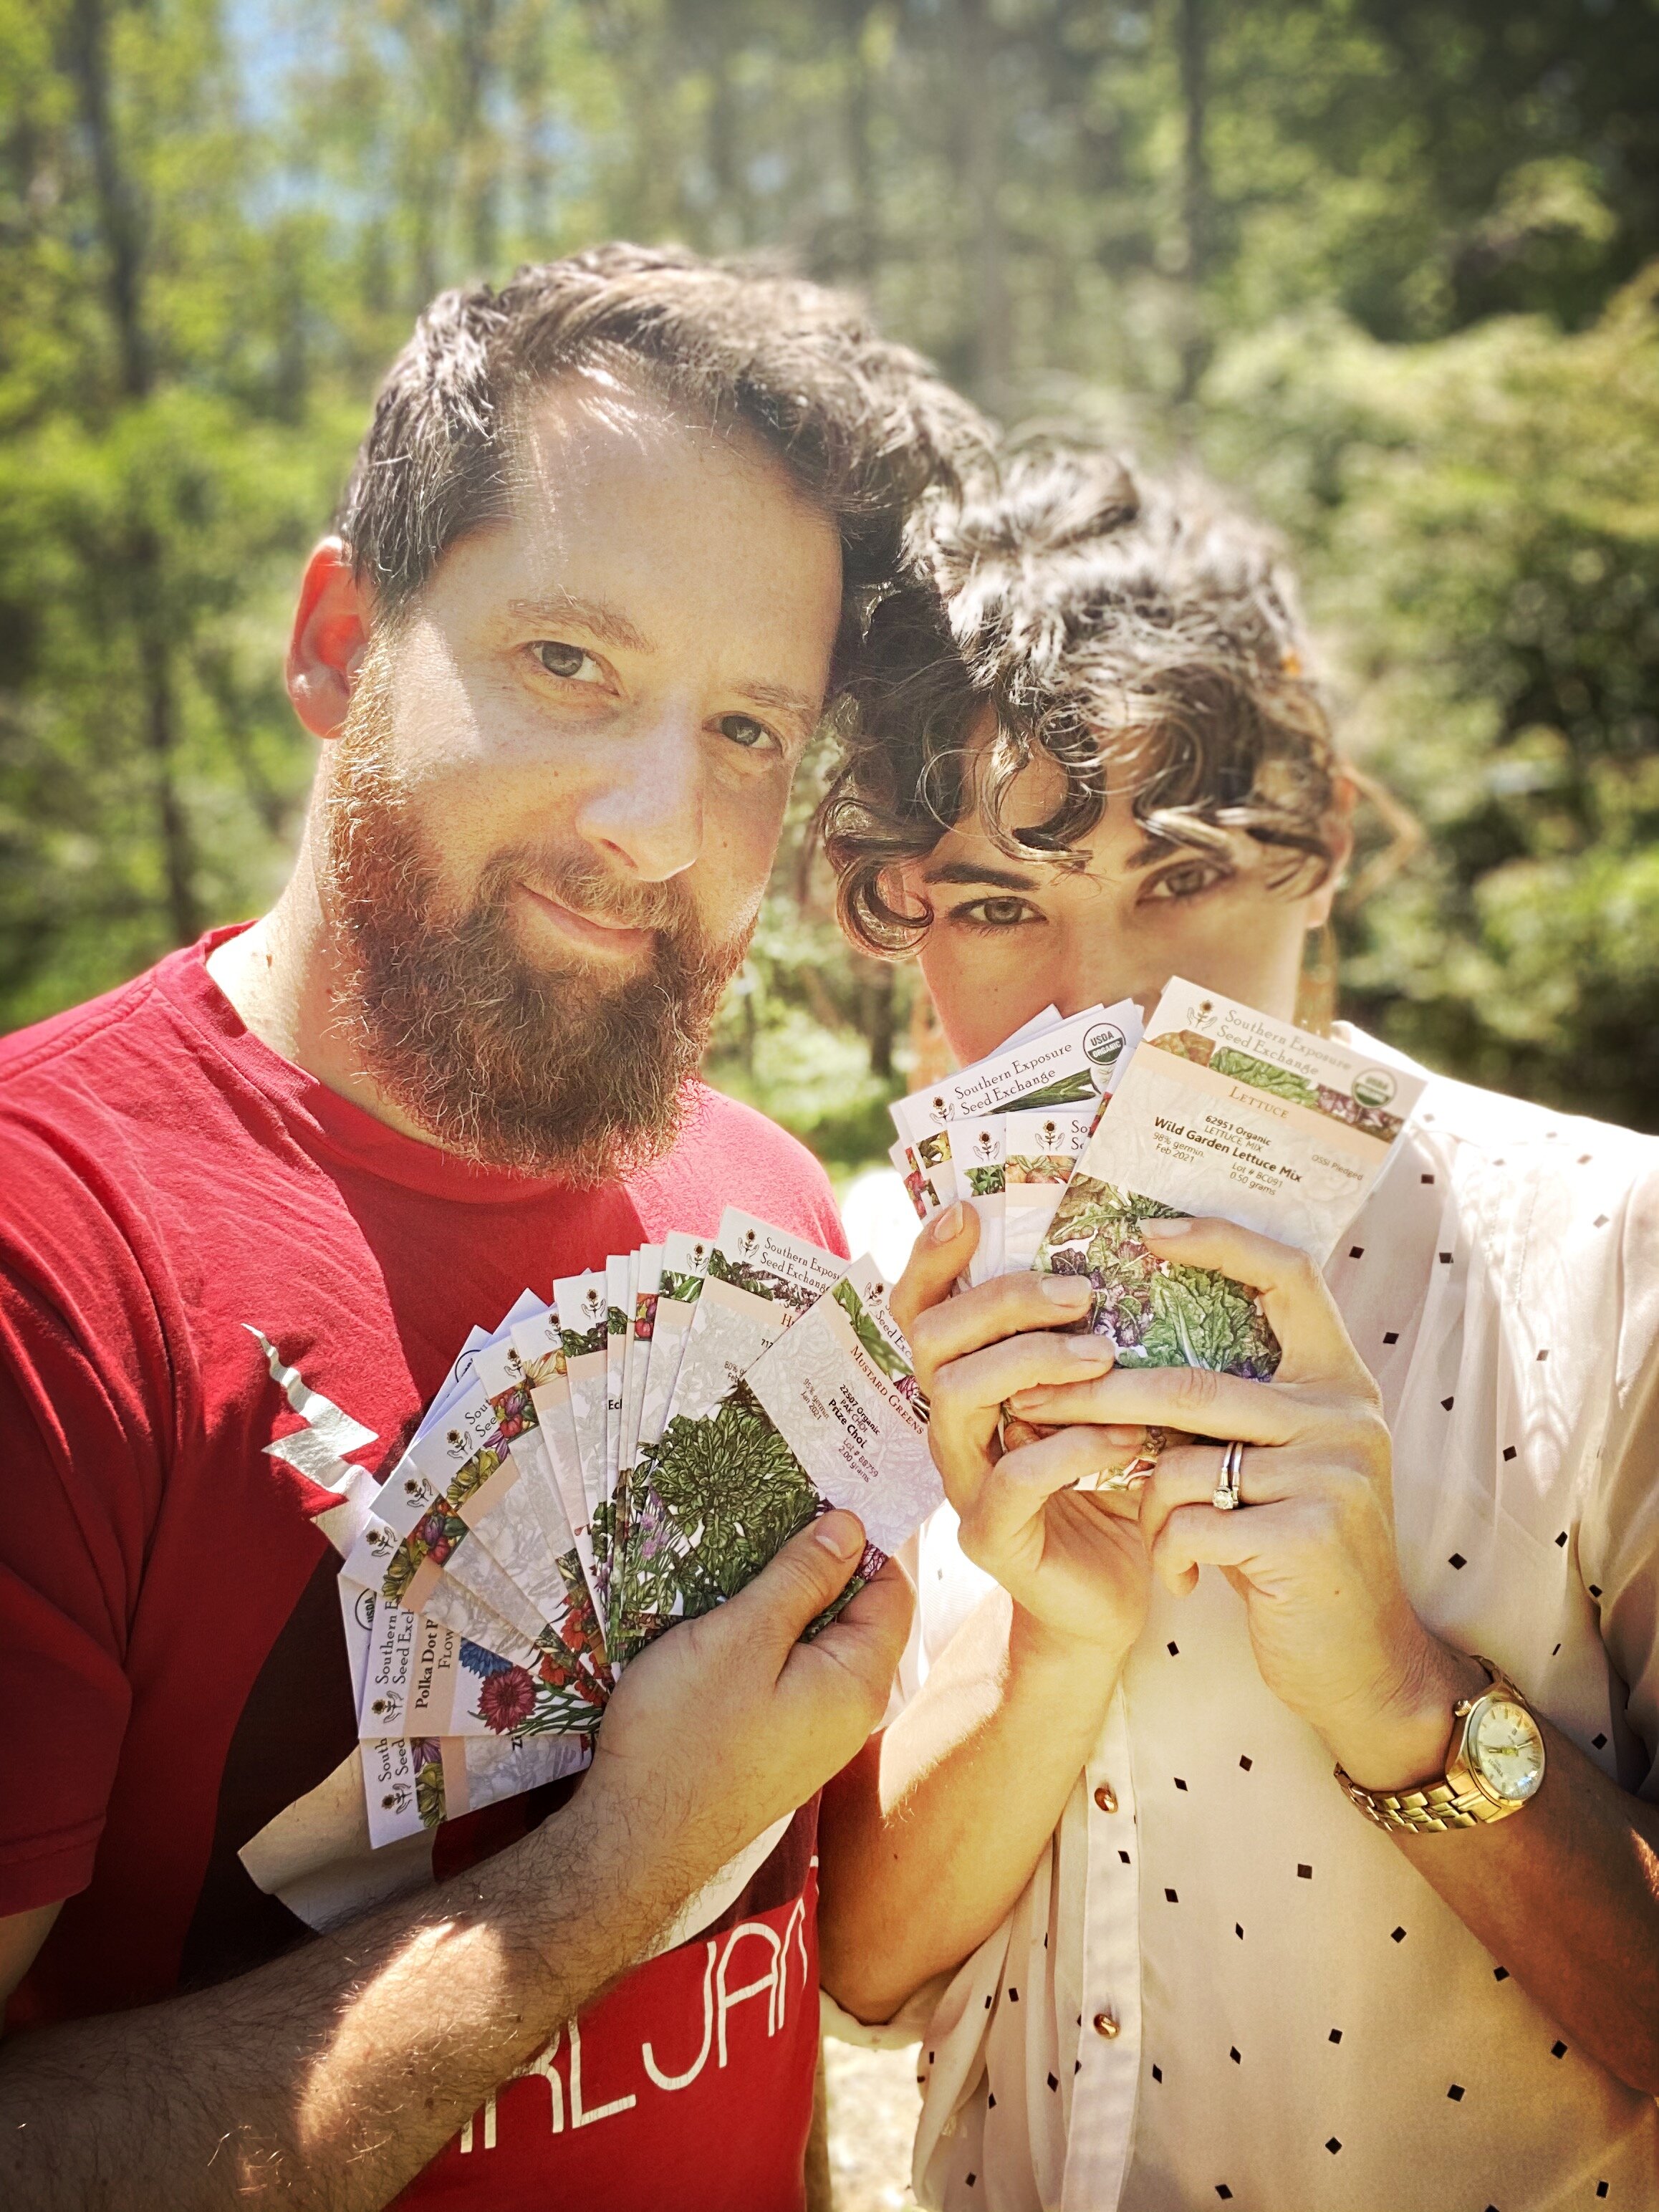
On March 20, we used seed starter trays to plant five varieties from Southern Exposure Seed Exchange. We picked some big fellas (Mortgage Lifter, Yellow Brandywine, Big Rainbow) and some little cherries (Matt's Wild, Dr. Carolyn). Again, seed packets were about $3 and each packet contains 40-80 seeds. We used seed starting soil mix (which is lighter and fluffier) and planted 2-3 seeds per cell (giving the seeds a better chance to grow, you can pluck out the weakest ones).
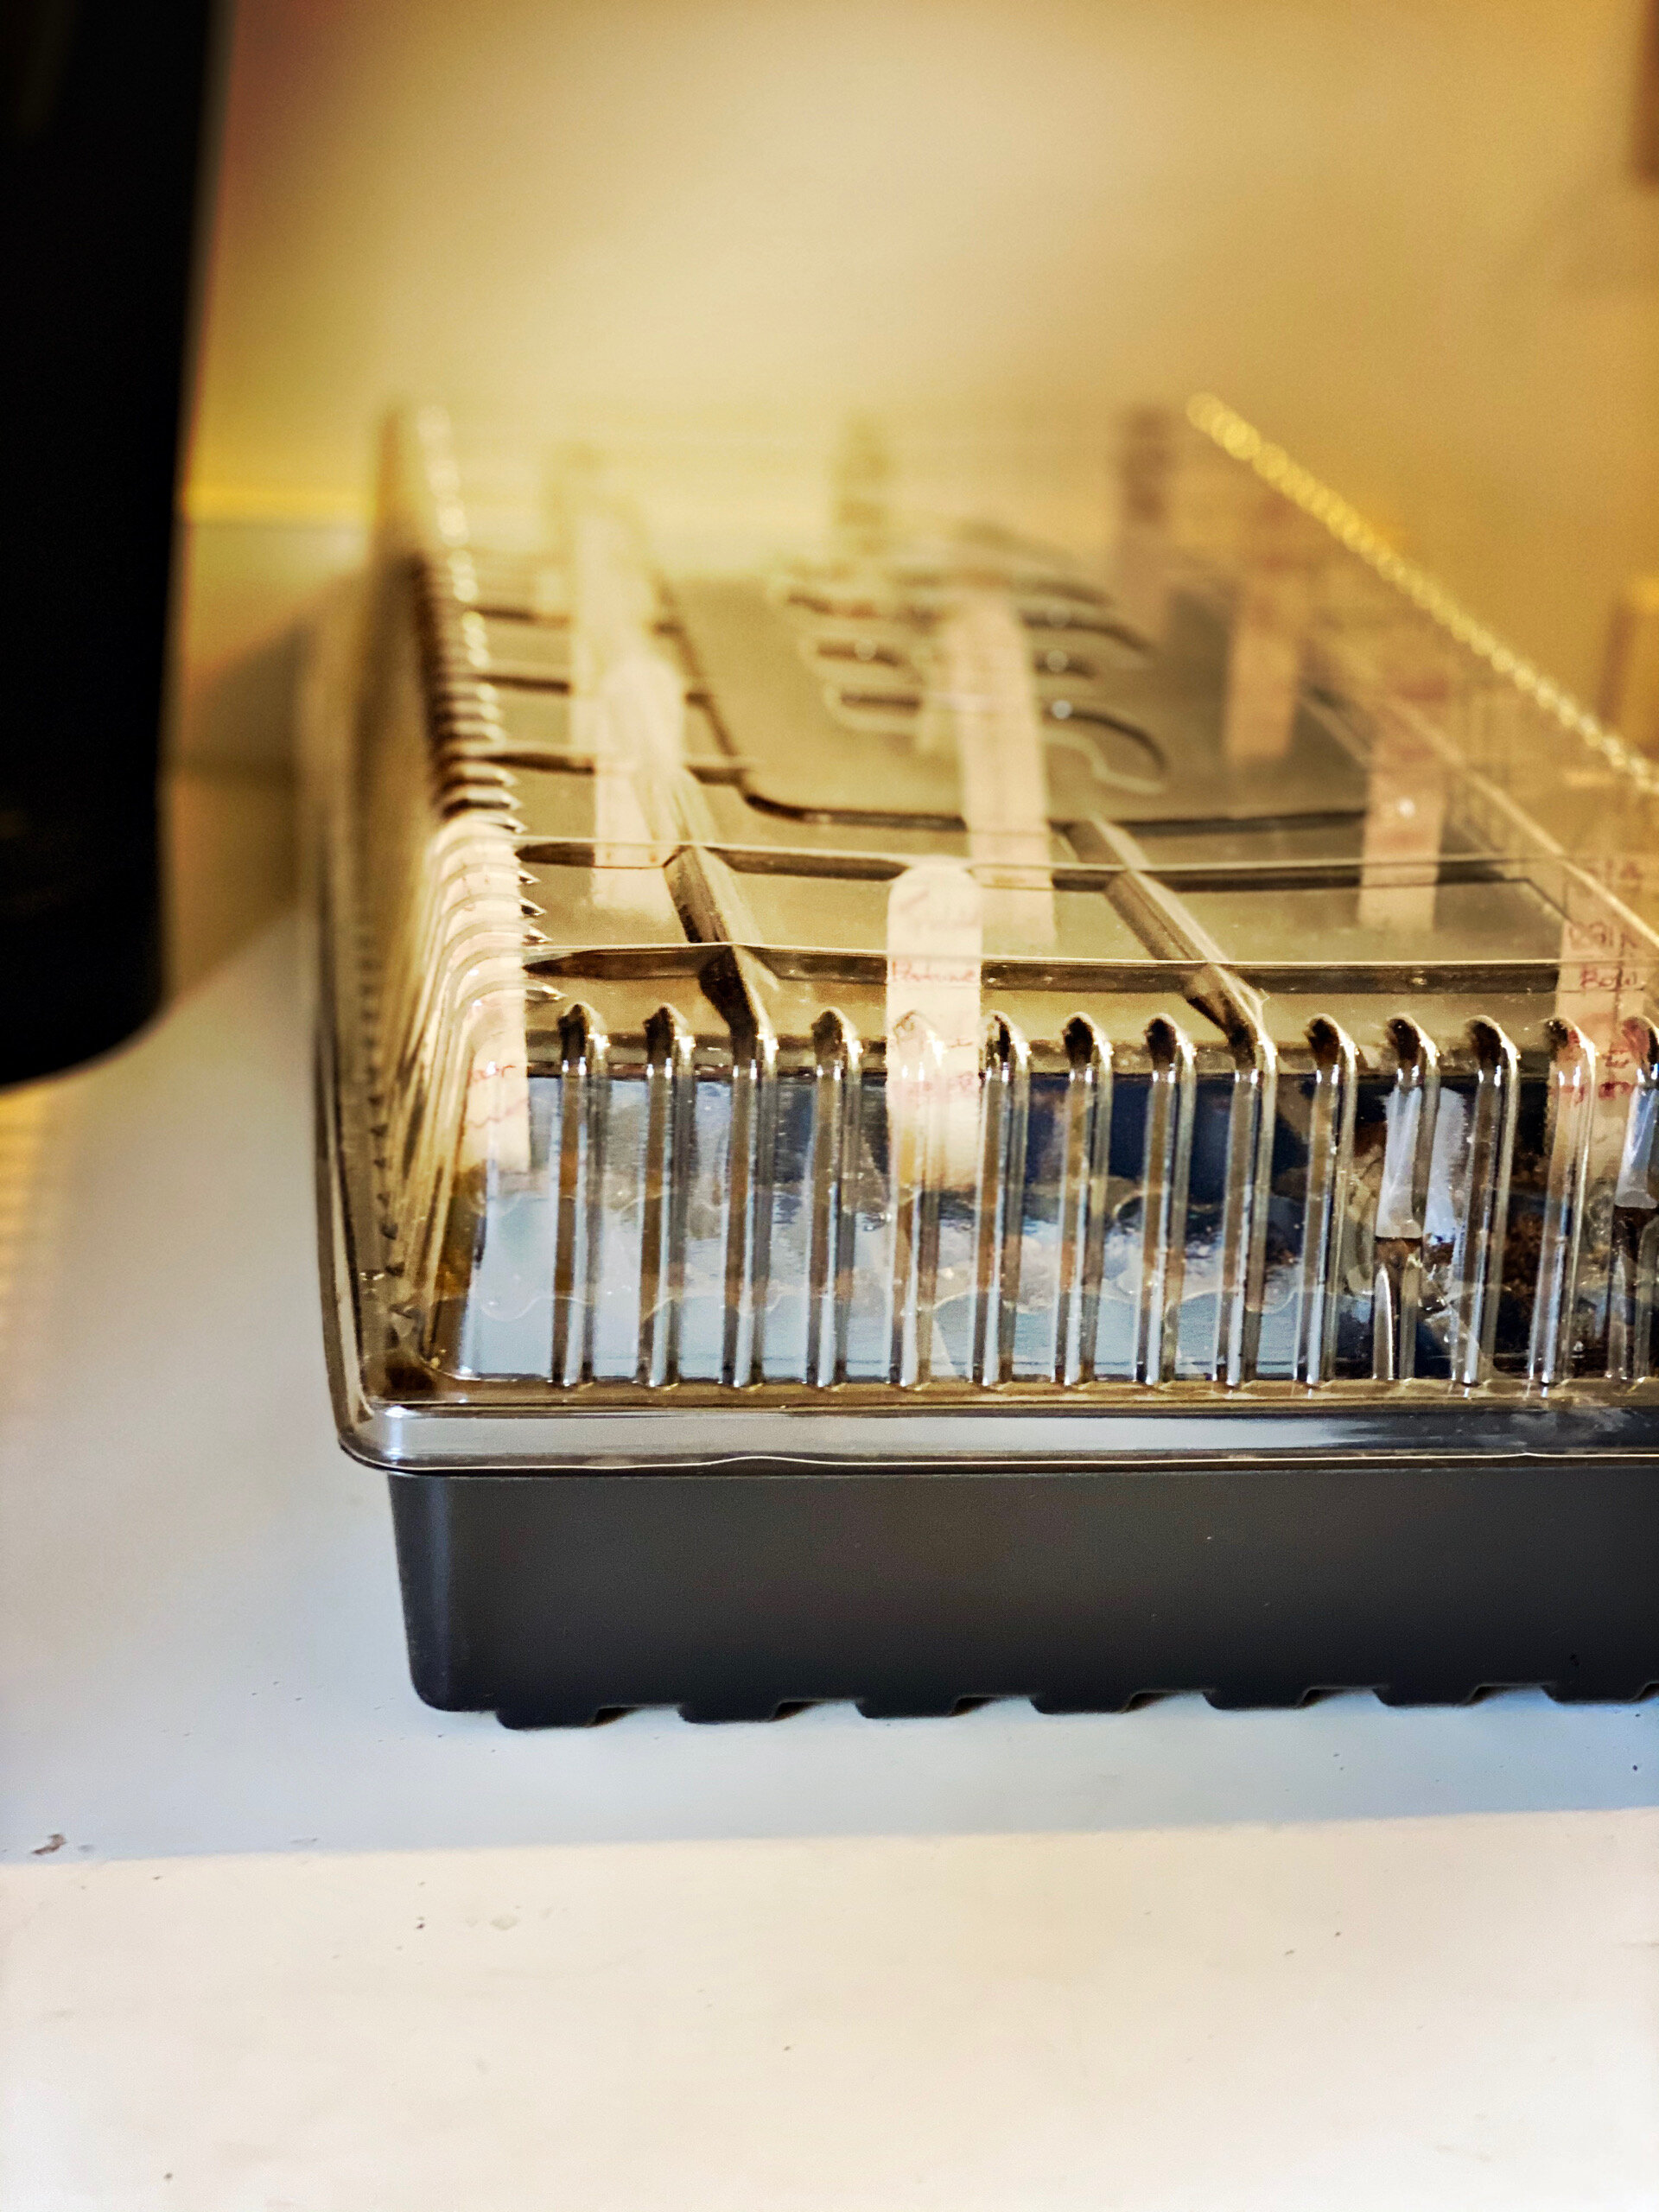
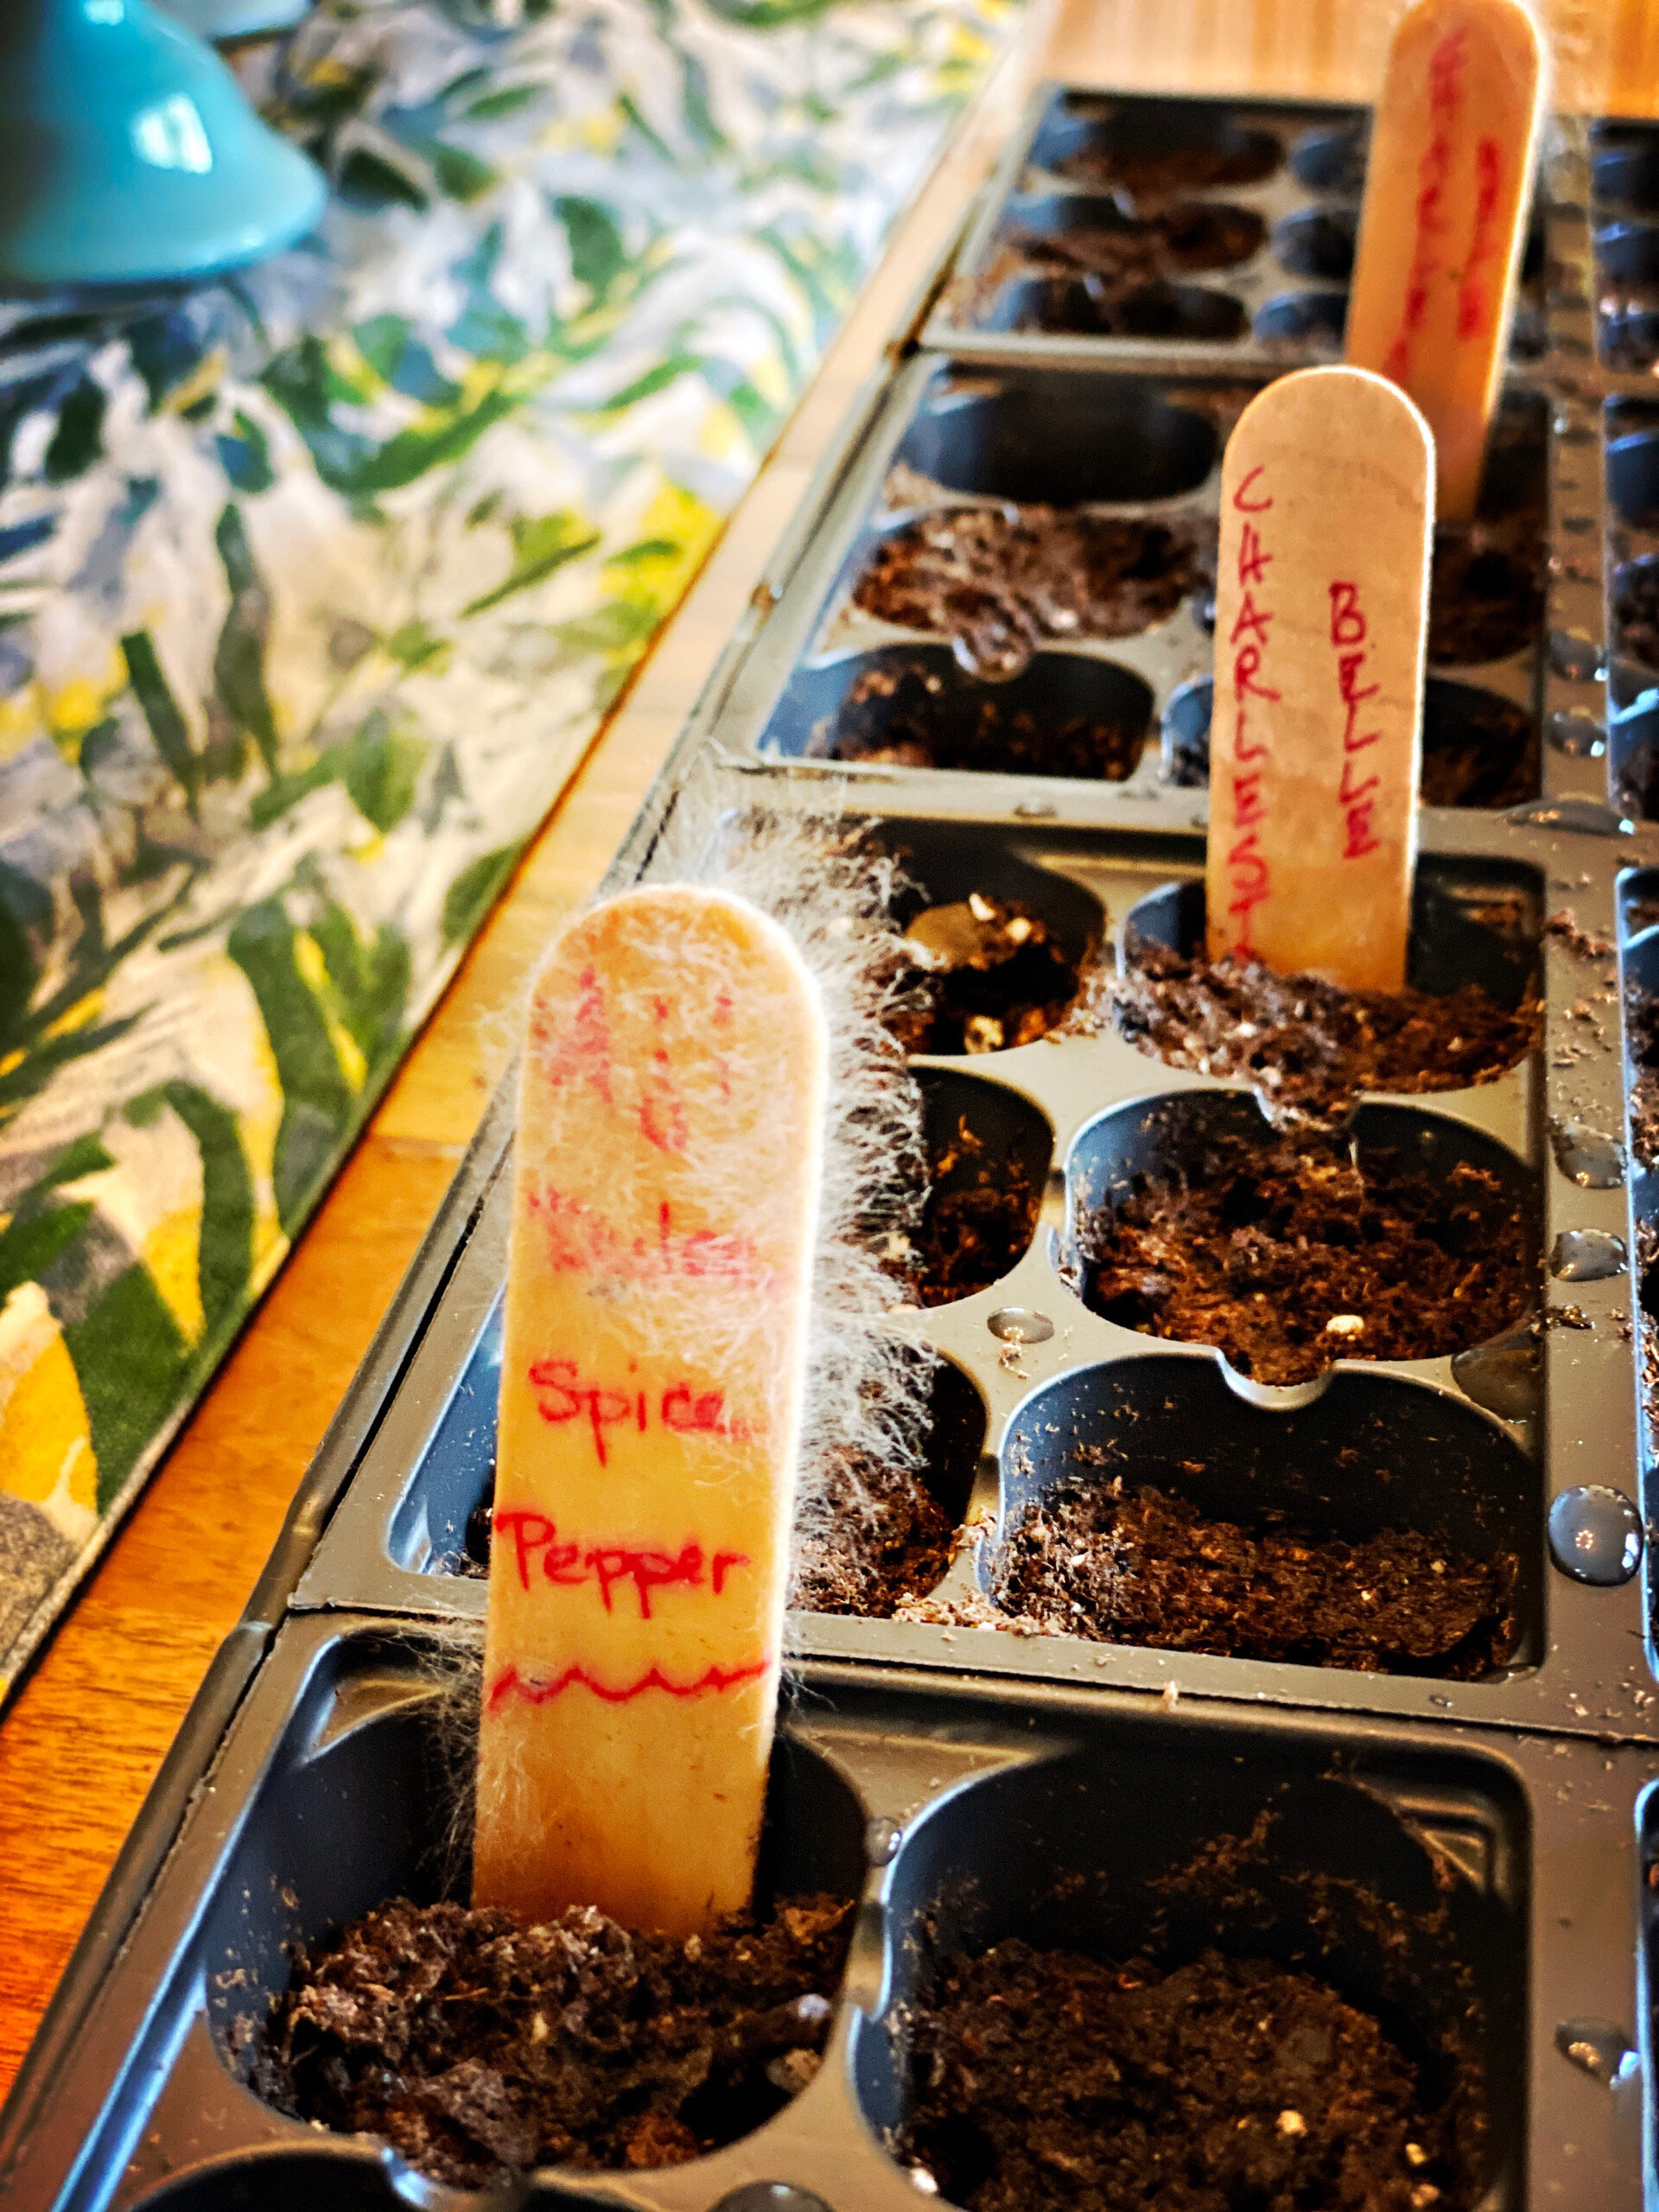
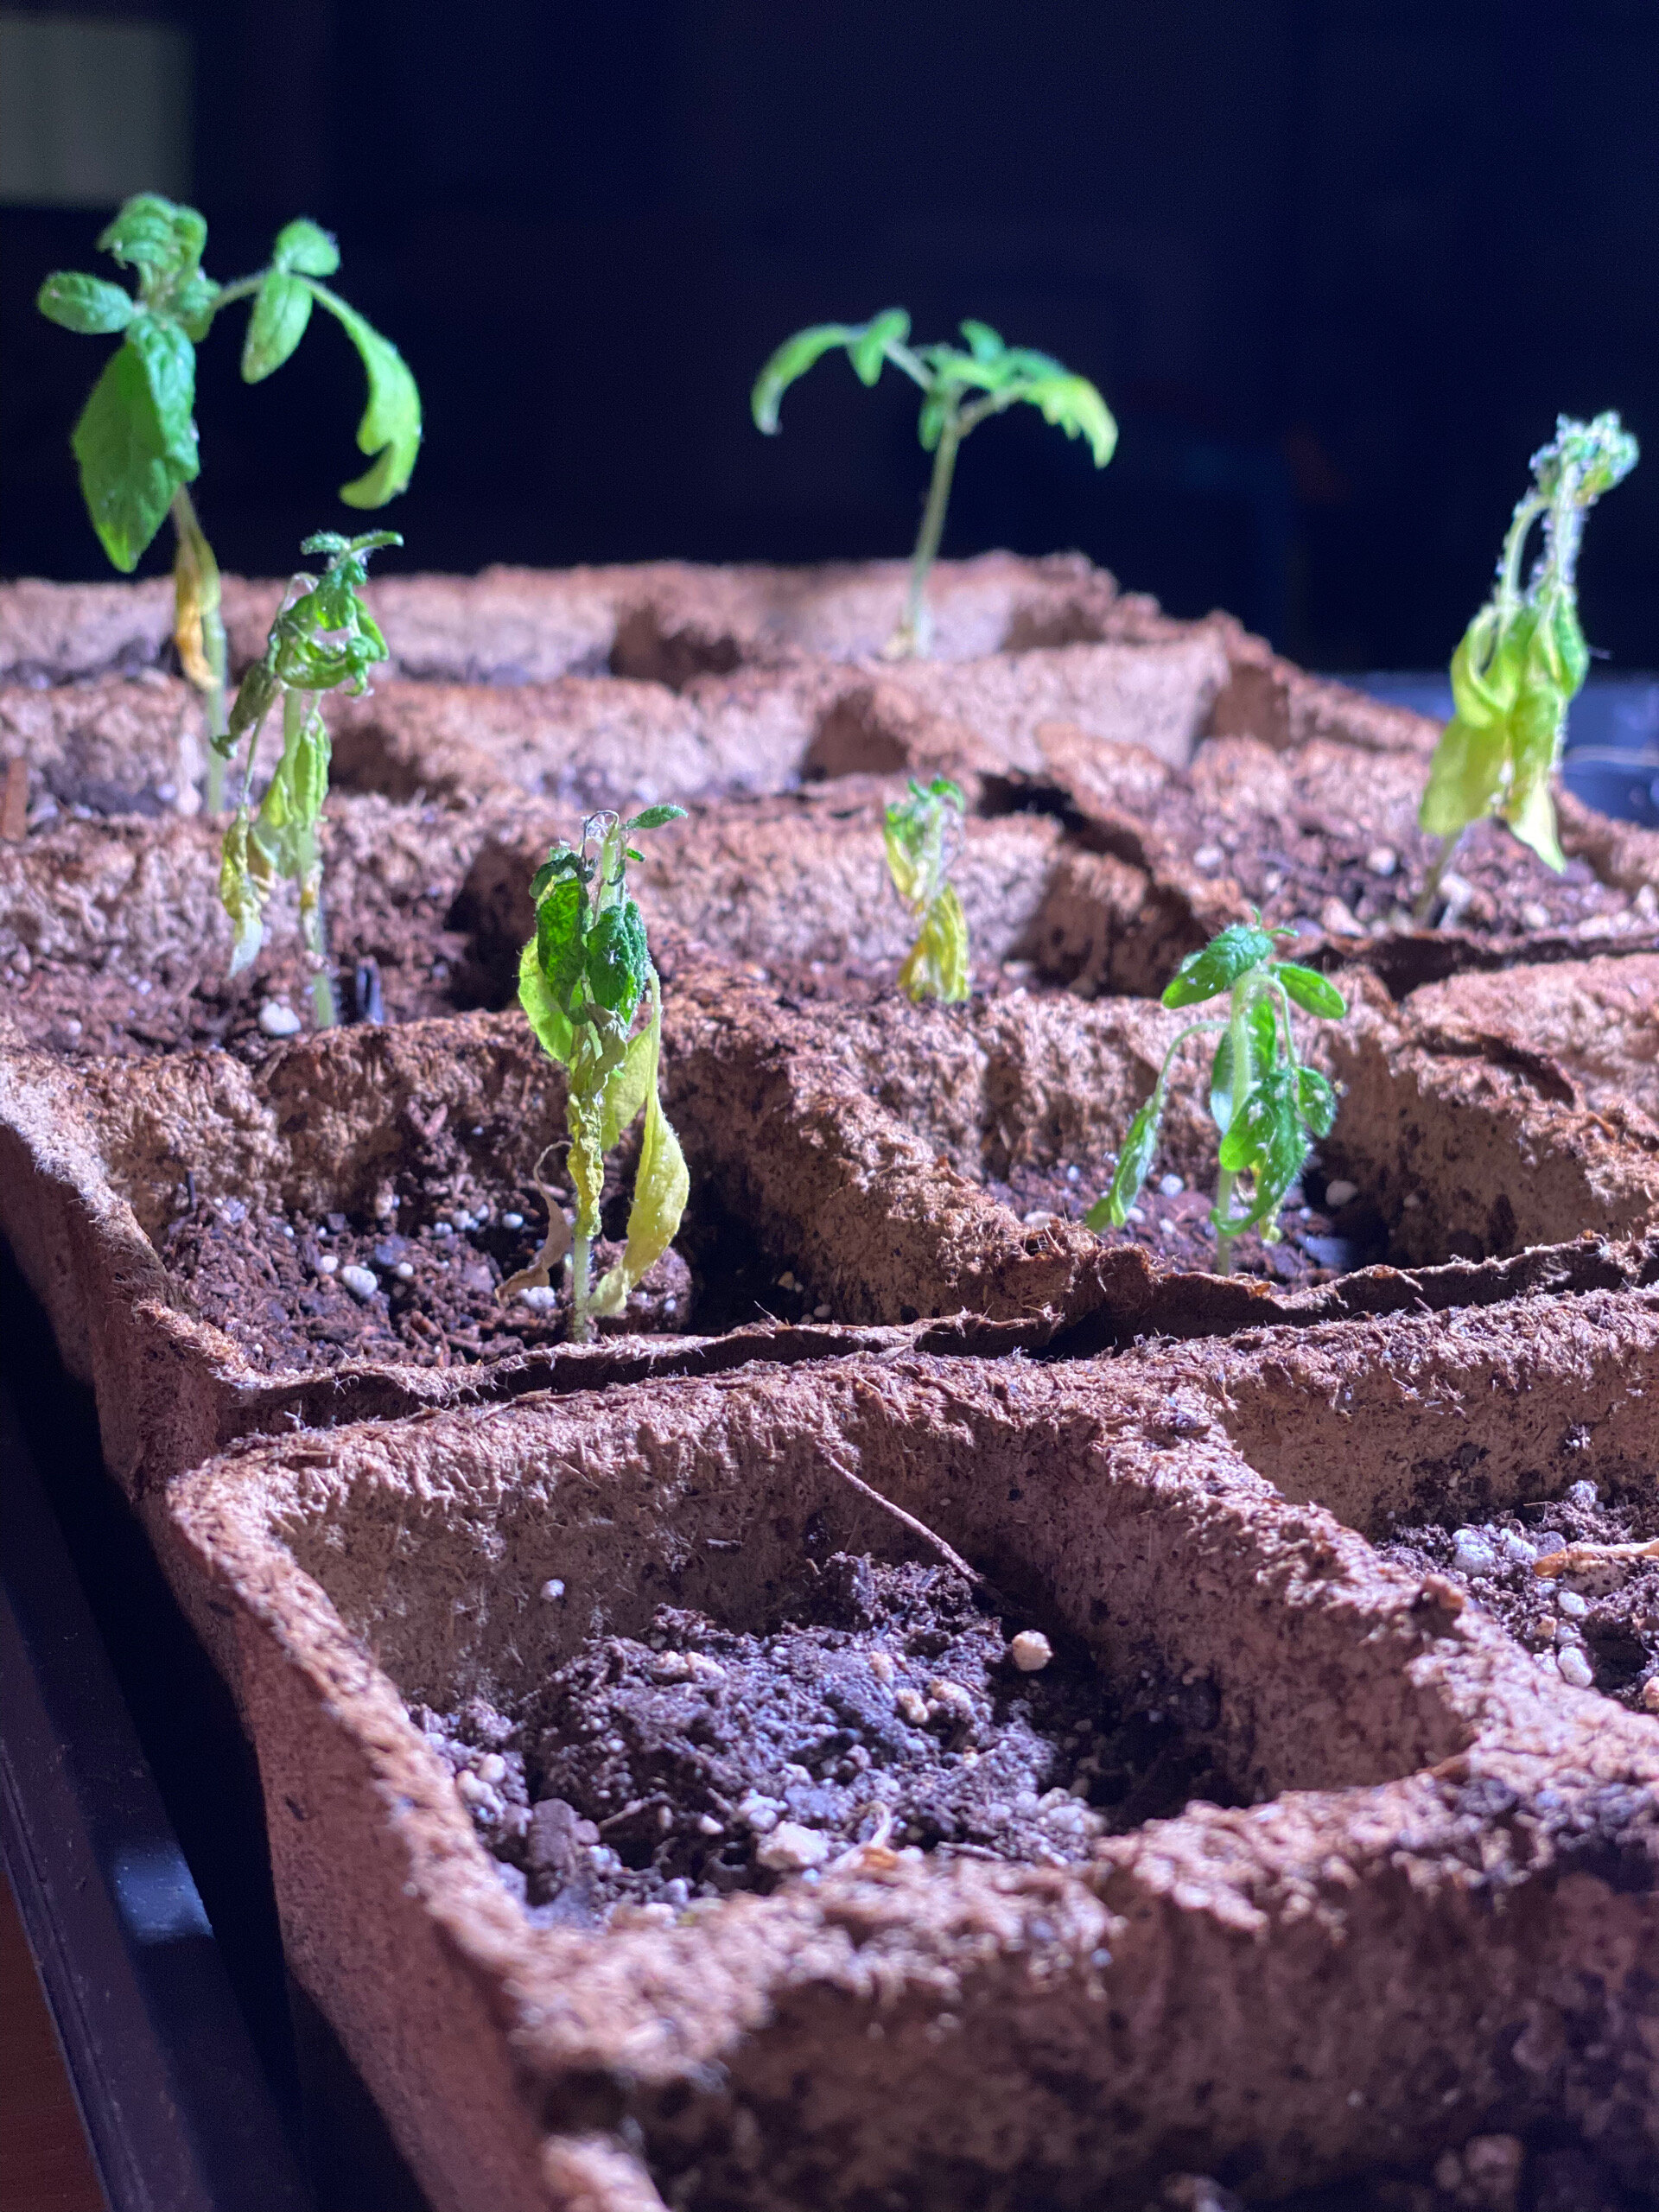
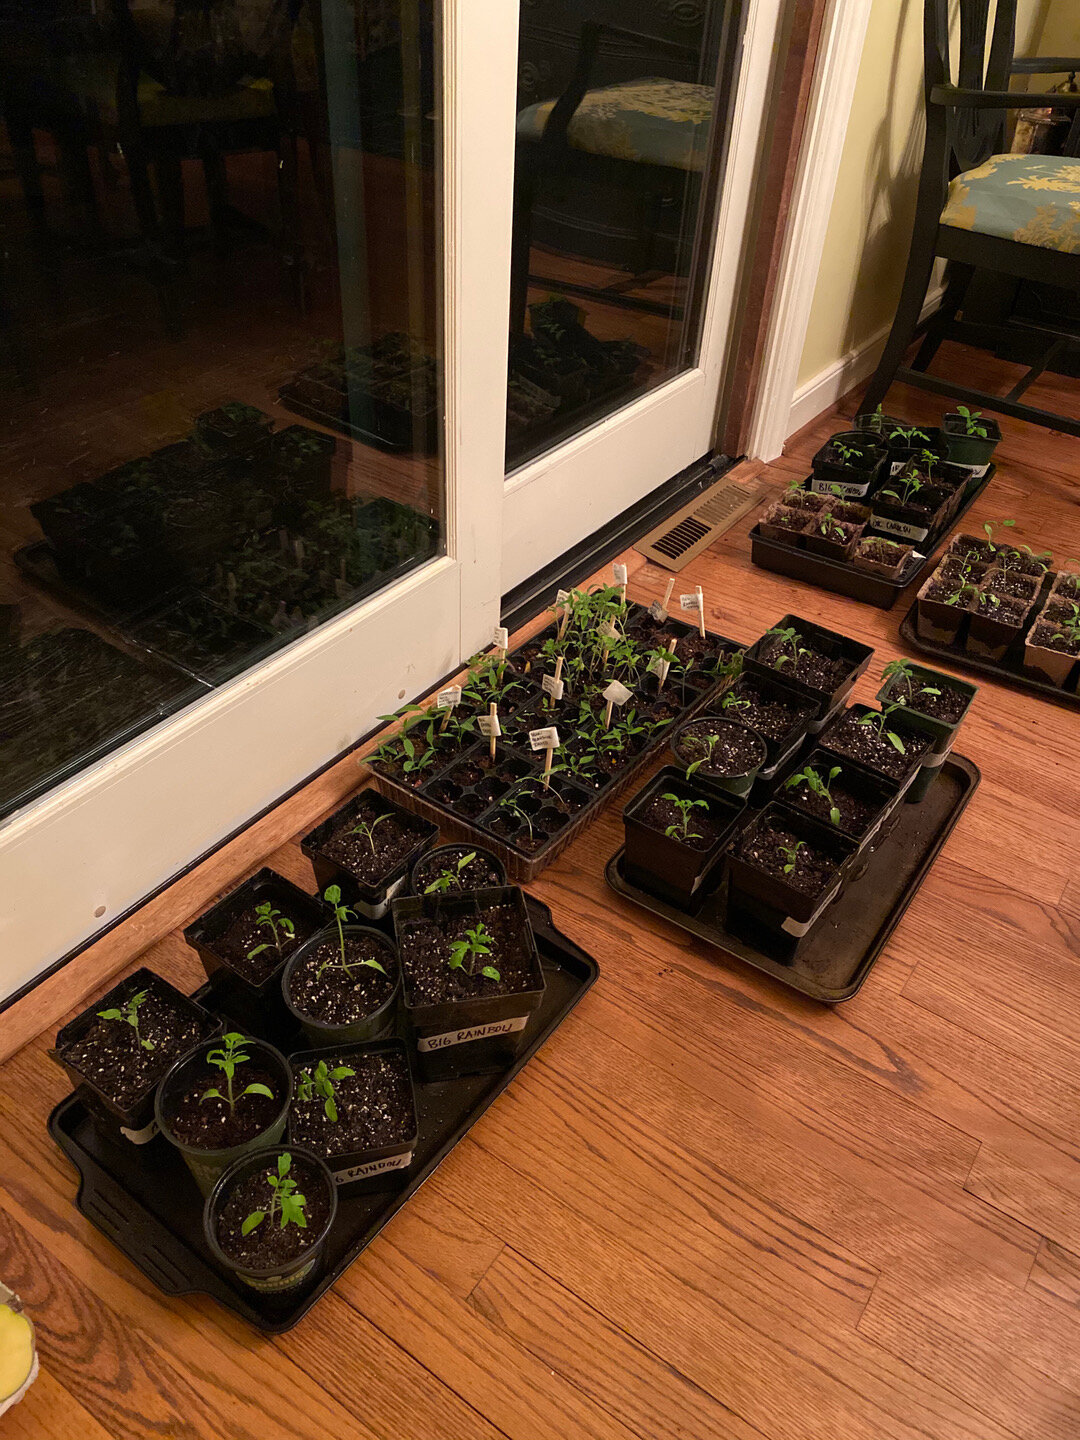
LIGHT
Like a doofus, at first I didn't use grow lights, just put 'em next to a sunny glass door. Also like a doofus, I covered them with the clear plastic top (like the package said to do!), which only served to made the popsicle stick plant labels nice and hairy. I'm sure they molded because I gave them too much water, not enough light, kept the plastic on too long. Just general doofusness. I finally invested in a couple cheap LED grow lights, and promptly continued to murder most of our seedlings.
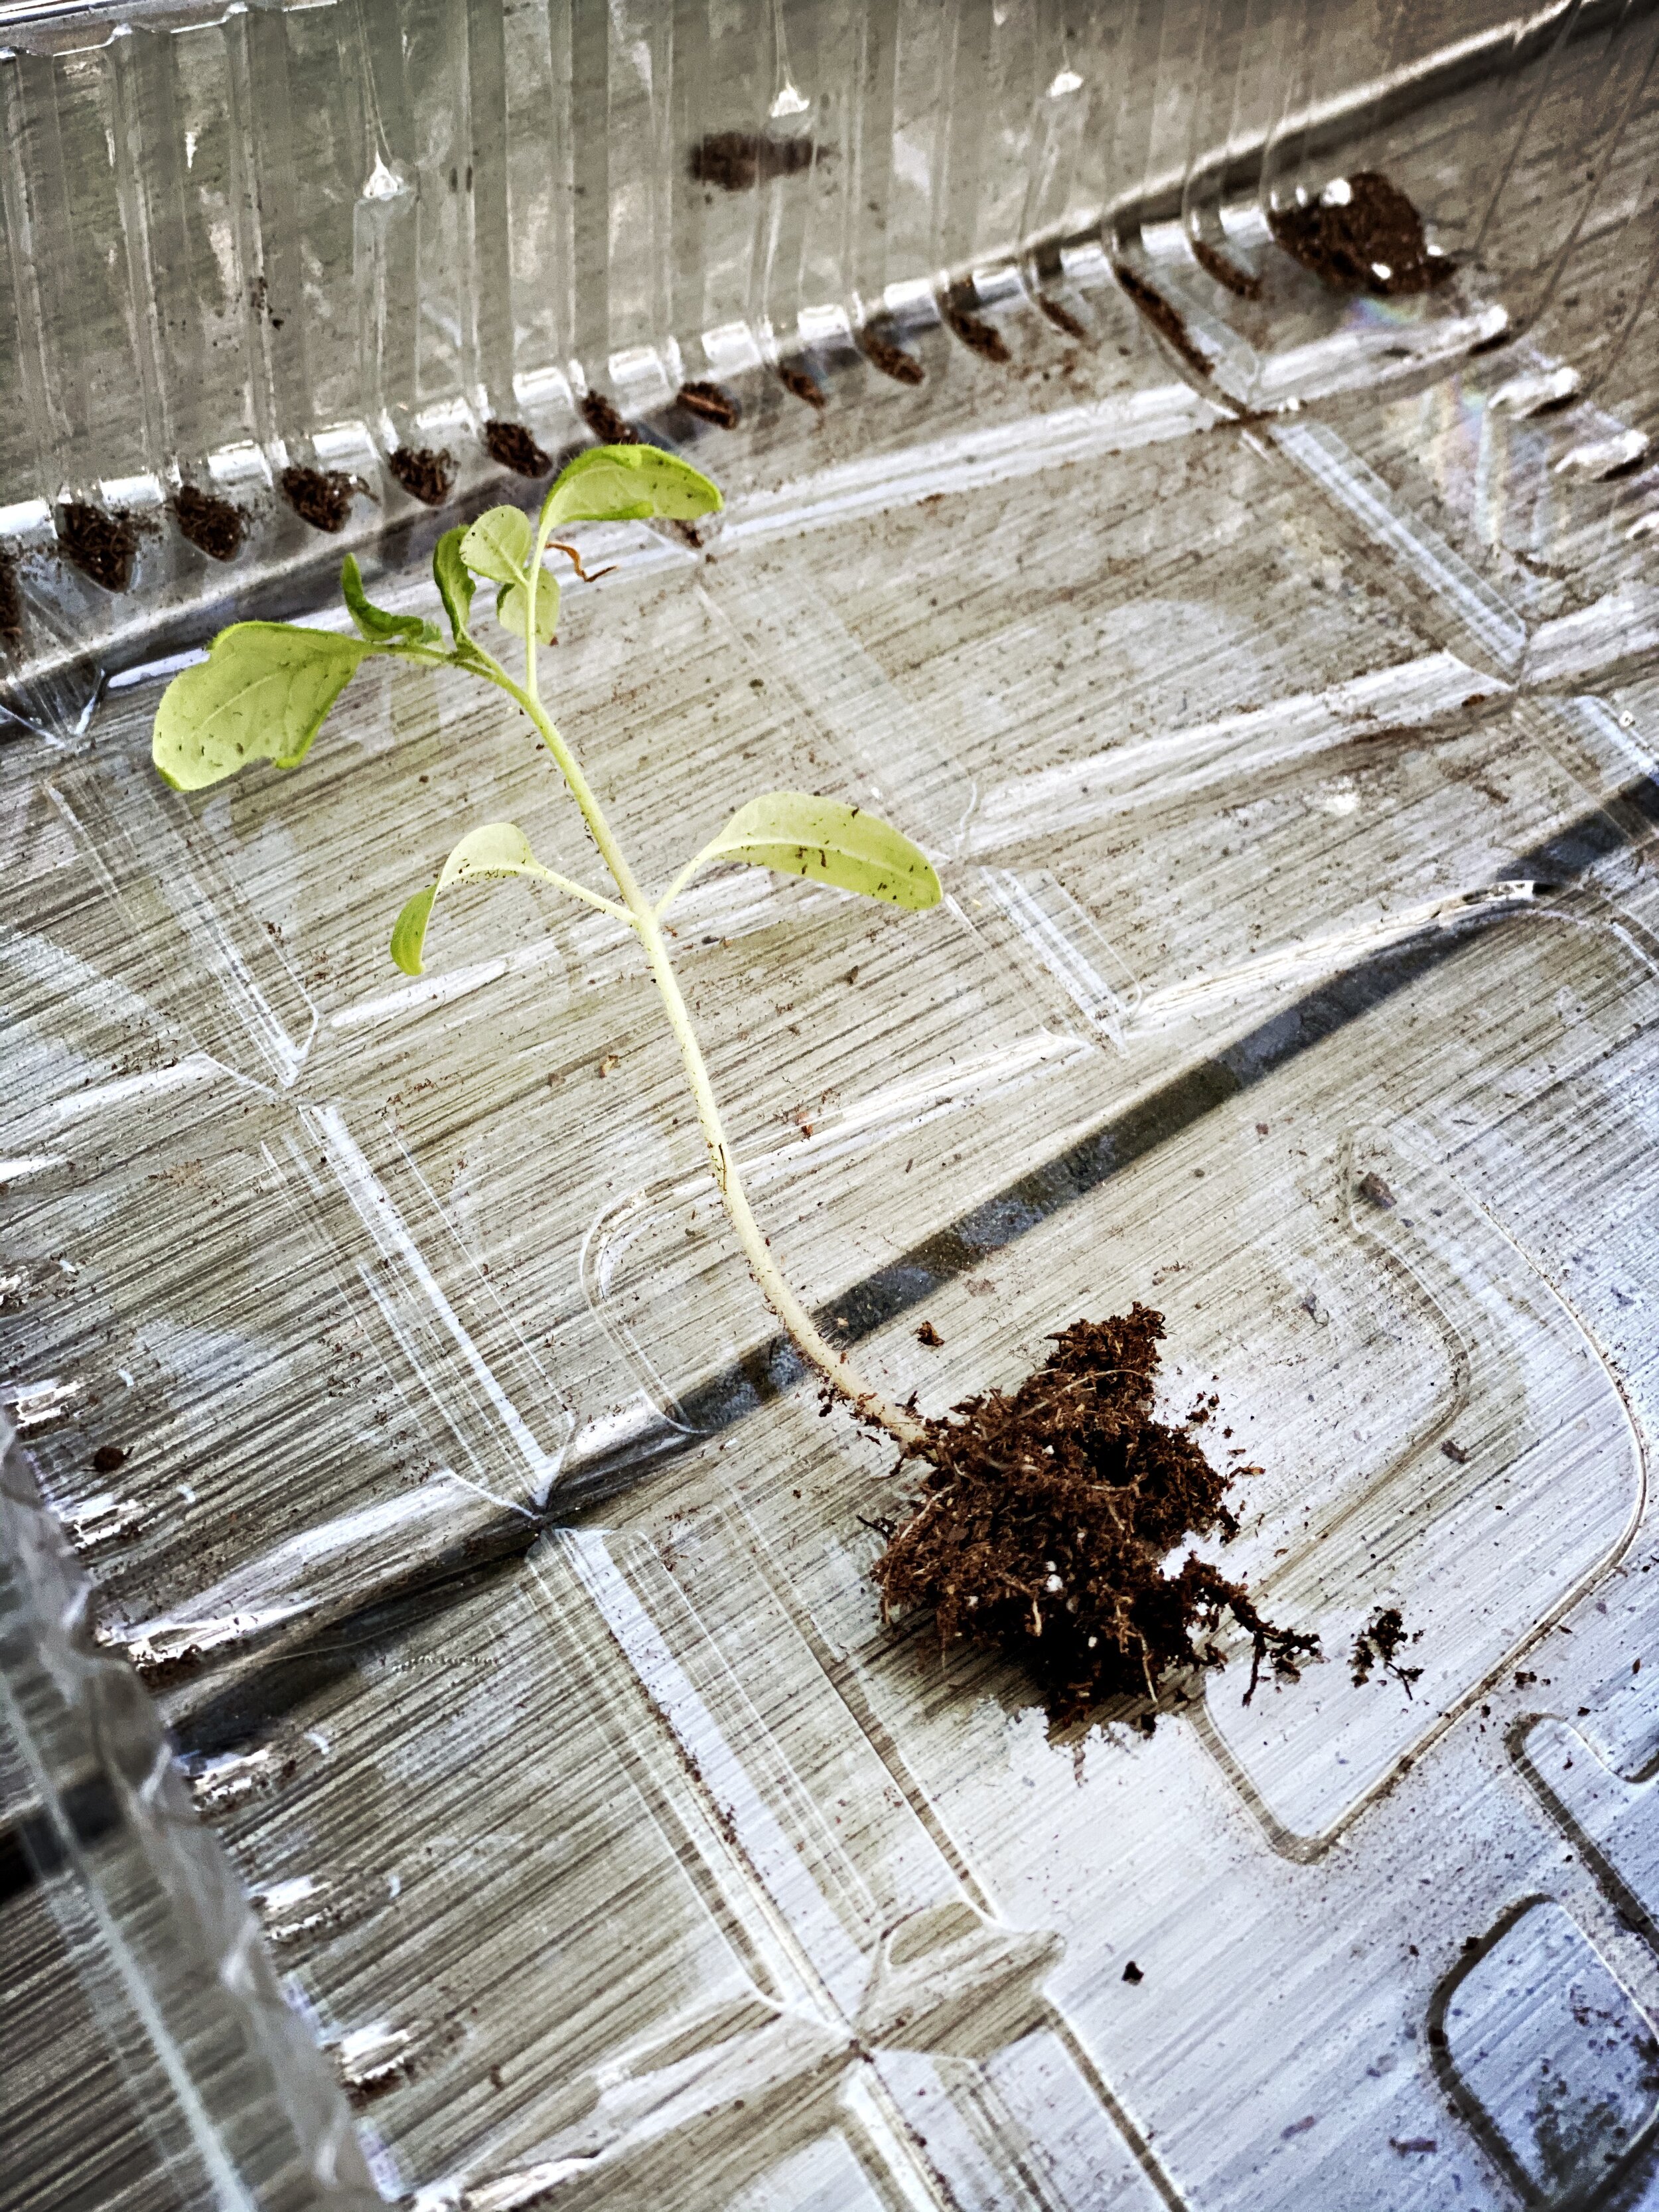
TRANSPLANTING tomatoes
But plants are fighters, and a couple dozen survived enough to transplant into larger pots (next time I wouldn’t use starter trays, I’d just sow directly into the 3” or 5” pots to avoid this extra transplant step, which was very time consuming). To transplant, I made a little hole with a pencil and then planted the seedlings as deep as possible, up to the first node of leaves on the fragile stems, which encourages root production. My killing spree knew no bounds. Still, out of probably 50 viable seeds, I was left with enough to give away a bunch of starts to better homes, and still had at least a dozen viable plants left over that somehow survived my lack of experience. I planted them in our raised beds and grow bags on May 23, well after our Zone 7 last frost date.
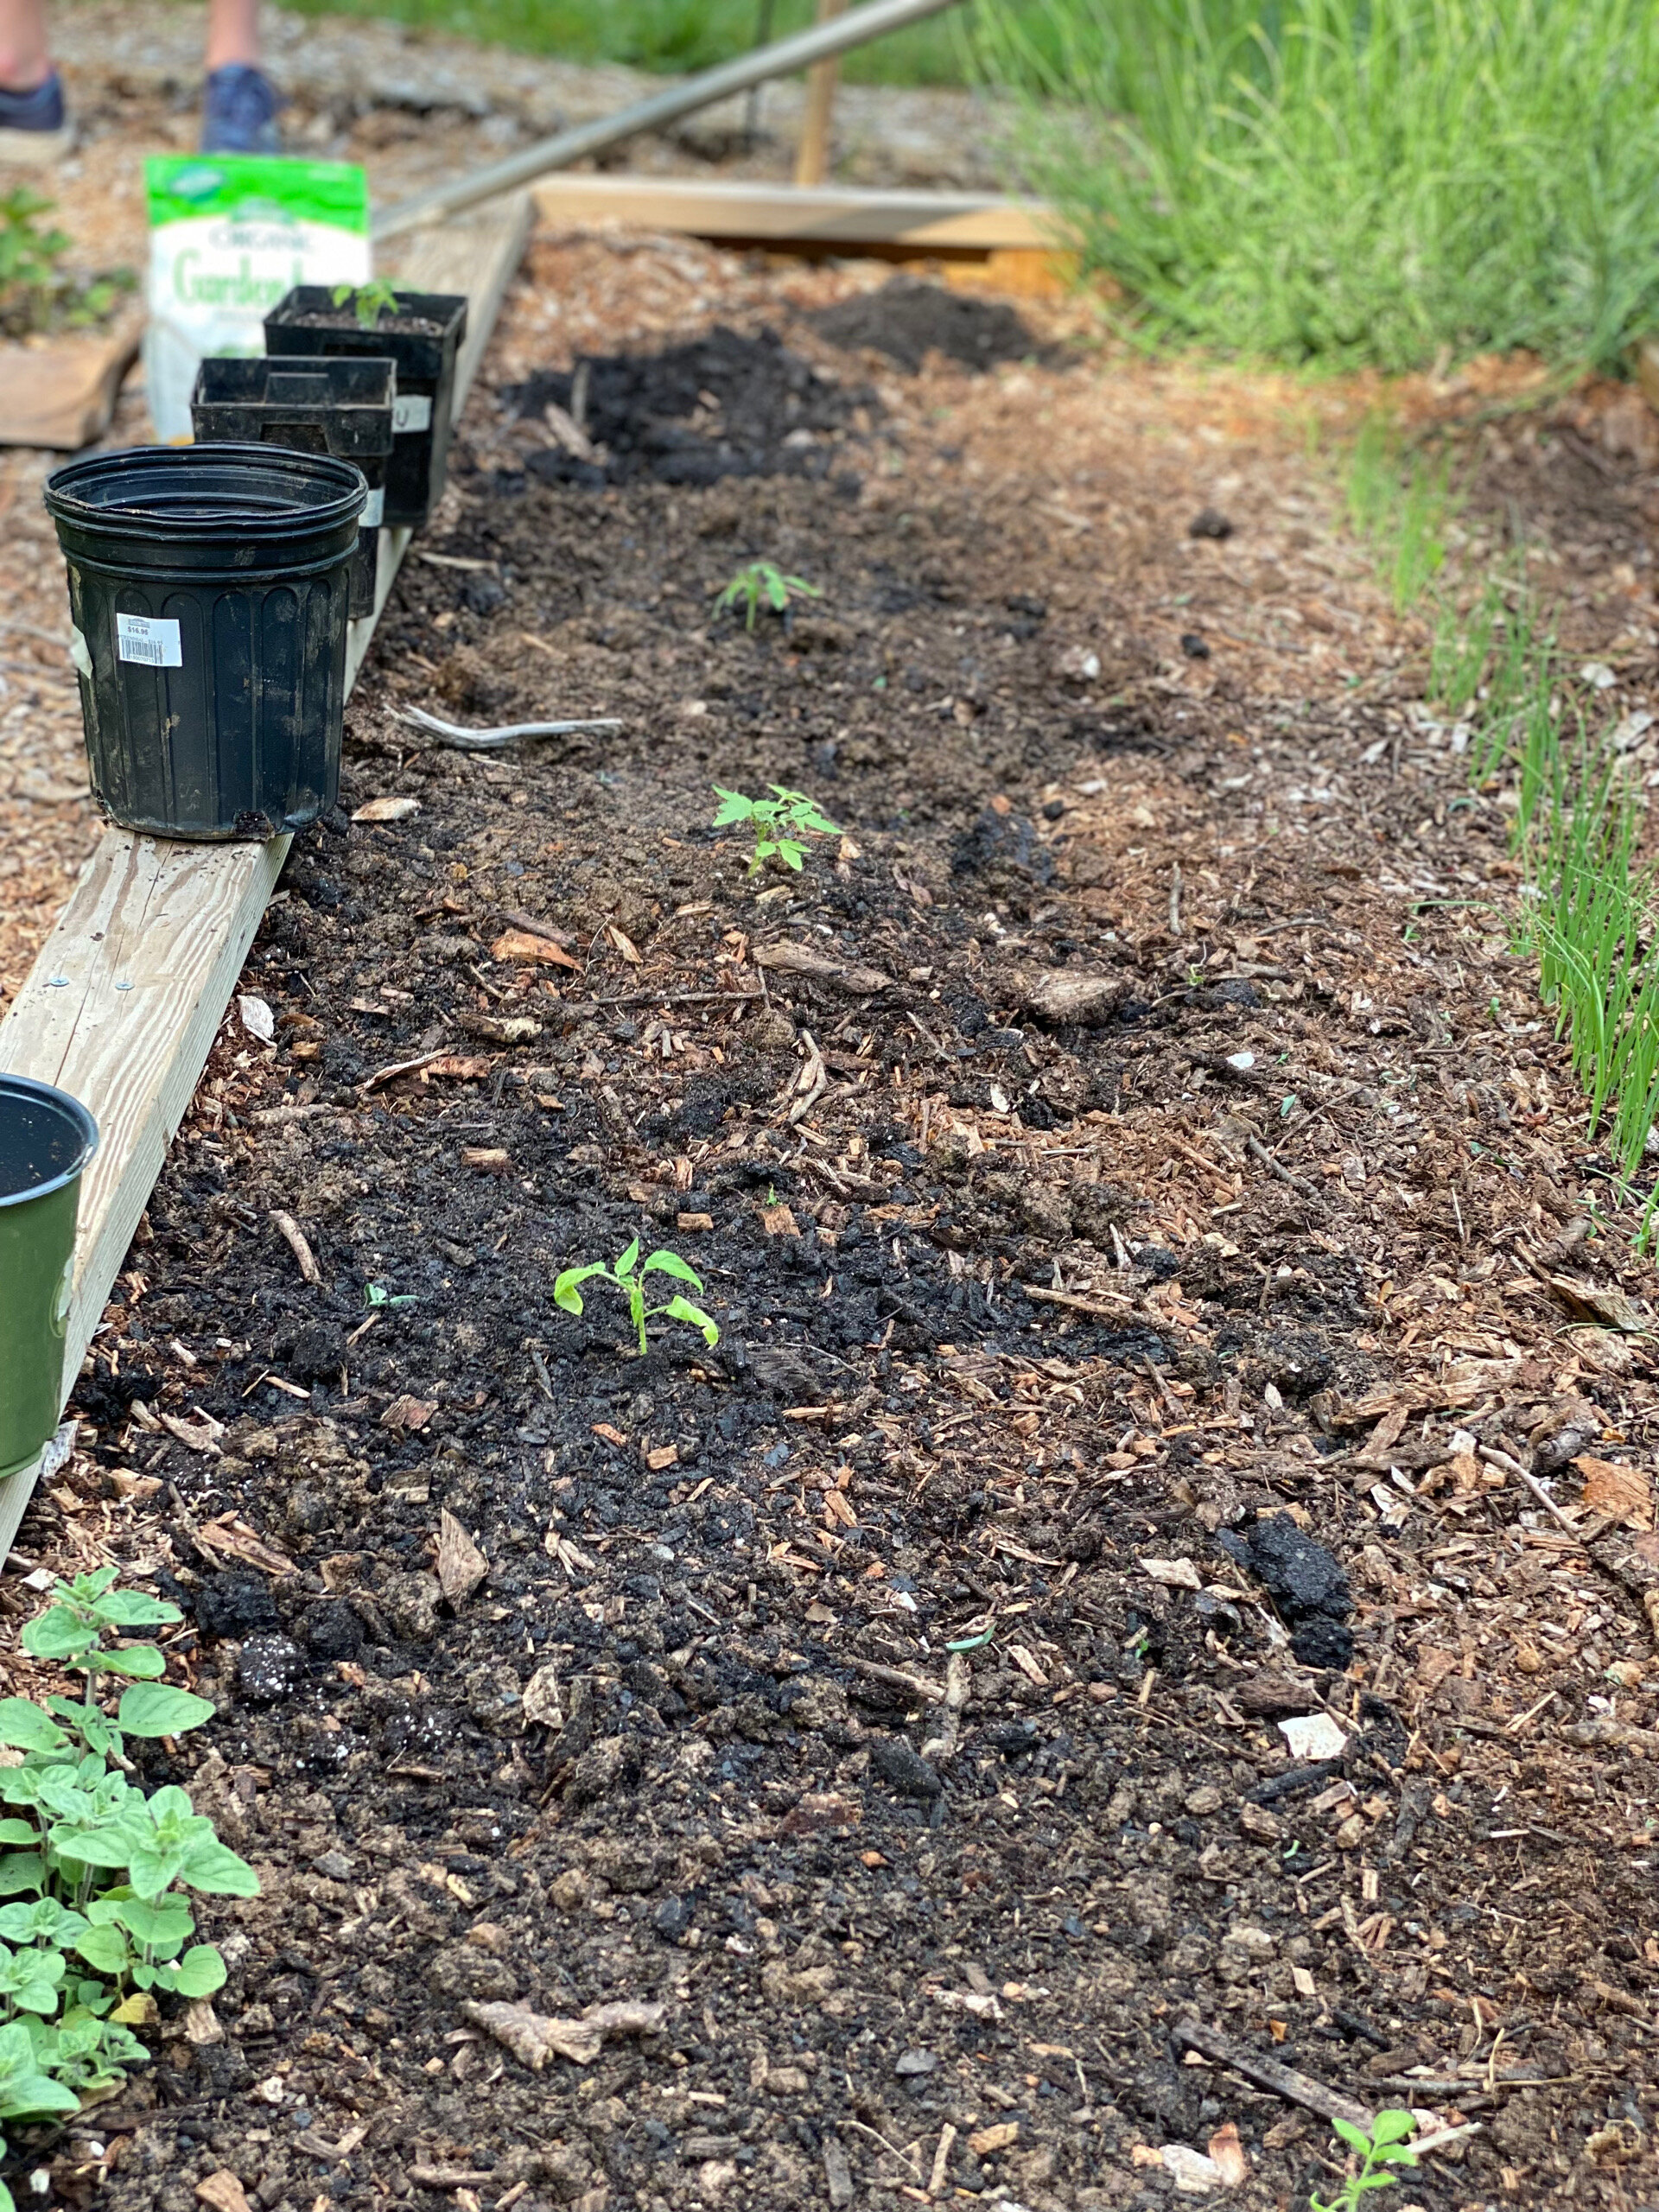
PLANTING OUT tomatoes
I dug holes and added a little organic compost and some Espoma Garden Tone fertilizer into the holes, mixing it well with the native soil there so the tomato roots weren’t directly touching a whole layer of fertilizer. Again, the goal is to plant the seedlings as deep as possible (you can often remove the lowest node of leaves). Those little hairs on the stem turn into roots! Life is a wonder. Here’s a good video about transplanting tomatoes (and don’t forget to water in after you’ve transplanted).
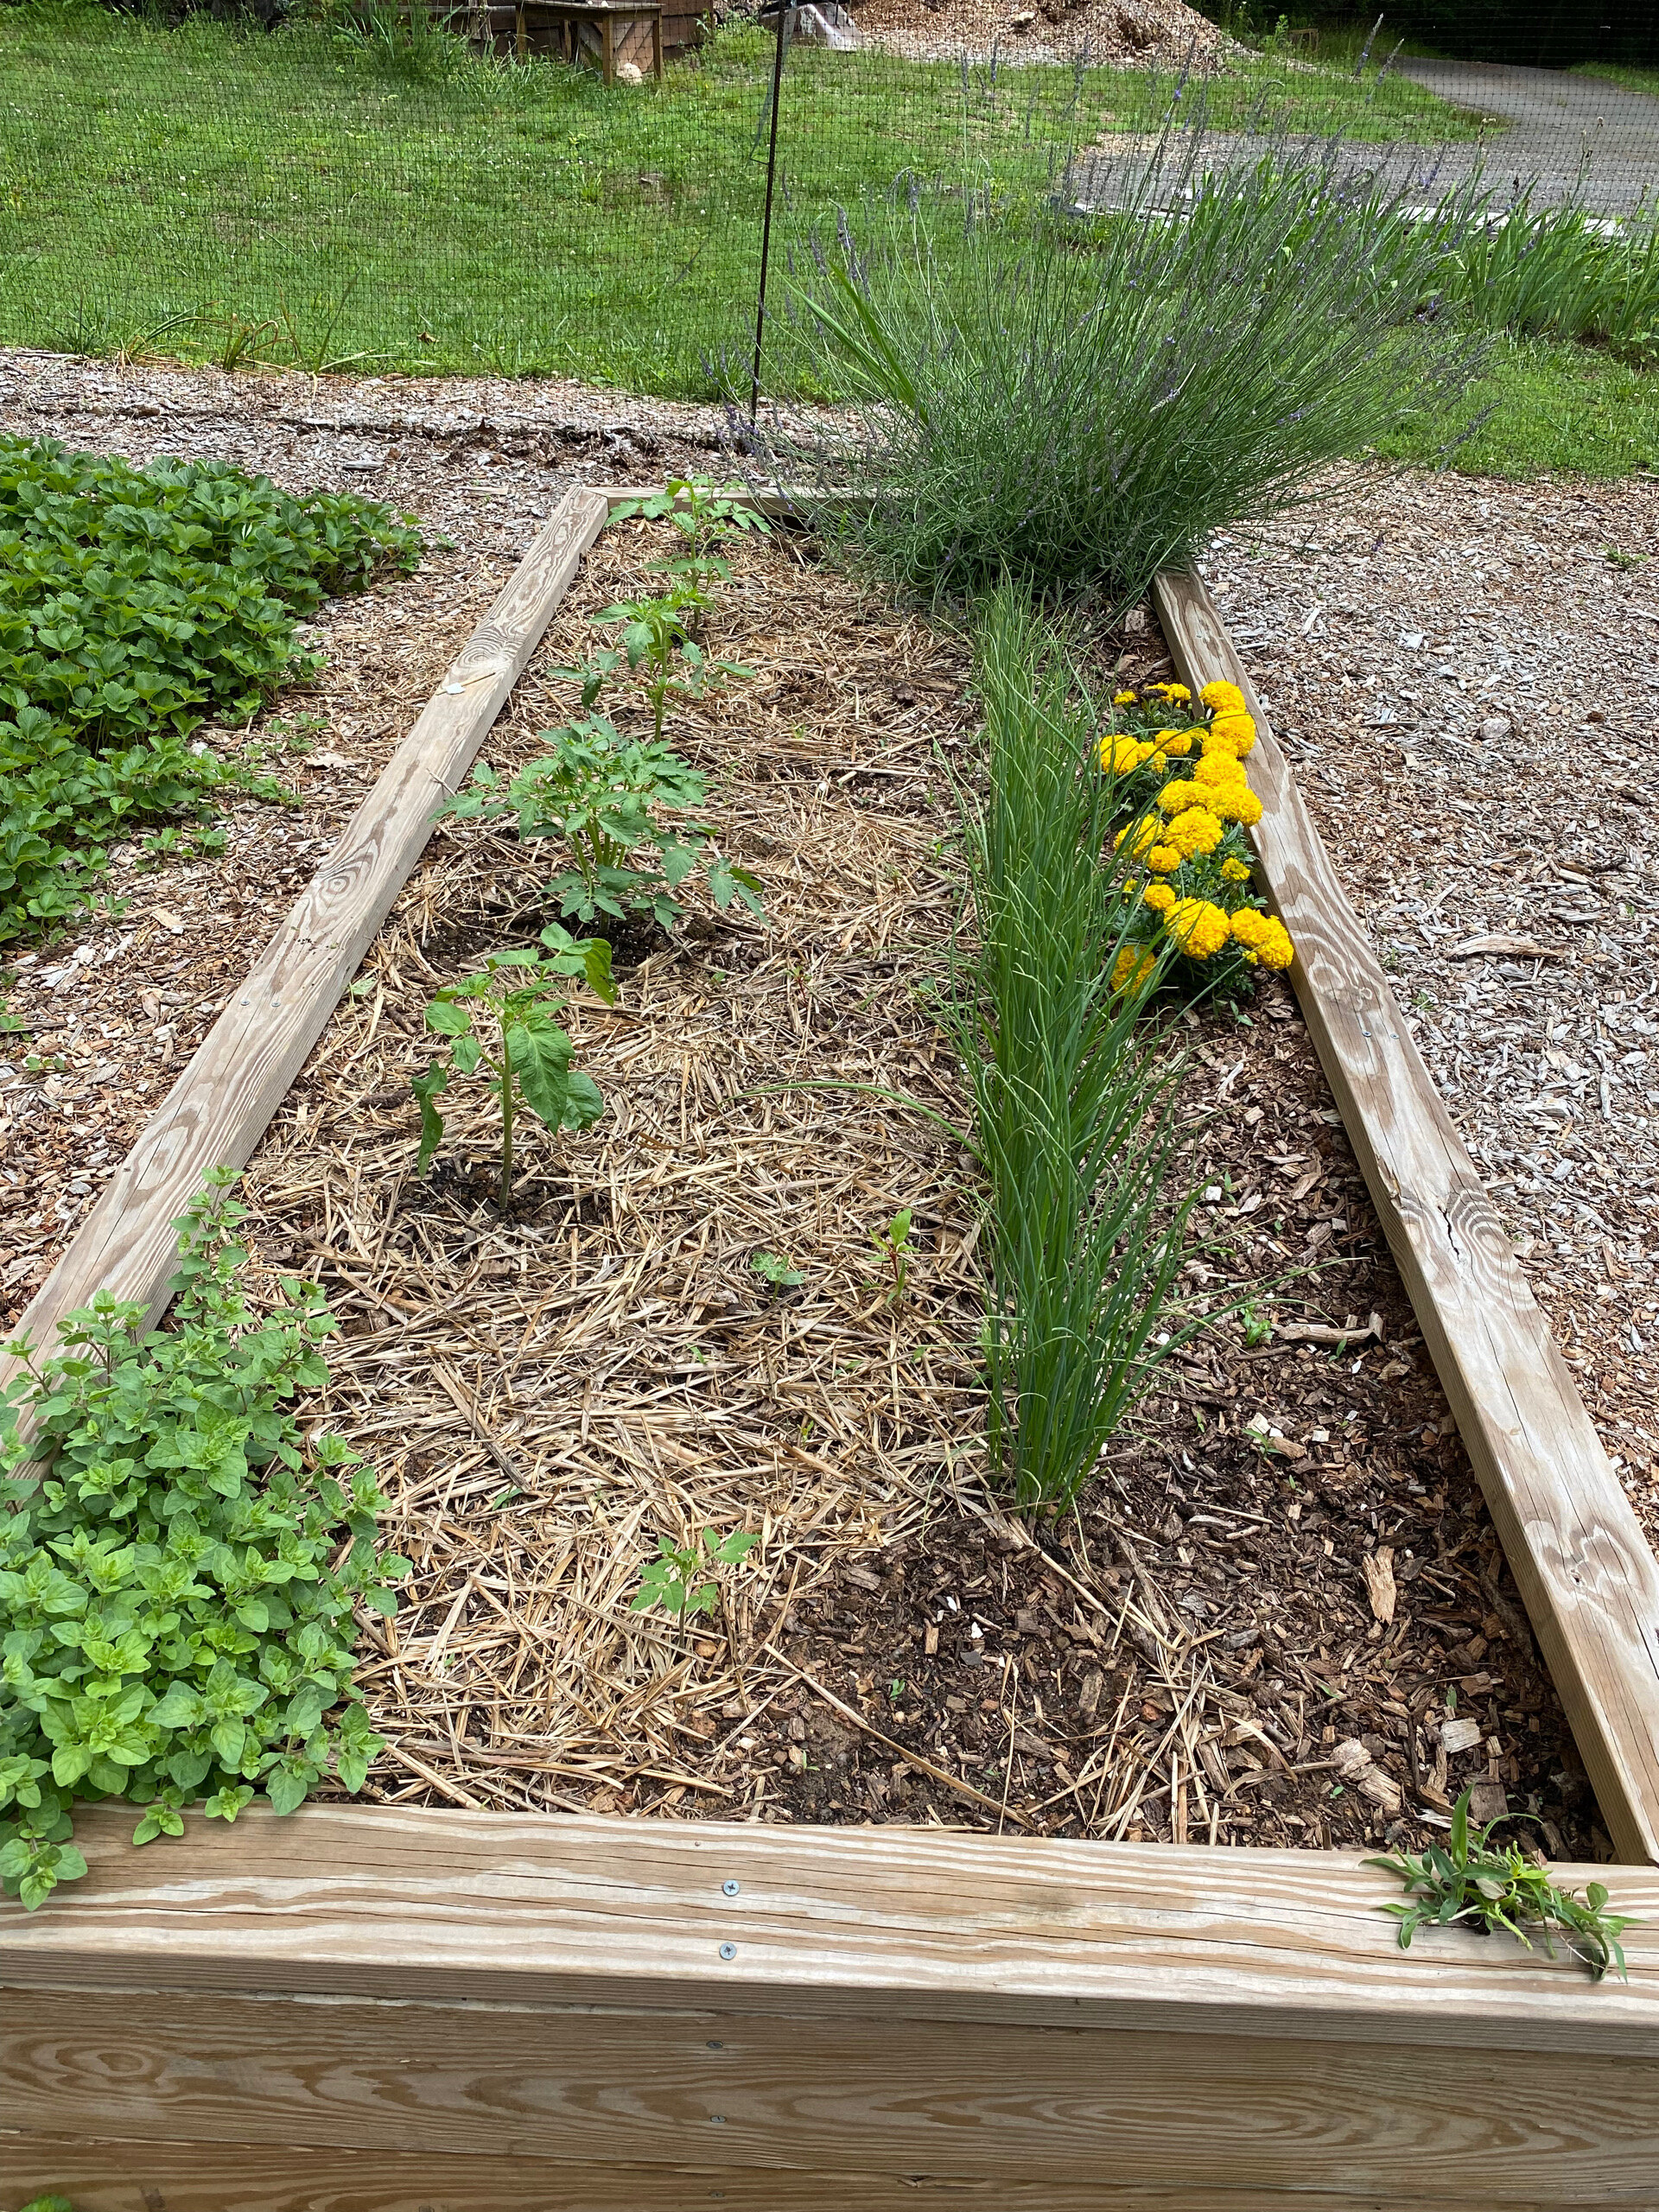
NEW COMPANIONS, LESS WATER, MORE FOOD
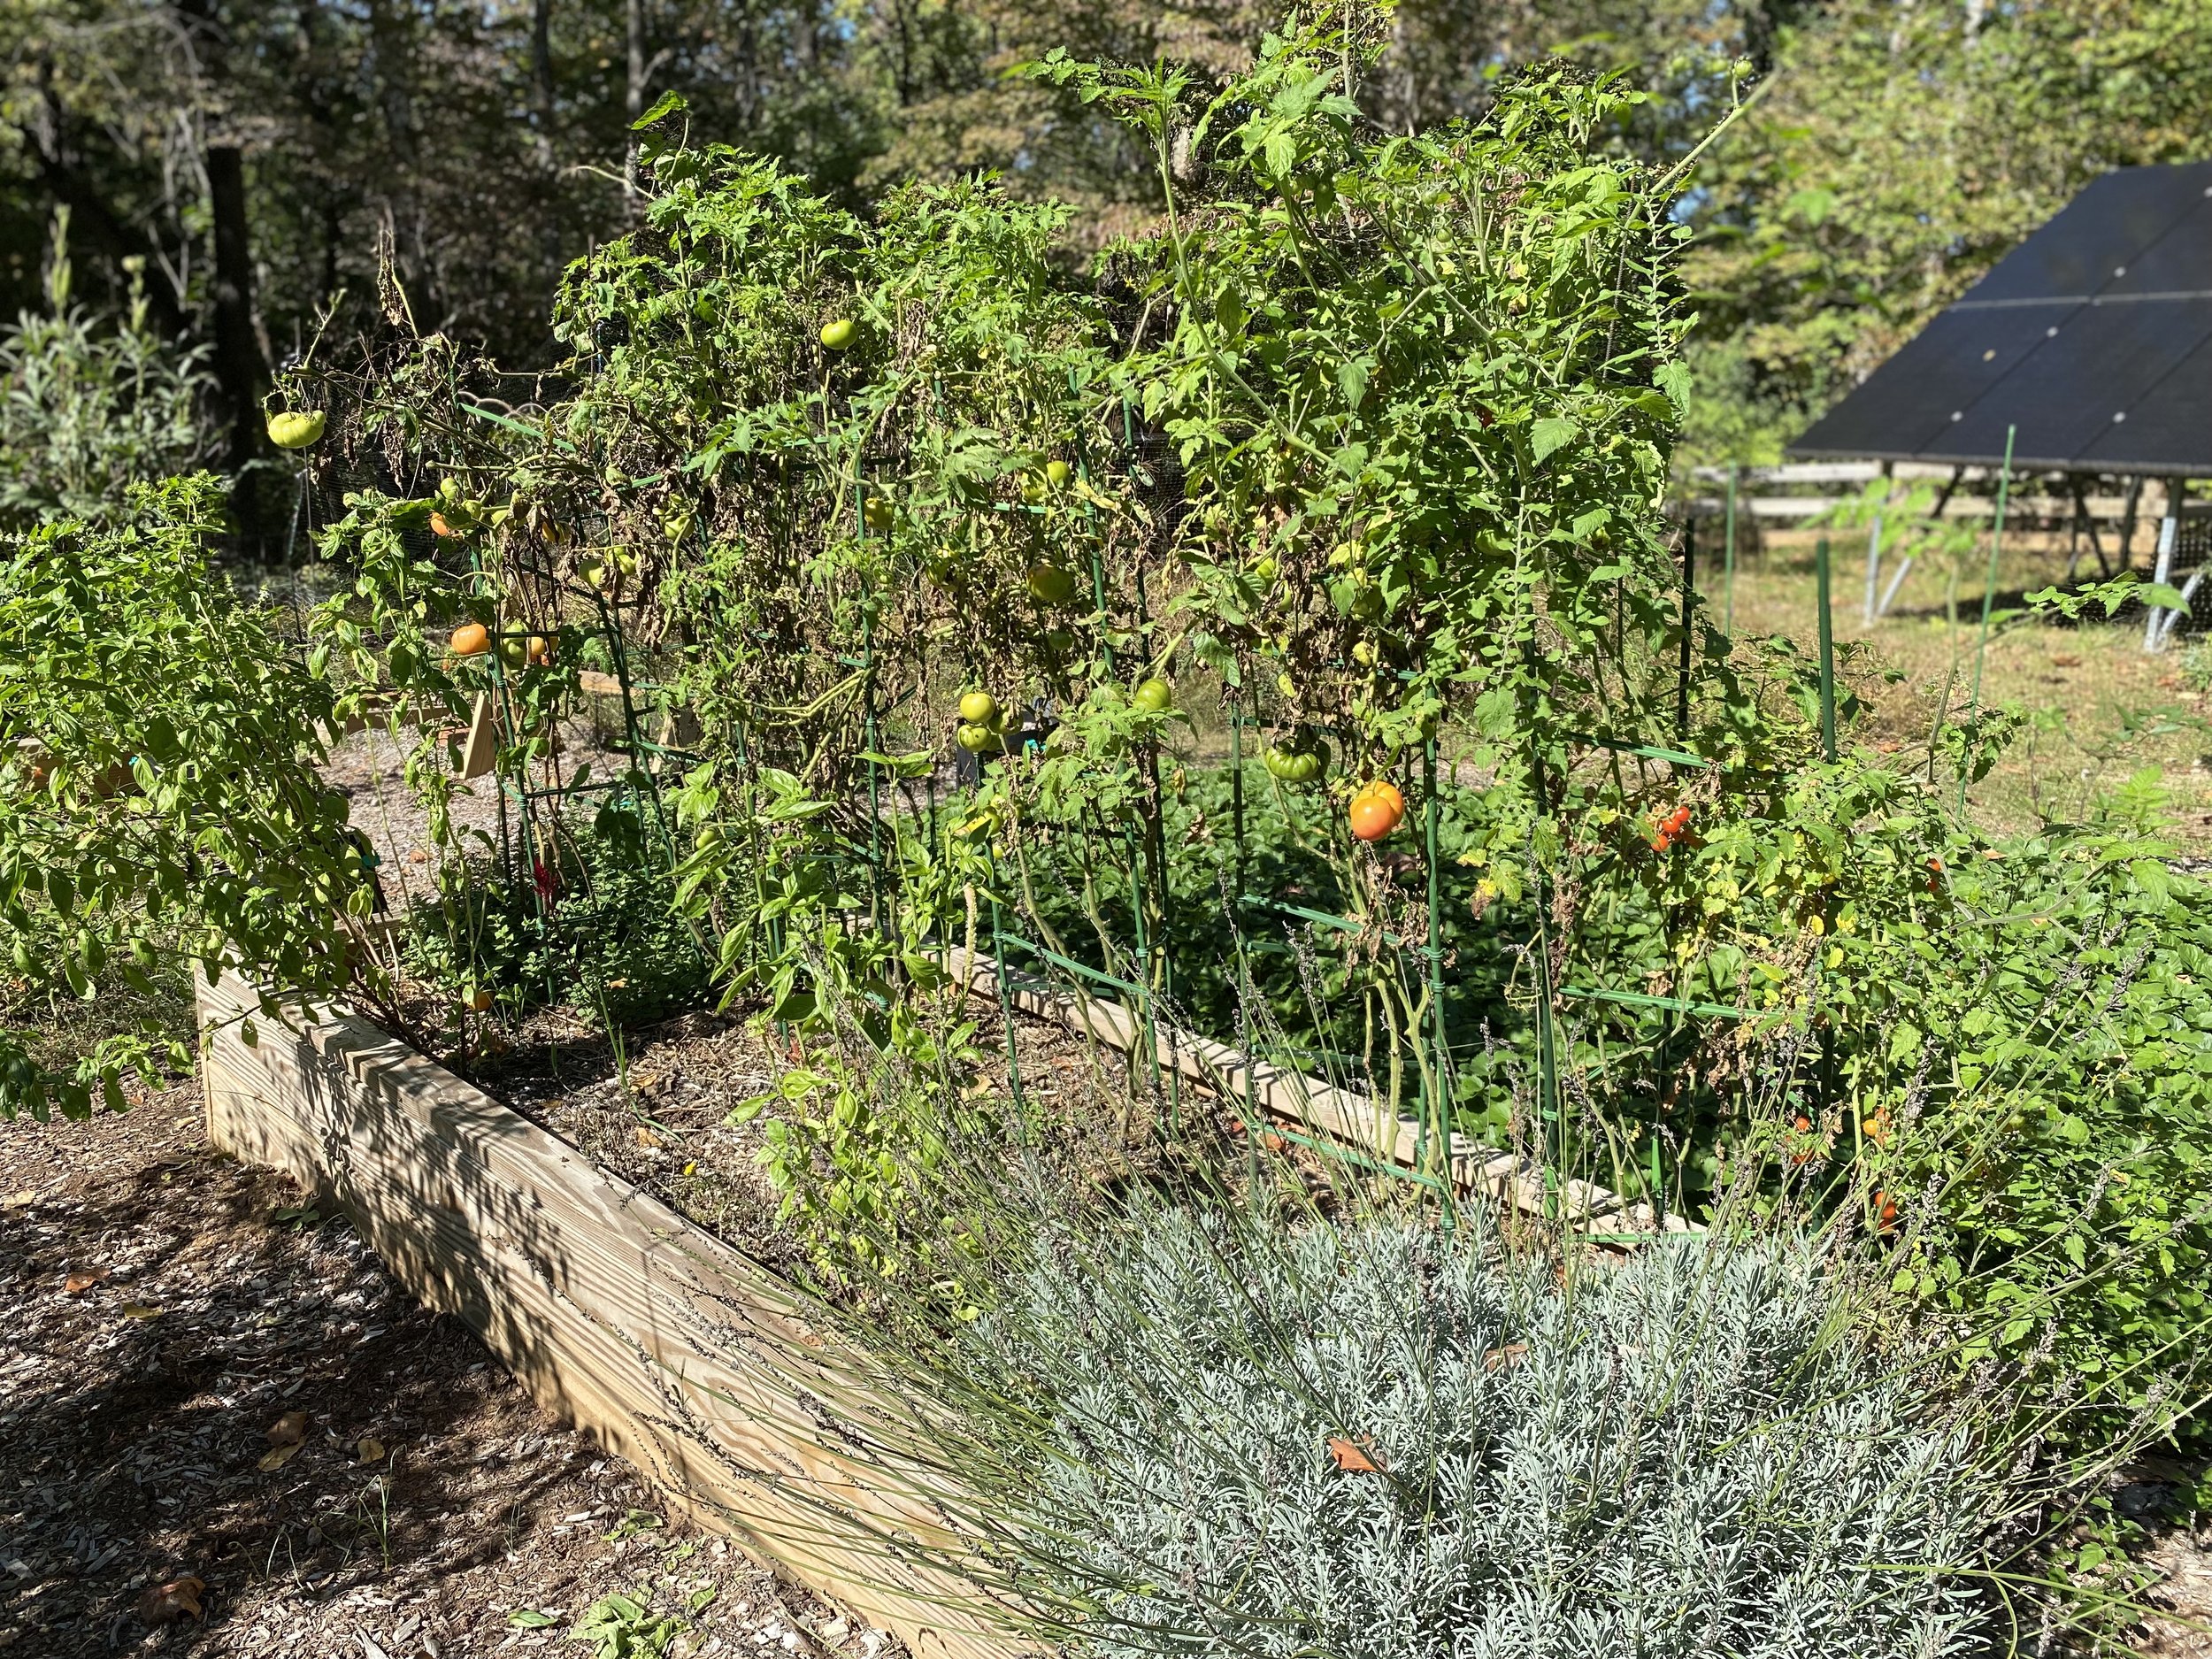
Again, we planted them in a polyculture bed, but this time alongside some new companion plants like oregano, onions, basil, marigolds and some lavender, modeled loosely after the “Marinara Garden” plan by Rooted Revival Homestead. Learning from last year, I'm watering less often, stressing the plant so its roots stretch deeper in search of water. I also started a more intentional plant food regimen—which is a longer story for another post about fertilizer and specific nutrients—adding a more nitrogen (N) rich mix of nutes during the earlier vegetative stage, shifting the balance to nutrients with more phosphorus (P) and potassium (K) in the later flowering stages when the plant begins to fruit.

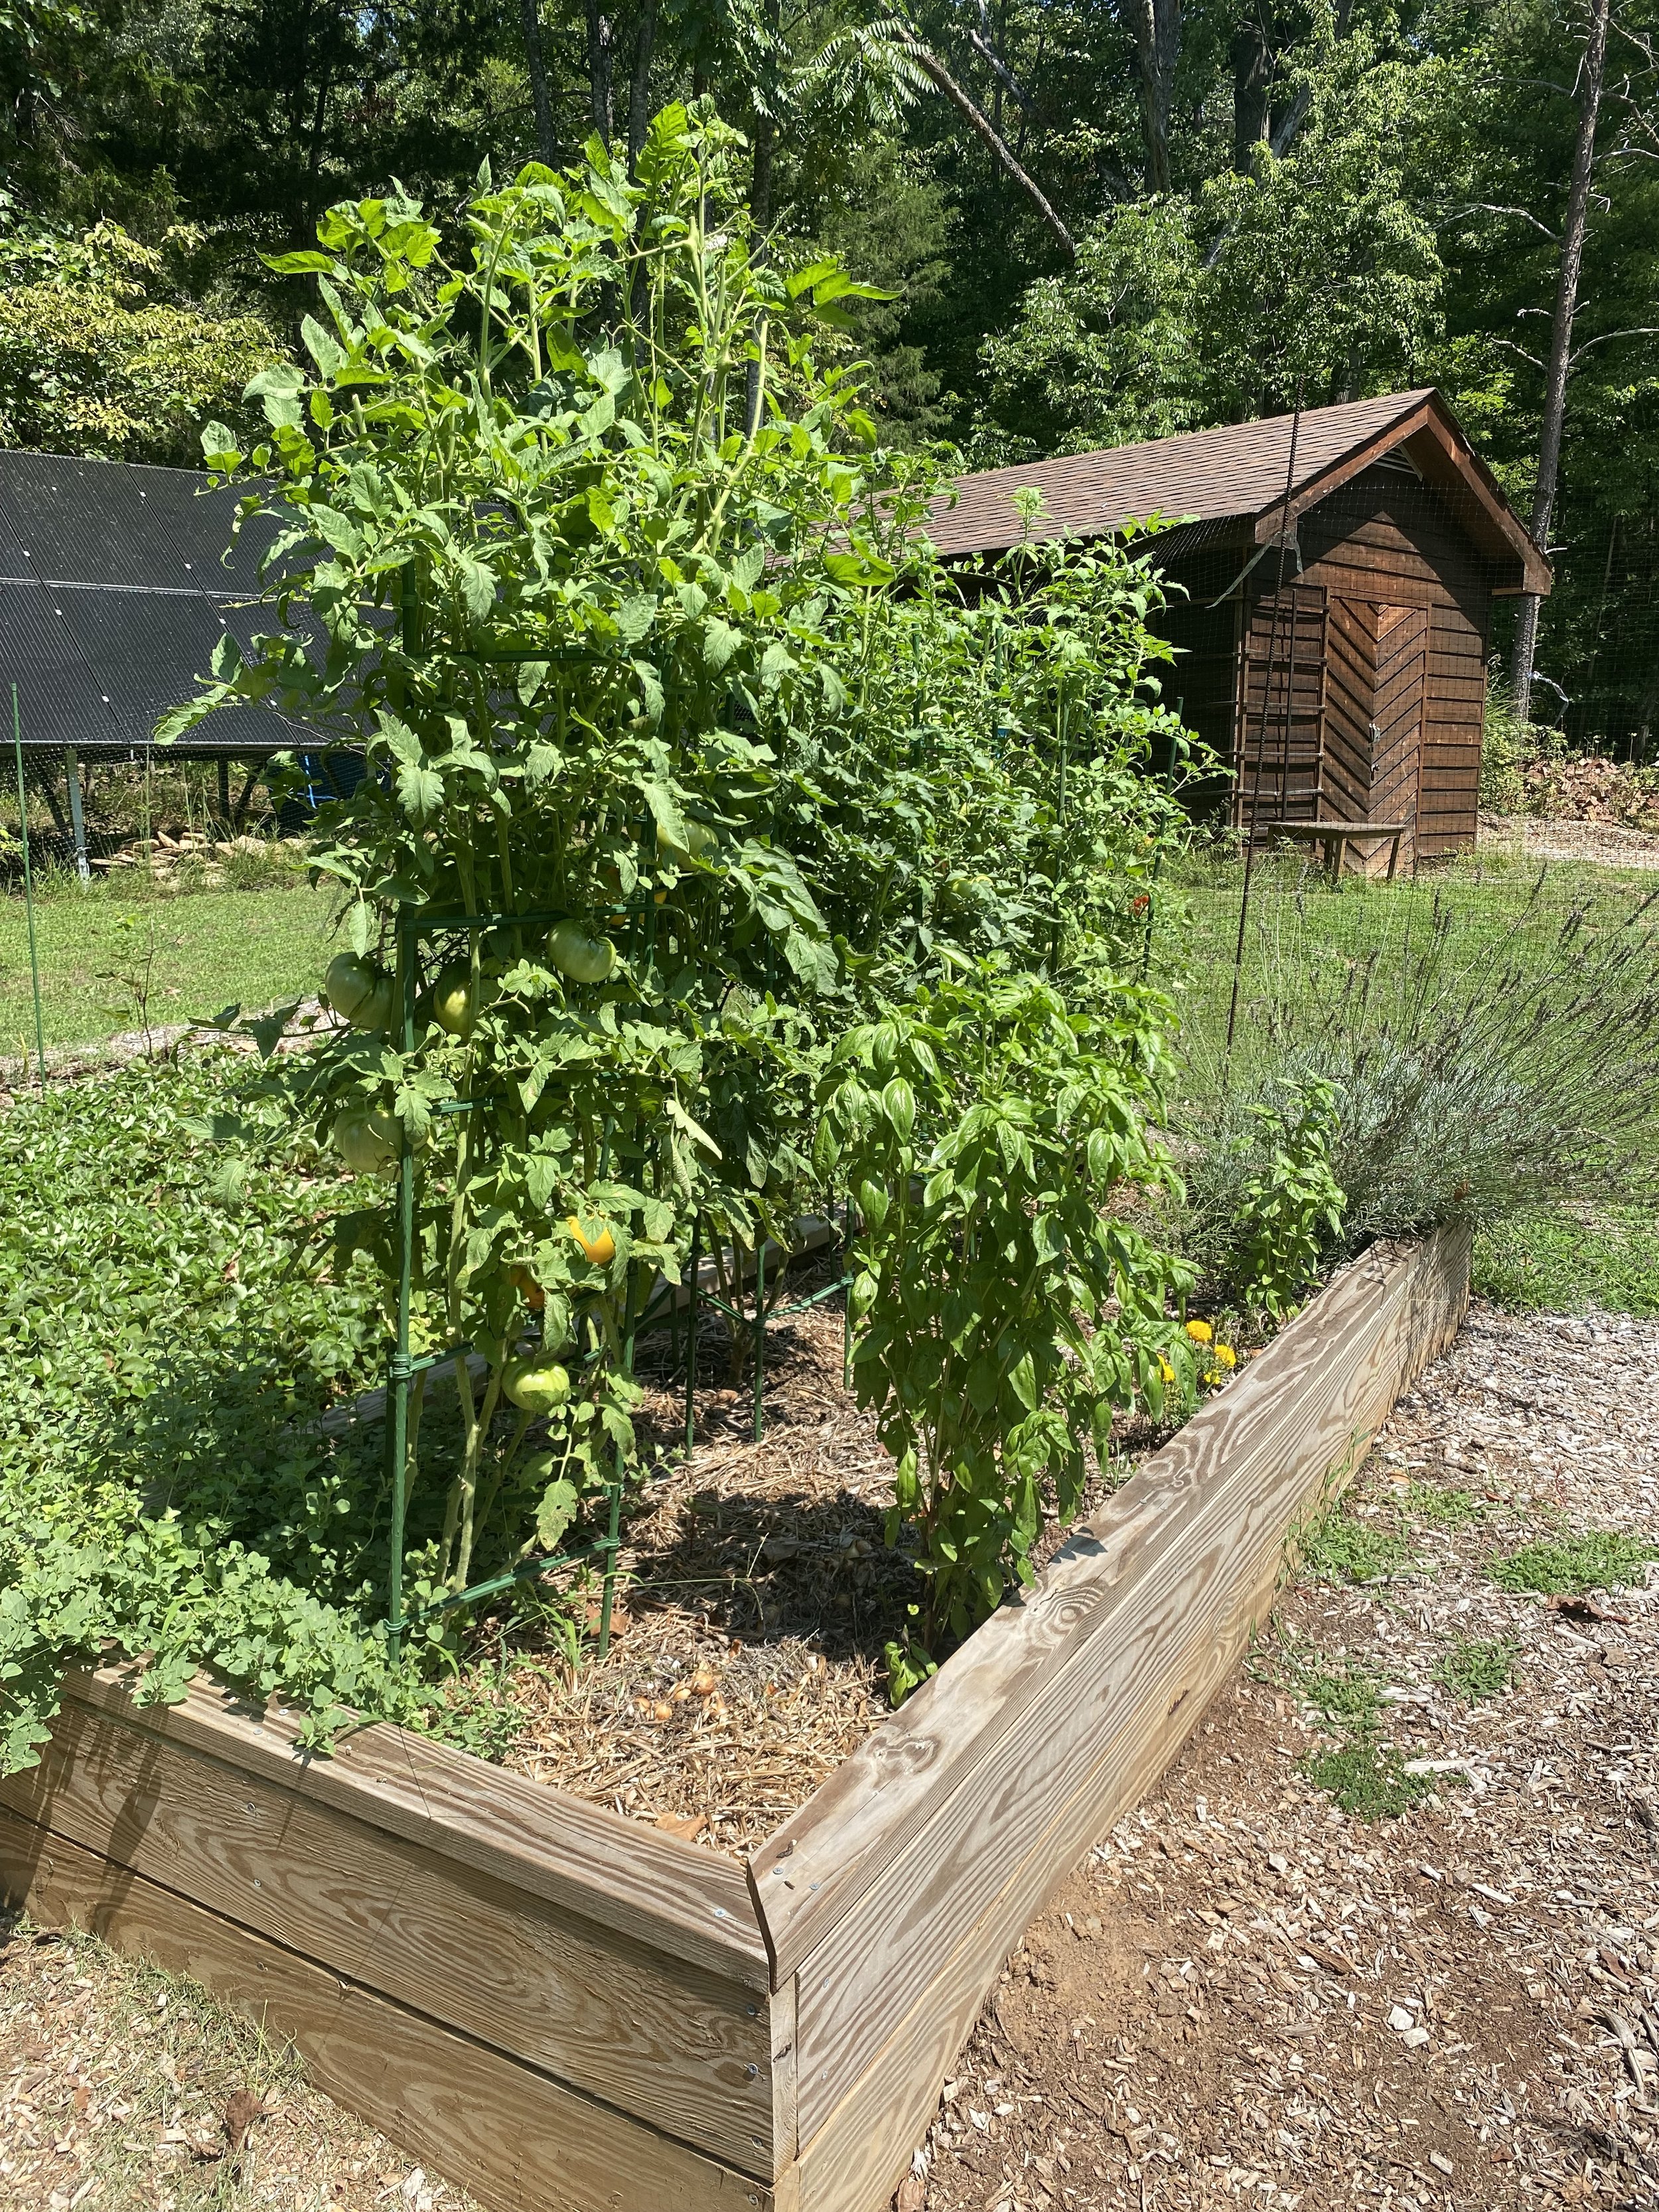
HARVESTING tomatoes (again)
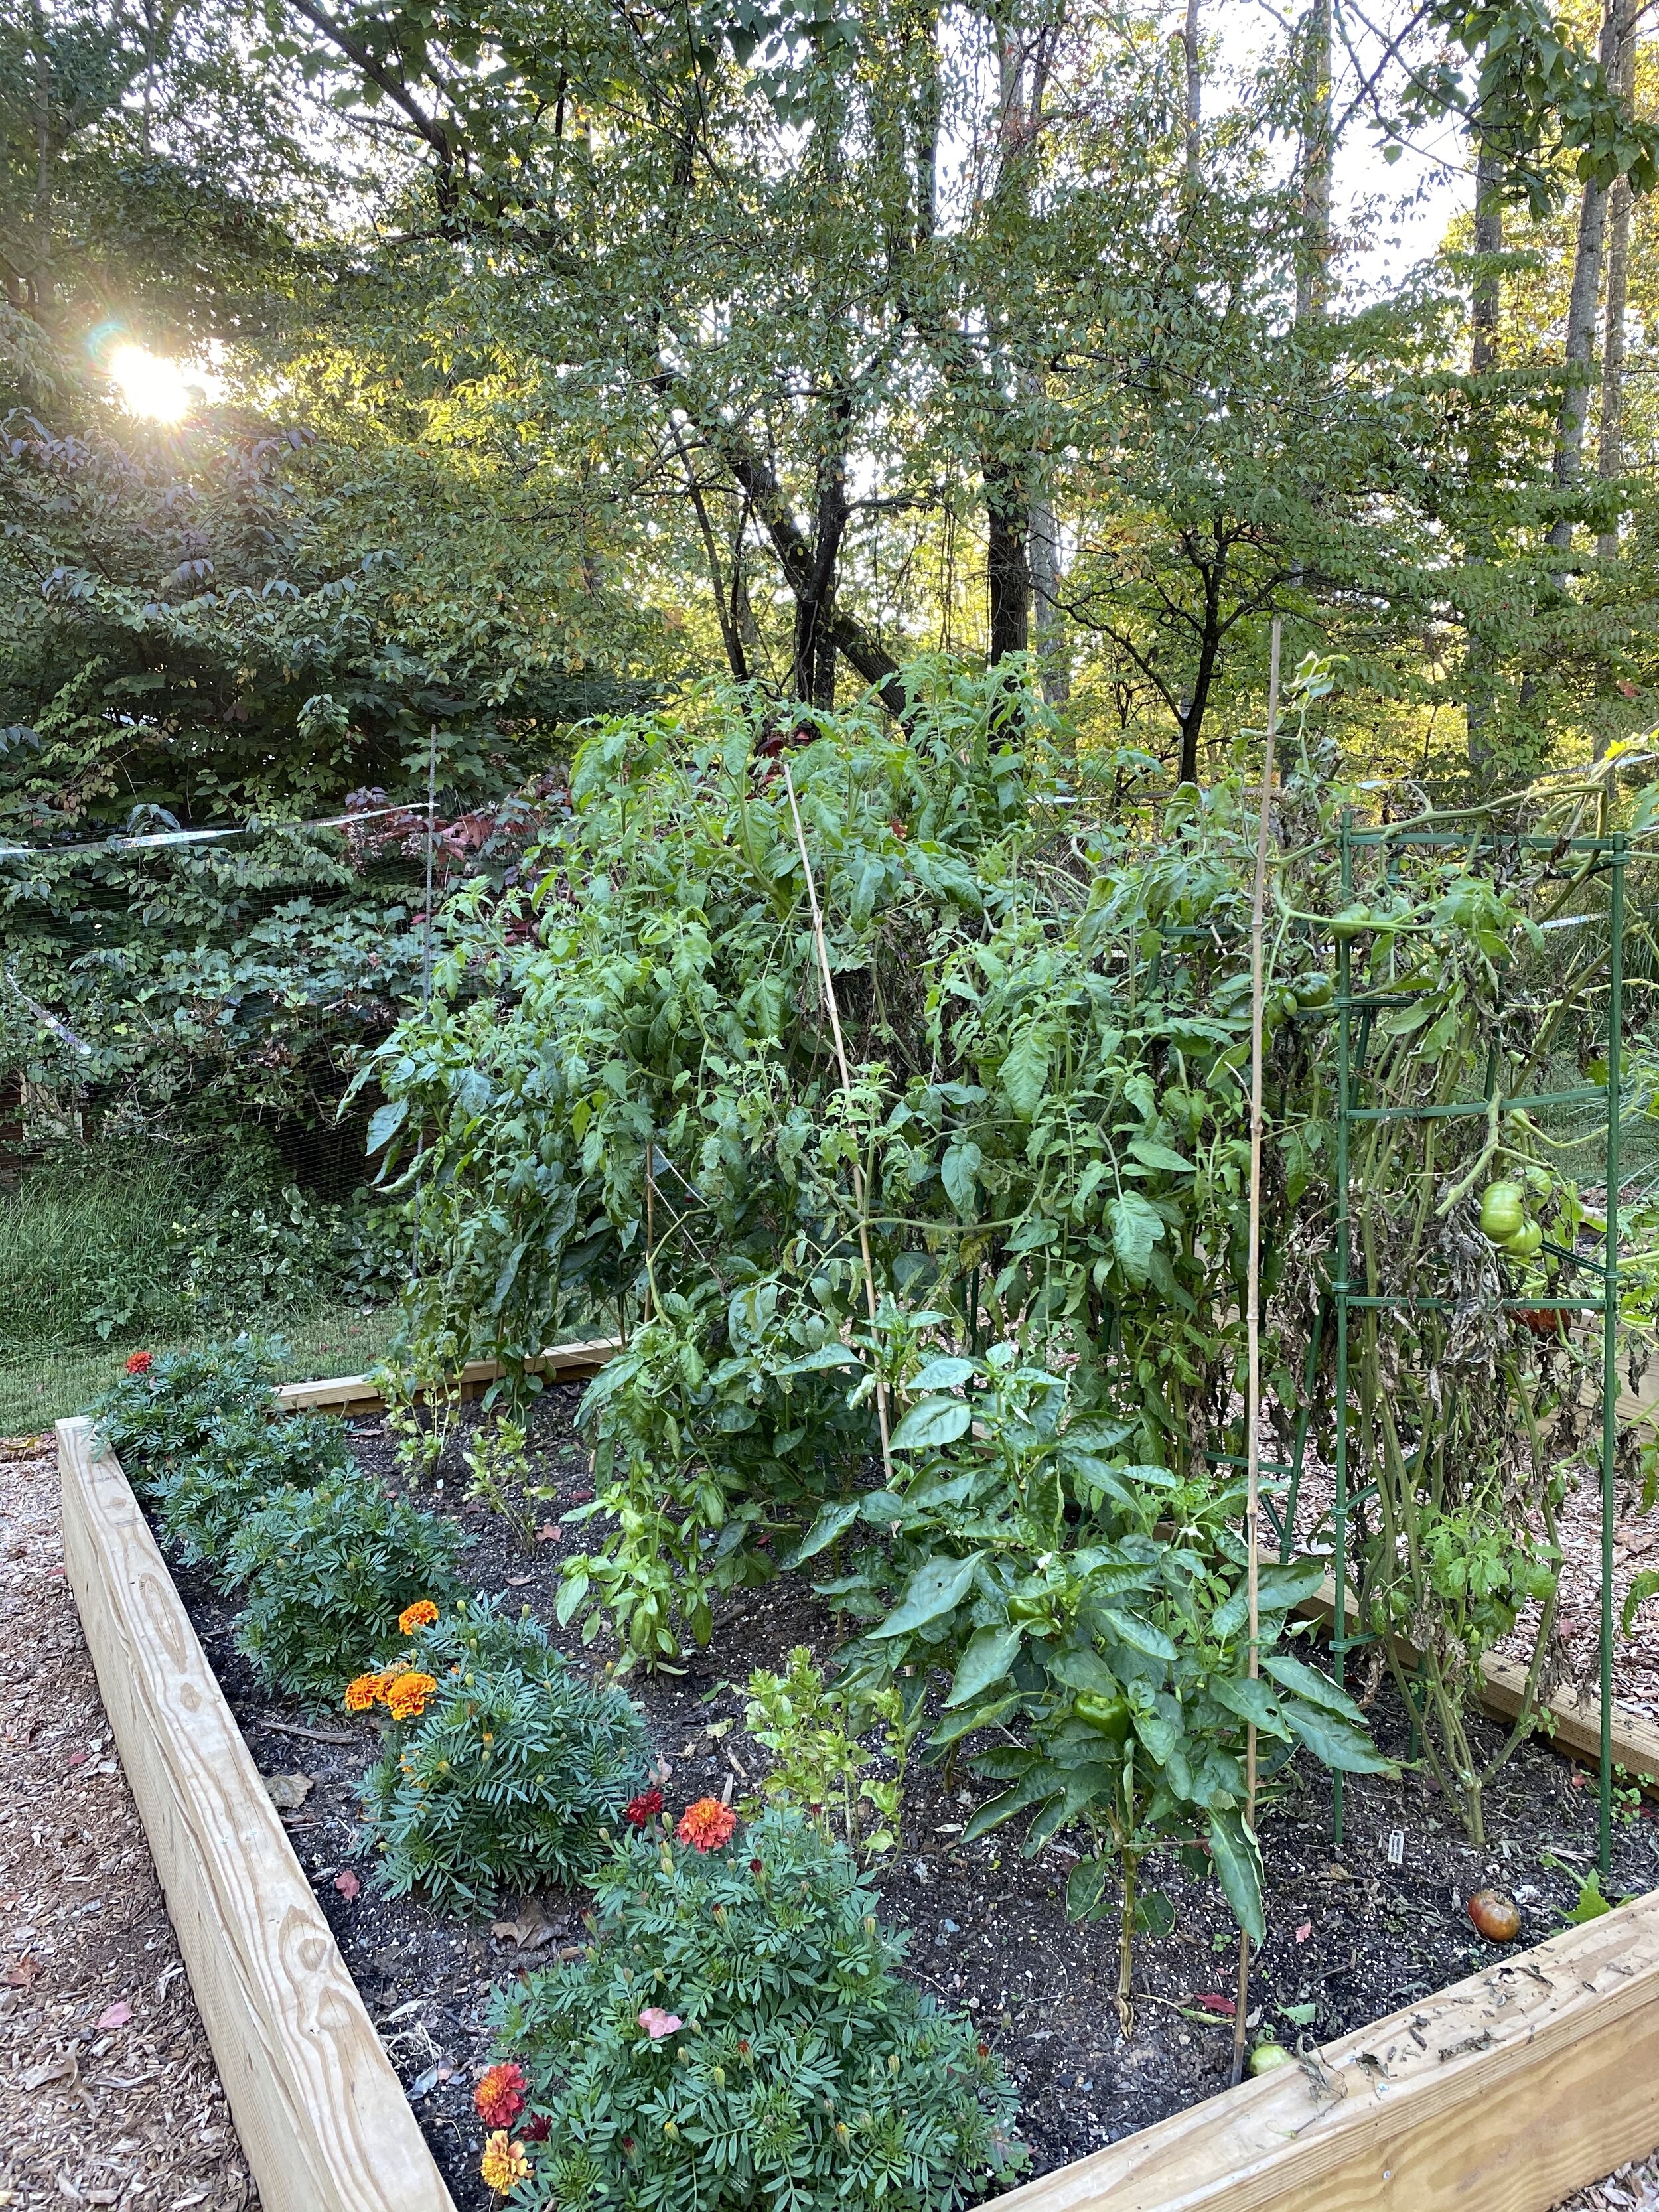
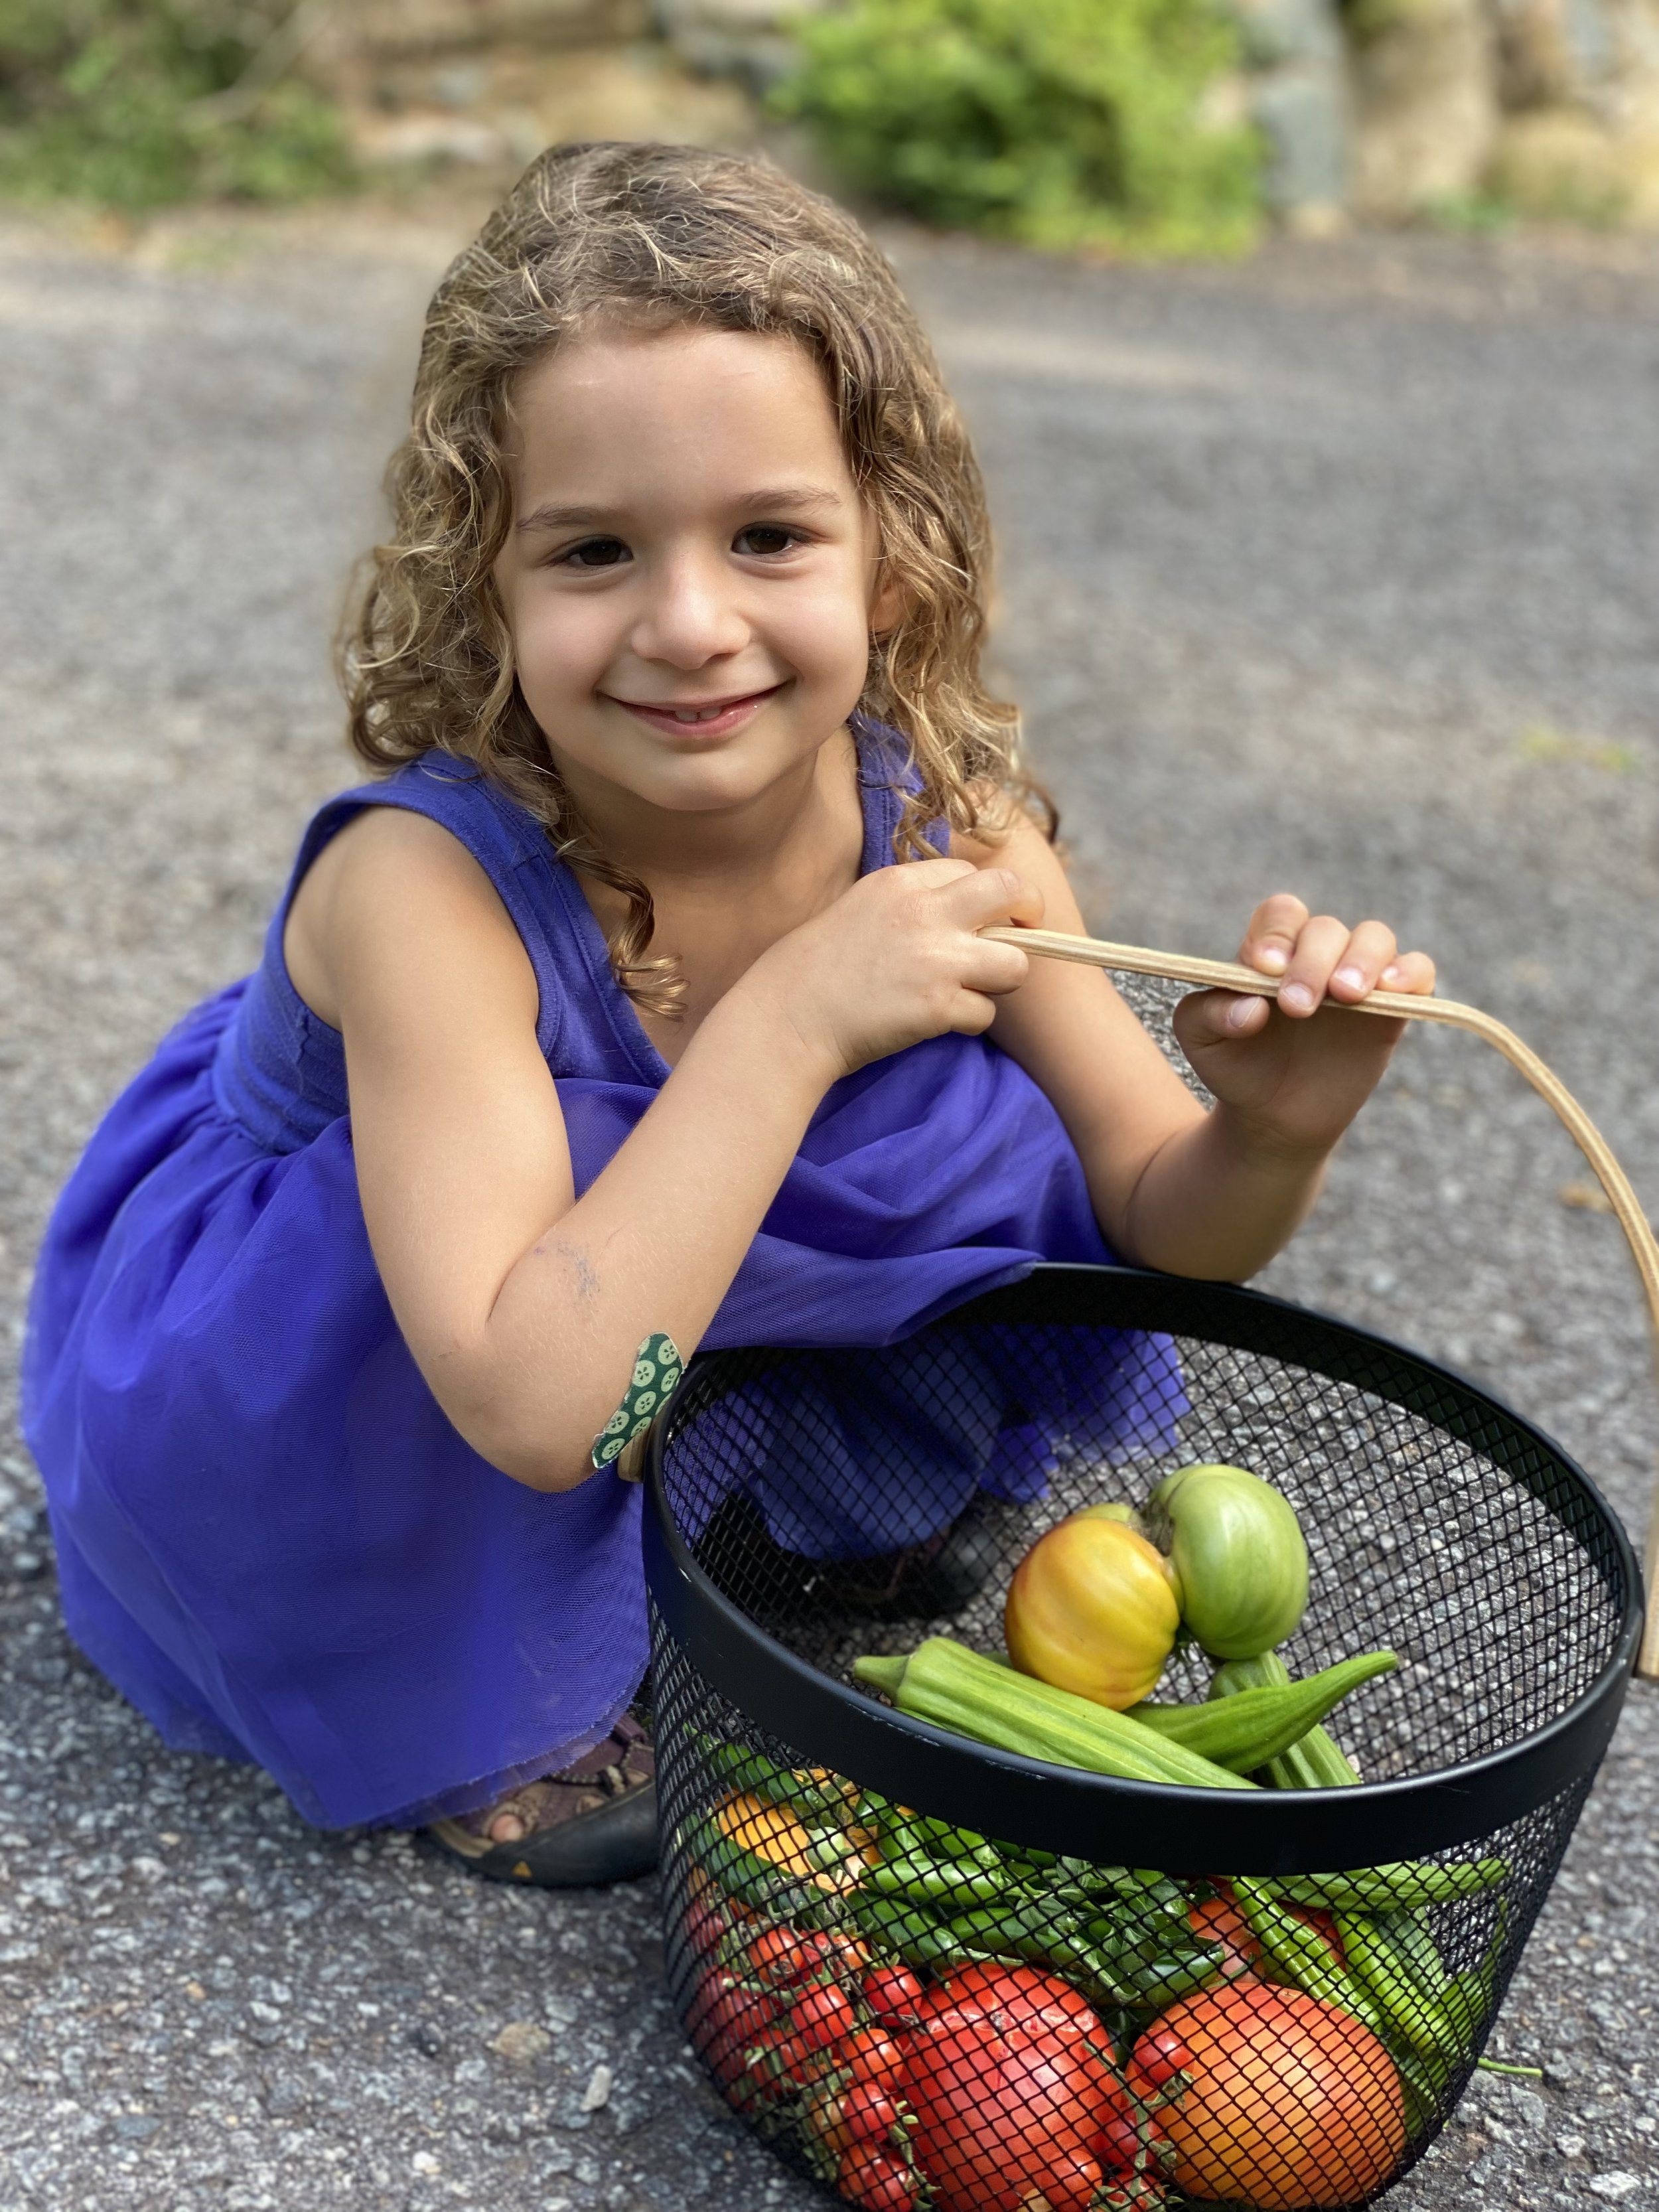
We did a better job of pruning this year, helping the plant divert more of its energy into producing fruit rather than leaves. All in all, we probably got a better yield this year, though it’s unclear/comparable to last year. What WAS clear was the plants in our hugelkultur raised beds did WAY better than the plants in grow bags, some of which didn’t fruit at all. All varieties did comparably well (Mortgage Lifter VPN and Yellow Brandywine were the best, the Dr. Carolyn cherry tomatoes lagged a bit). And everything was delicious as fuck.
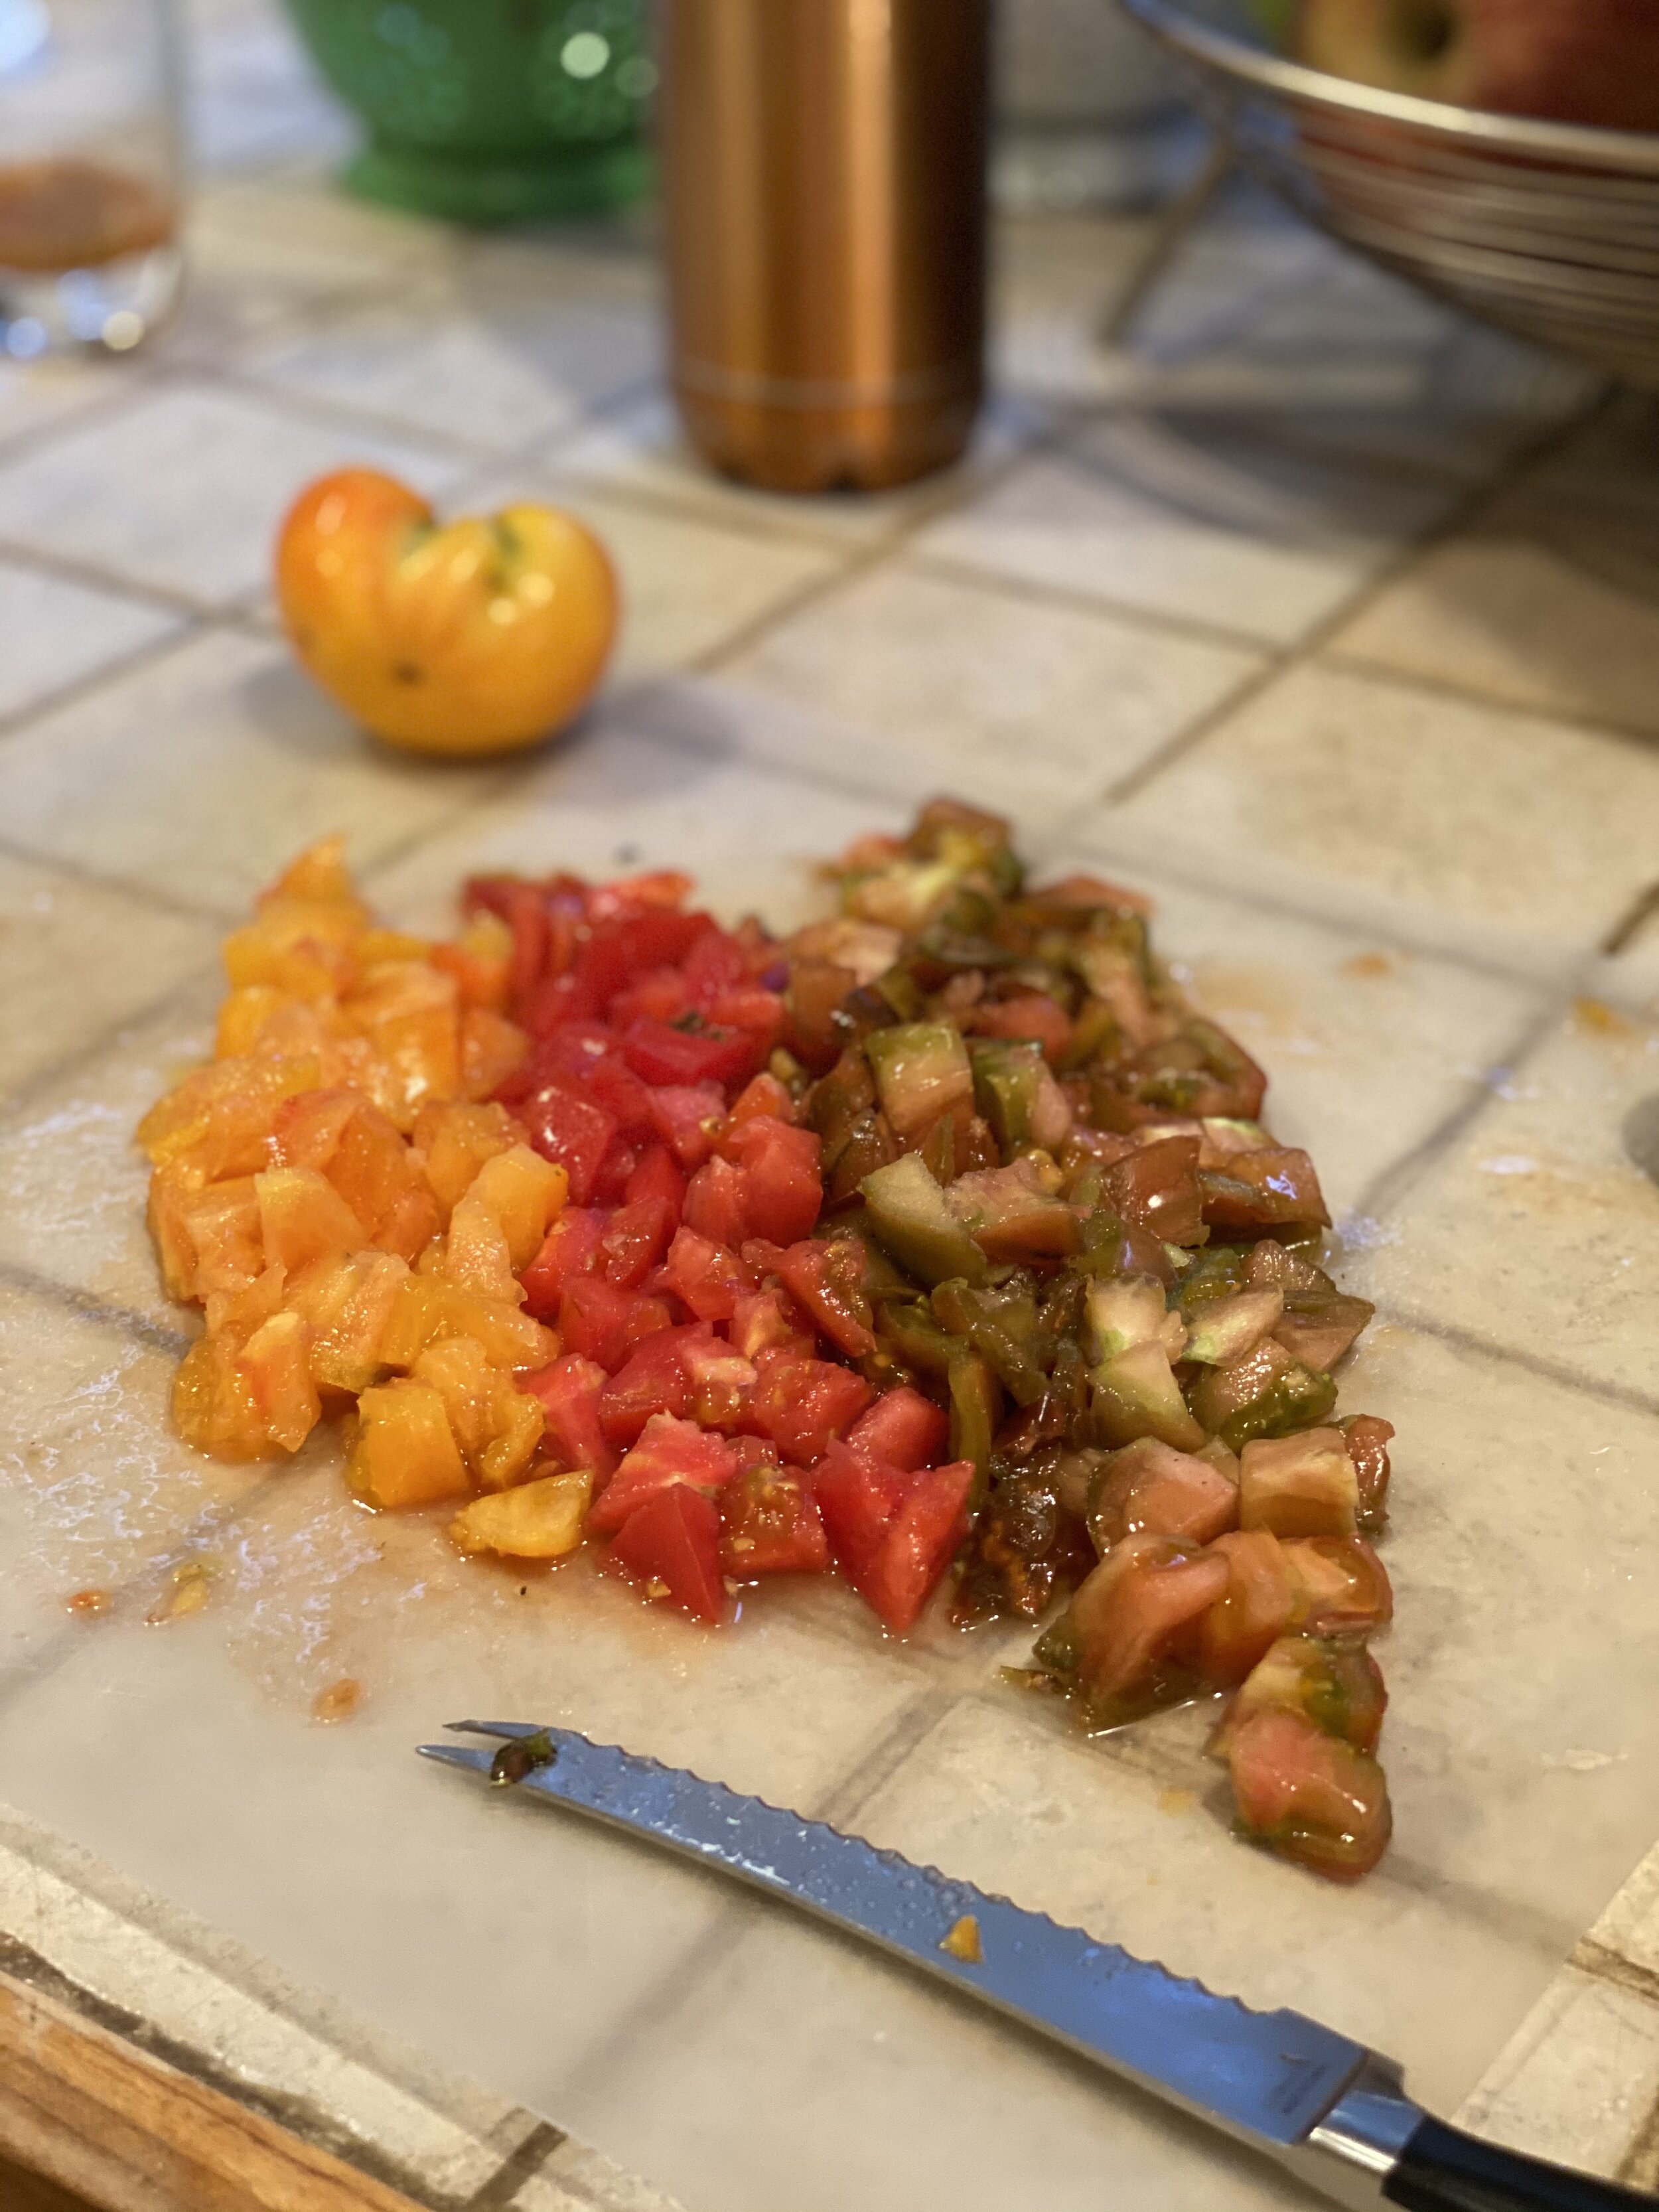
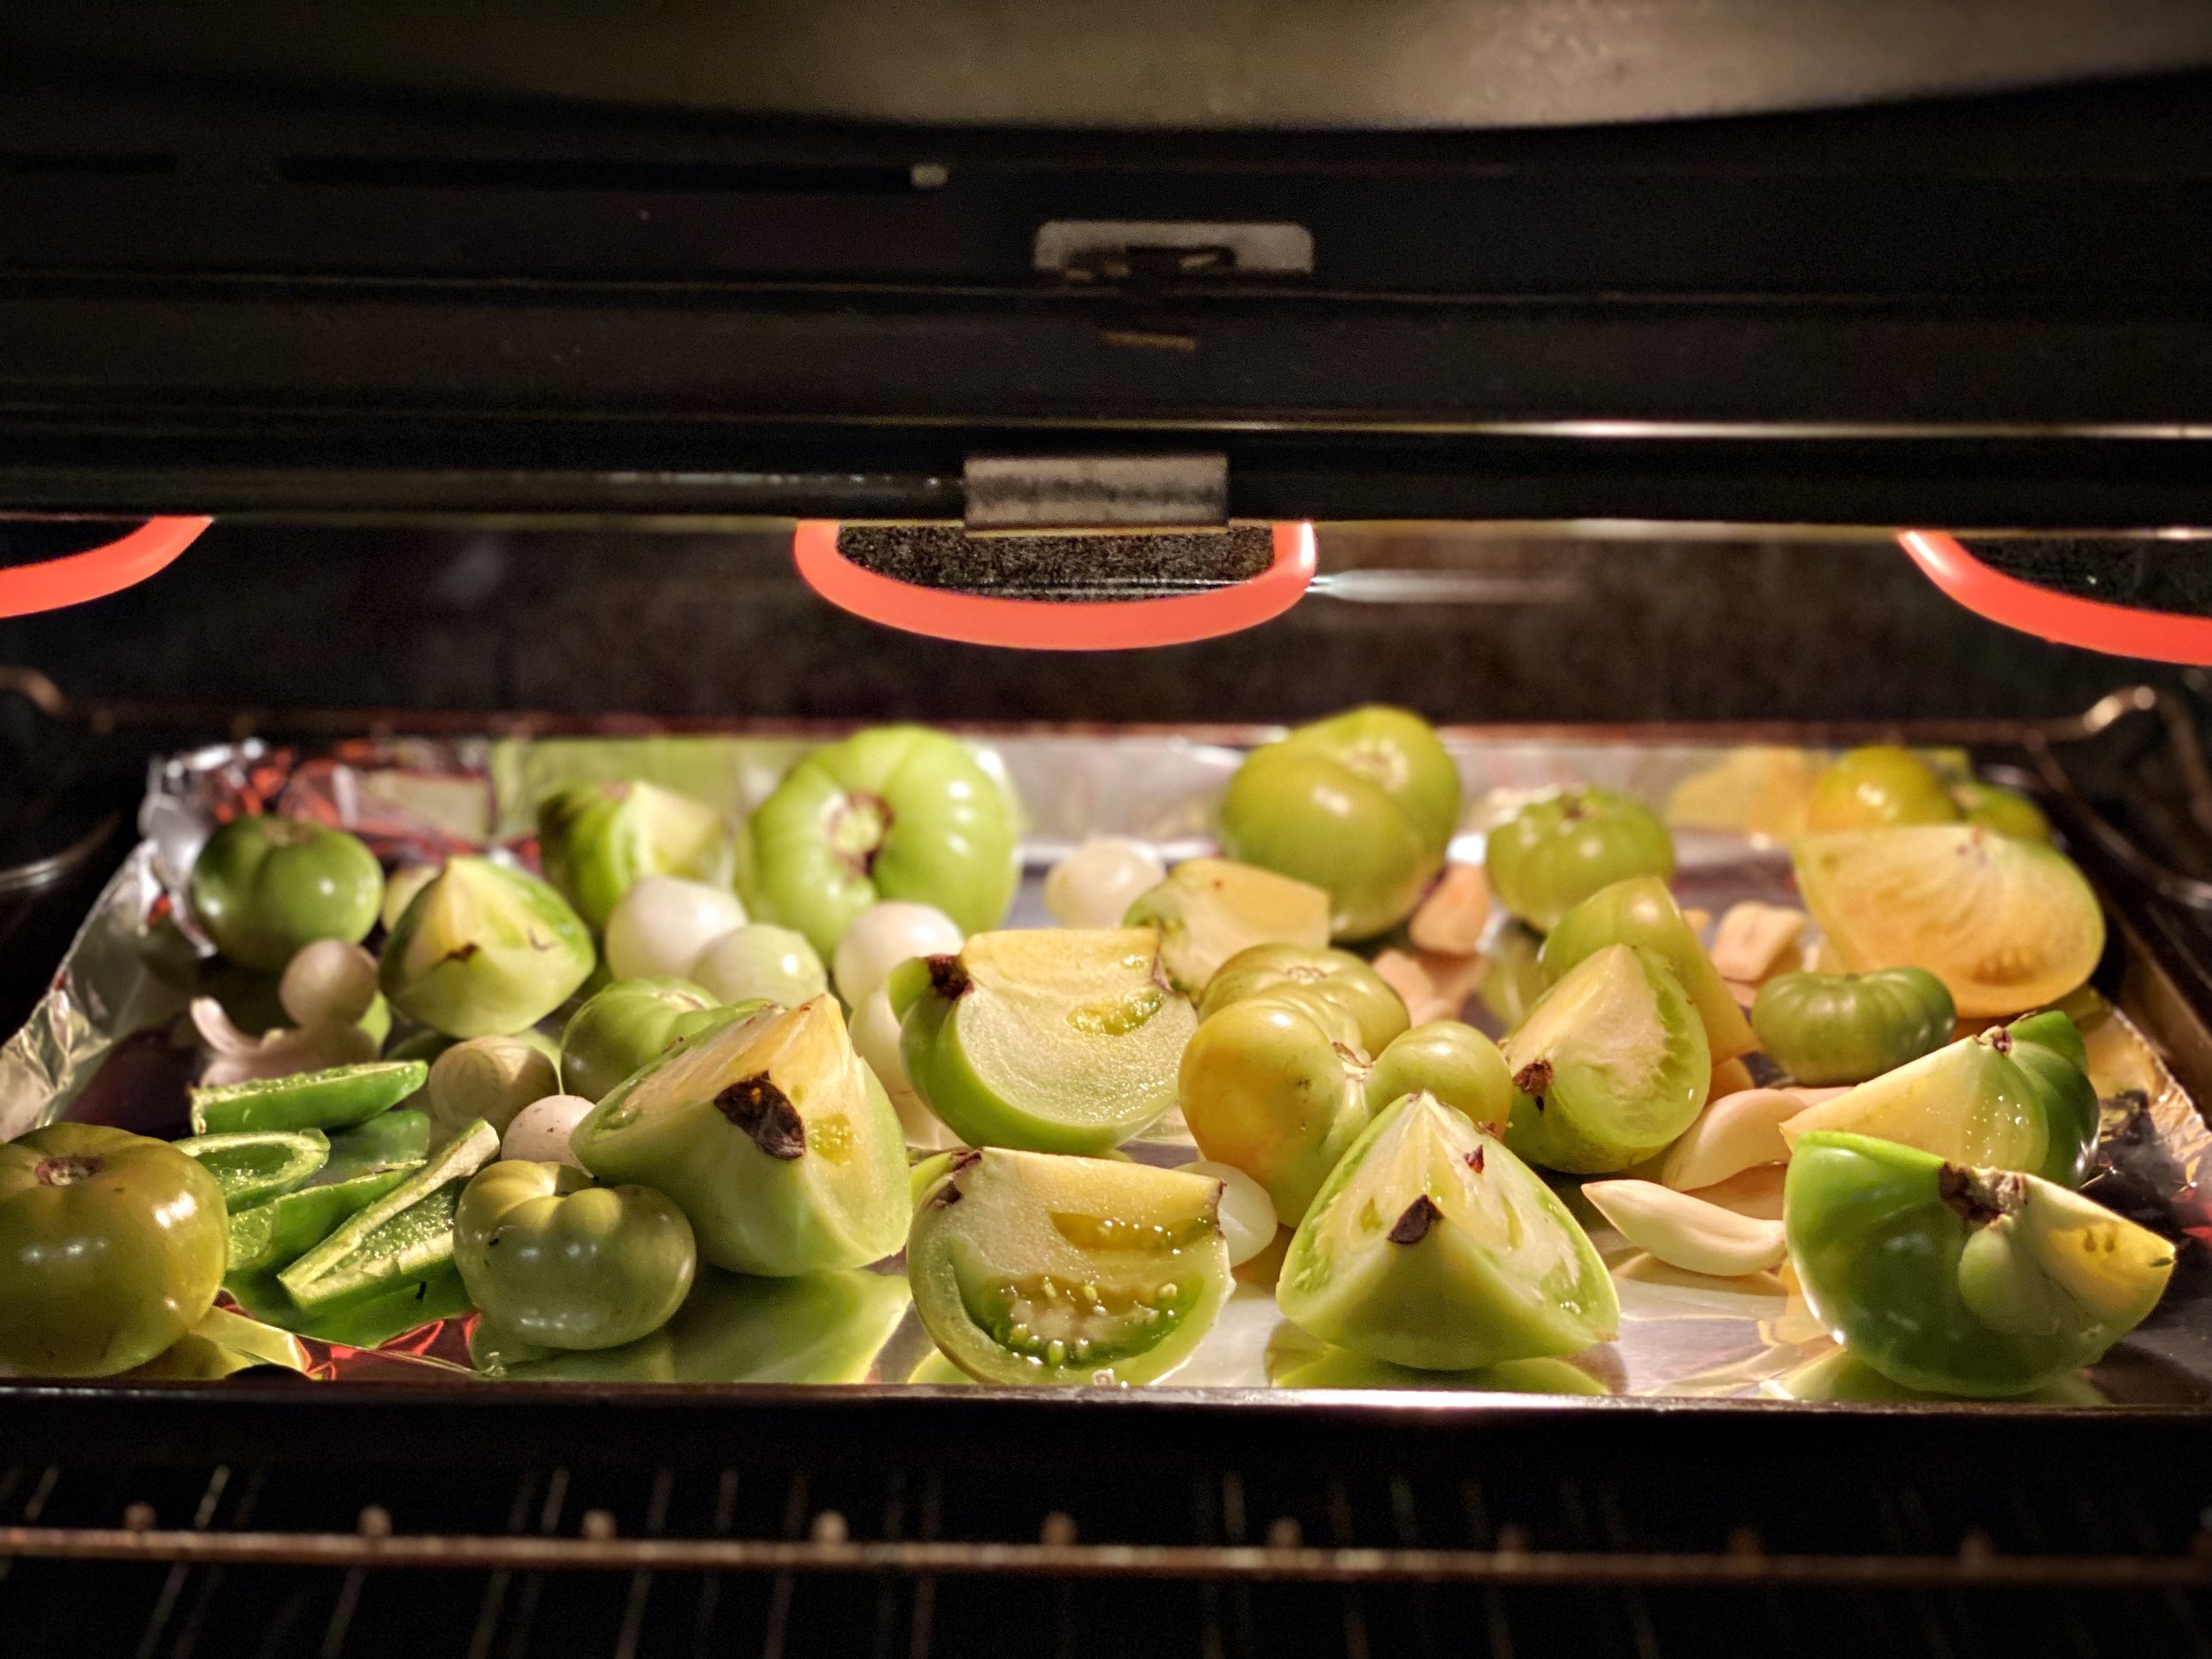
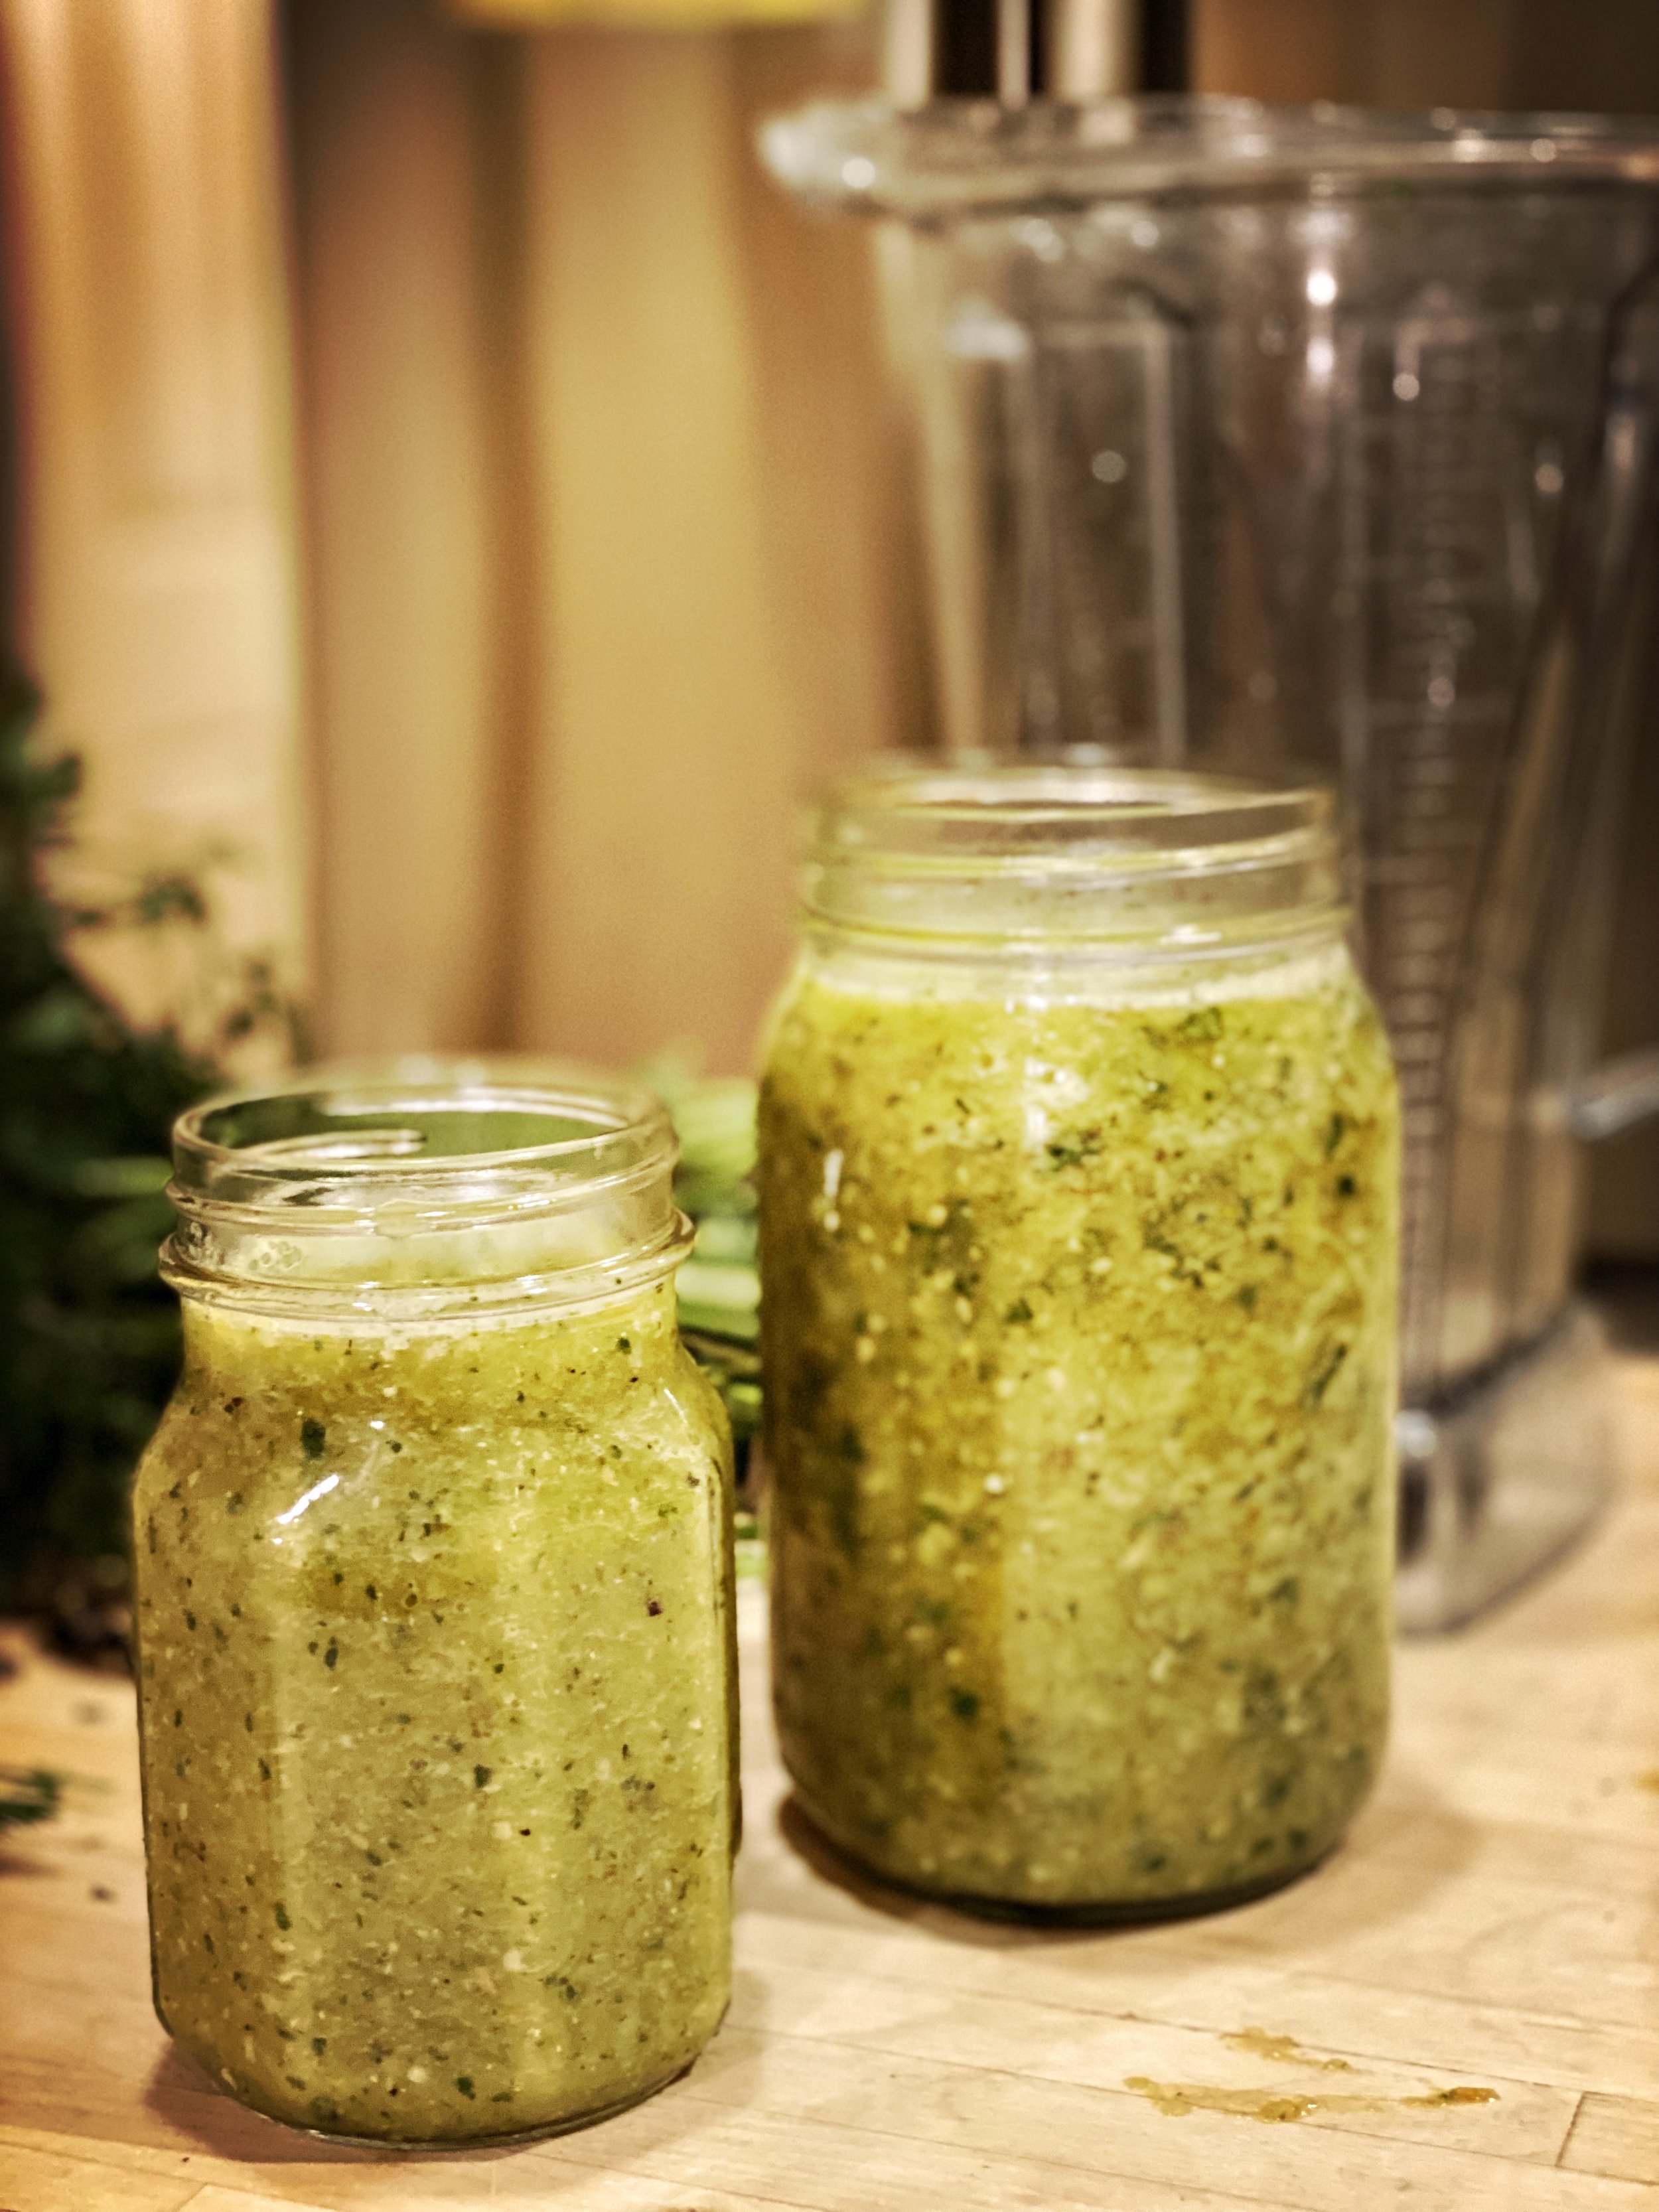
SAVE YOUR GREEN TOMATOES!
We were harvesting ripe tomatoes all the way up to November 1, 2021! That last harvest, we also picked the remaining green tomatoes on the vine, which would’ve gotten ruined in the coming frost. If there’s a hint of yellow or red on these tomatoes you can try to let them ripen on the windowsill, or you can make a dope green tomato salsa verde. Here’s a solid salsa verde recipe from Garden Betty.
TRASH (DON’T COMPOST) DEAD PLANTS
There’s a lot of debate online about this, and some people insist you can compost tomatoes. But there’s a reasonably high risk that fungal diseases and other bacteria from your tomato plants will contaminate your whole compost pile, which likely won’t get hot enough to kill any fungal spores, and there’s just not enough reward to chance it. I went ahead and trashed ‘em and threw some deep in the woods to decompose naturally and feed the wildlife. Who also find the vines delicious as fuck.
TL;DR… STARTS VS. SEEDS - WHAT’S THE VERDICT?
🍅 🍅 🍅 🍅 🍅 🍅 🍅 🍅 🍅 🍅 🍅
For most beginners, or if you’re slightly later in the growing season and don’t mind spending a few extra bucks, buy starts from your local nursery or roadside stand. If you want to experience the full lifecycle of the plant, practice greater self-reliance, have more control and save as much money as possible, try growing from seed.
NOW GO GET GROWIN’!