Cannabis Flowering Stage: Get Higher Yields & Make the Most From Your Budding Pot Plants
The cannabis flowering stage is where things start to get exciting. Your budding pot plants are starting to produce some gorgeous buds, you might see some resin, and you are getting stoked. We still have some work to do to ensure each plant turns into a successful harvest — so let’s dive right in.
Sometime around Week 5, your ladies will begin to flower. In case it’s not clear, the cannabis plant’s flowers or “buds” are what most people harvest and consume, so this stage is all about maximizing the yield, size and quality of these flowers to ensure the best possible harvest.
As the name suggests, with autoflower plants, the flowering process happens automatically around the five-week mark, and lasts somewhere around 2-4 weeks, depending on several factors. Here’s what to expect over this next stage and what you need.
This post contains affiliate codes or links that are no additional cost to you, and I may earn a small commission when a purchase is made.
MATERIALS You Need
Bloom/Flowering nutrients or Homegrown Cannabis Co plant nutrients
(optional) TDS meter
Watering can(s), possibly one larger one to mix nutrients and a smaller one with a thin spout
Plastic syringes, ideally with a tube
NOTE: If you’ve arrived here cold and are just starting out, check out earlier installments of this series. For purely educational purposes, I highly recommend Homegrown Cannabis Co. seed bank, which has terrific video content and information on seeds. I also recommend I Love Growing Marijuana, which has an excellent 70-page “Grow Bible” eBook for beginners and information on autoflower seeds.
Disclaimers: NOT FOR SALE OR TRADE. The following post features content about cannabis cultivation and other related substances that are illegal under federal law as well as under state law in certain states. This content has been produced by Thunderbird Disco—located in the Commonwealth of Virginia—for educational and entertainment purposes only. All cultivation described below was completed in accordance with Virginia law as authorized in § 4.1-1101 Home cultivation of marijuana for personal use; penalties.

Week Five and Six: Pre-Flowering Stage
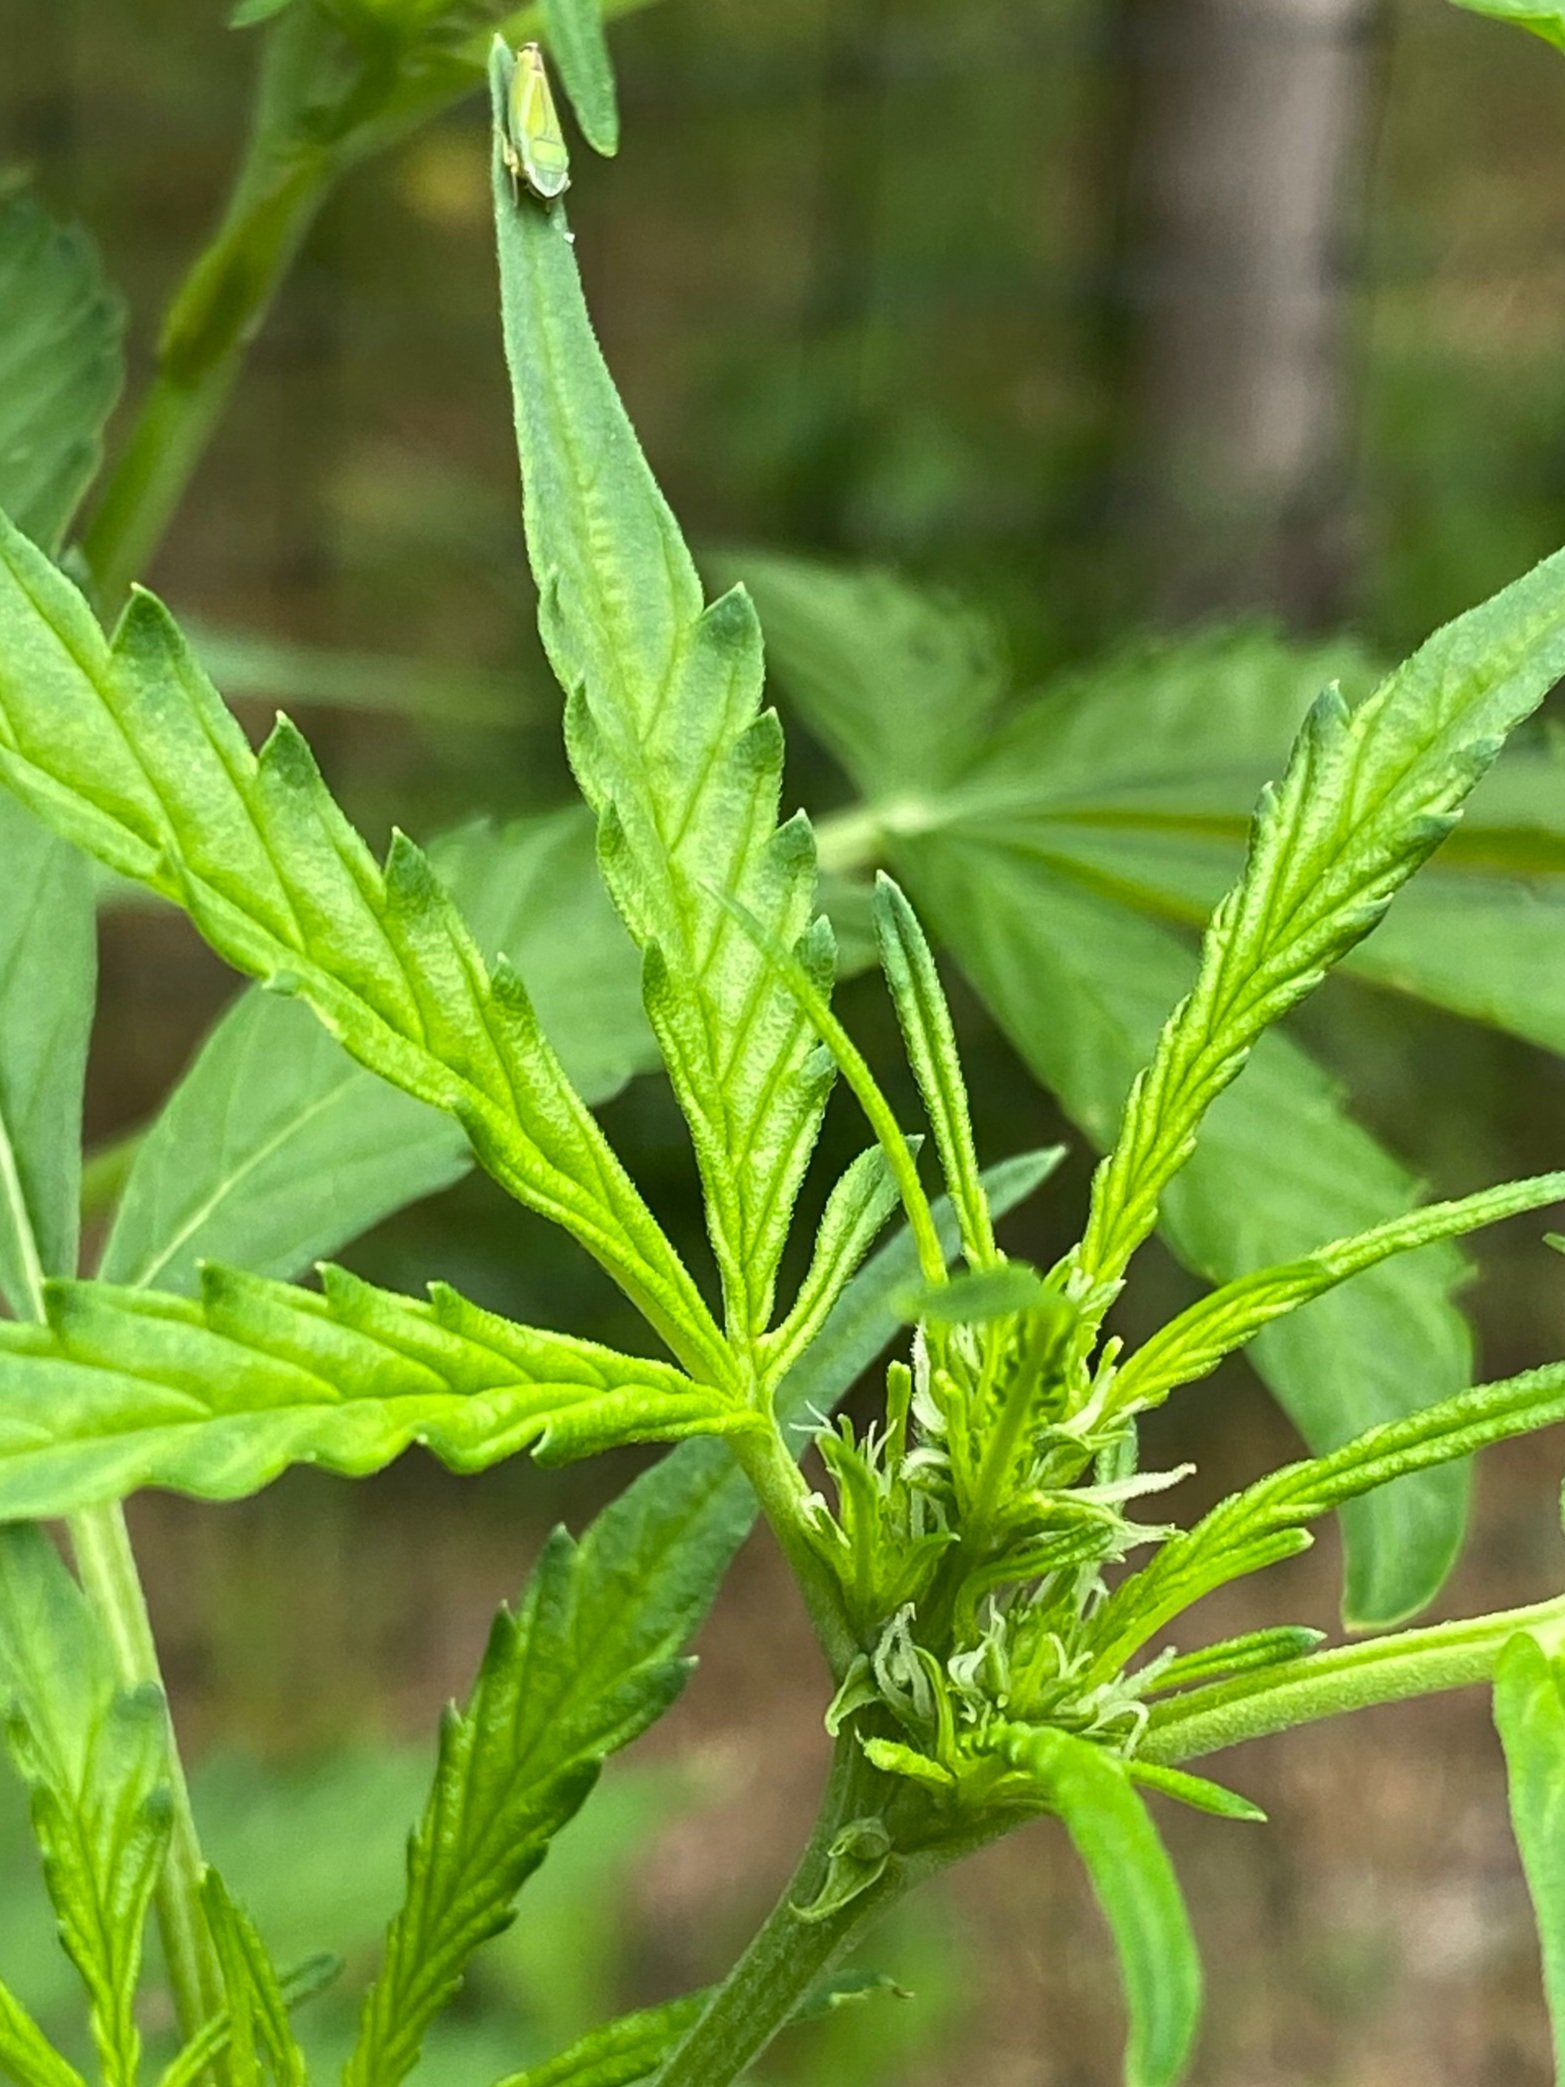
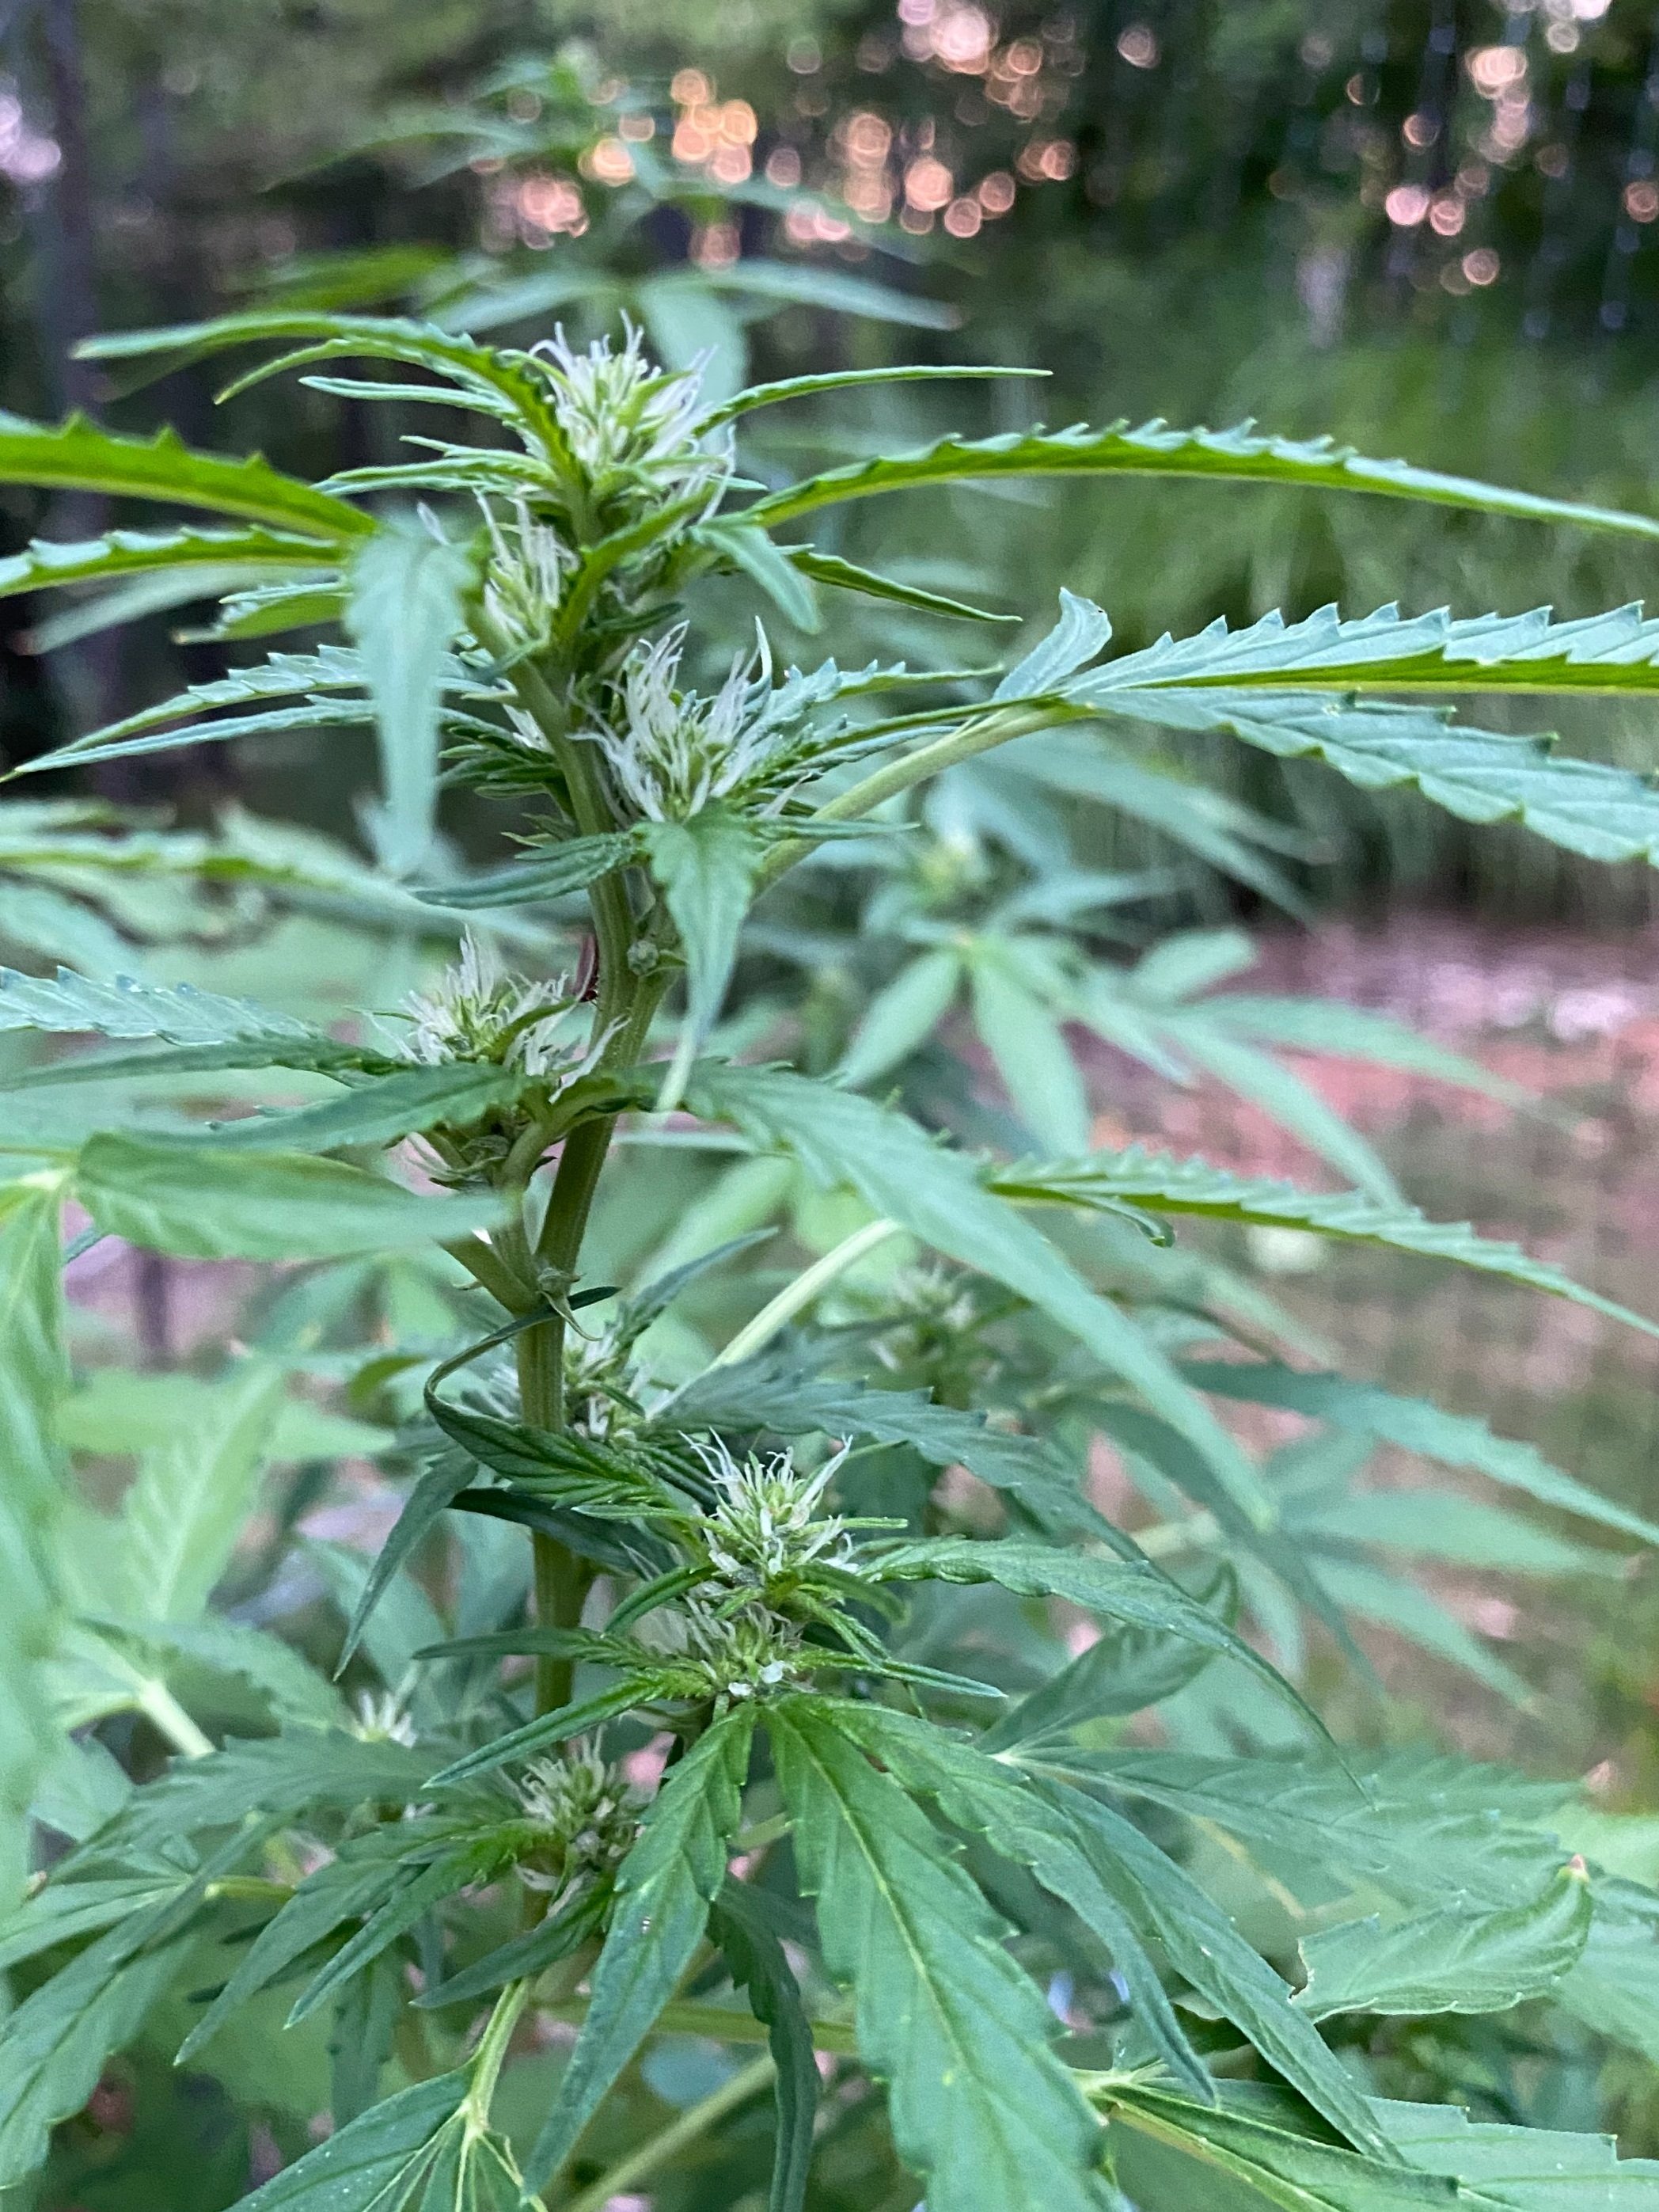
Step 1: Look for Stigmas
Once you’ve done about a week’s worth of hardening off (see previous post), and your plants are able to brave the elements, it’s time to move them outside full-time and prime them for optimum potency. If you’ve been keeping your grow lights on 24/7, this may be the first time they’ve ever enjoyed darkness at night, which is an opportunity for them to rest and grow.
At this point, going by “weeks” isn’t an exact science (I mean, it is science, but judging the health and maturity of your plant will be more of an eyeballing thing than conforming to a strict calendar). As any experienced cultivator knows, these figures can vary.
The heat and humidity outside, how much low-stress training (LST) you’ve done, your growing region, the specific strains you’re growing, the size of your grow bags…all of these will impact the width and height and, ultimately, the development and bud flowering of your plants.
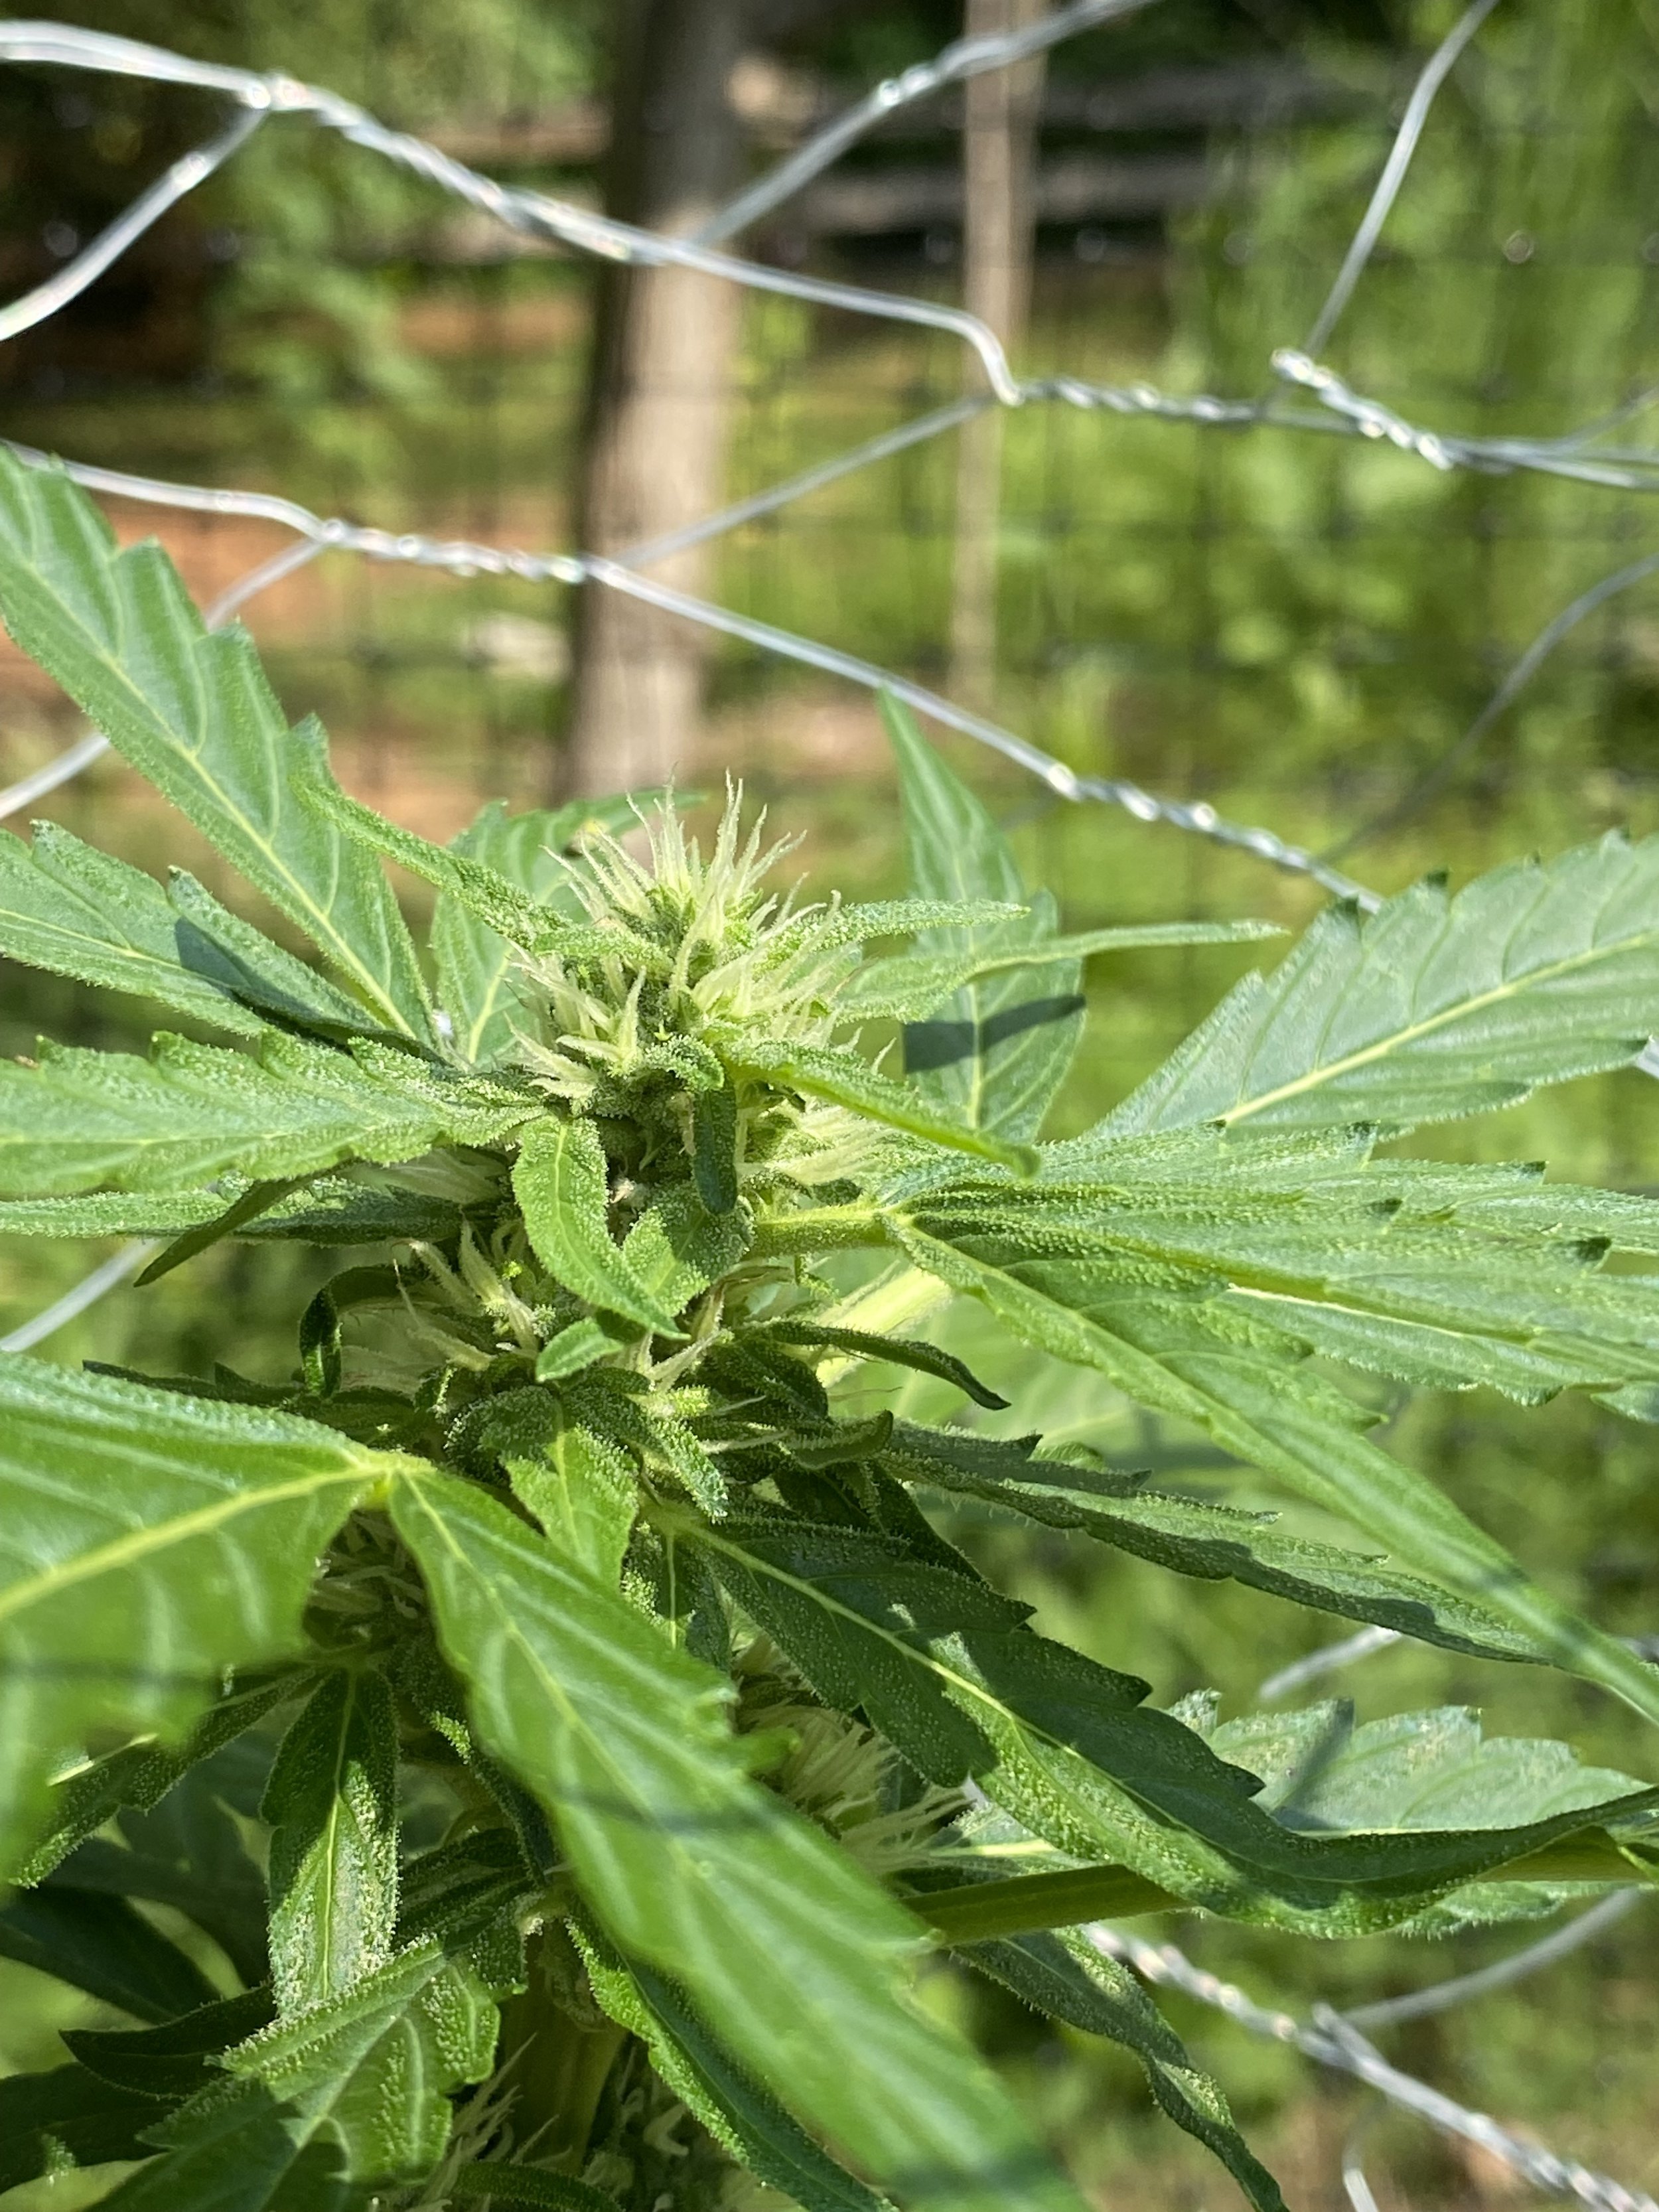
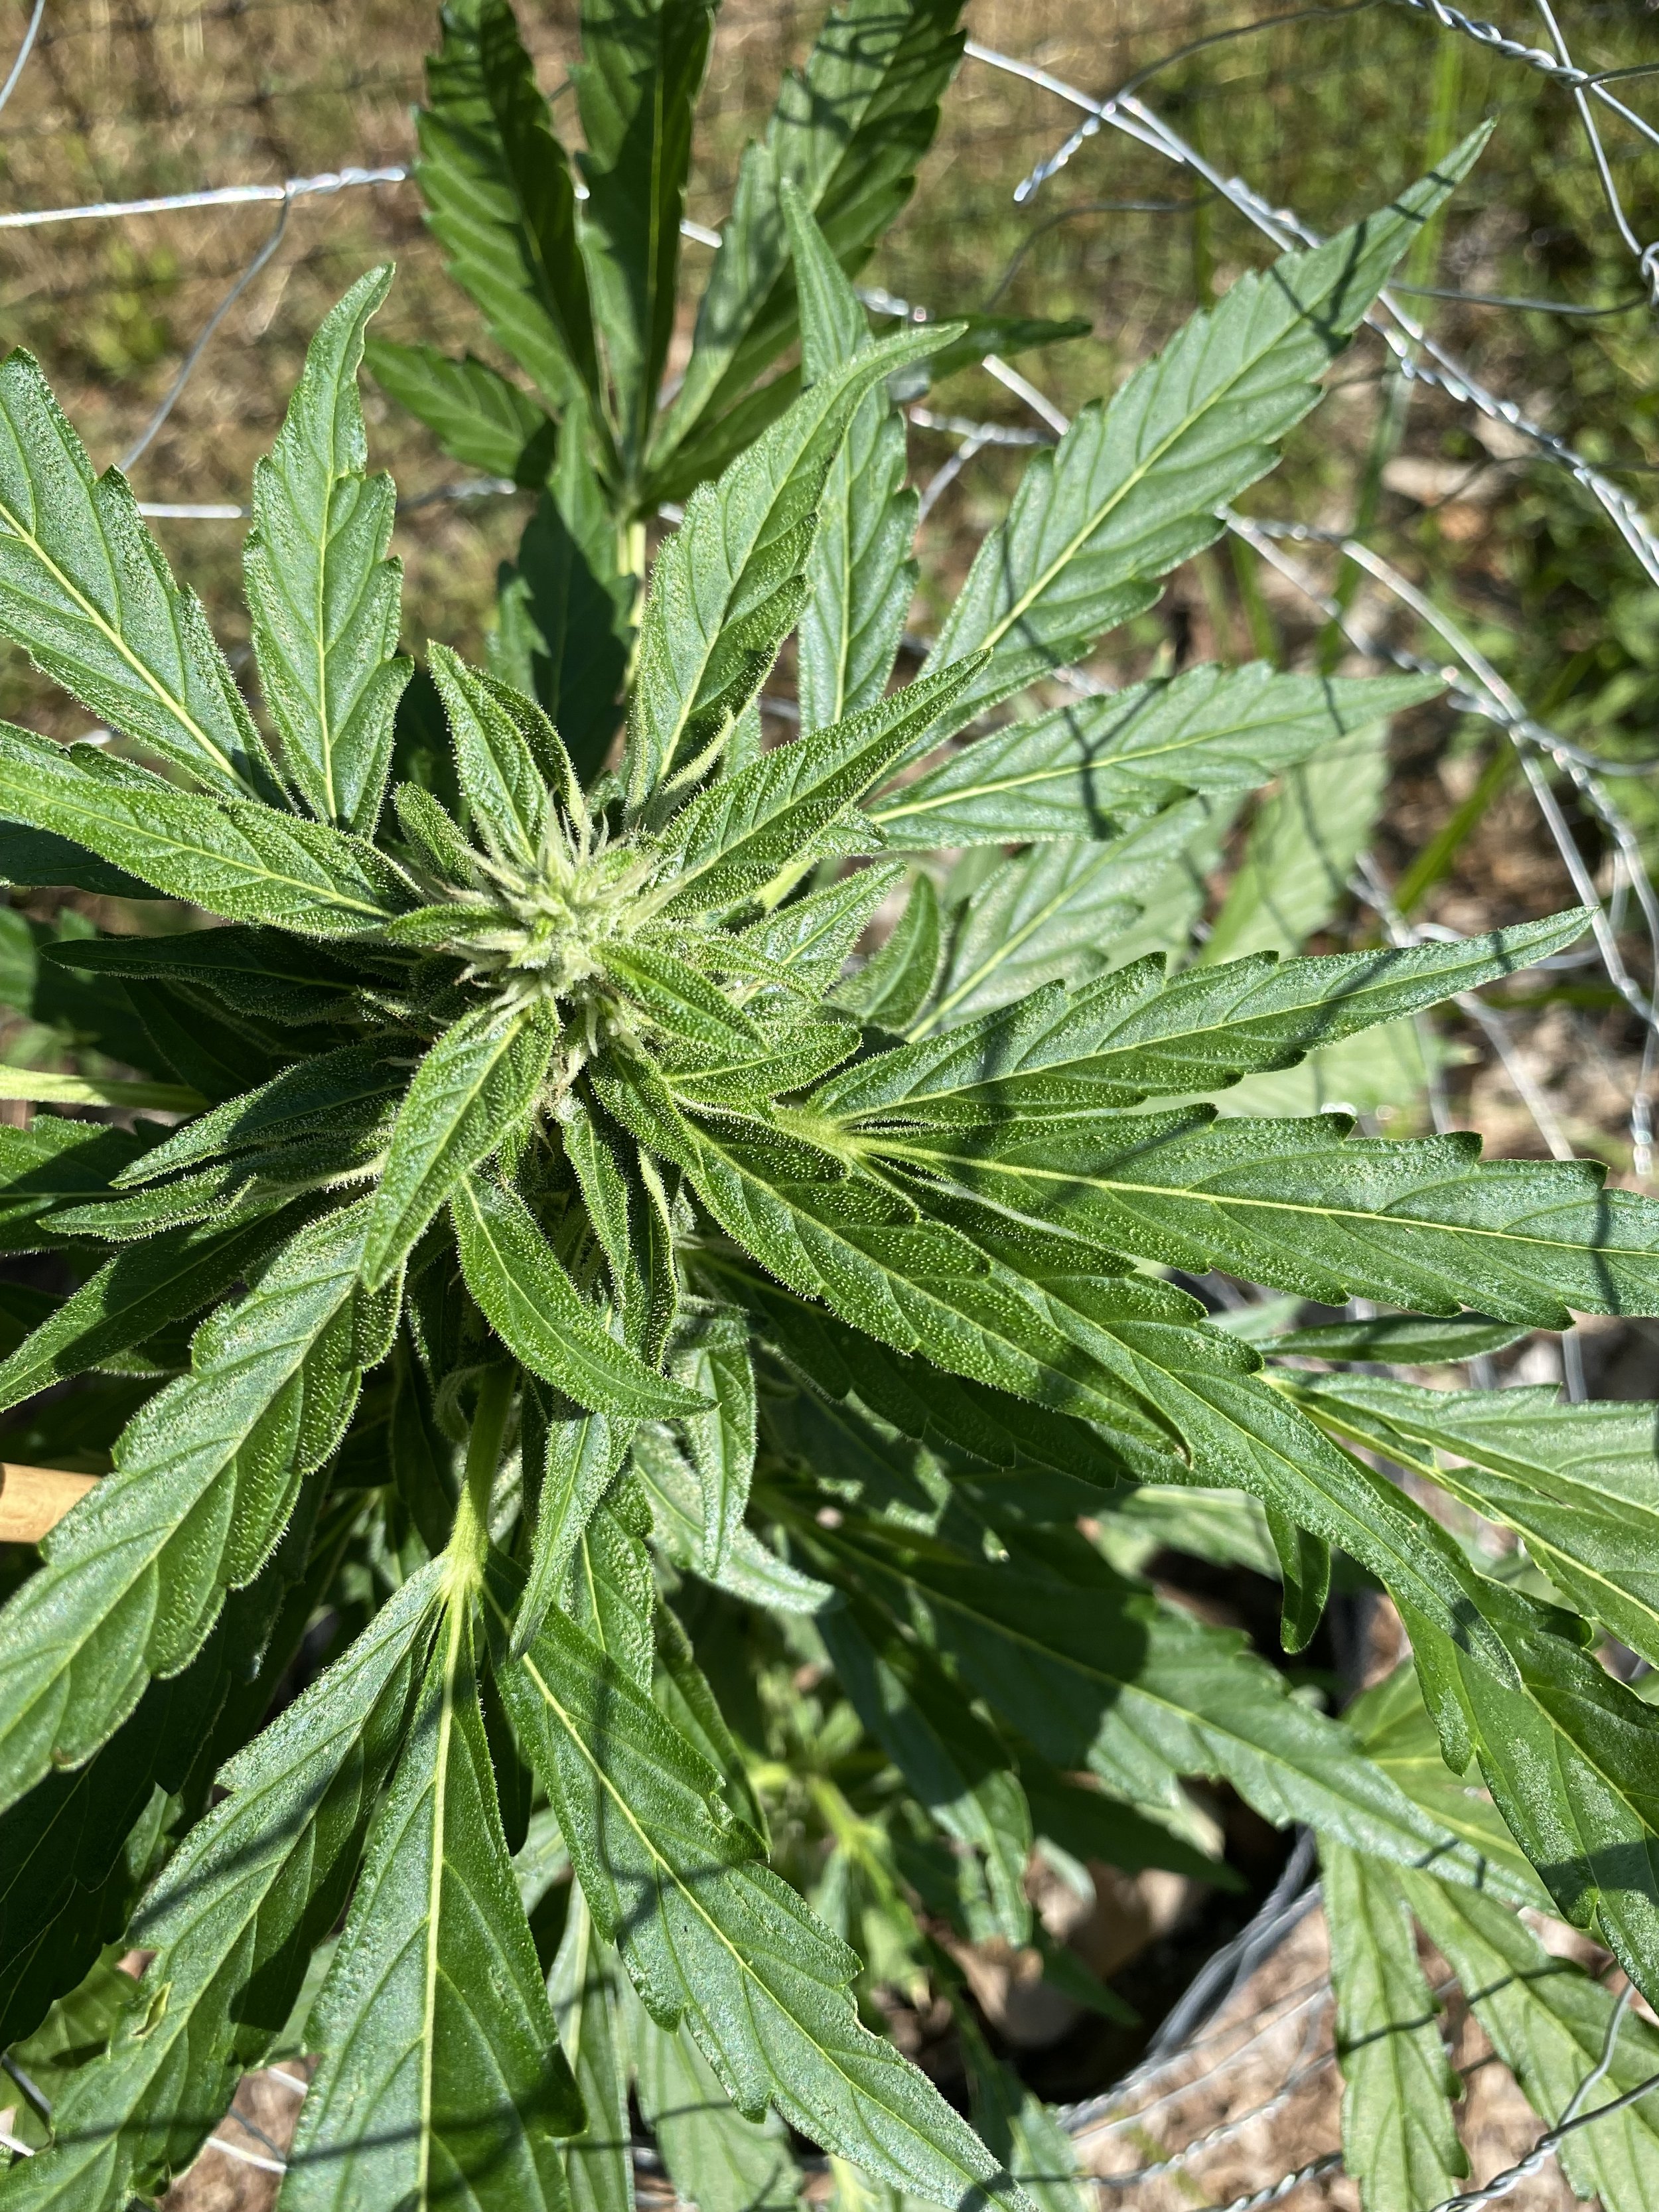
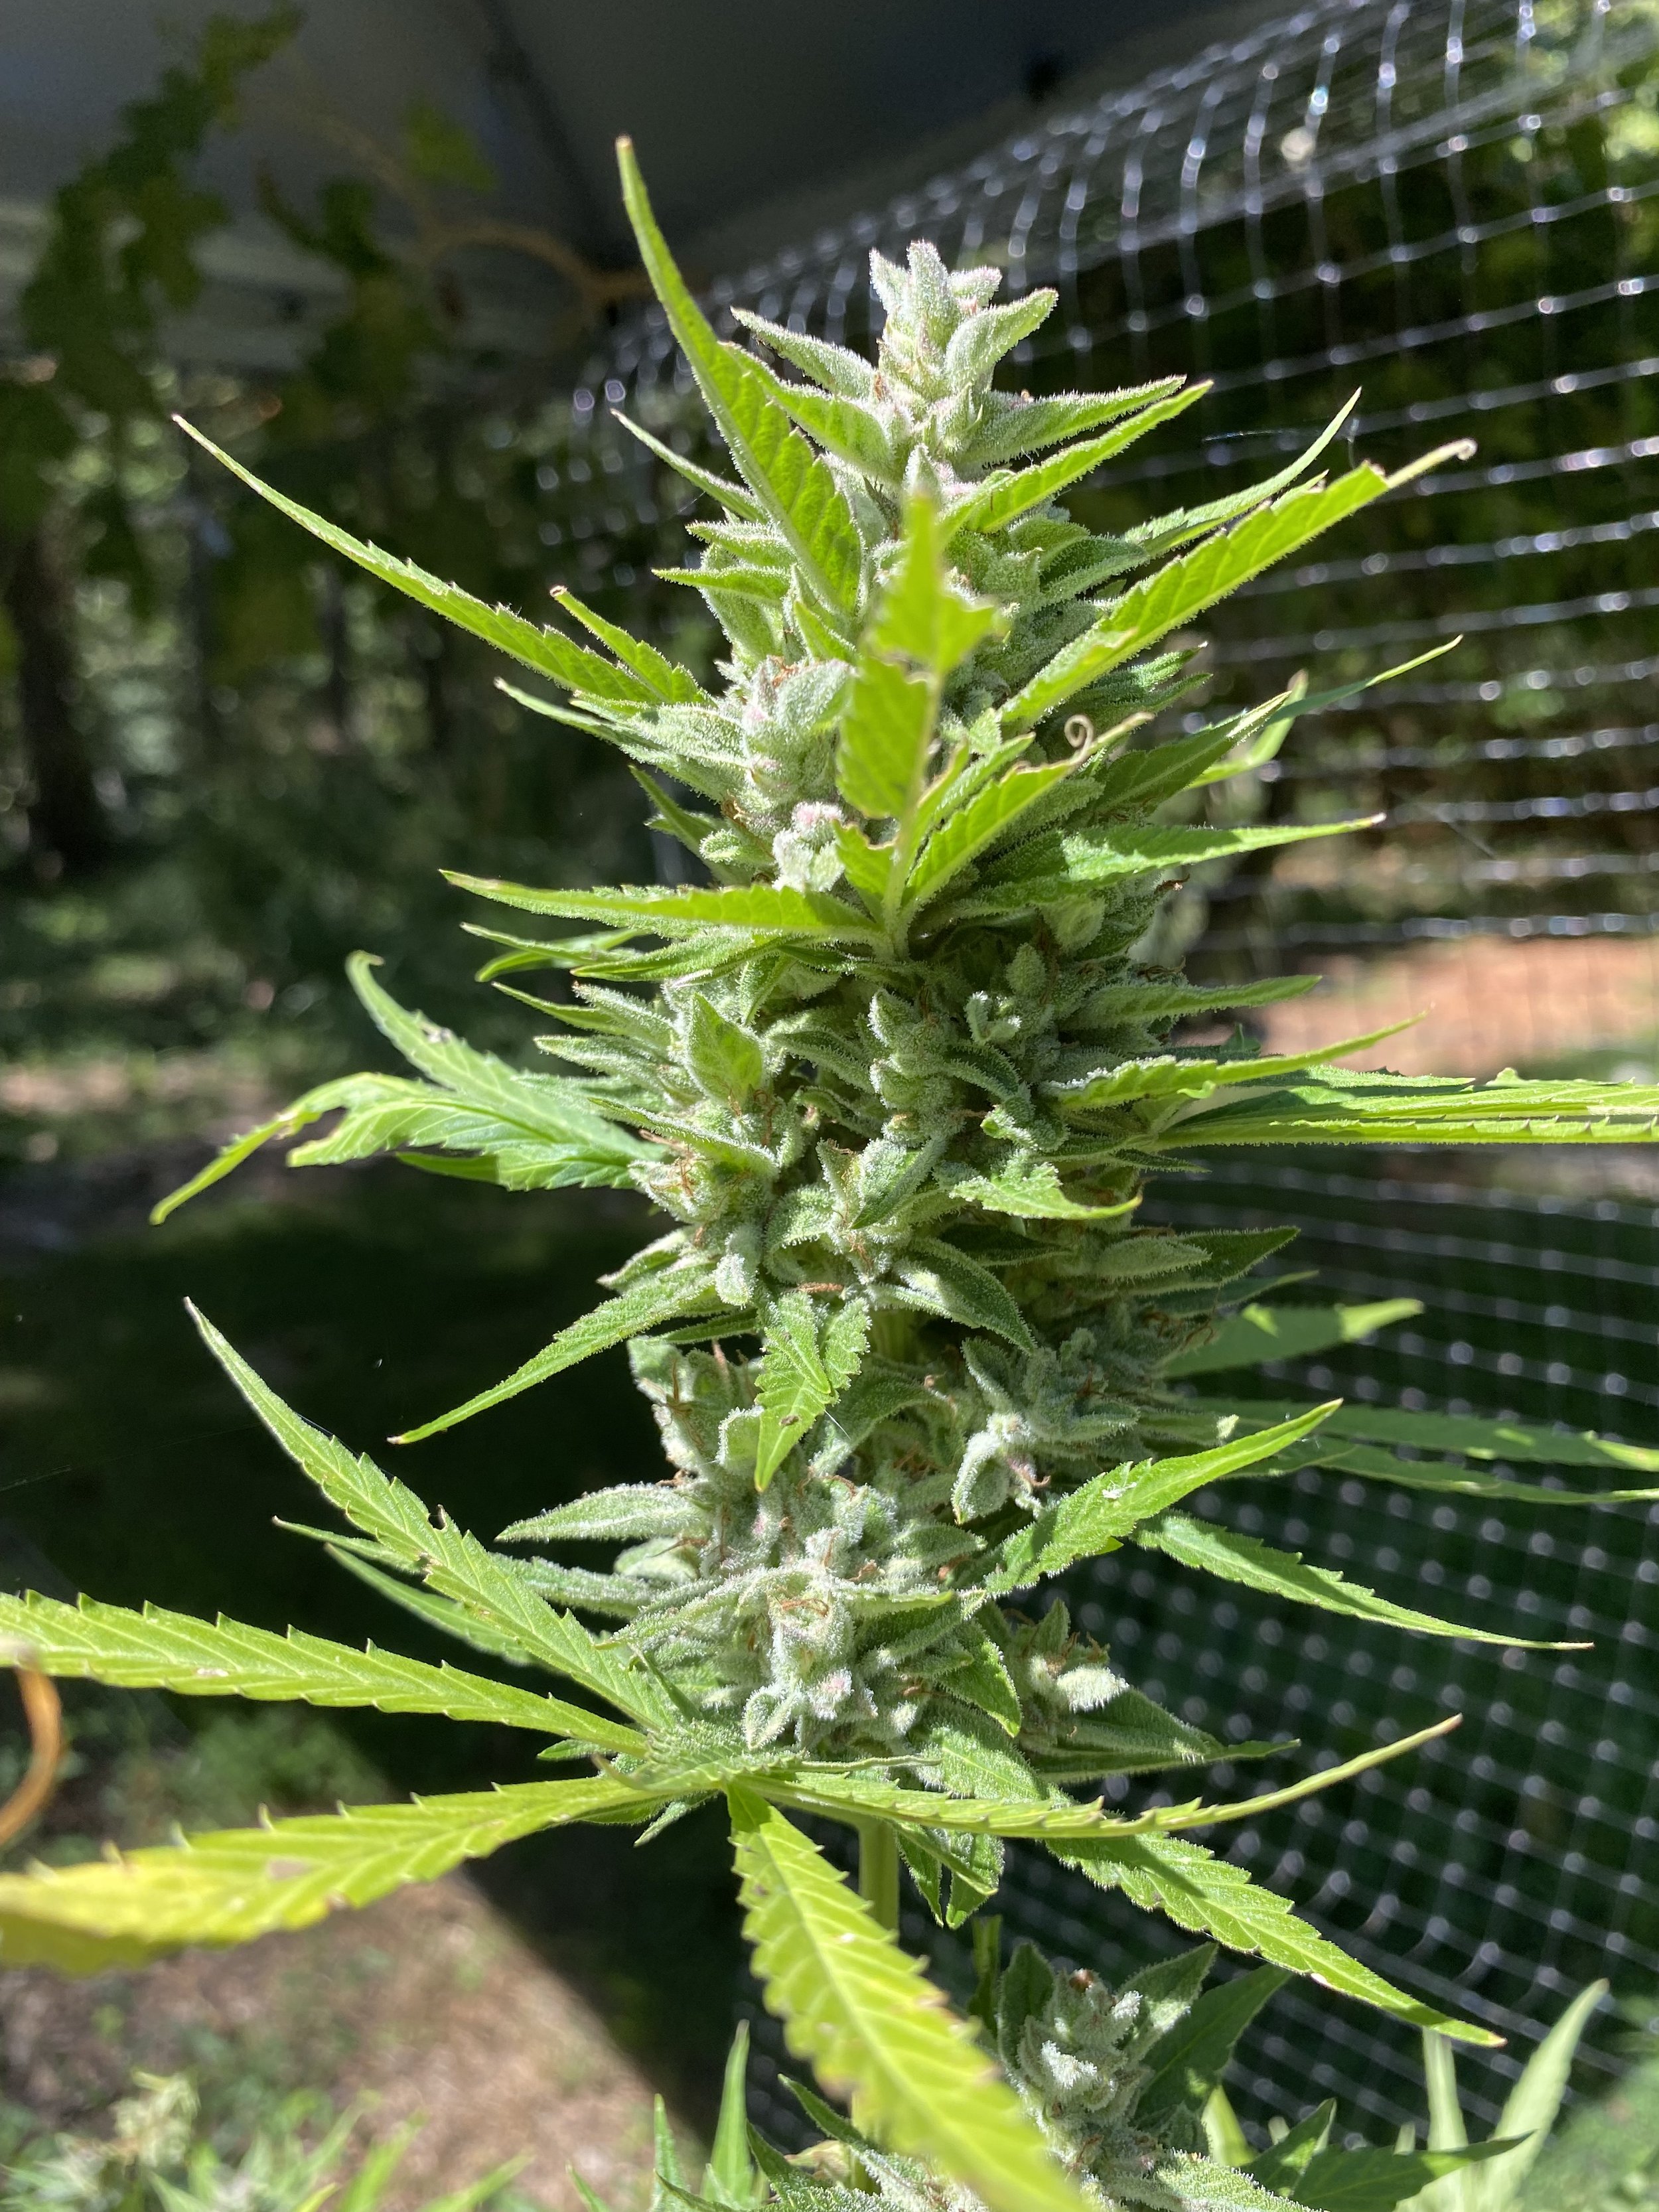
With all of these variables and factors in mind, the next thing is to look for when little white hairs or “stigmas” begin to grow from the pistils of your plant. These growing hairs are essentially the female sex organ of the plant and will be your indication that the plant is beginning to enter its flowering stage. It’s now time to shift how you care for them.
Note that just because bud flowering has begun doesn’t mean vegetative growth has stopped. Continue some subtle LST and encourage your plant to keep vegetating a bit longer, giving sunlight to as many lower growth areas to help them rise up and become multiple stalks or “colas” (big buds), ultimately increasing your yield vs. “Christmas tree” plants with just a single main cola.
Step 2: Shift Feeding TO Bloom Nutrients
Once flowering begins, you’ll wean off the vegetative nutrients and start feeding your plant “bud and bloom” nutes instead to encourage the bud flowering process. Again, the main nutrients your plant craves are Nitrogen (N), Phosphorus (P) and Potassium (K), and you’ll see N-P-K numbers listed on your nutrients in that order.
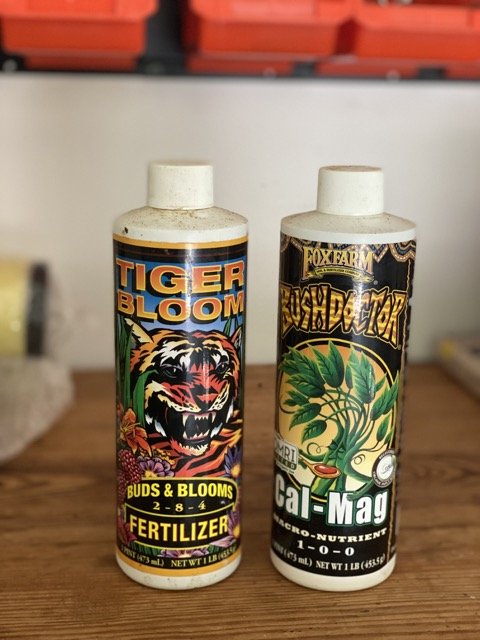
I used Fox Farm’s Tiger Bloom nutrients for this stage, with an N-P-K of 2-8-4 (if you recall from the vegetative stage, the GROW nutrients I used had a ratio of 5-2-3, so we’re now shifting to giving the plant less nitrogen (N), and more phosphorus (P) and potassium (K).
Also consider supplementing with Fox Farm’s Bush Doctor Cal-Mag. According to people more experienced than myself and the Fox Farm website, “Calcium and magnesium help strengthen cell walls and aid in fruit development, helping you avoid the costly and frustrating deficiencies that cause these problems.”
I hate costly and frustrating deficiencies. More experienced growers have MUCH more complicated nutrient regimens, but for beginners like me, I keep it simple.
Again, check the product’s feeding schedule, but if you’re growing autoflowers in already nutrient-rich Fox Farm Ocean Forest (FFOF) soil, you can cut the numbers on these charts in half.
I’d go with a 1/4 dose of both Veg AND Bloom nutrients, 2x in week 5.
You can shift to a 1/2 dose of Bloom nutrients, 3x in week 6.
NOTE: You can use these same nutrients with fruiting or flowering vegetables like beans, cucumbers, broccoli, cabbage, eggplant, melons, peppers, pumpkins, squash, potatoes, tomatoes, or peas. Check your nutrient’s feeding chart for vegetable growing deets.
>> Buy some top-tier cannabis nutrients at Homegrown Cannabis Co.
Step 3: Watering
Now that your plants are outside, they’ll likely start to need more water. Give each about .75 - 1 L daily. Start getting used to how light/heavy the grow bag feels when it’s dry vs. saturated. Lifting the bags slightly and getting used to the relative weight will become a useful indication of whether or not they need water.
Again, keep pH adjusting the water to between 6.0 - 7.0, erring on the lower side of that range. If it’s a feeding day check/adjust the pH AFTER you add nutrients to the water, as the nutrients will affect pH.
Again, here’s that handy dandy week-by-week outdoor autoflower cannabis growing cheat sheet for all your watering, nutrient and general maintenance needs
Week Six and Seven: Bud Flowering Stage
Step 1: Monitoring for weather, pests, and mold
If you want to avoid some of these outdoor problems, you can consider an advanced indoor grow system (use coupon code “THUNDERBIRD” for 15% off). But if you’re committed to growing outdoors, here are a few things you’ll have to monitor.
With the stigmas growing longer, now that your plants are outside, and you can’t control the environment, so you’re shifting to playing defense. There are a bunch of things to keep an eye on:
WEATHER
Heavy rains, major windstorms and searing heat can all ruin your day, depending on growing region. For me, in Zone 7A, the biggest weather concern has been early- and mid-summer rainstorms, which can soak your plant.
If unprotected, as the buds begin to fatten in subsequent weeks, they hold this rainwater and can develop the dreaded “bud rot” (botrytis) fungus from the inside-out, which is very hard to spot until it’s too late. Again, this is part of why LST is so effective — MANY colas, instead of just one big bud, helps with airflow and hopefully avoids bud rot.
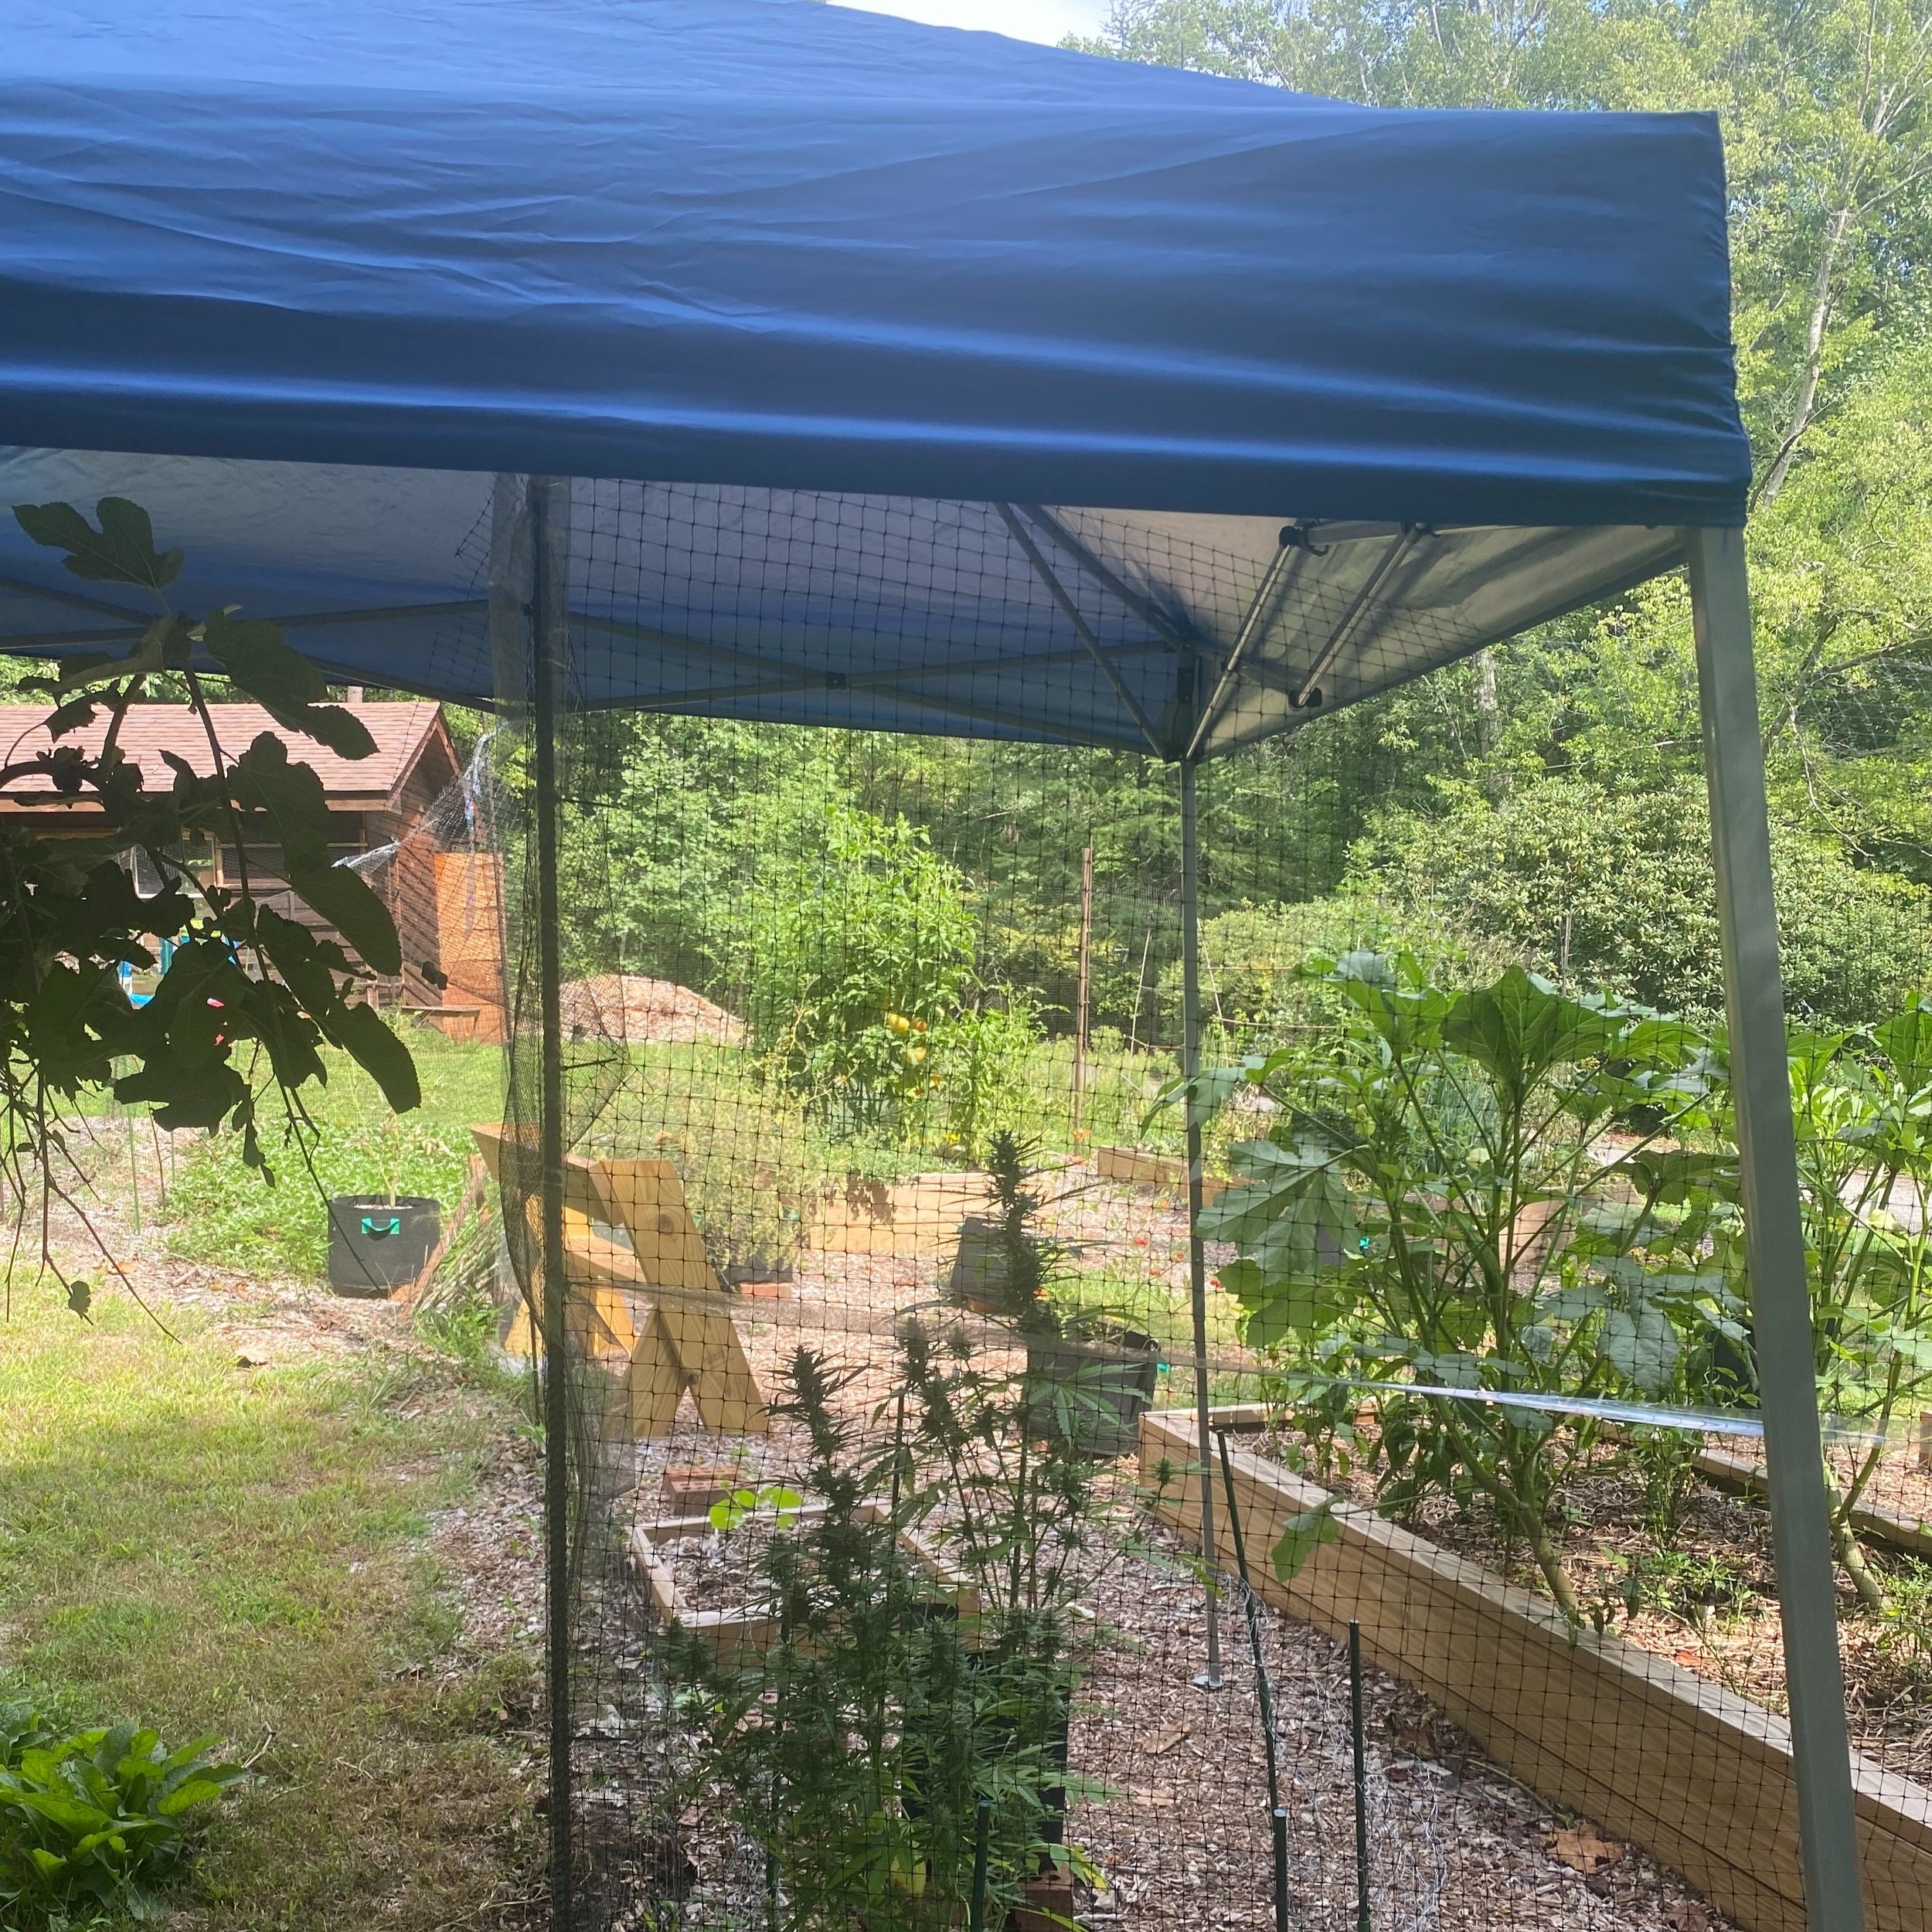
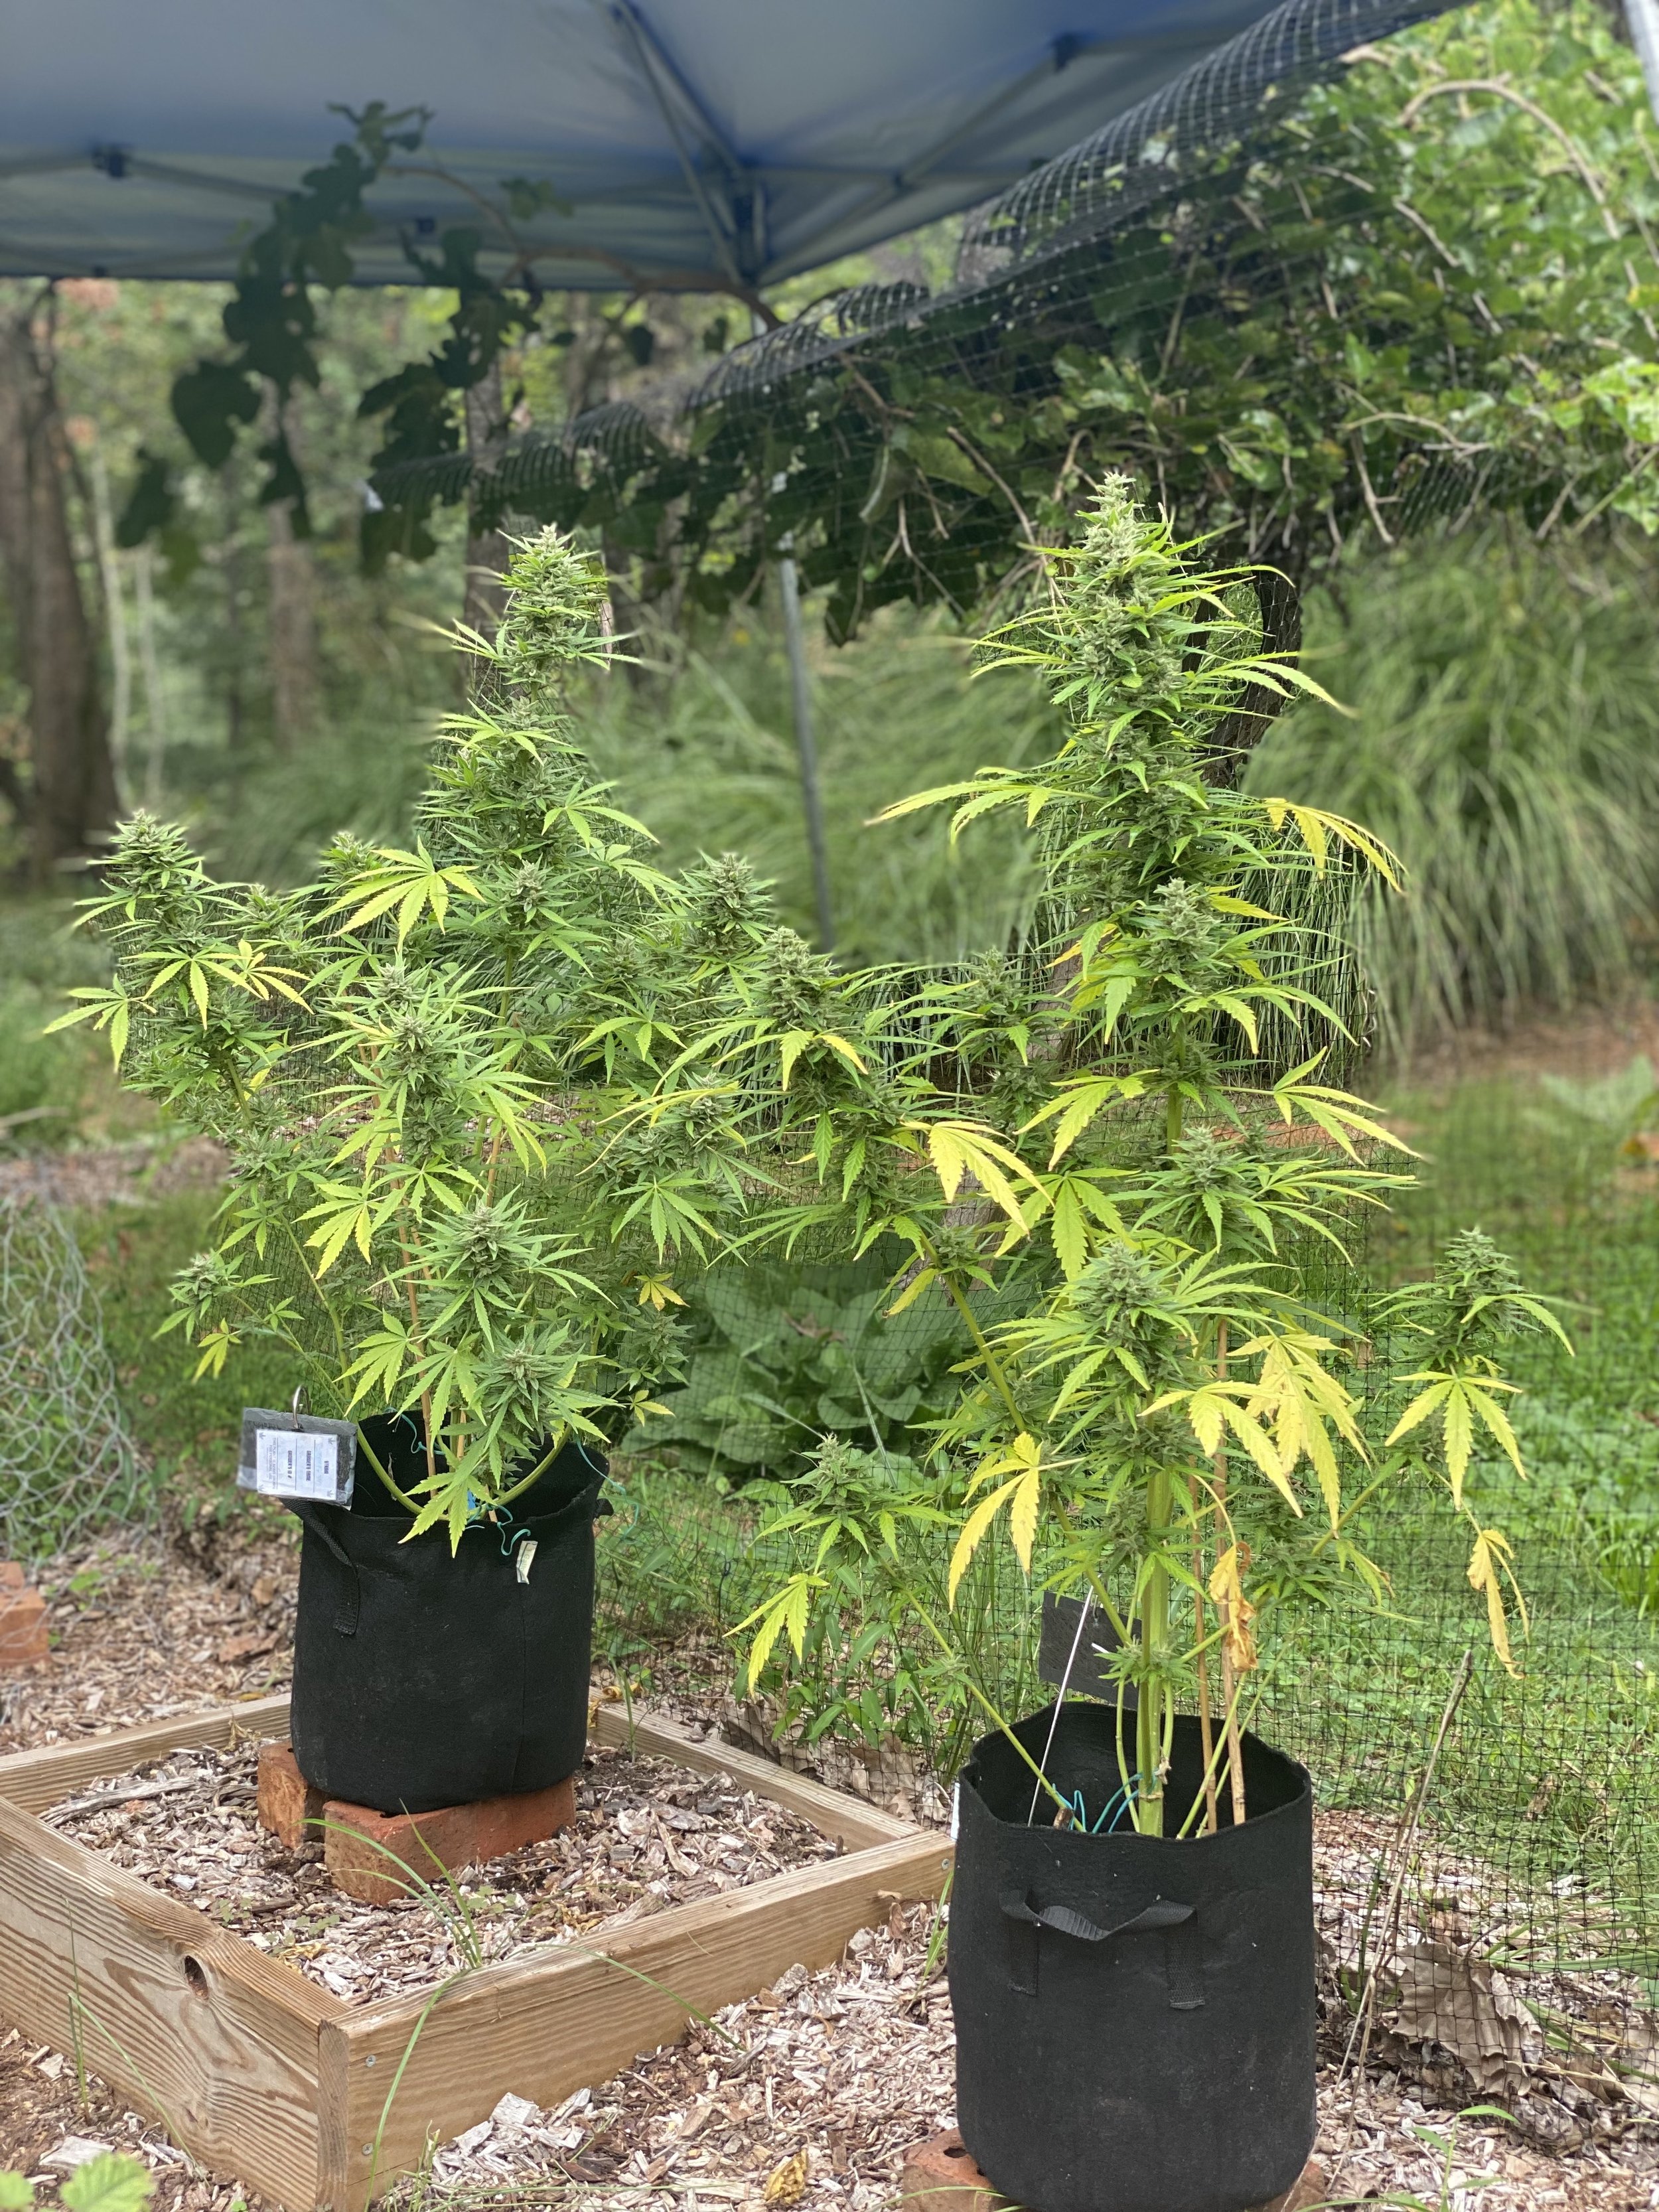
I also have a 10’ x 10’ tent set up such that I can move the plants under cover to keep the rain off while still allowing in sunlight. If you know a massive storm is coming, you may want to bring your plants under an overhang or into a garage. Just don’t change their environment too much or for too long: they’ll get light-confused and accidentally “re-vegetate.”
PESTS
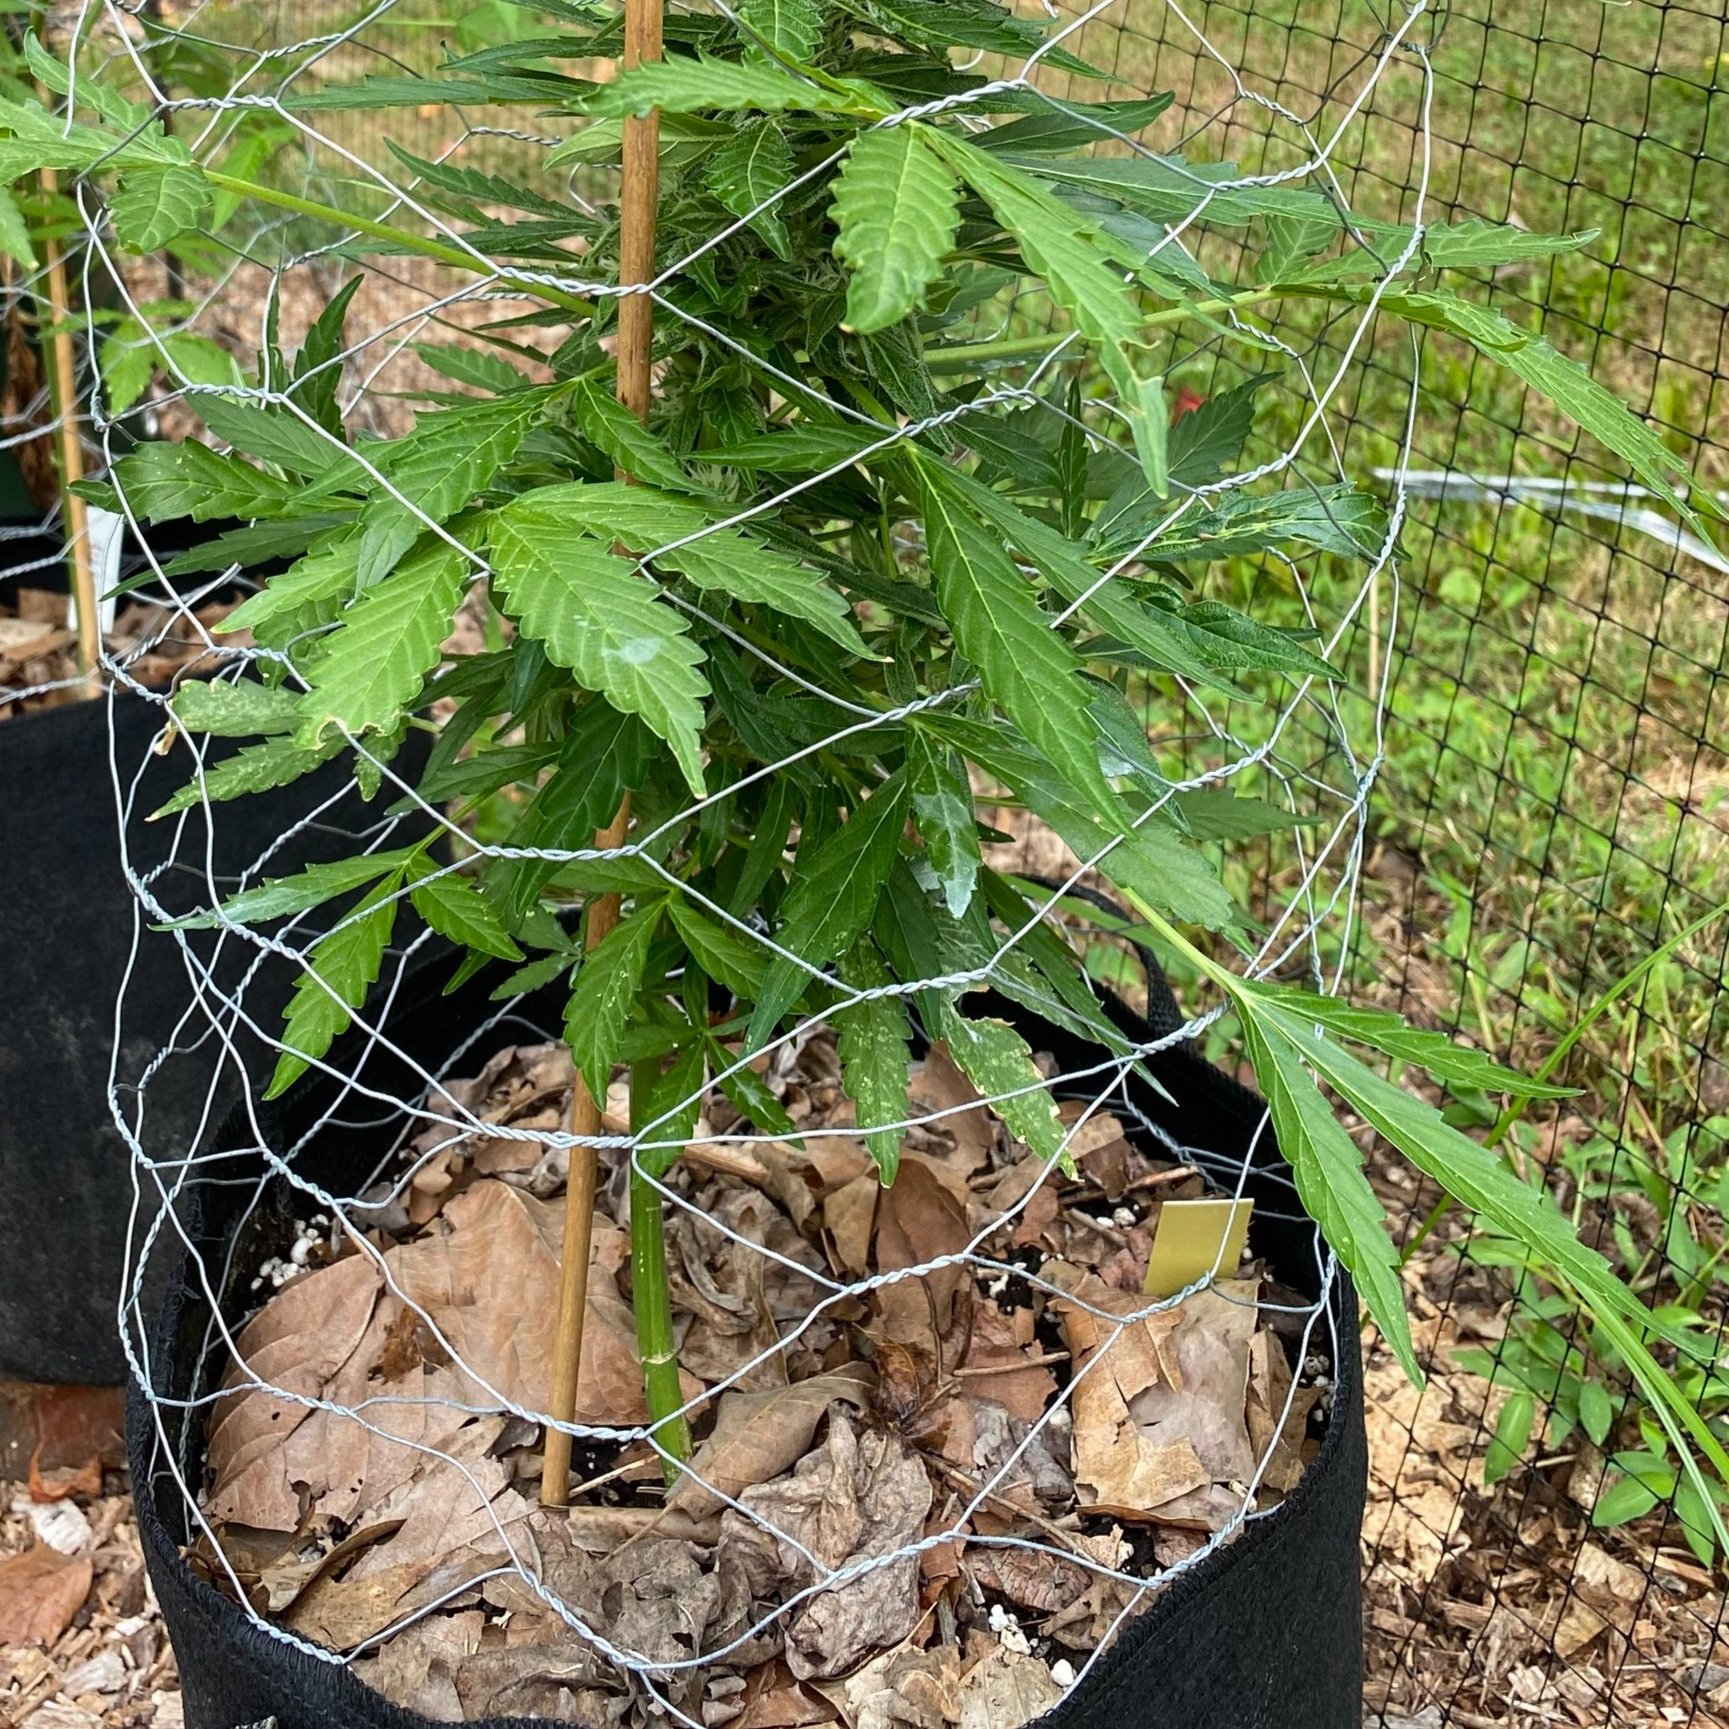
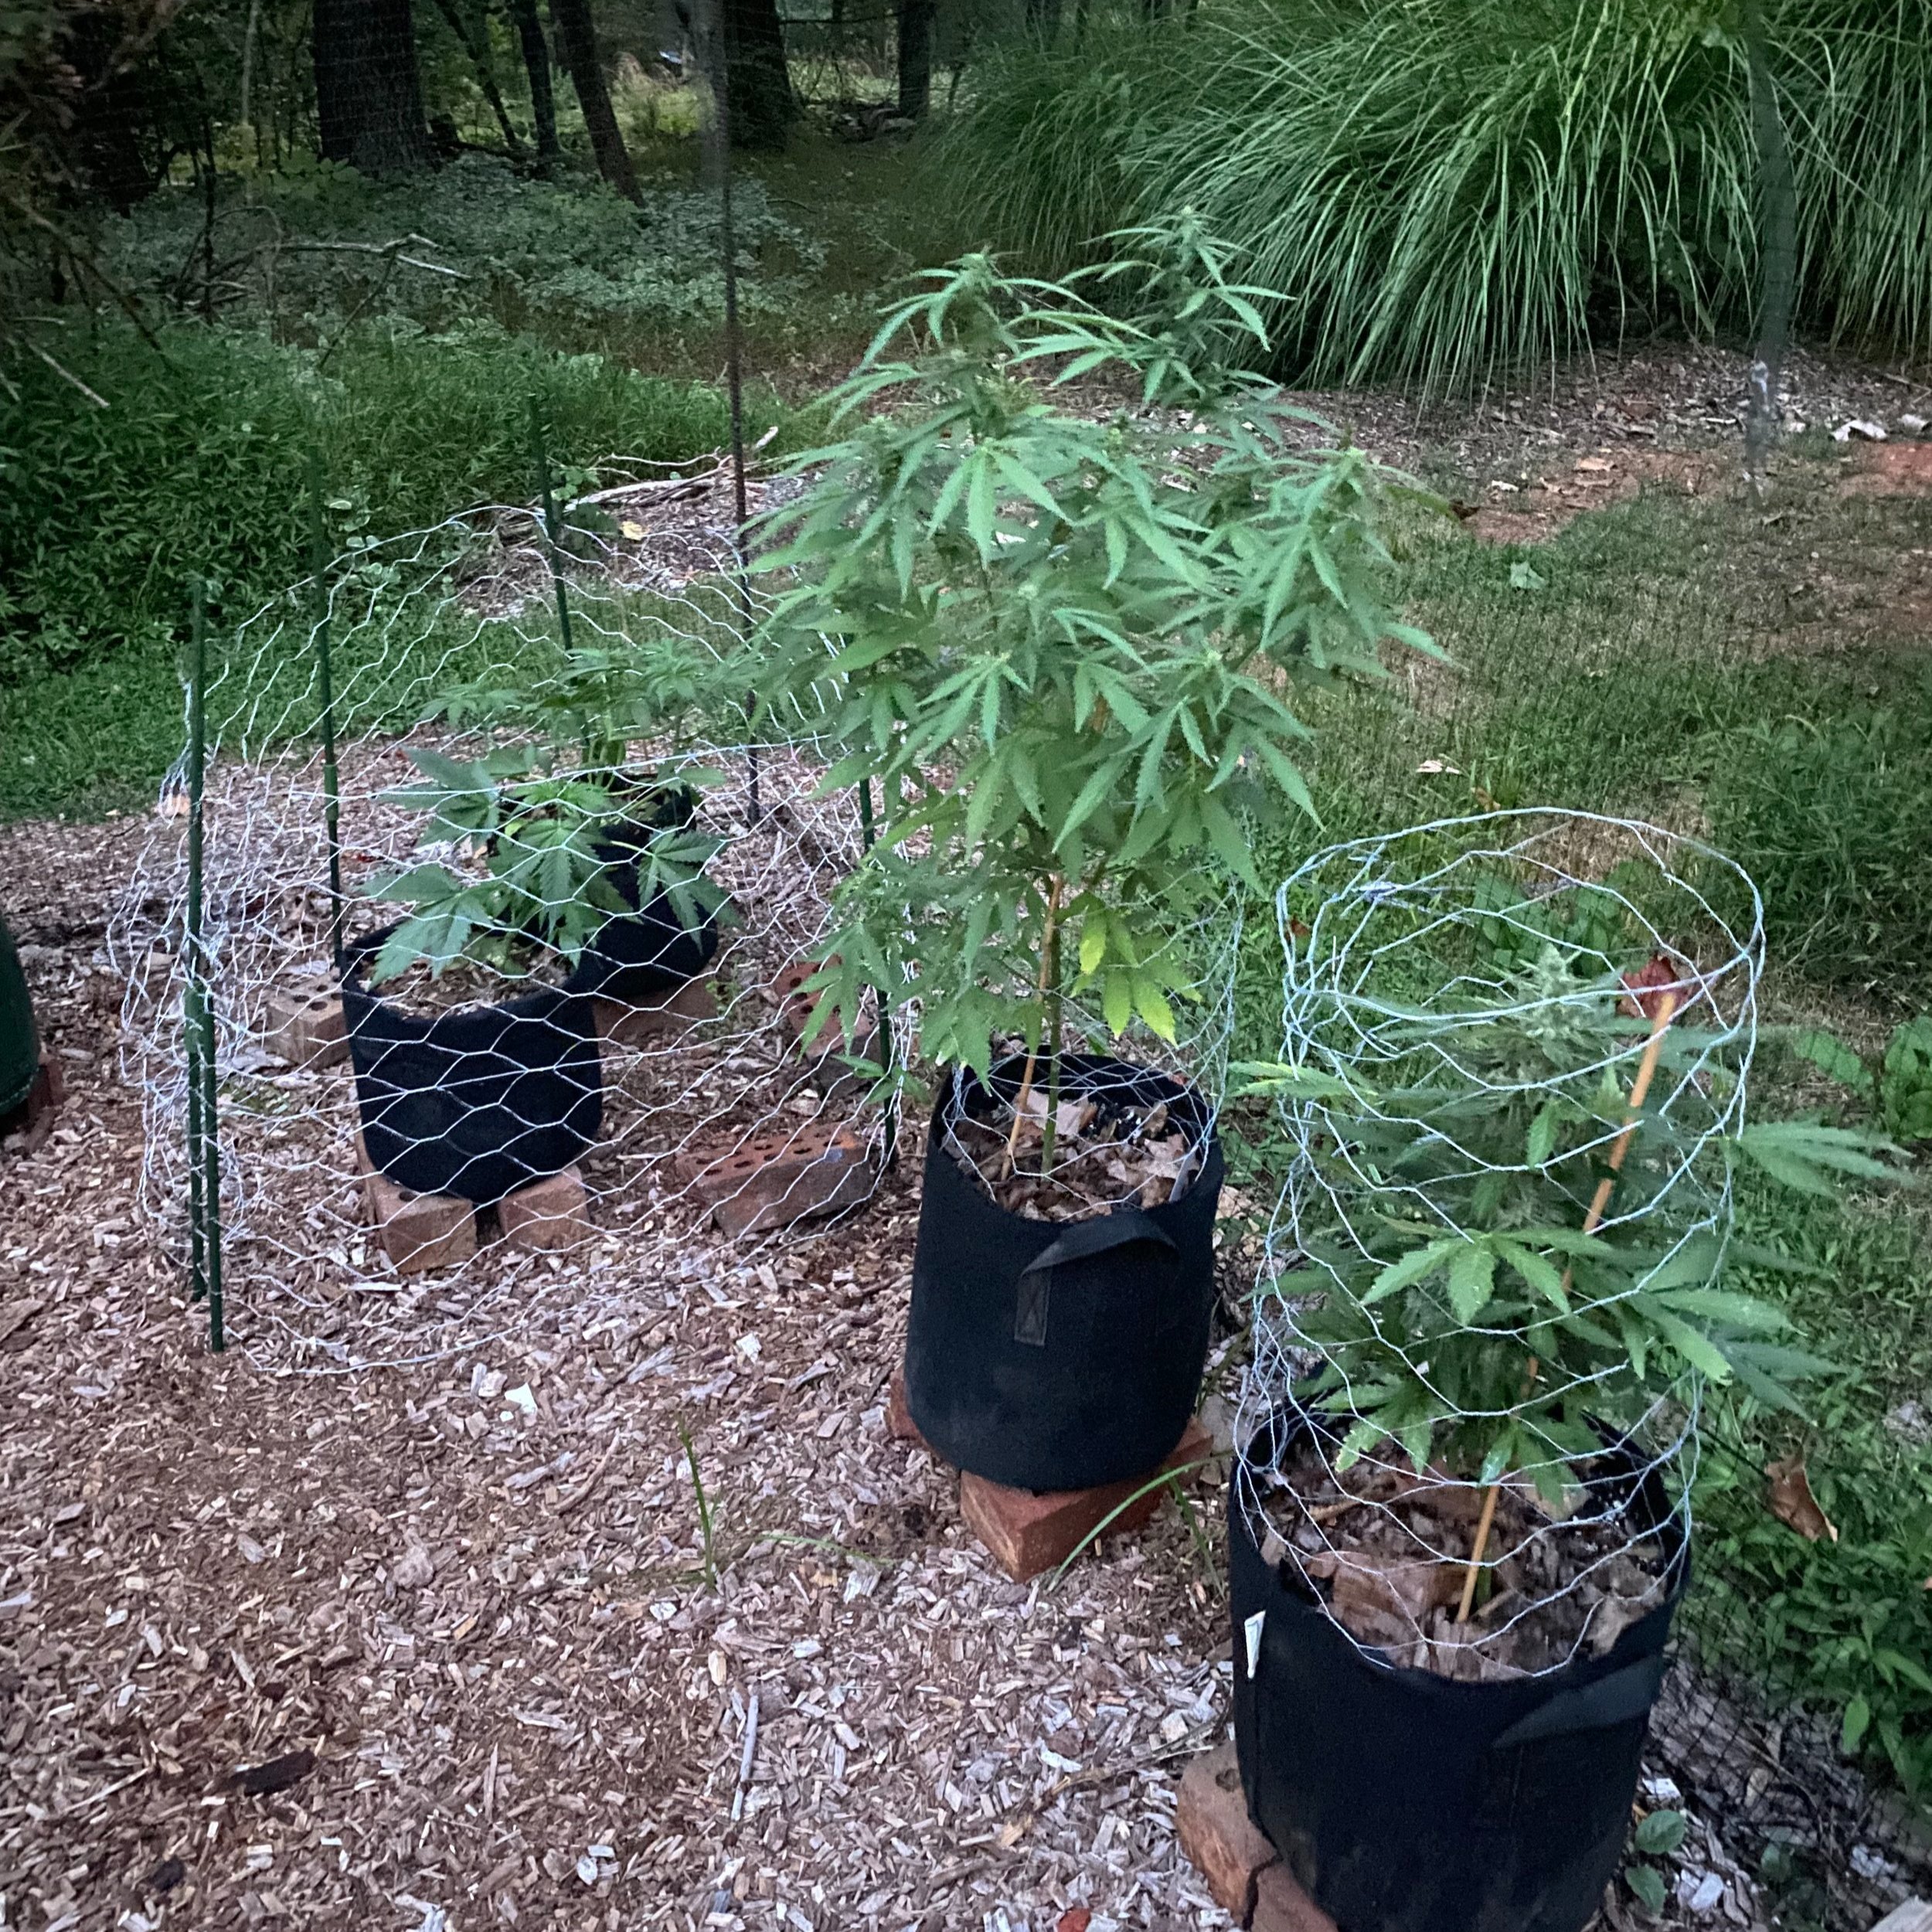
There are many insects and animals that might find your plants tasty, or at least give them a try (peer pressure’s a bitch). Squirrels and deer can be a nuisance, so consider a low-key fence or chicken wire situation.
Insects are potentially more troublesome. Aphids, caterpillars, thrips, etc., can all take a toll on cannabis plants, and Grow Weed Easy has a great Pest Guide of what various problems look like so you can properly diagnose and combat whatever’s bothering your girls. Spider mites were our biggest problem, and Monterey makes a good (if expensive) Neem Oil spray and general Garden Insect Spray. I also got lucky and a badass spider (see photos) took up residence next to my plants, helping to battle the bugs with me (I owe him a bag when this is done). Ladybugs can also be beneficial.
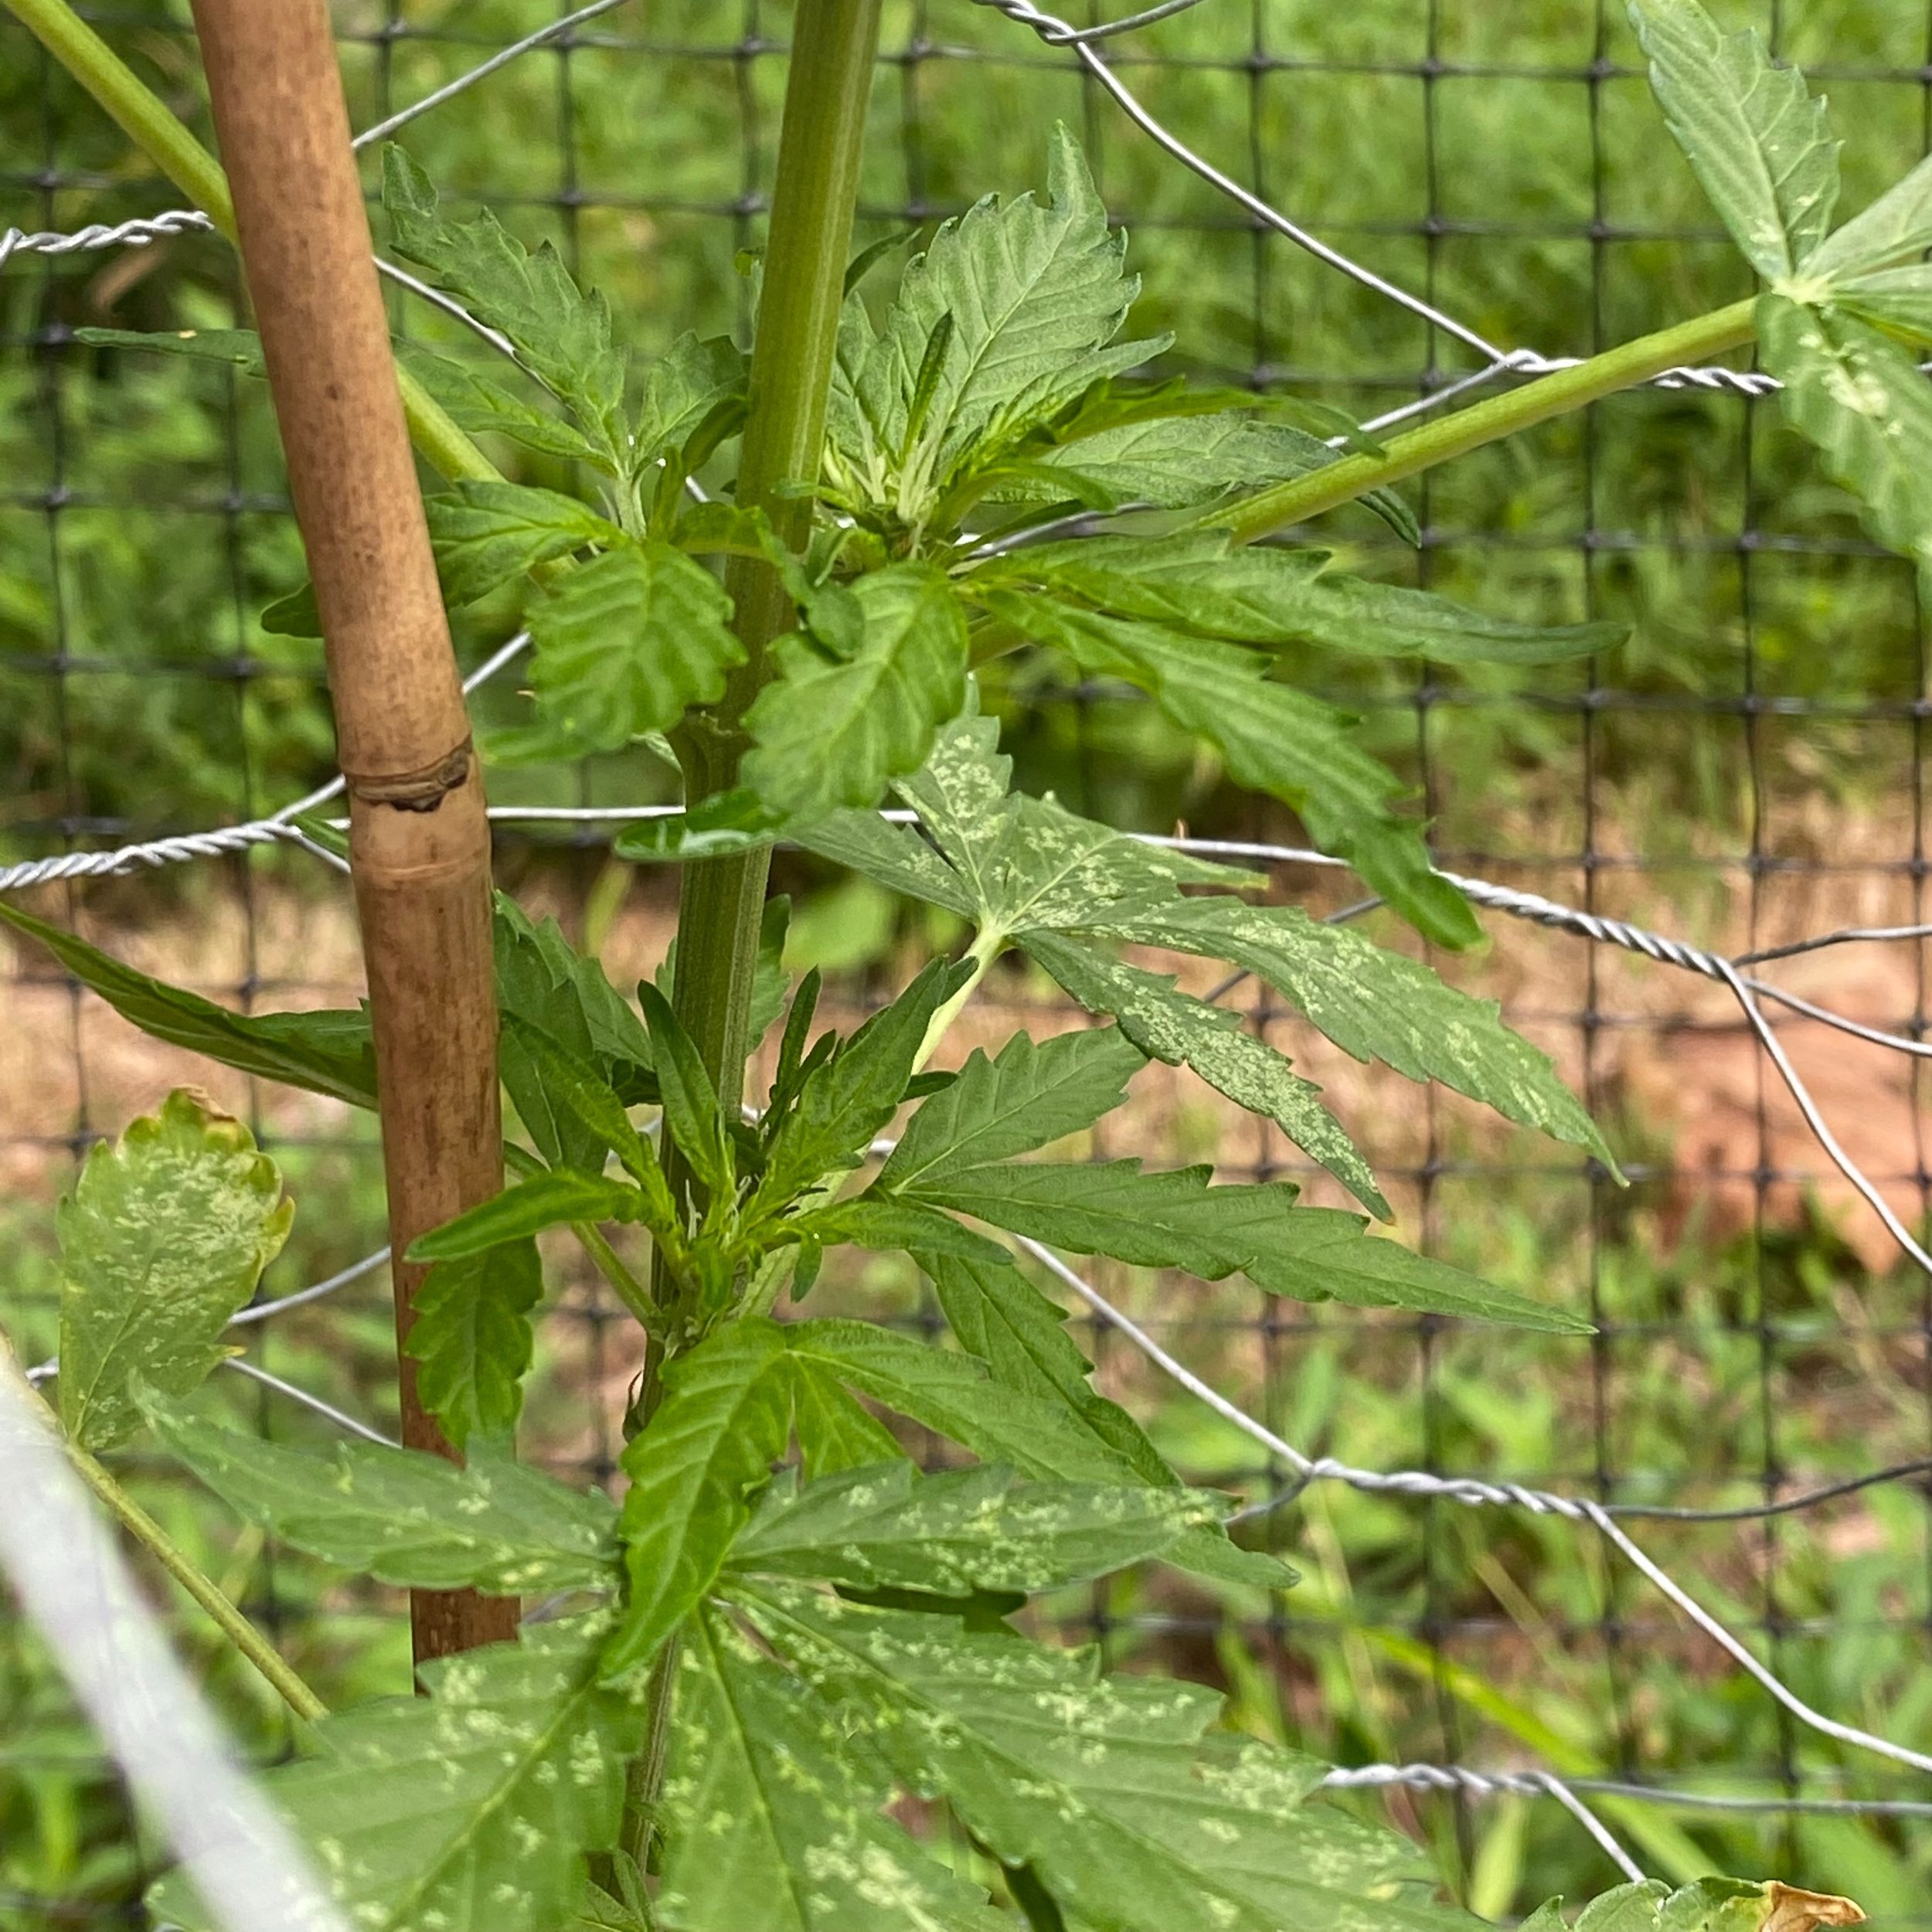
MOLD
Aside from bud rot, which is the real killer around here, keep an eye out for things like white powdery mildew (WPM), which kind of looks like white bird shit (don’t confuse with the frosty trichomes beginning to form, see below). WPM is obvious and can usually be caught quickly, but if left untreated can take over and ruin your crop. Again, Monterey makes a good all-purpose Complete Disease Control spray, and here’s more information on home remedies you can use, like milk.
STEP 2: WATER & NUTRIENTS
In week 6 and 7, continue the 1/2 dose of Bloom nutrients, 3x/week. Increase to 1.5 L of water daily per plant, more or less depending on how hot it is. It’s a good idea to saturate your plant and let it fully dry out before saturating again, however long that takes. This creates some stress on the roots, causing them to reach out in search of more water (getting stronger in the process).
>> Buy some top-tier cannabis nutrients at Homegrown Cannabis Co.

There are many home remedies for pests and fungus, but if you’re able to spend the extra money, these Monterey products do a good job.

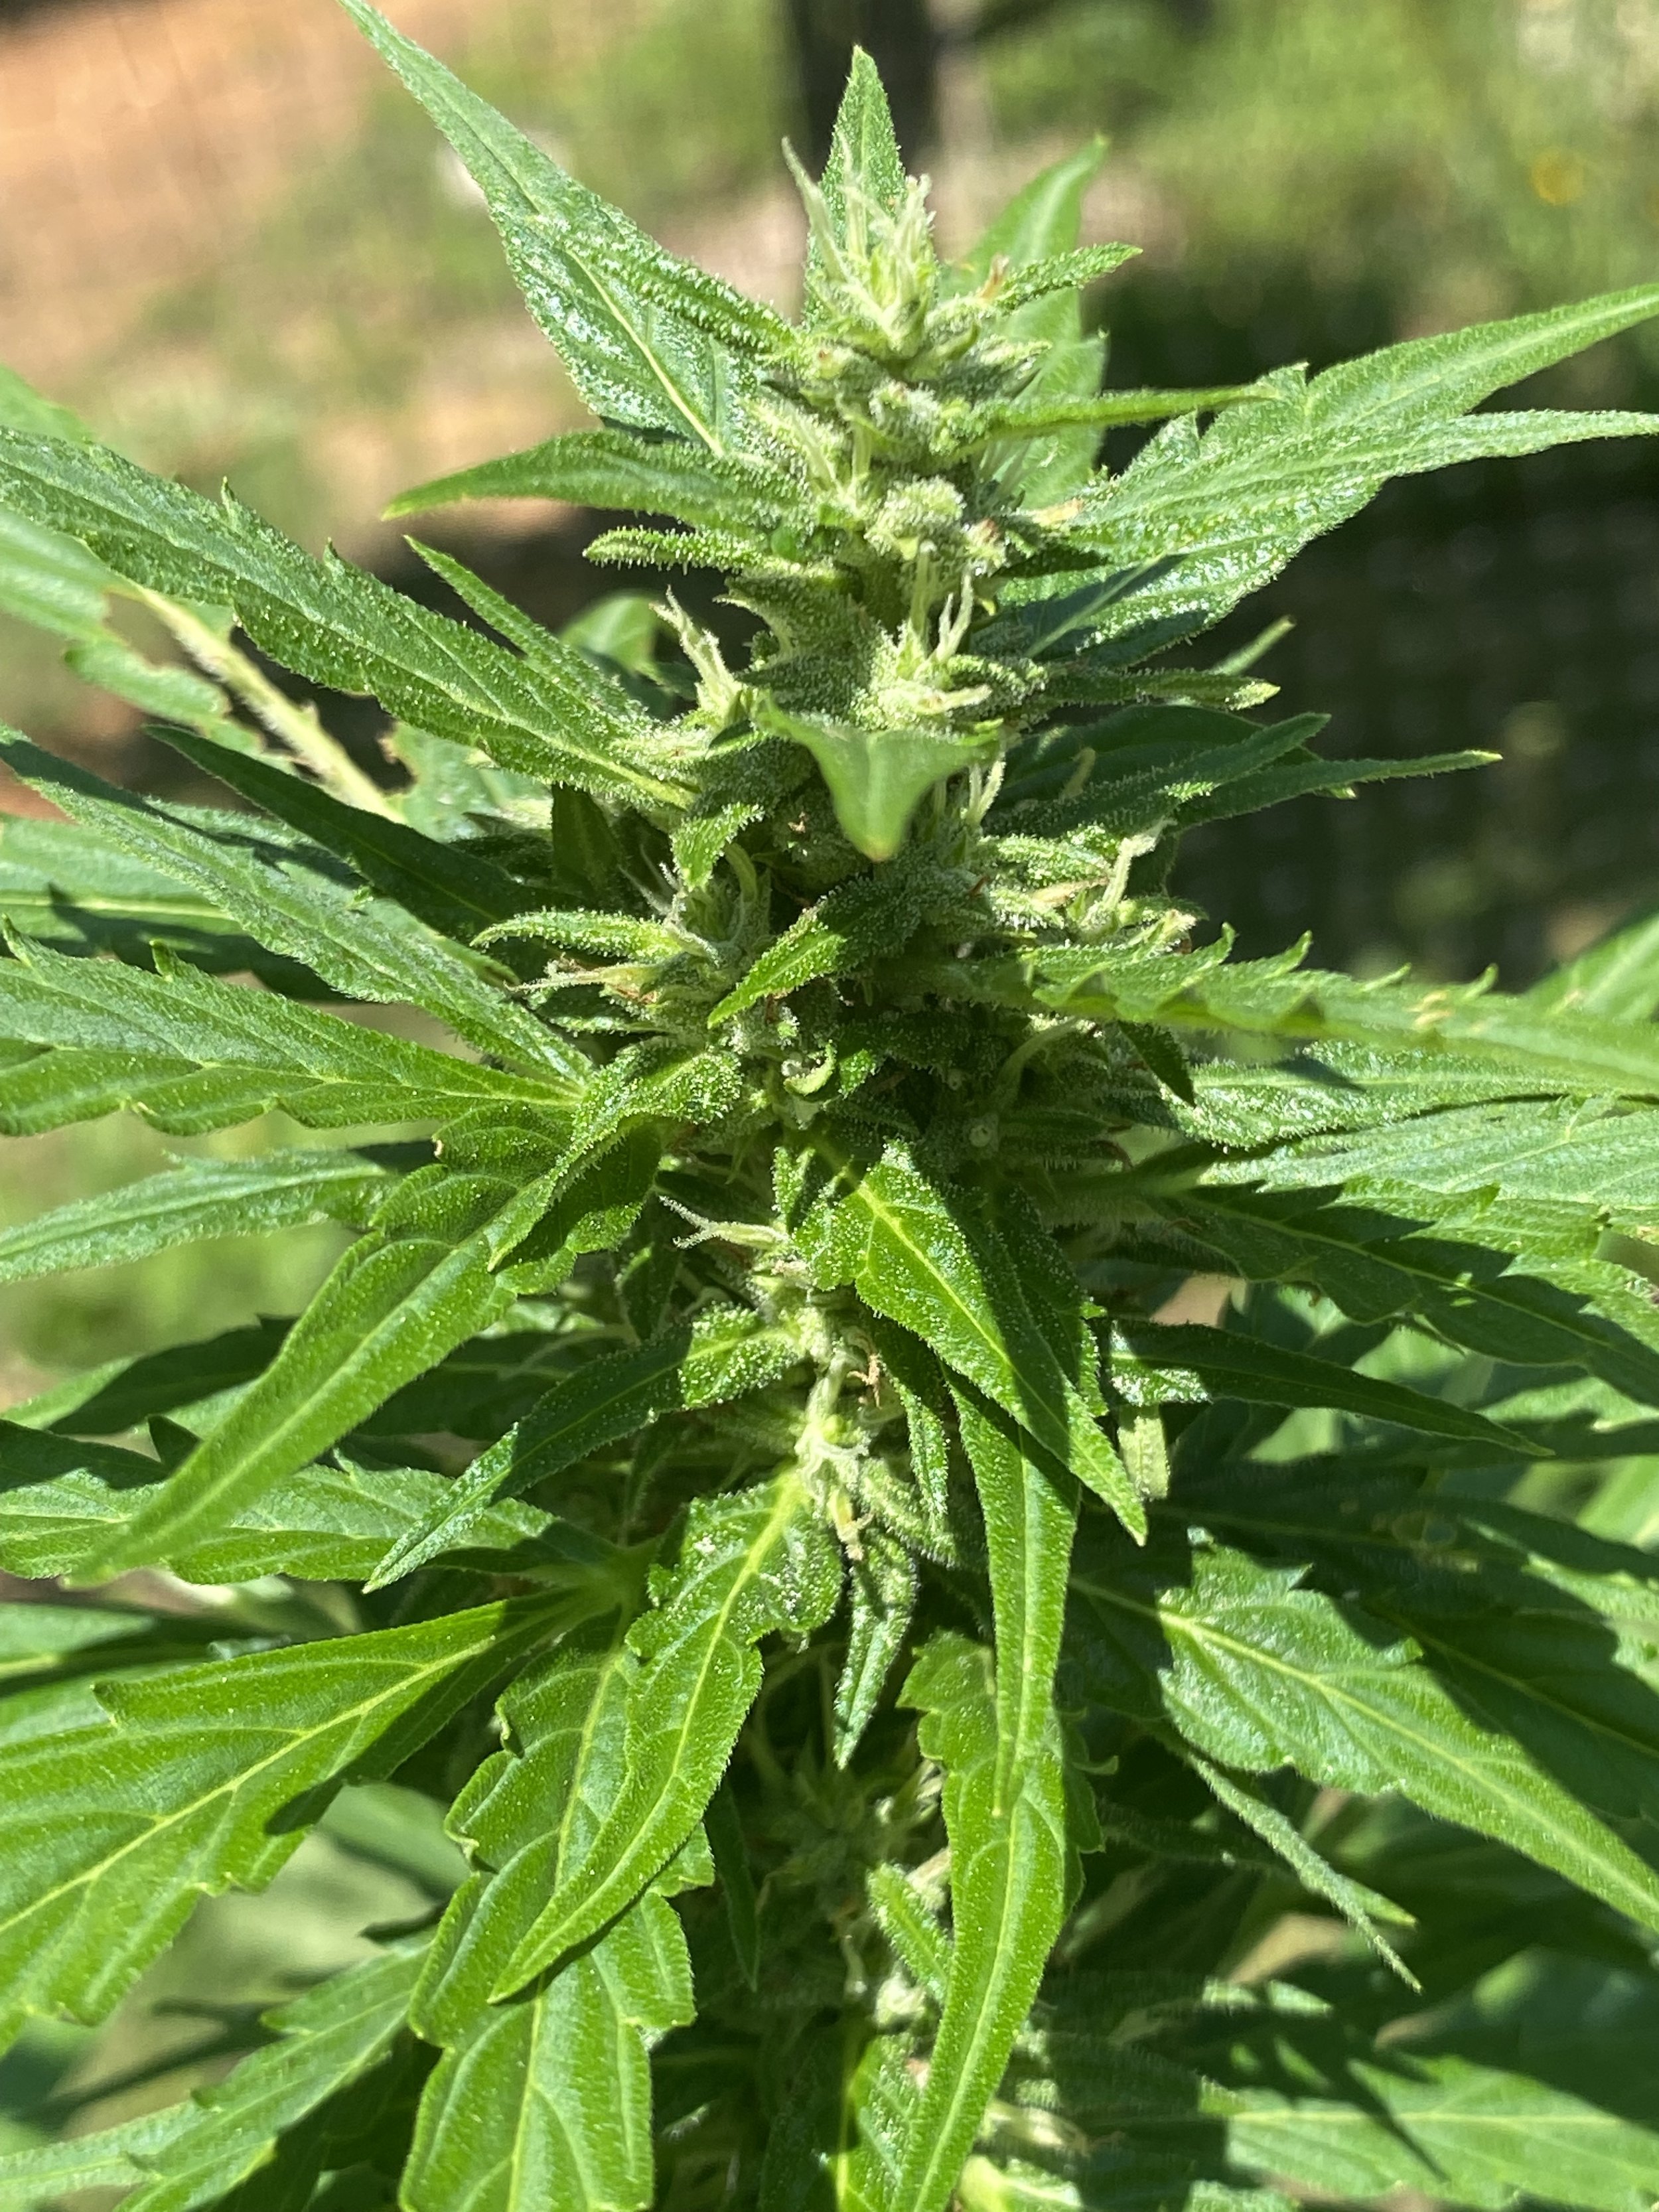
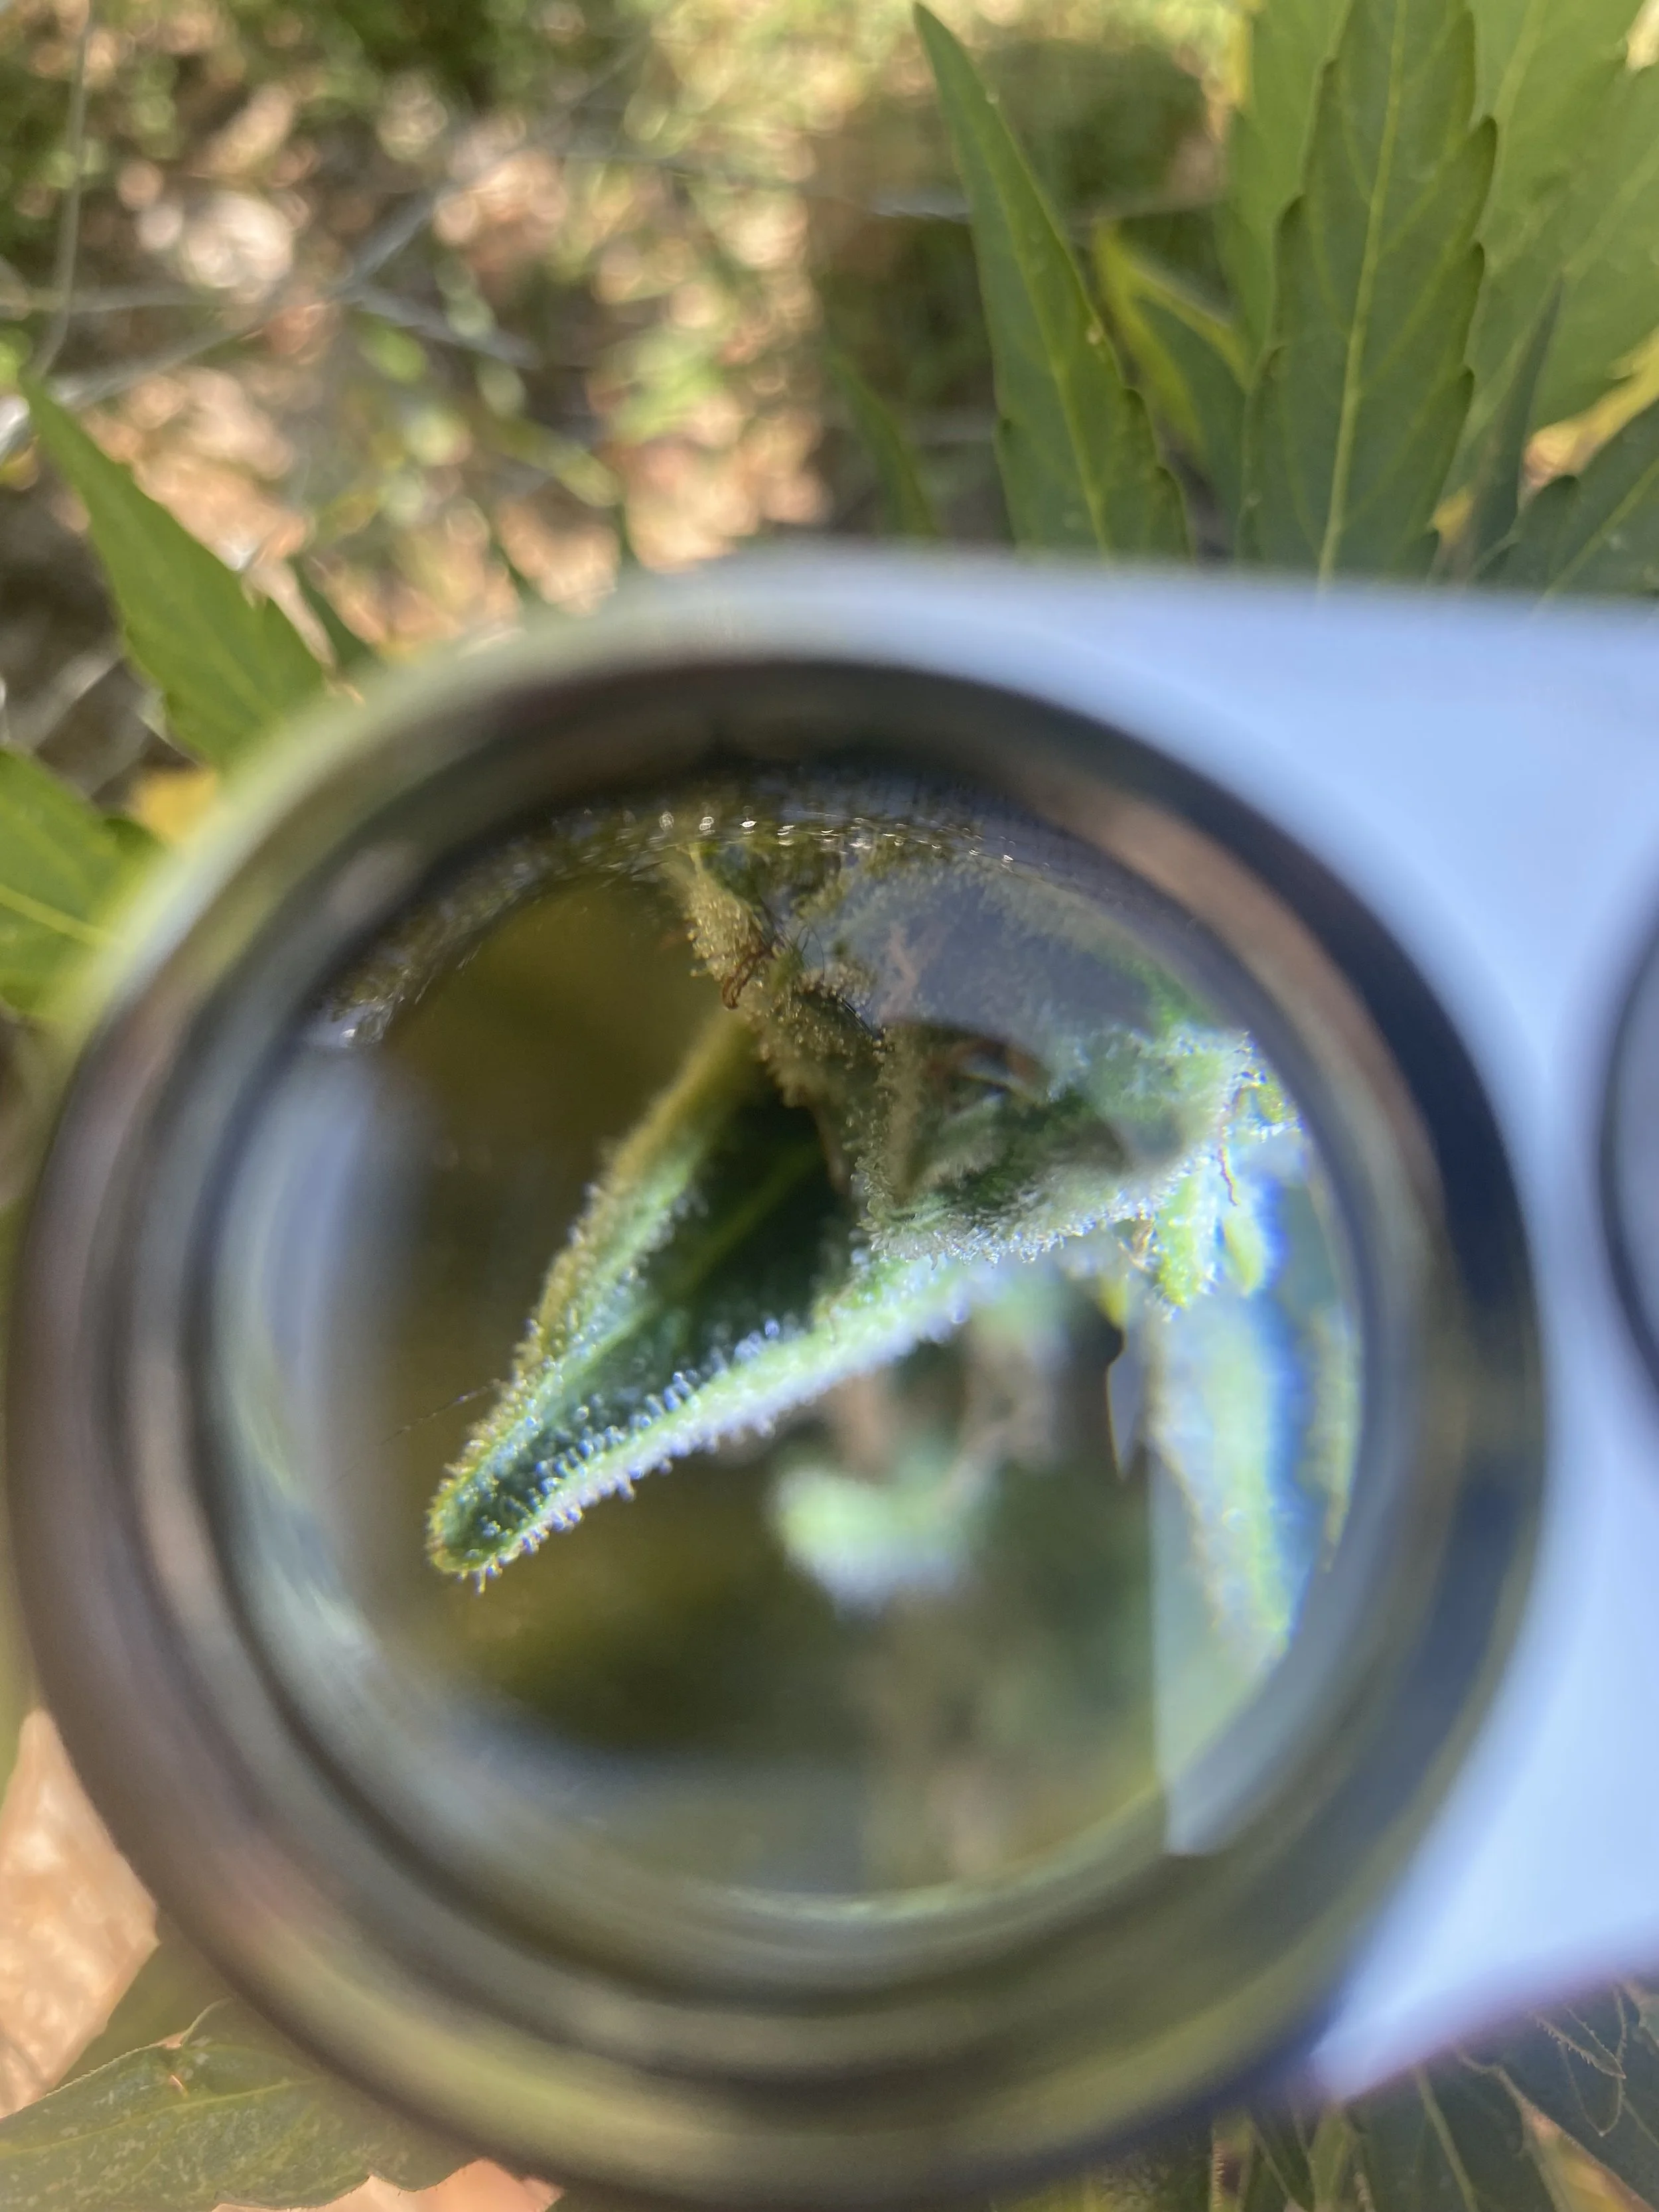
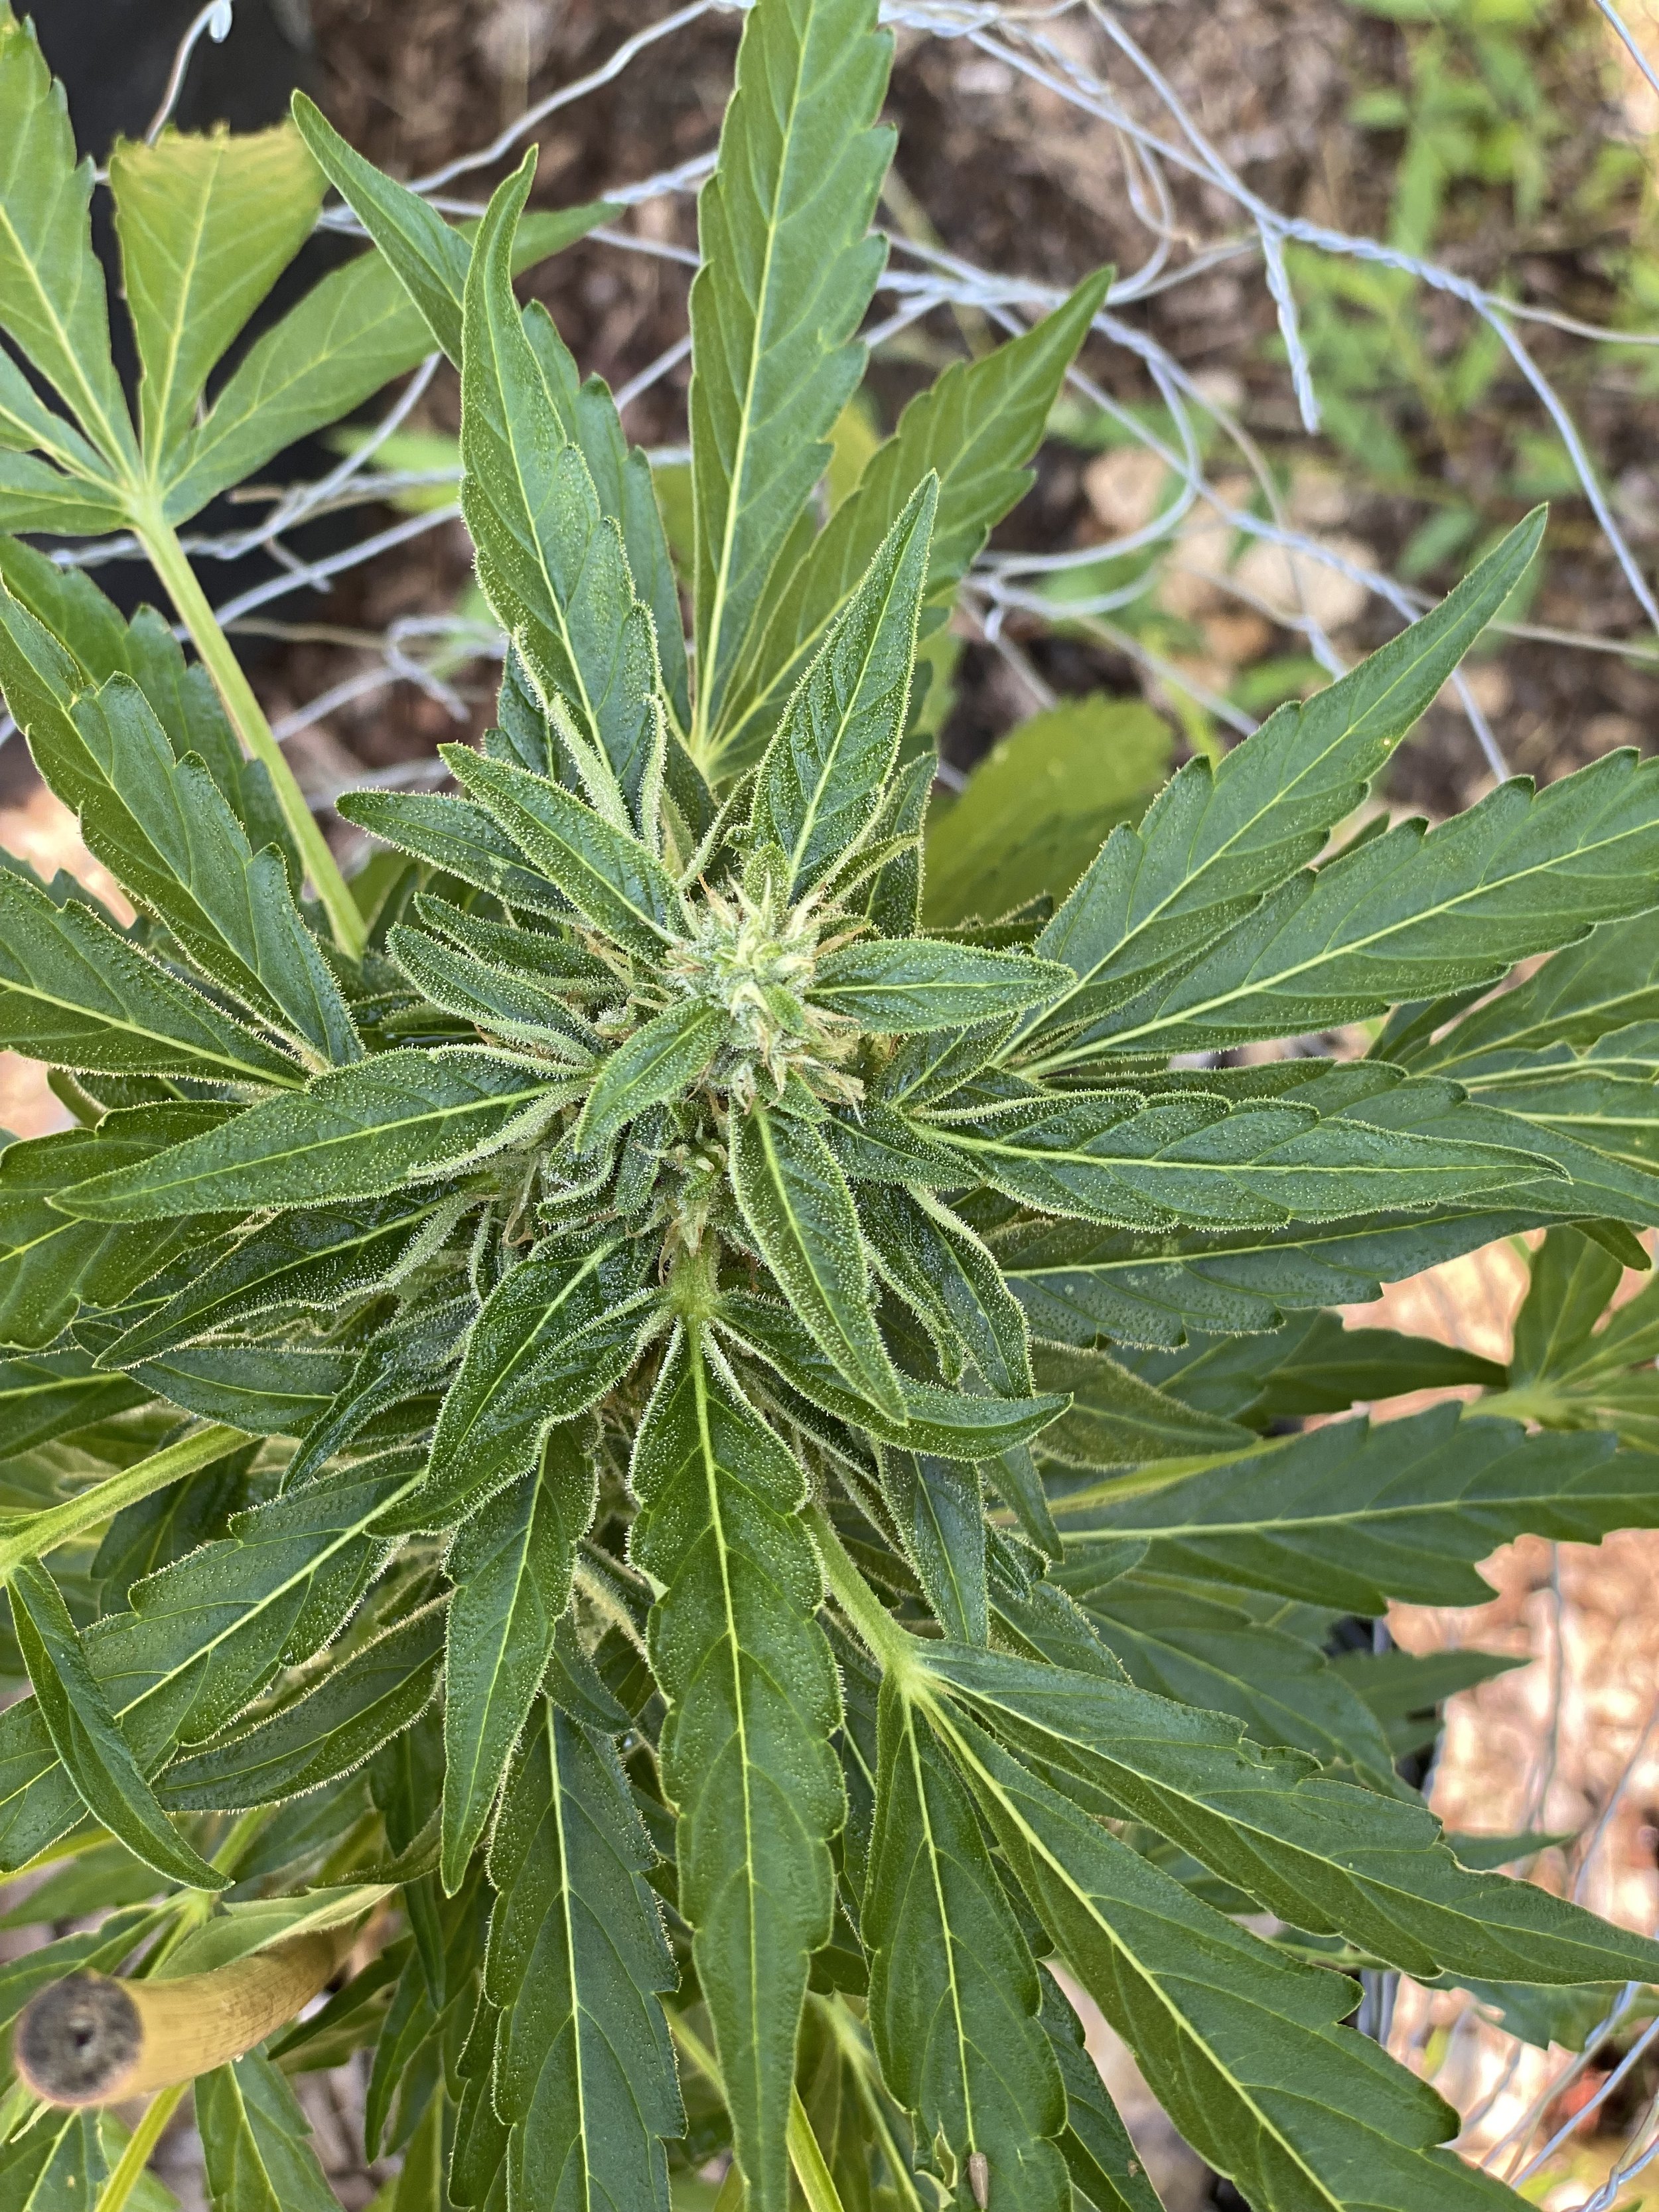
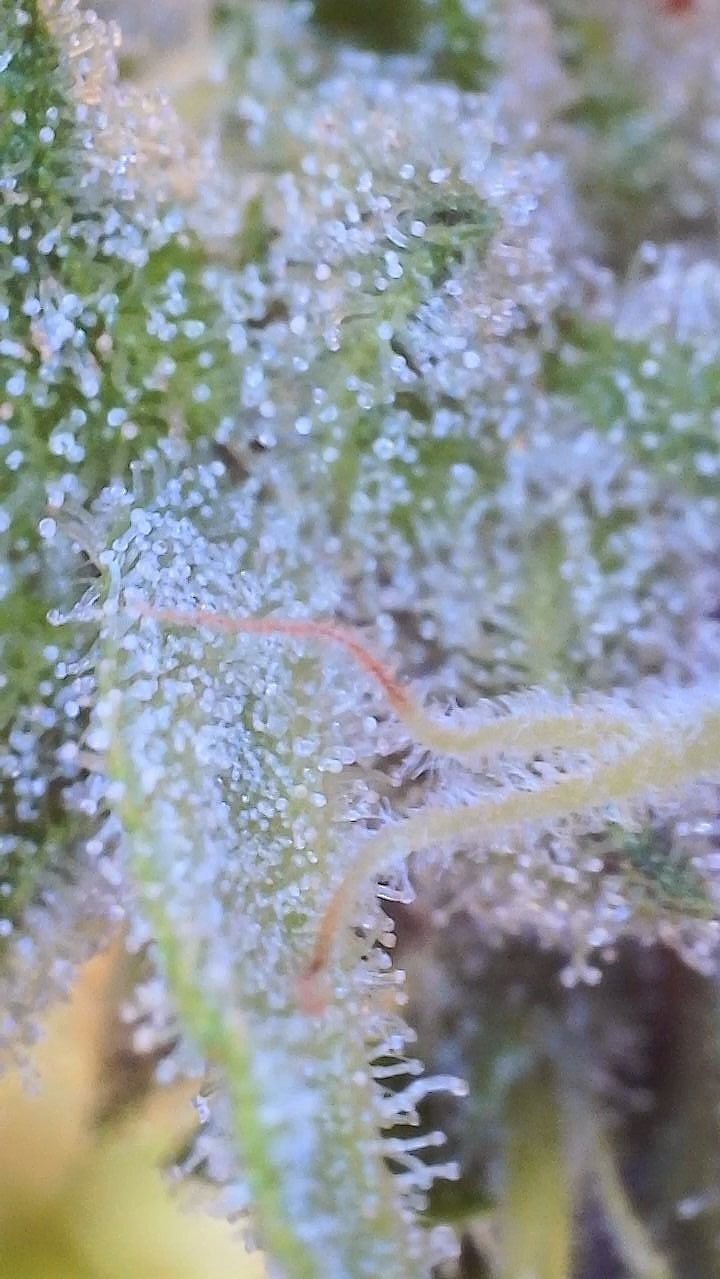
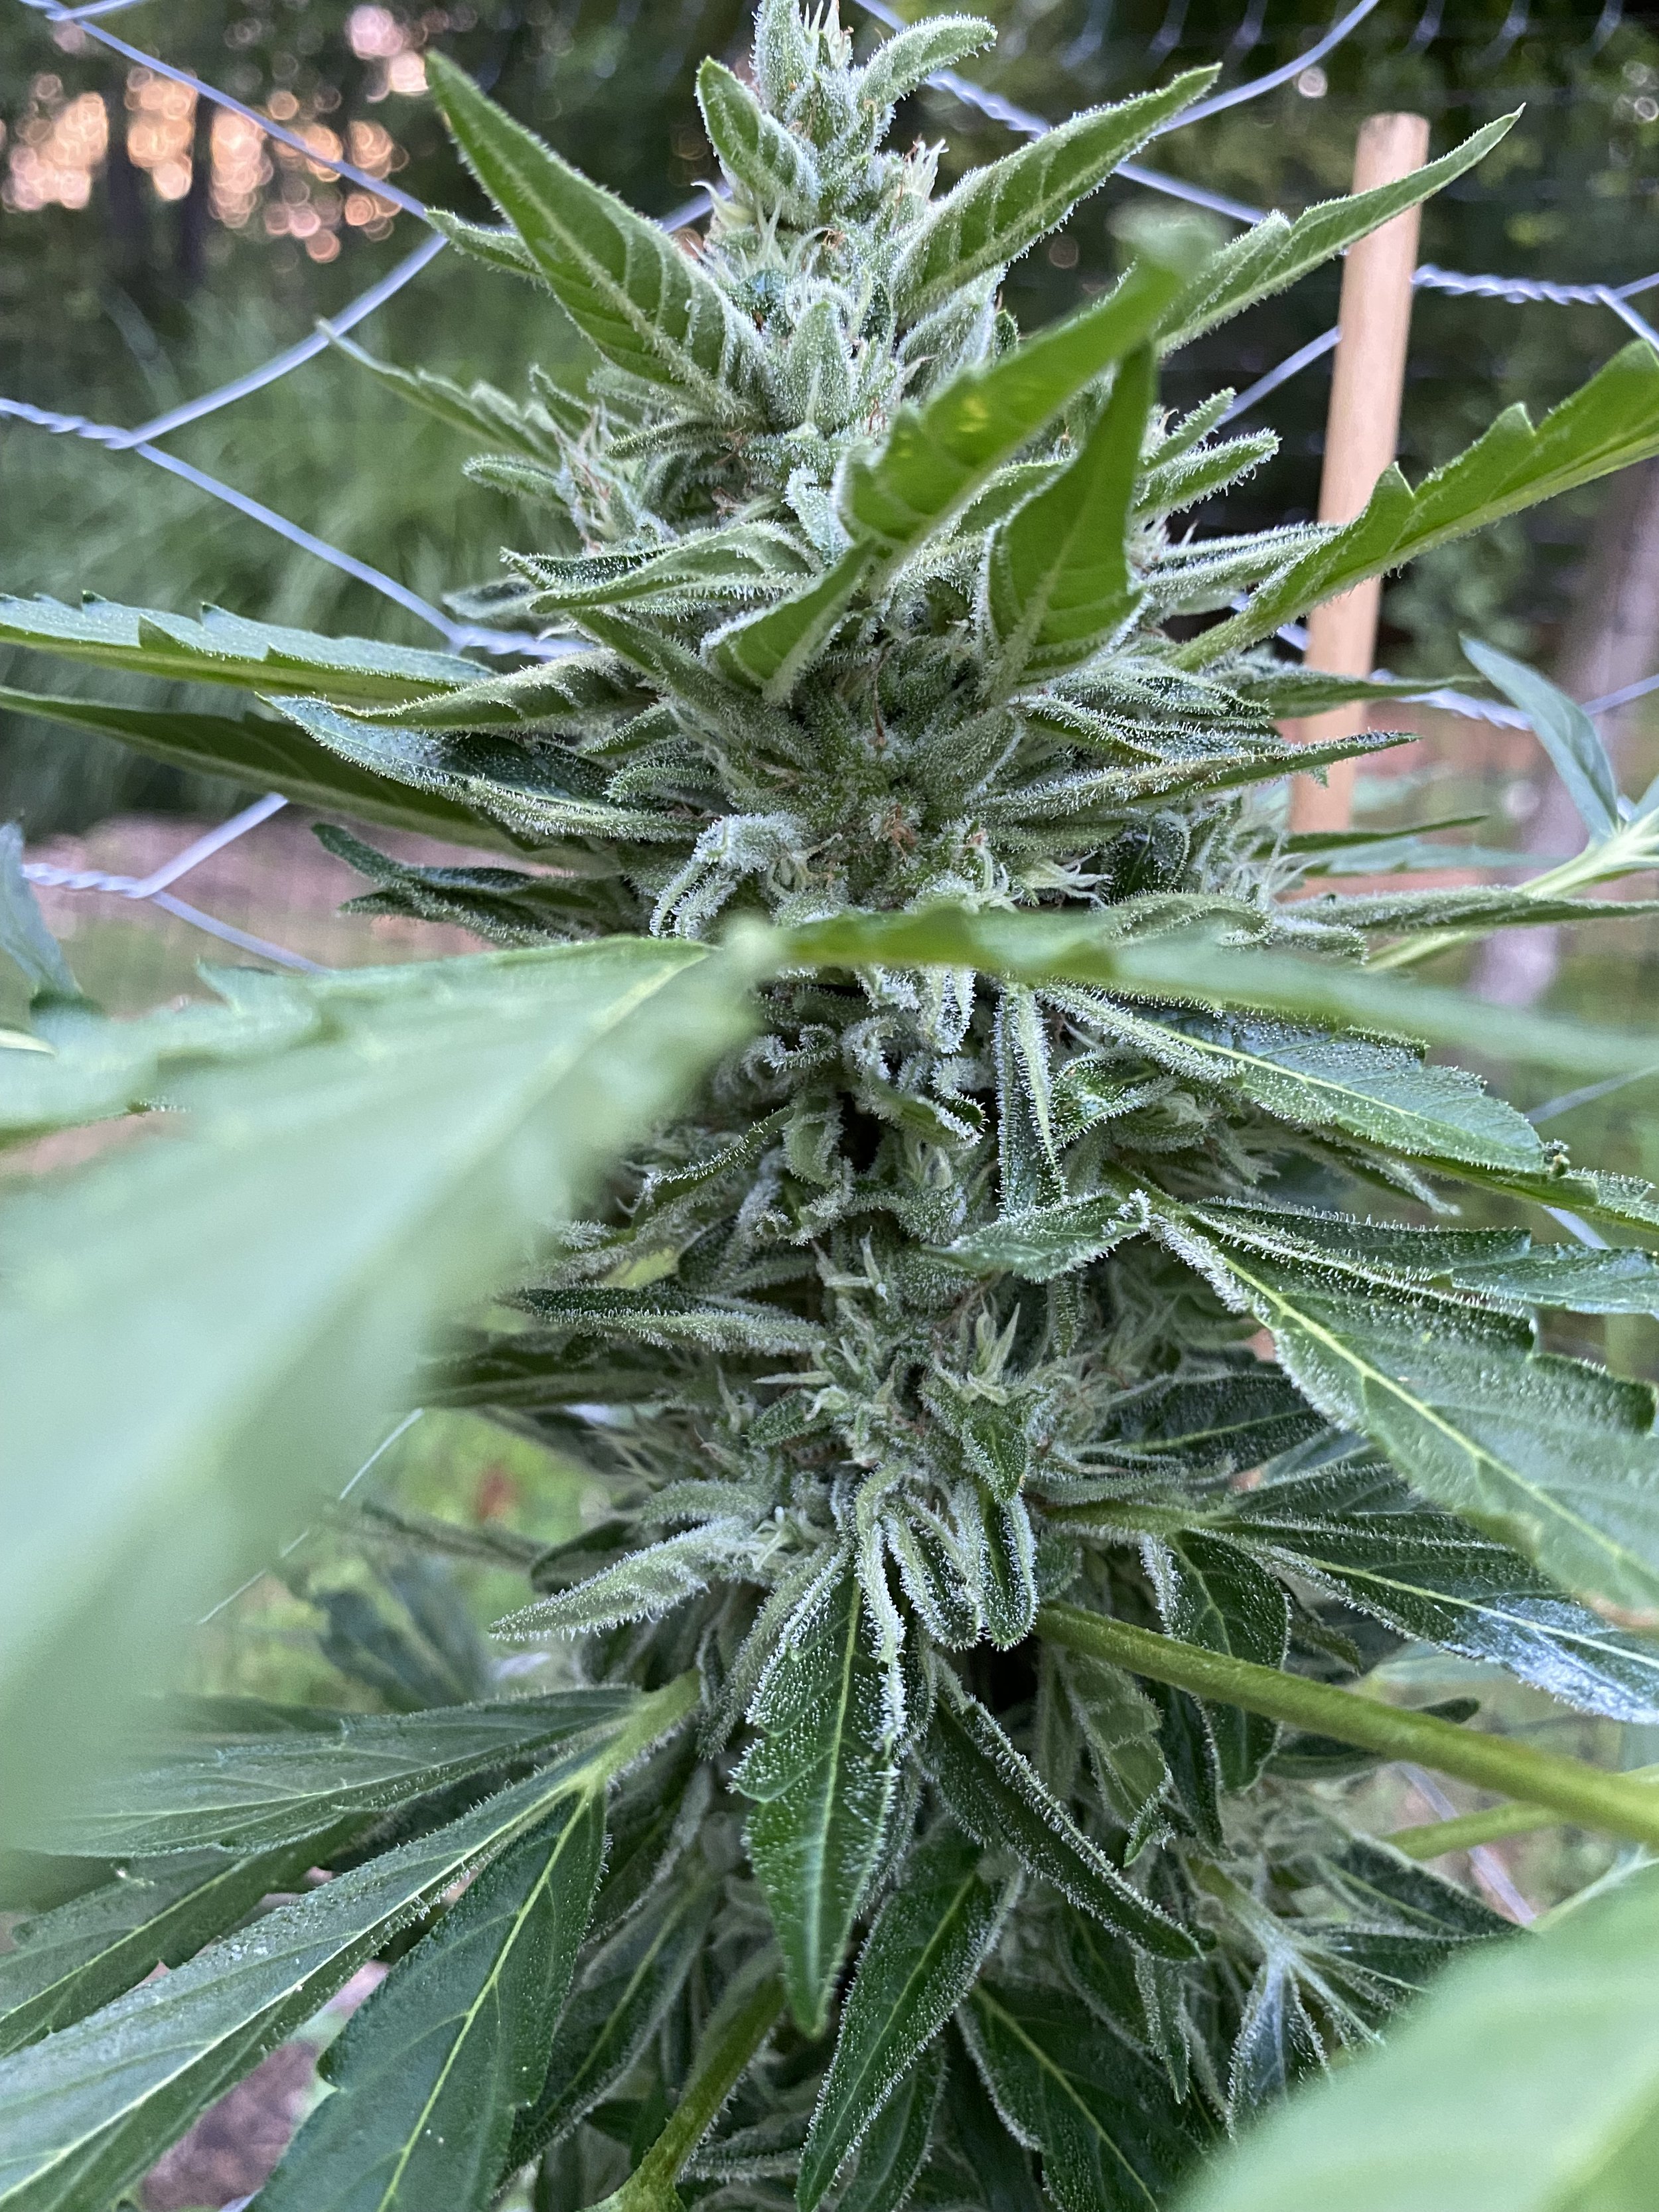
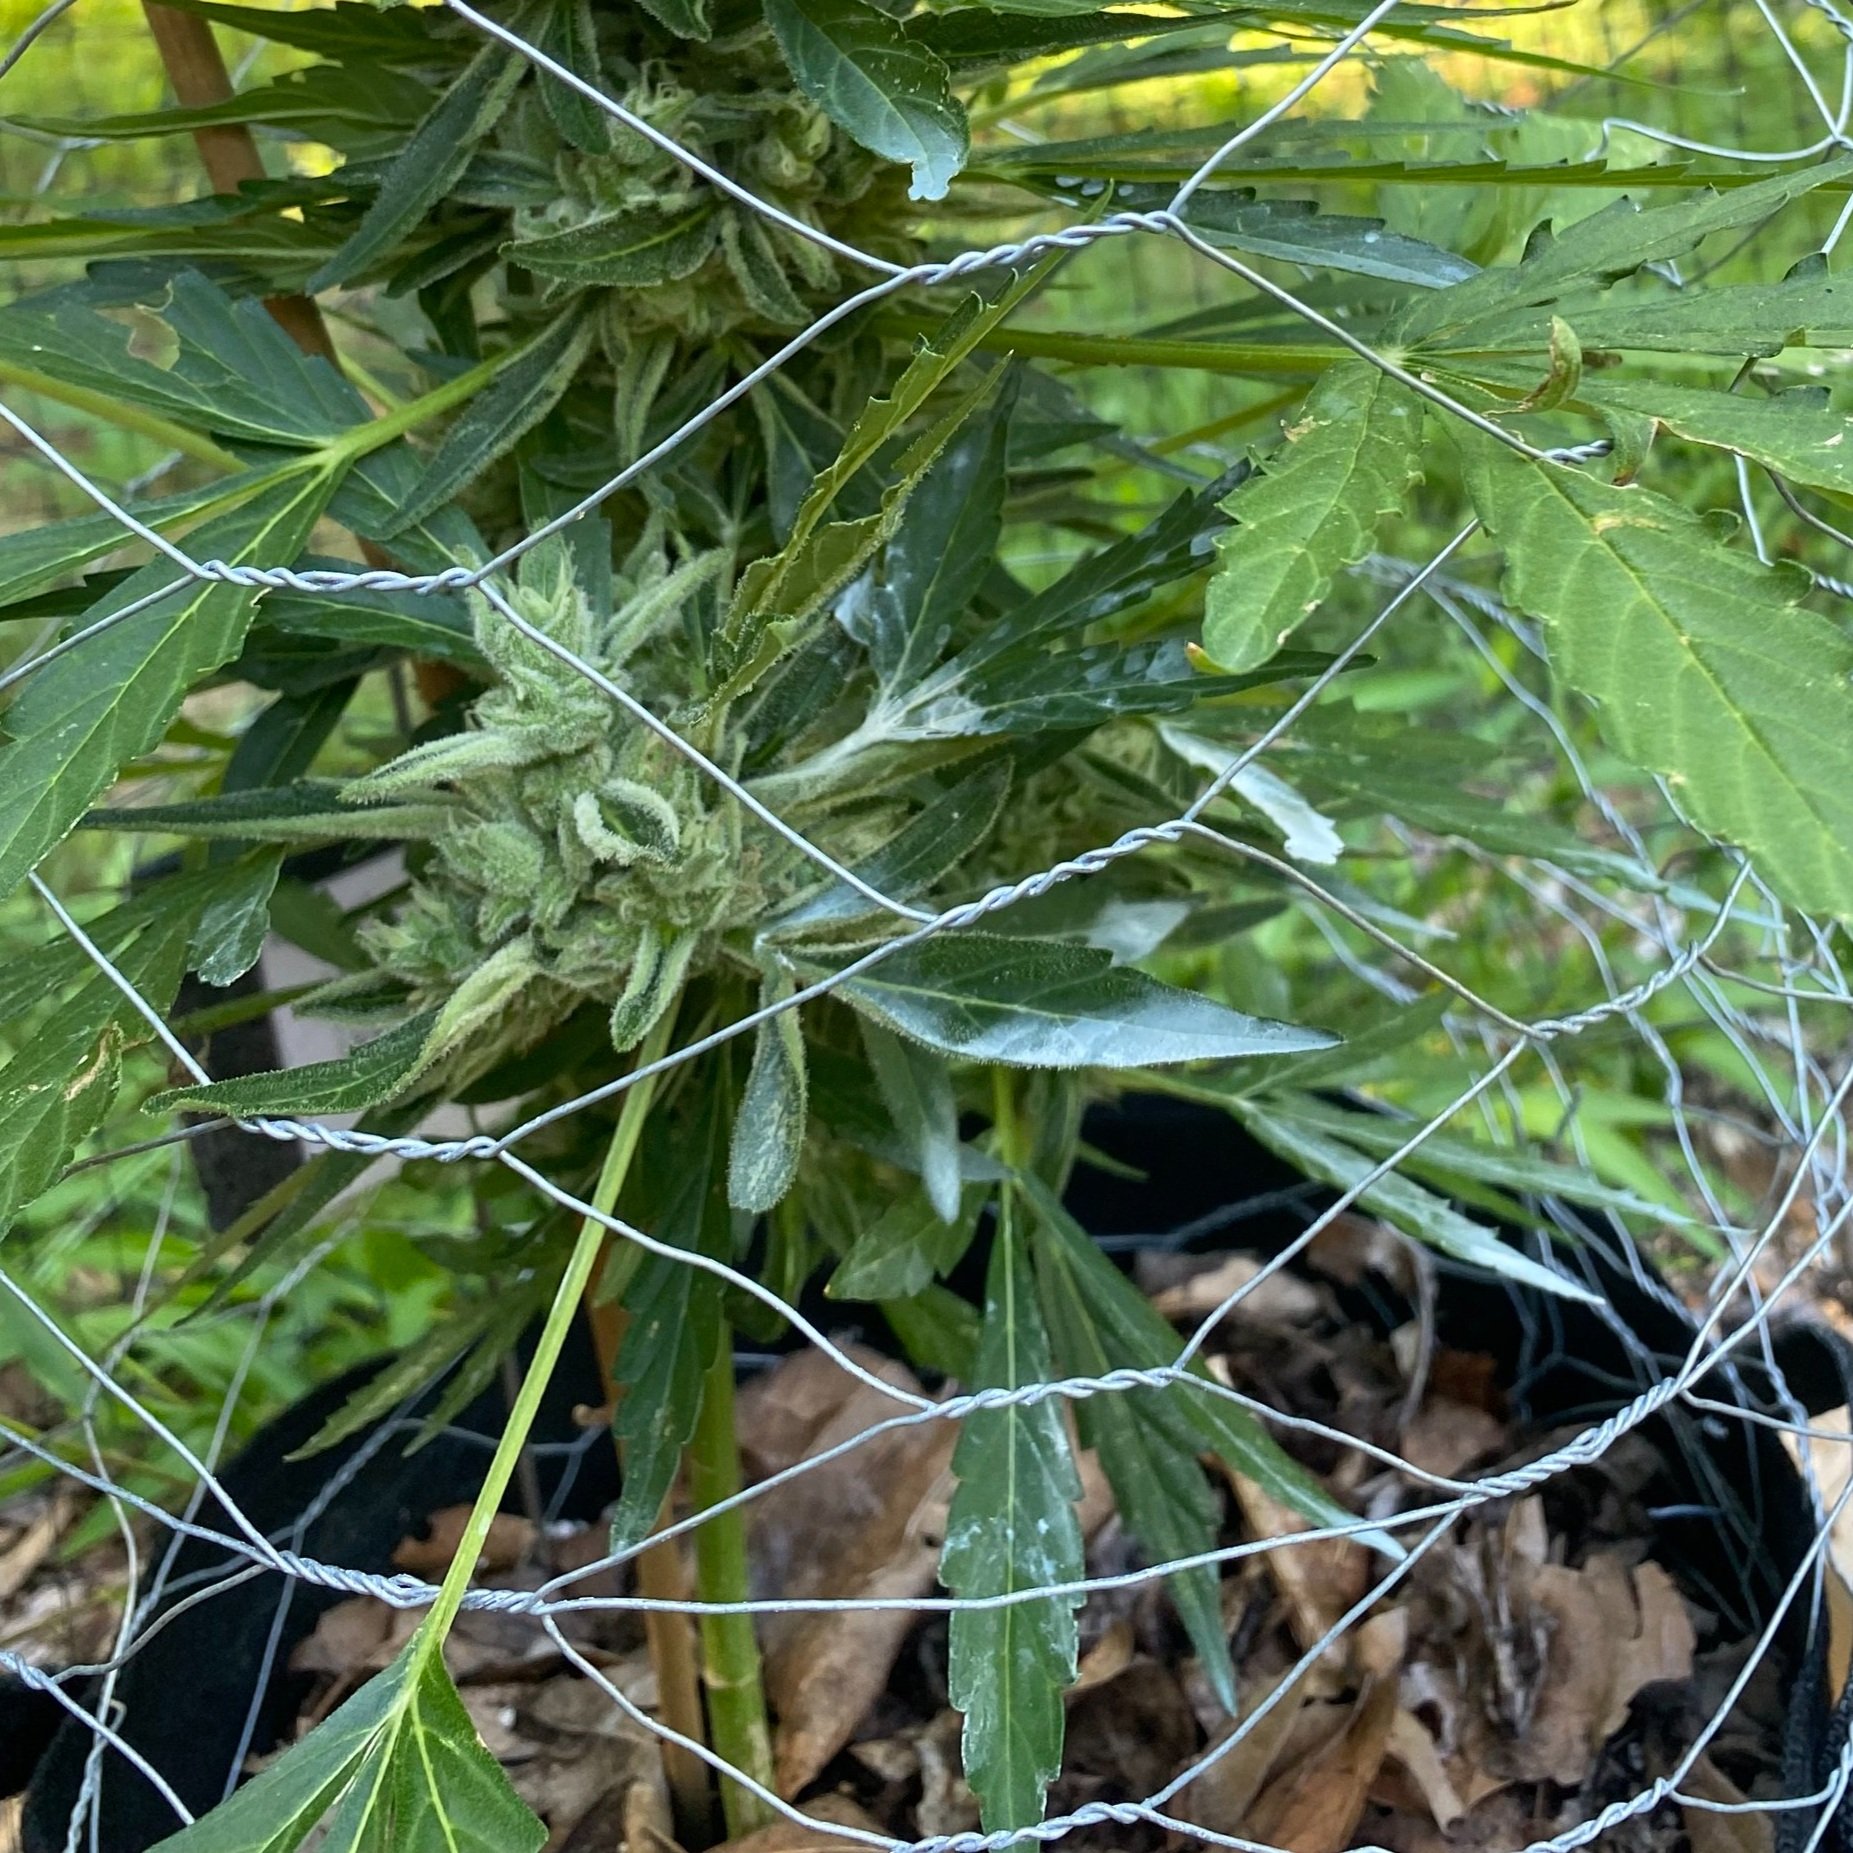
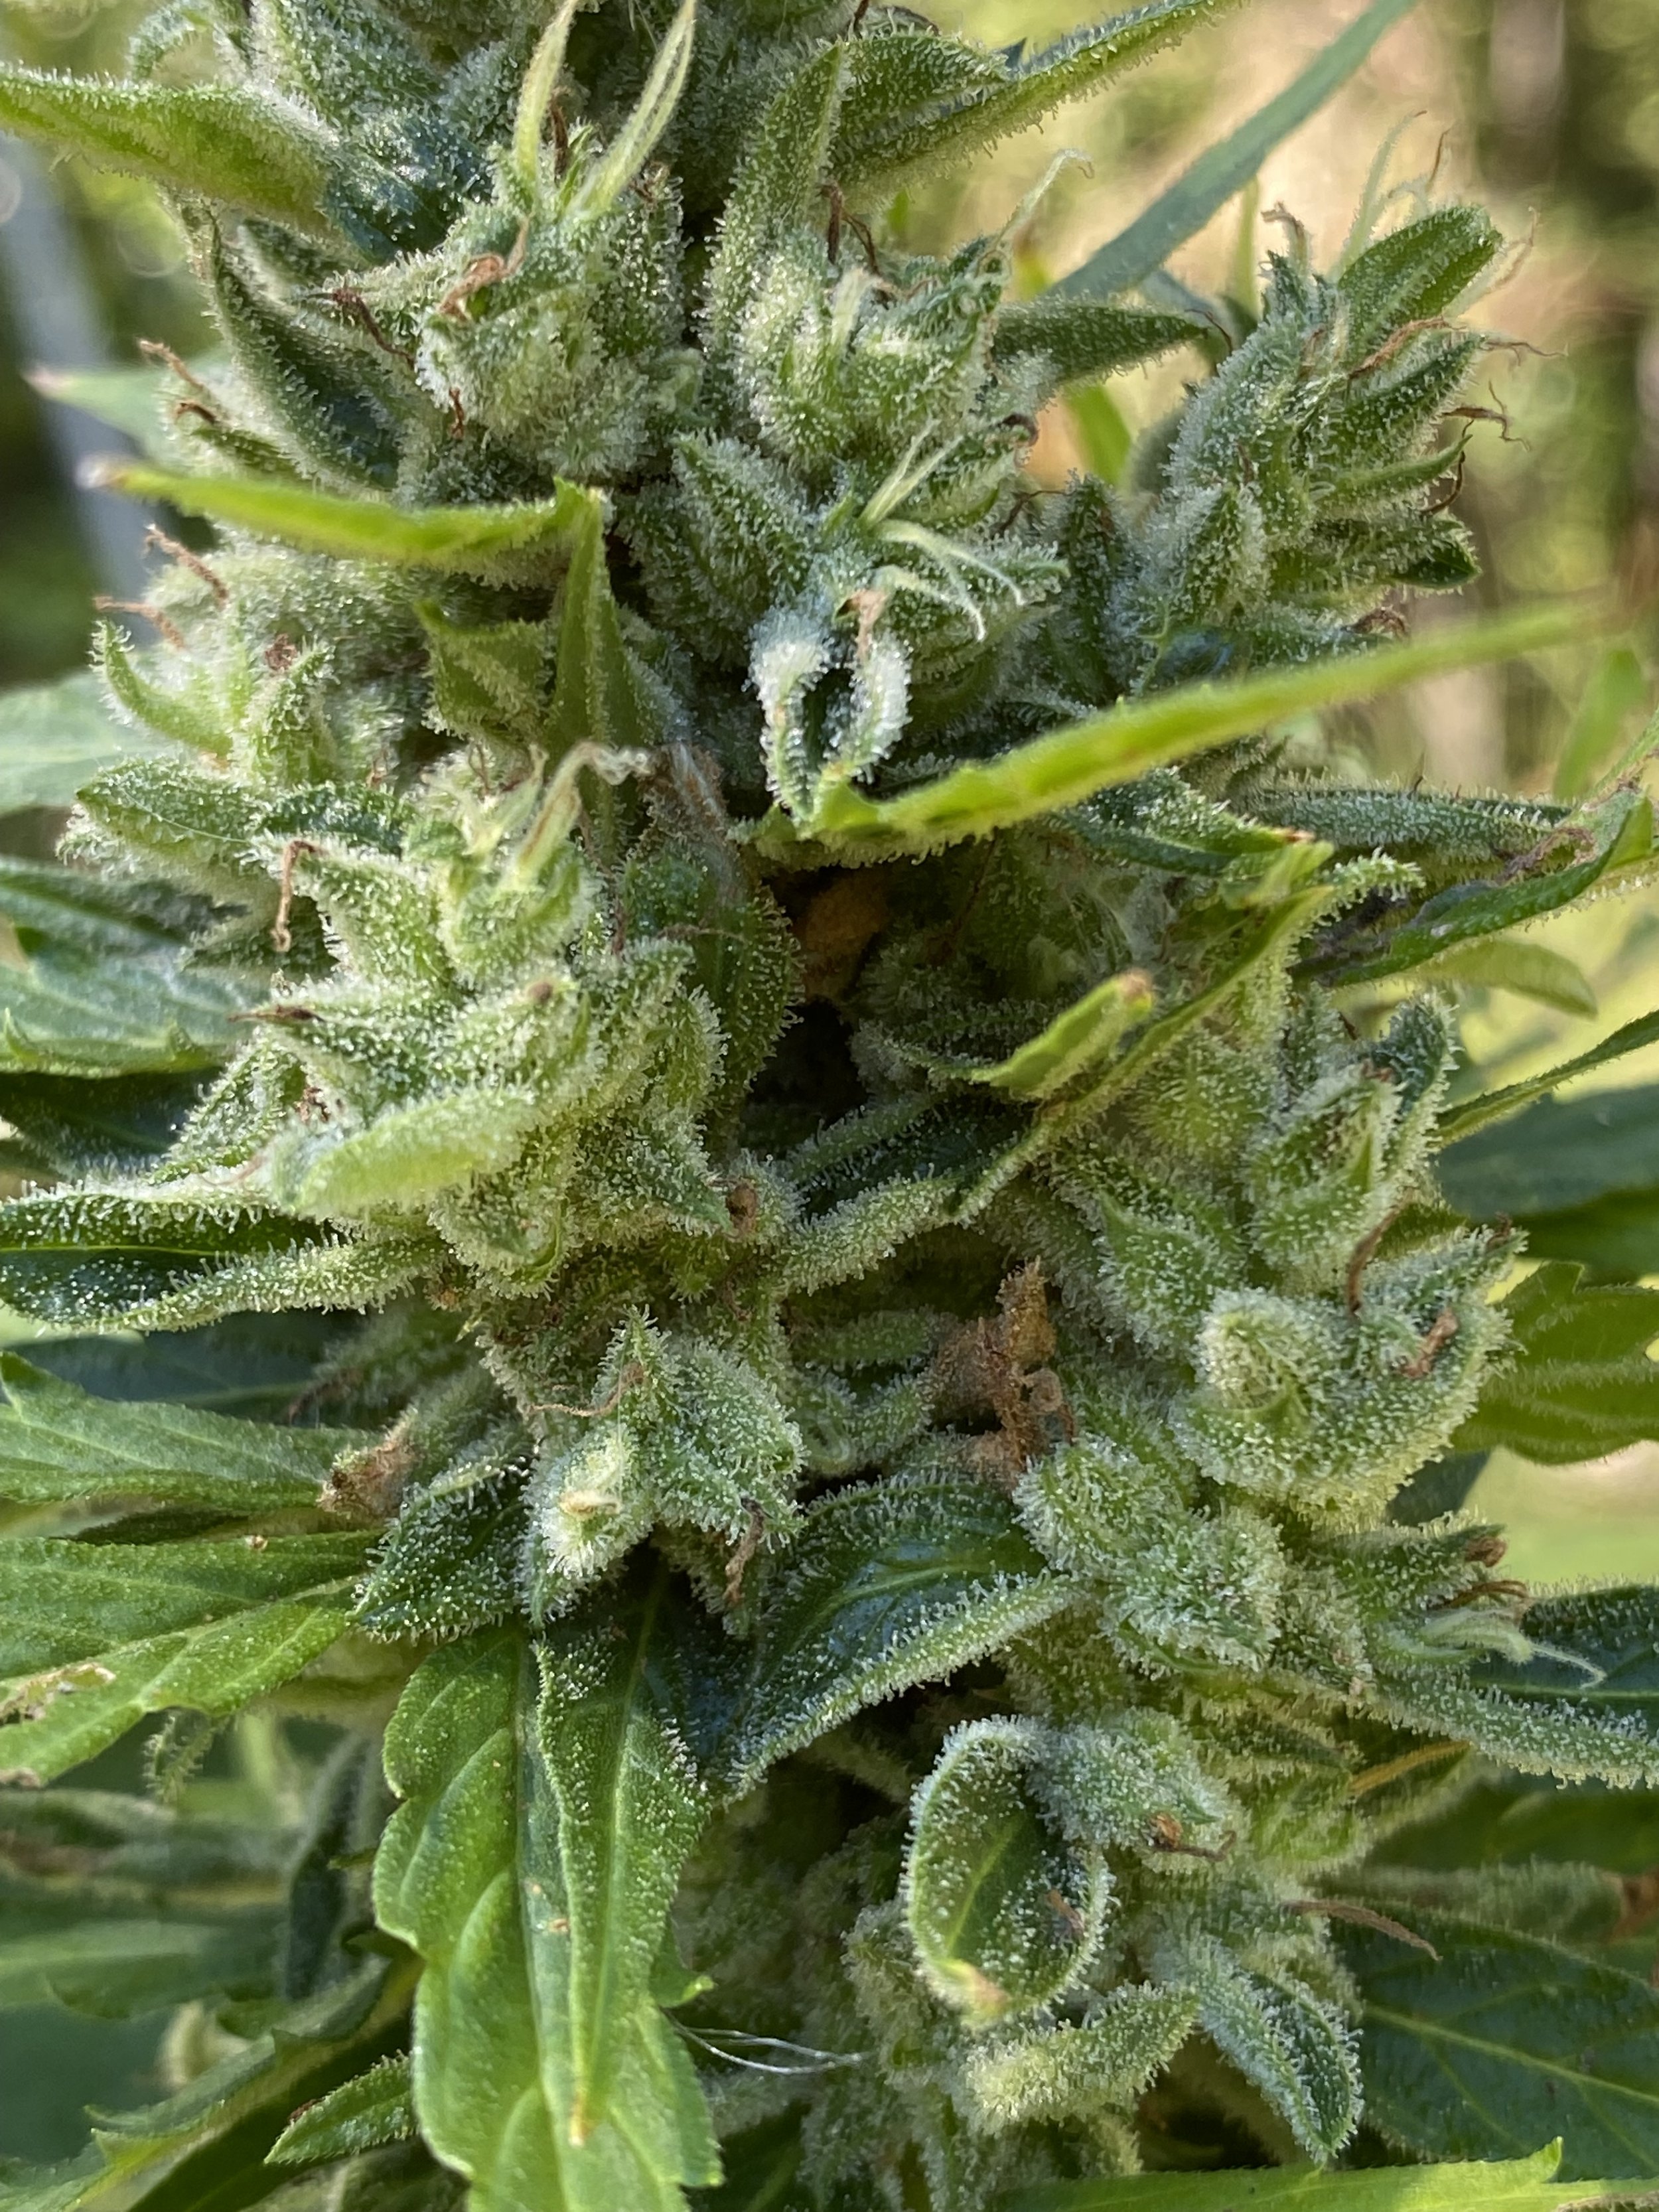
Step 3: Understanding trichomes
Somewhere around Week 6 or 7, you’ll start seeing some frosty white sprinkles around your stigmas/buds and each surrounding leaf (now aptly called “sugar leaves”): these are trichomes.
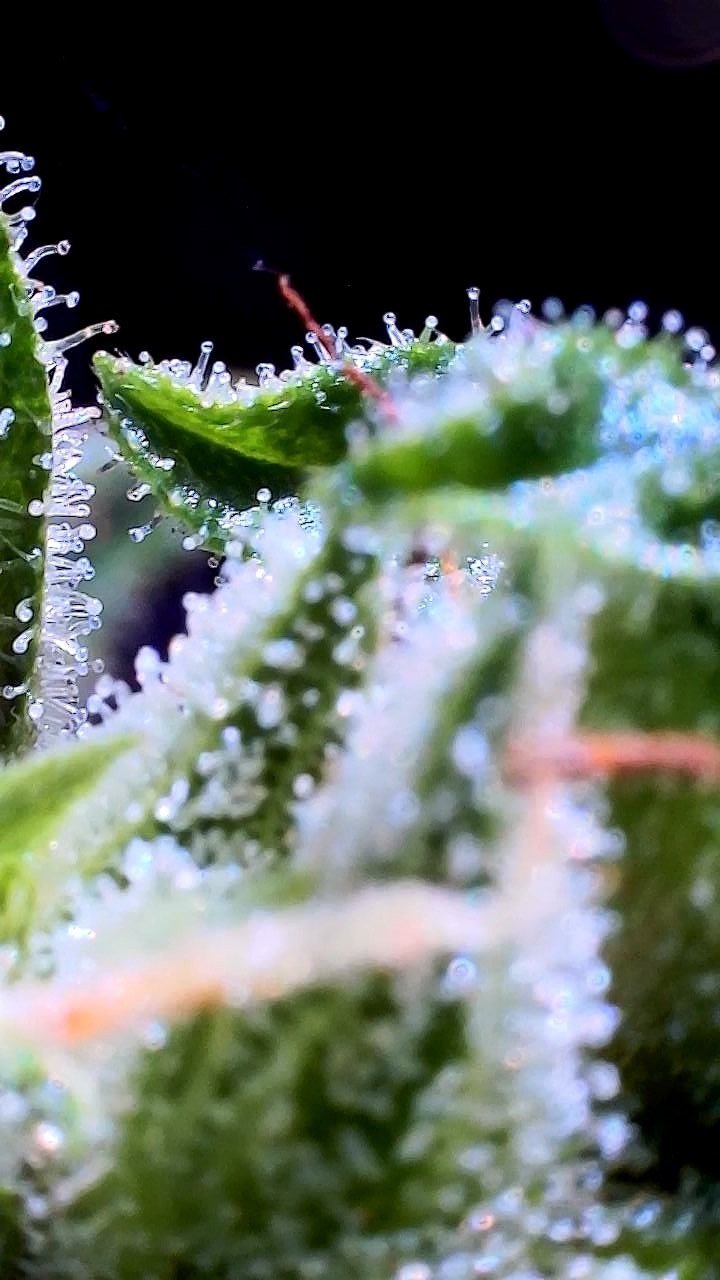
Trichomes resemble tiny, elongated mushrooms when viewed up close through a hand microscope. Super trippy. These all-important thingies are where the plant’s cannabinoids and terpenes live.
Cannabinoids like THC and CBD—and the unique mixture of the two found in a particular strain—are what give that strain its distinct “effect.” Terpenes give the cannabis its distinct aroma, combining with the cannabinoids for an overall entourage effect. So…trichomes are kind of where it’s at.
Resinous trichomes also play a key defensive role for the plant, a sticky layer protecting the leaves and flowers from the aforementioned trio of weather, pests and mold.
In the coming weeks, you’ll look to the trichomes as the best sign for when the plant is ready for harvest.
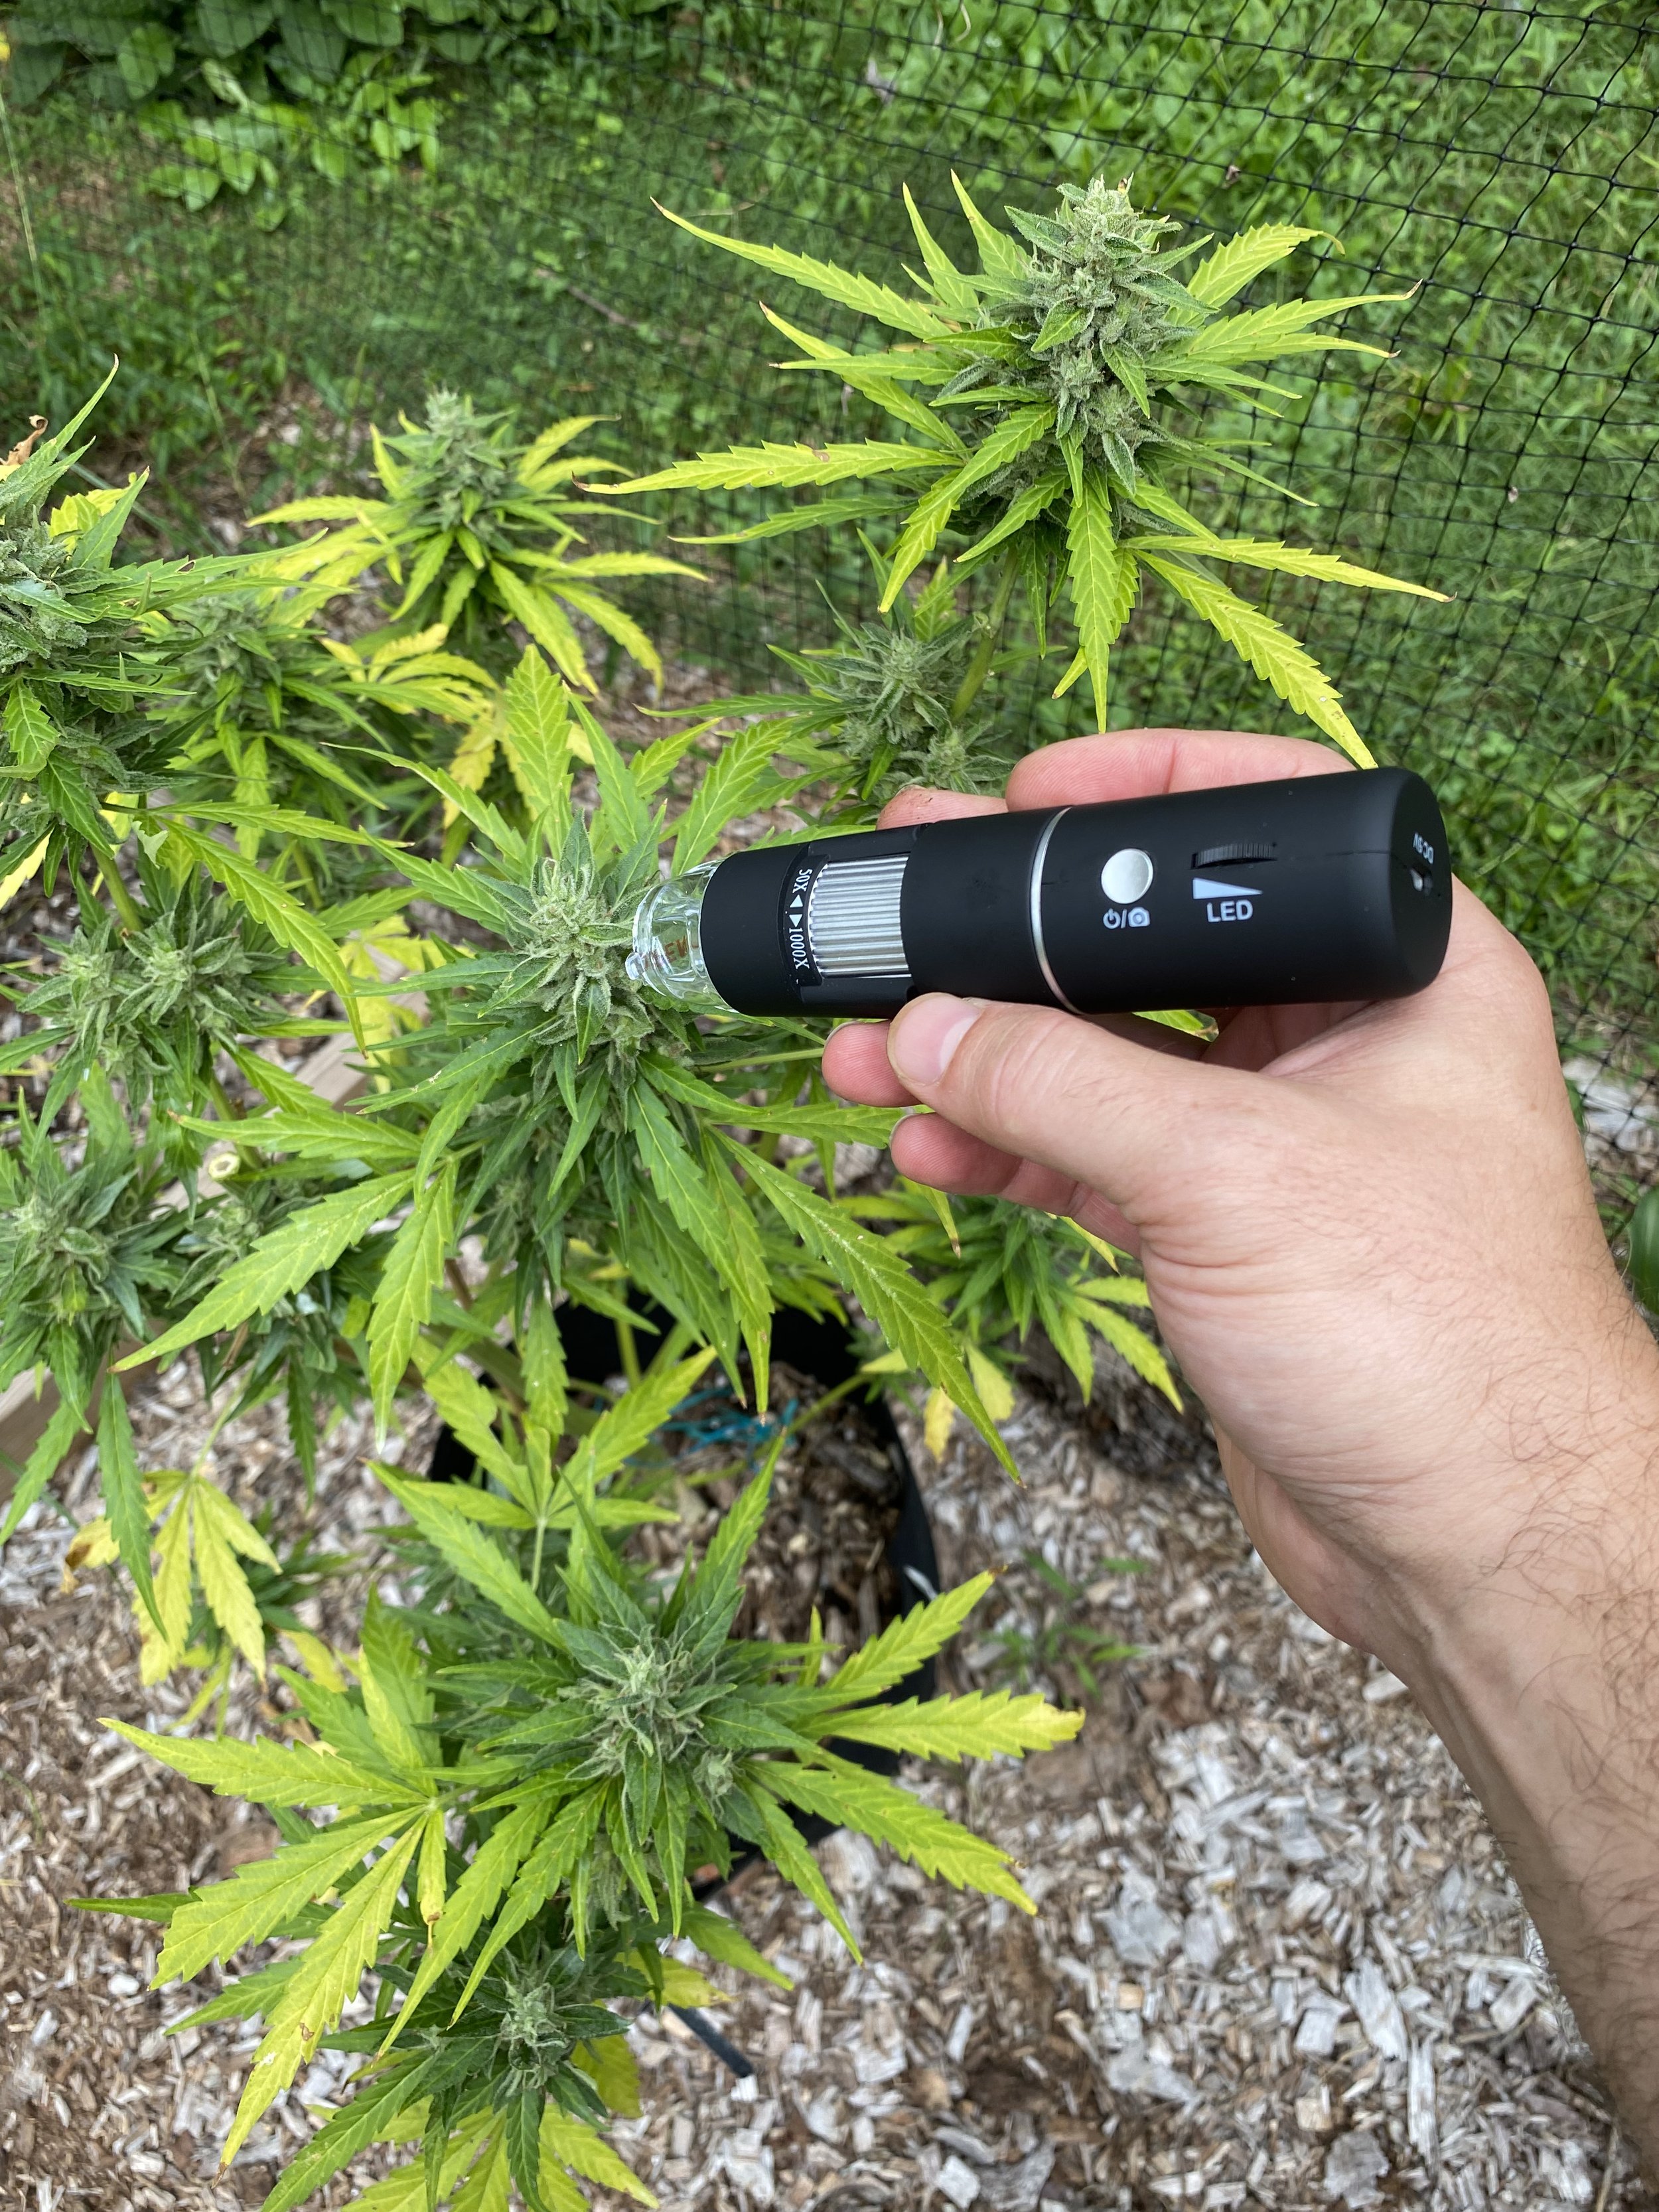
Some people recommend using a jeweler’s loupe but I don’t think this gives you enough magnification or control. I also tried a simple hand microscope, but it’s hard to keep it steady, and the ability to capture photos and analyze is huge. I ultimately recommend a wireless microscope, that connects to your phone, so you can see the trichomes go from initially clear…to cloudy…and finally they turn amber.
Clear trichomes are not yet potent enough.
Cloudy trichomes are the “just right” version that produce a more energetic high.
Amber trichomes produce more of a sedentary, body “couch lock” effect.
Growers typically look for trichomes with an 80/20 mix of cloudy/amber trichomes as the sweet spot: the plant is ready for harvest. More on this in the next installment.
WEEK EIGHT AND NINE: FLUSHING STAGE
In these weeks, we’re getting ready for harvest, setting up our plants for their final push. Depending on many factors, the plants might need to go 10, 11 or even 12 weeks before they’re really ready, so here are the signs you’ll be looking for:
Calyxes and Colas
Without getting too deep into cannabis anatomy, the big, dense, flowering masses that have now hopefully formed at the ends of individual stems are called “colas.”
These include the stigmas, which have likely started to change from white to brown colored (can also be red, purple, etc.), the “hairs” around the bud. The “bud” itself — comprised of densely packed sugar leaves, covered in frosty trichomes — are known as “calyxes.” In these late weeks, the calyxes will have ripened/fattened, and this is the portion you will ultimately harvest and consume.
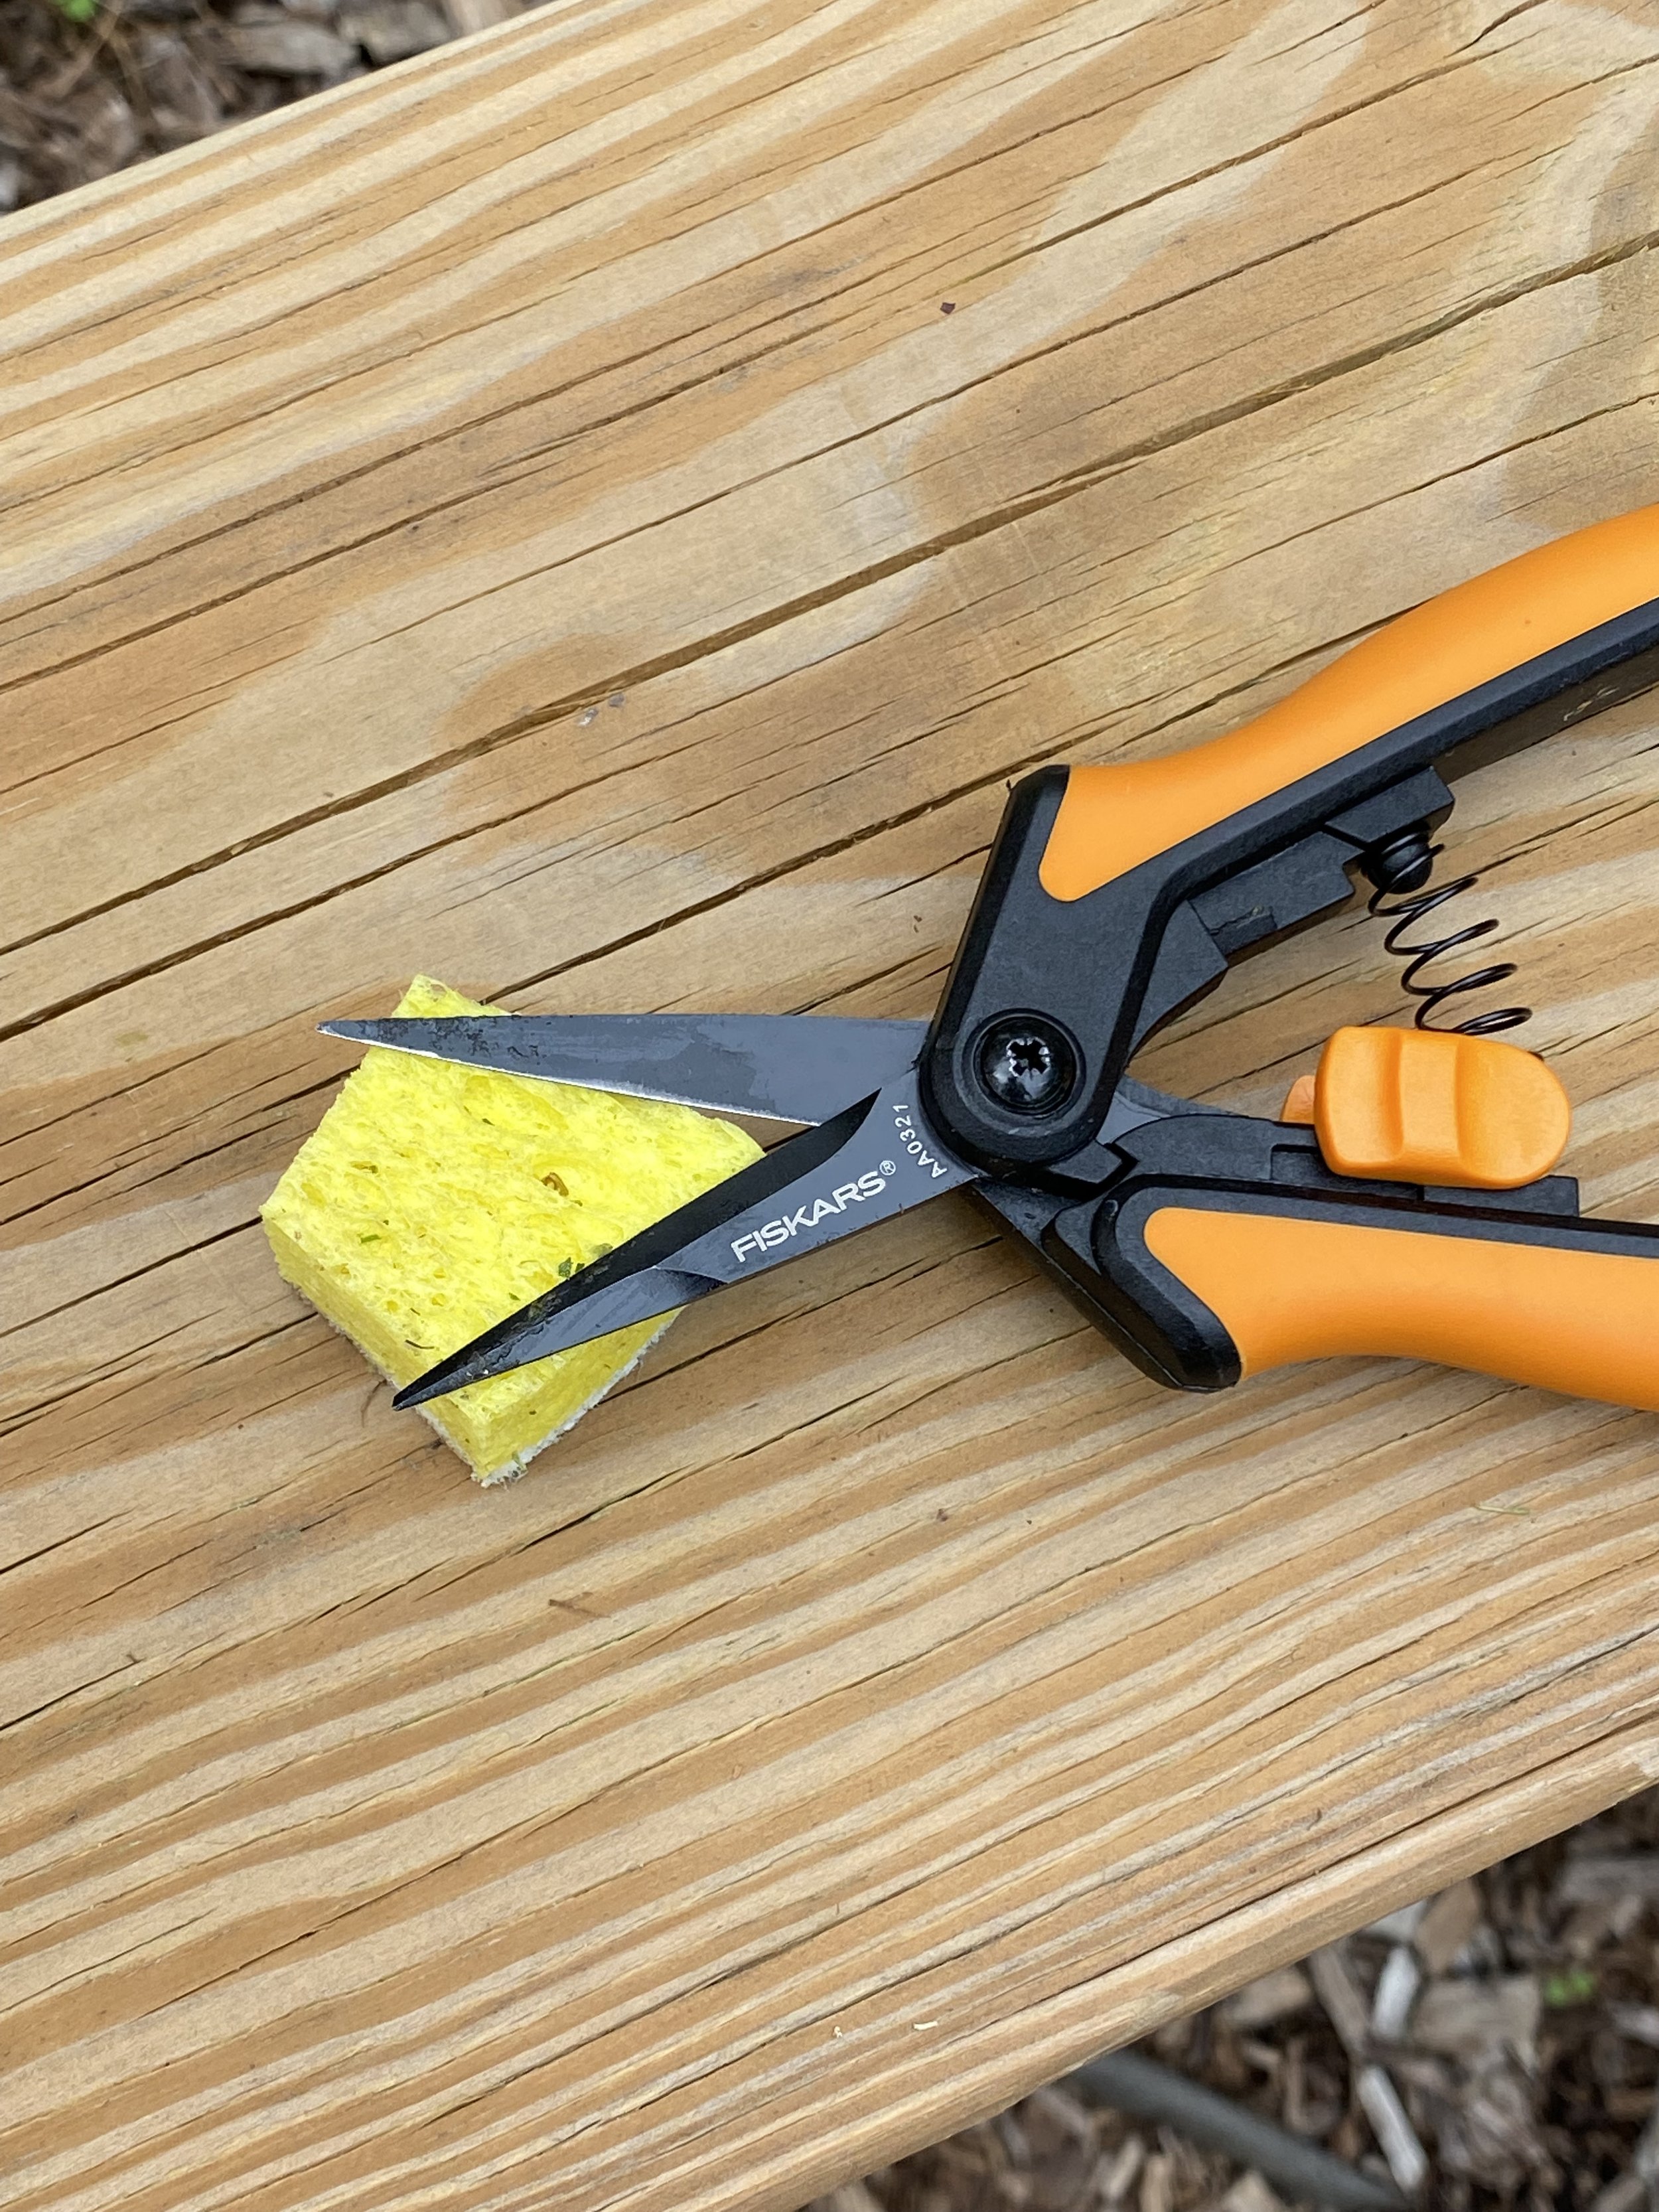
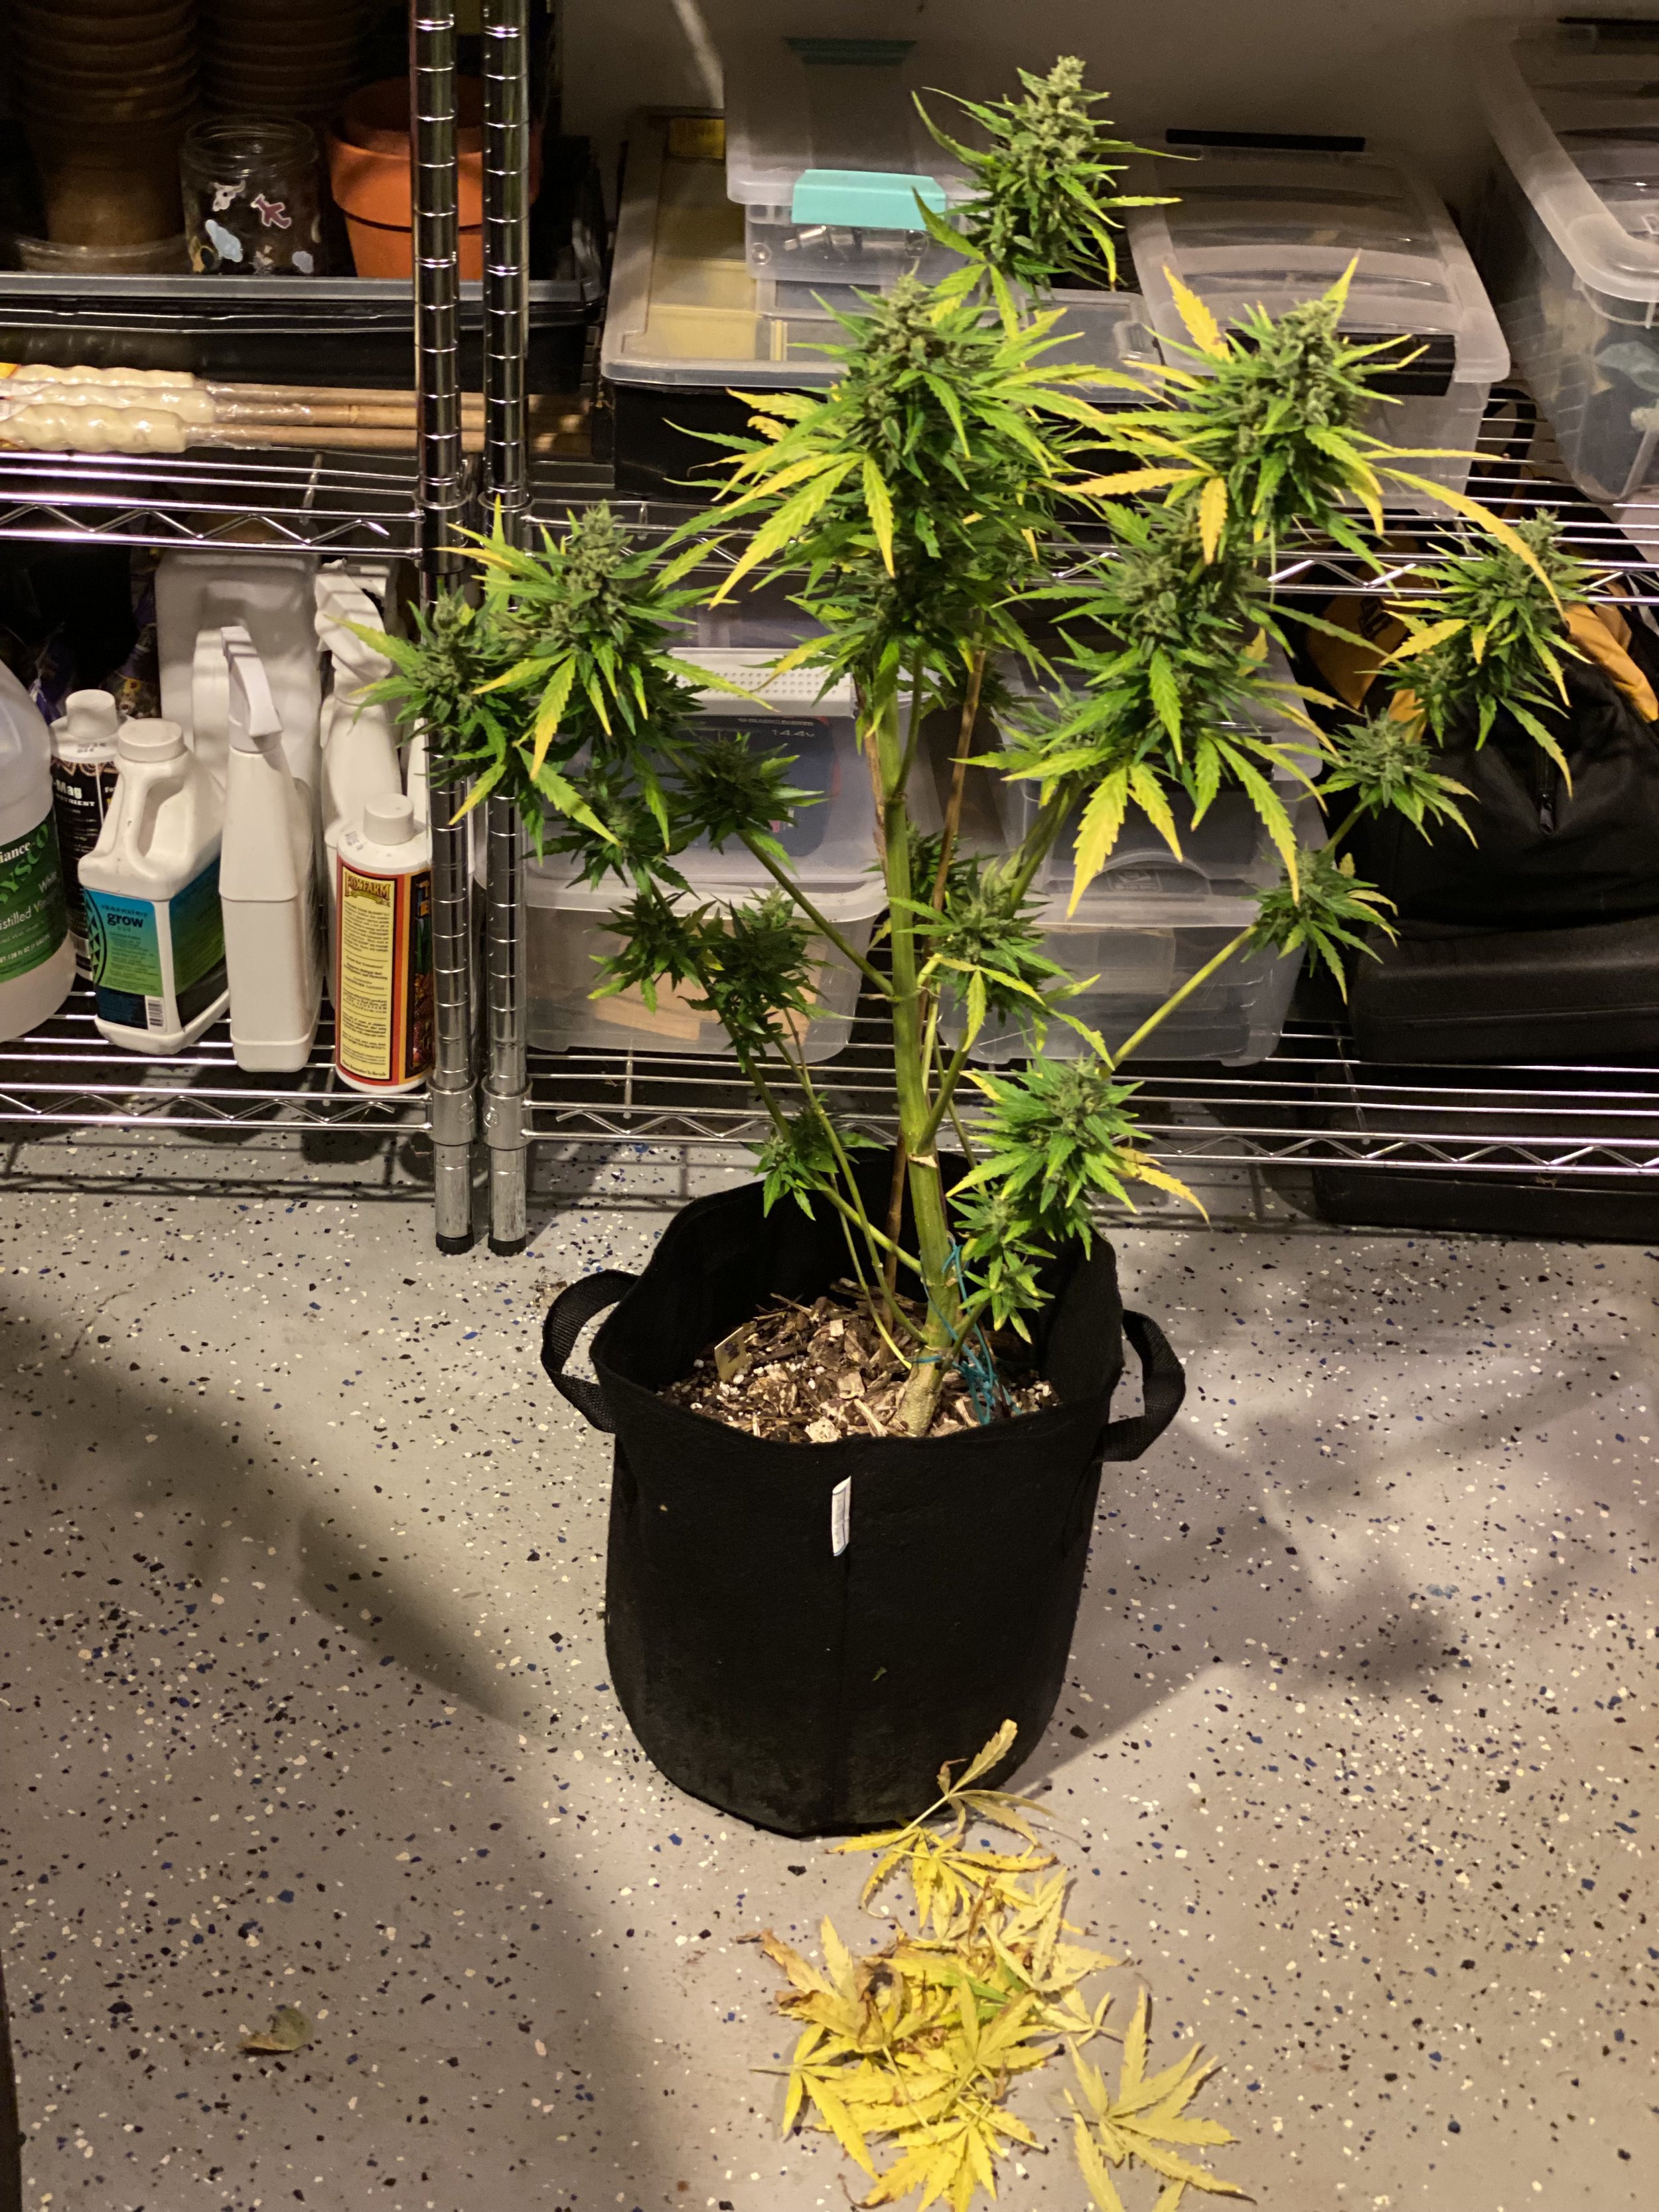
DEFOLIATE
Toward the end of the plant’s lifecycle, you may notice some of the lower fan leaves beginning to turn yellow. This is normal and the plant is drawing energy from these leaves to grow bigger buds.
That said, you can also consider trimming or “defoliating” some fan leaves, especially if they’re yellowing or showing signs of other problems. This will ultimately help limit the risk of mold, aerate the plant, and bring more light to lower bud sites.
FLUSHING
With a large enough plant, you may find some areas up top that get more sun and seem more “ready” than more shaded areas of the plant below. Go with the most advanced portion of your plant, as you can always harvest in multiple stages (more on that in the next installment).
As the trichomes get cloudy and the stigmas start to turn amber, wind down and then eliminate nutrients entirely, flushing out any remaining nutrients in the soil.
With each “flush” watering, saturate with 2 - 3 L of pH-adjusted water. This detoxifies the plant and has a beneficial effect on taste and smell.
In between flushings, let the soil dry out, which may take 2-3 days depending on the weather. And you need to repeat the flushing process 3 or 5 times, so you’re basically timing the flushing period to about 1-2 weeks before you plant to harvest.
Ideally, toward the last of these cycles you can use a TDS meter to measure the total dissolved solids of the runoff water, which should be around 50 PPM or less (or should at least be close to the PPM of your tap water). If you don’t have a TDS meter, no worries, just flush 3-5 times and you’ll be fine.


HOMESTRETCH!! NEXT COMES HARVESTING!
Click Here—> HOW TO GROW CANNABIS #5: HARVESTING, DRYING, TRIMMING AND CURING CANNABIS

Cannabis Flowering Stage: FAQs
How Long Should Cannabis Be in the Flowering Stage?
It depends. Expect this stage to last anywhere from 6-12 weeks once your cannabis plants start flowering before they are finally ready to be cured and processed.
What Does the Flowering Stage of Cannabis Look Like?
In the cannabis flowering stage, you will typically start to notice that your leaves may become narrower and that white hairs (or stigmas) will start to grow out from the pistils of your cannabis plants.
How Many Weeks of Flower Until Harvest?
This process will usually take 6-12 weeks from when your plants hit the flowering stage to when they are finally ready for harvest.
Should You Trim Fan Leaves During Flowering?
This is a smart idea as it will help your plant dedicate energy to where it’s most wanted — the buds. You can start removing the fan leaves during the early flowering stage once you start to notice buds popping out.
Does Removing Fan Leaves Increase Yield?
Yes! When you remove the fan leaves during the flowering stage, you will likely notice a 20-30% increase in your overall yields compared to those who choose not to do this. Who doesn’t want higher yields?
Will Buds Mature Without Fan Leaves?
If you are already well into the flowering stage, your buds won’t necessarily need these fan leaves. However, in the vegetative stage, removing these leaves can actually cause negative impacts on the growth process of your buds.