Cannabis Veg State Guide: Tips and Steps For the 6-Week Vegetative State
Okay, you’ve hit veg state, and want to ensure you’re on track for high yields and fat juicy buds. The cannabis vegetative state is one of the most crucial parts of your cultivator process. From checking each plant stem to ensuring that your plant development is ready for high yields, let’s dive into the veg state.
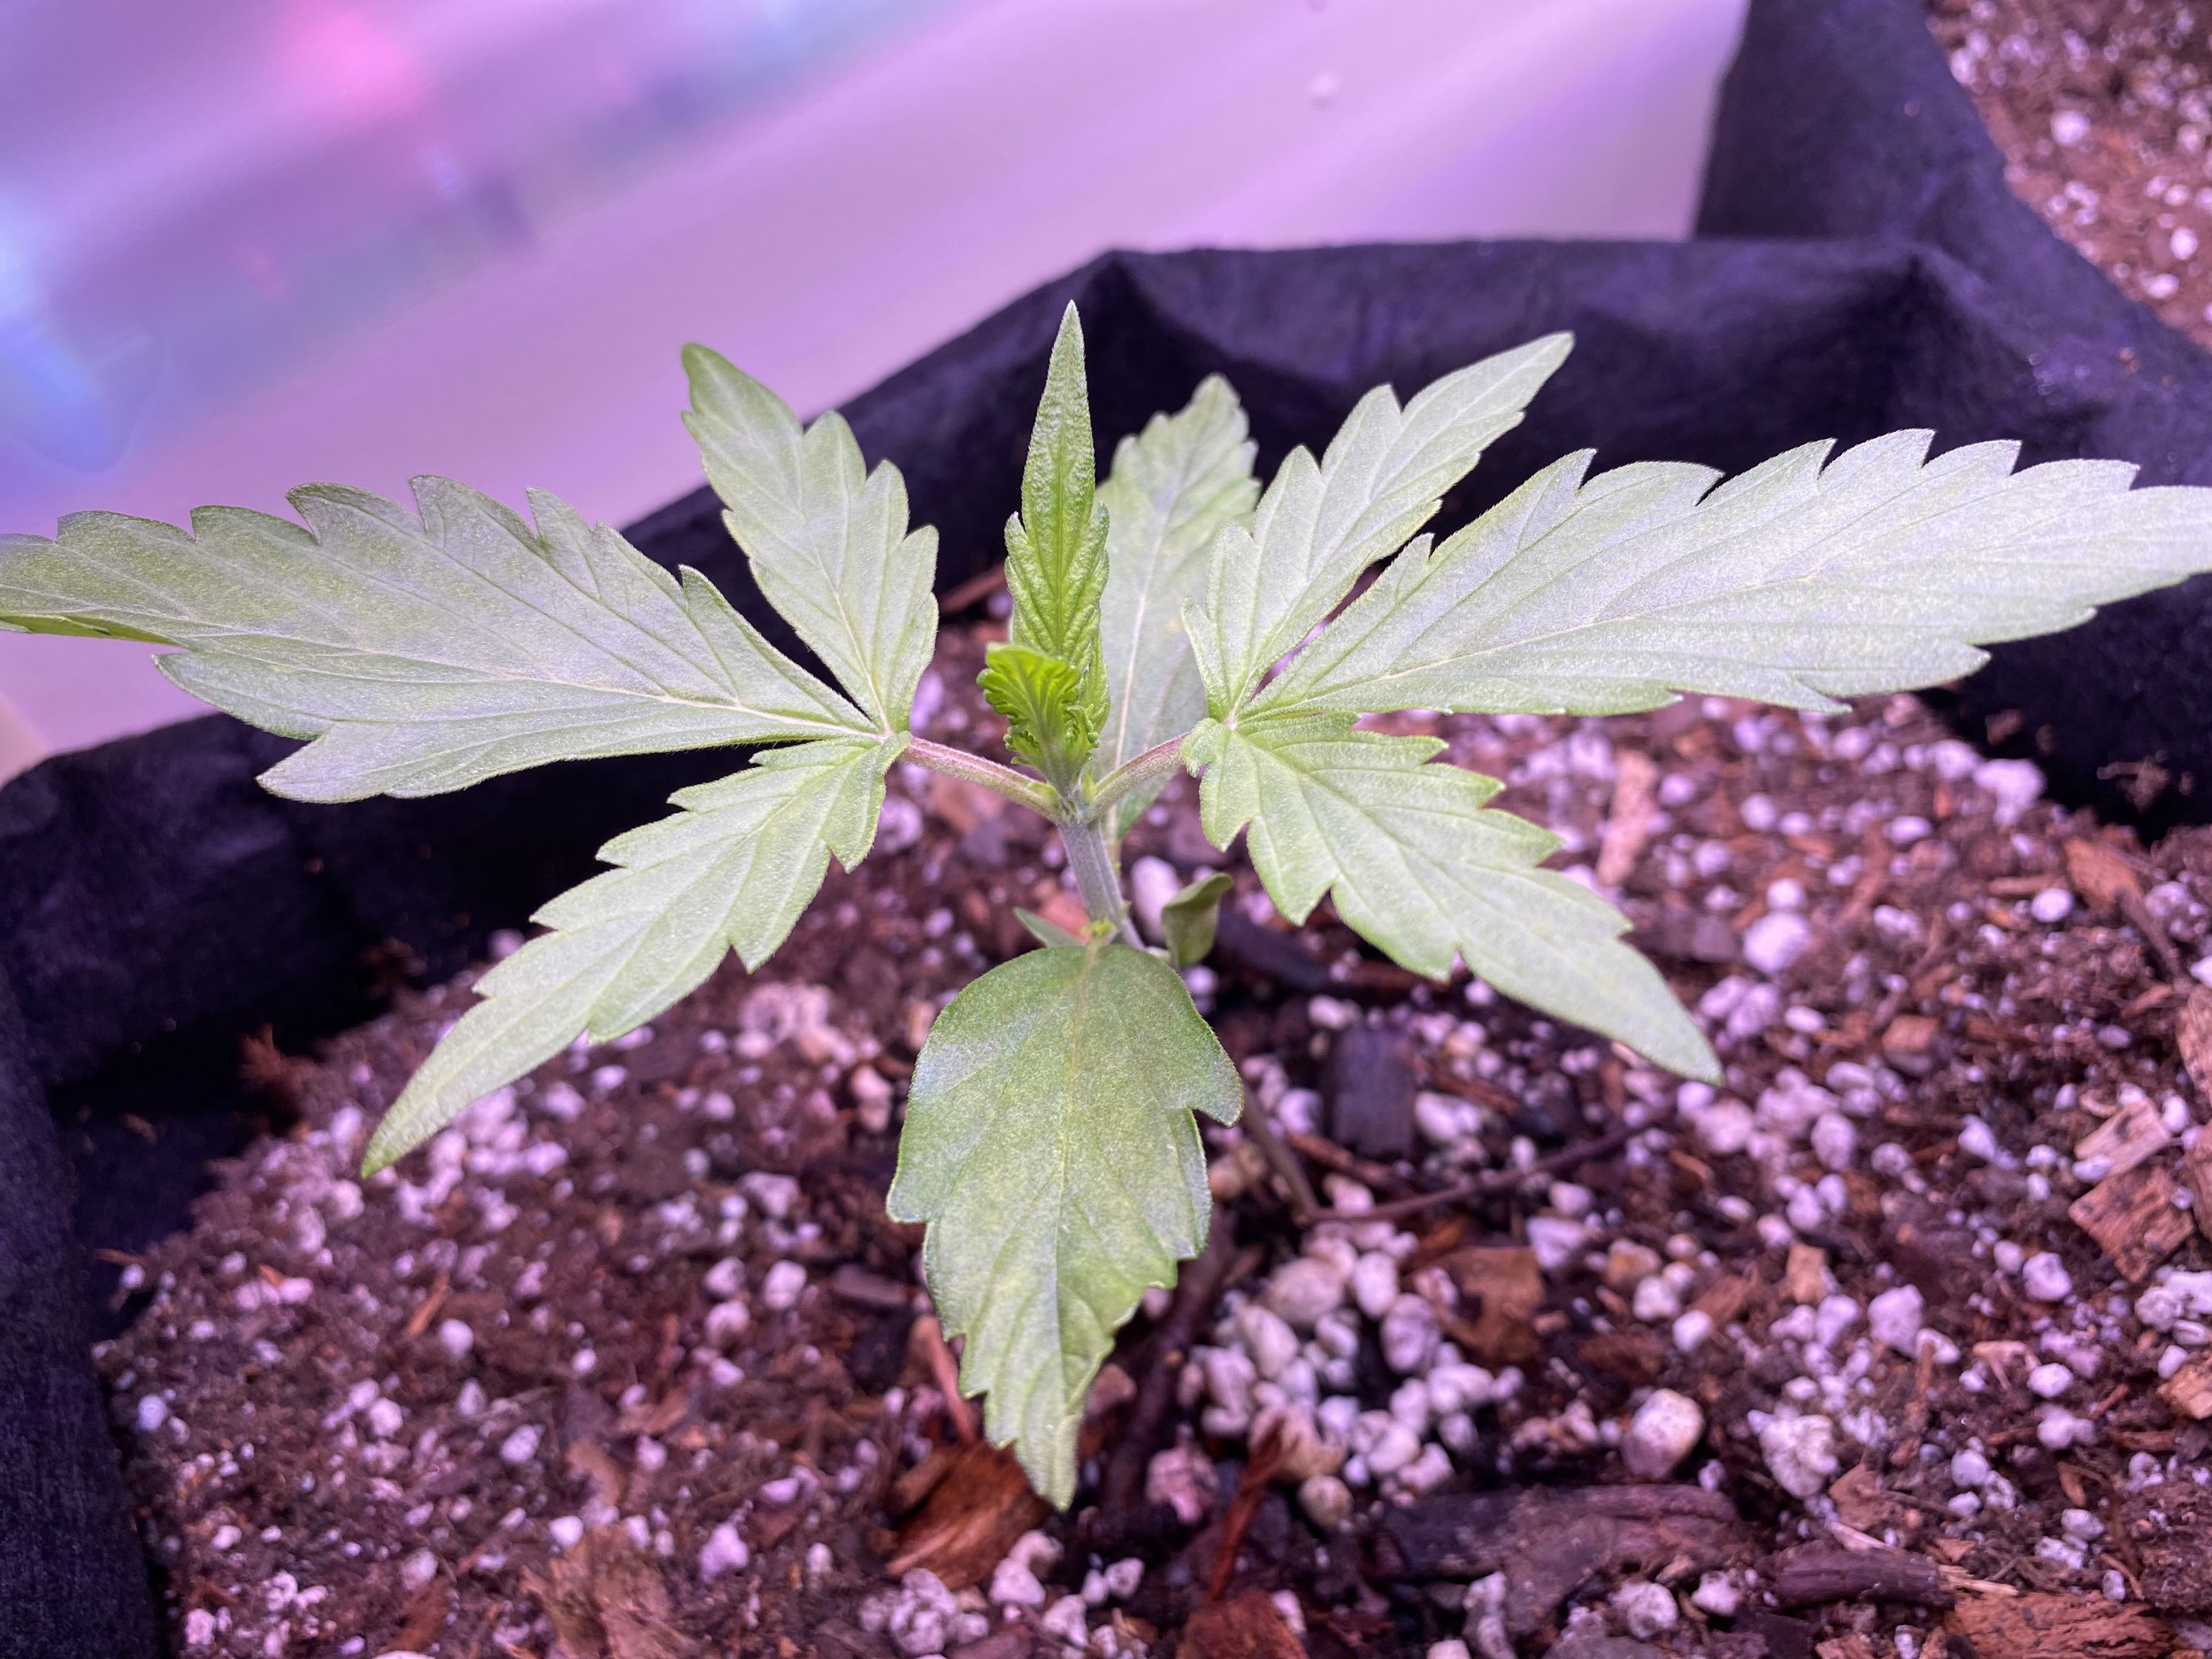
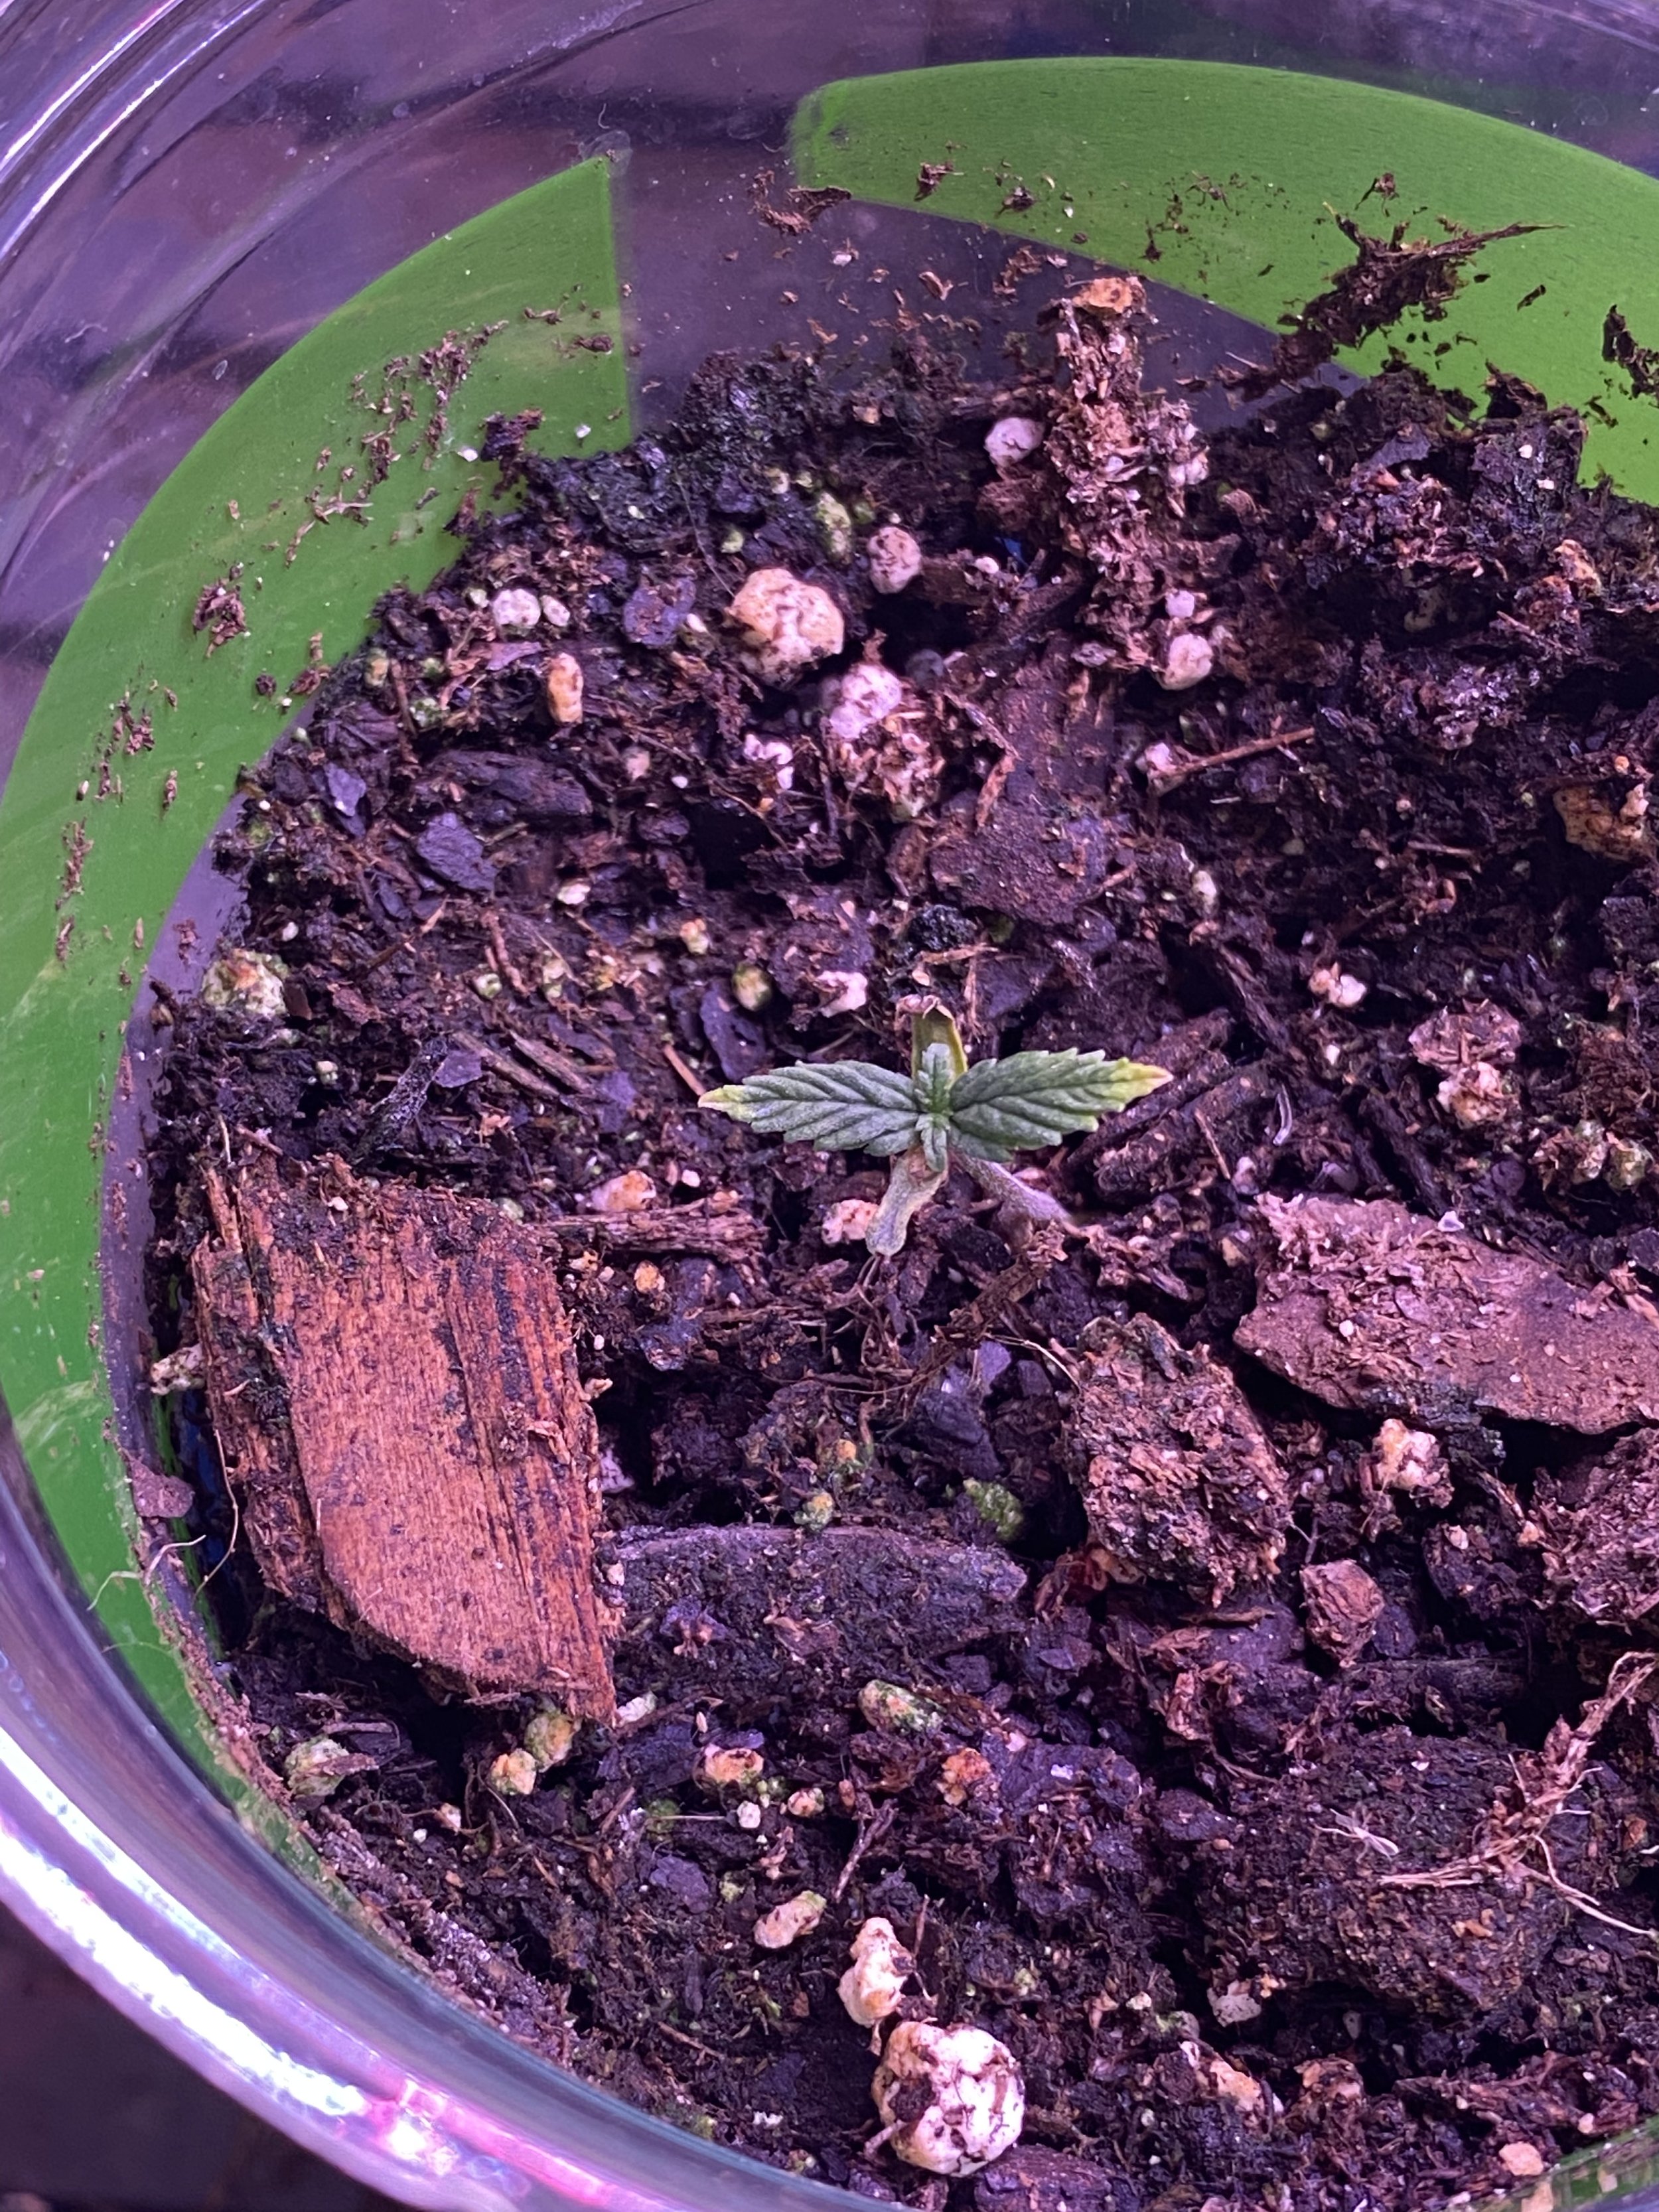
By week 3 of growing cannabis, your plants should have entered the vegetative stage. This means you’re starting to see more of those stereotypical fan leaves, and the plant is doing its job, and your job is to try to create the best conditions for it to keep growing more — leaf by leaf. Here’s what that means and what you need.
This post contains affiliate codes or links that are no additional cost to you, and I may earn a small commission when a purchase is made.
MATERIALS You Need
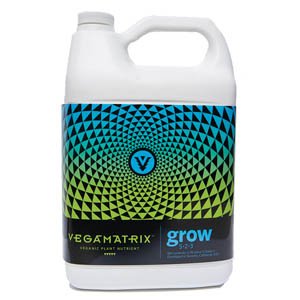
Homegrown Cannabis Grow nutrients (or Fox Farm Grow Big, or Vegamatrix Grow plant nutrients)
Watering can
Basic LED grow lights, or more advanced grow tent/light systems (use code “THUNDERBIRD” for 15% off)
Binder clips
Plastic syringes, ideally with a tube
If you’ve arrived here cold and are just starting out, check out earlier installments of this series. For purely educational purposes, I highly recommend Homegrown Cannabis Co. seed bank, which has terrific video content and information on seeds. I also recommend I Love Growing Marijuana, which has an excellent 70-page “Grow Bible” eBook for beginners and information on autoflower seeds.
Disclaimers: NOT FOR SALE OR TRADE. The following post features content about cannabis cultivation and other related substances that are illegal under federal law as well as under state law in certain states. This content has been produced by Thunderbird Disco — located in the Commonwealth of Virginia — for educational and entertainment purposes only. All cultivation described below was completed in accordance with Virginia law as authorized in § 4.1-1101 Home cultivation of marijuana for personal use; penalties.

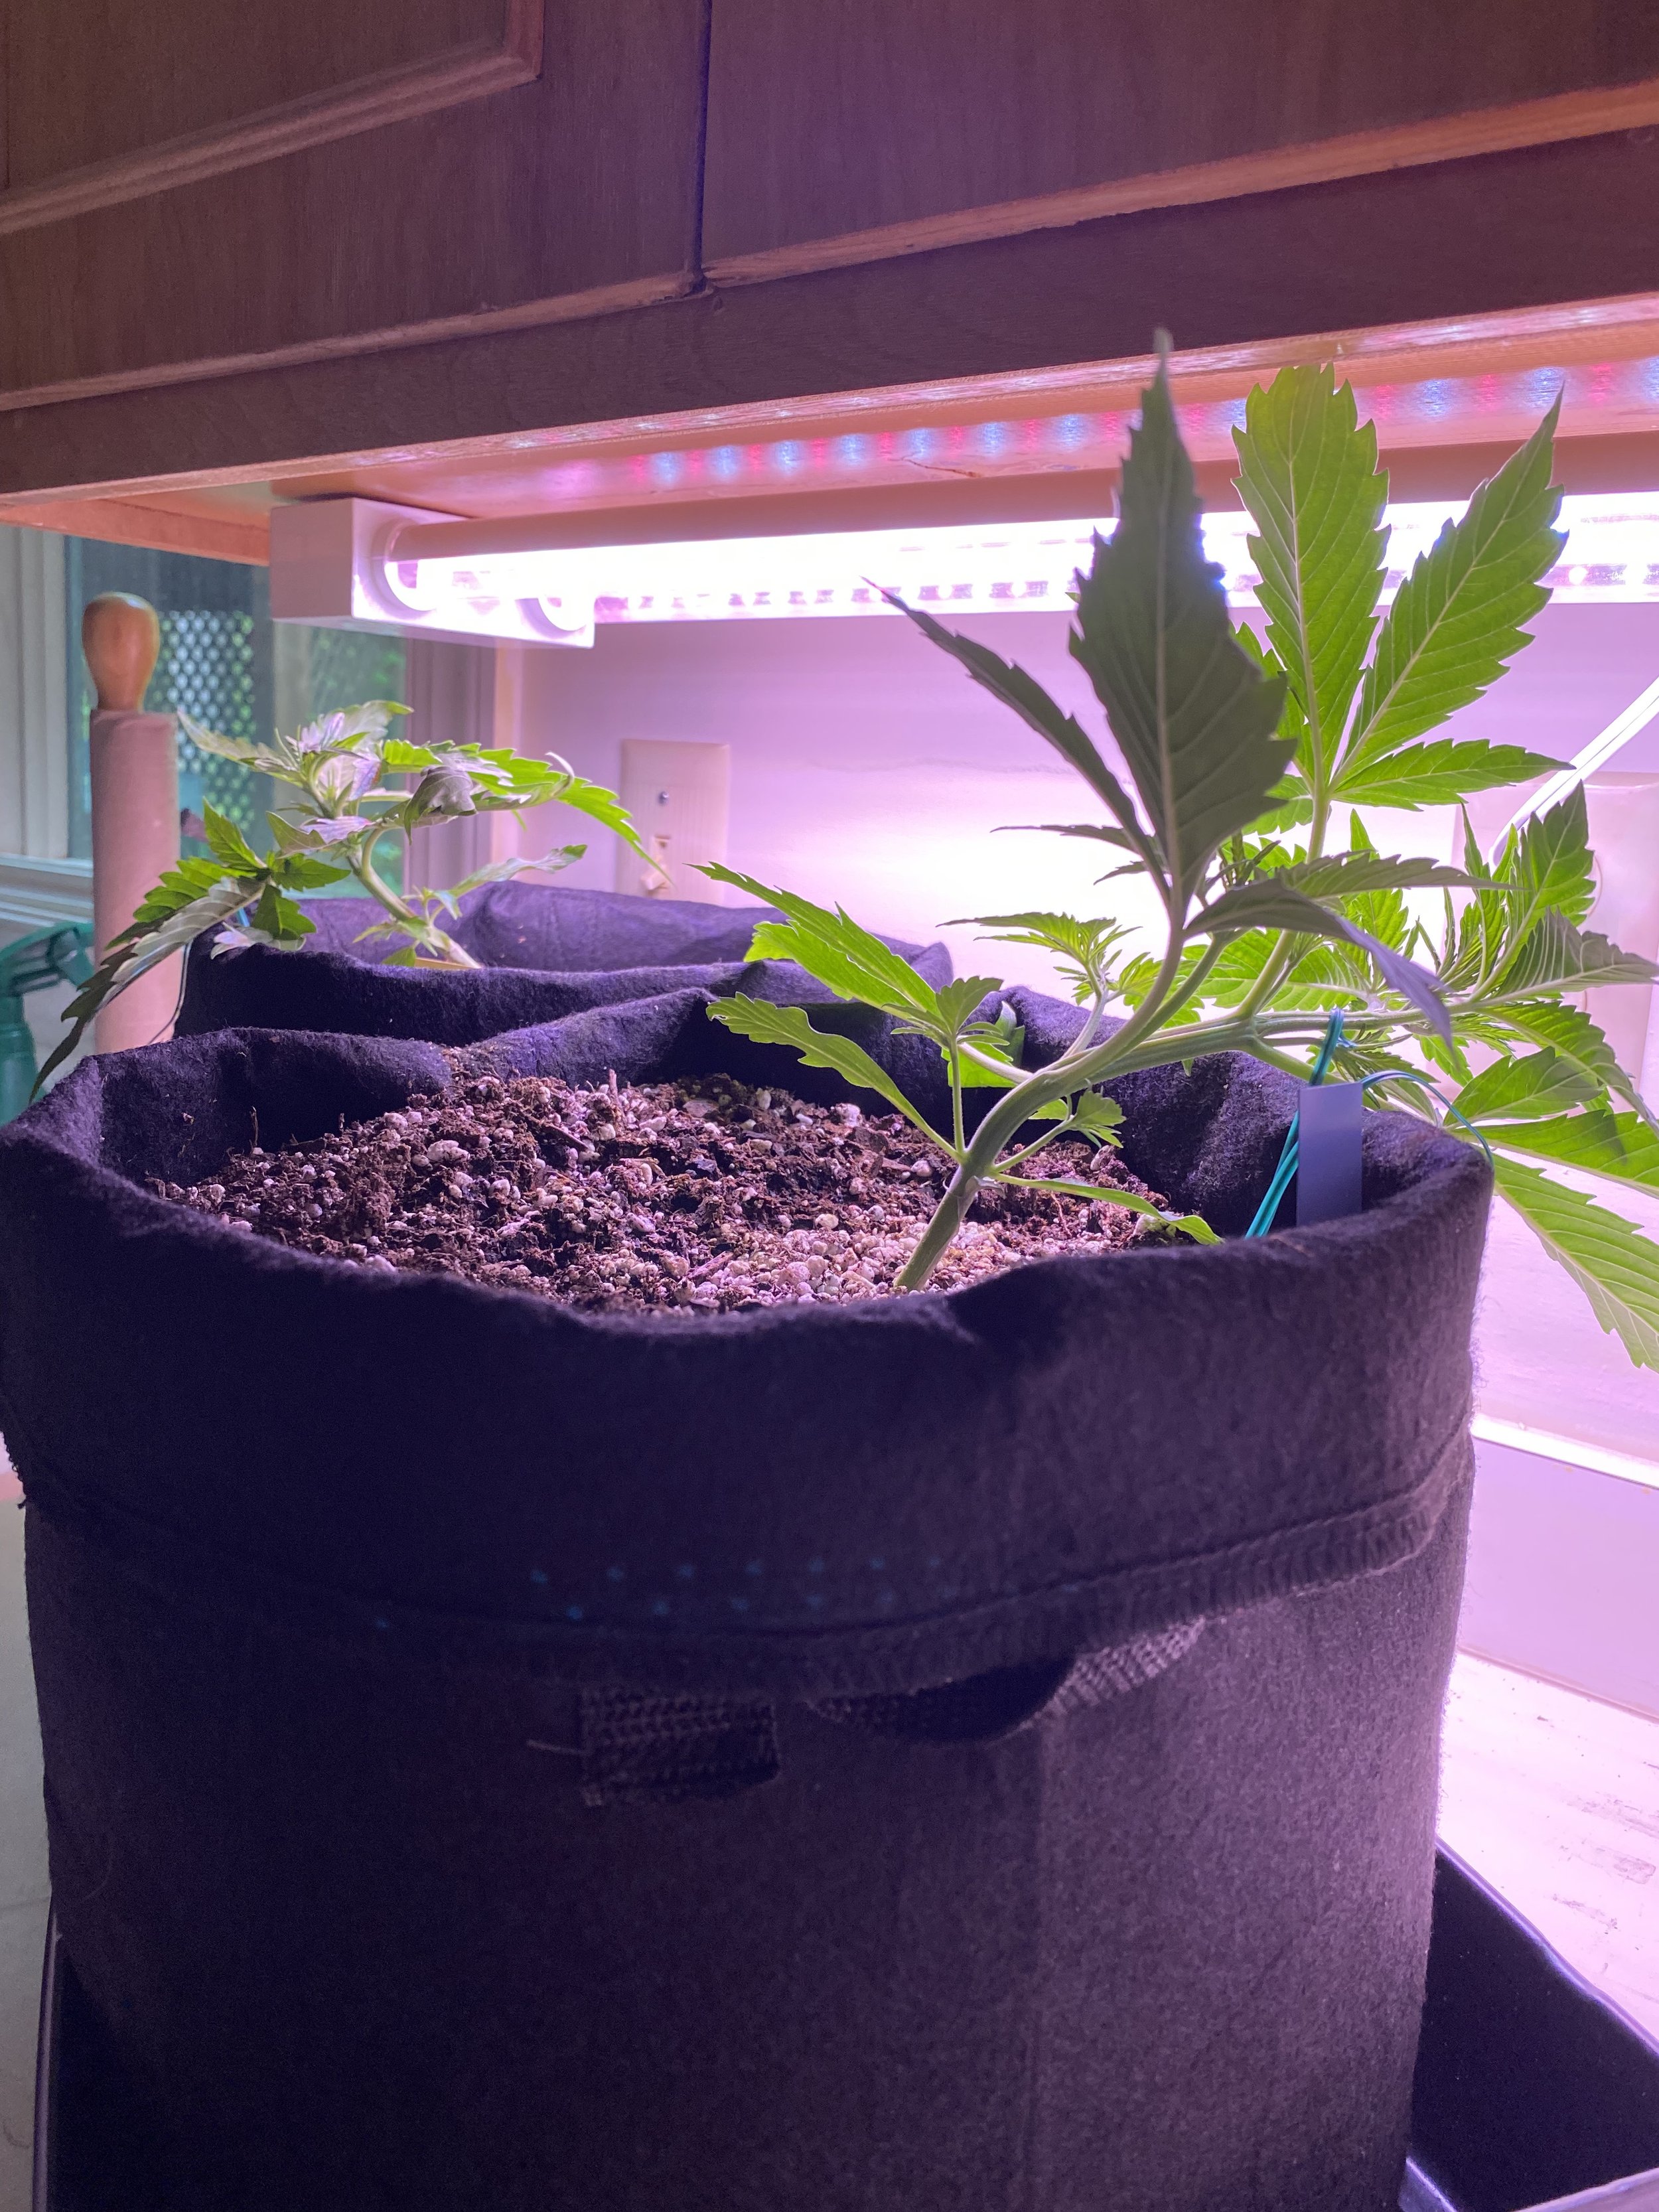
WEEK TWO: EARLY VEGETATIVE STAGE
Step 1: Monitor Conditions
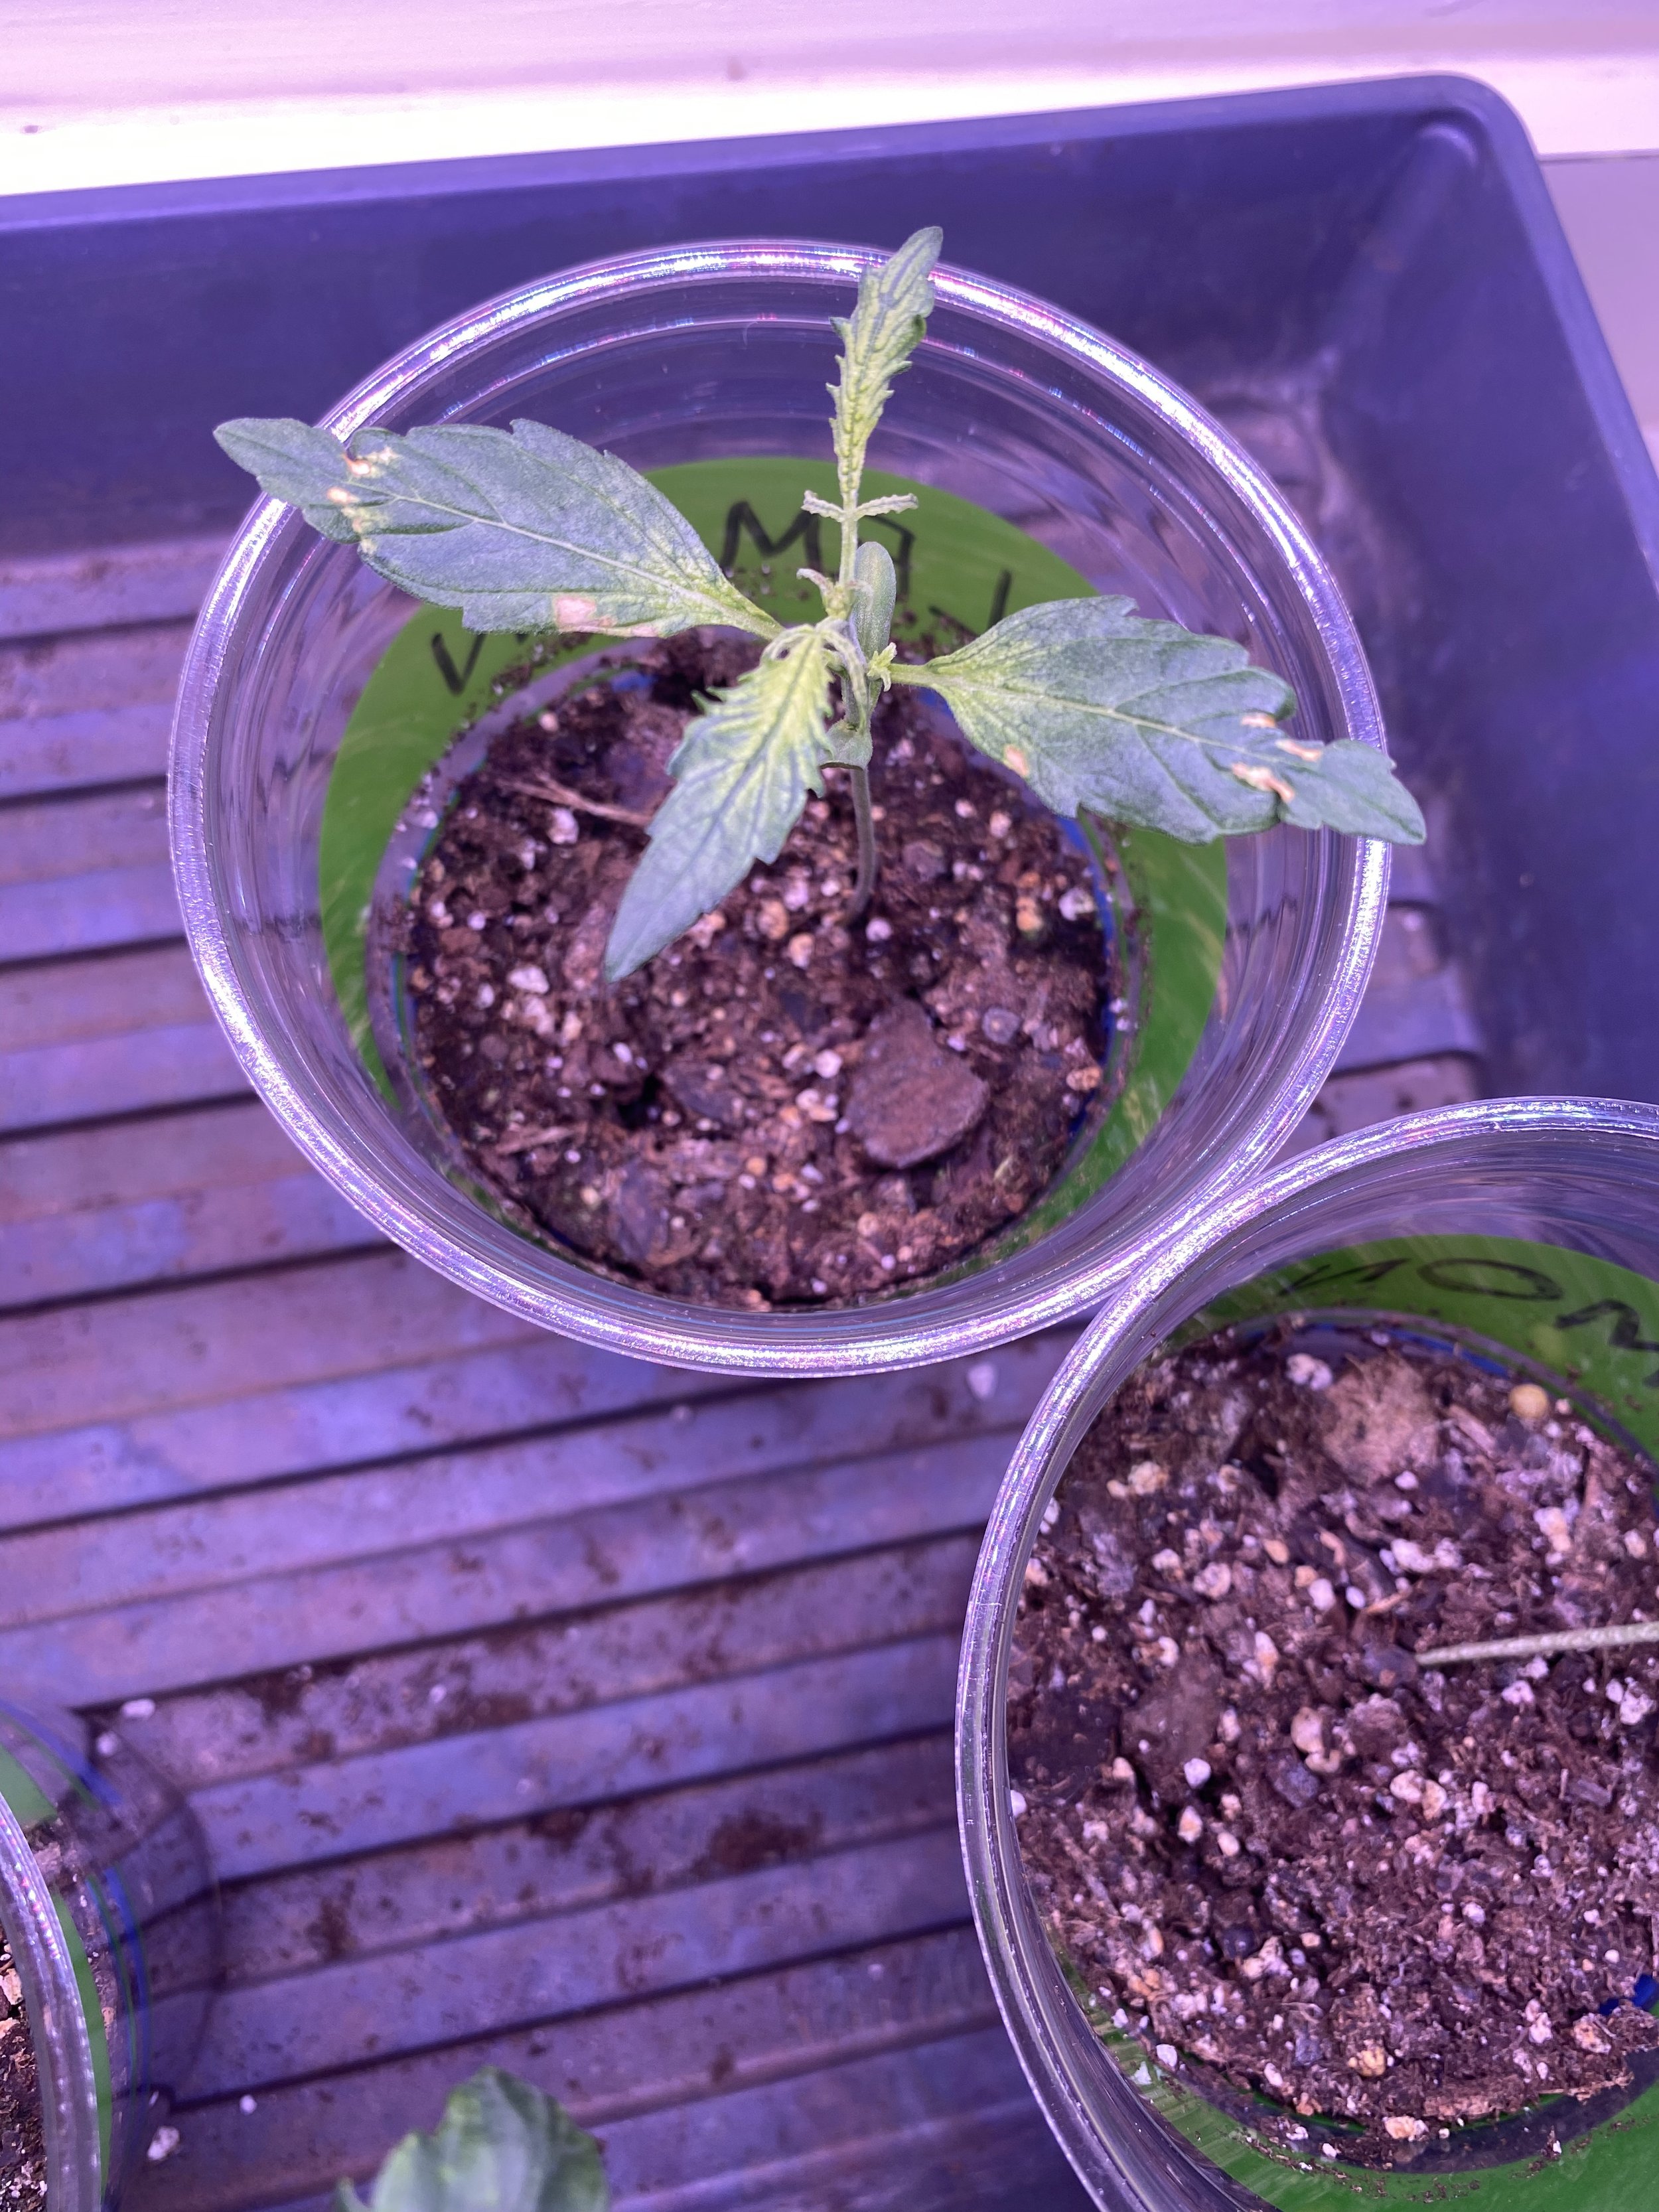
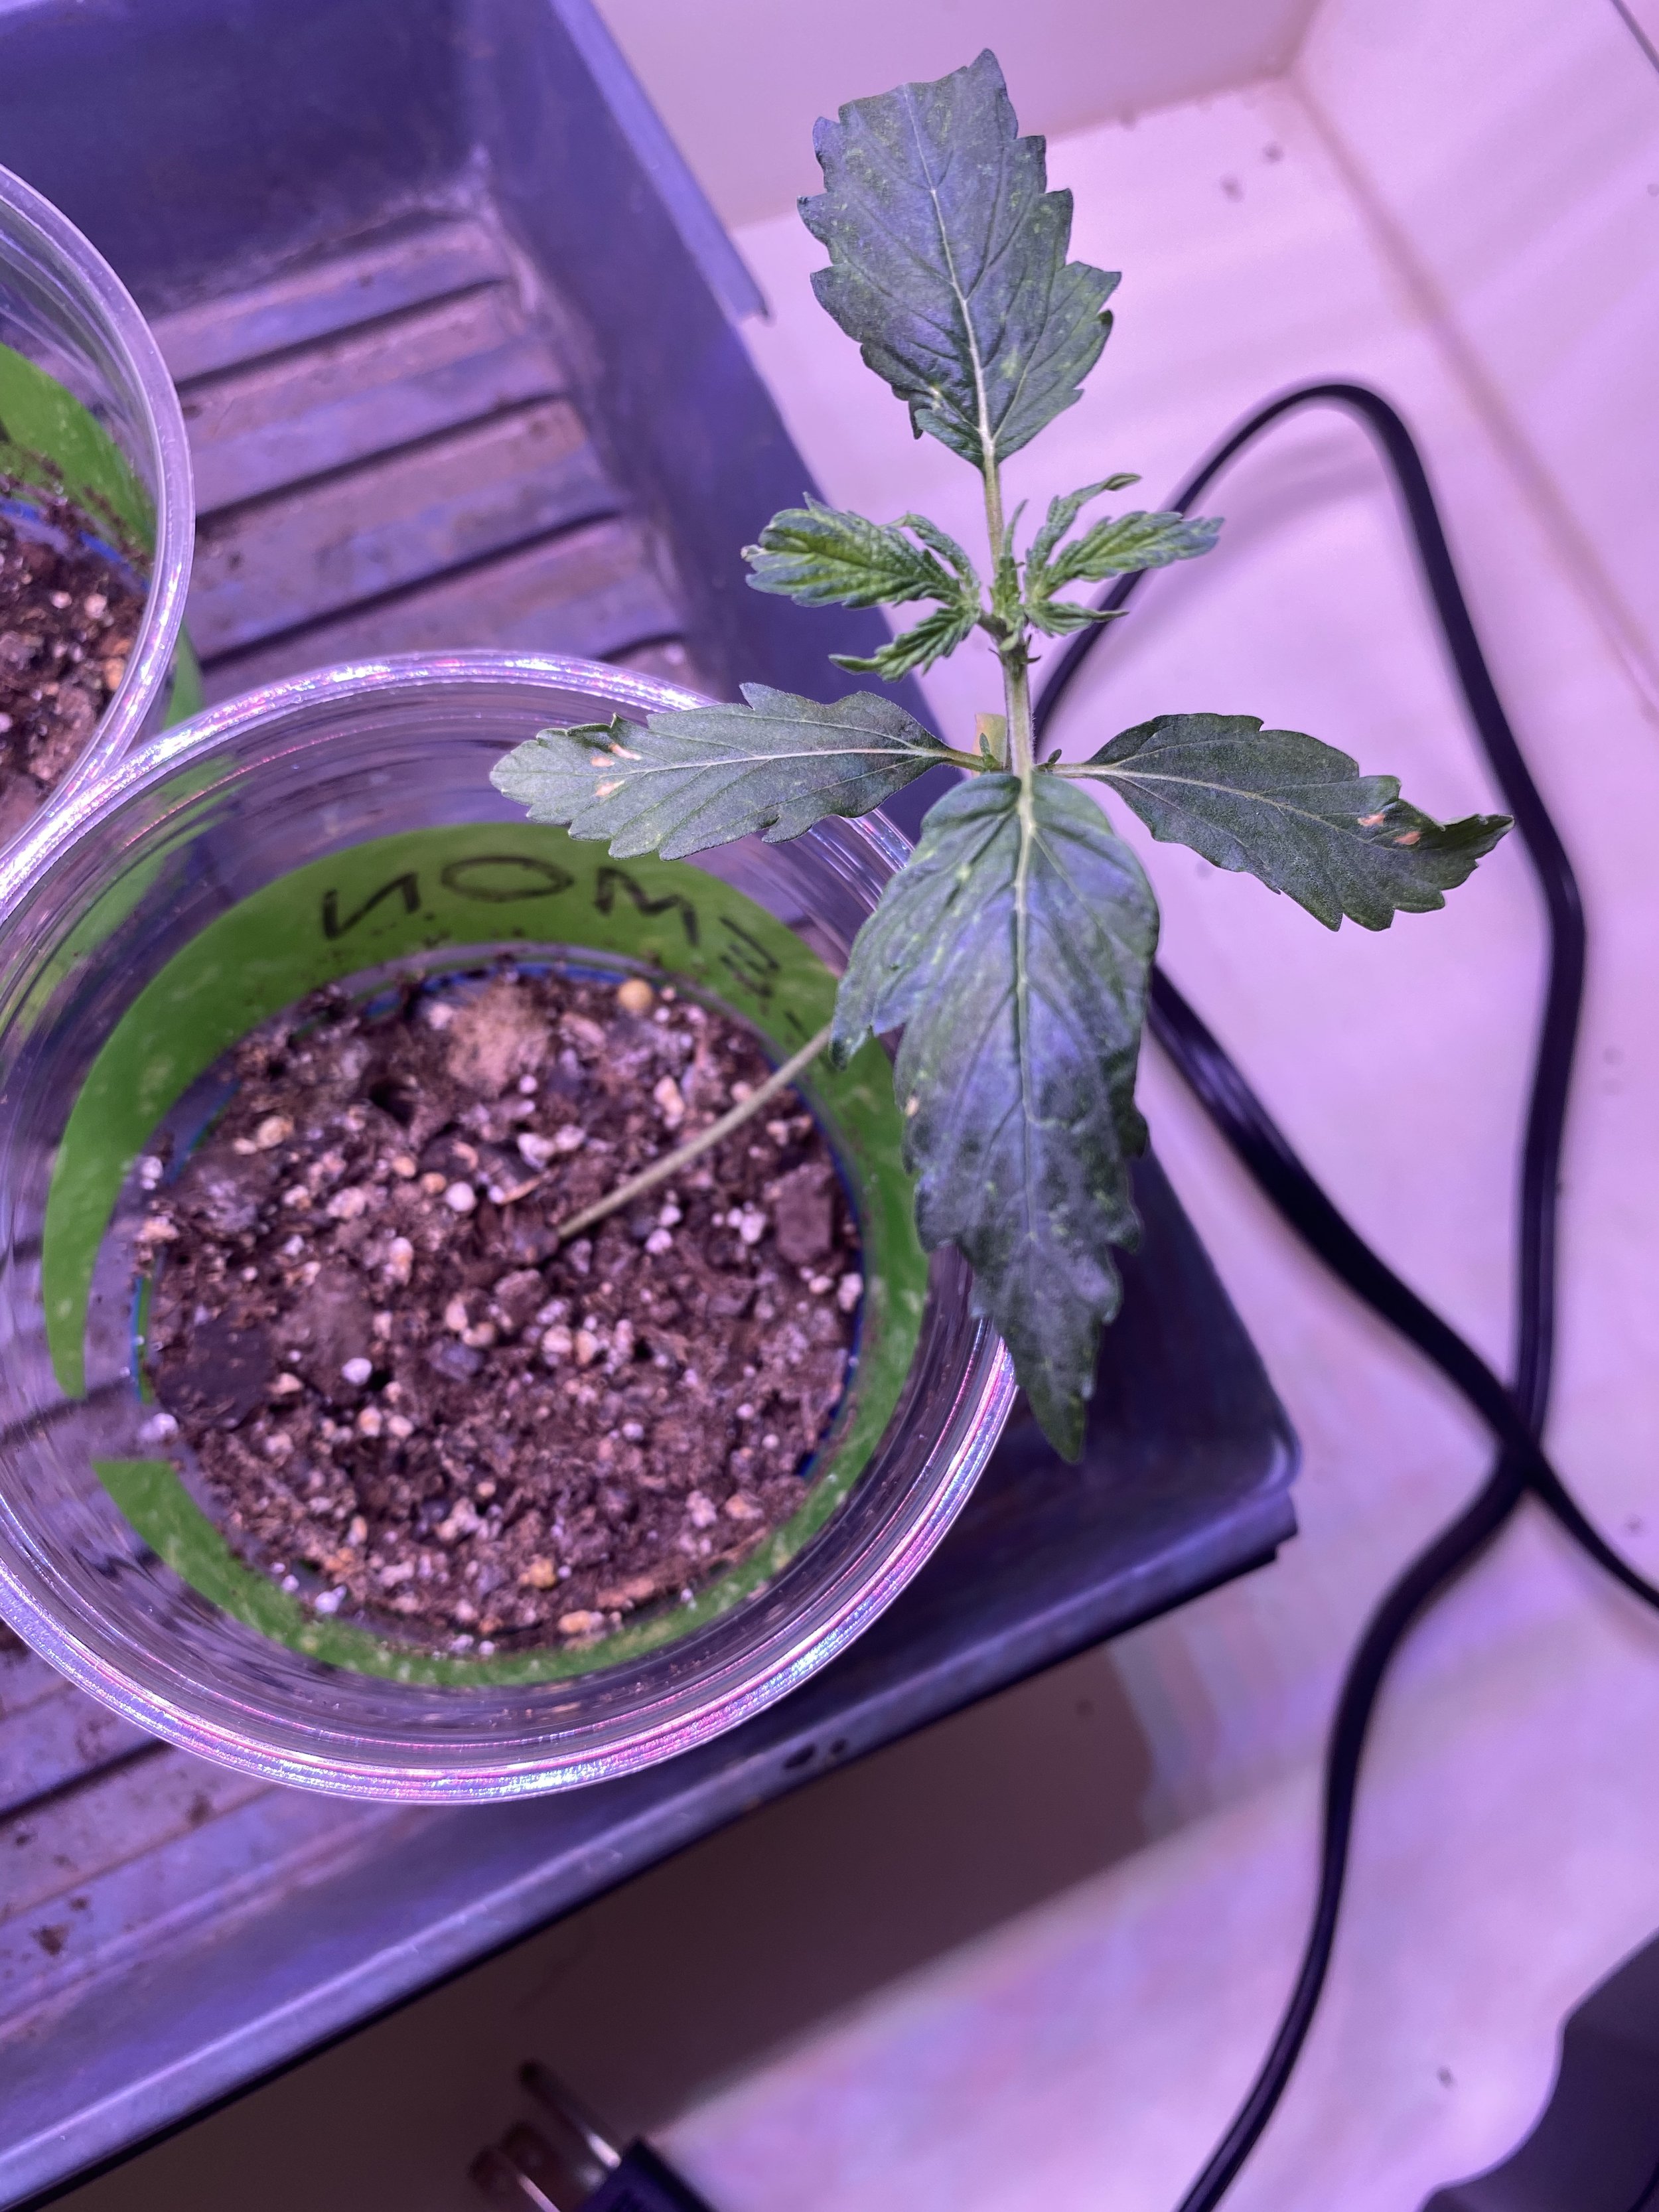
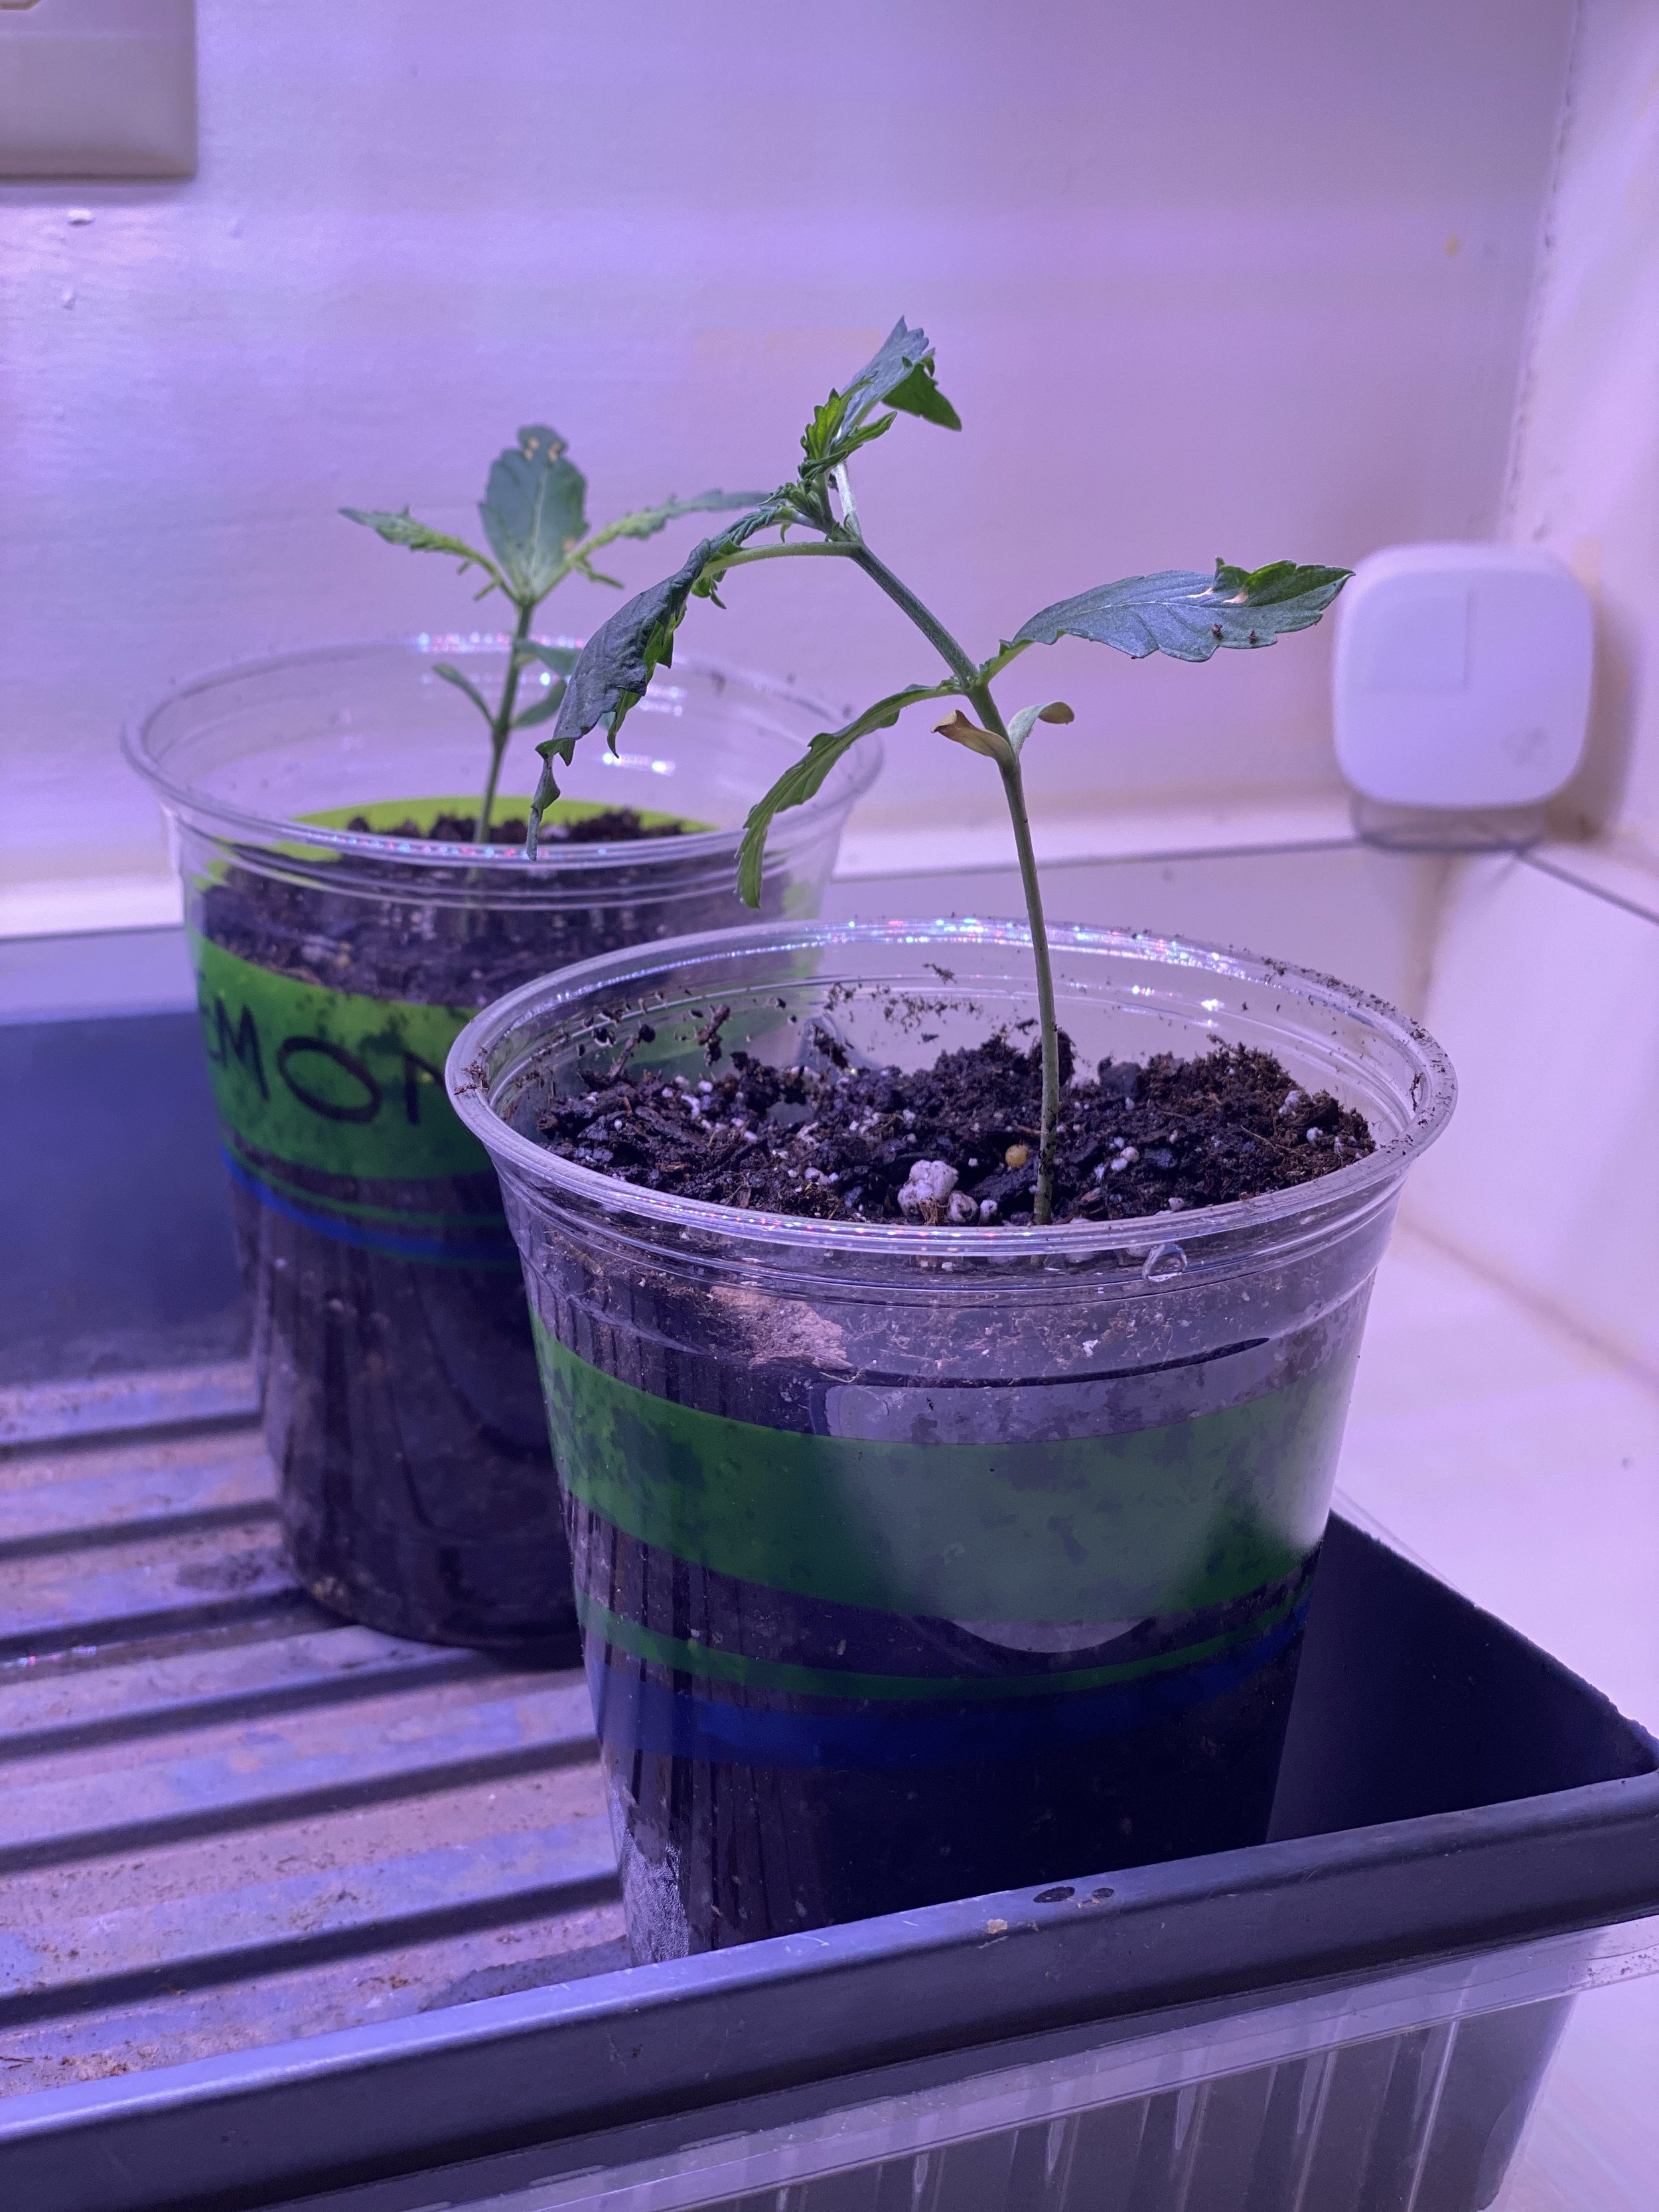
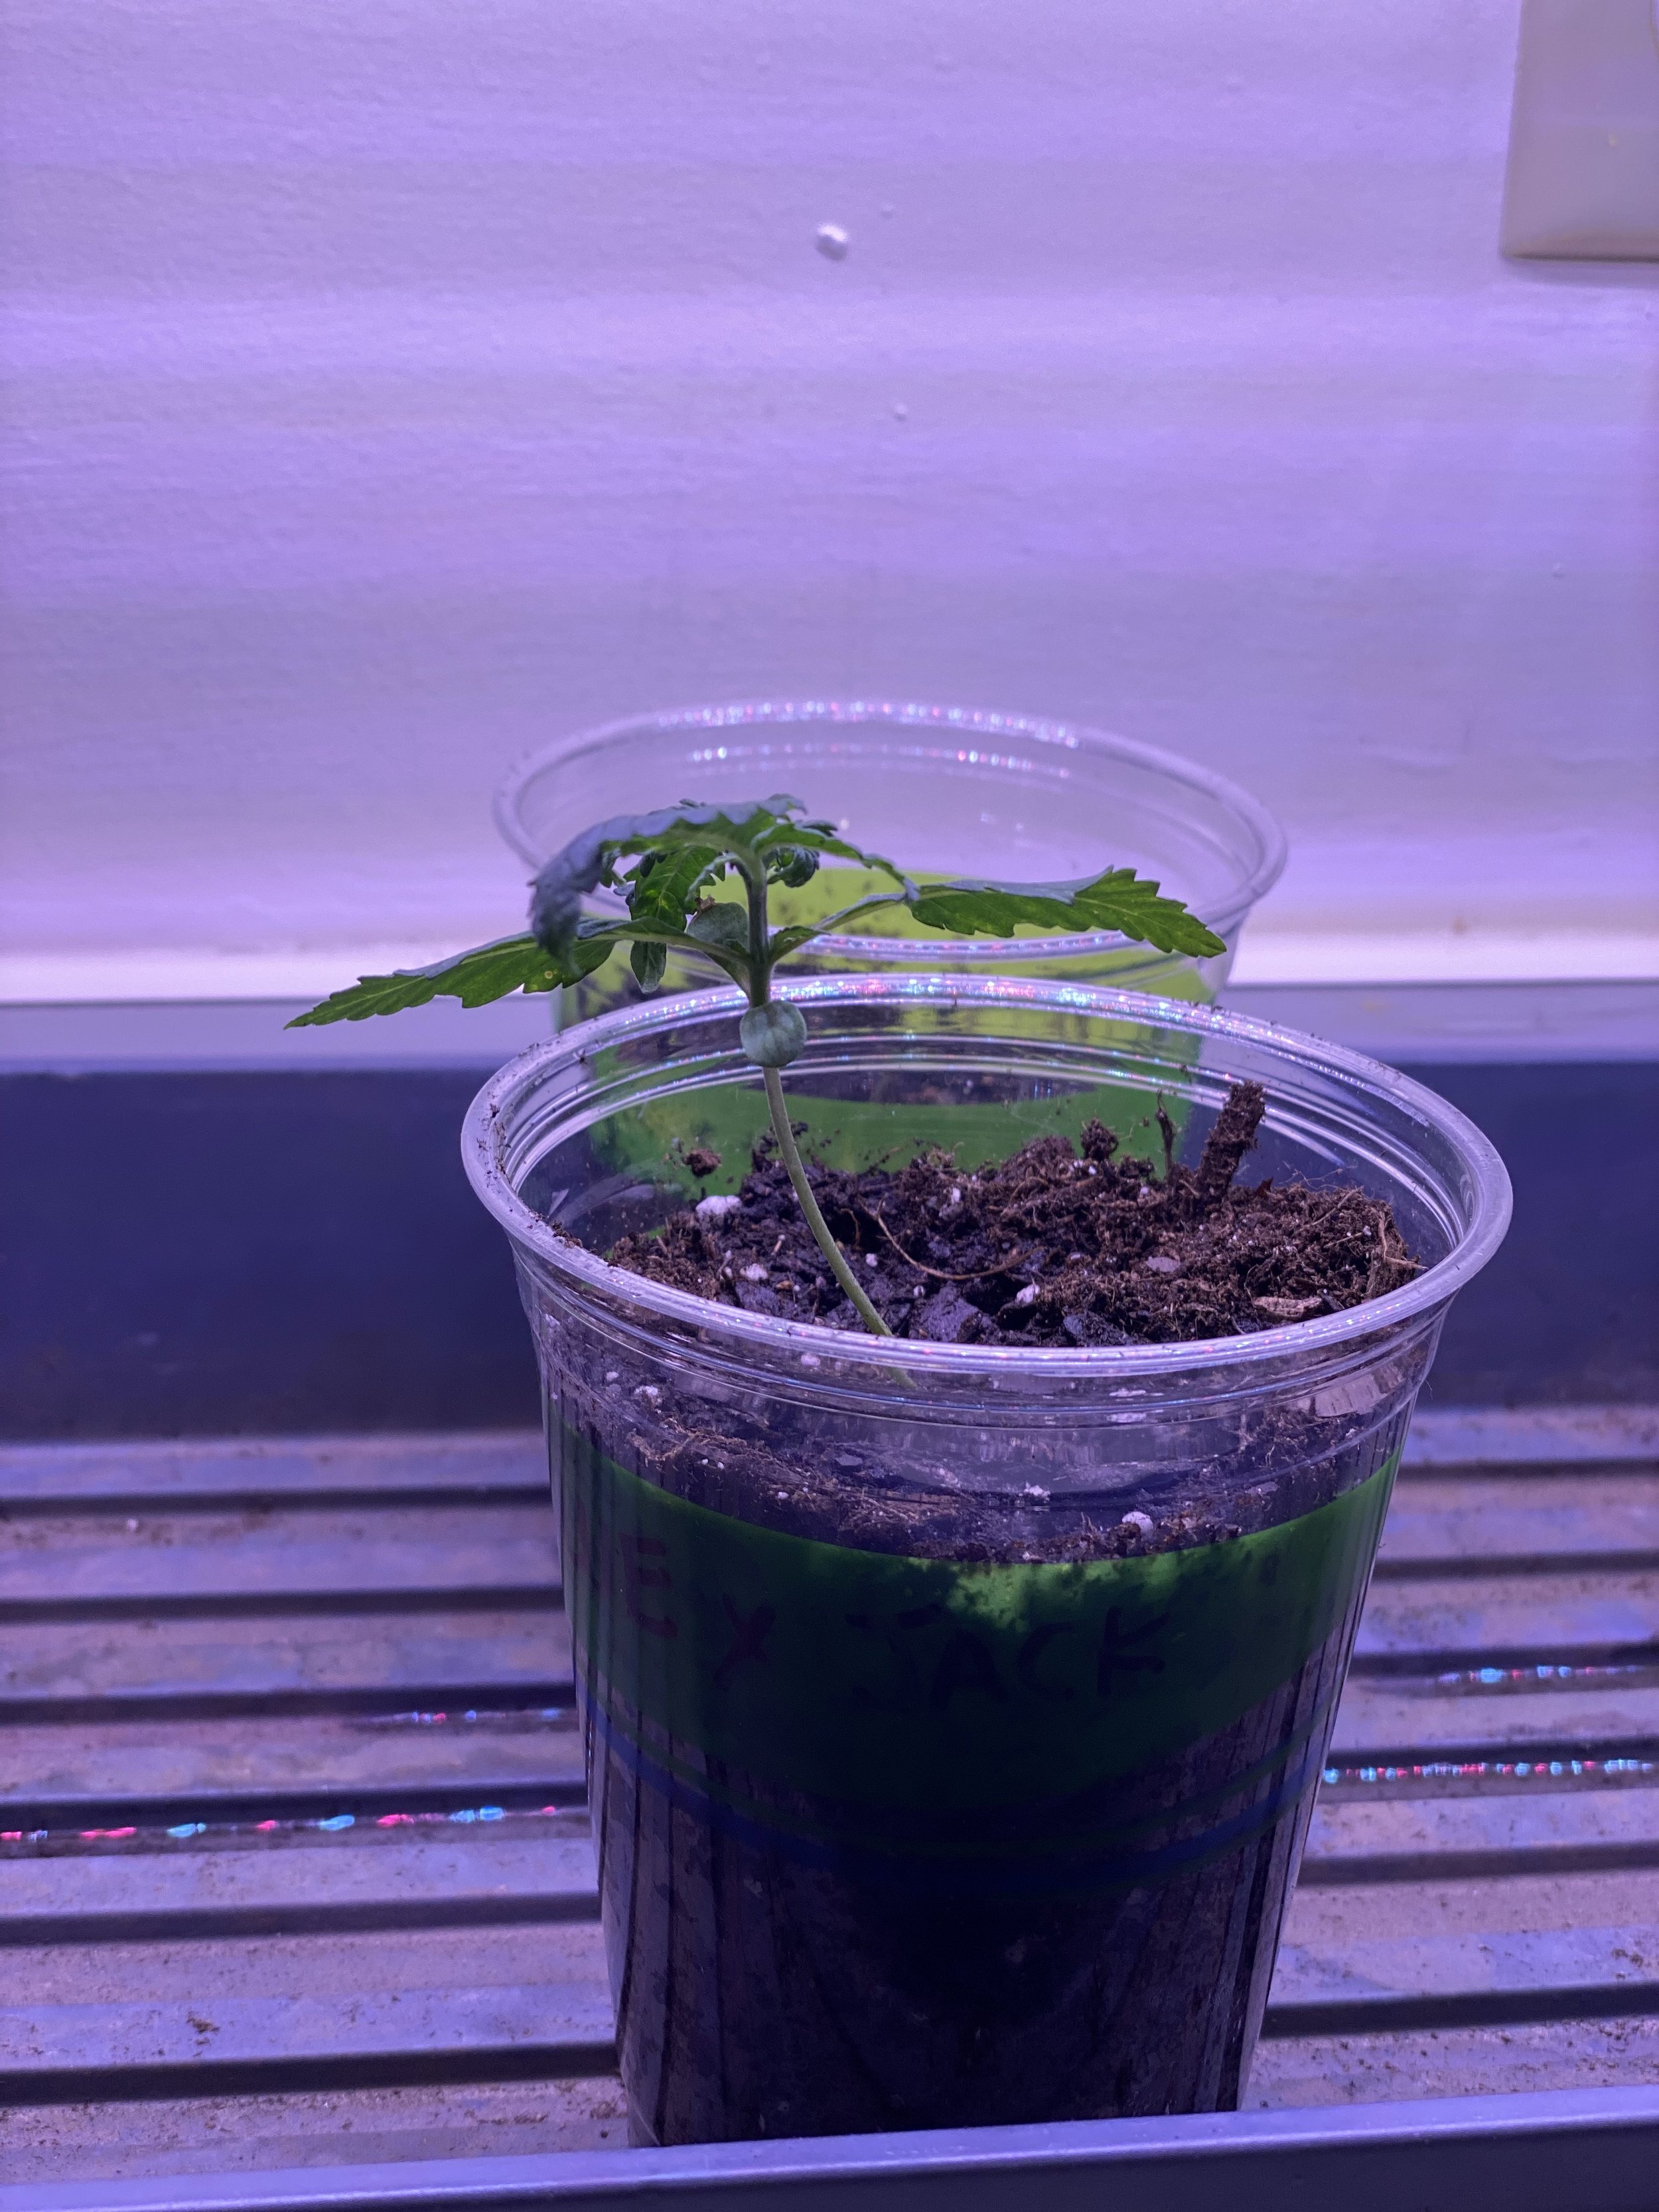
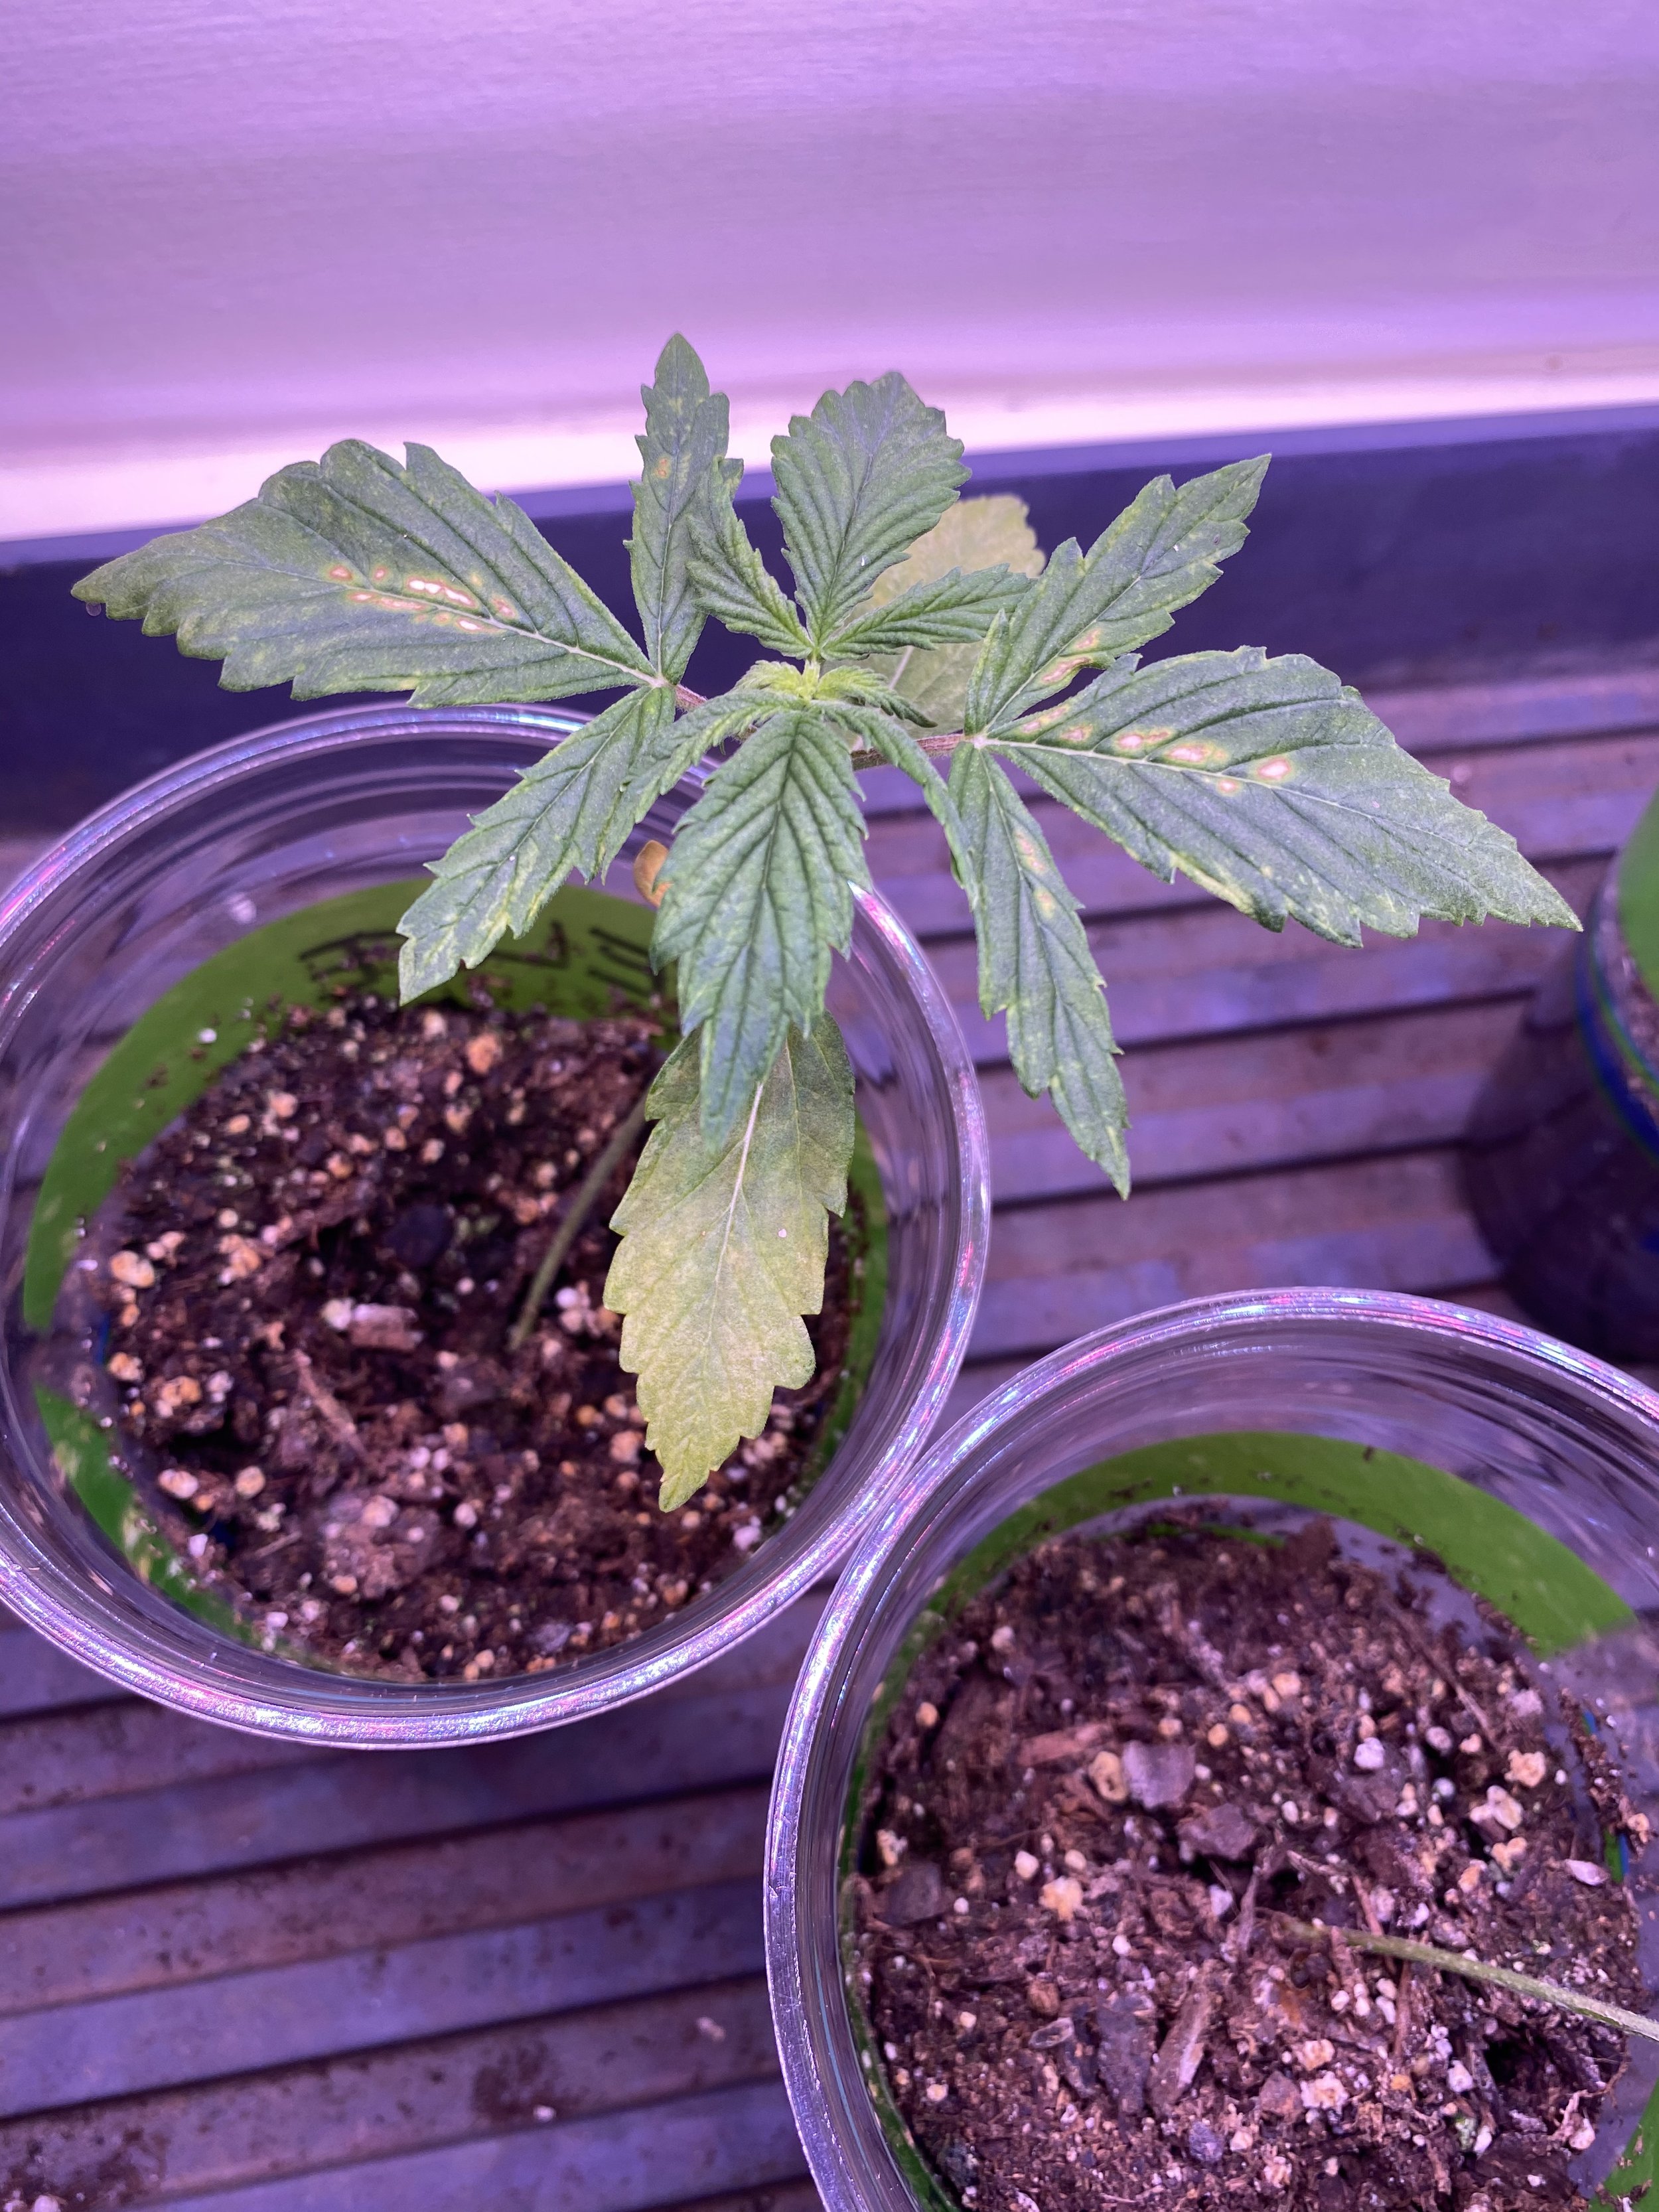
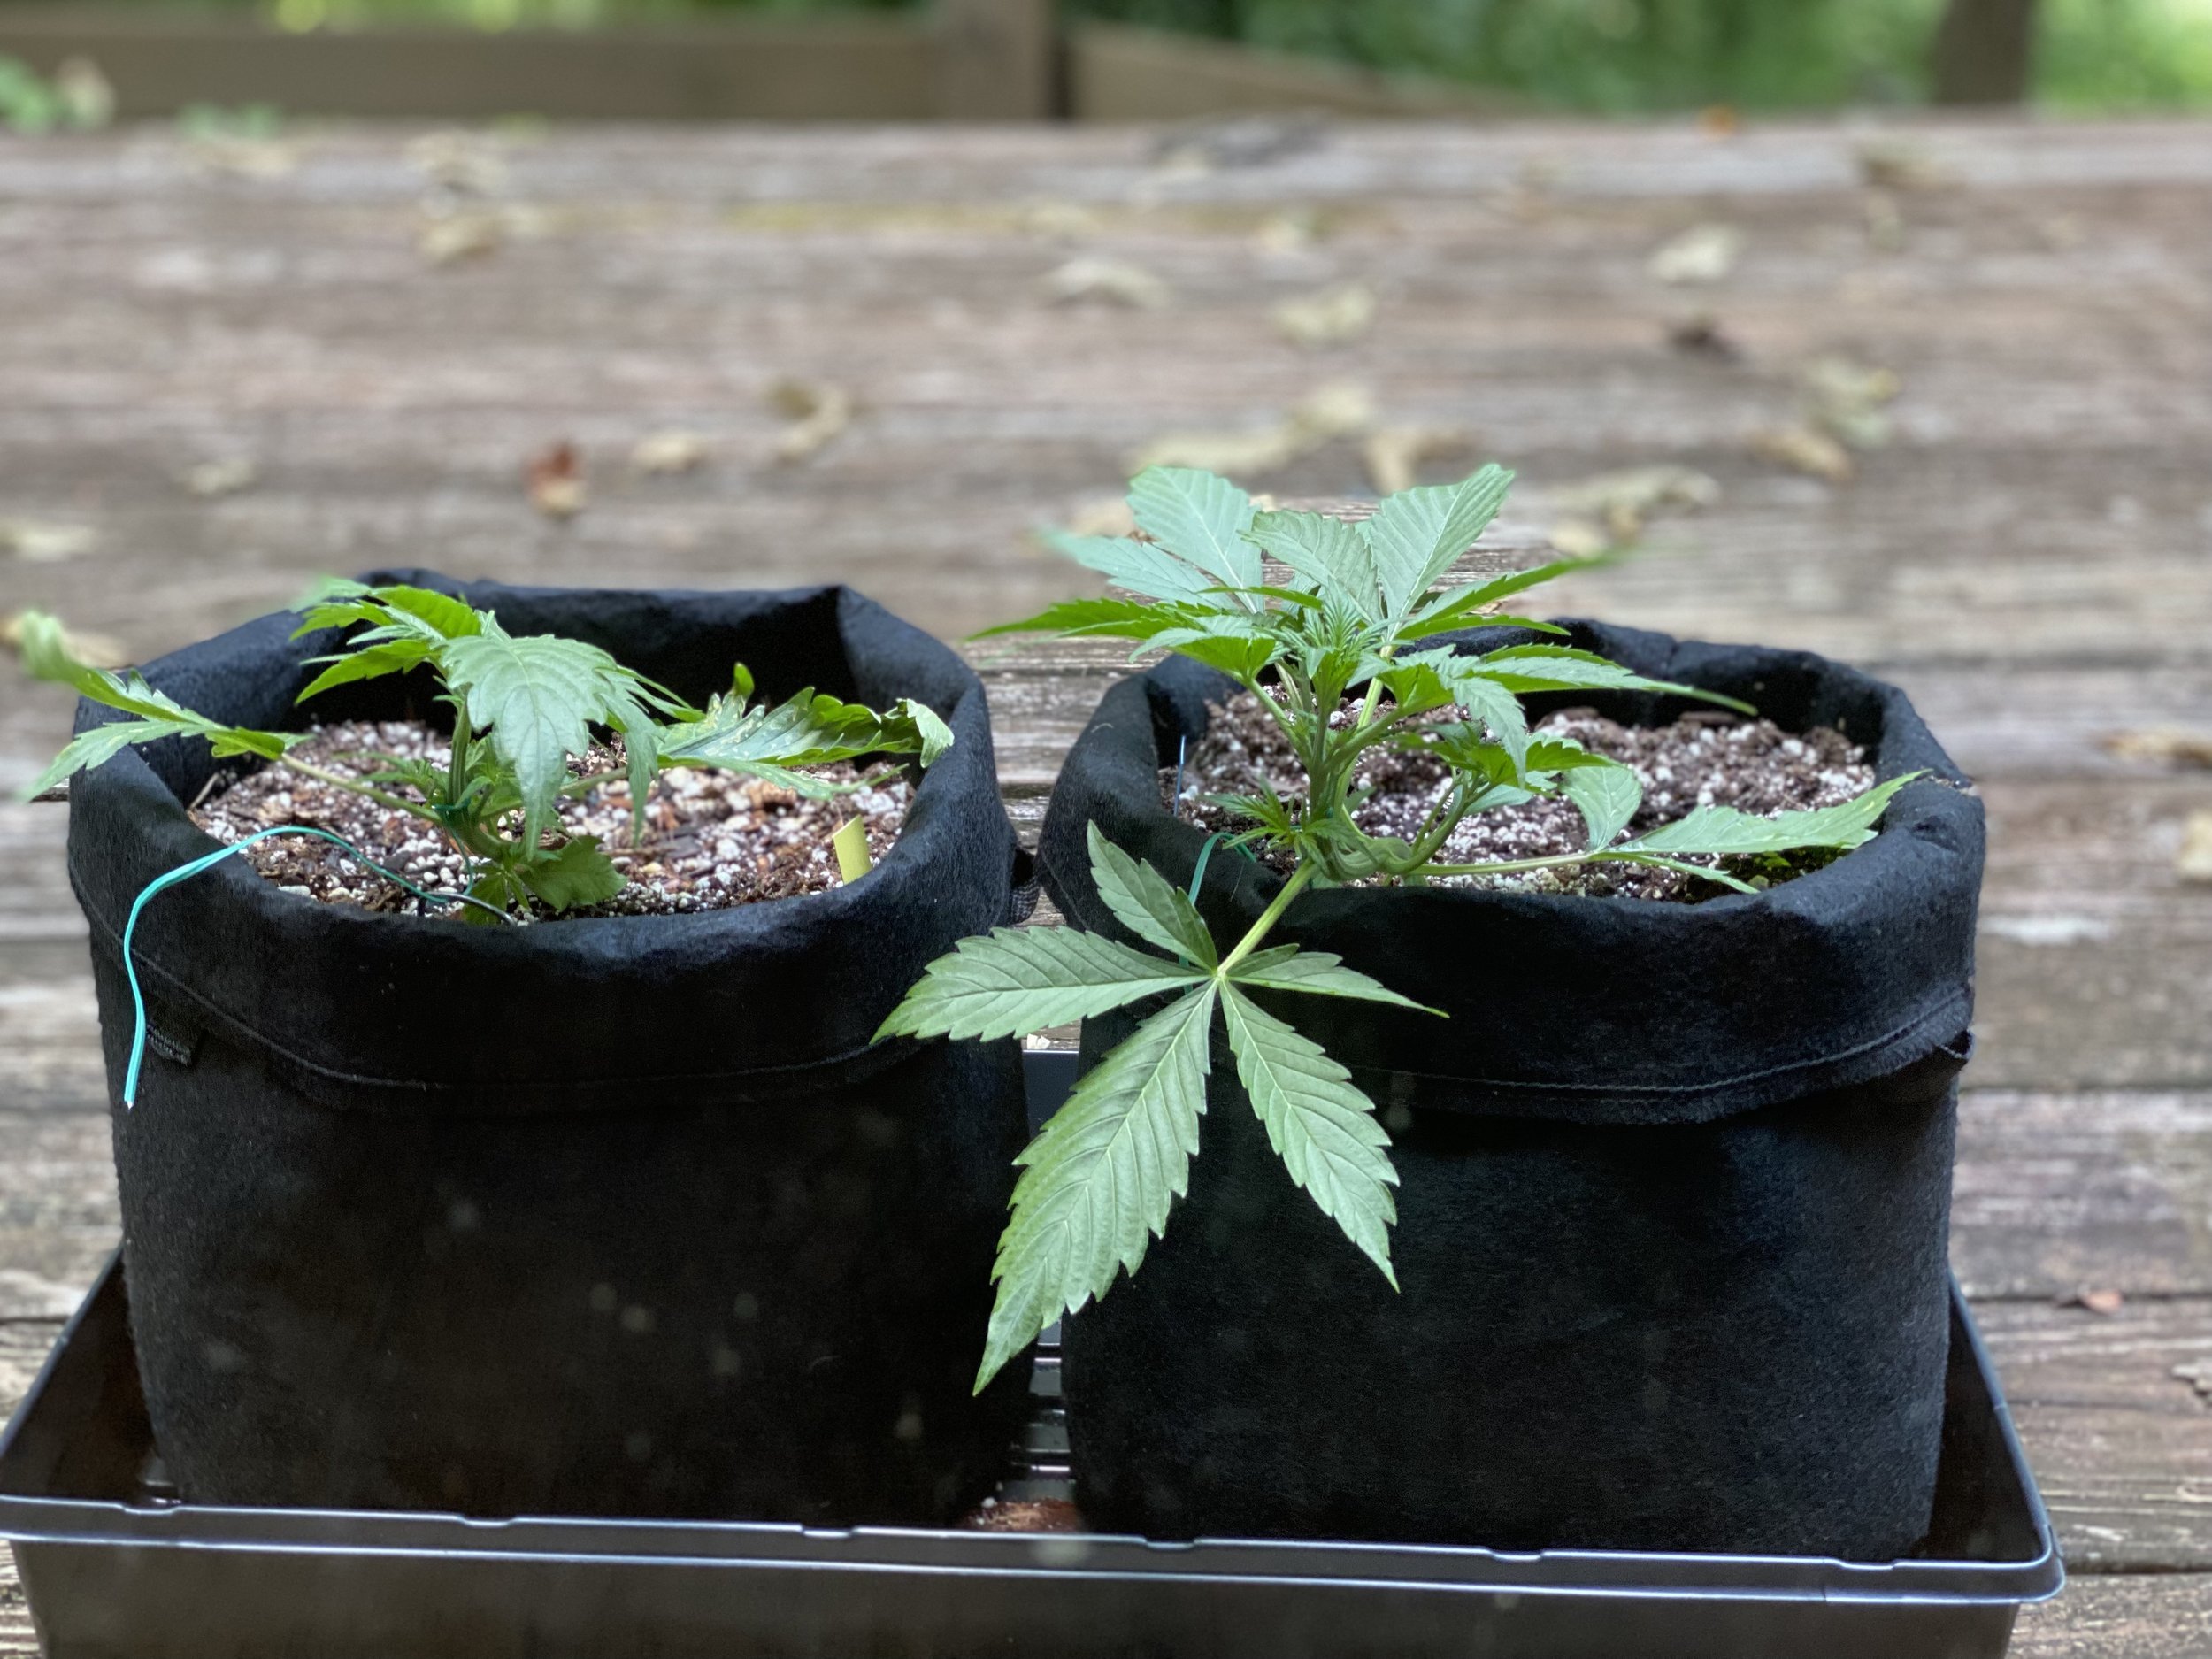
Keep your grow bags indoors under those same LED grow lights. But look for symptoms of disease or deficiency, which may start cropping up. The best site I’ve found for diagnosing is Grow Weed Easy’s excellent Plant Doctor page, with photos of many common symptoms and their recommended fixes.
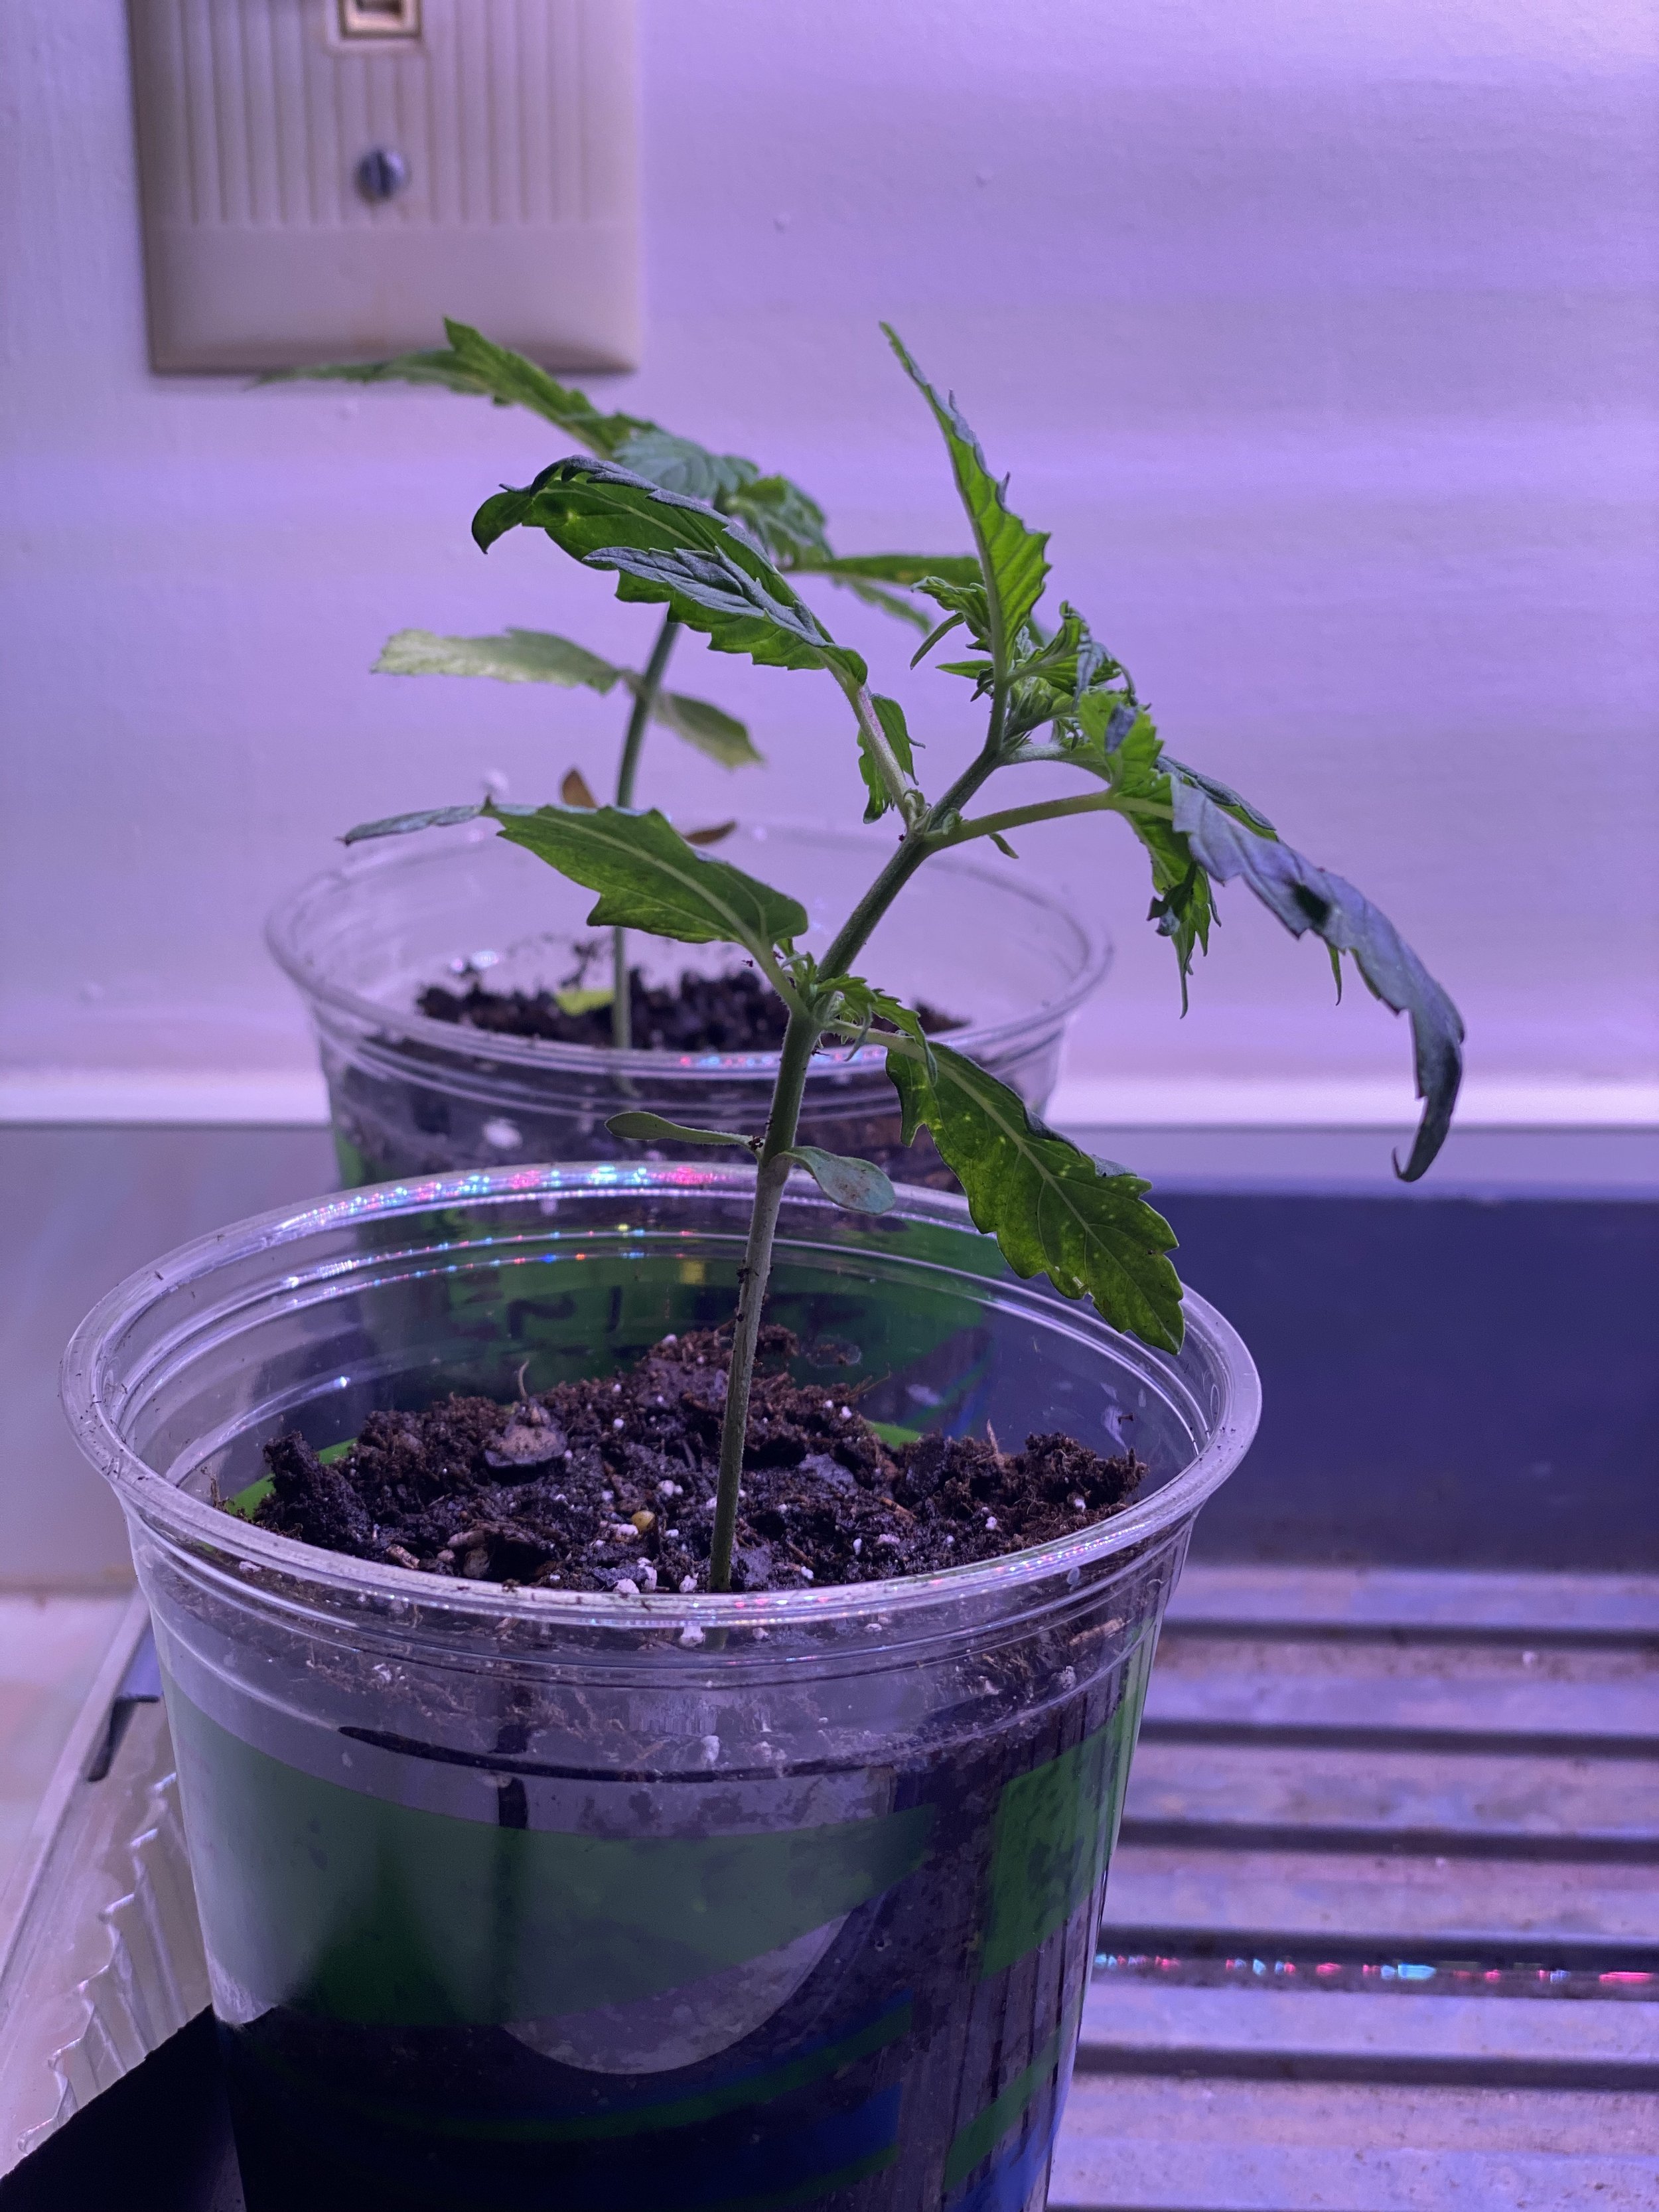
You can see that my first couple plants grown in Solo cups showed some yellowing leaves, some spots in the center of other leaves, etc. Much of this was due to overwatering, using non-pH-adjusted water (7.5), and the plants being too far from the light. If you see the edges of the leaves curling up or “cupping” that means they’re likely too close to the light, or otherwise too hot. High humidity may also play a role.
>> Buy some top-tier cannabis seeds at Homegrown Cannabis Co.


Step 2: Begin Feeding with Nutrients
This week you’re gonna start feeding your plant “grow” nutrients (also known as liquid fertilizer) to encourage production of vegetation. The main nutrients your plant craves are Nitrogen (N), Phosphorus (P) and Potassium (K), and you’ll see N-P-K numbers listed on your nutrients in that order.
I used Kyle Kushman’s Vegamatrix organic GROW formula for this plant stage, with an N-P-K of 5-2-3 (meaning it’s got 5 parts nitrogen to 2 parts phosphorus and 3 potassium), and also consider Fox Farm’s Grow Big formula, with an N-P-K of 6-4-4. I don’t know if one is better than another, but I’m sure the internet has opinions.
As the plant grows and arrives at later stages, the ratio will change, with “bloom” nutrients offering a higher percentage of P and K, and less N, to encourage flowering.
Whichever nutes you choose, it’ll have a feeding schedule that looks something like this. If you’re following my approach, and growing an autoflower plant in already nutrient-rich Fox Farm Ocean Forest (FFOF) soil, you can cut the numbers on these charts in half.
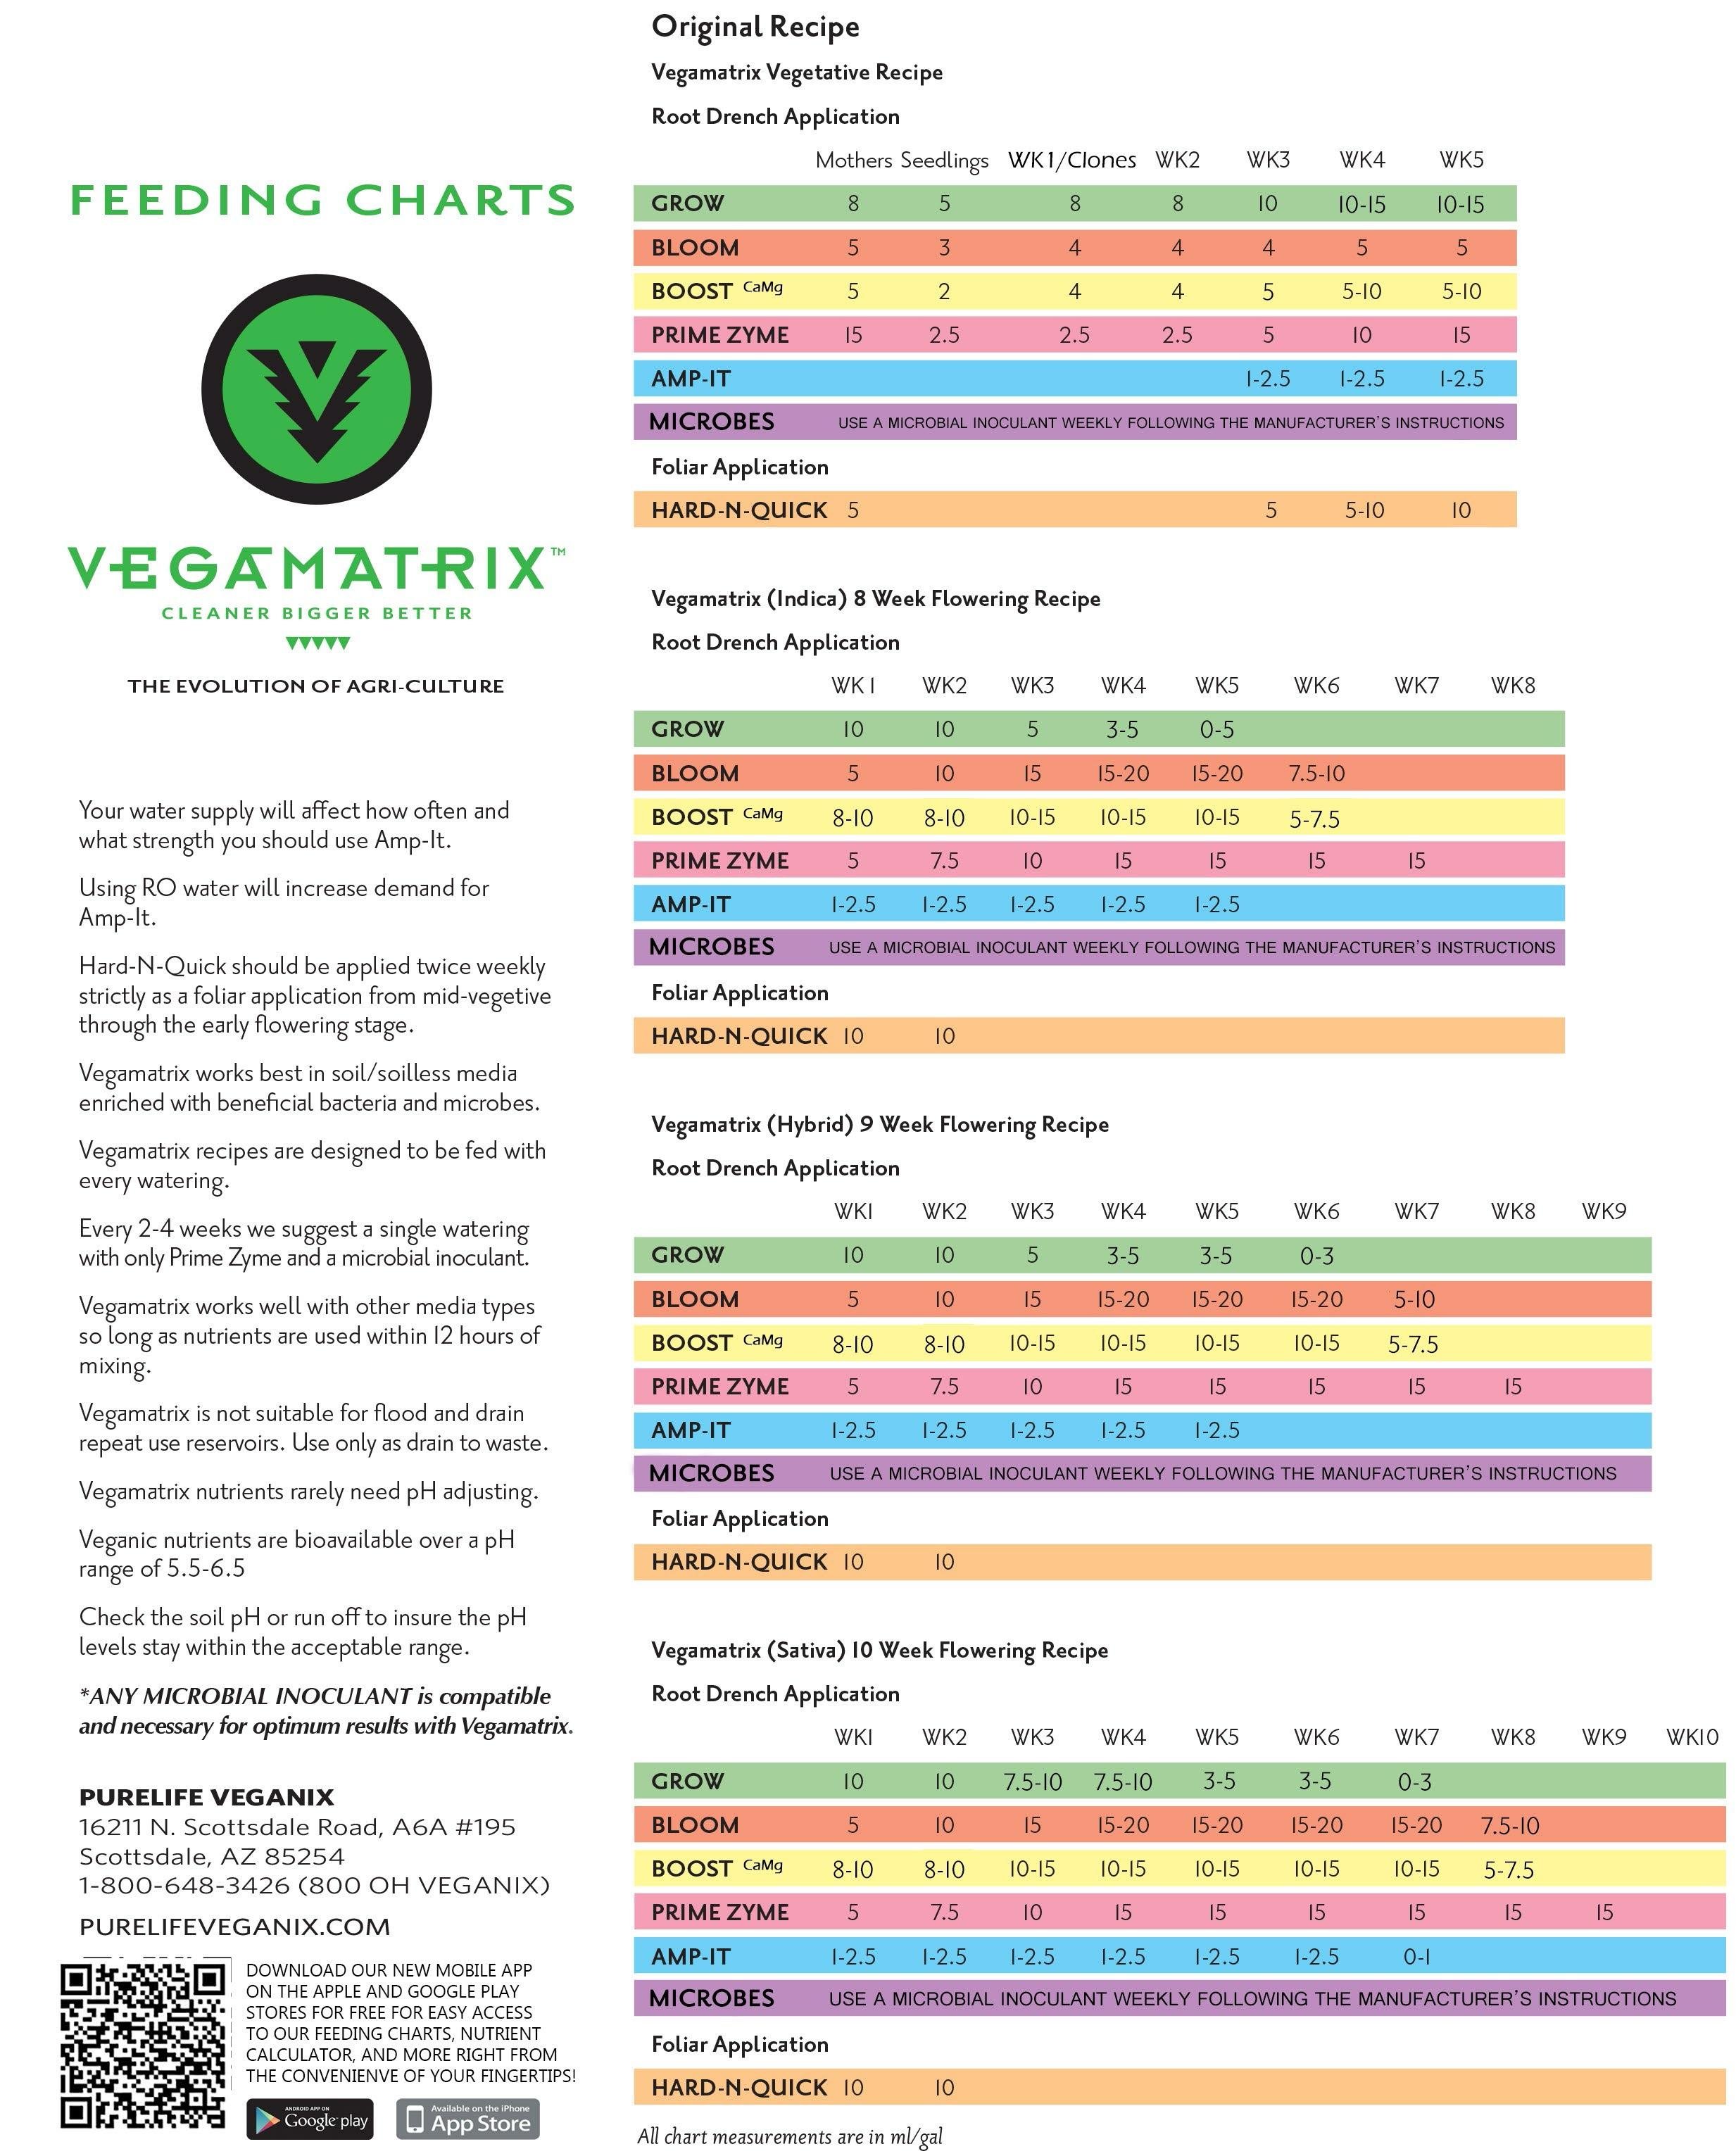
For instance, in Week 2 of its “Vegetative Recipe” chart, Vegamatrix is suggesting 8-10 ml/gal of its GROW nutrients. So, cut this to 4-5 ml/gal instead. Get a little plastic syringe ideally with a tube you can stick down into the nutrient bottle, and add 4 ml (err on the side of less rather than more) to a gallon of water. Or, if you’re working with just few plants and don’t need much water, you can do the math… add about 1 ml to each L of water you’re mixing up.
Feed your plant with this 1/2 dose of nutrients, 2x this week and next.
NOTE: You can use these same nutrients with fruiting or flowering vegetables like beans, cucumbers, broccoli, cabbage, eggplant, melons, peppers, pumpkins, squash, potatoes, tomatoes, or peas. Check your nutrient’s feeding chart for vegetable growing deets.
>> Buy some top-tier cannabis nutrients at Homegrown Cannabis Co.
Step 3: Watering
Give it about .5 L every day, or whenever the top layer gets dry. If a leaf or multiple leaves start drooping downward, be careful, as that is either a sign of over- OR under-watering (I know!).
Keep pH adjusting the water to between 6.0 - 7.0, but if it’s a feeding day check/adjust the pH AFTER you add nutrients to the water, as the nutrients will affect pH.
Again, here’s that handy dandy week-by-week outdoor autoflower cannabis growing cheat sheet for all your watering, nutrient and general maintenance needs
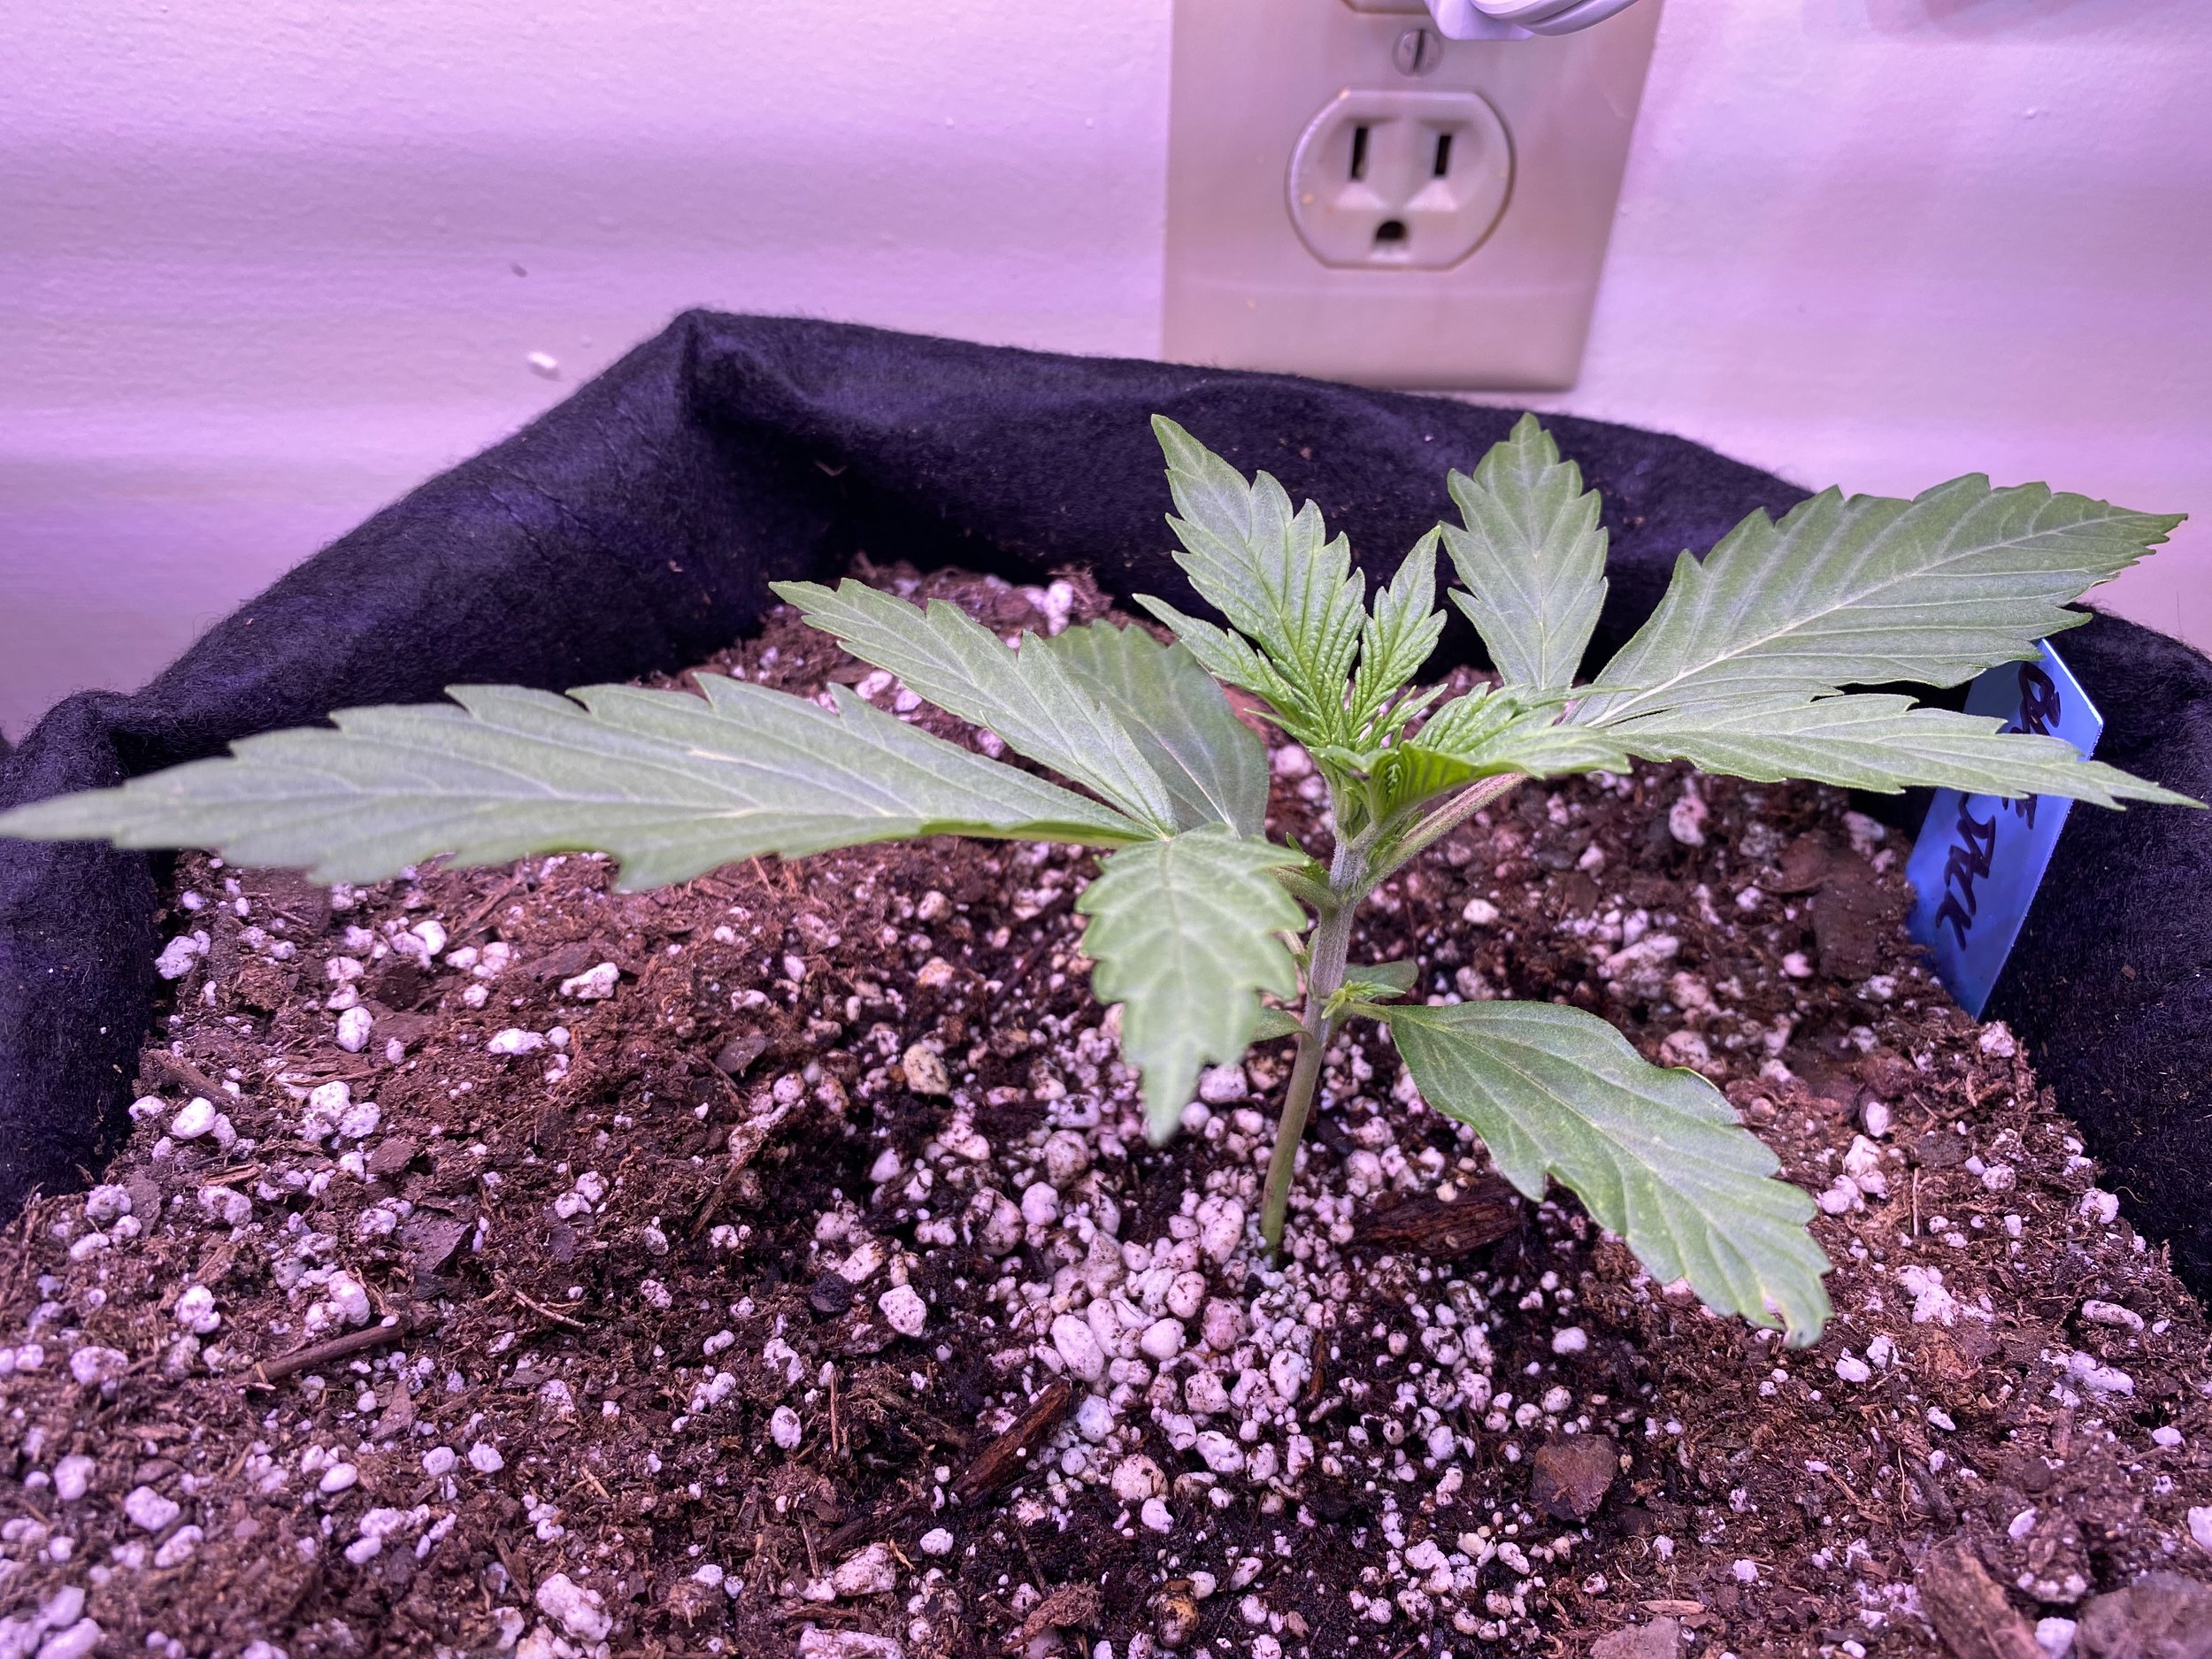
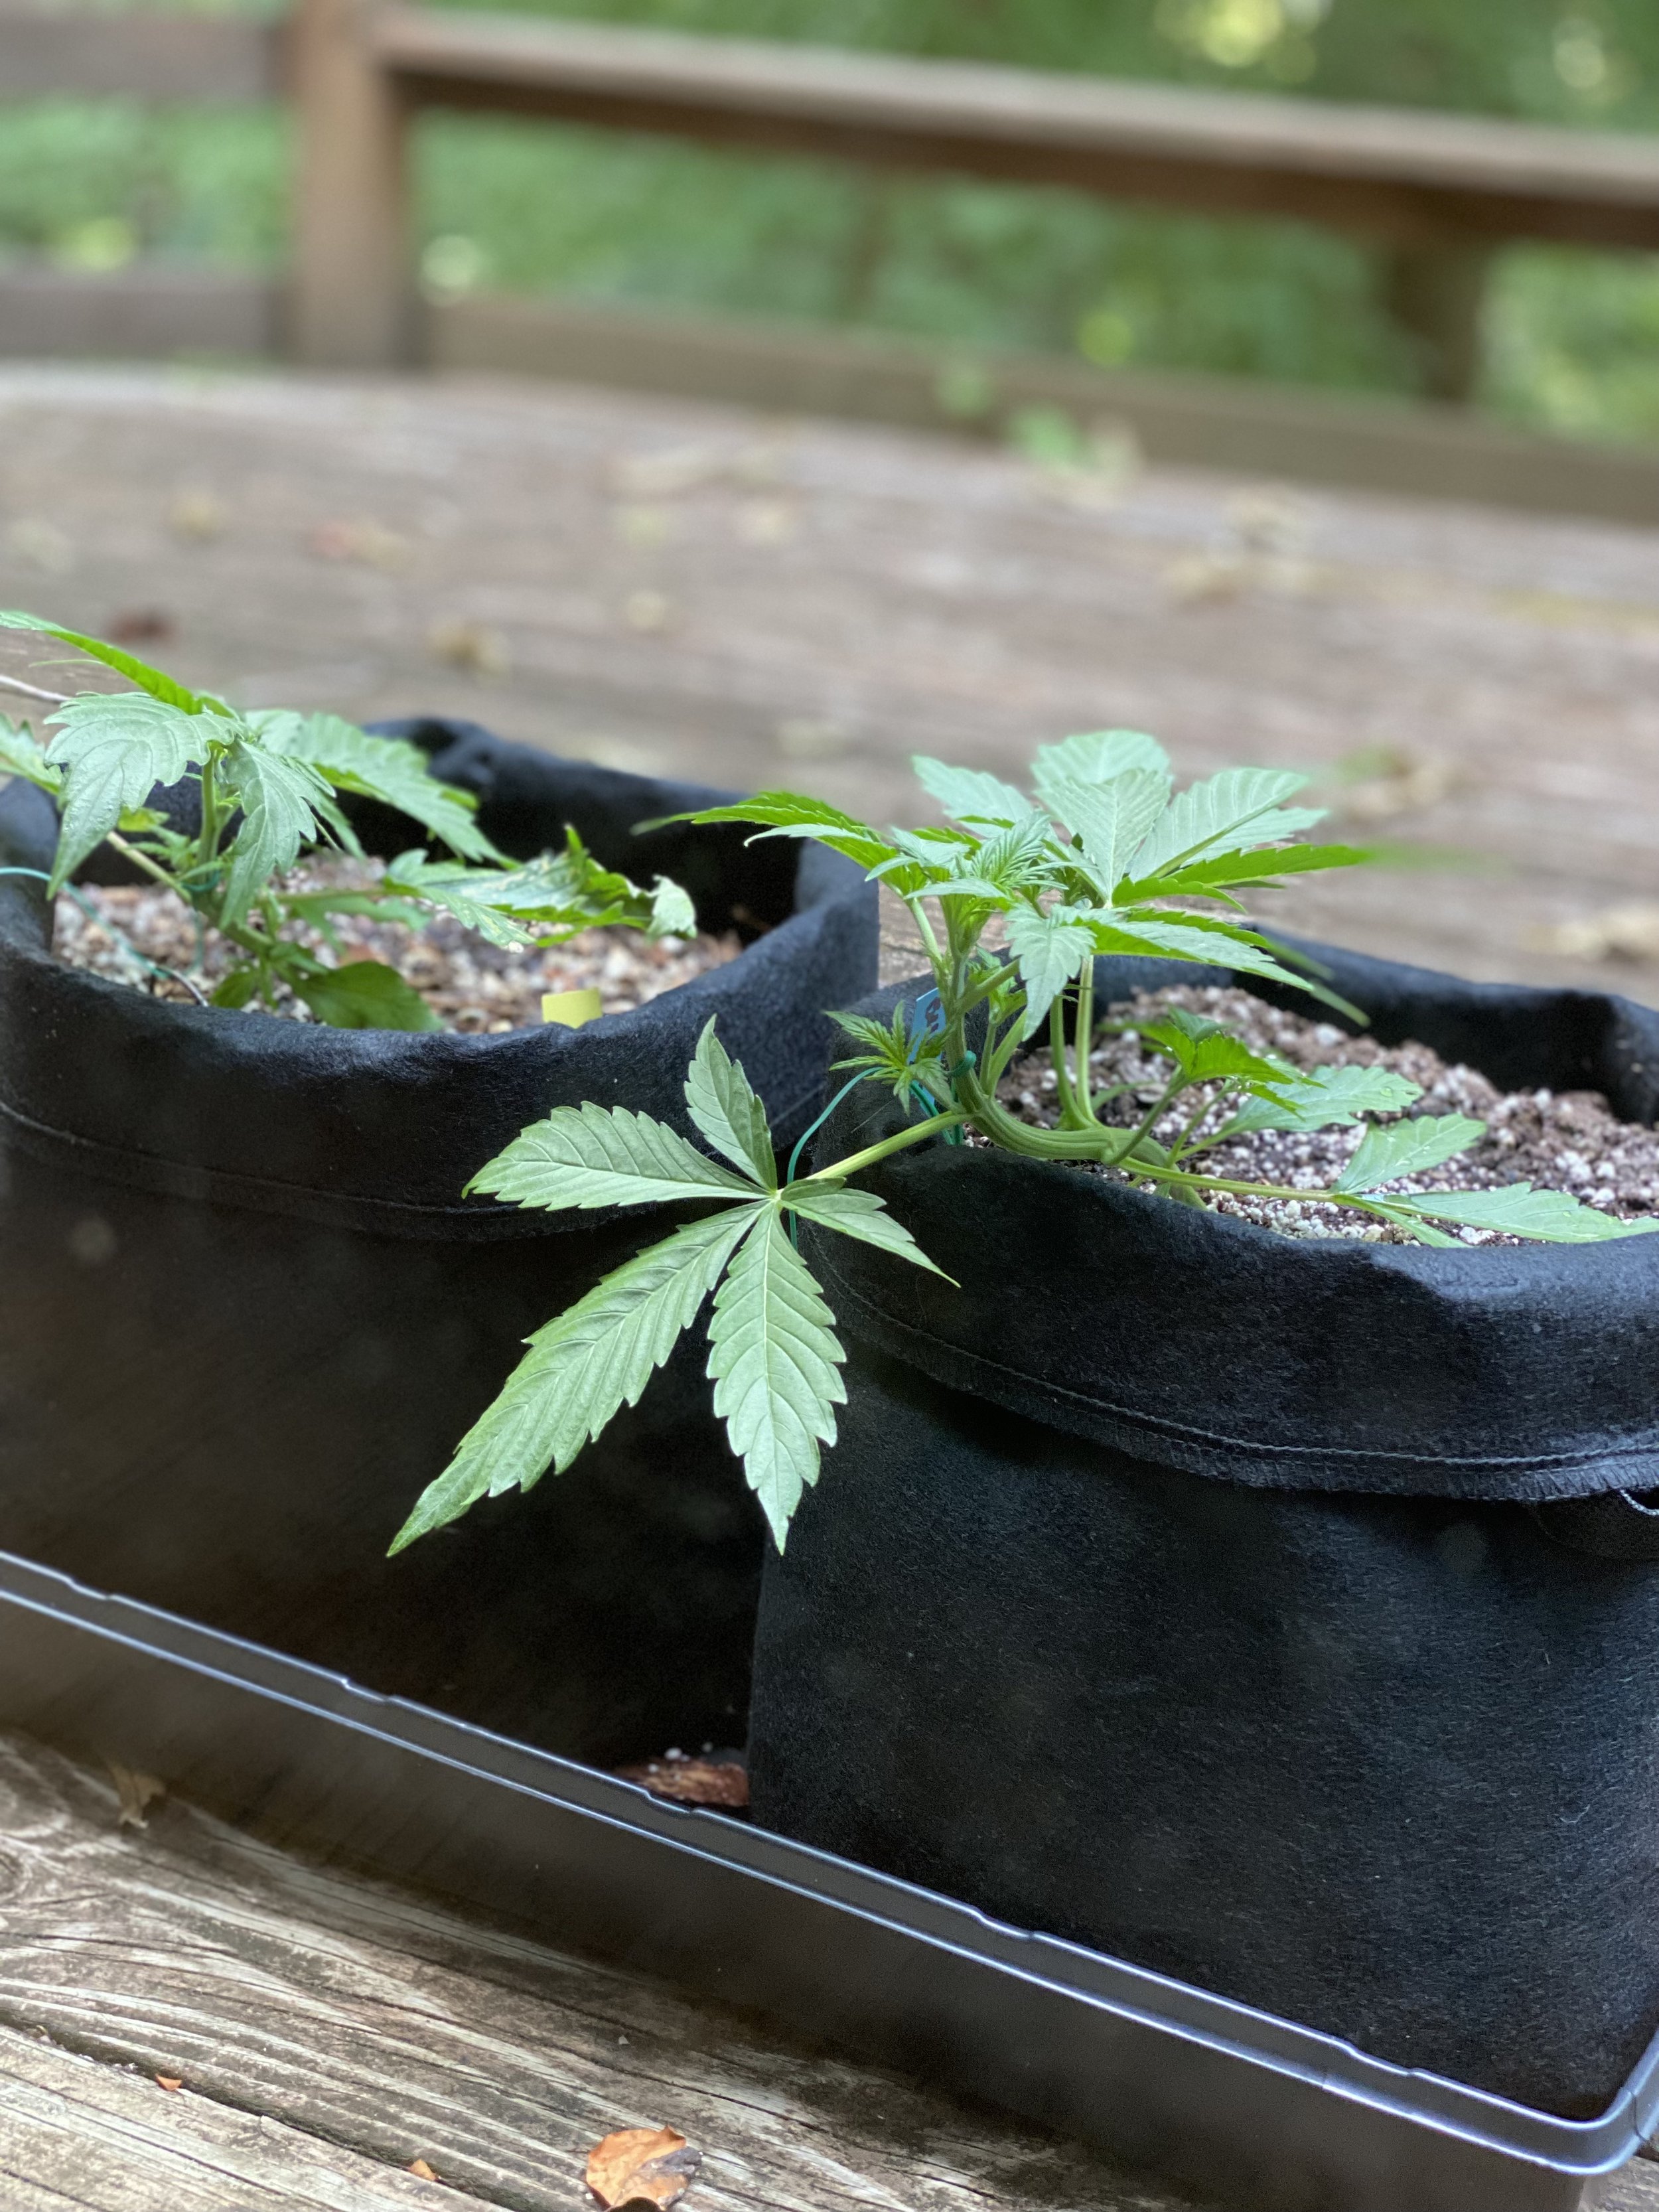
WEEK THREE: MID-VEGETATIVE STAGE
Step 1: Pruning & Shaping
This might feel a bit advanced if this is your maiden voyage, but you’ll thank me later: there’s something called Low-Stress Training (LST) that growers unanimously recommend you start in Week 3, which will greatly improve your yield in the plant flowering stage and also helps avoid mold problems when you move these ladies outside.
If you DON’T do LST, the plant (especially sativas) will simply grow upwards, and when it flowers it’ll be a big, fat single stalk or “cola” that looks like a Christmas tree. That’s the last thing you need, if you want a large trichome presence and fat juicy buds.
That bud may look nice and fat and sexy with a nice trichome presence, but if and when it gets wet outside (mine got hit with some near-monsoon August rains) it’s harder for it to dry out and it can develop the dreaded “bud rot” (botrytis) fungus from the inside-out, which is very hard to spot while it’s still growing. This ruins your plant and your month. You get to the harvest stage and only then learn that the whole plant is lost.
With LST, you’re doing your best Mr. Miyagi bonsai training to shape the plant such that it grows outward, not just upwards, and produces MANY colas, instead of just one big bud. This will help with airflow and hopefully avoid bud rot, and your yields will be much higher (get it).
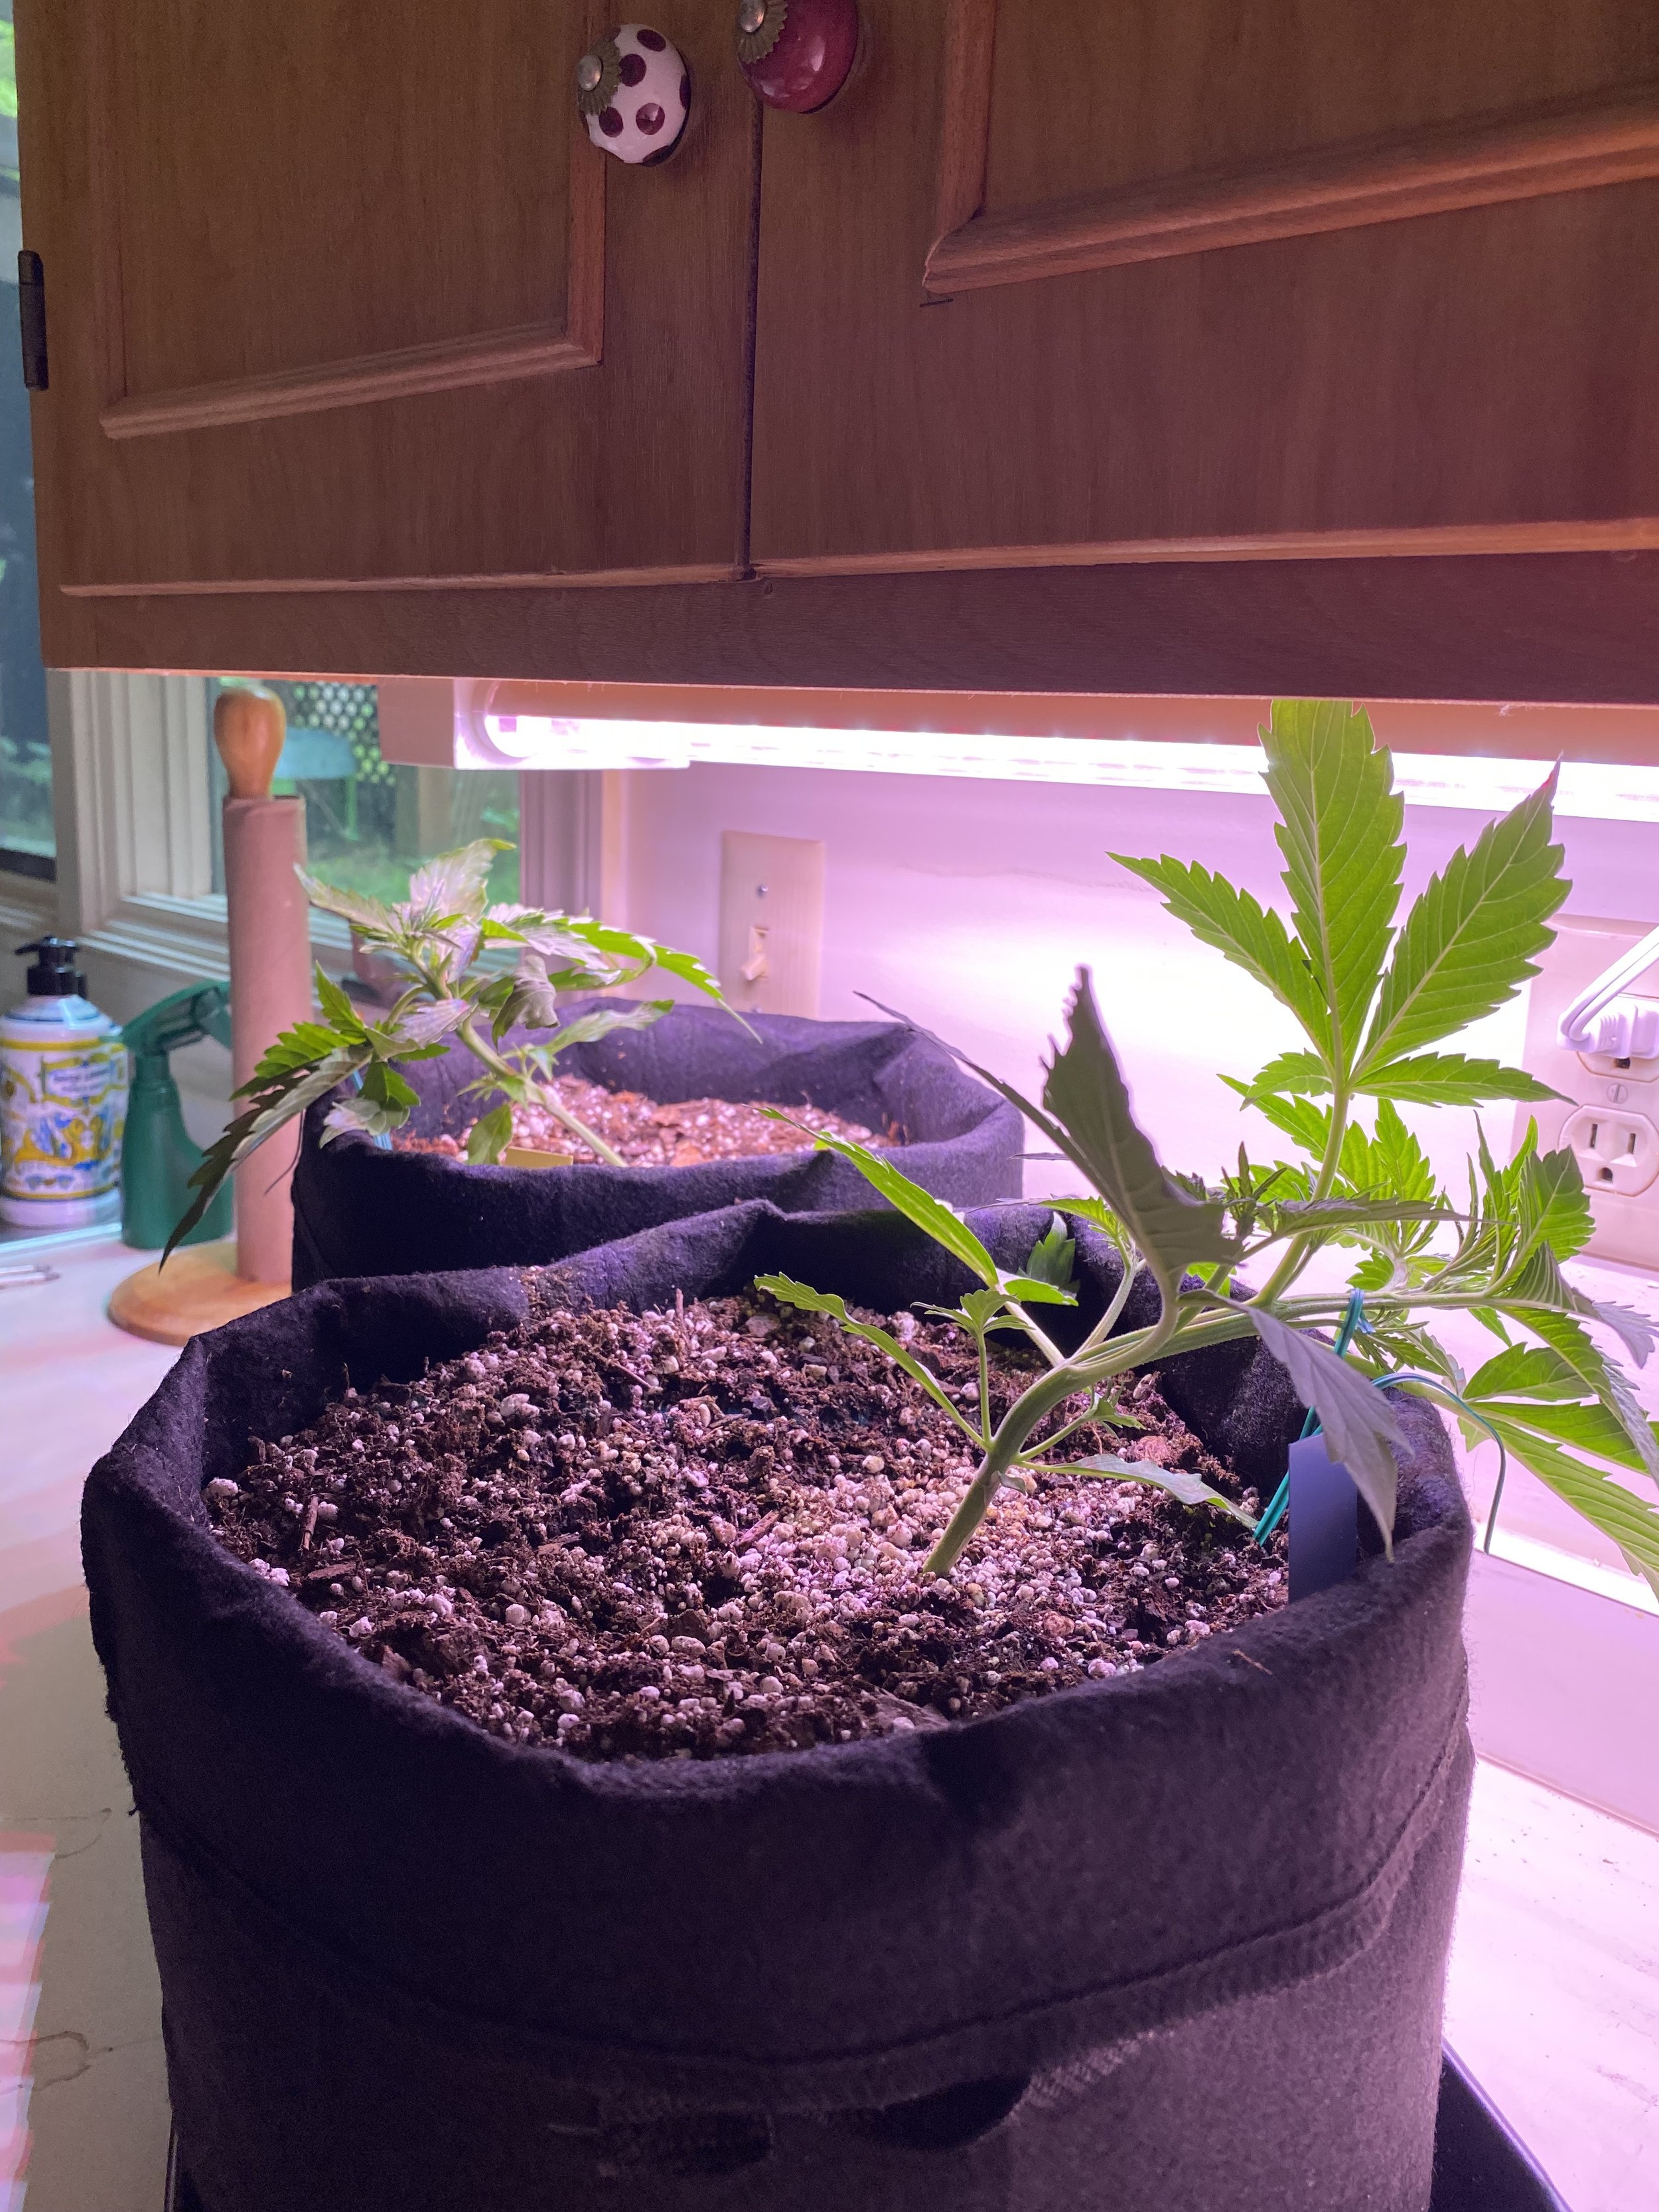
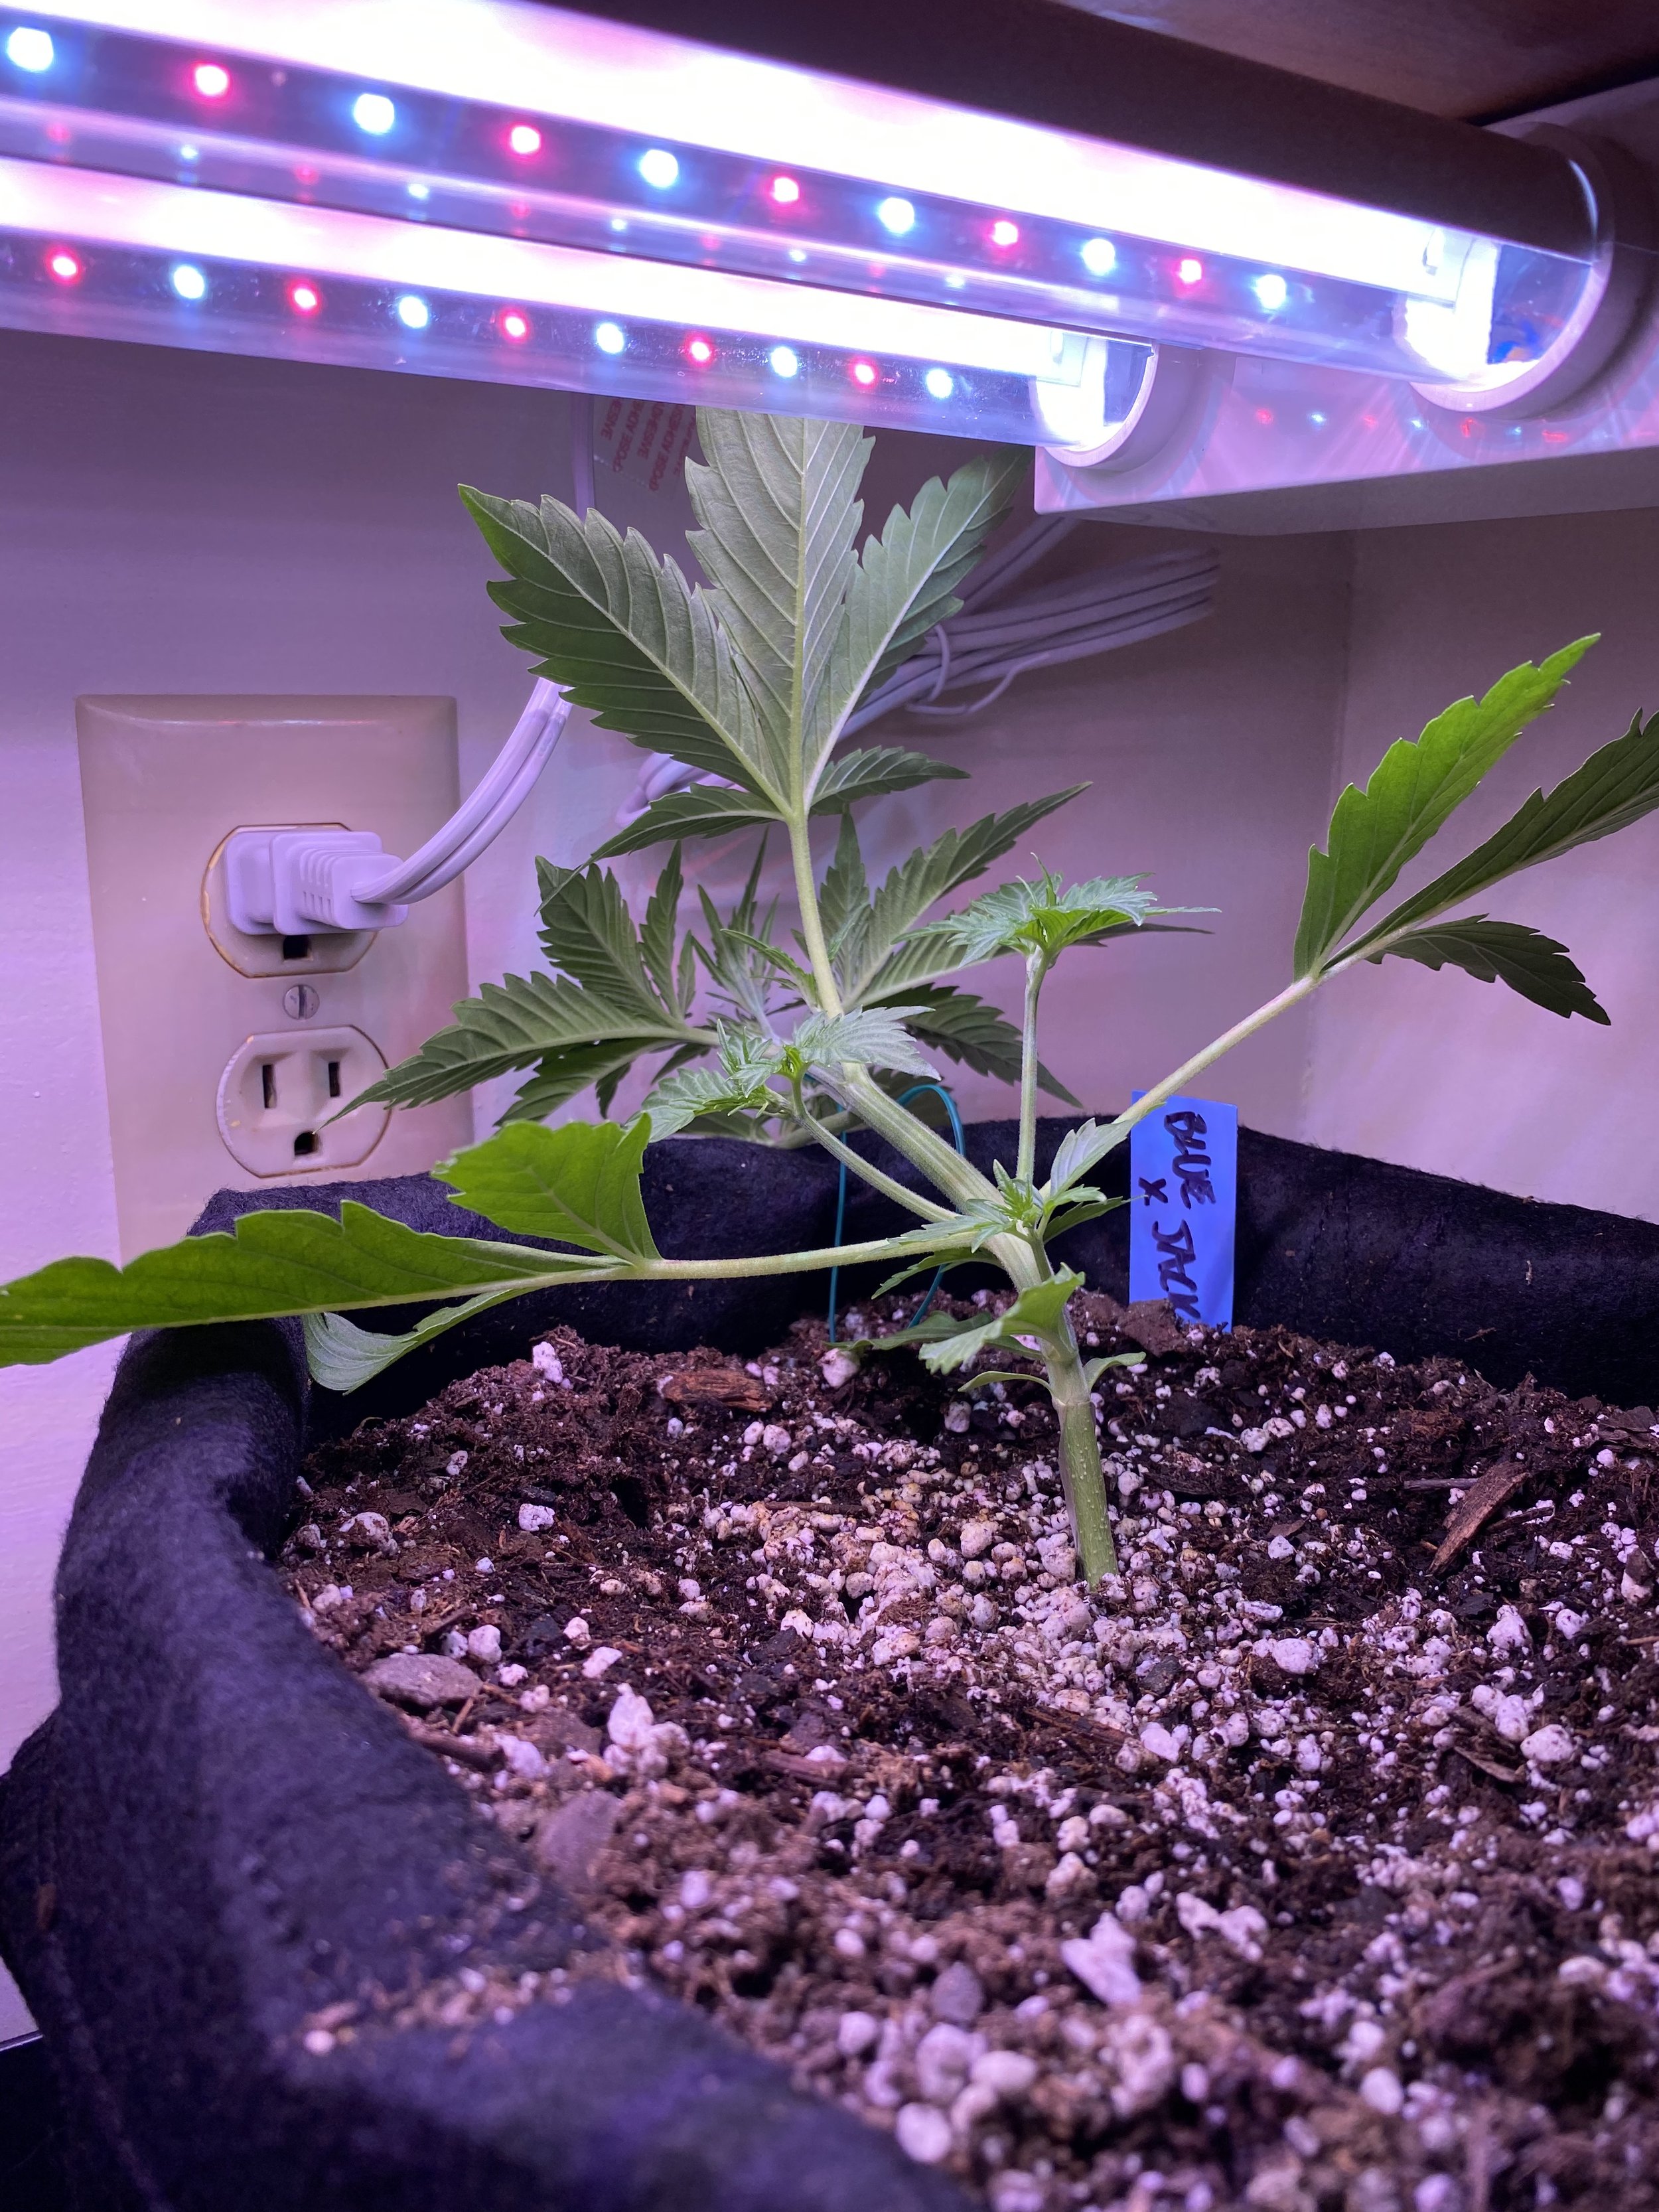
To LST: Take a piece of soft garden wire and loop it halfway up the main plant stem, then very gently bend the plant stem parallel to the soil (do this after a recent watering, so the stalk is plump and flexible) and secure it in position by tying the other end of the wire to a binder clip or safety pin affixed to the edge of the grow bag. This gives more light energy to new bud sites, which will now grow and reach up toward that light source, “flattening the canopy” so to speak.
It’s more art than science, but here’s a great tutorial: Grow Weed Easy’s Low-Stress Training Tutorial.
STEP 2: WATER & NUTRIENTS
Continue the 1/2 dose of veg/grow nutrients, 2x/week. Continue .5 L daily per plant, but may need more or less depending on your hardening off process and how dry it’s getting (see below)
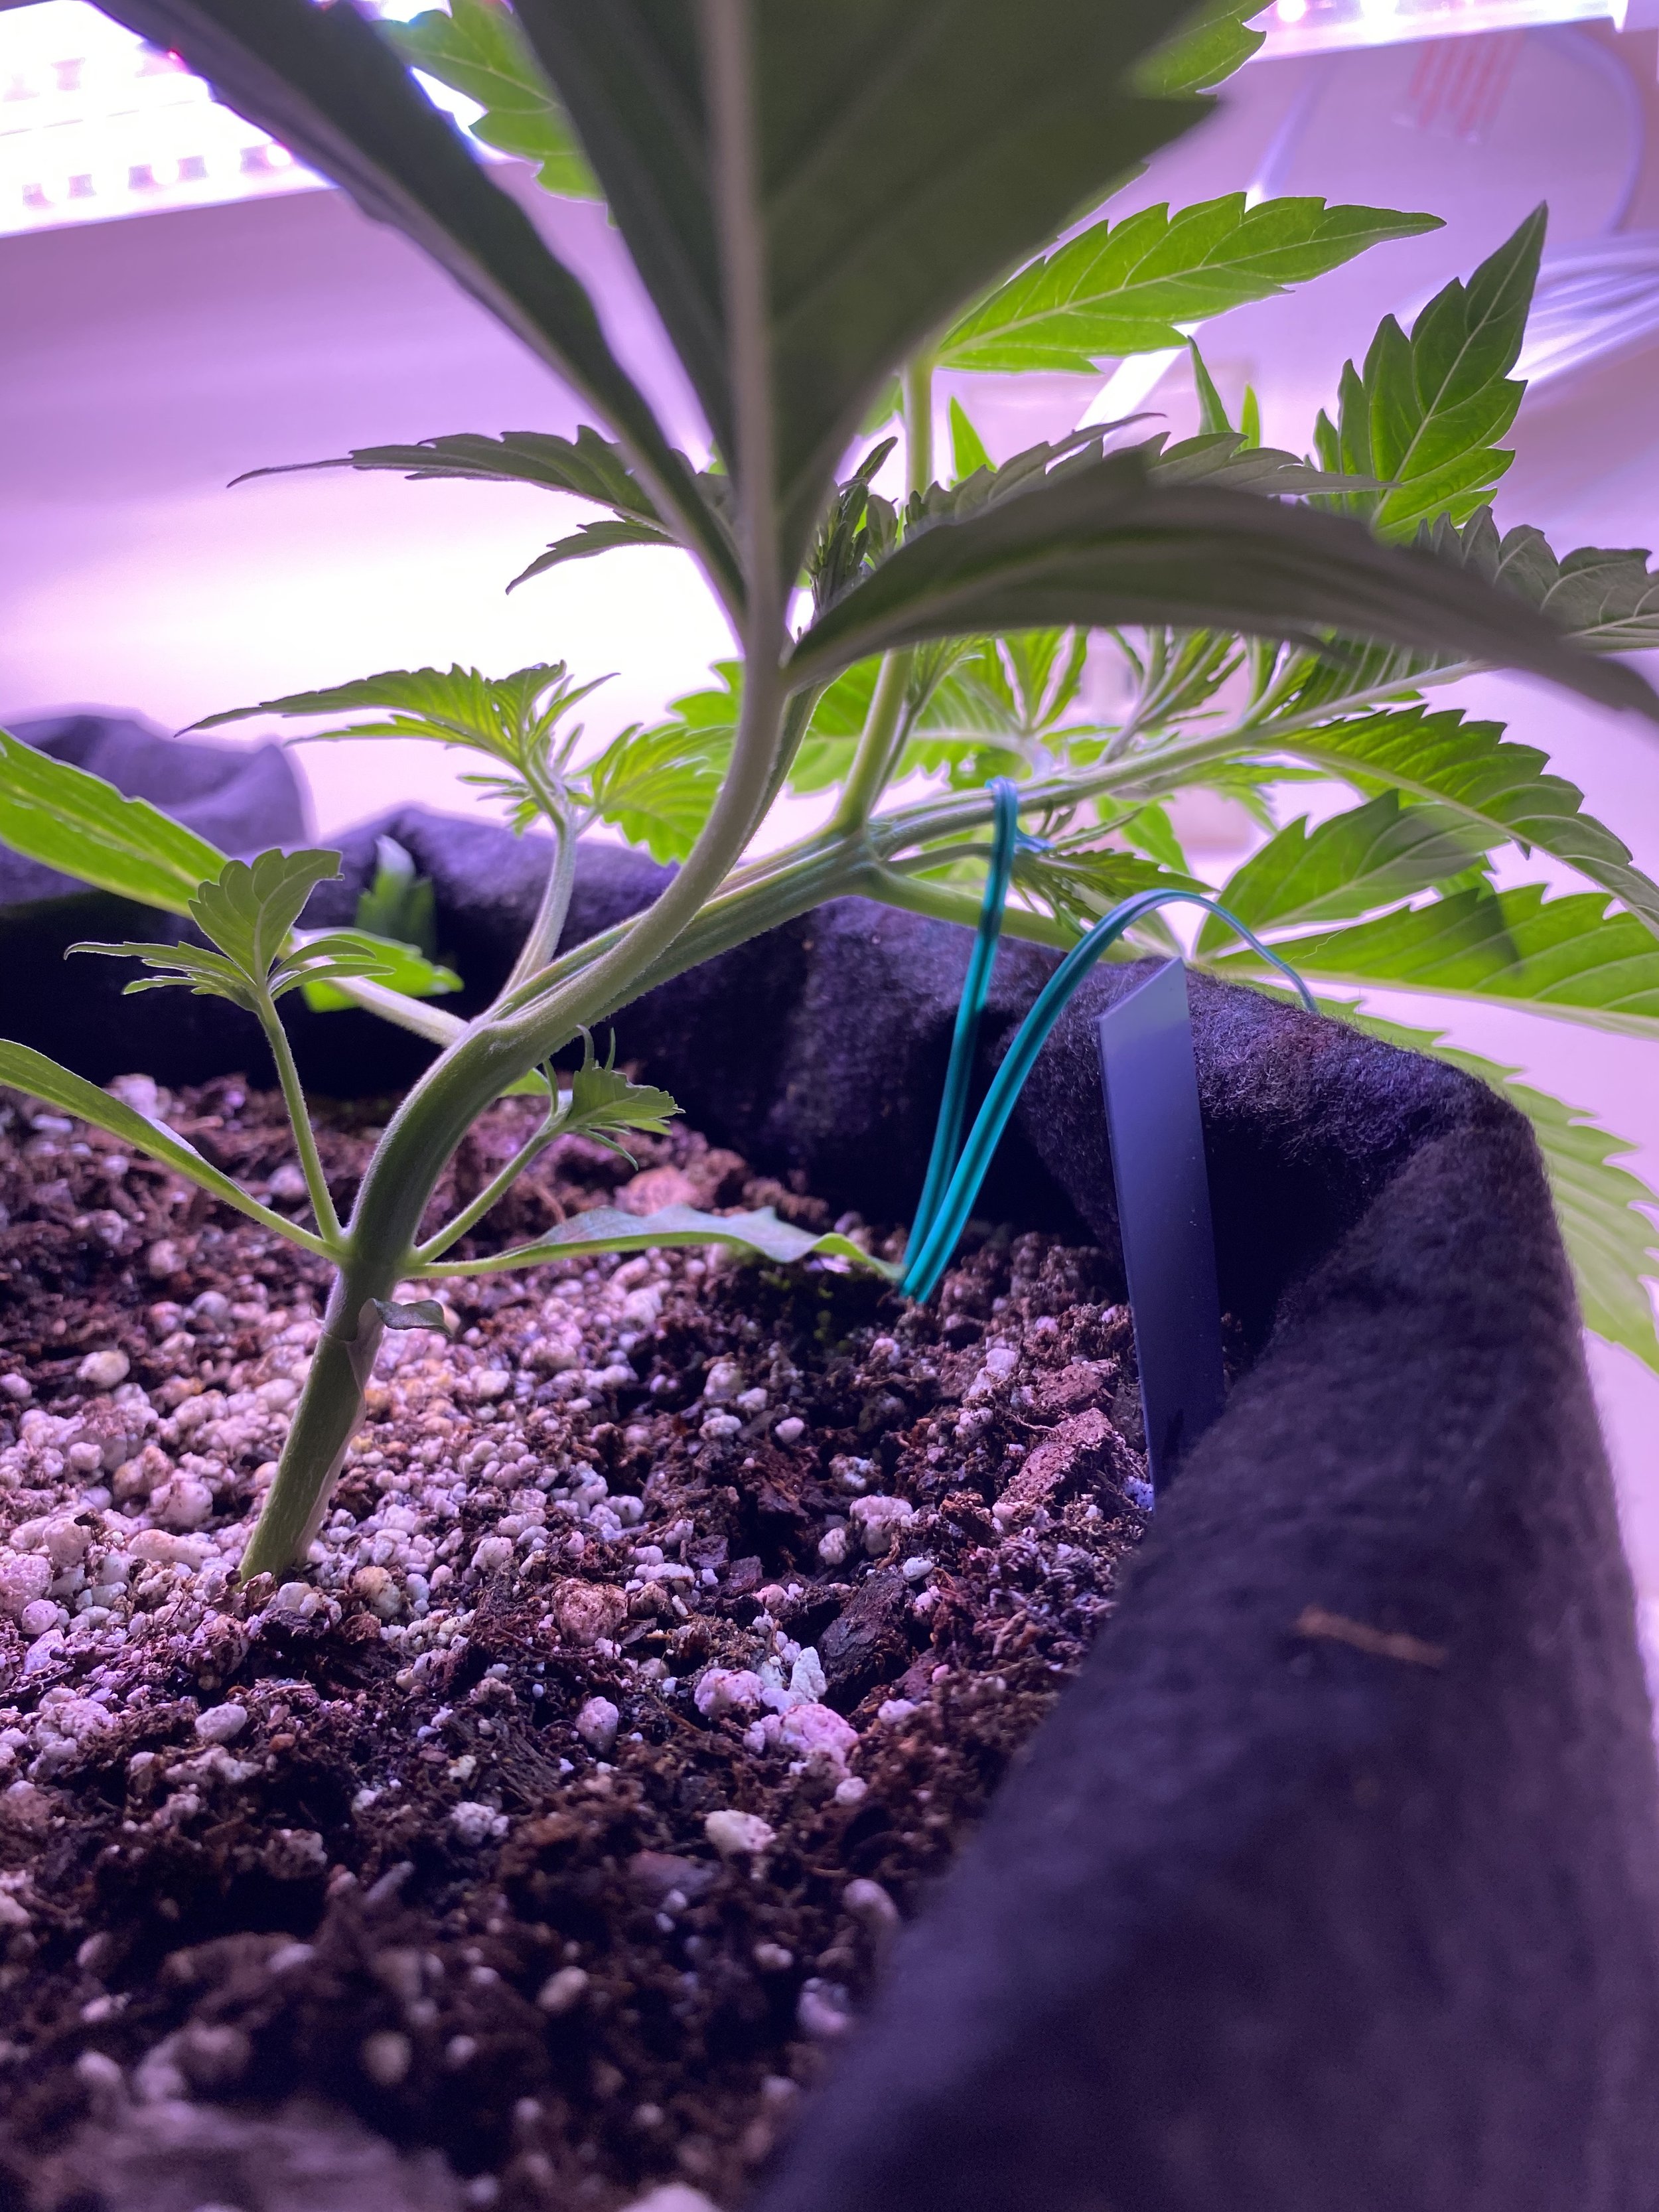

You may need to turn the bags to give more light to new areas exposed by LST
Step 3: BEGIN HardenING Off PROCESS
If you plan to move your plants outdoors (one of the great benefits of growing in these 3- or 5-gallon grow bags is that they’re so easy to move around), you don’t want to put them out there suddenly all at once cold turkey. Depending on the weather outside, which you can’t control, this could be a shock to the plant’s system.
As with any vegetables or herbs you start indoors, you have to gradually expose them to the elements in a process called “hardening off.” Give them just a taste of the real world (sun and heat and humidity and wind) every day, starting with 15 minutes or so and gradually ramping up each day (30 min, 1 hr, 2 hrs, 4 hrs, etc.).
A nice breeze will help each root and plant stem grow stronger, but careful of intense winds. Be especially careful of scorching direct sunlight or any rain in the first few days, but over time the plants will grow accustomed to the environment and grow stronger and ready for their new home outdoors.
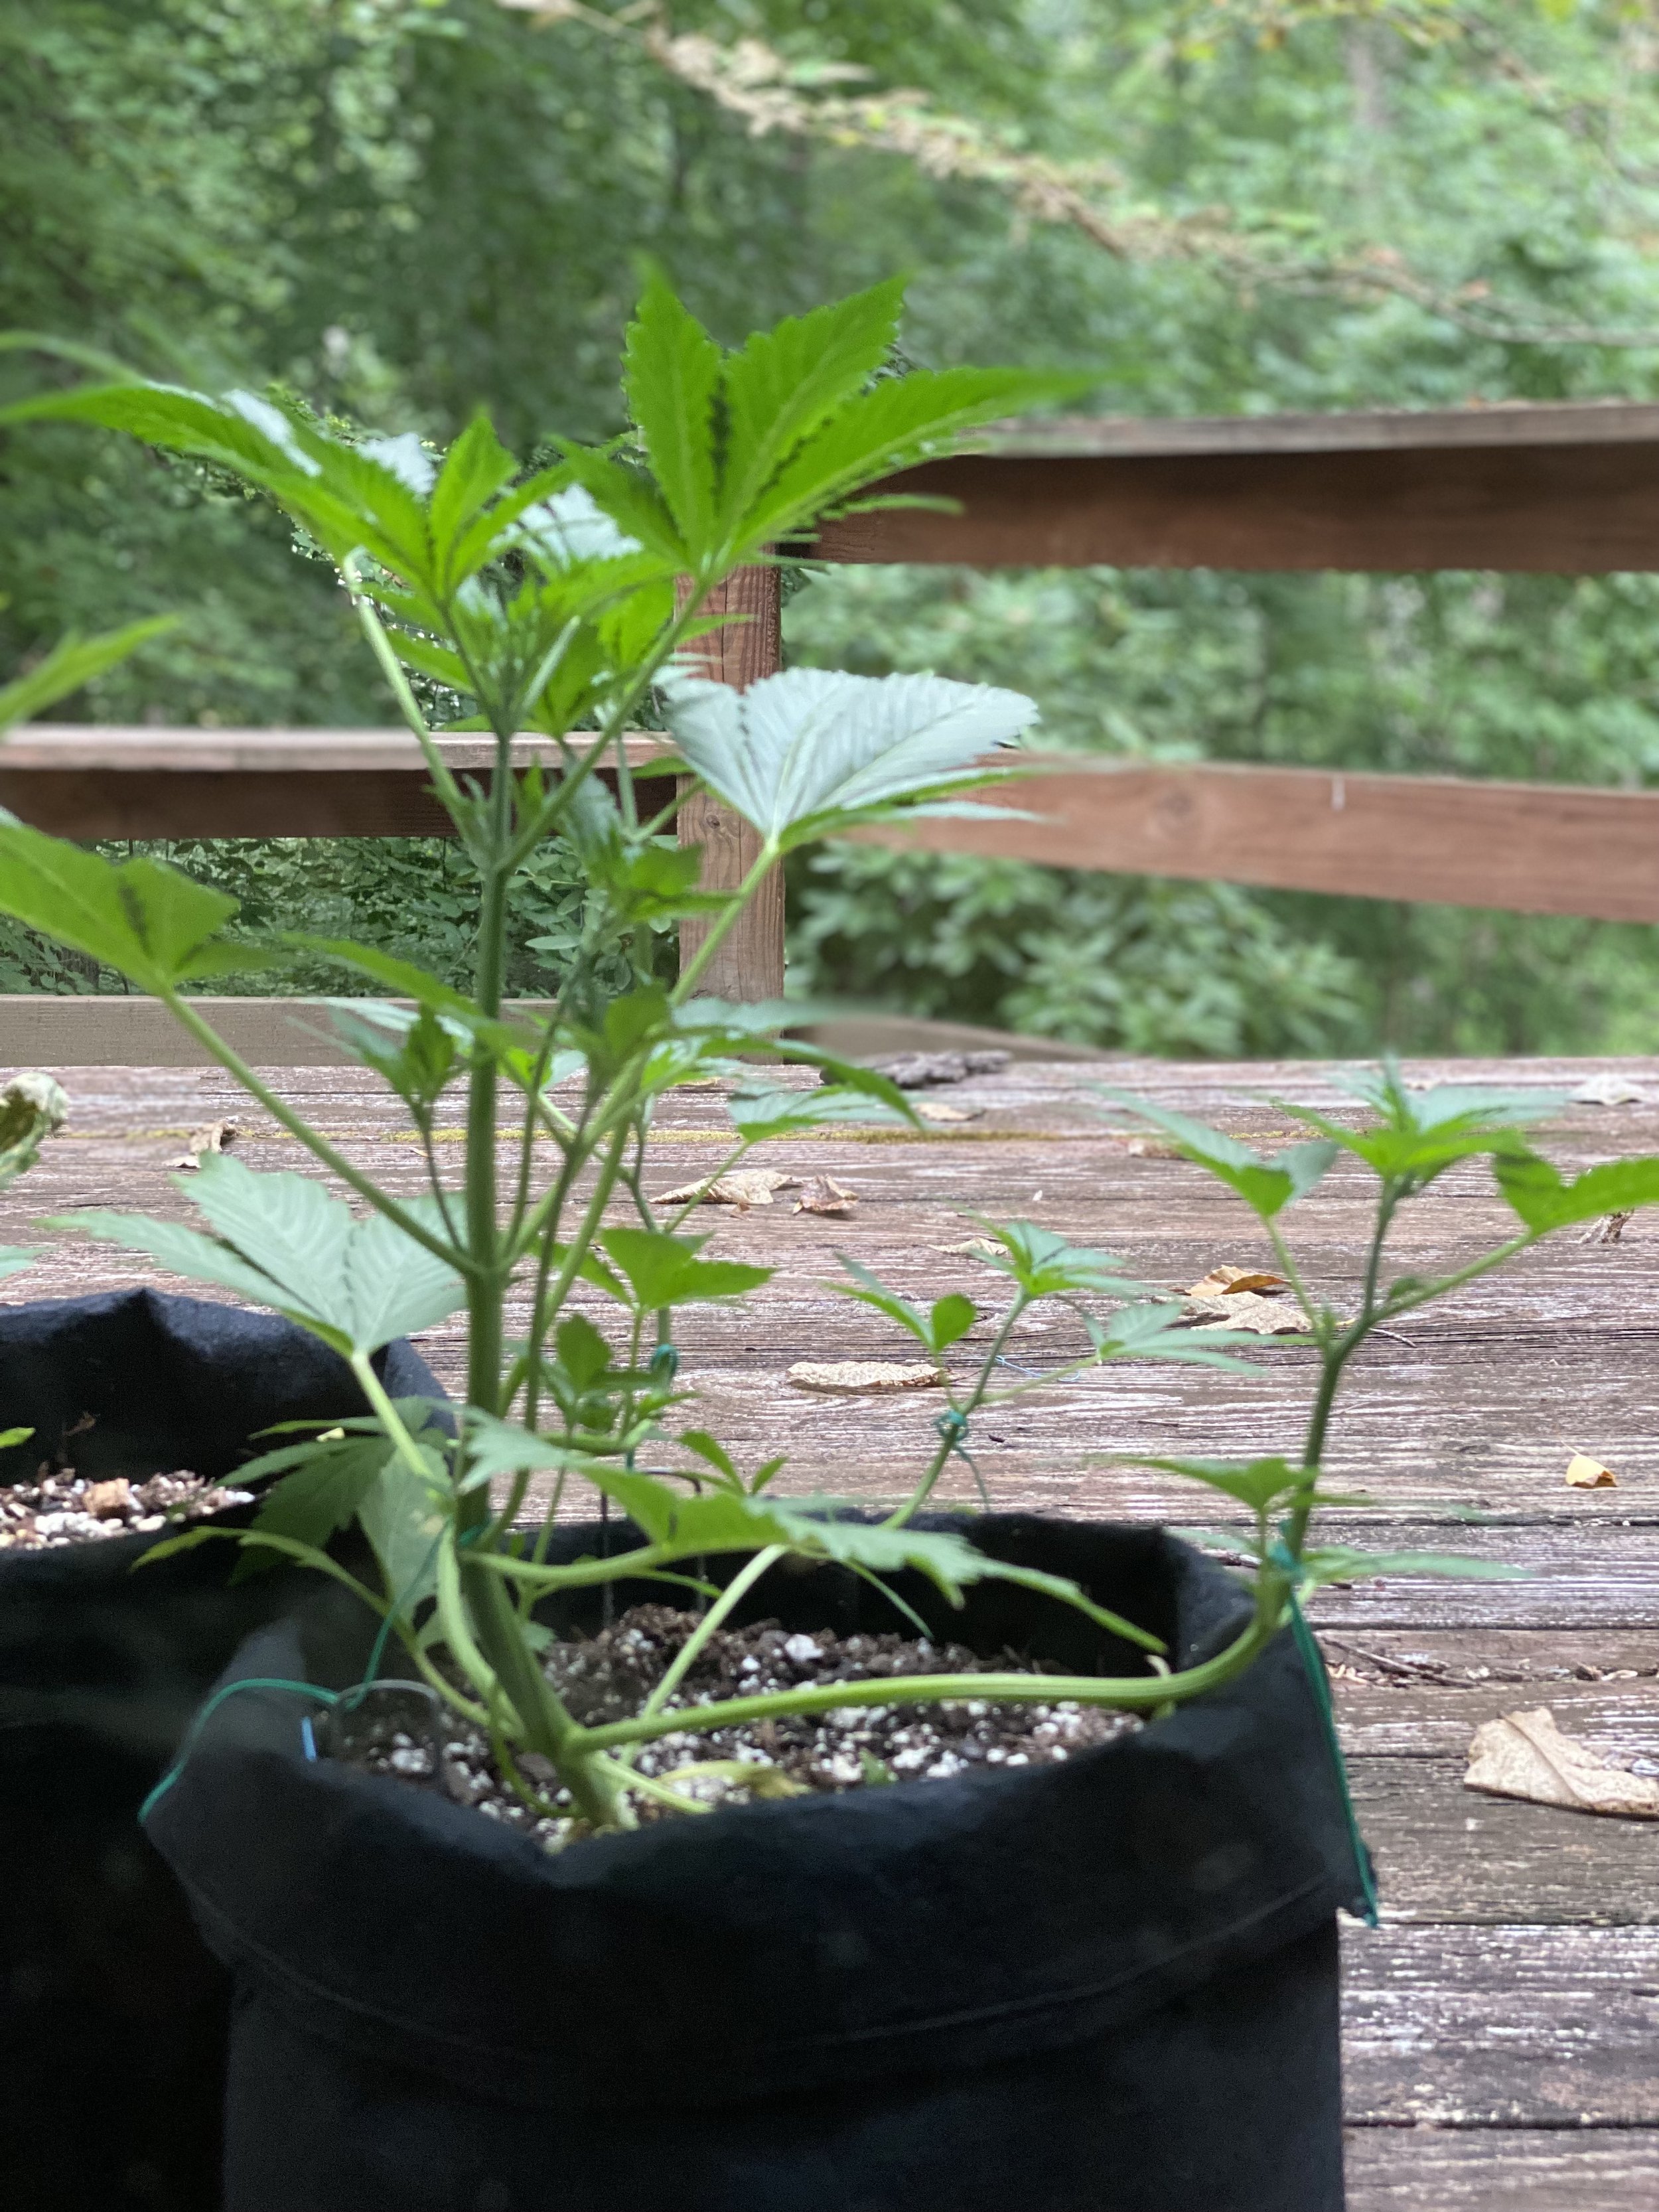
WEEK Four to Six: LATE VEGETATIVE STAGE
This week, you’re mostly continuing the same vegetative stage regimen that you did last week. Let’s keep the great plant development and horticulture going.
Monitor Conditions (continue looking for any symptoms and diagnosing problems here)
Nutrients (continue the 1/2 dose of veg/grow nutrients, 2x/week
Water (continue .5 L daily per plant, but may need more or less depending on your hardening off process and how dry it’s getting)
Shaping (continue LST process, you want it looking more like a wide bush rather than a tall redwood)
Harden Off (continue giving it more exposure to the outdoors and prepare for planting out)
As you keep hardening off and your plant gets taller and bushier it’ll possibly start to outgrow its LED grow light situation. This is a good indicator that it’s time to move the grow bags outdoors, or at least preparing for that move.
NEXT STEP: Prepare to Move Outdoors
This step is optional, depending on your climate, your garden setup, your animal situation, but…
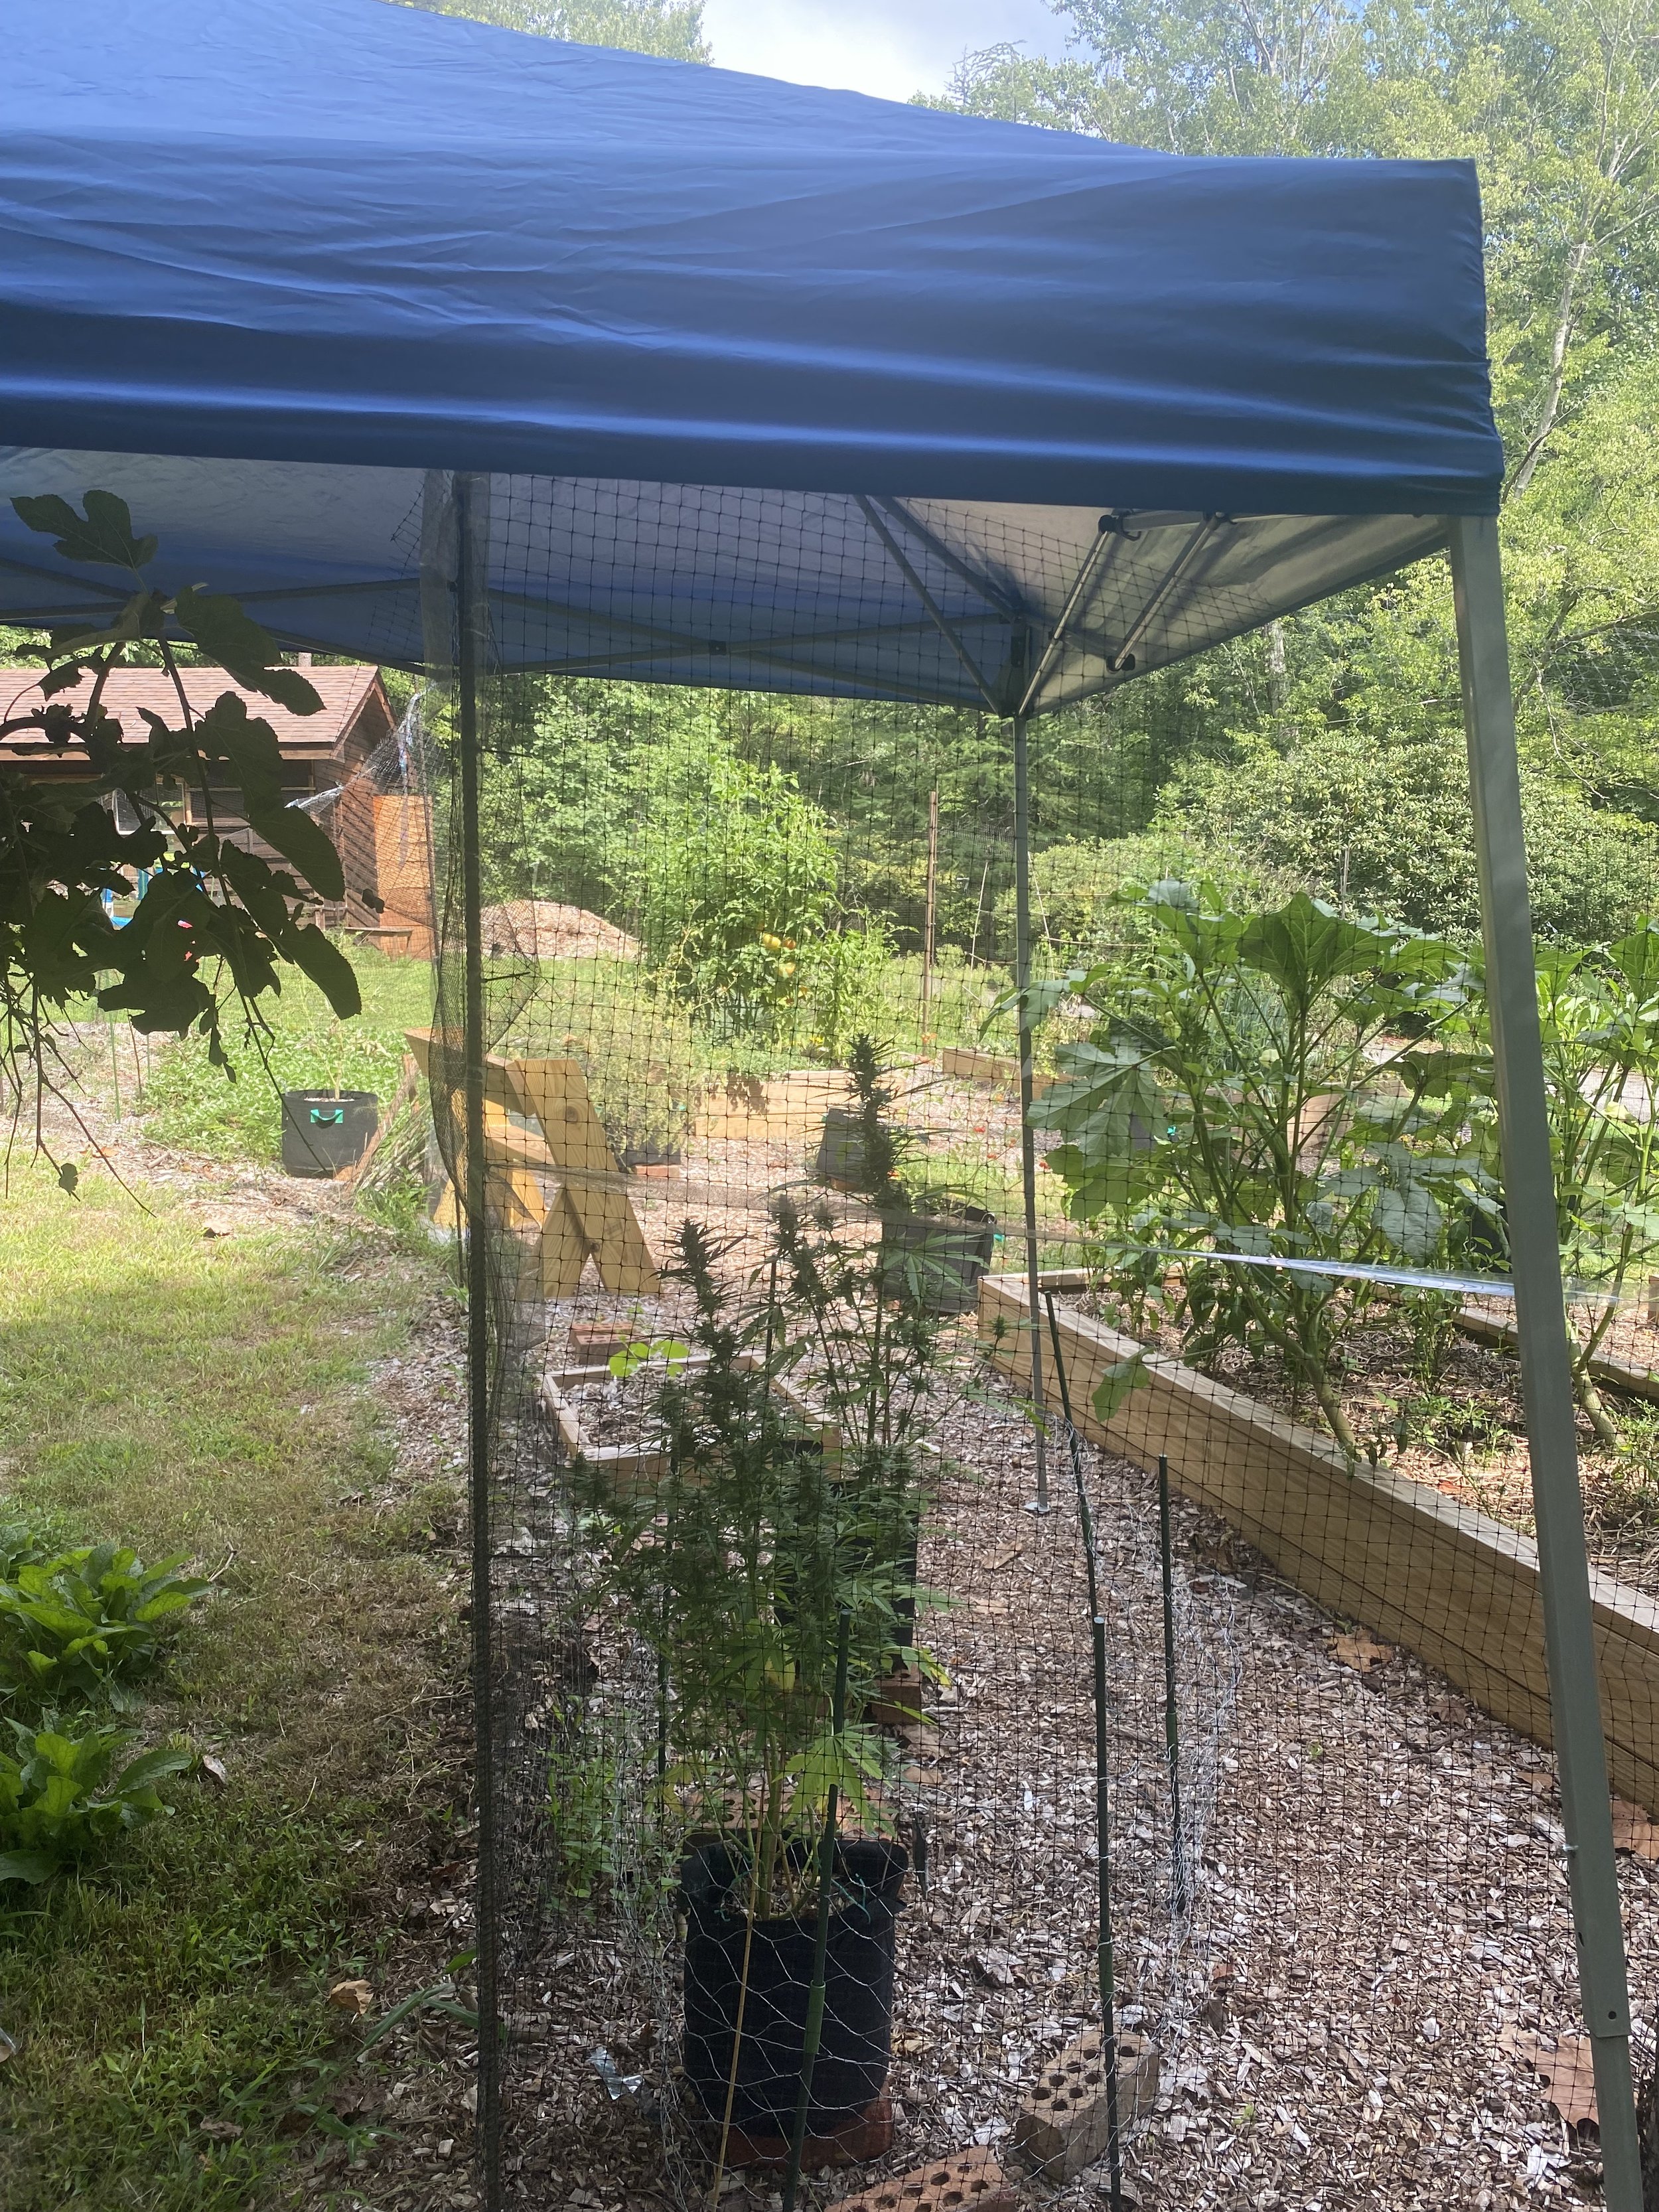
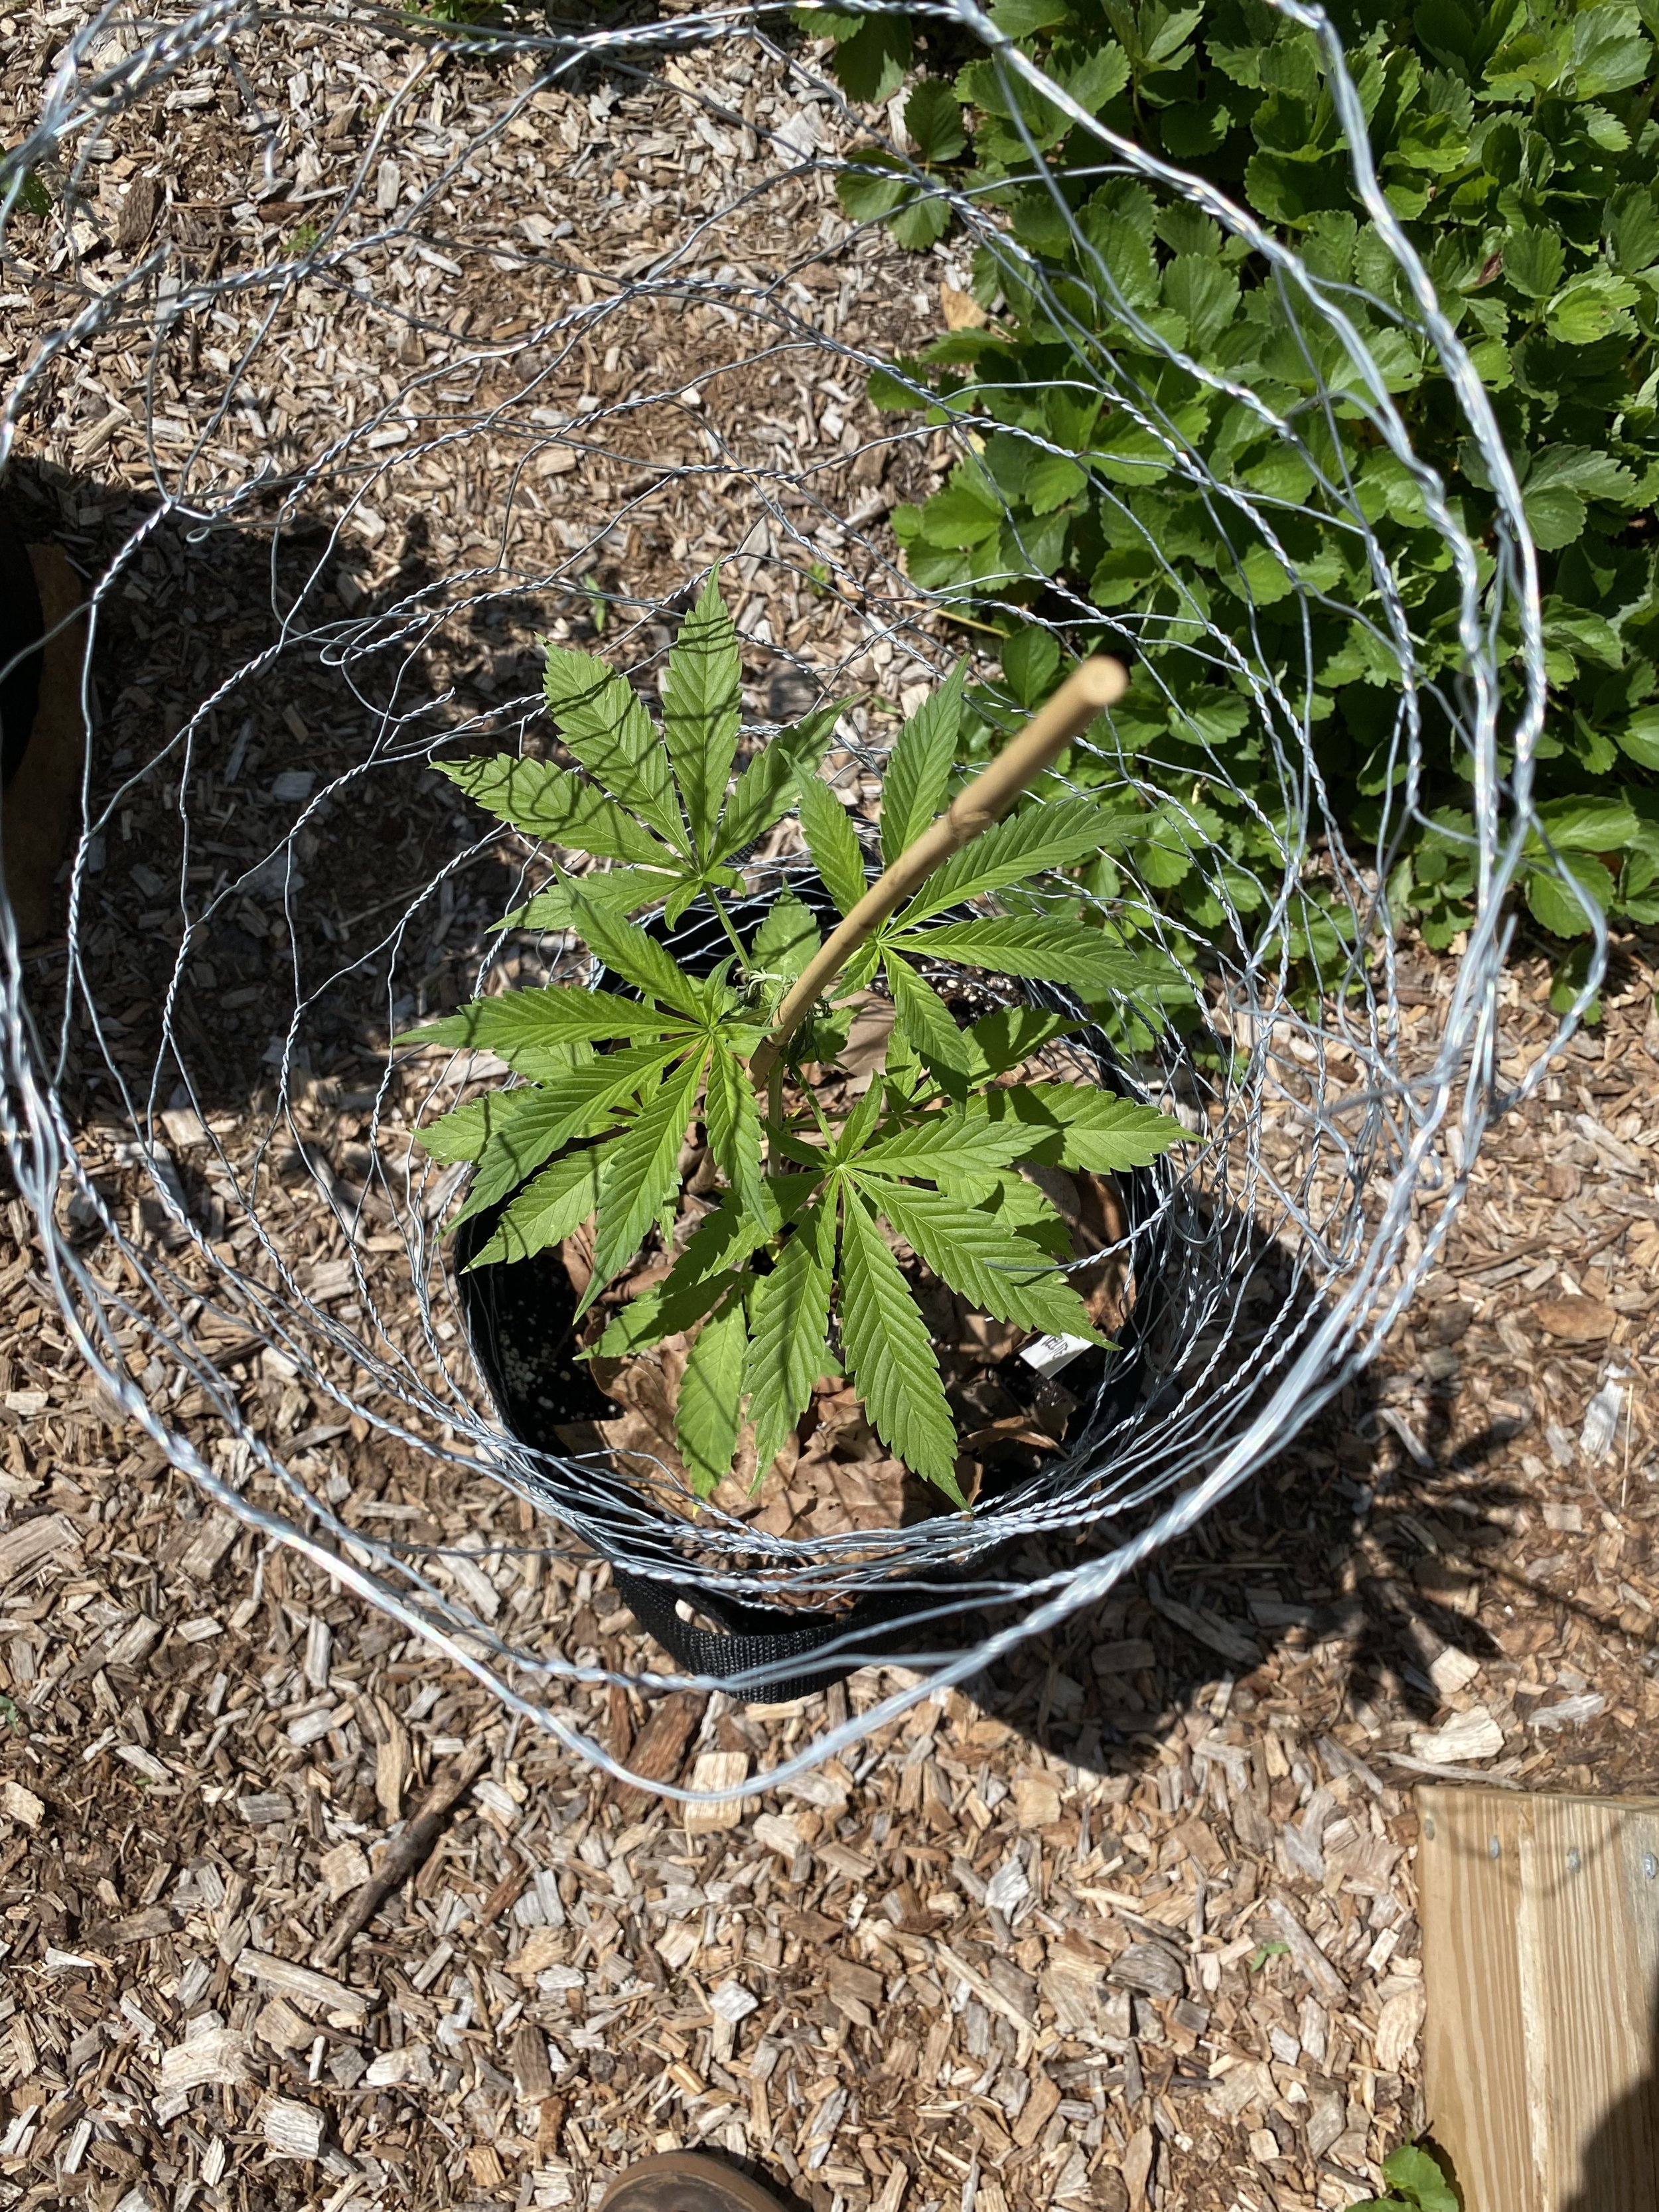
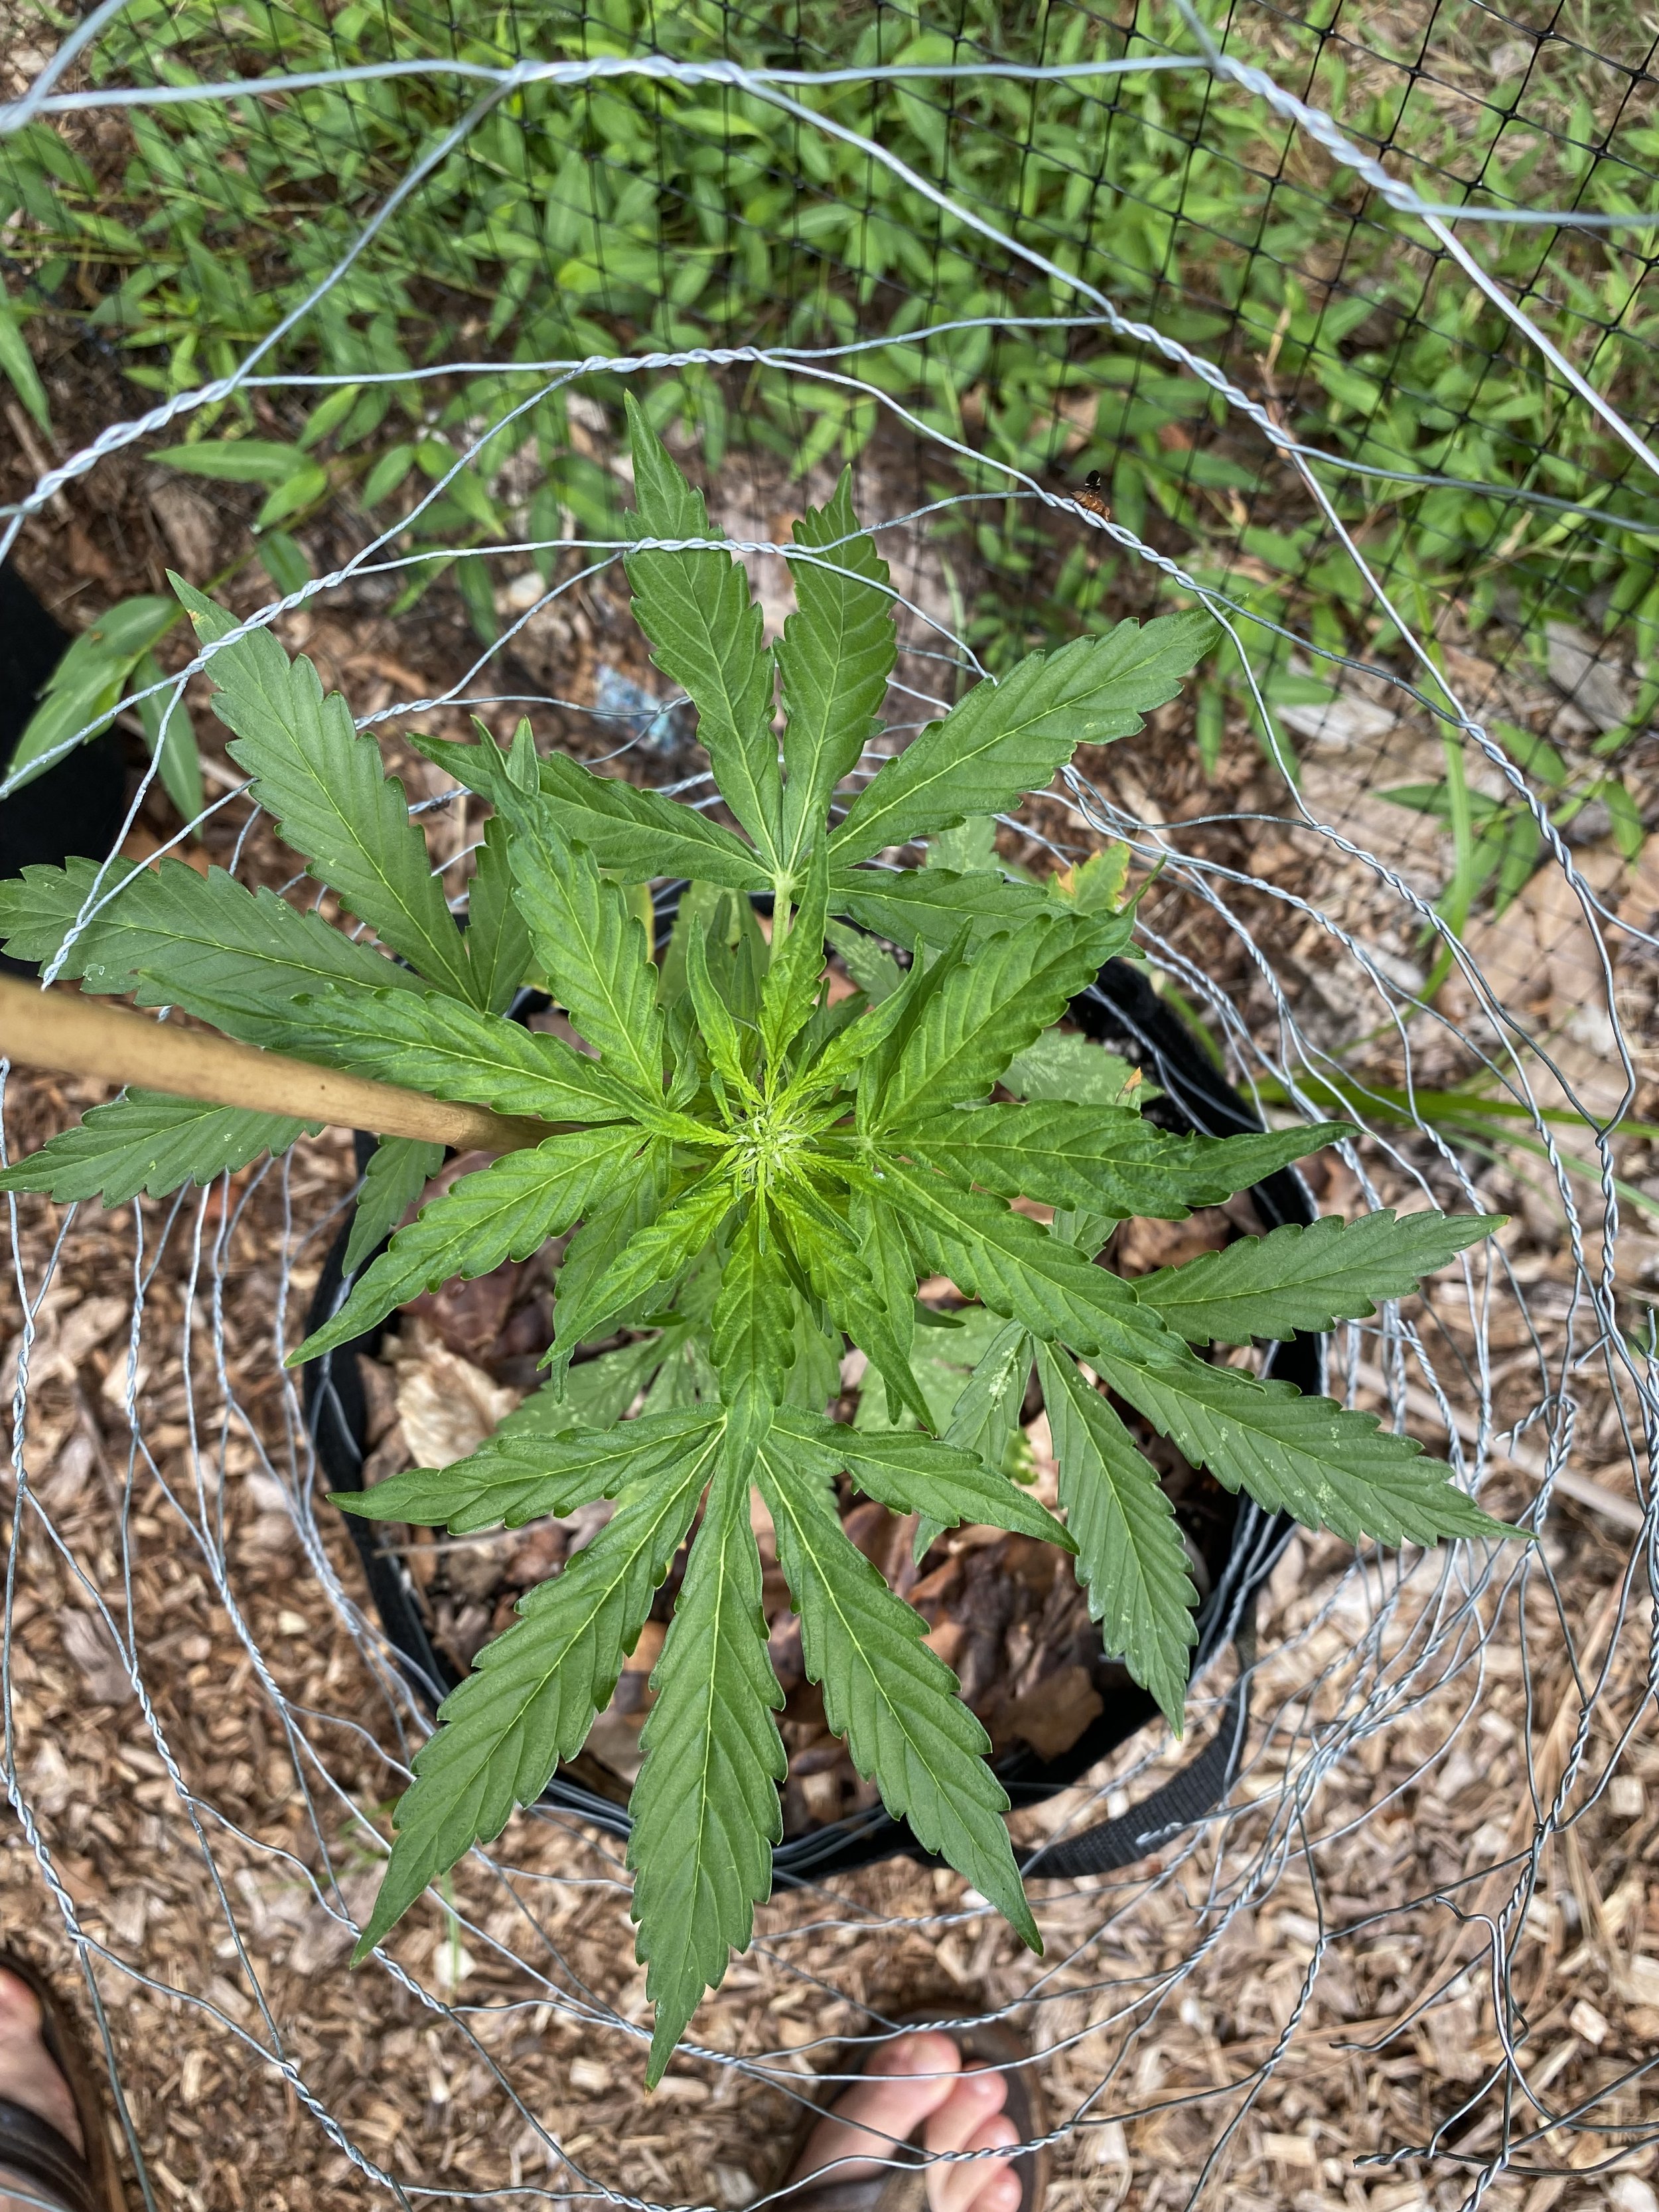
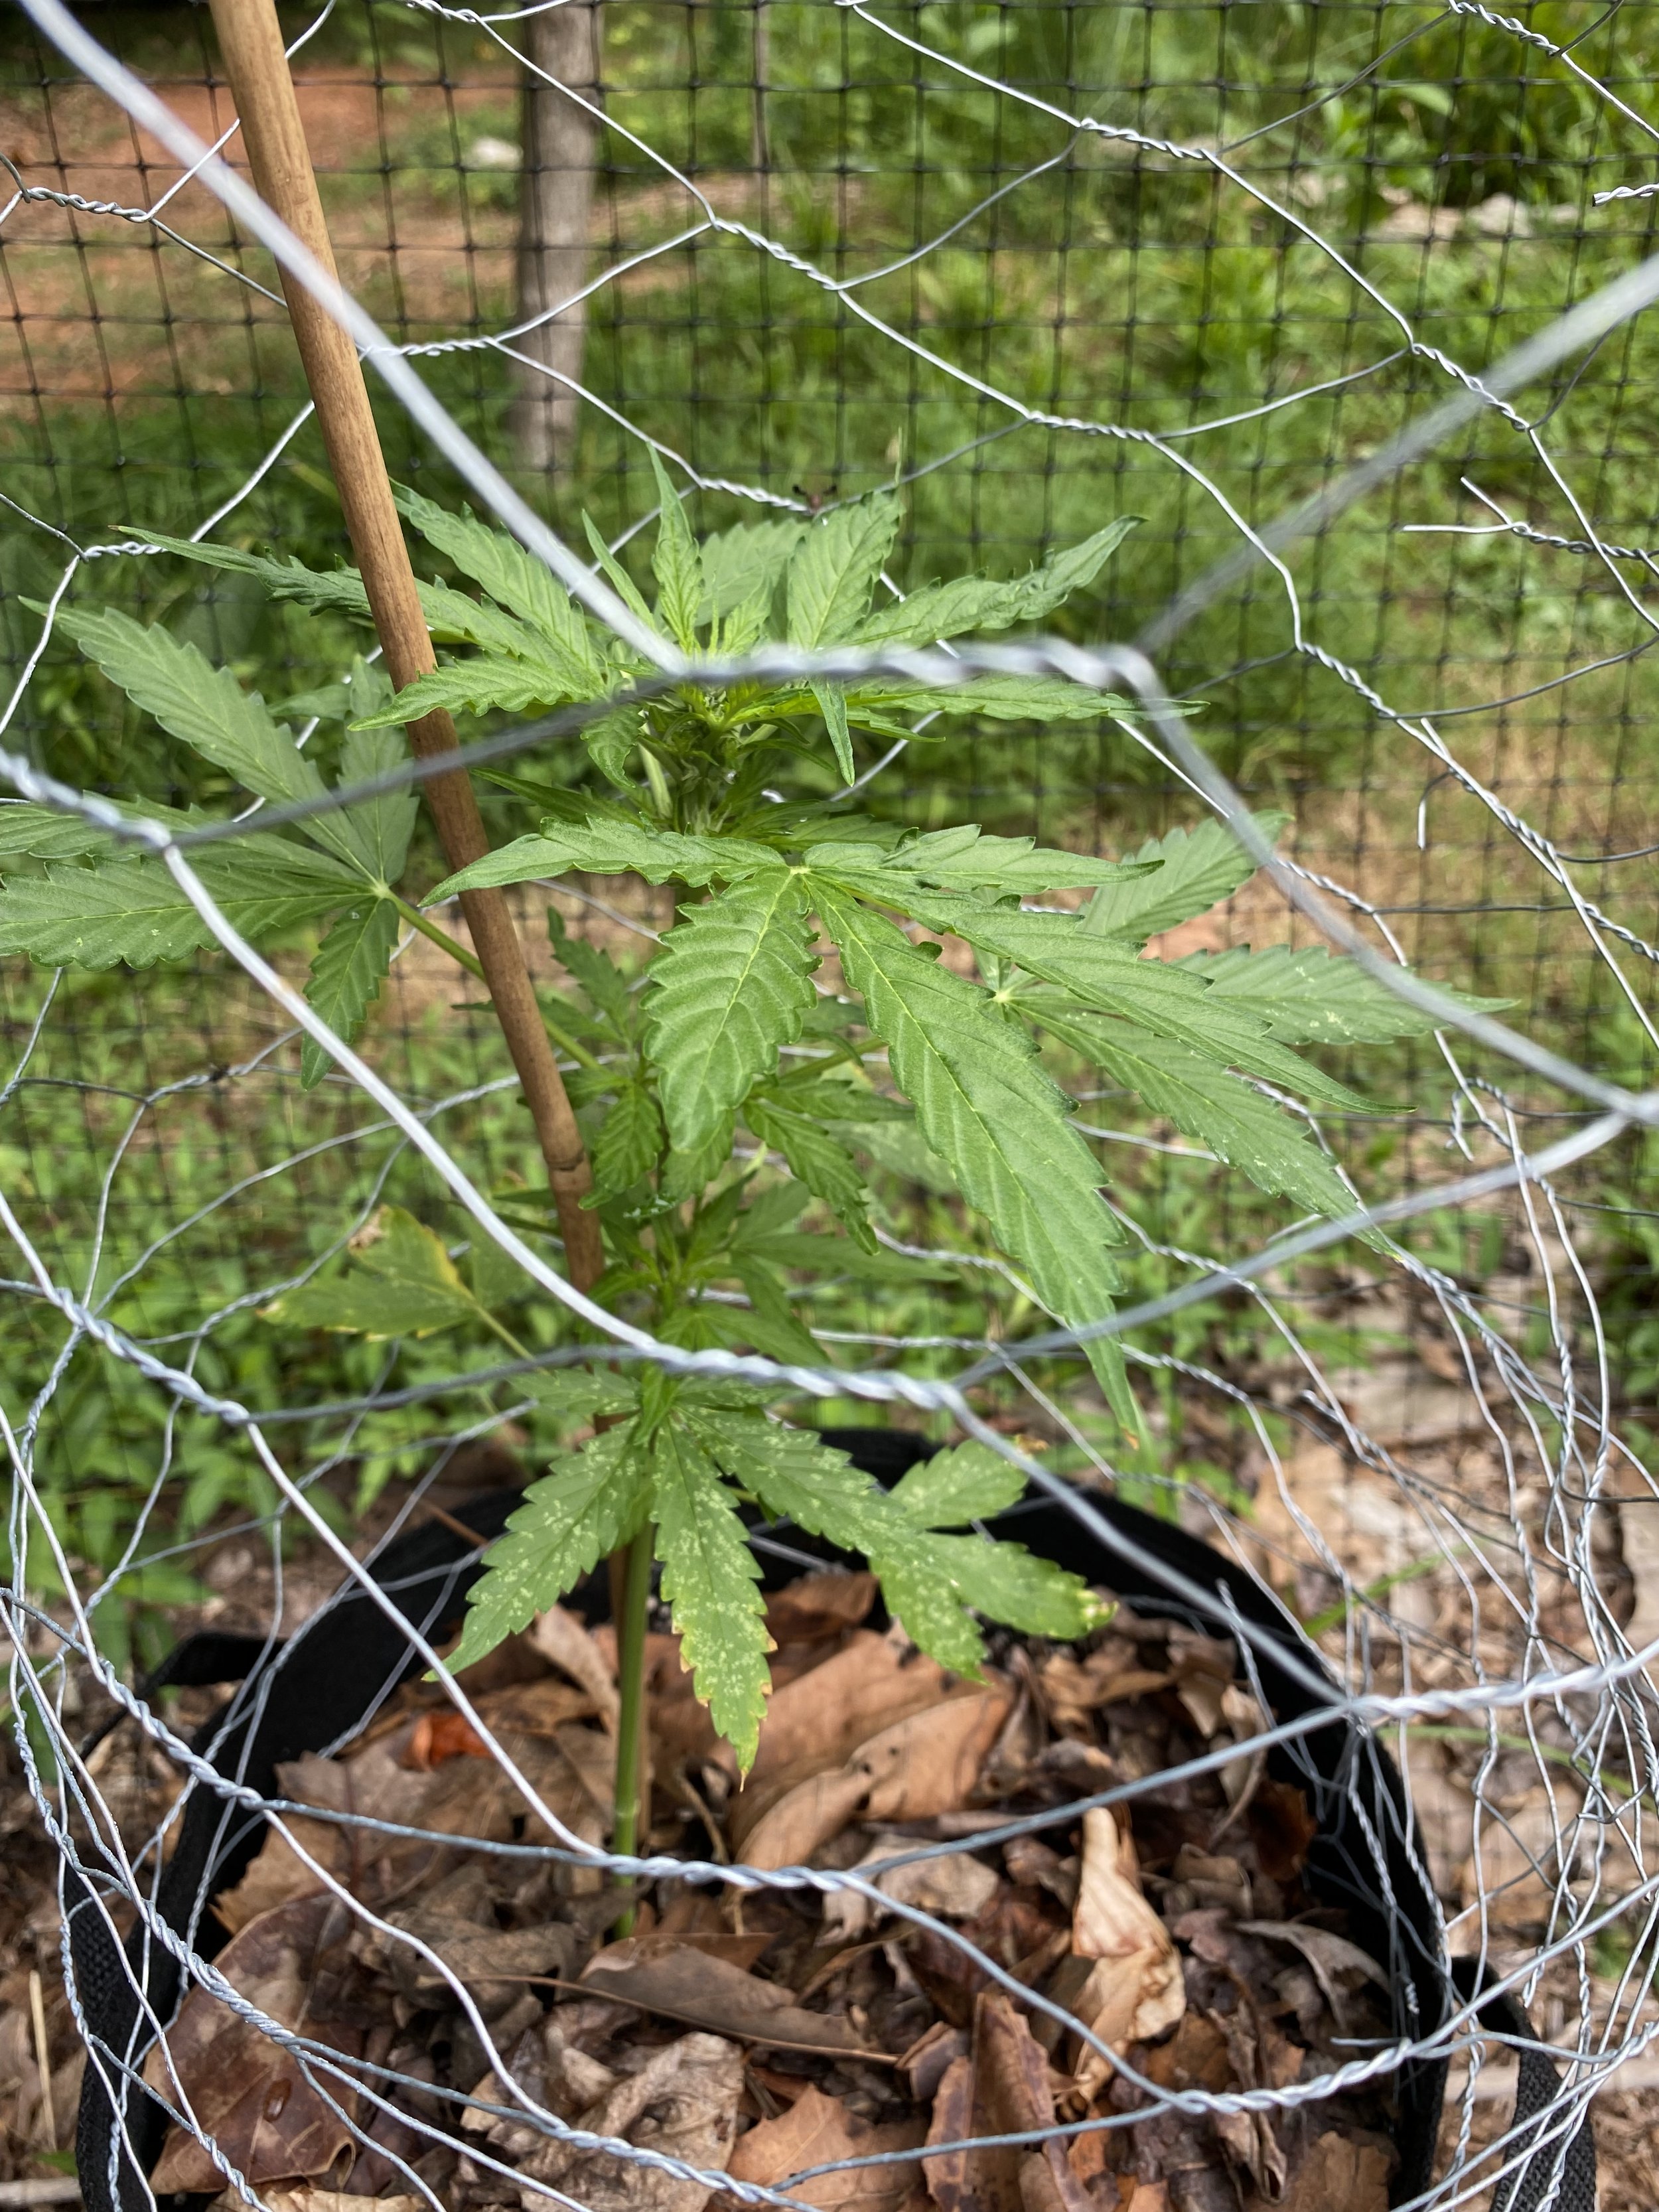
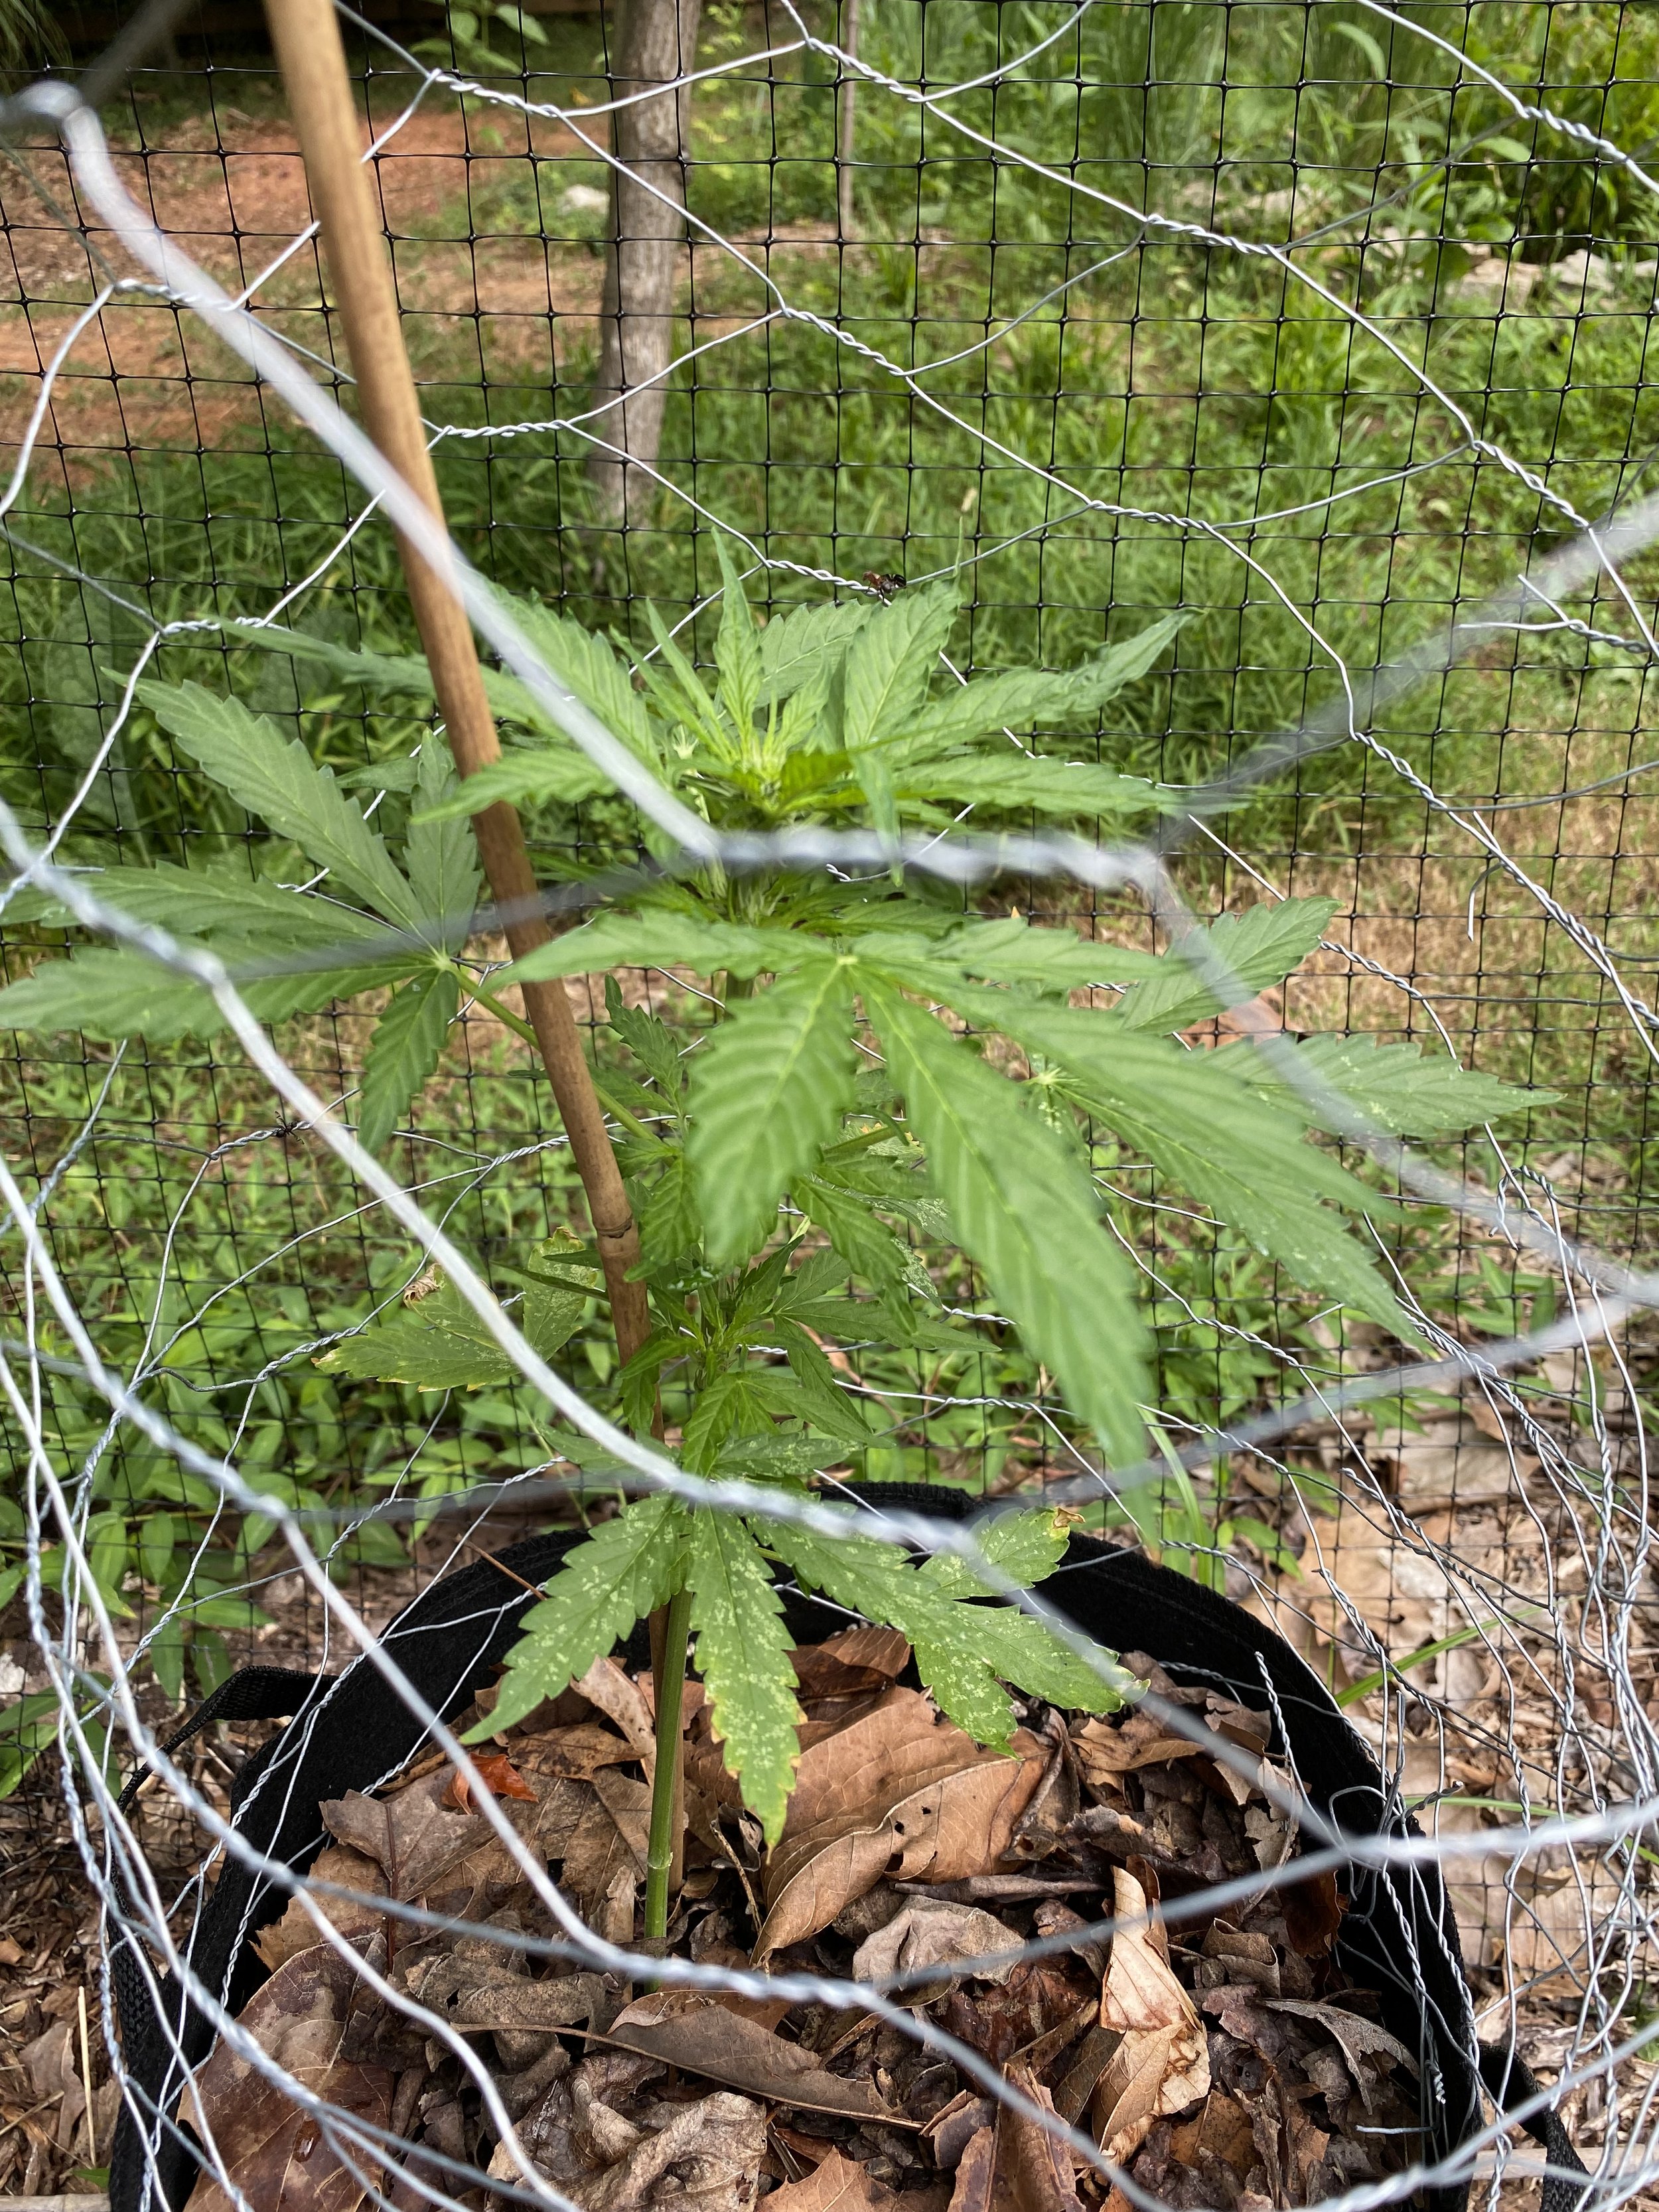
You may want to consider building a little wide-mesh cage around each plant to keep out critters (but still allow for a watering can nozzle to get in there). A friend recommended this setup, with a 2’ x 2’ square of acetate resting on top of each cage to keep out excess rain but still allow in sunlight. You can also consider a 10’ x 10’ tent, or some other overhang, situated so that the plants still get plenty of sunlight but are reasonably protected from unexpected rainstorms.
You can also always opt to grow indoors if you want to invest in a more advanced indoor grow system (use coupon code “THUNDERBIRD” for 15% off).
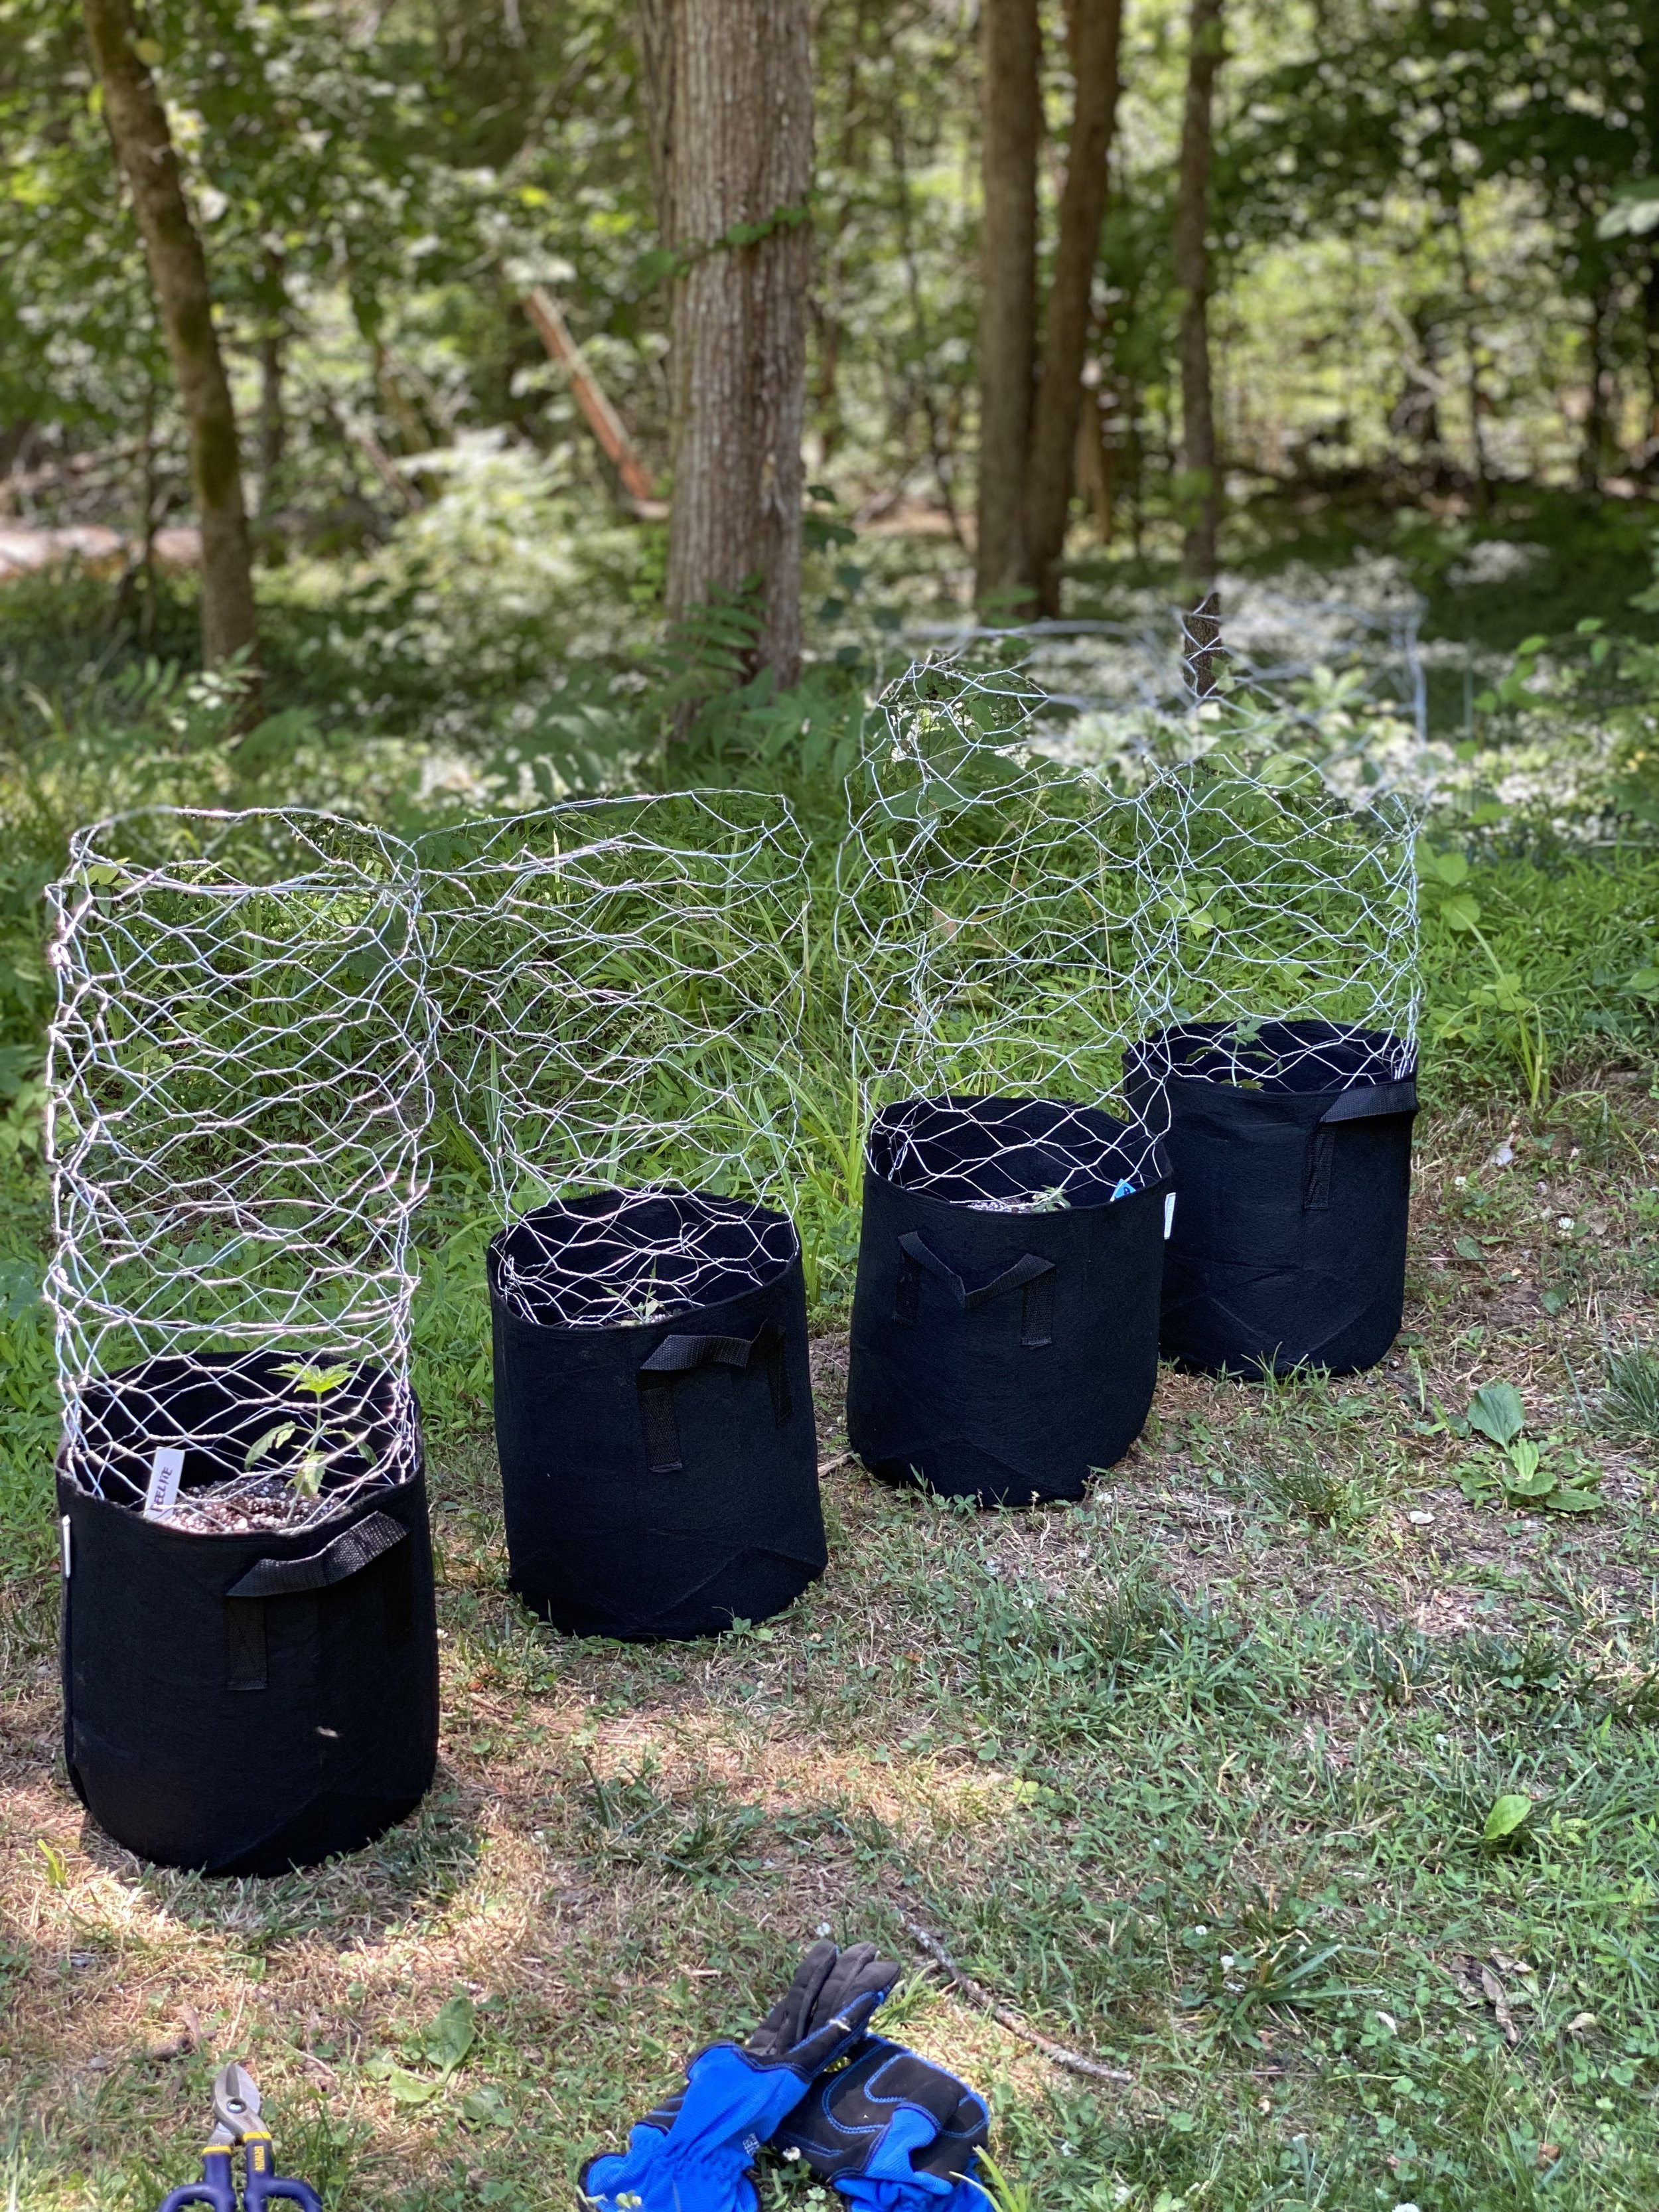
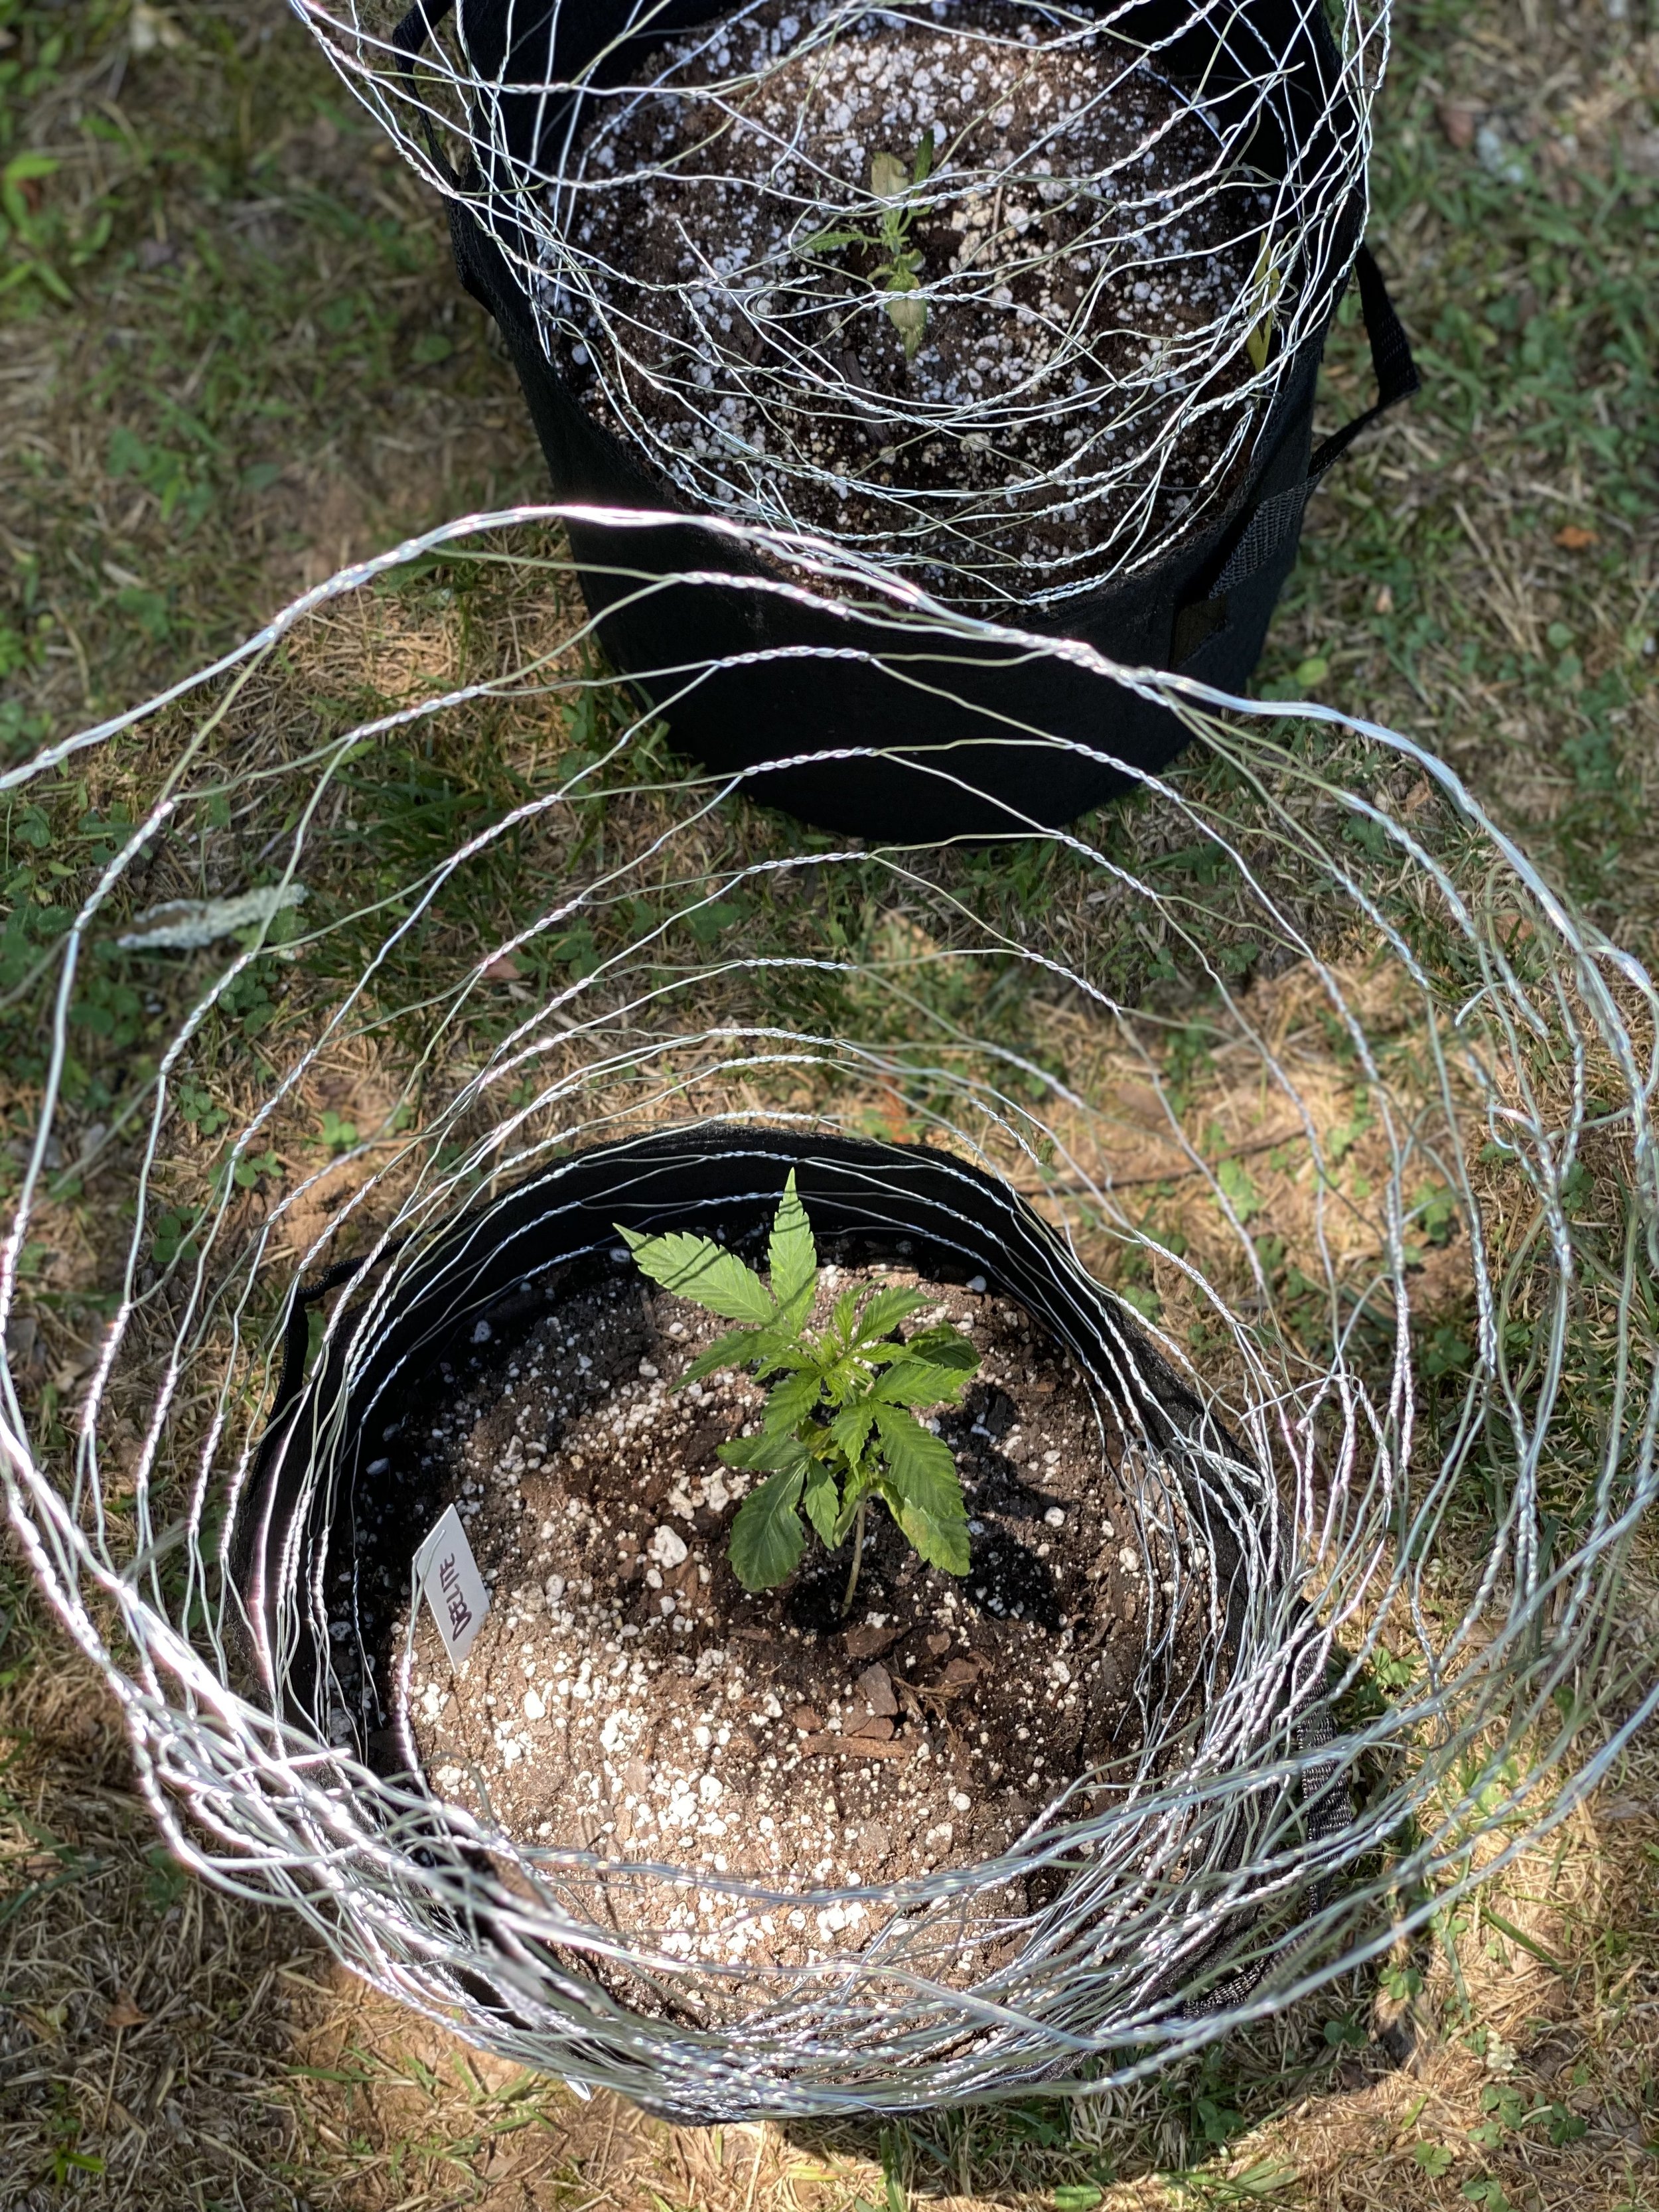
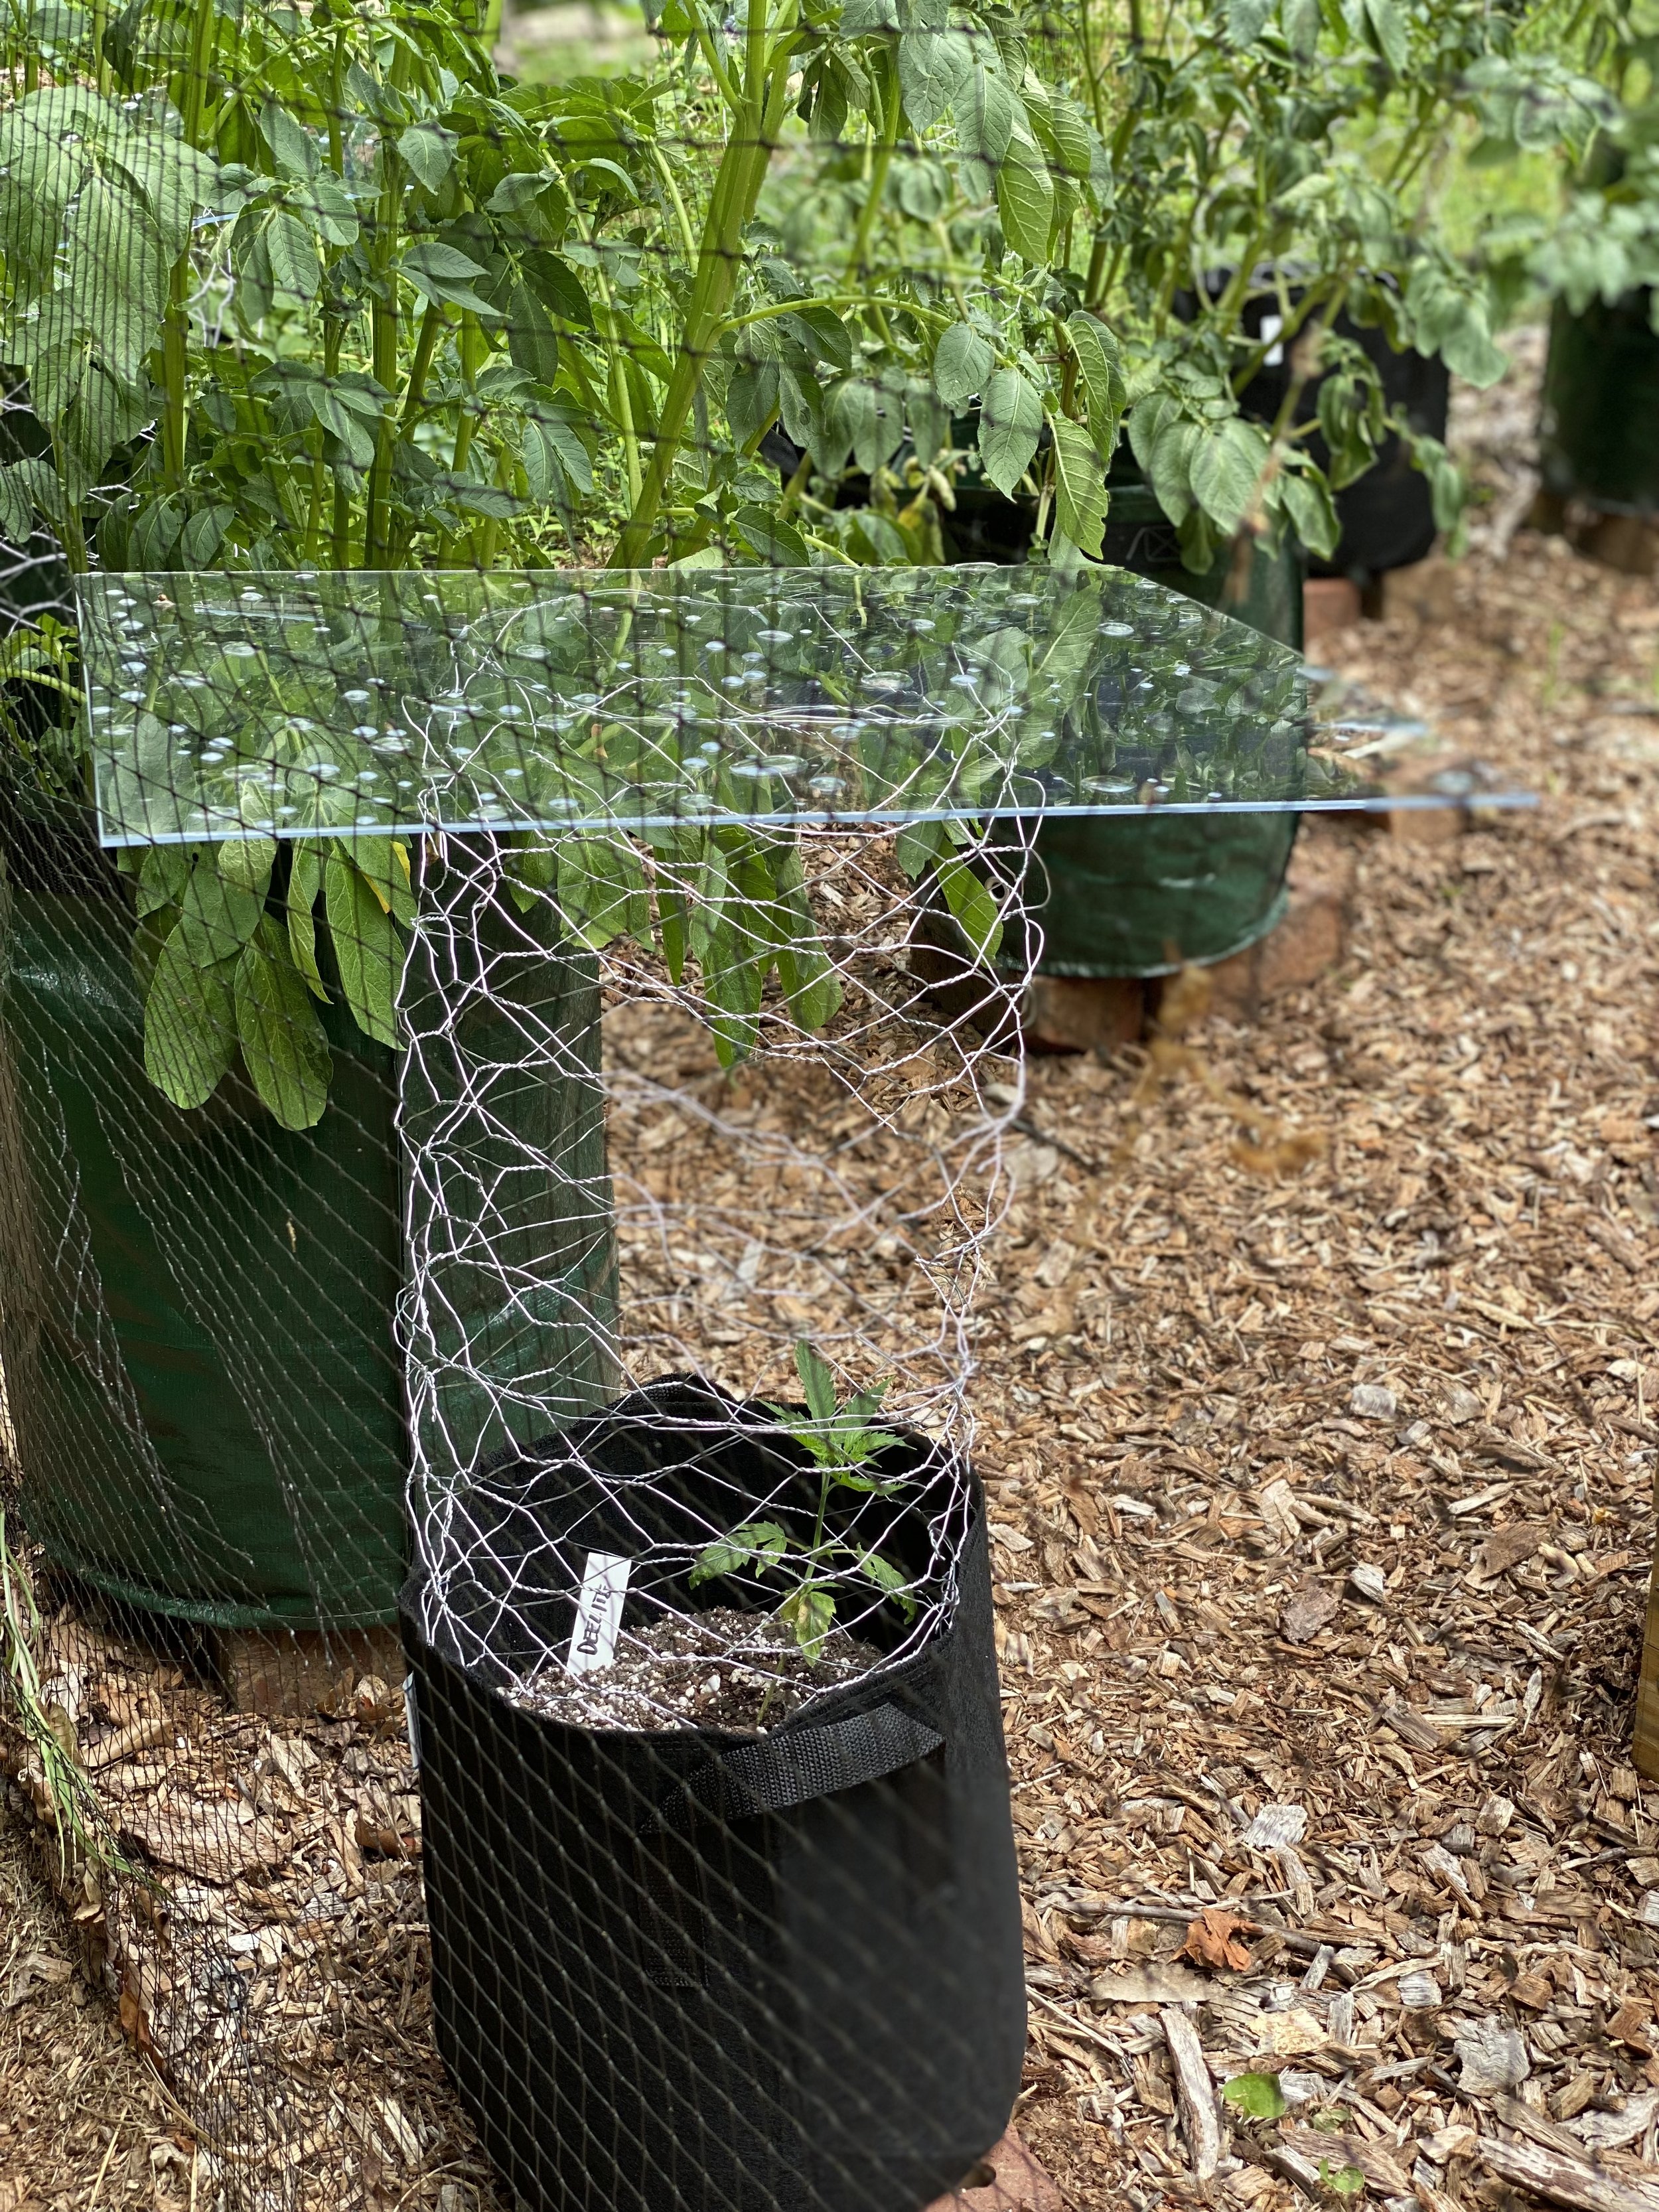

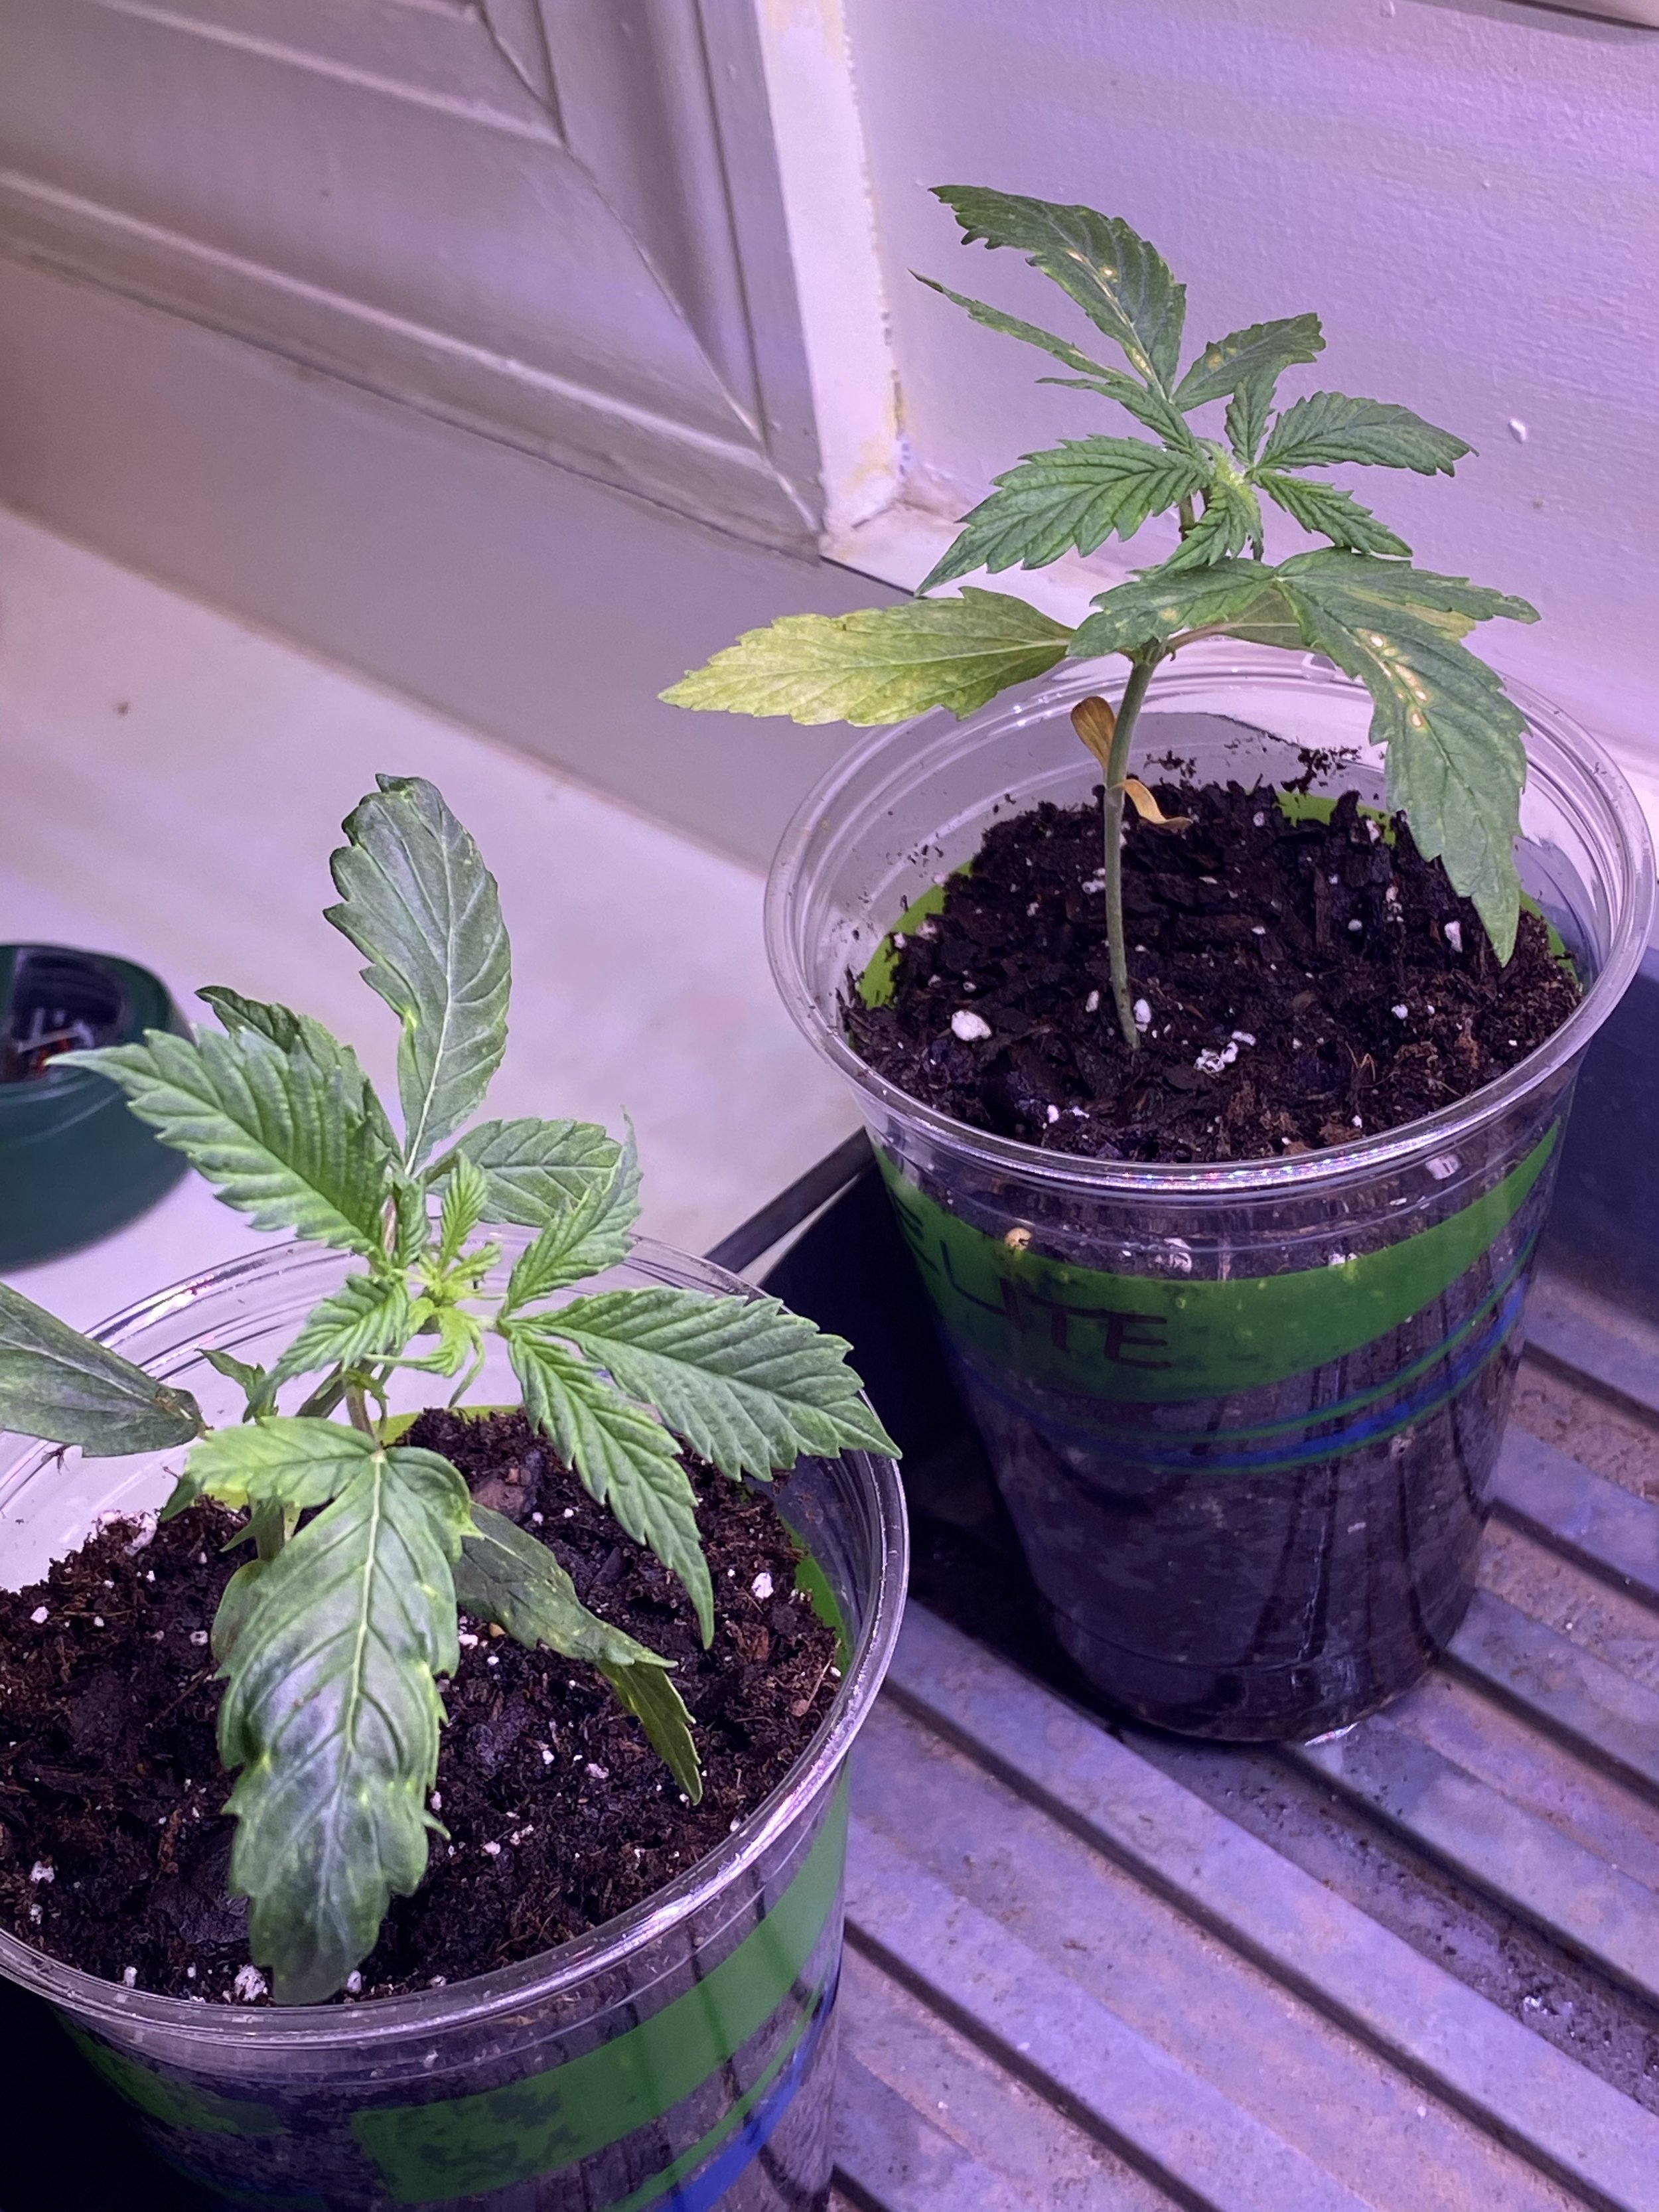
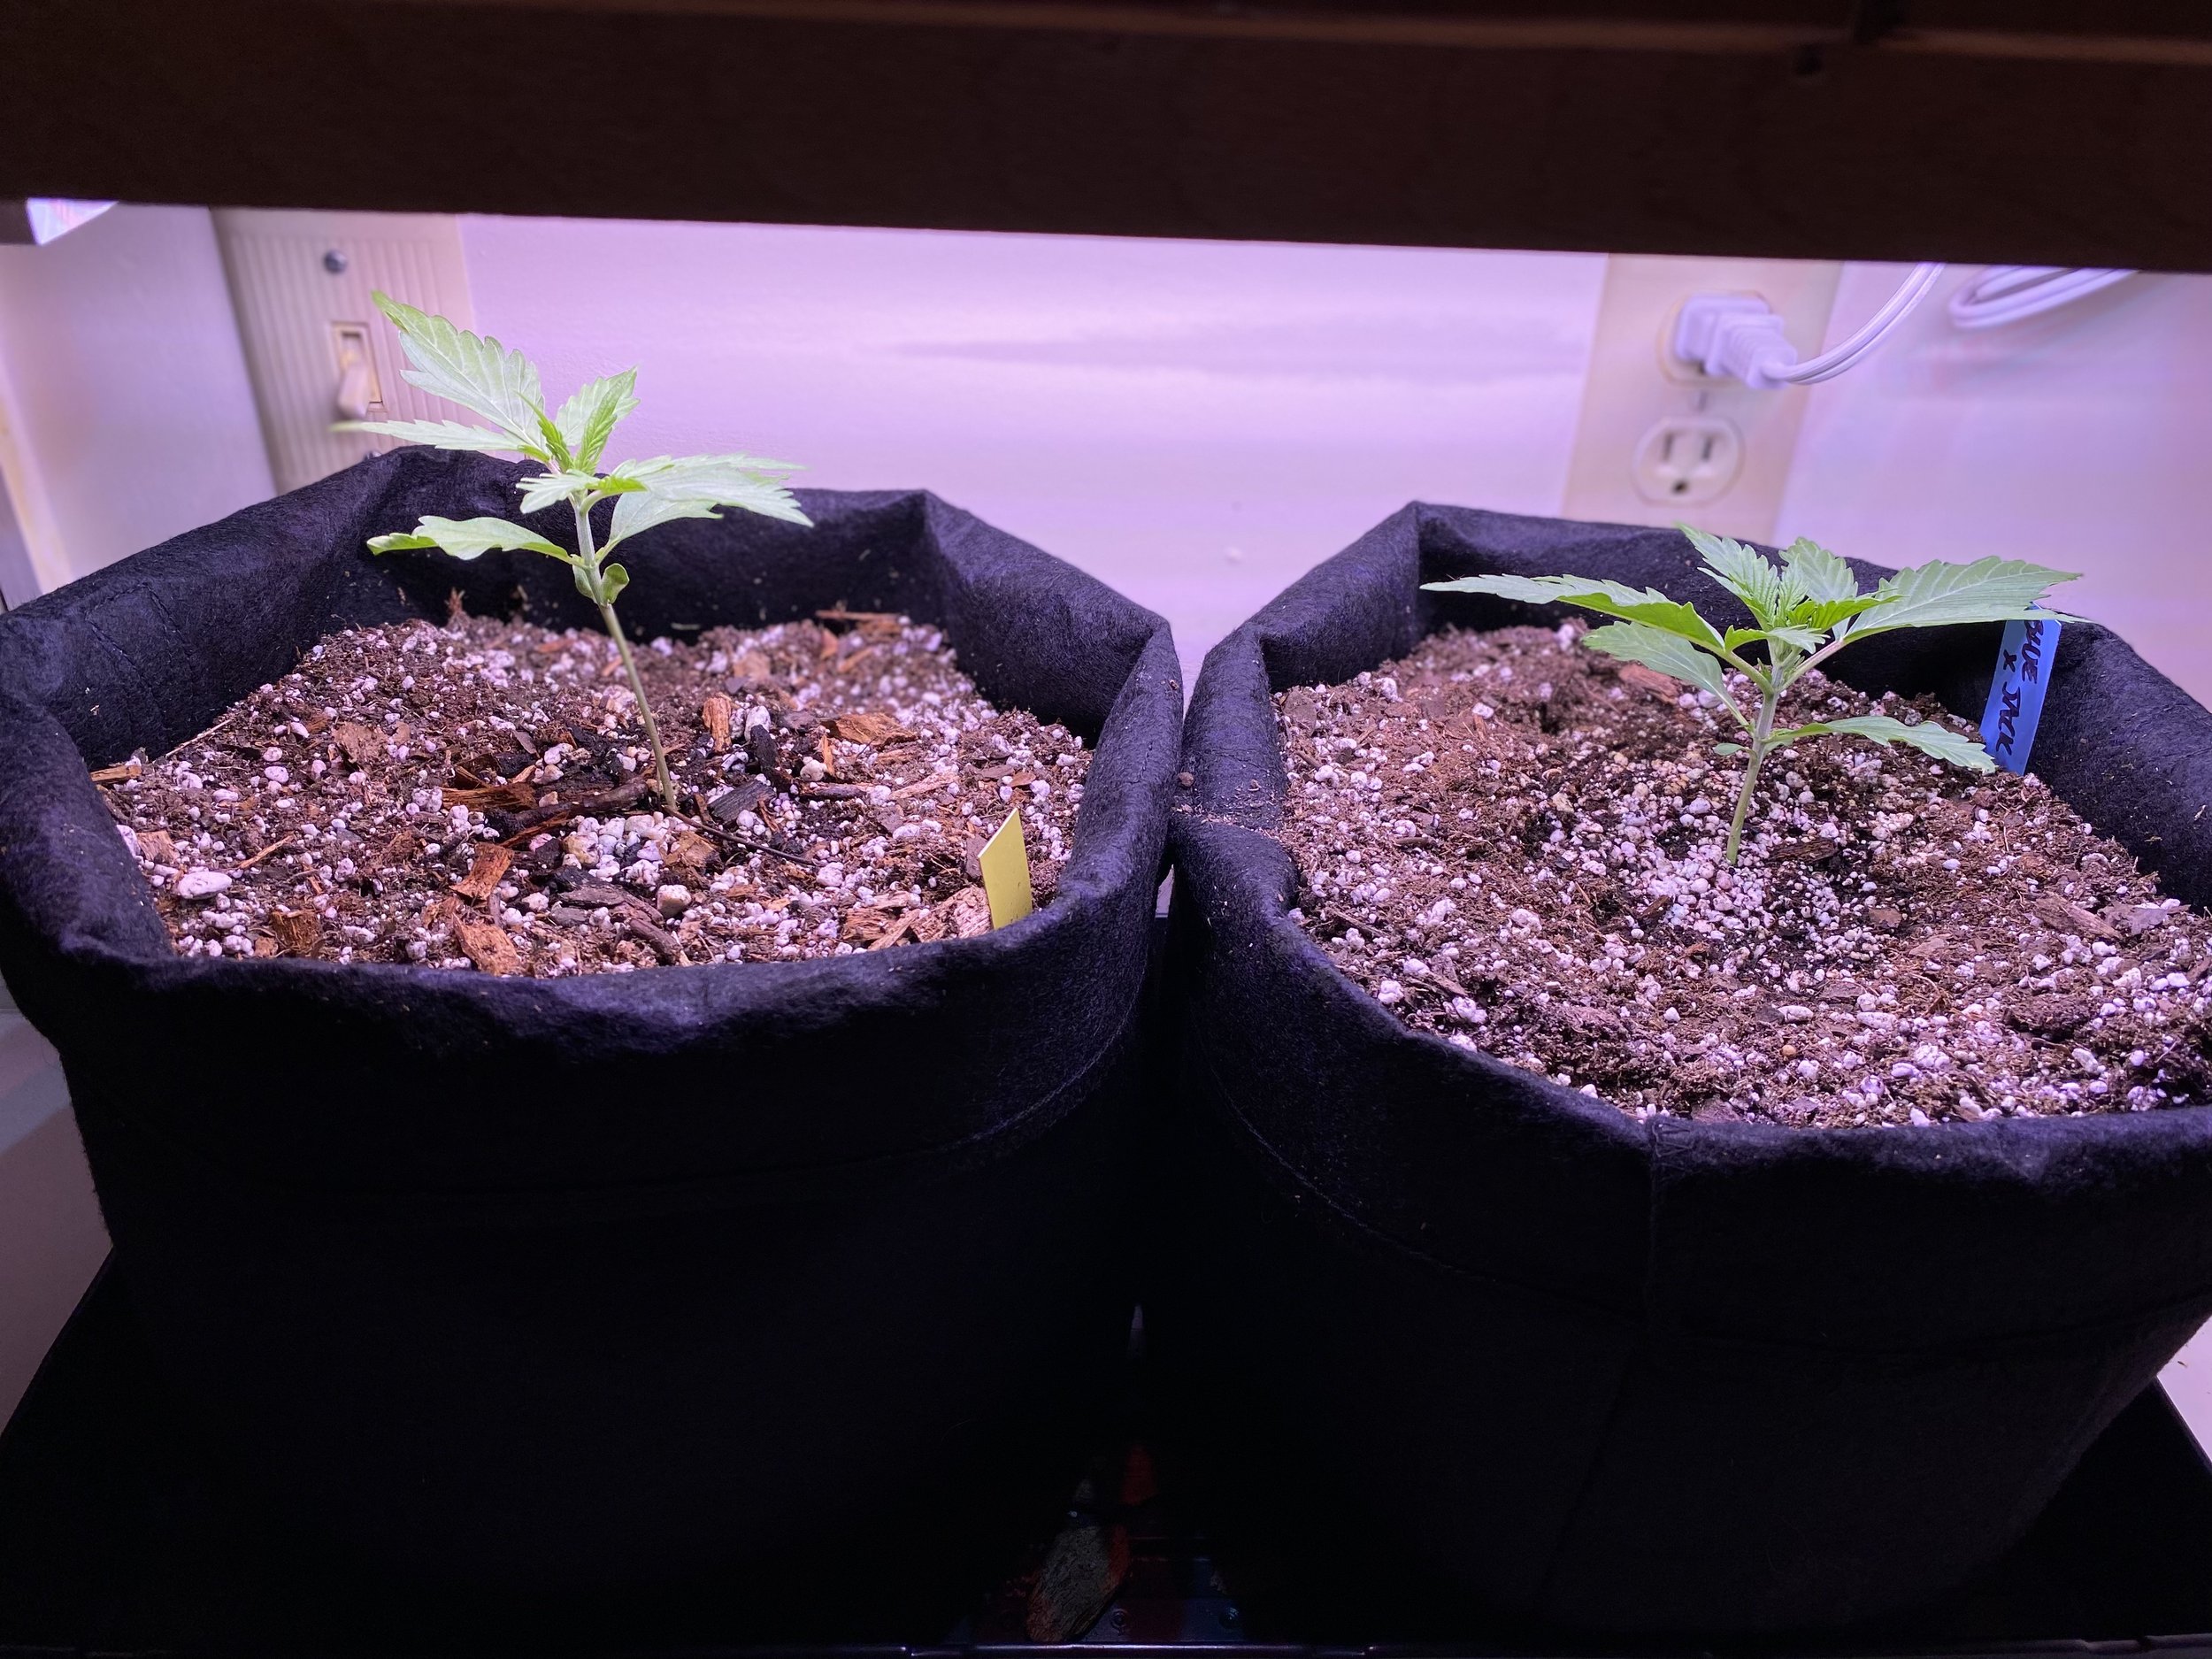
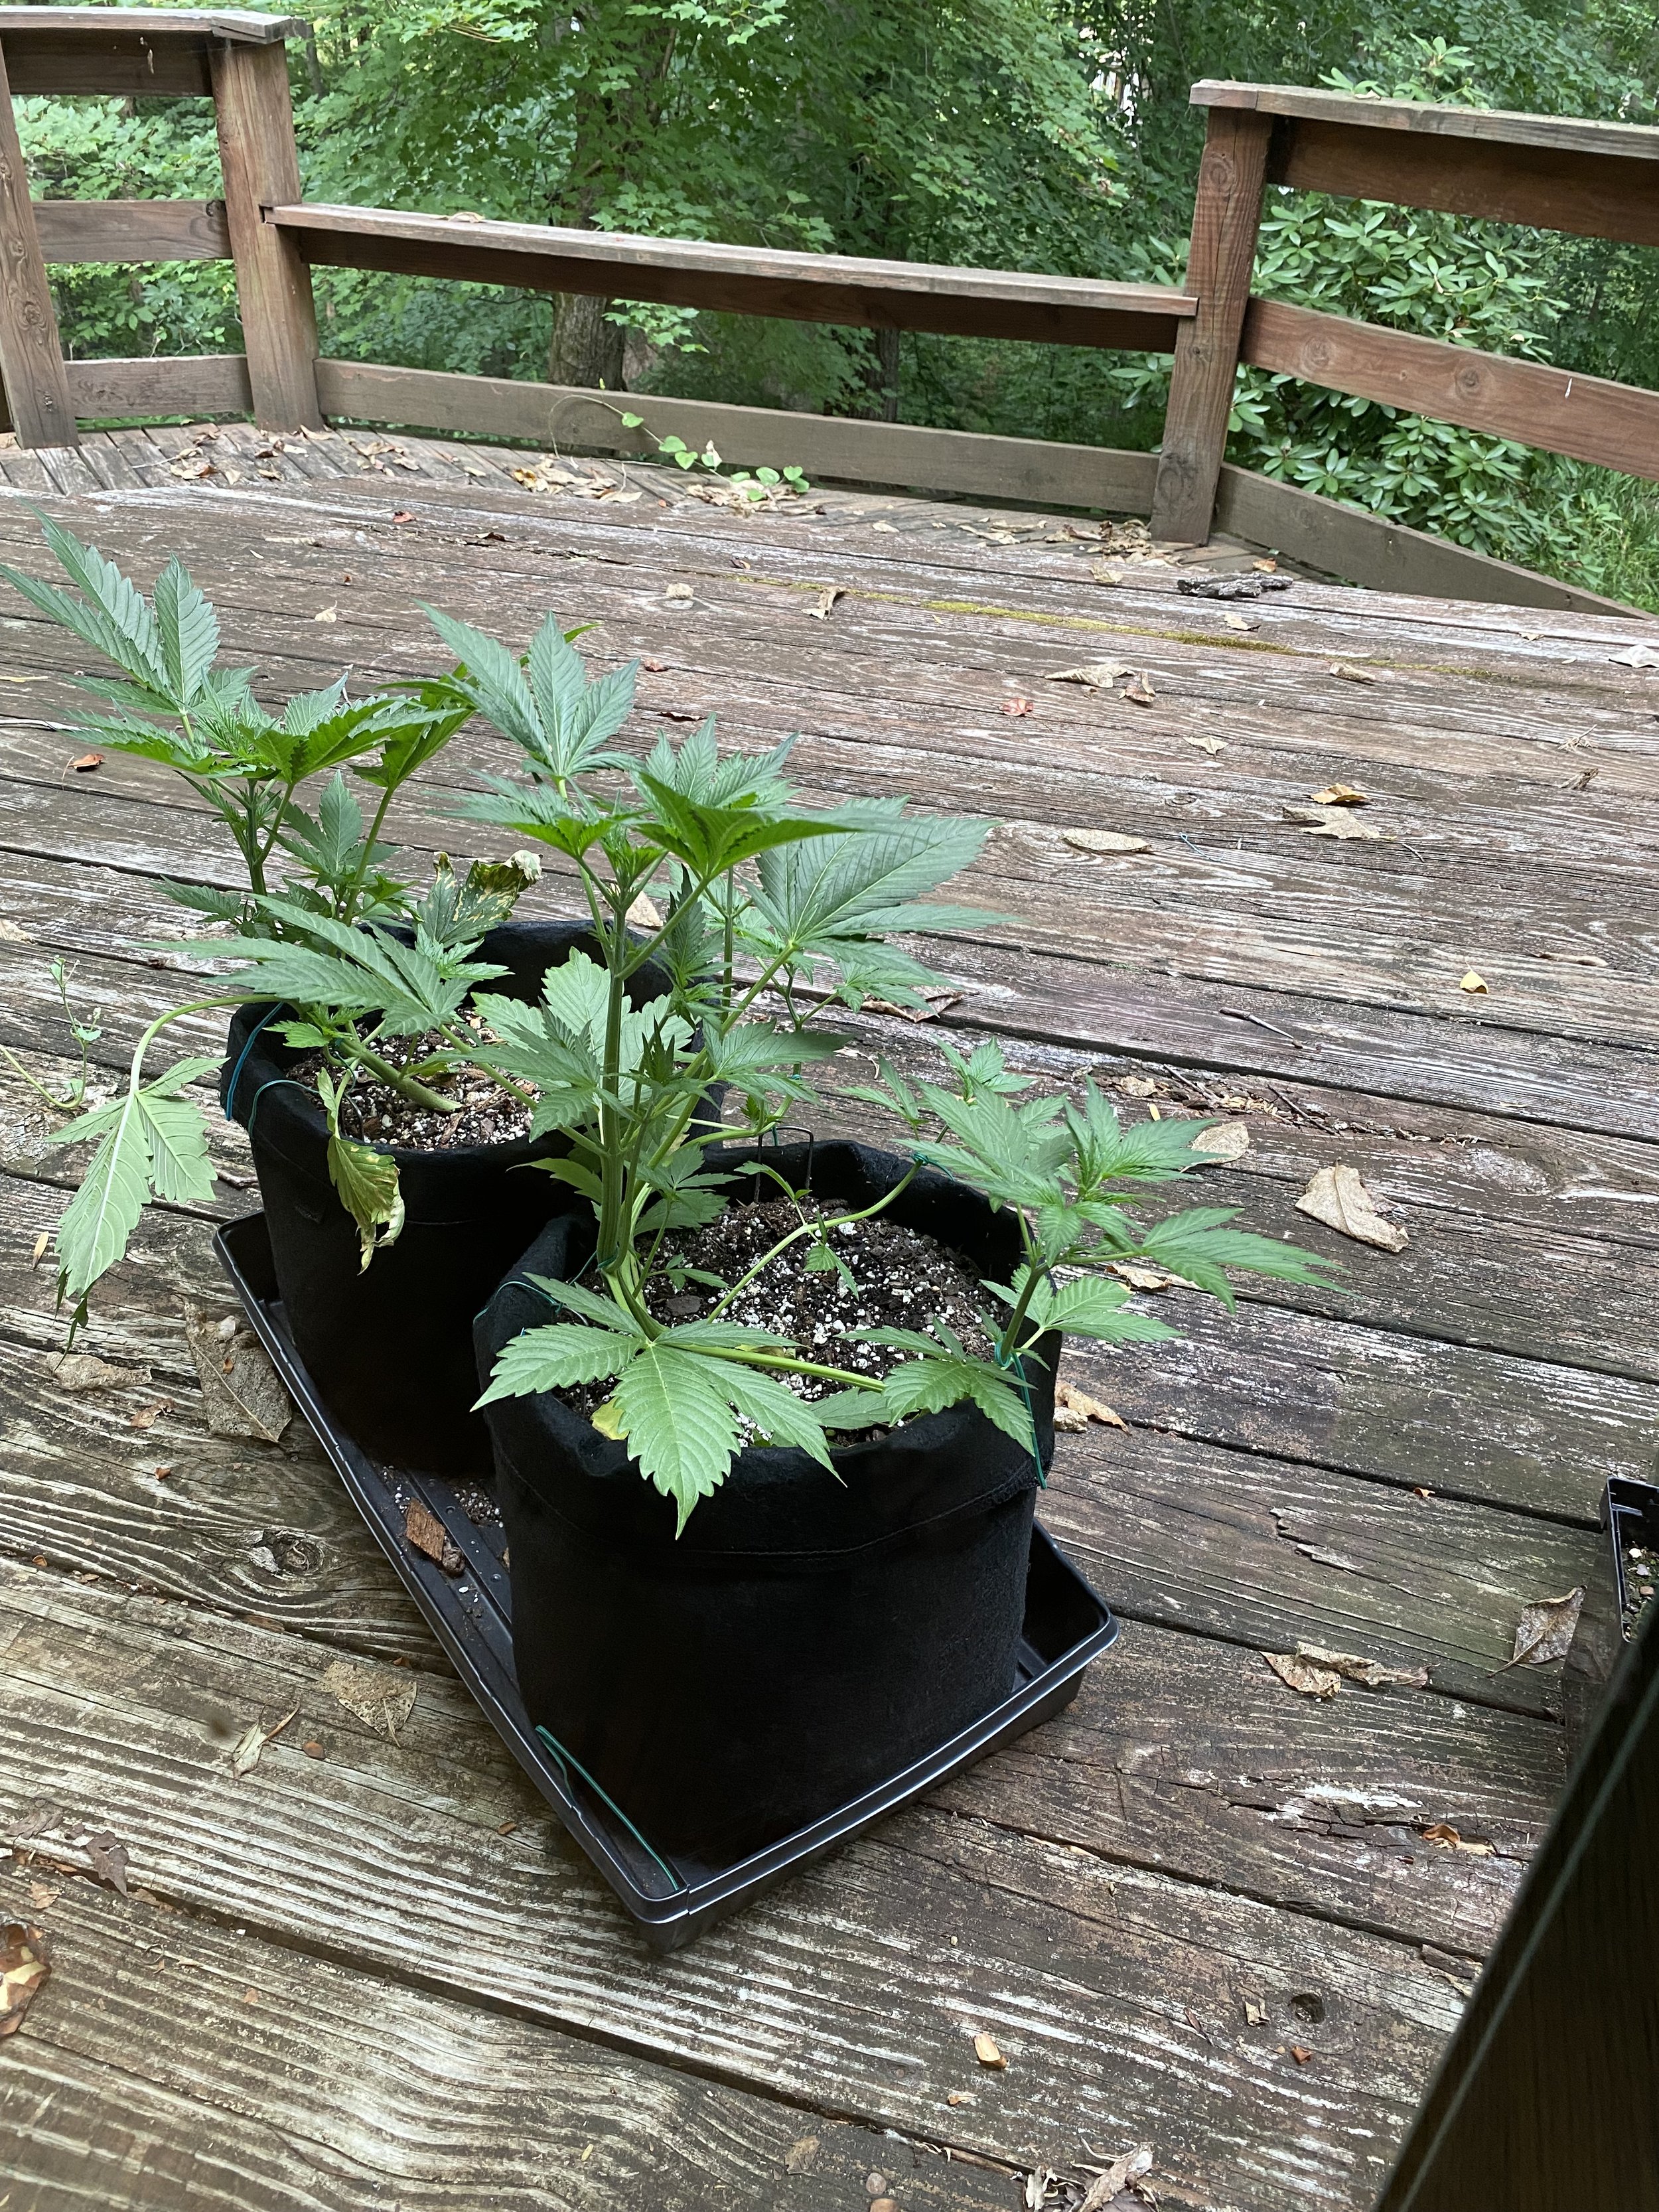
First attempt, some plants didn’t make it

Viable (but somewhat stunted) Week 4 plant ready for planting out
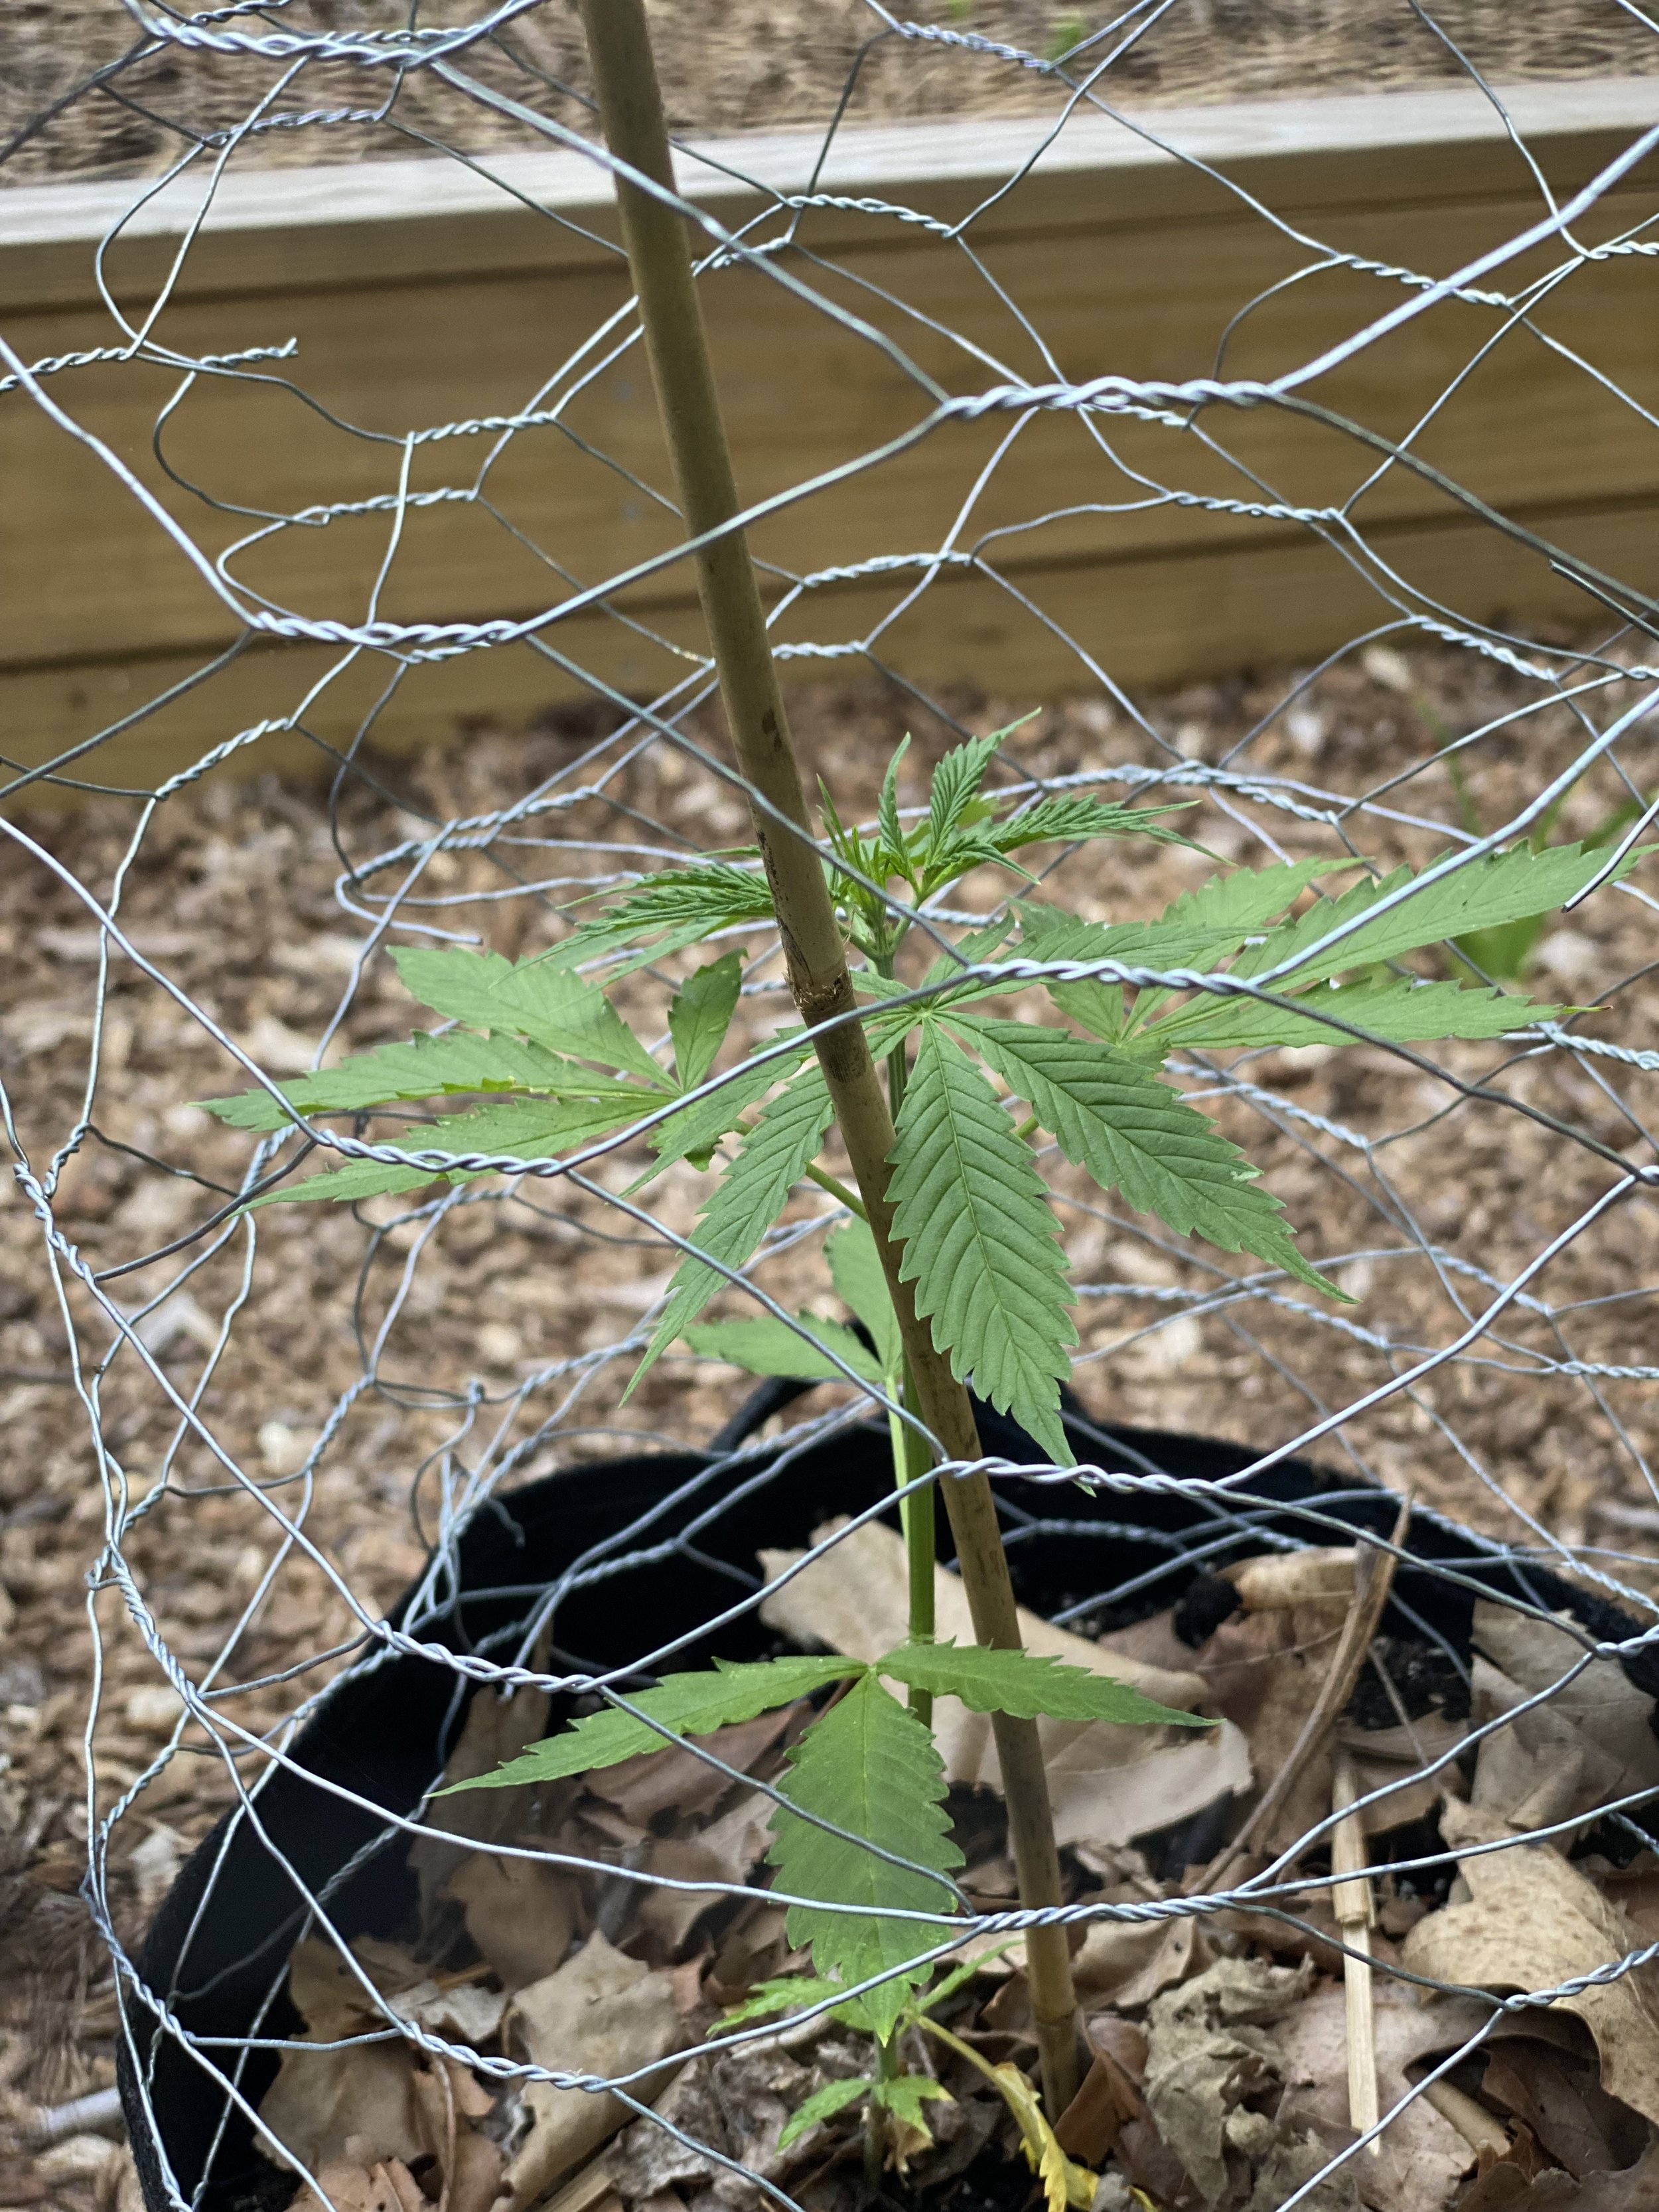
A small bamboo stake adds structural support
Okay, what’s next?
Click Here—> HOW TO GROW CANNABIS #4: THE FLOWERING STAGE

Veg State FAQs
What is the Vegetative State in Plants?
The veg state in cannabis is the period where you experience rapid growth — right after the germination period and right before the flowering period where your buds will start to pop off.
Can Cannabis Finish in 6 Weeks?
Depending on the seed and genetics you are working with, cannabis plants typically take anywhere between 6 to 12 weeks to go from seed to harvest, sometimes longer.
How Many Weeks of Veg For Cannabis Plants?
Typically, a cultivator should expect plants to vegetate for 4 to 8 weeks — depending on the stage of growth, the amount of growth noticed, the health of the plant, and so on.
What Does Cannabis Look Like in the Vegetative Stage?
Once you get a set of pointed leaves up and active, you’re likely in the veg state for your cannabis plant. In this stage, many seek to ensure that the plant has plenty of space to grow and all the resources and protection needed to ensure fast and healthy growth.
Does Longer Veg Time Increase Yields?
Many claim that if you let your veg state drag on for longer periods of time, you will also experience higher yields. This is likely true but it also depends on the quality of your grow kit and process.