How To Build a DIY Solar Water Heater
At the start of pool season, Jack got it in his head that we could heat up the water with some combination of pumps and tubing and buckets and fire. He gets a lot of these ideas—they keep him up at night—and sometimes he organically shifts to a new project or else I can redirect his energies, but this one stuck around for weeks. He kept presenting me with new hand-drawn schematics and eventually I had to admit, "I. DON'T. KNOW. HOW. TO. DO. ANY. OF. THAT."
Nevertheless, he persisted.
This eventually sent me to YouTube, and lo and behold there are many DIY Solar Pool Heater videos that use a plan similar to Jack's. Some of these video titles are misleading (“$25 Solar Pool Heater!”), but the project was surprisingly doable, cheap and effective.
We’re very lucky that we moved into a home with an in-ground pool, but this same principle and project can be used to heat up any water (an outdoor shower, for instance). Here goes.
This post may contain affiliate codes or links that are no additional cost to you, and I may earn a small commission when a purchase is made.
MATERIALS
Black Polyurethane Irrigation Tubing, 1/2" x 200ft (or, this 500ft version at Lowe’s)
UV-resistant, heavy-duty zip-ties (regular ones will snap in a few months of sun)
1/2" Irrigation Tubing to Garden Hose Adapter (i.e., this Habitech adapter)
Two garden hoses (length is dependent on your setup) — one goes from the pump to the input side of the solar water heater; one goes from the output side into the pool.
A piece of scrap wood about 1/2" deep
Some rope
Plexiglass cut to size (optional)
(4) 16” long 1/2” wooden dowels (optional/alternate)
(8) screw-type eye bolts (inside diameter big enough for the dowels)
Food-grade poly tubing (optional - if you pivot this idea to a solar shower, you may want to be sure the tubing is ‘drinking water safe’)
All of the above costs around $200 new, and less if you already have spare plywood, hoses, utility pumps, etc. Only tools I used were a hand saw, a drill, a hammer, and child labor. Here are the steps:
TOOLS
Handsaw, Japanese pull saw (safer for kids), or circular saw
Waterproof digital thermometer (to check the temp)
Step 1: Cut the 2x2s
Rose has been wanting to get in on the building action, so I let her make her first saw cuts (while Jack dutifully supervised).
Measure out the exact perimeter dimensions of your 4x4’ plywood, and make the cuts one at a time. Position each 2x2 and then re-measure for the next cut.
Step 2: Attach border to FRAME
After making the cuts, hammer or screw the 2x2s to the 4x4’ plywood to create a frame. Again, we let Rose get in on the hammering and, while challenging for her, it’s safe to say she enjoyed it.
Step 3: Attach the cross-brace
This was one of the trickiest parts, actually, and why I might recommend going a different route in terms of construction (check out using wooden dowels and eye screws in the “Pex Coil” YouTube video above). I used a single piece of the leftover 2x2 and positioned it at a diagonal angle.
You need to first place a small piece of spare wood underneath this diagonal 2x2, and I initially used one that was too thick. When I started coiling the tubing in Step 6, it left too much space and the tubing wouldn’t behave. So I had to take it apart, remove the diagonal piece, and find a different base piece of spare wood that was exactly 1/2” thick. This held the 1/2” tubing in place much more effectively, but again, the diagonal only held it at like 2 o’clock and 8 o’clock, and the dowel method also holds it at 4 and 10, so to speak.

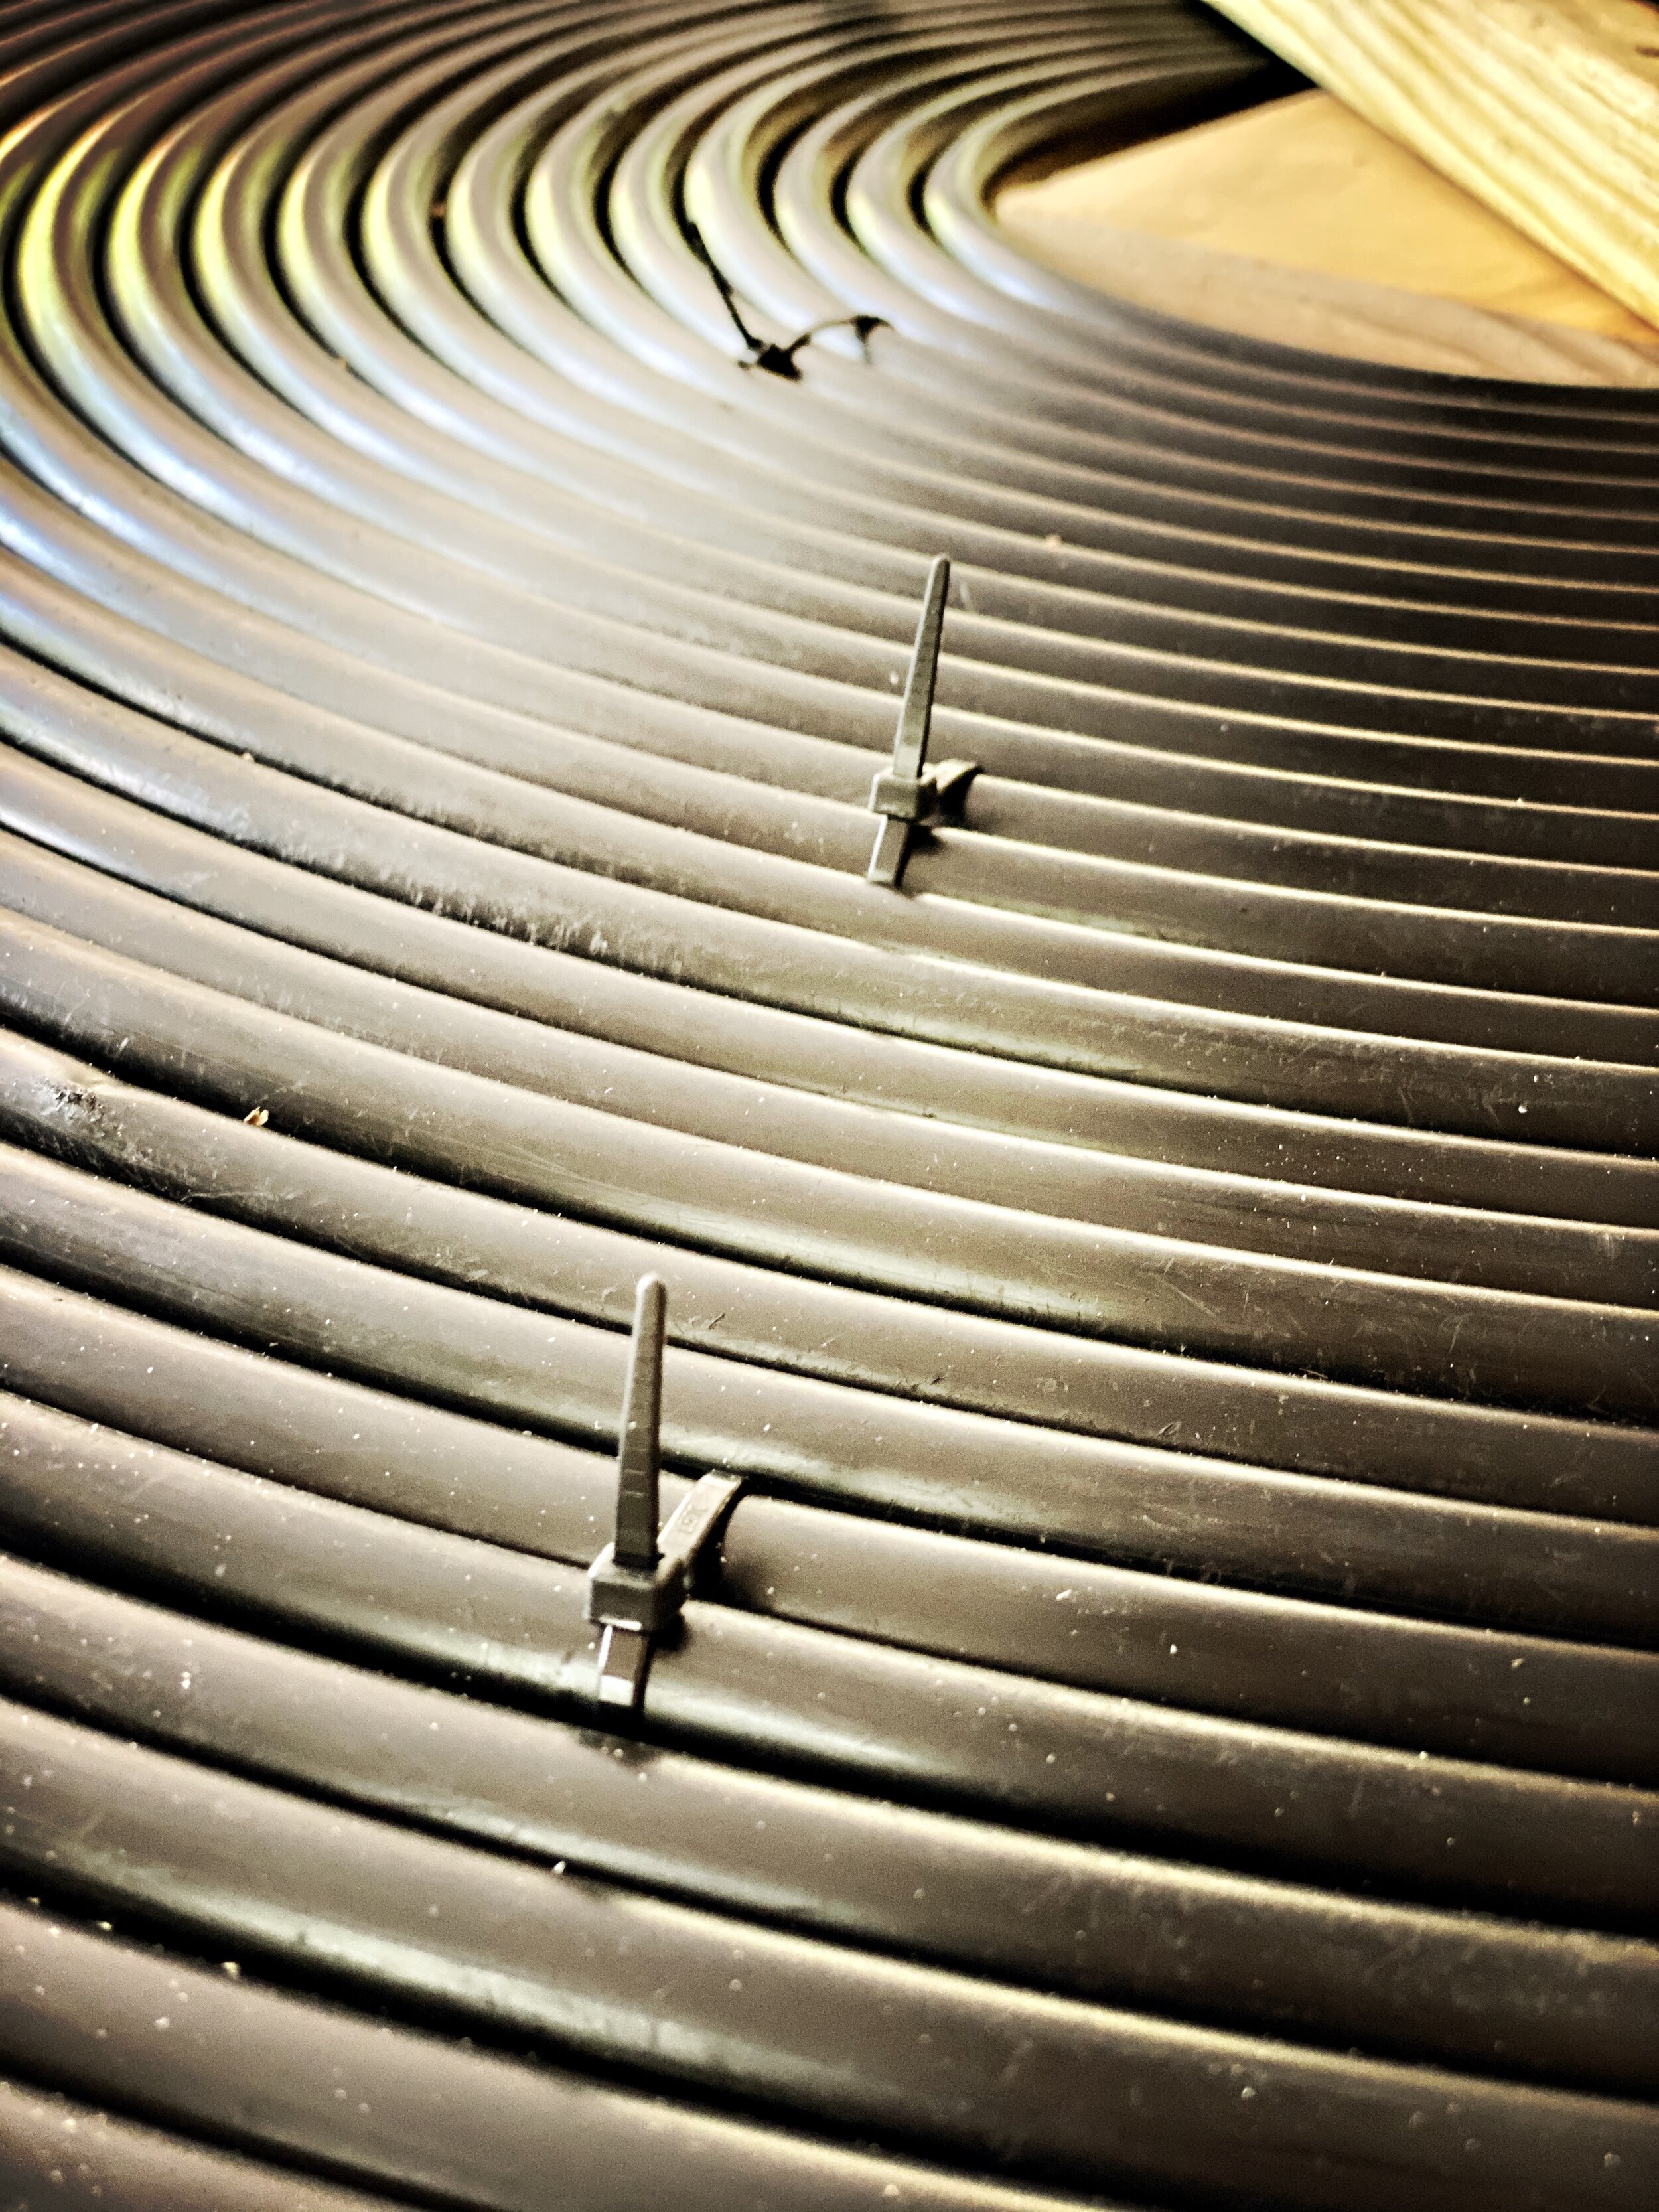
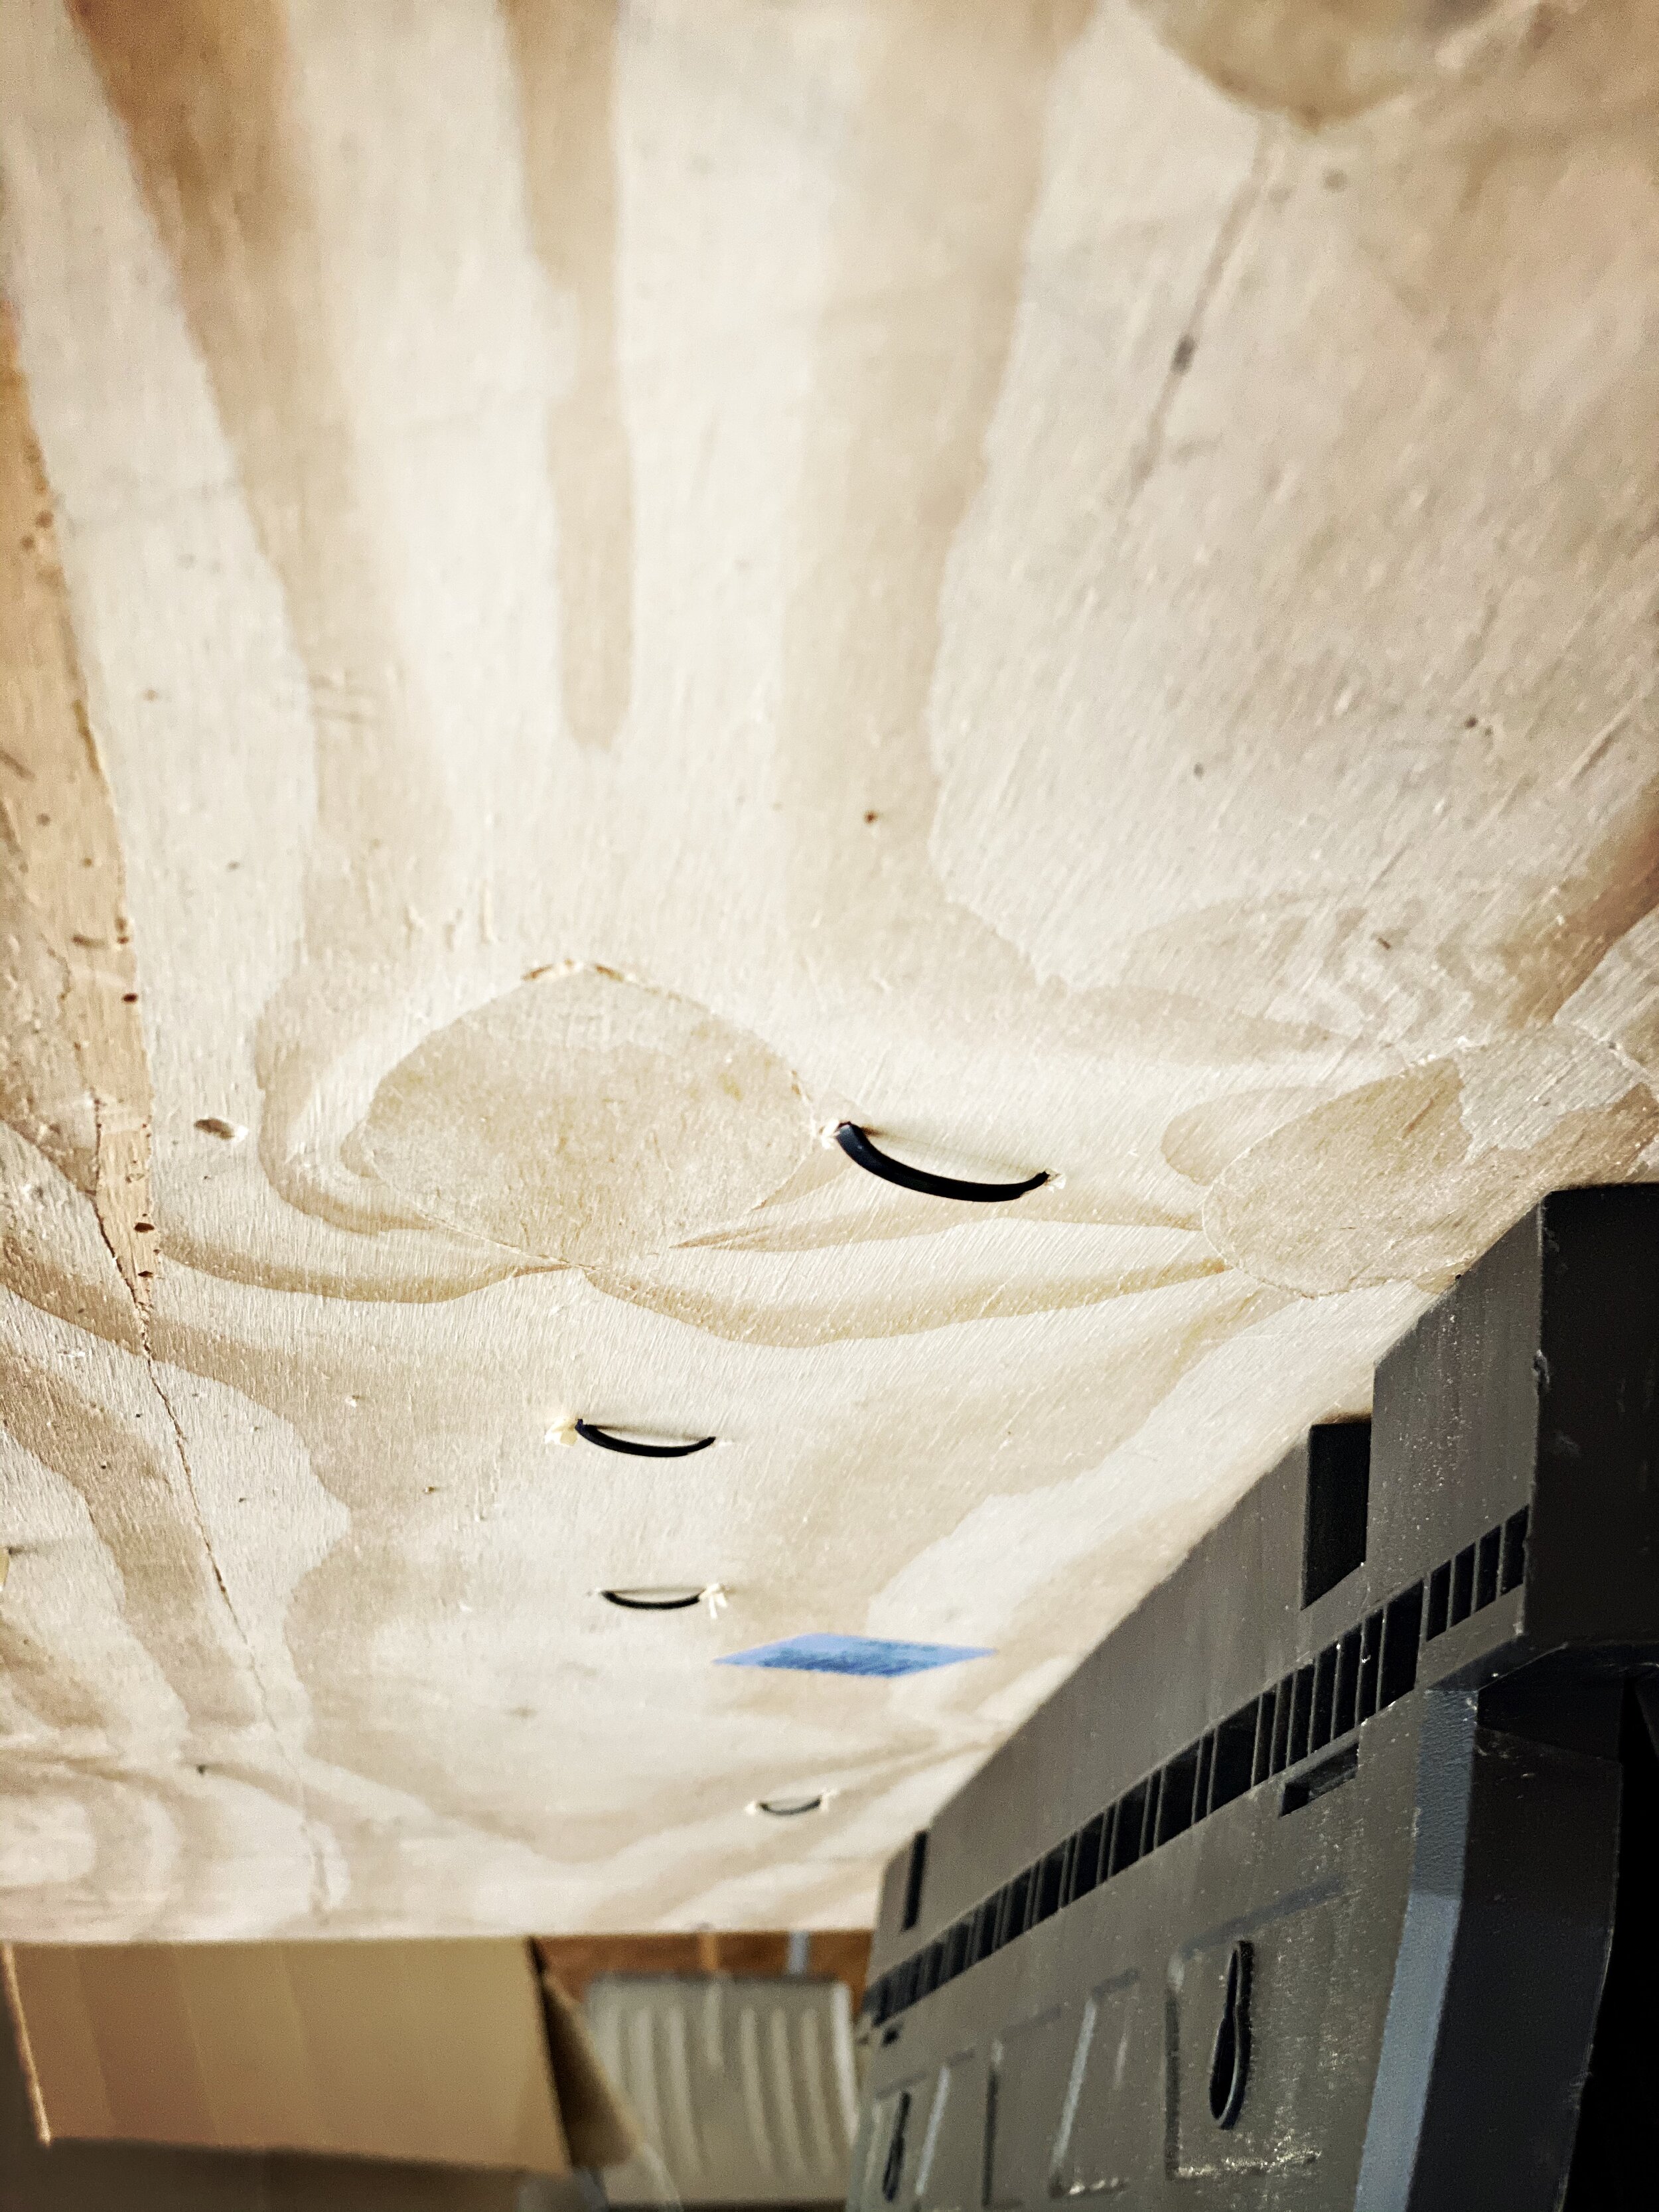
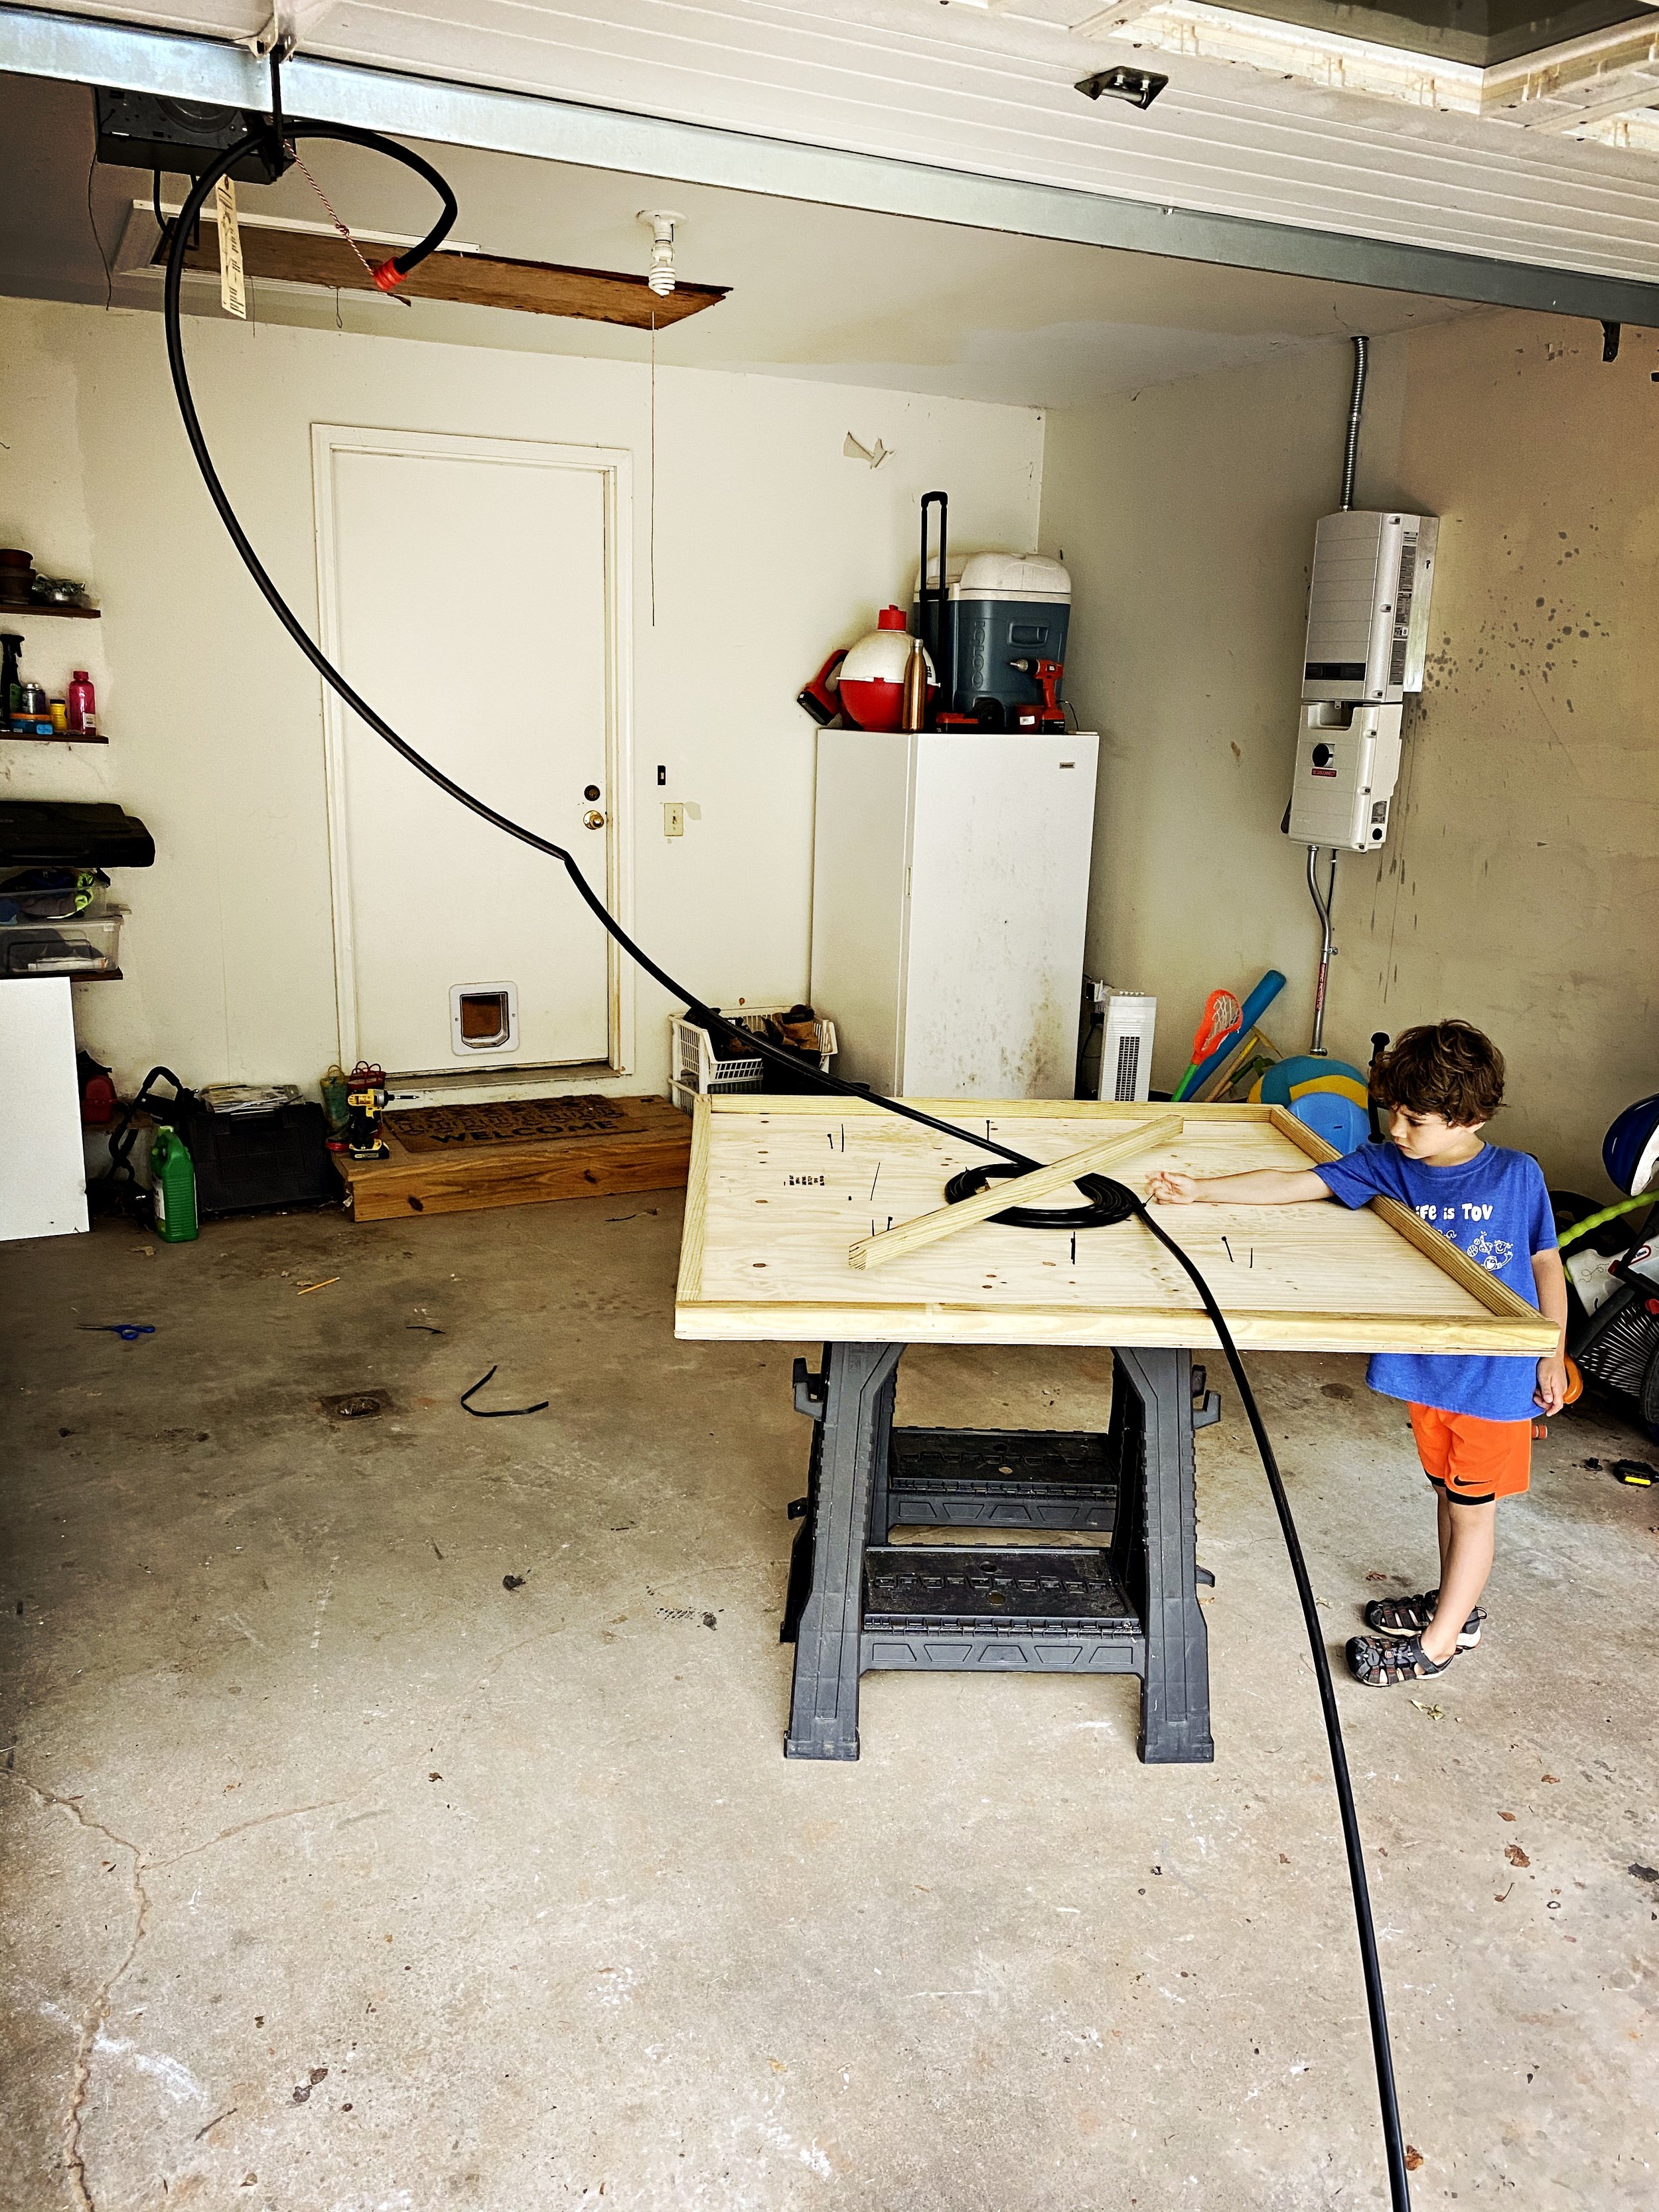
Step 4: Drill holes for zip ties
Once we had the new diagonal piece on, I drilled a bunch of pairs of holes (about an inch apart) in the 4x4’ plywood, somewhat haphazardly. These holes are to thread in zip ties and affix the tubing to the plywood. In retrospect I should’ve been more methodical and drilled more pairs of holes.
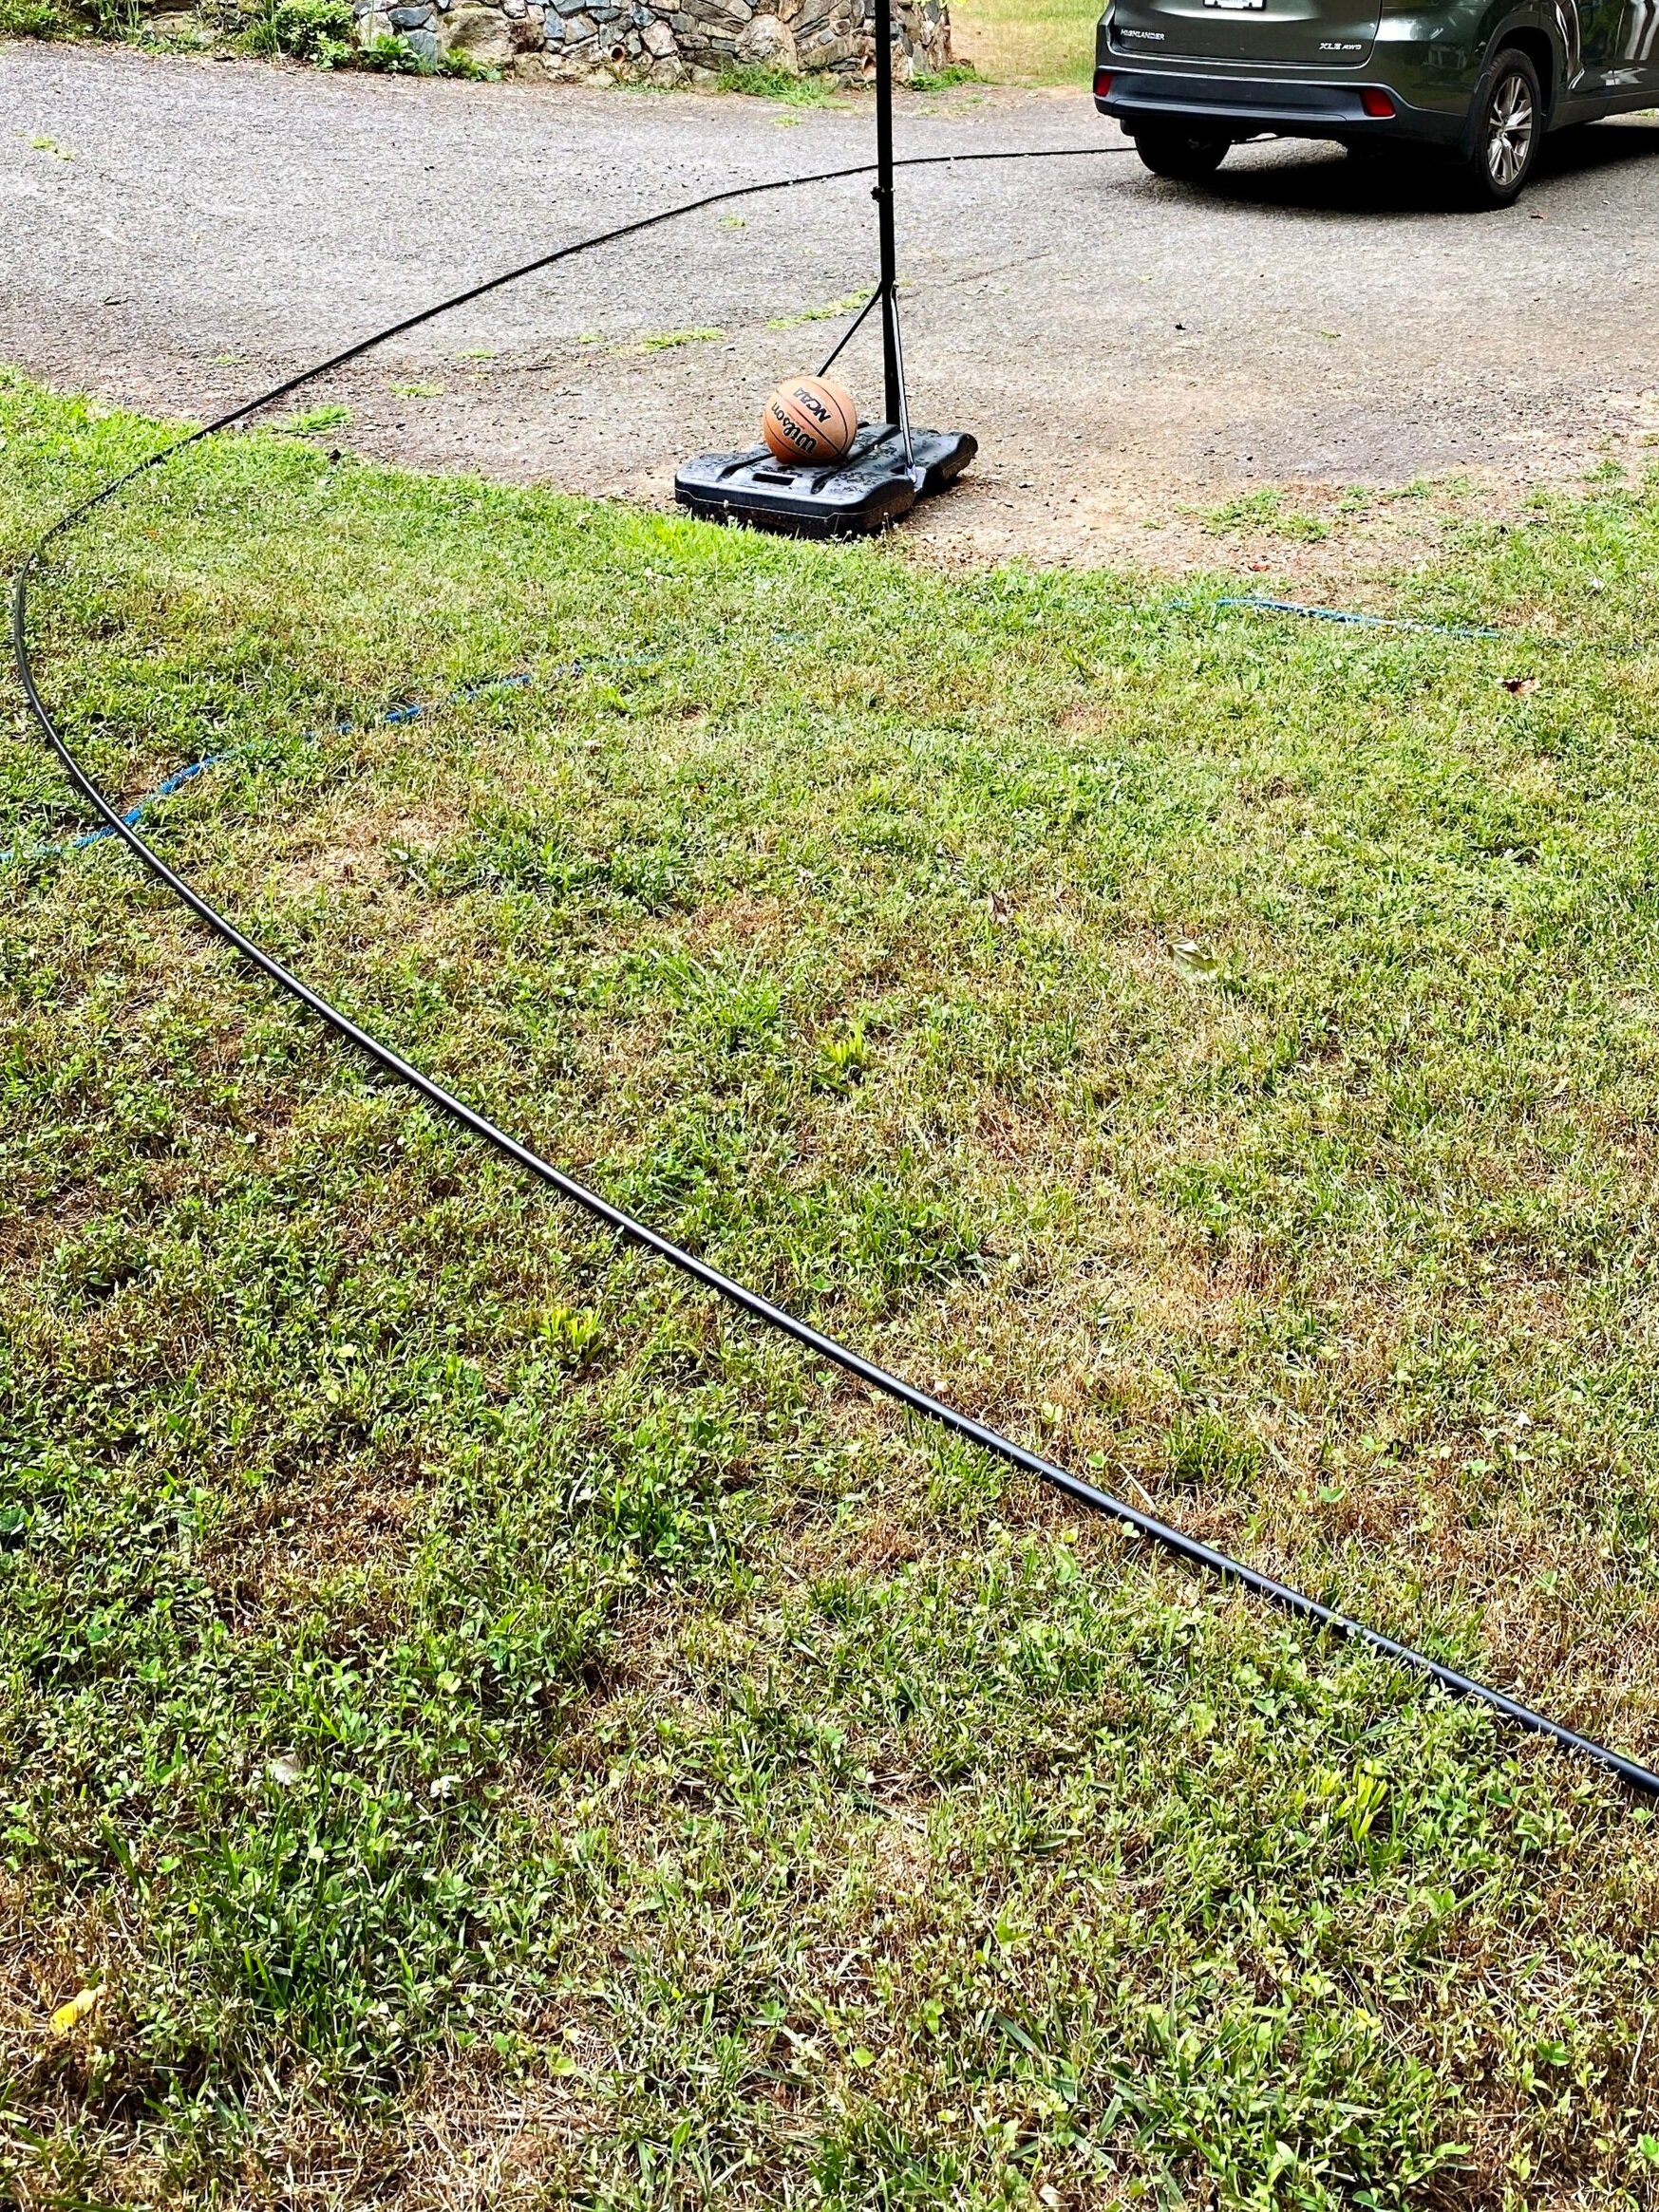
Step 5: Unwind the irrigation tubing
Another tricky part. The 200-ft of tubing was a pain in the ass to deal with until I stretched it out across my lawn, which gave me a fresh start.
Step 4: Drill holes for zip ties
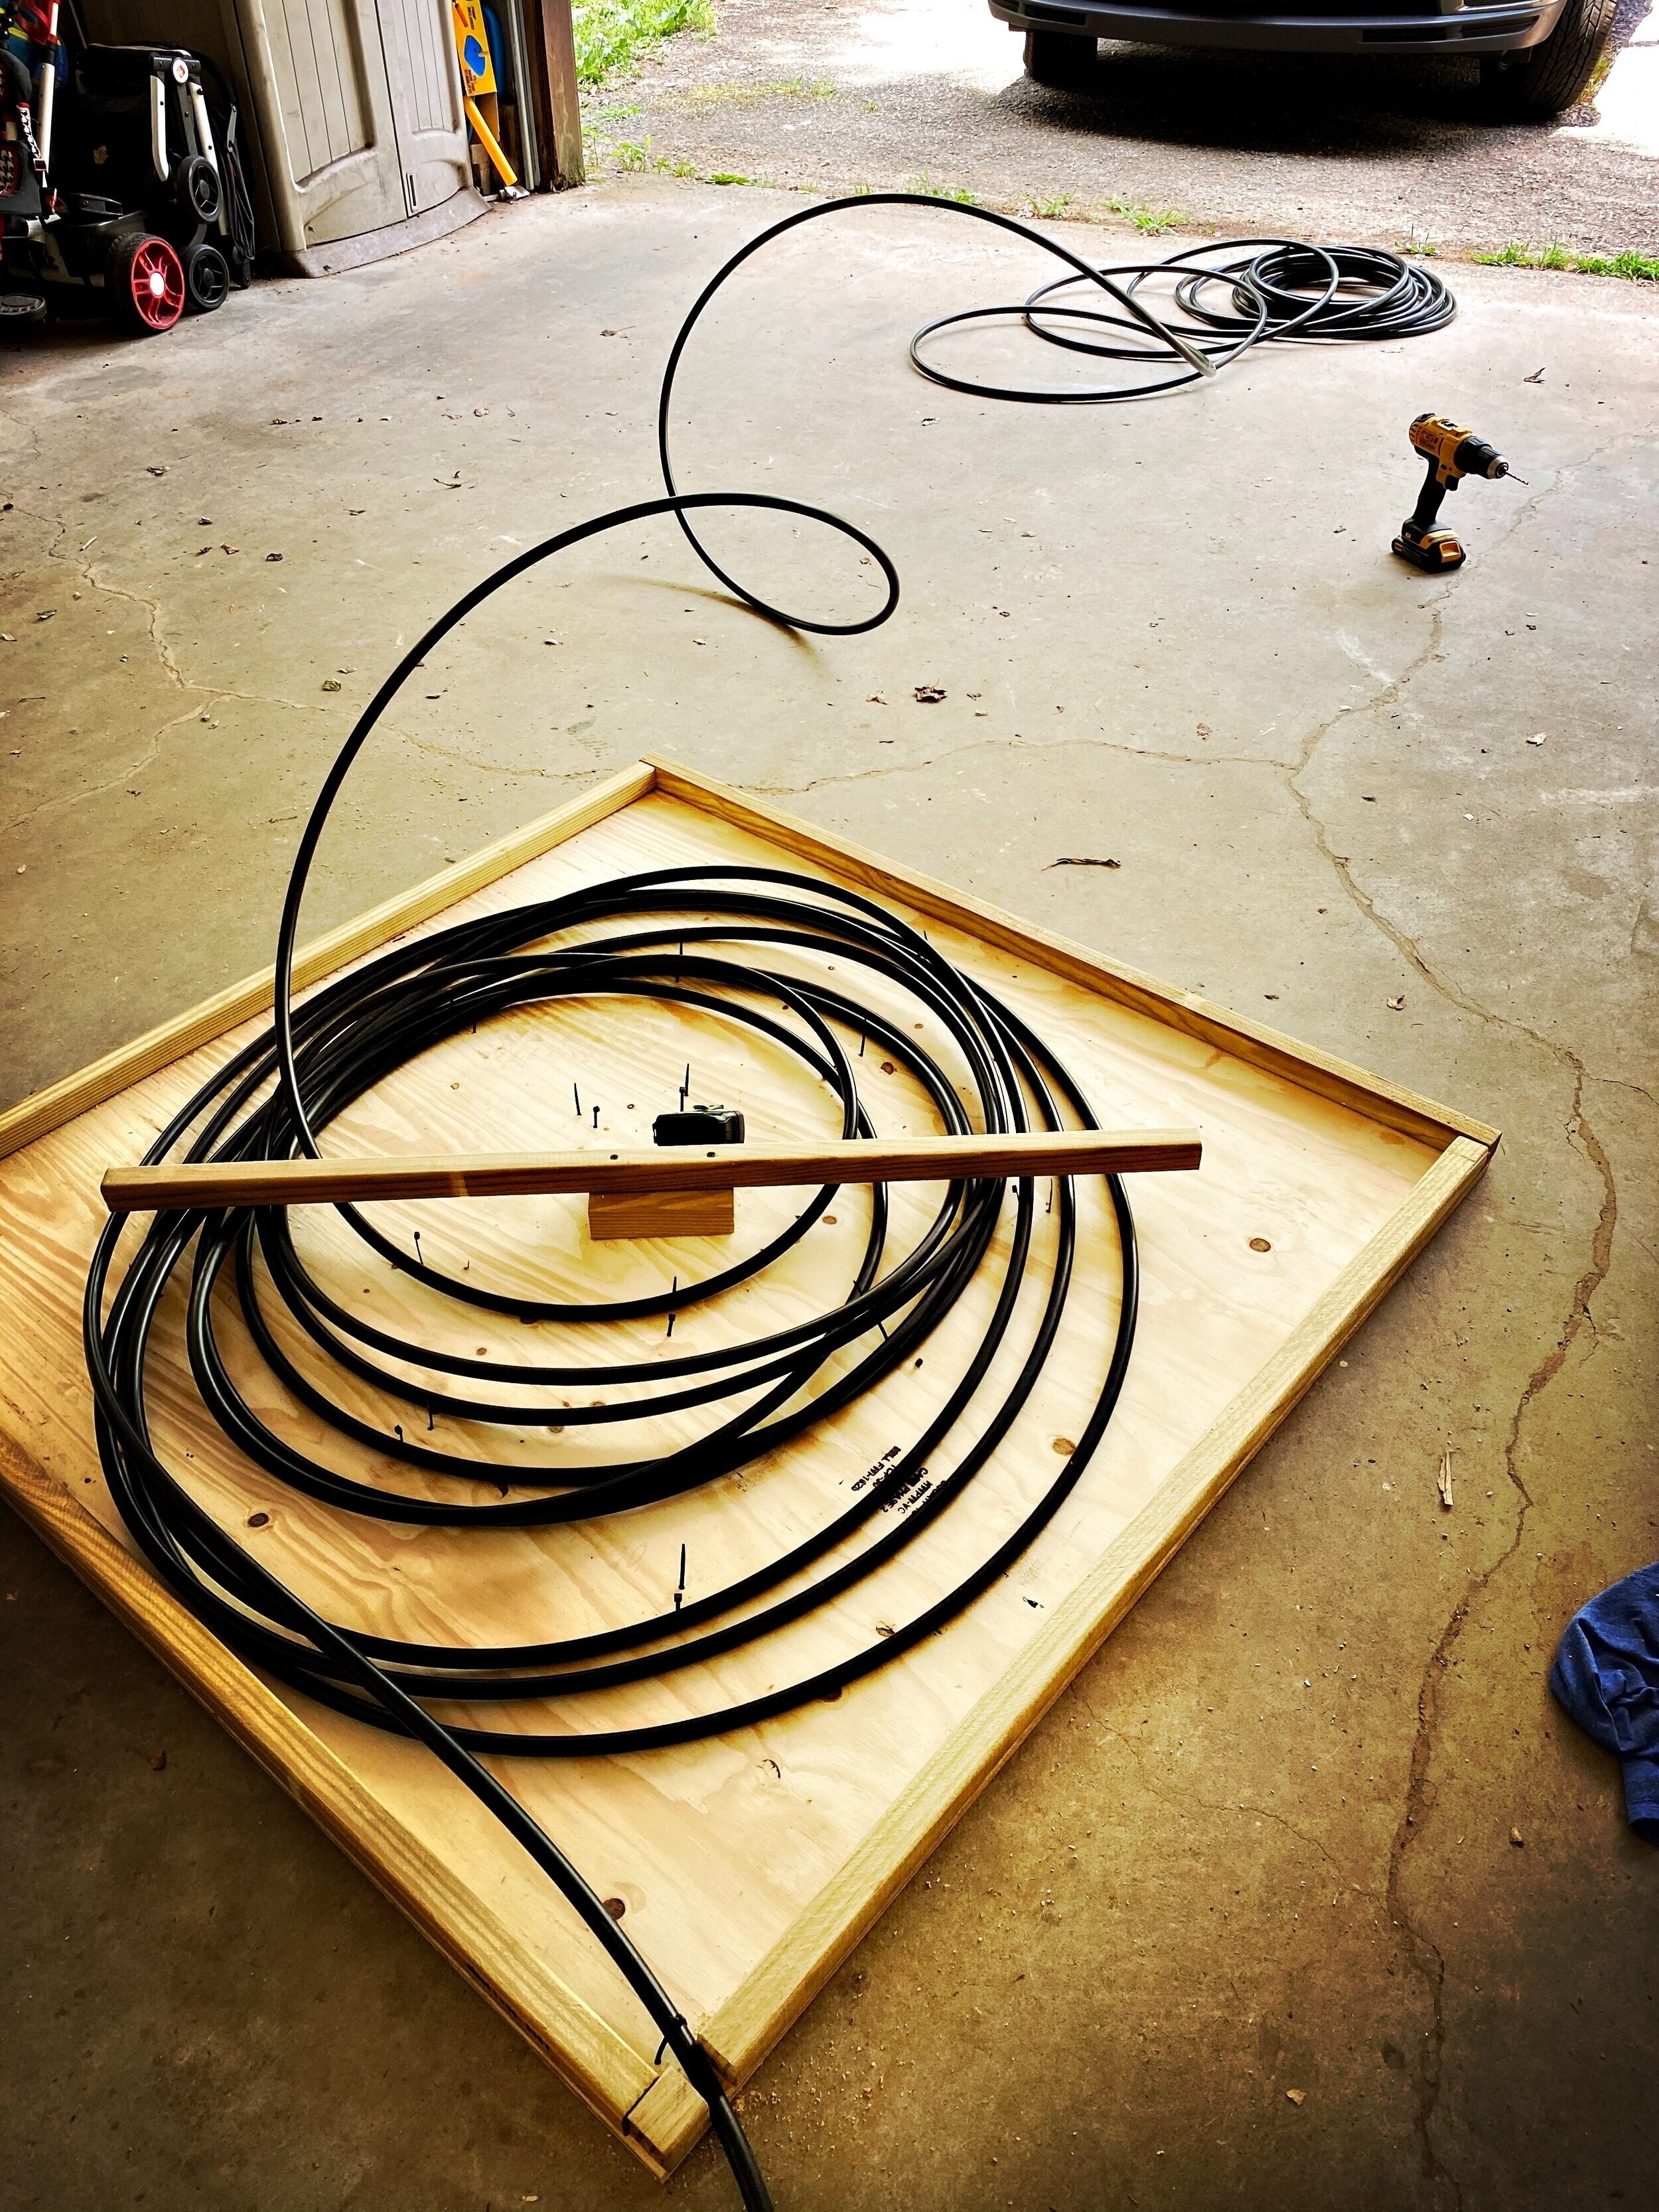
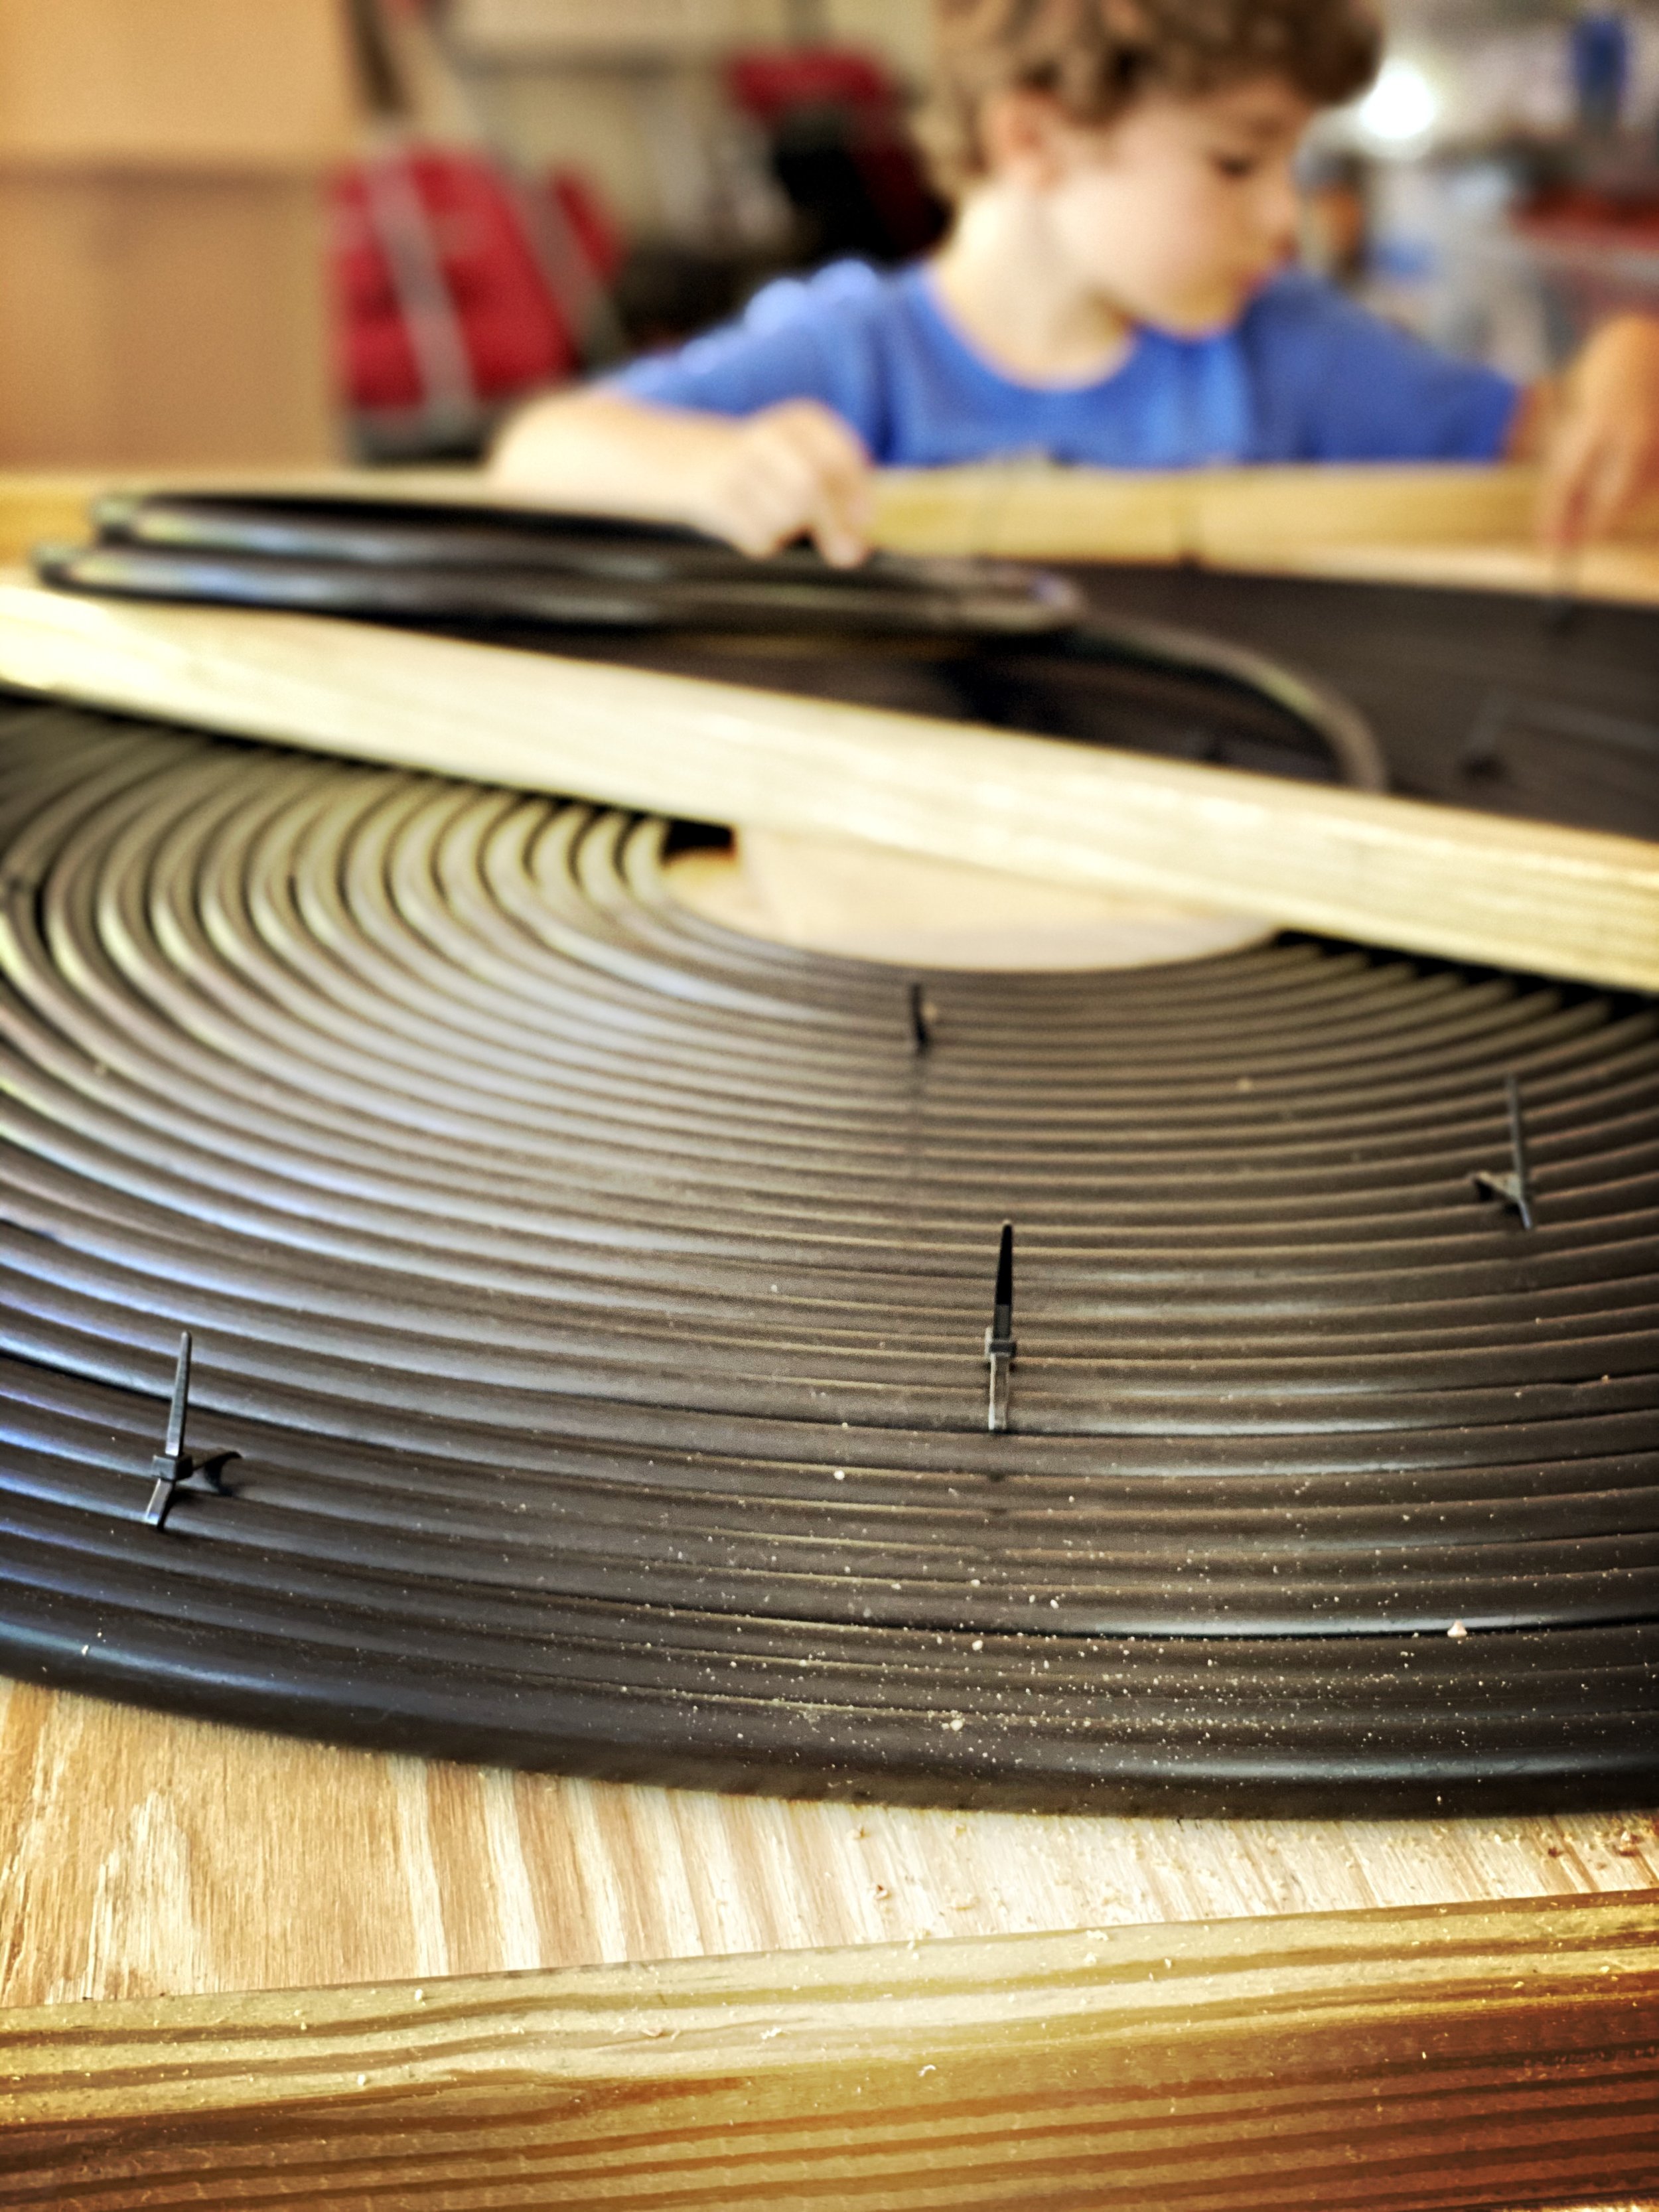
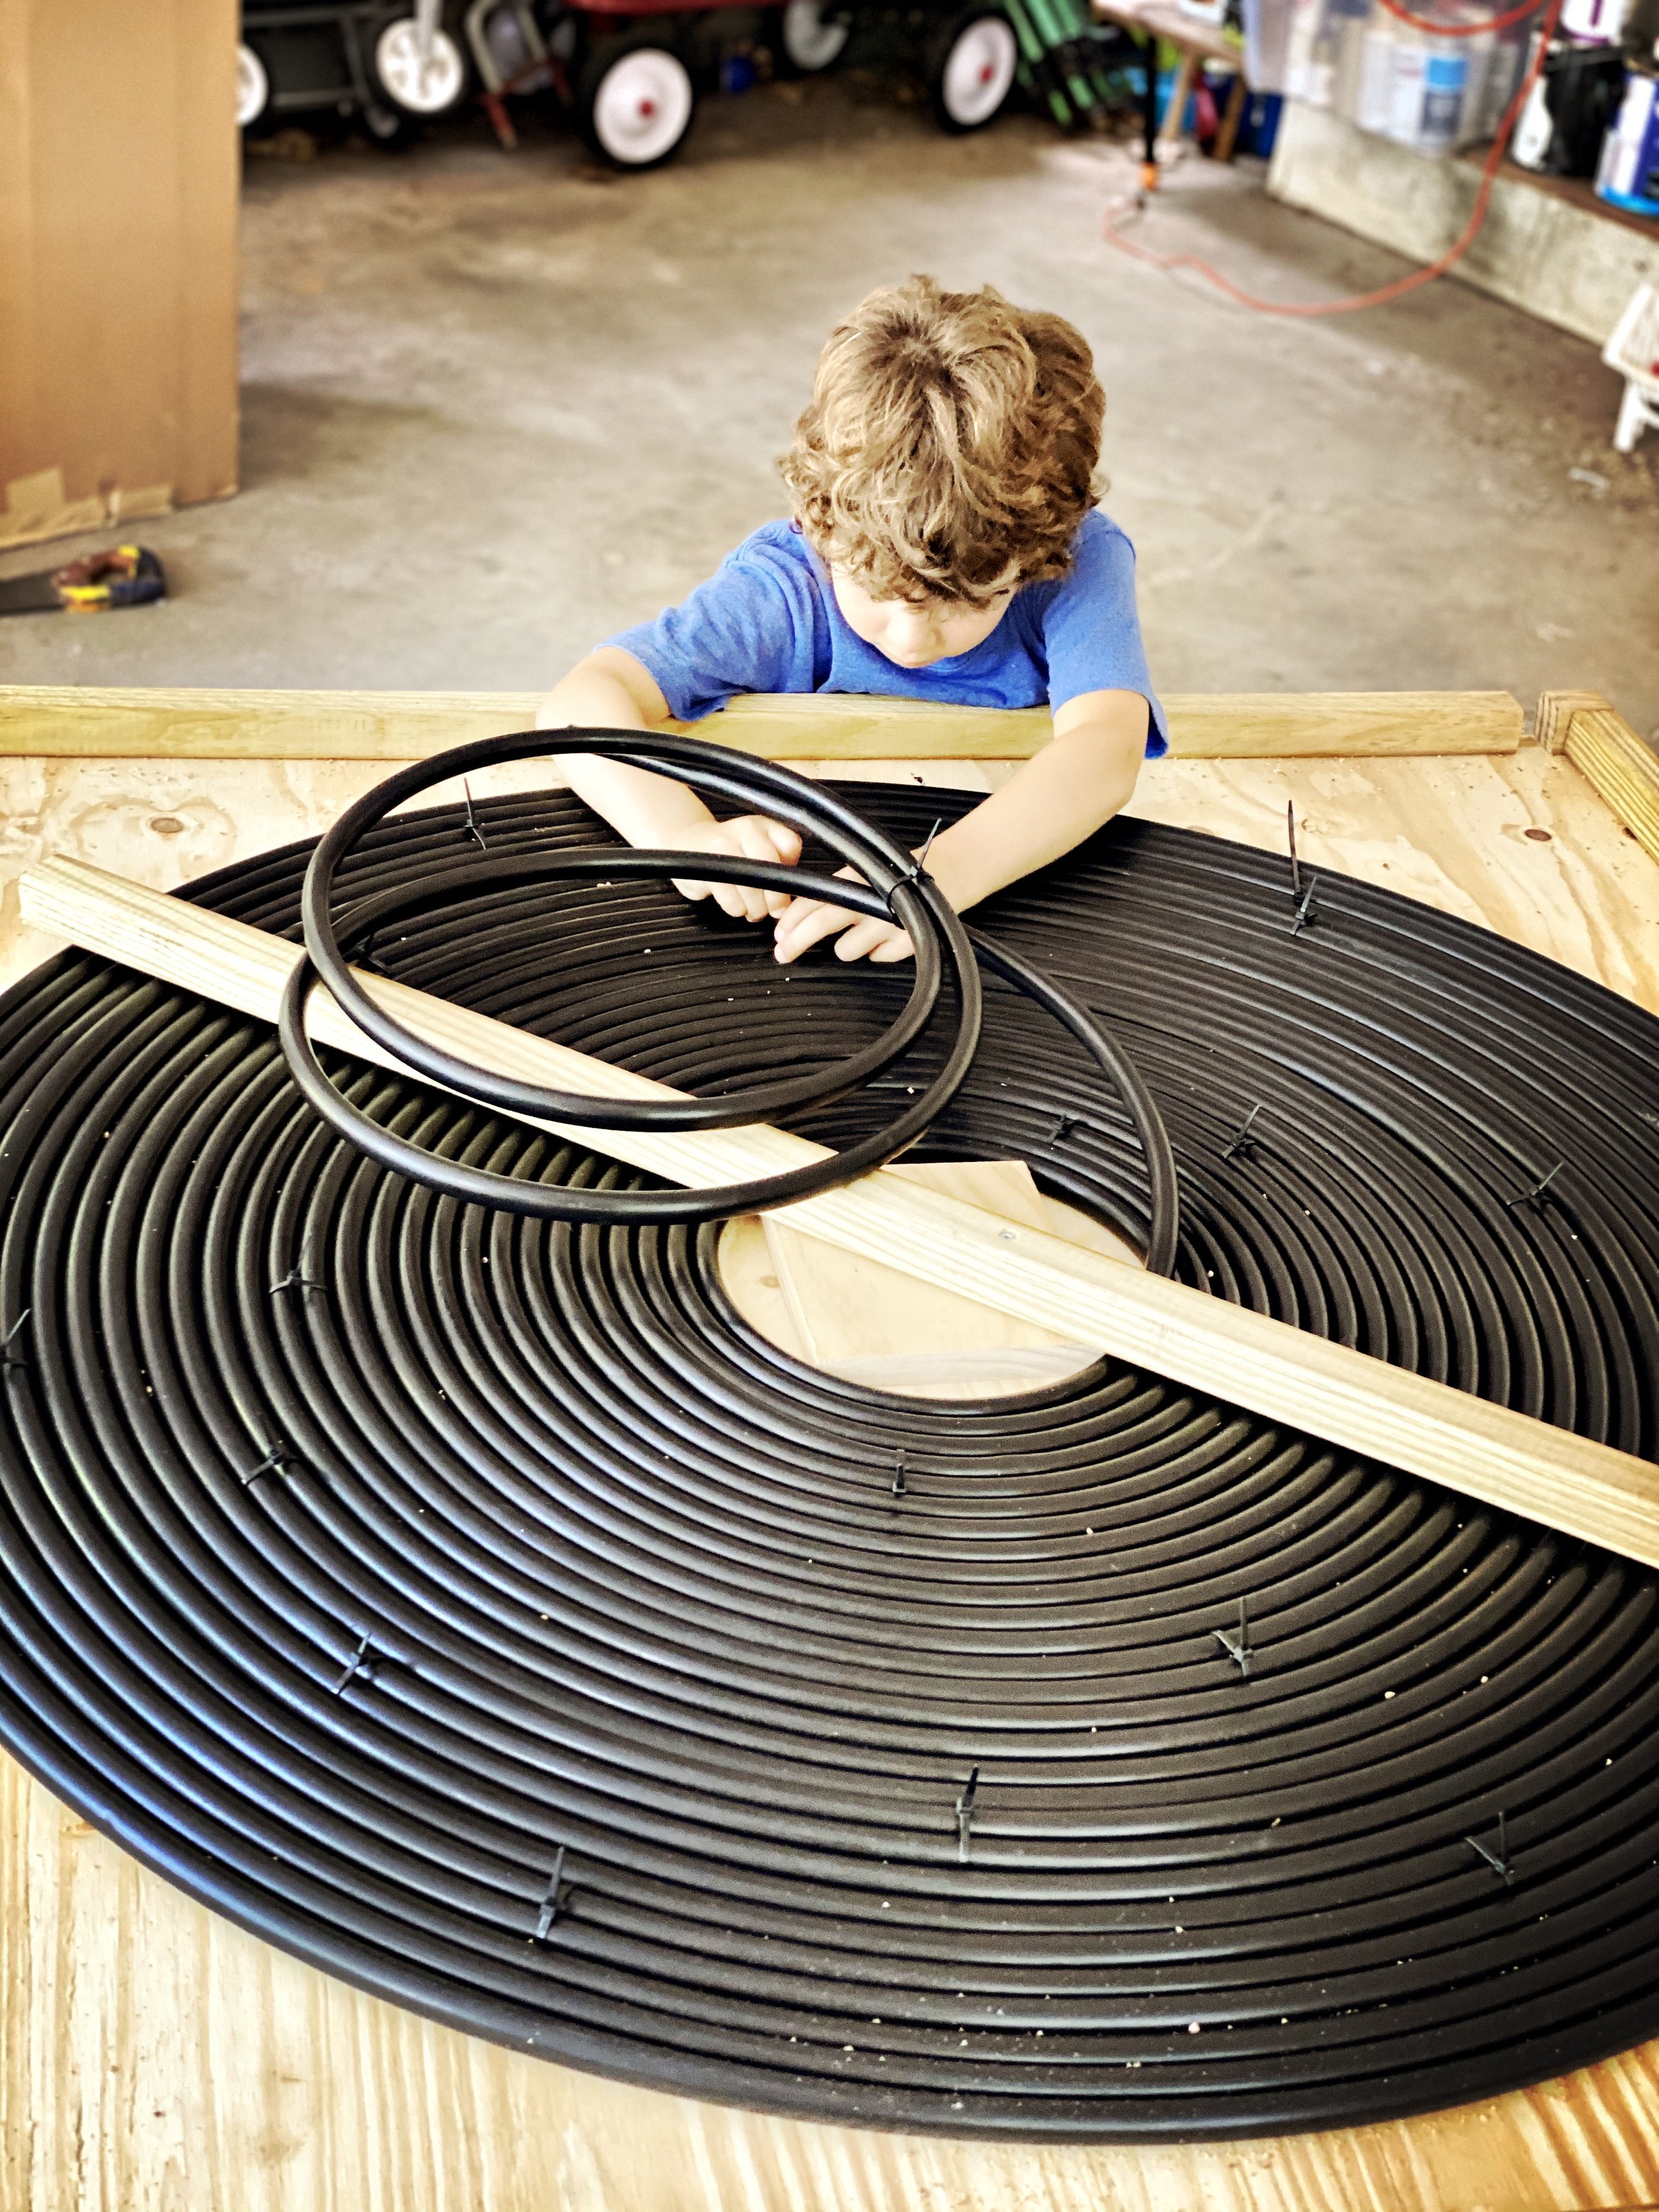
Step 6: Create the coil
Leave about 5 ft of length and then start in the center, working your way out. The extra 5 feet will lay on top of the coil, and eventually poke out of the left side of the frame (this is the intake, where the cool water will enter the coil).
Keep coiling underneath this intake piece, using the zip ties to tighten down the tubing wherever possible. Keep coiling (you should probably use all 200 ft of the tubing) and then leave another 5 feet of tubing at the end to poke out of the right side of the frame (this is where the newly warmed water will exit the coil into the pool).
Step 7: Affix hose with zip ties
If the coil appears loose anywhere, see if you can add more zip ties. If you have to drill additional holes, be really careful not to puncture the tubing, which would suck.
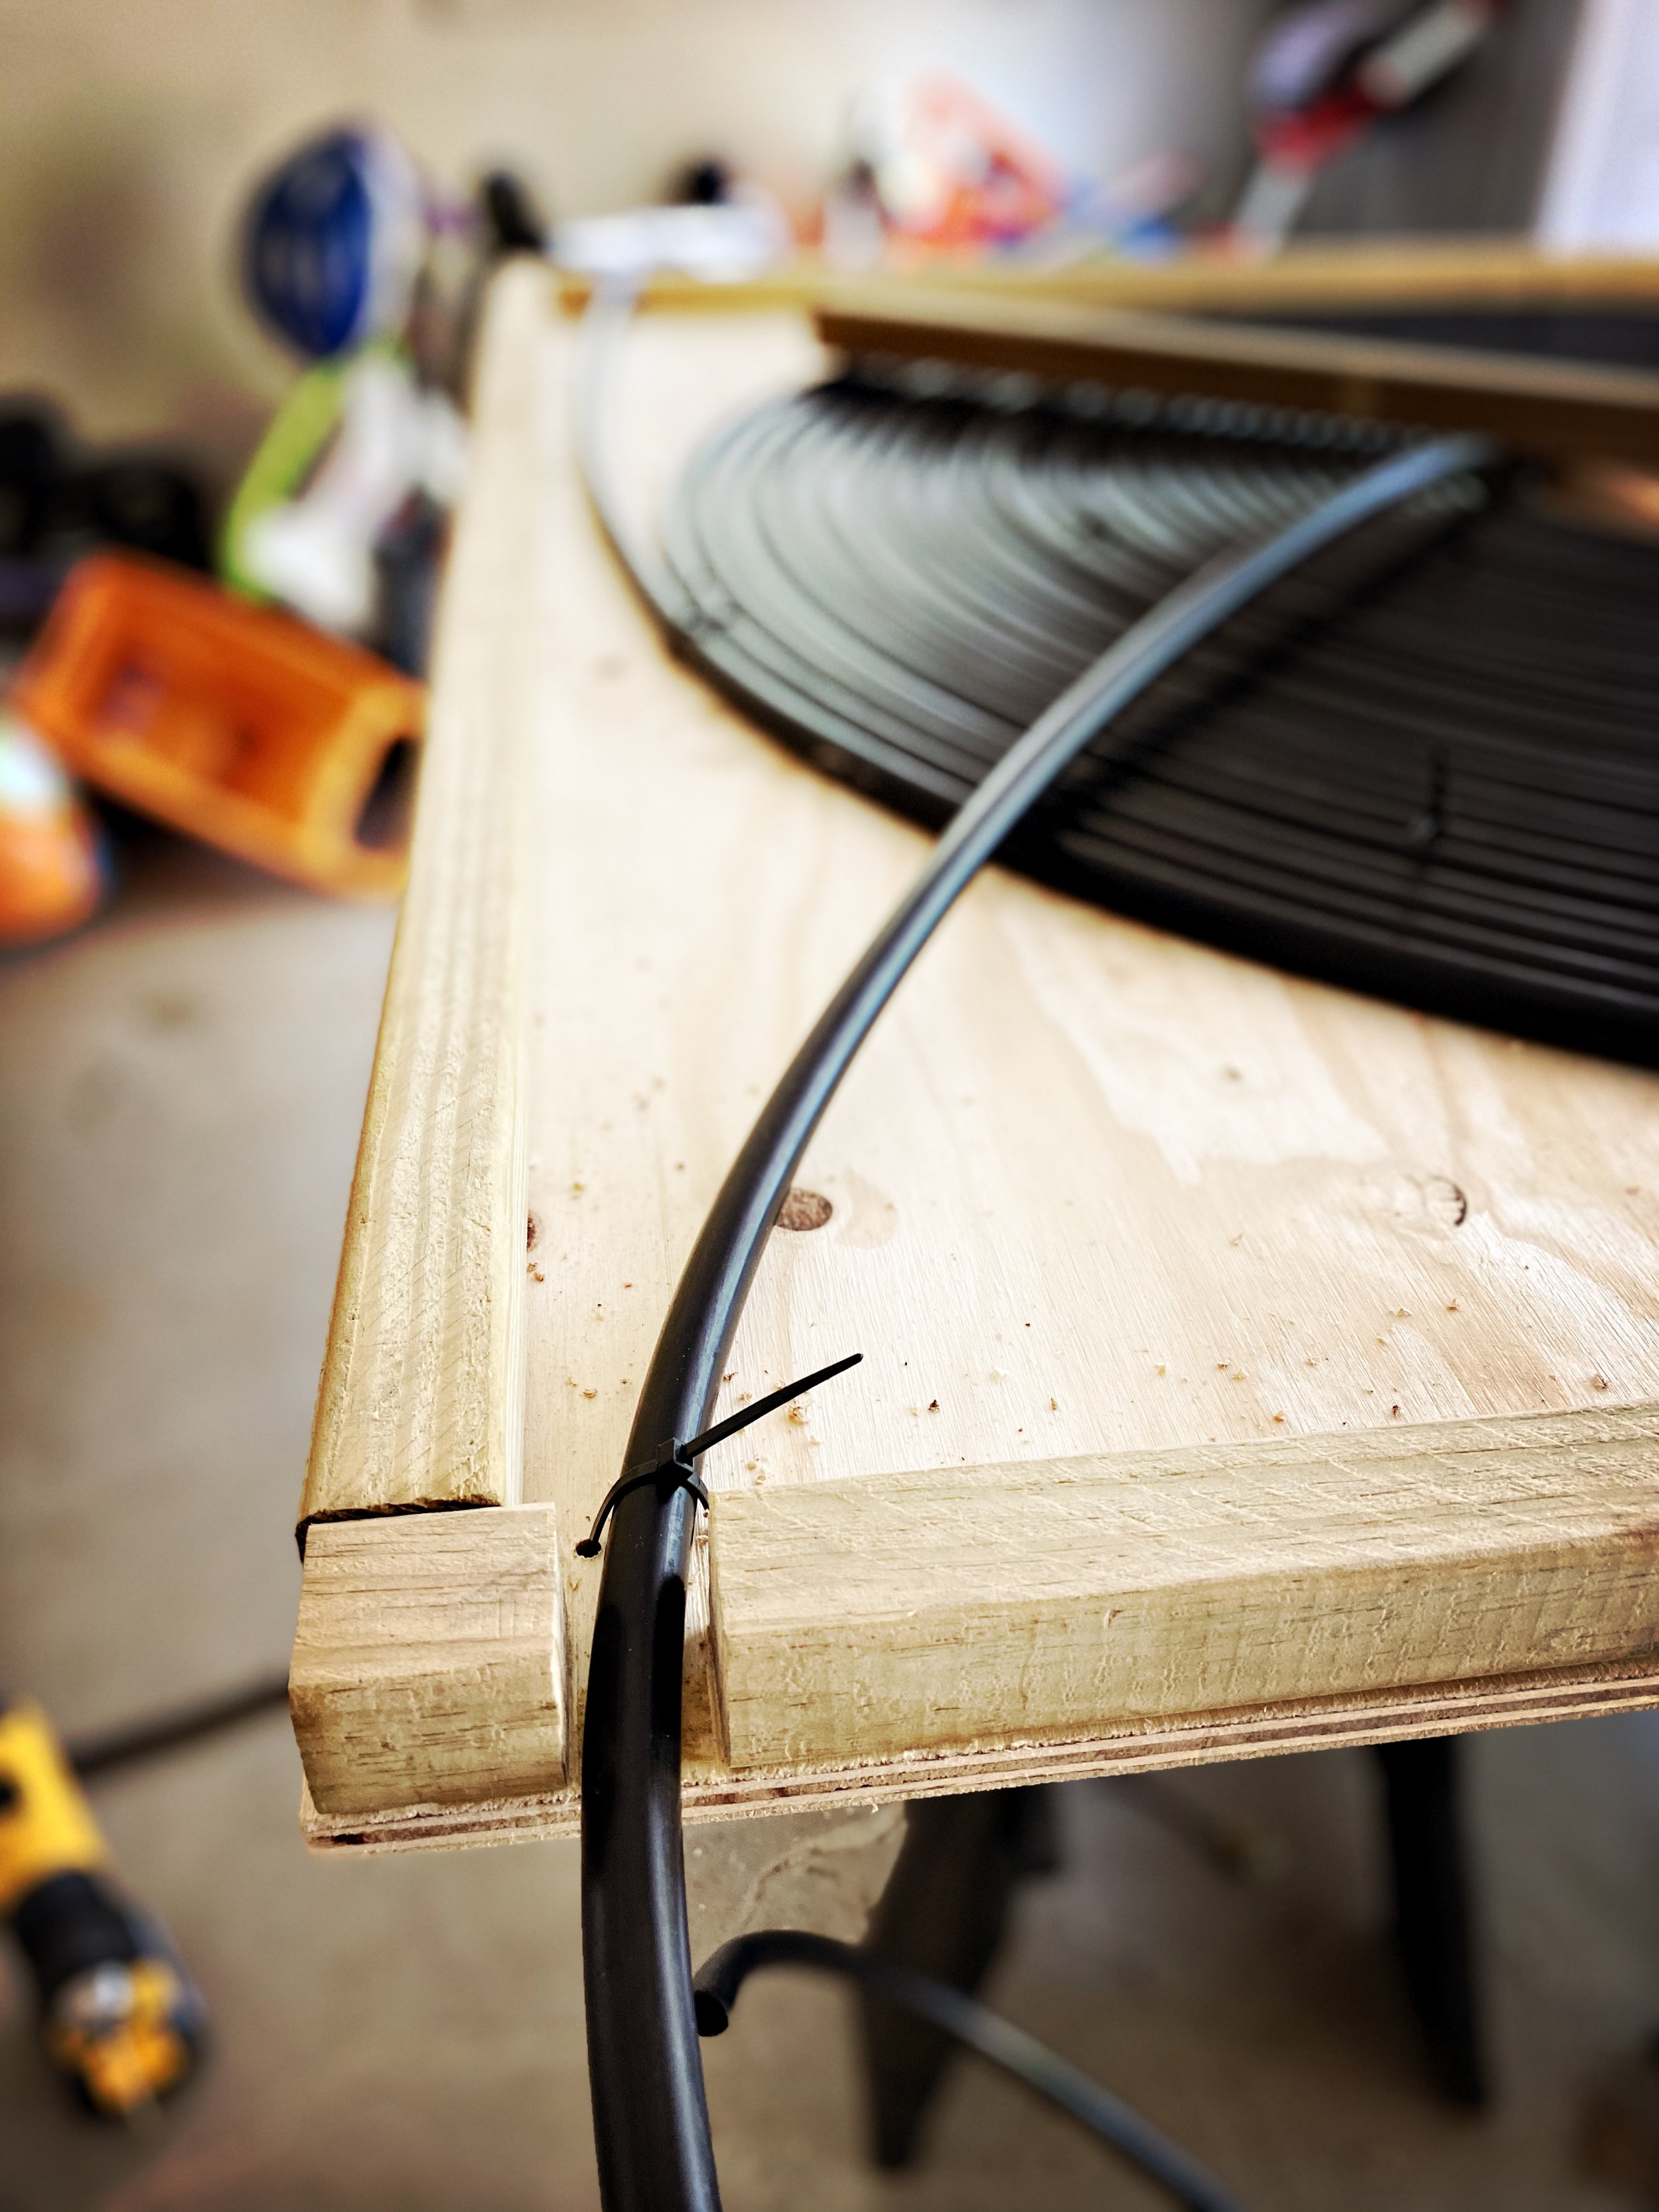
Step 8: Cut slots in the frame for the intake/return
Use a handsaw to cut small 1” notches in each end of the 2x2 frame for the intake and exit sides of the tubing. Drill more holes in the 4x4 plywood and tighten down the tubing with more zip ties. Now the solar collector is ready.

(Optional) Paint it Black
Again, in retrospect I should’ve done this part earlier, but it’s a good idea to spraypaint the whole solar collector with a flat black primer+paint product. This will generate more heat, protect the wood from rain/mold, and protect the tubing from UV rays. Plus it looks cool.
Step 9: Add adapters
Affix the 1/2” tubing-to-3/4” garden hose adapters on both ends of the irrigation tubing. You may need to warm up the tubing with a hair dryer or just leave it in the sun for a while to make it pliable enough to jam that adapter in, and then twist the collar over the tubing to lock it in place. You can add some black electrical tape if you want to be sure.

Step 9: Add hose adapters

Step 10: Attach hoses
Step 10: Attach hoses
Figure out where you want to place the solar thermal collector coil (where will it get most sun throughout the day) and then choose hose lengths that will stretch from the left side of the collector to the deep end of the pool (where the water is coldest) and from the right side of the collector to the shallow end of the pool (where people hang out the most).
Step 11: Attach utility pump
For the left side, attach the other end of the hose to your submersible utility pump (do your homework and make sure the pump is meant to be submerged and is in good working order). Make sure your electrical cord is long enough to plug into an outlet (or use an extension cord if necessary).
Tie a rope to the pump so you can lower/raise it into the deep end of the pool (don’t pull on the power cord to lower or raise), and slowly lower it into the deep end. Try to avoid putting it in a place where it’ll suck up leaves or debris.
Step 10 & 11: Attach hoses to collector and pump
Step 12: Turn it on!
Wait for a sunny day, let the coil warm up a bit, and then plug the sucker in. Give it a moment to blow out the air (you should see some air bubbles in the water on the exit side before water starts coming out). Cool water in, and warmer water comes out the other side. On a sunny day we went from 80 to 100 degrees! Takes a while to change the overall temp on a large pool, but just keep it going and let it circulate!
(Optional) Add handles or wheels
The finished heater was pretty heavy and a little awkward to carry solo (though not unreasonably so). I had to position it pretty far from our pool shed to get the most sun, and it became annoying to constantly bring it in and out. I’d recommend adding some kind of carrying handles to the sides or maybe some casters/wheels to make it a little easier to move around, but we’ll call that version 2.0 for next summer.
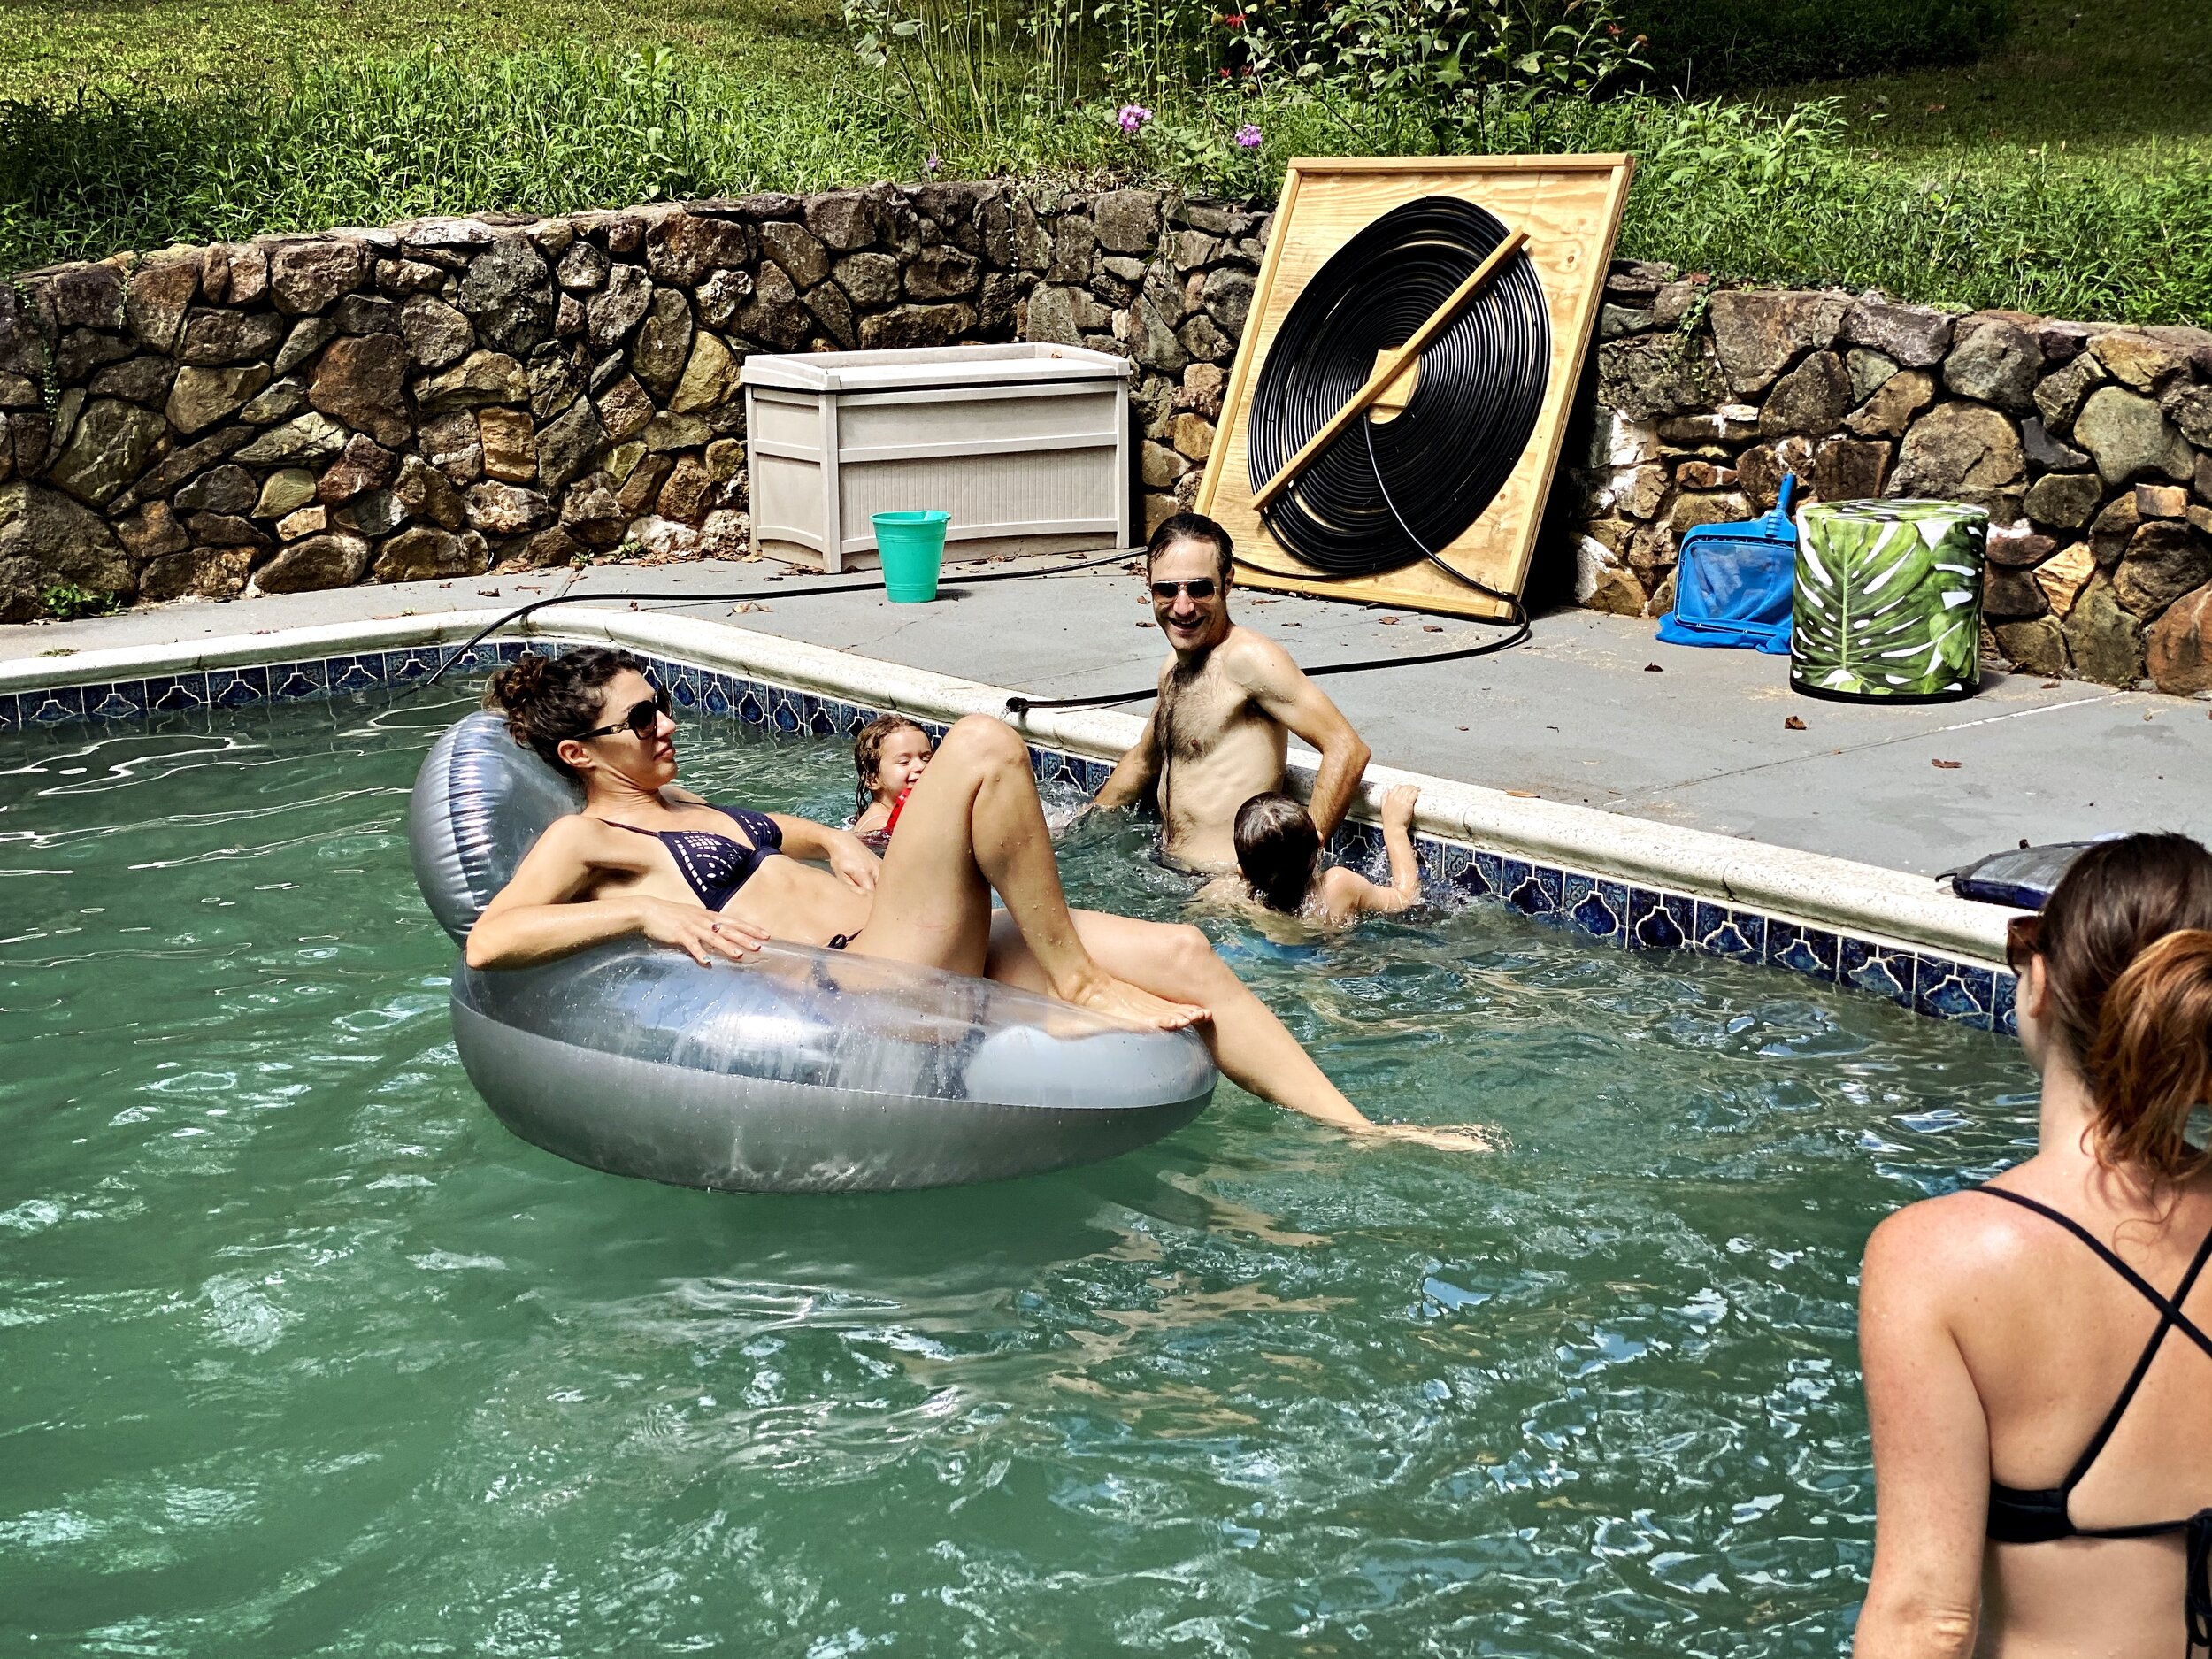
Boom.
The Research: Where I Started
I didn't invent solar thermal physics, nor the desire to heat a chilly pool. I stood on the shoulders of these two creators. Their tutorials were my blueprint, and I highly recommend watching them for a deeper dive:
We followed this video, but I think the one below is actually a better design.
This design is a little more complicated (and not the video we followed) but may be worth your time. If we had it to do over again, probably would’ve done it this way.