11 Steps to Installing Residential Solar Panels
Here is a basic breakdown of the path we followed to install residential solar panels on our homestead, with some links to outside resources as well as more in-depth content on this site focused on stuff like determining the cost of residential solar panels, how to choose an installer, figuring out roof- versus ground-mounting, and other fun stuff to help you get you generating your own power.
Here’s what we did:
HOW TO INSTALL Residential SOLAR PANELS
1. RESEARCH
Take some time to read about how solar photovoltaics work, and how it specifically works in your state or region. What incentives and tax credits are currently available (they change often)? What obstacles exist? Who are the well-respected installers in your area. Ask around and see if you can tour an existing residential solar installation. Solar United Neighbors is a good site to start and in many states they offer solar co-ops, which is a great way to get educated, and (when we’re not quarantining) tours of residential and commercial solar projects.
2. SUN-MAPPING
Make sure a space on your property gets enough sun (6-8+ hours per day) for solar to be worthwhile. Is your roof the sunniest spot and conducive to solar, or is ground-mounting a better idea? If you’re ground-mounting, are there open, south-facing areas that are already perfect or could an area be made solar-feasible if you remove one or two trees? Make a base map of your land and check out the Sun Seeker app to make a permaculture sun map and see what areas are workable.
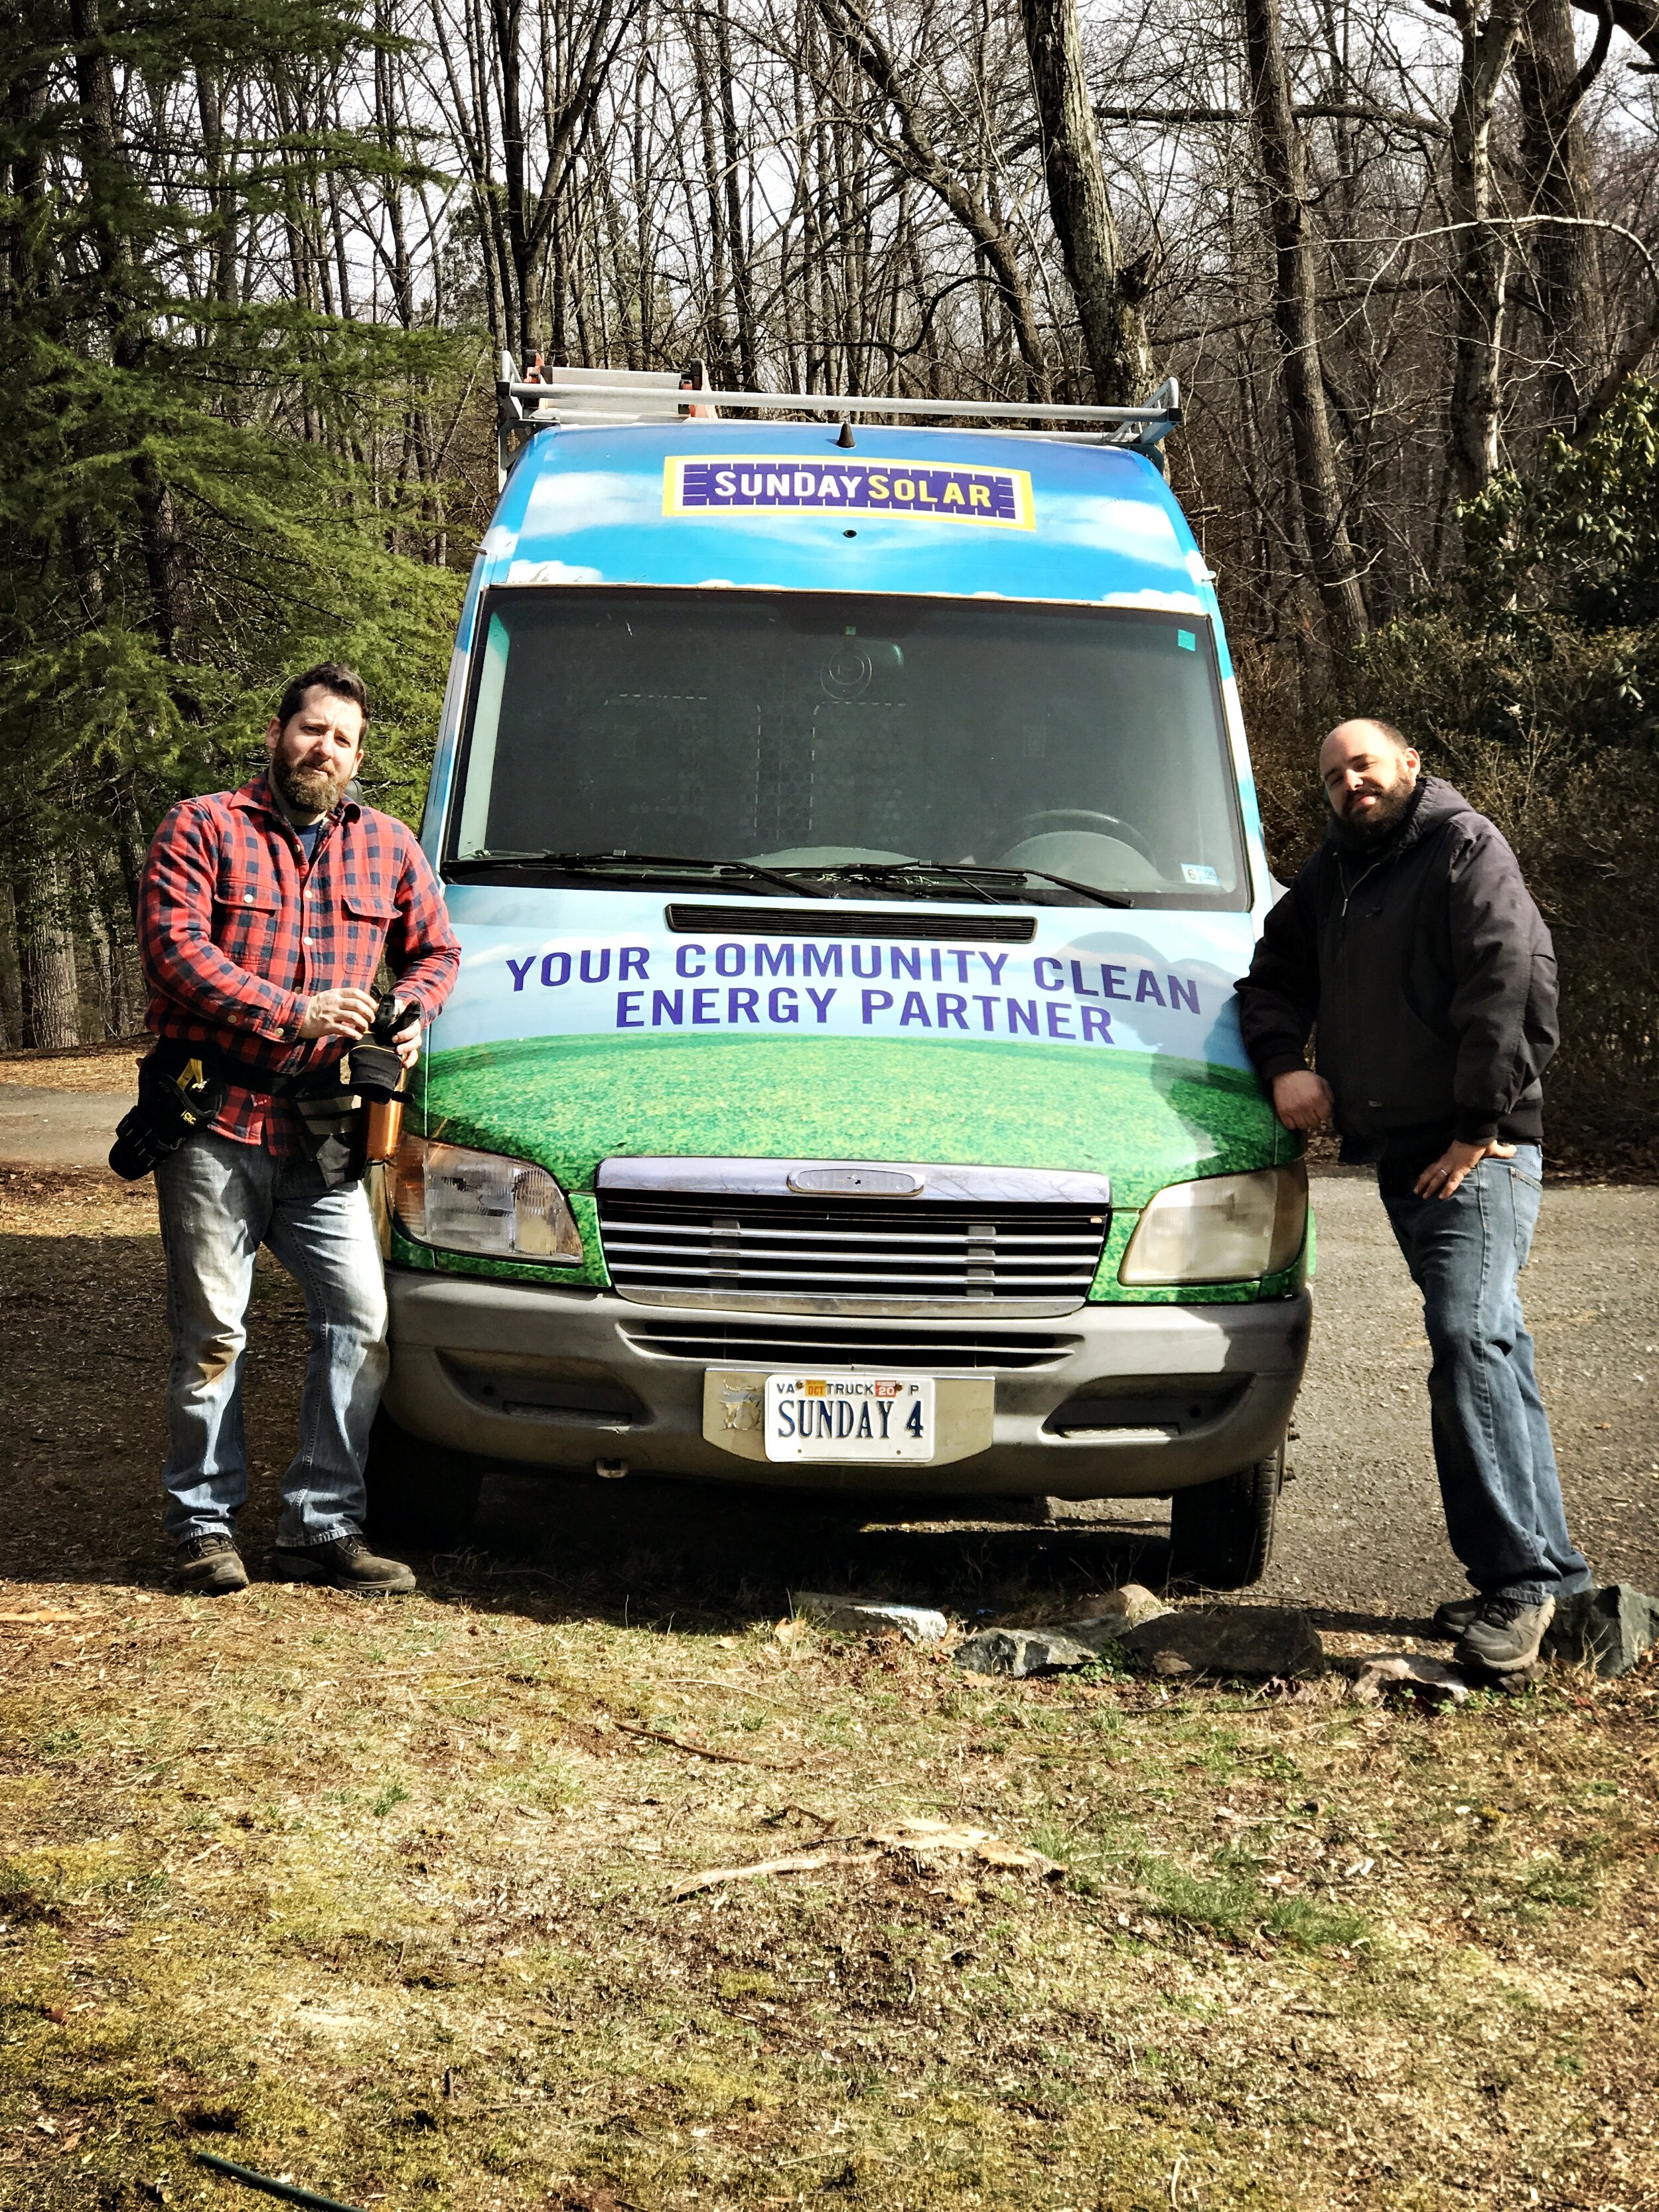

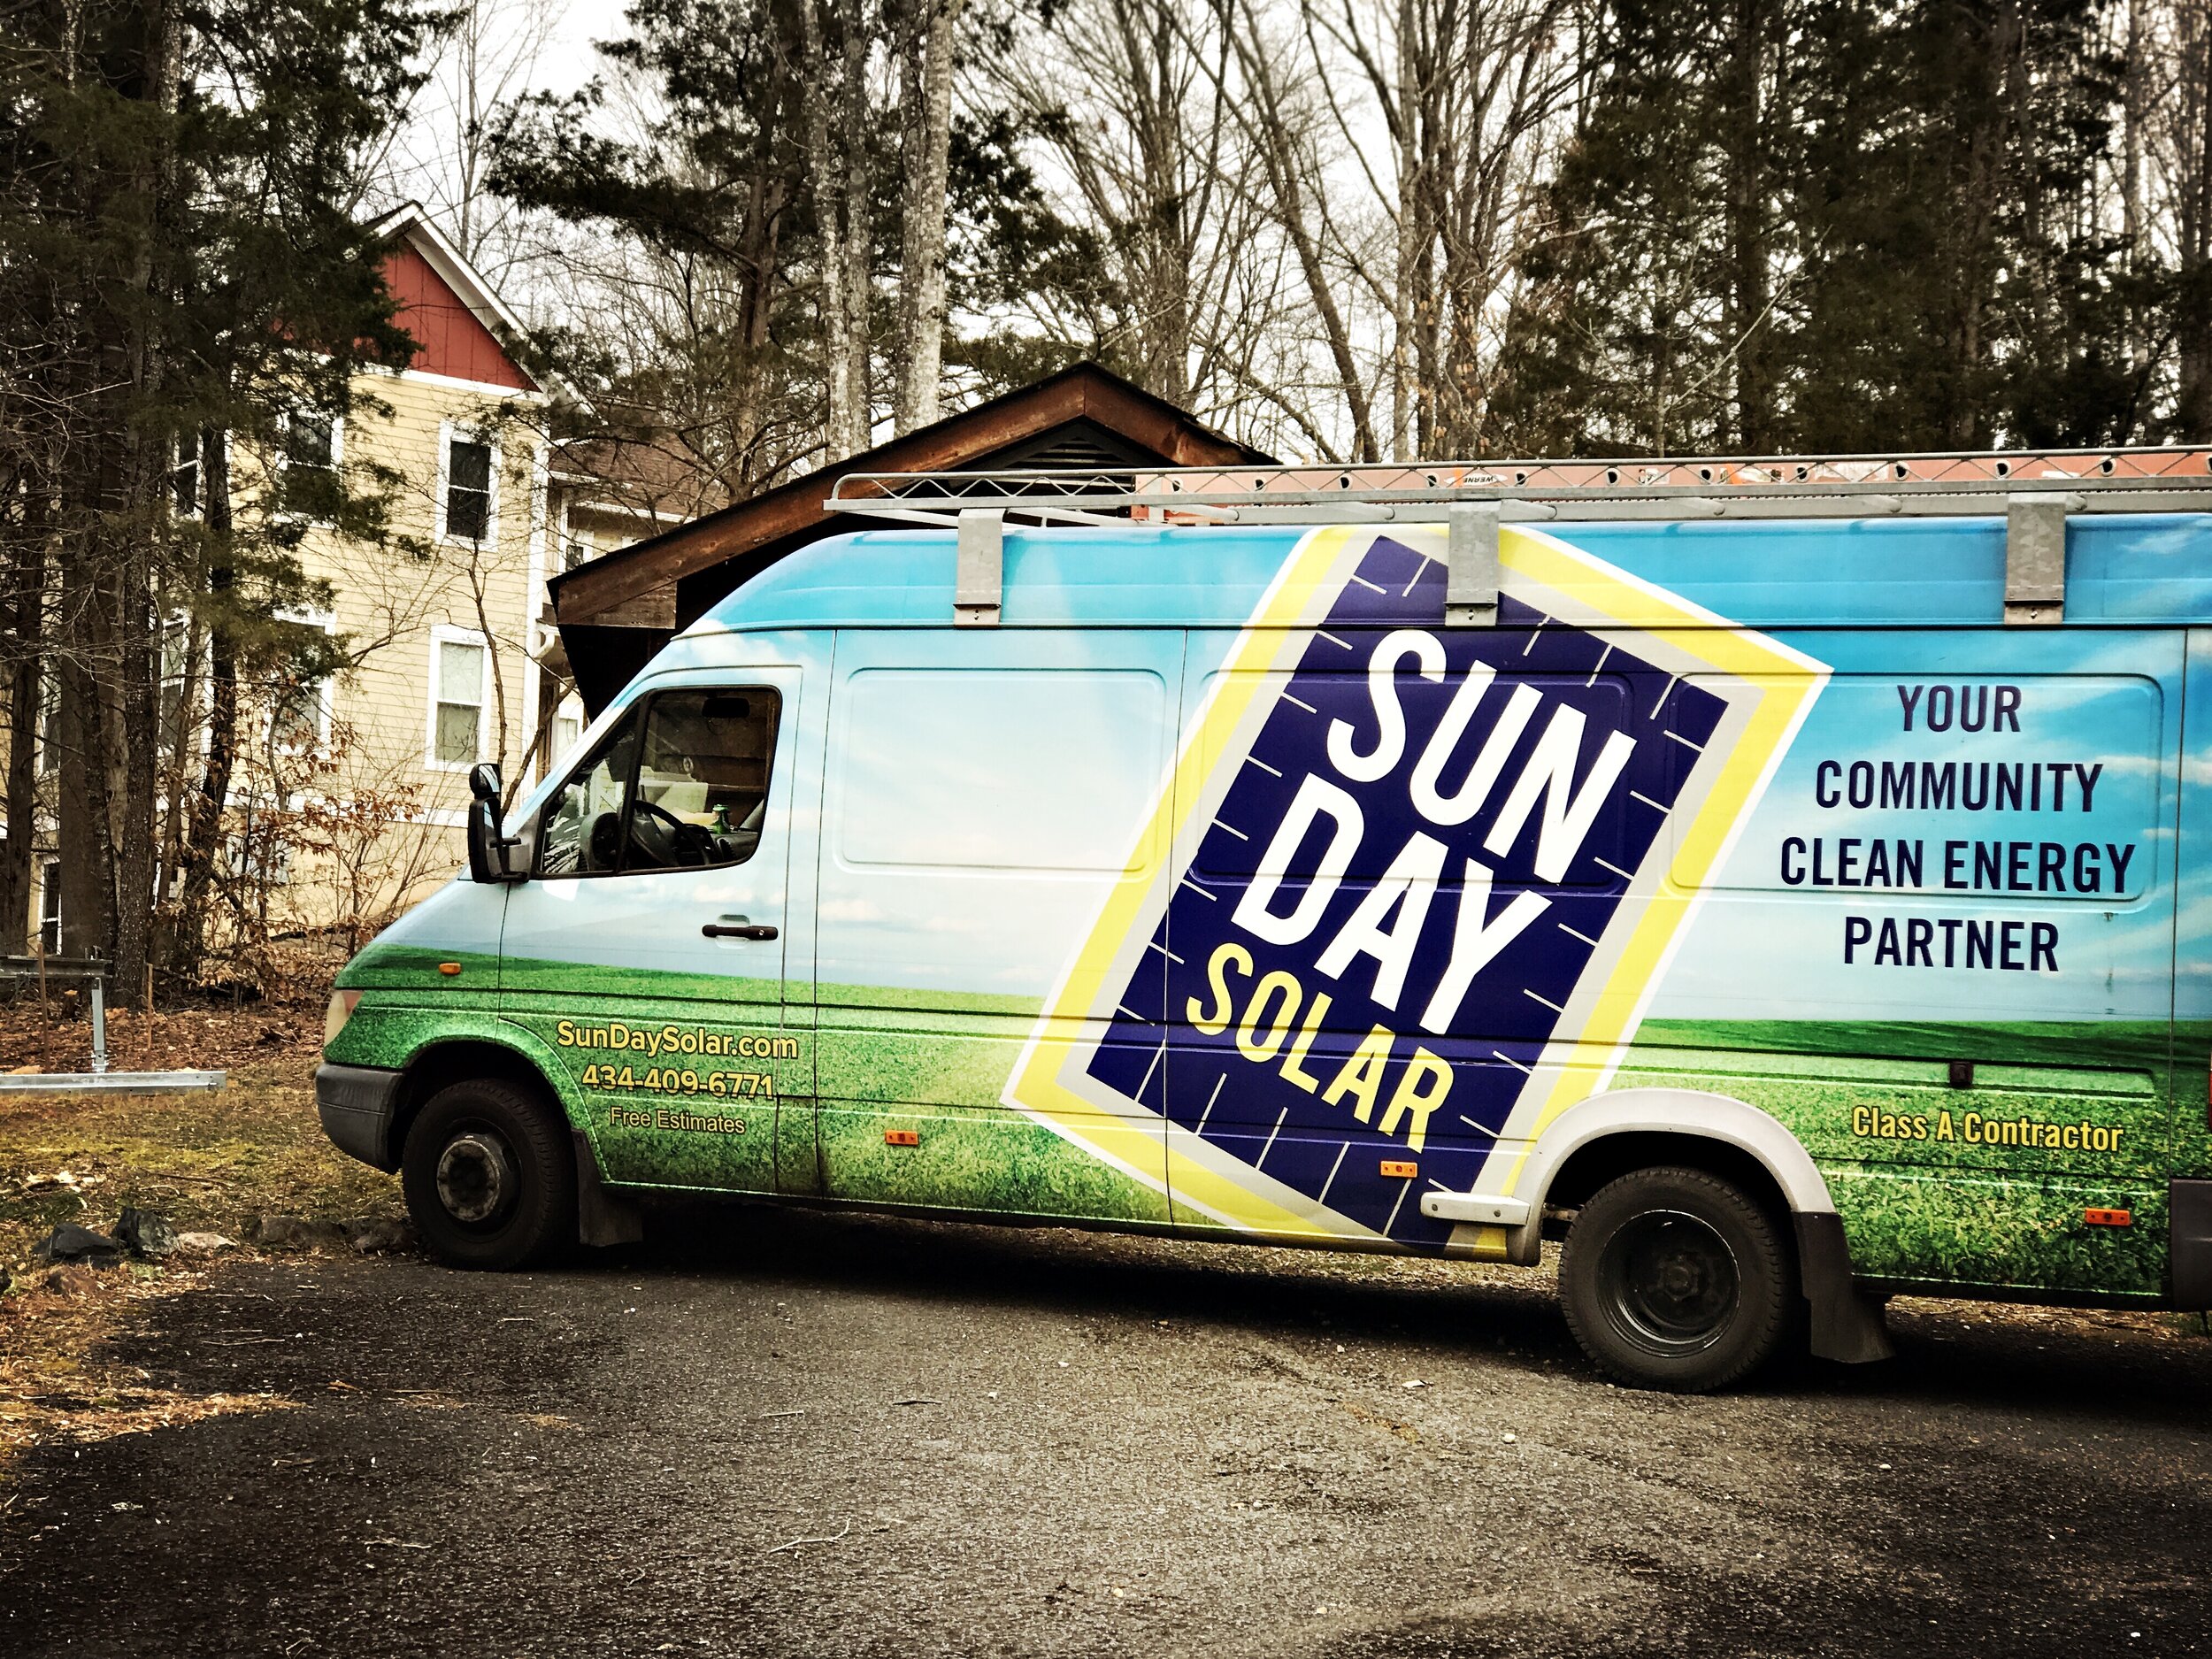
3. CHOOSE A SOLAR INSTALLER
There are a lot of reputable and disreputable installers out there, so do some homework. Look for how long the company has been around, the kind of warranties offered, and beware of installers that push a particular lender or financing option that seems too good to be true. References are always a good idea. The first installer we almost hired ended up scamming a lot of people and went out of business shortly thereafter.

4. SOLAR COSTS, FINANCING and LAYOUT DESIGN
Everything is connected: the size of the array you can fit depends on the size of your roof or area available for ground-mounting…THEN you can look at whether you can afford this full array of maybe 20 panels vs. a smaller system of 10 panels…which is also based on financing, tax credits and other incentives. Installing solar may not be a huge money saver, but think in terms of renting vs. owning the means of energy production, and how that ownership looks and feels over 10-20 years. This is may be more than a financial decision.
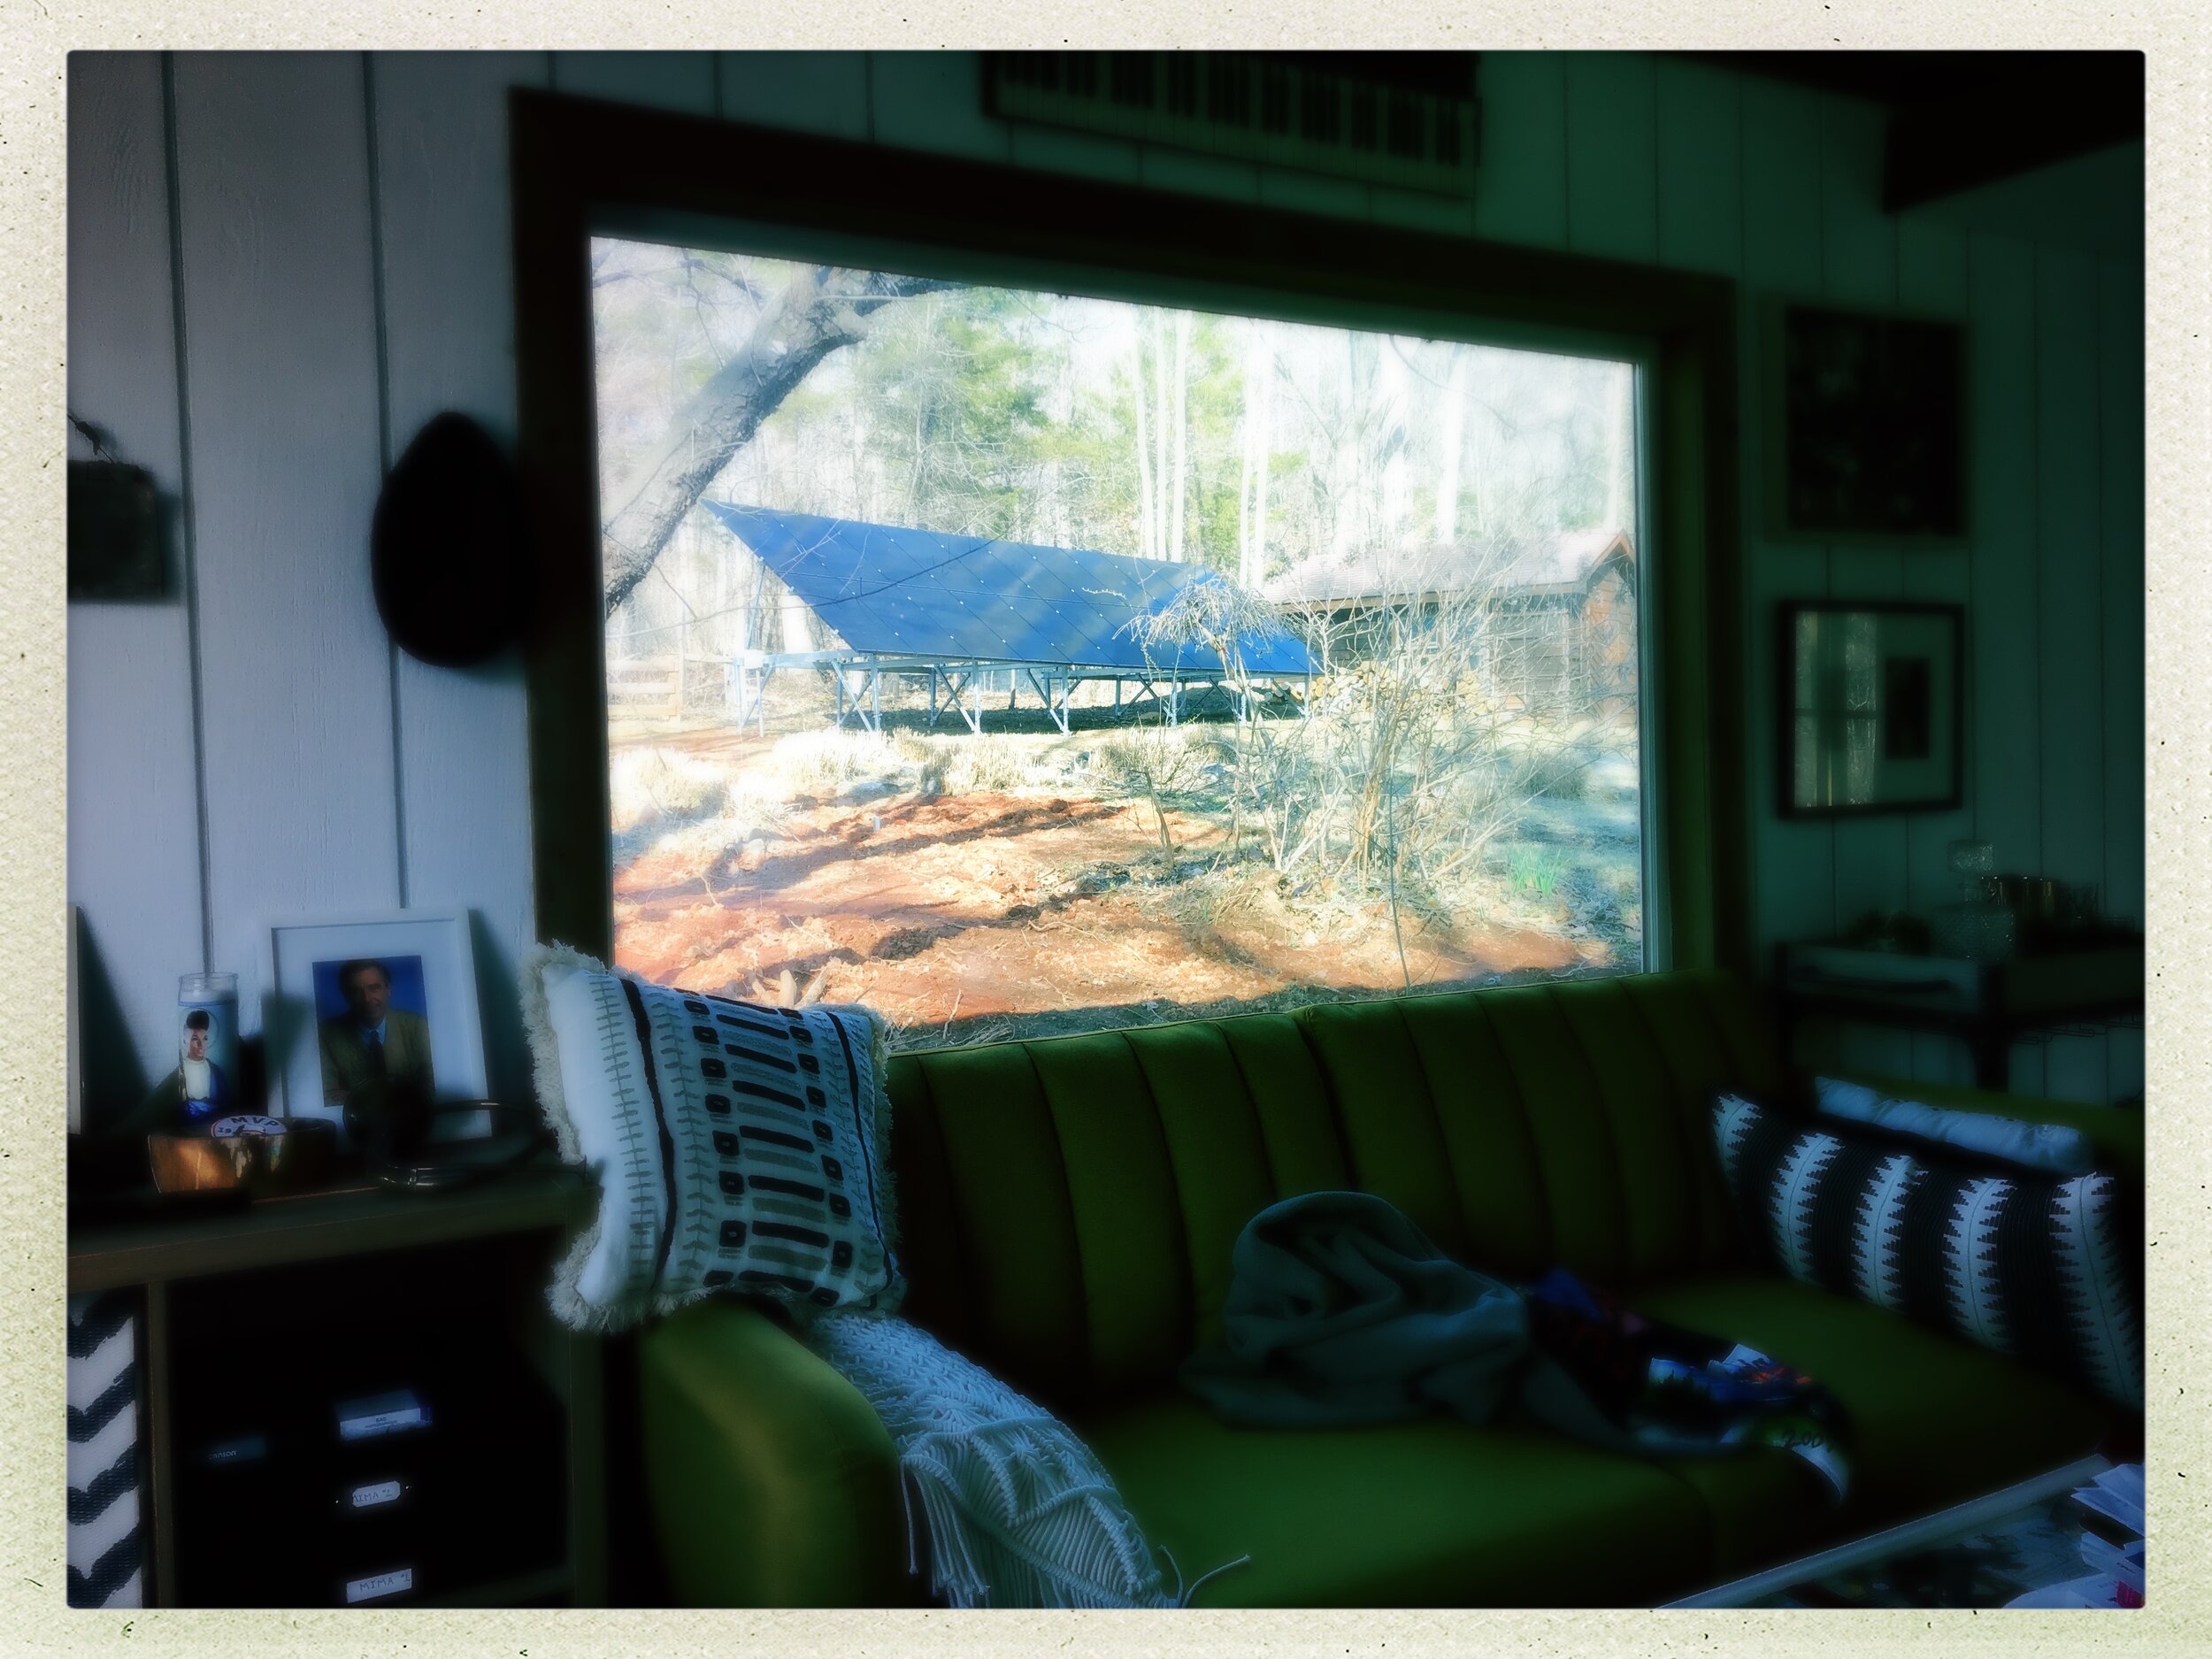
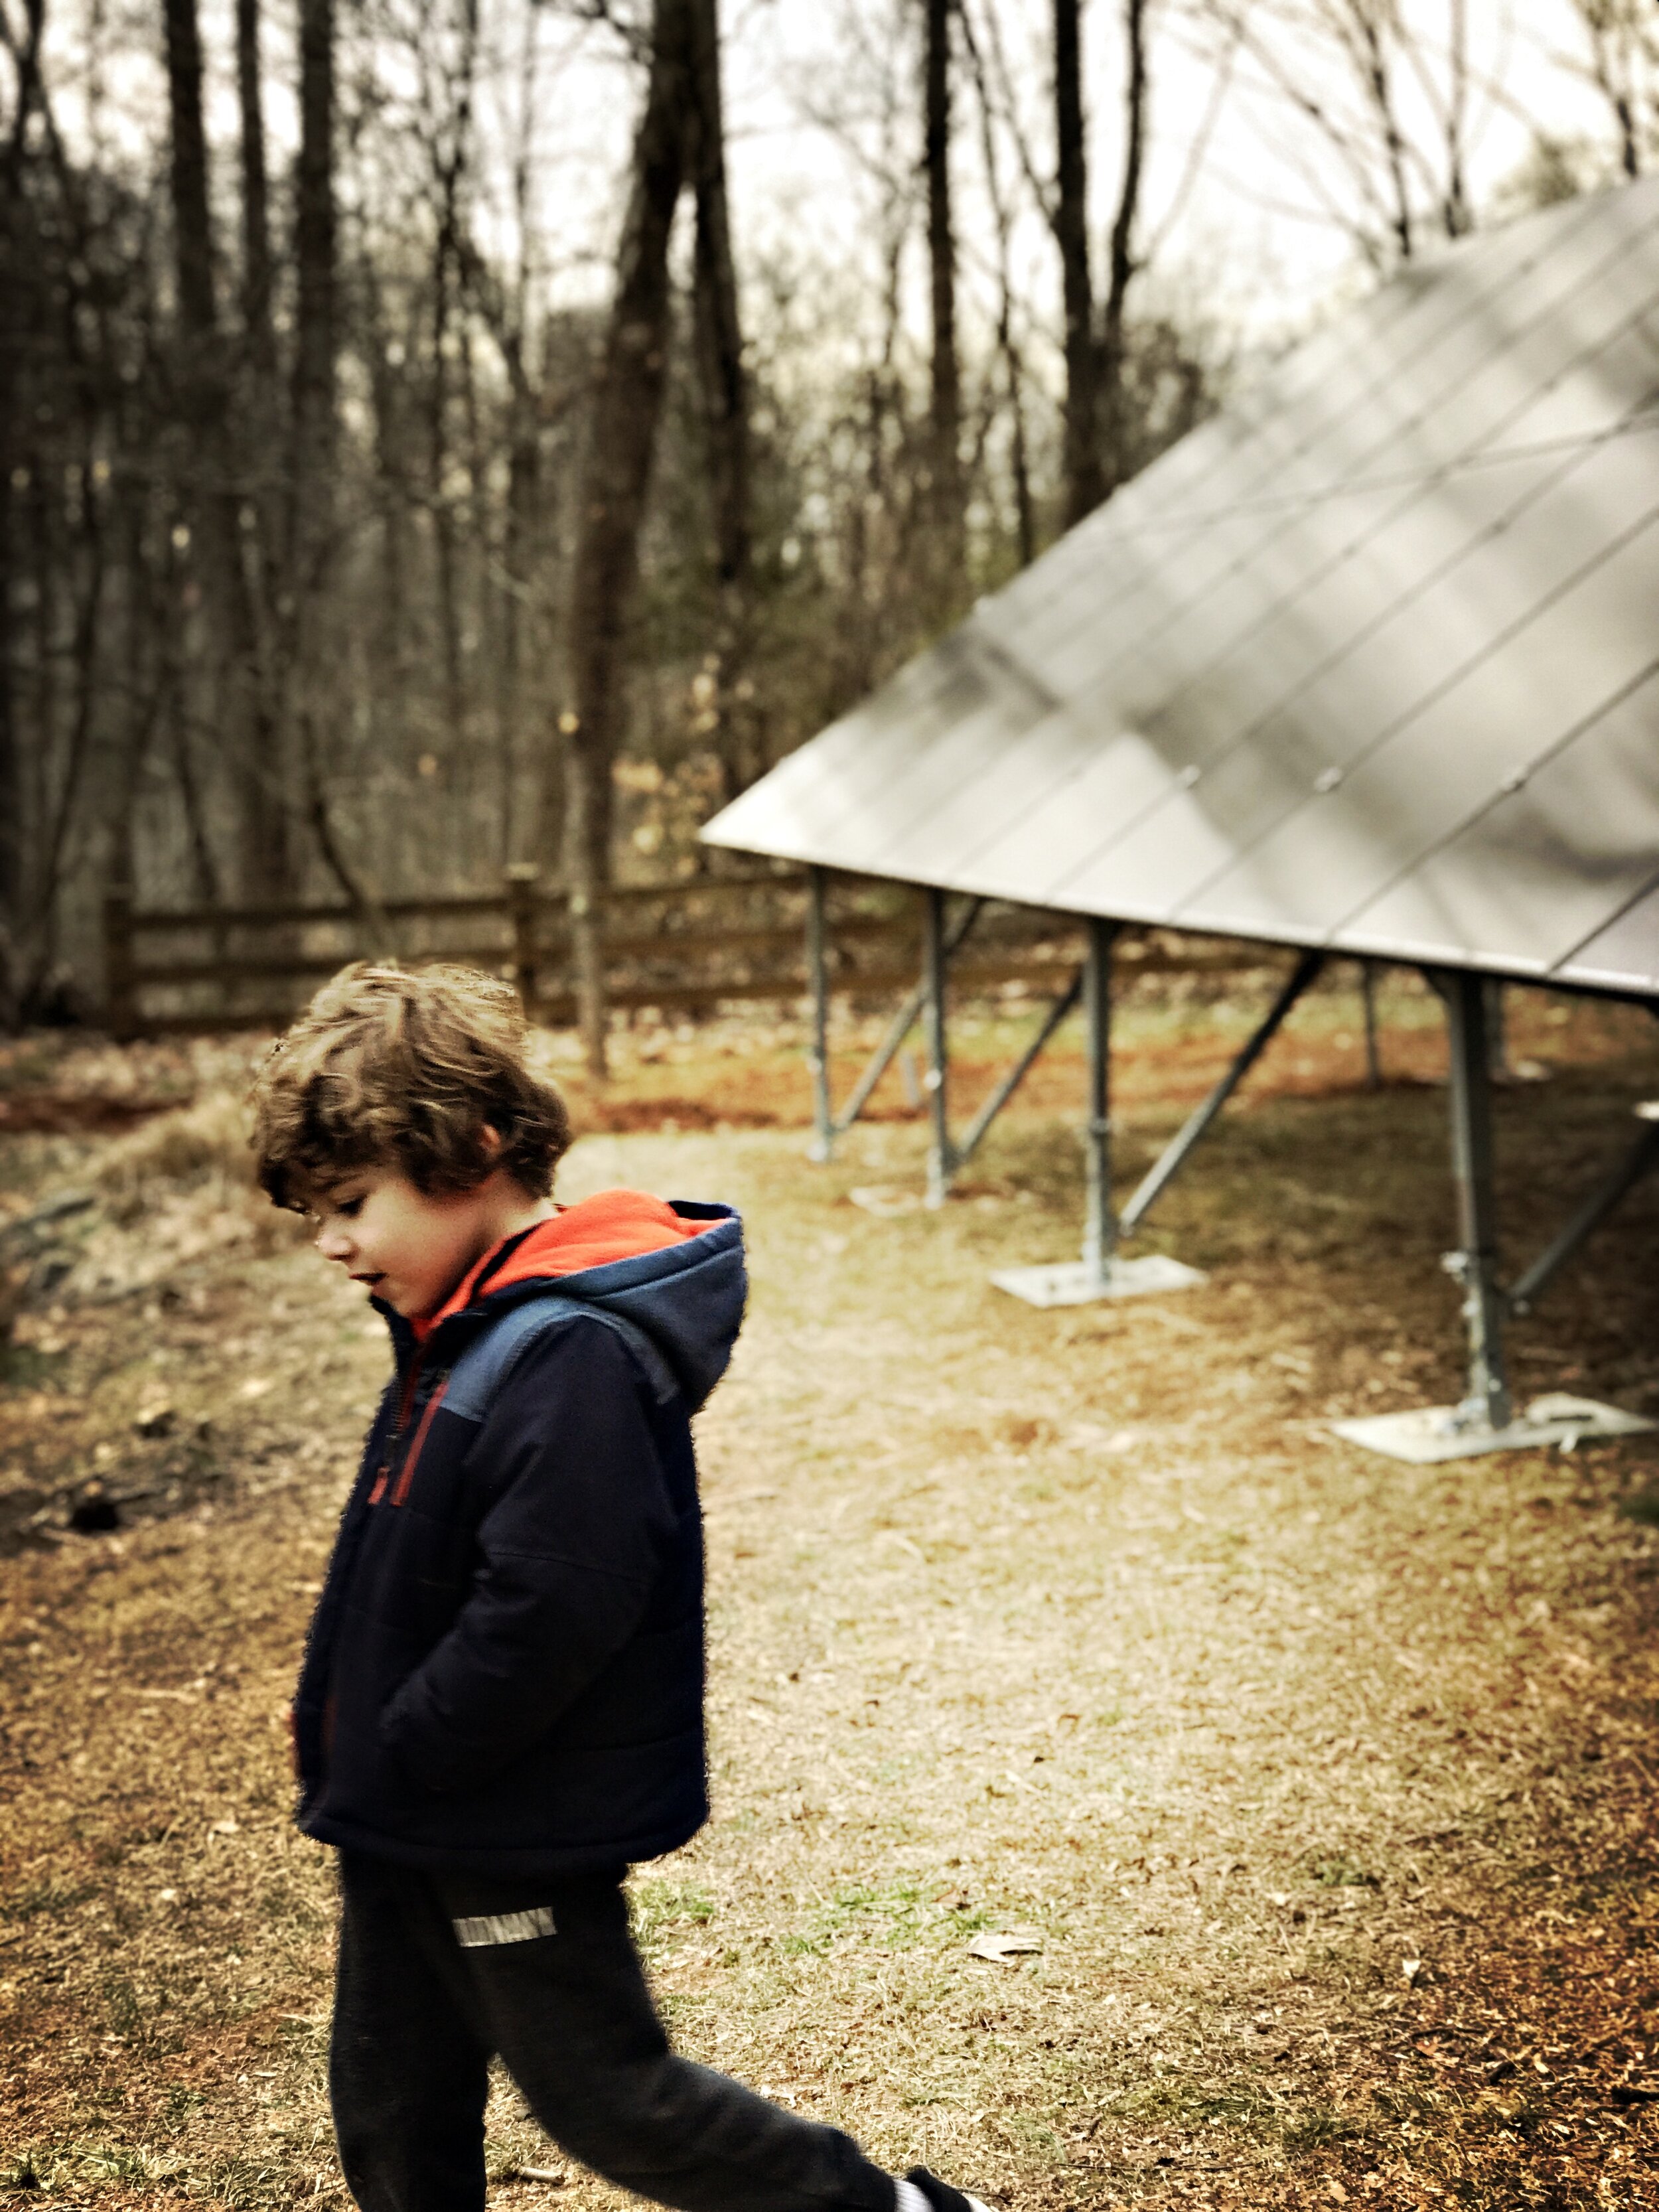
5. TREE WORK & SITE PREPARATION
It may not make sense to install a big solar array if it means cutting down a ton of trees that are doing great, energy-efficient work to shade your house. But removing one or two trees (especially if they’re diseased or otherwise problematic) can open up your site for solar. Consider what other site preparation (stump and root removal, regrading, trenching, etc.) might be necessary and factor this into the overall cost of install (remember that much of this related work is eligible for tax credits). Do as much of this work DIY as you can!
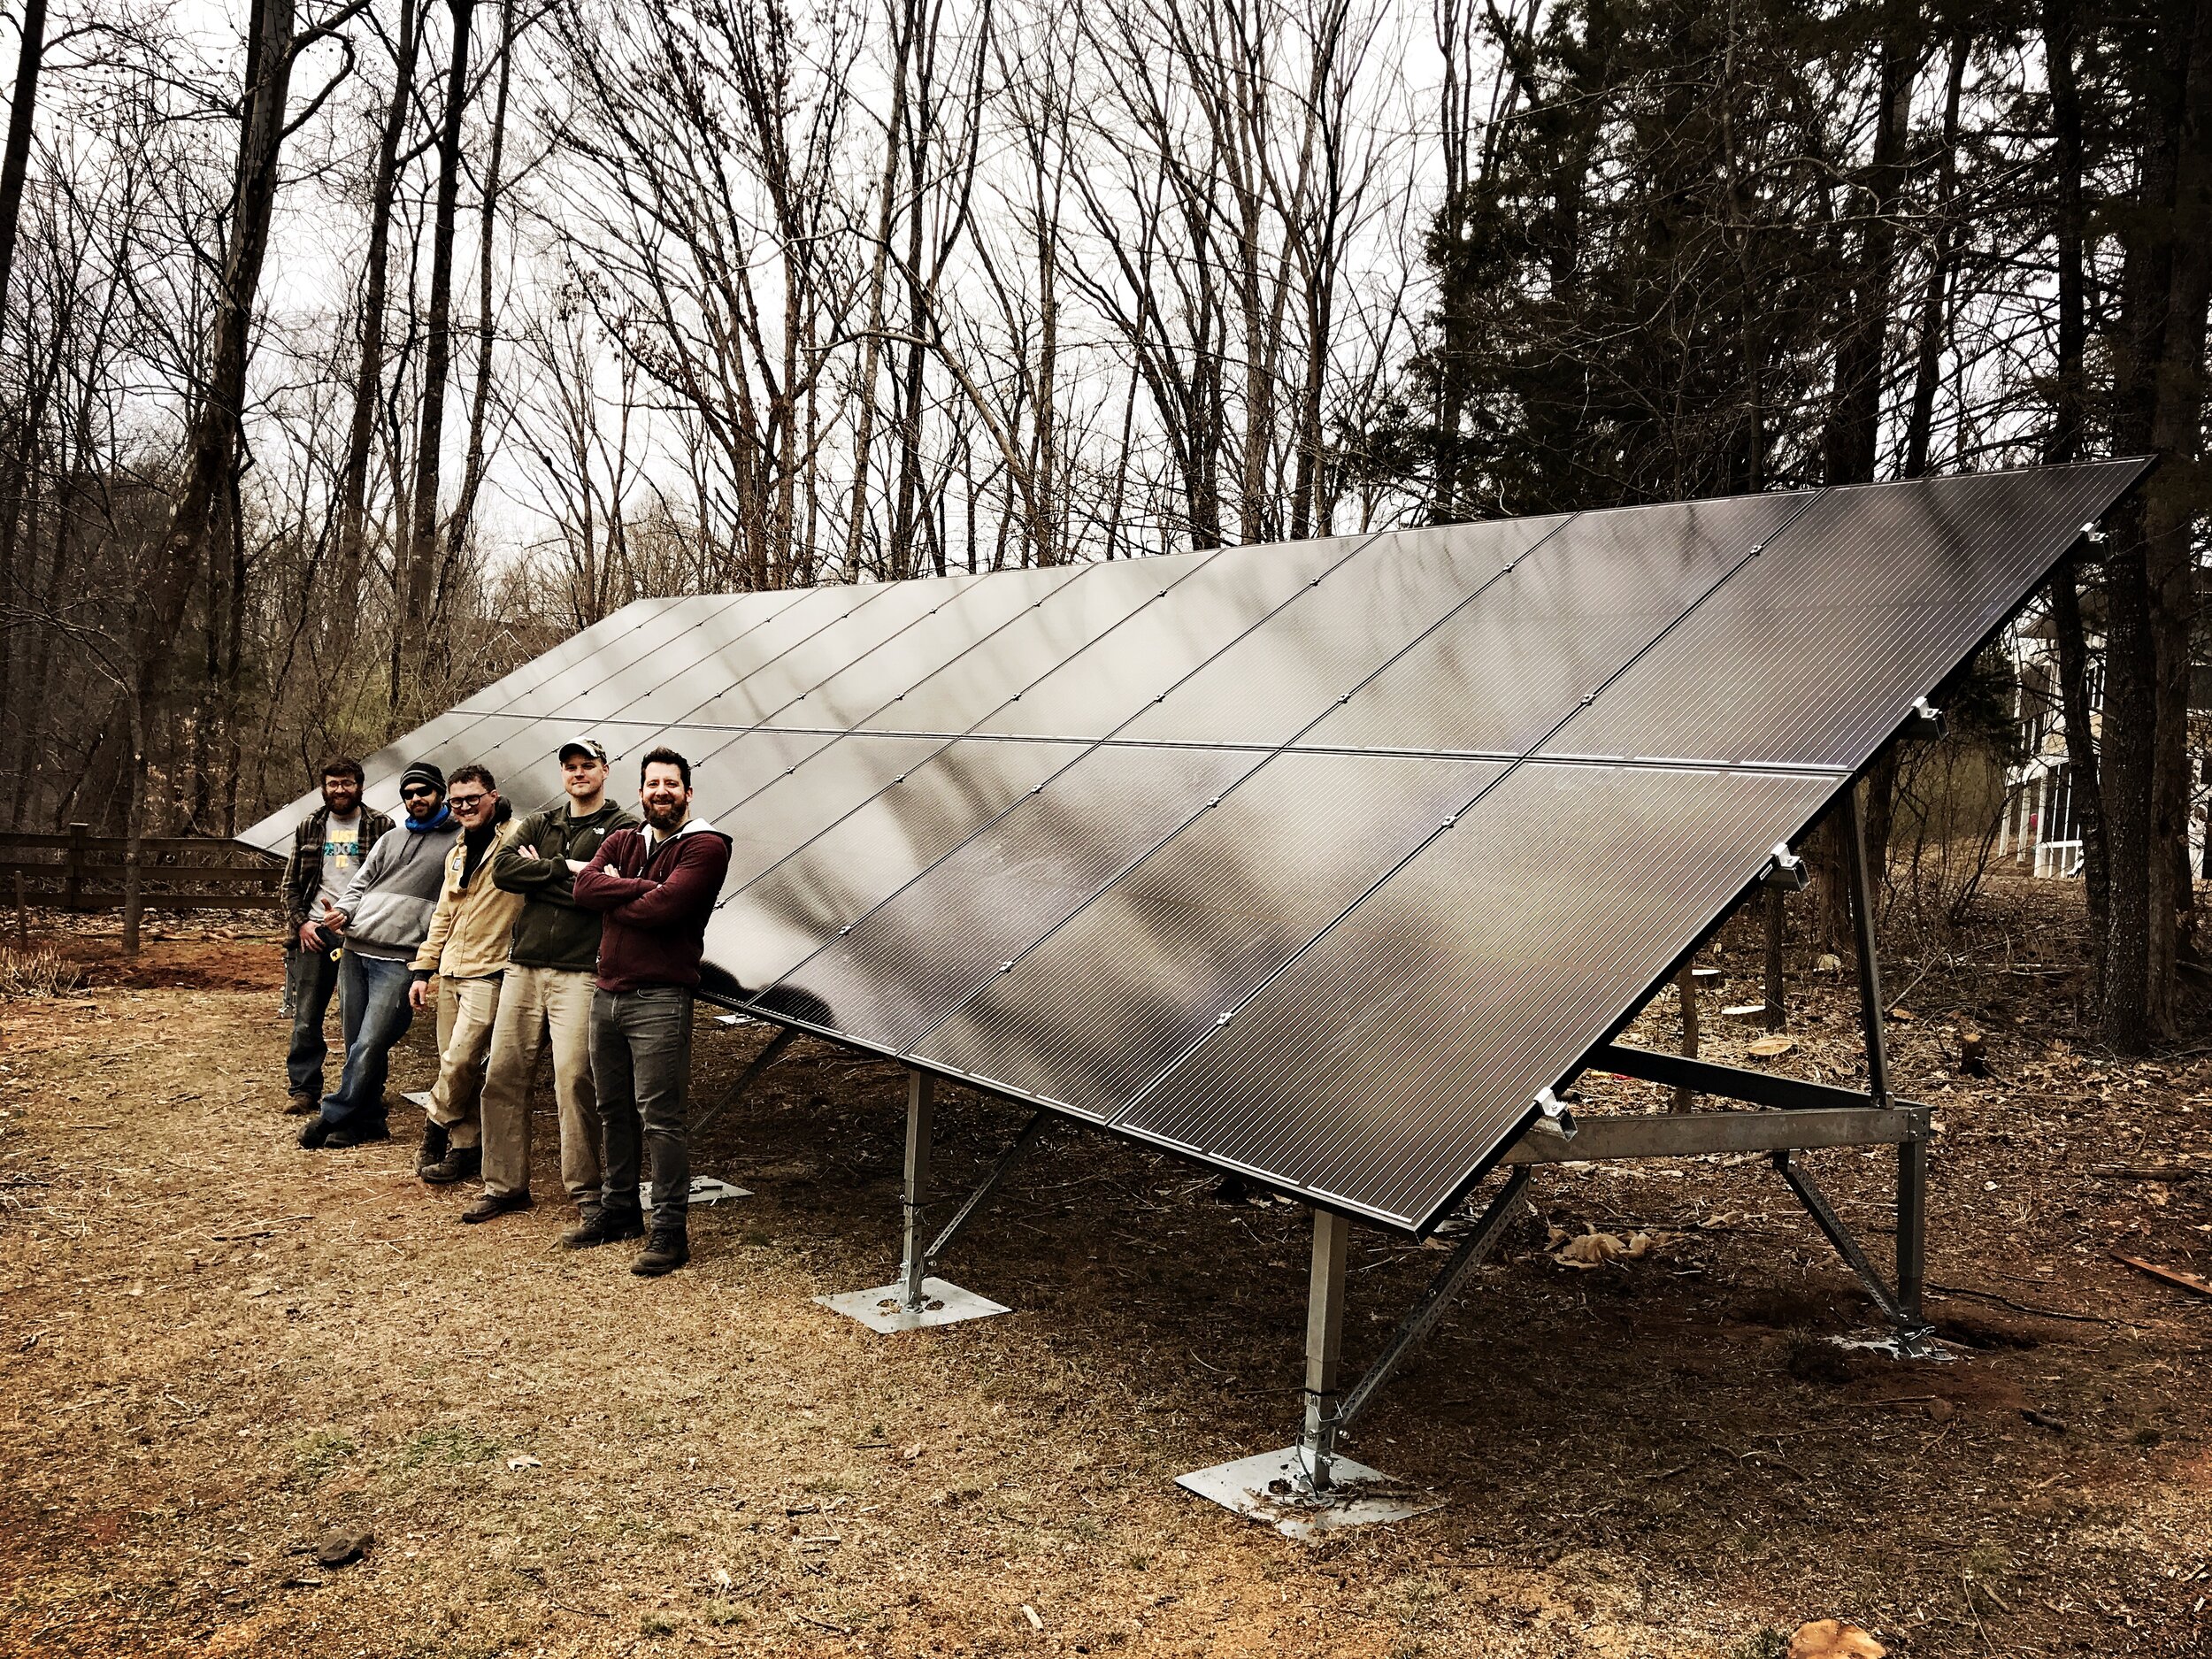
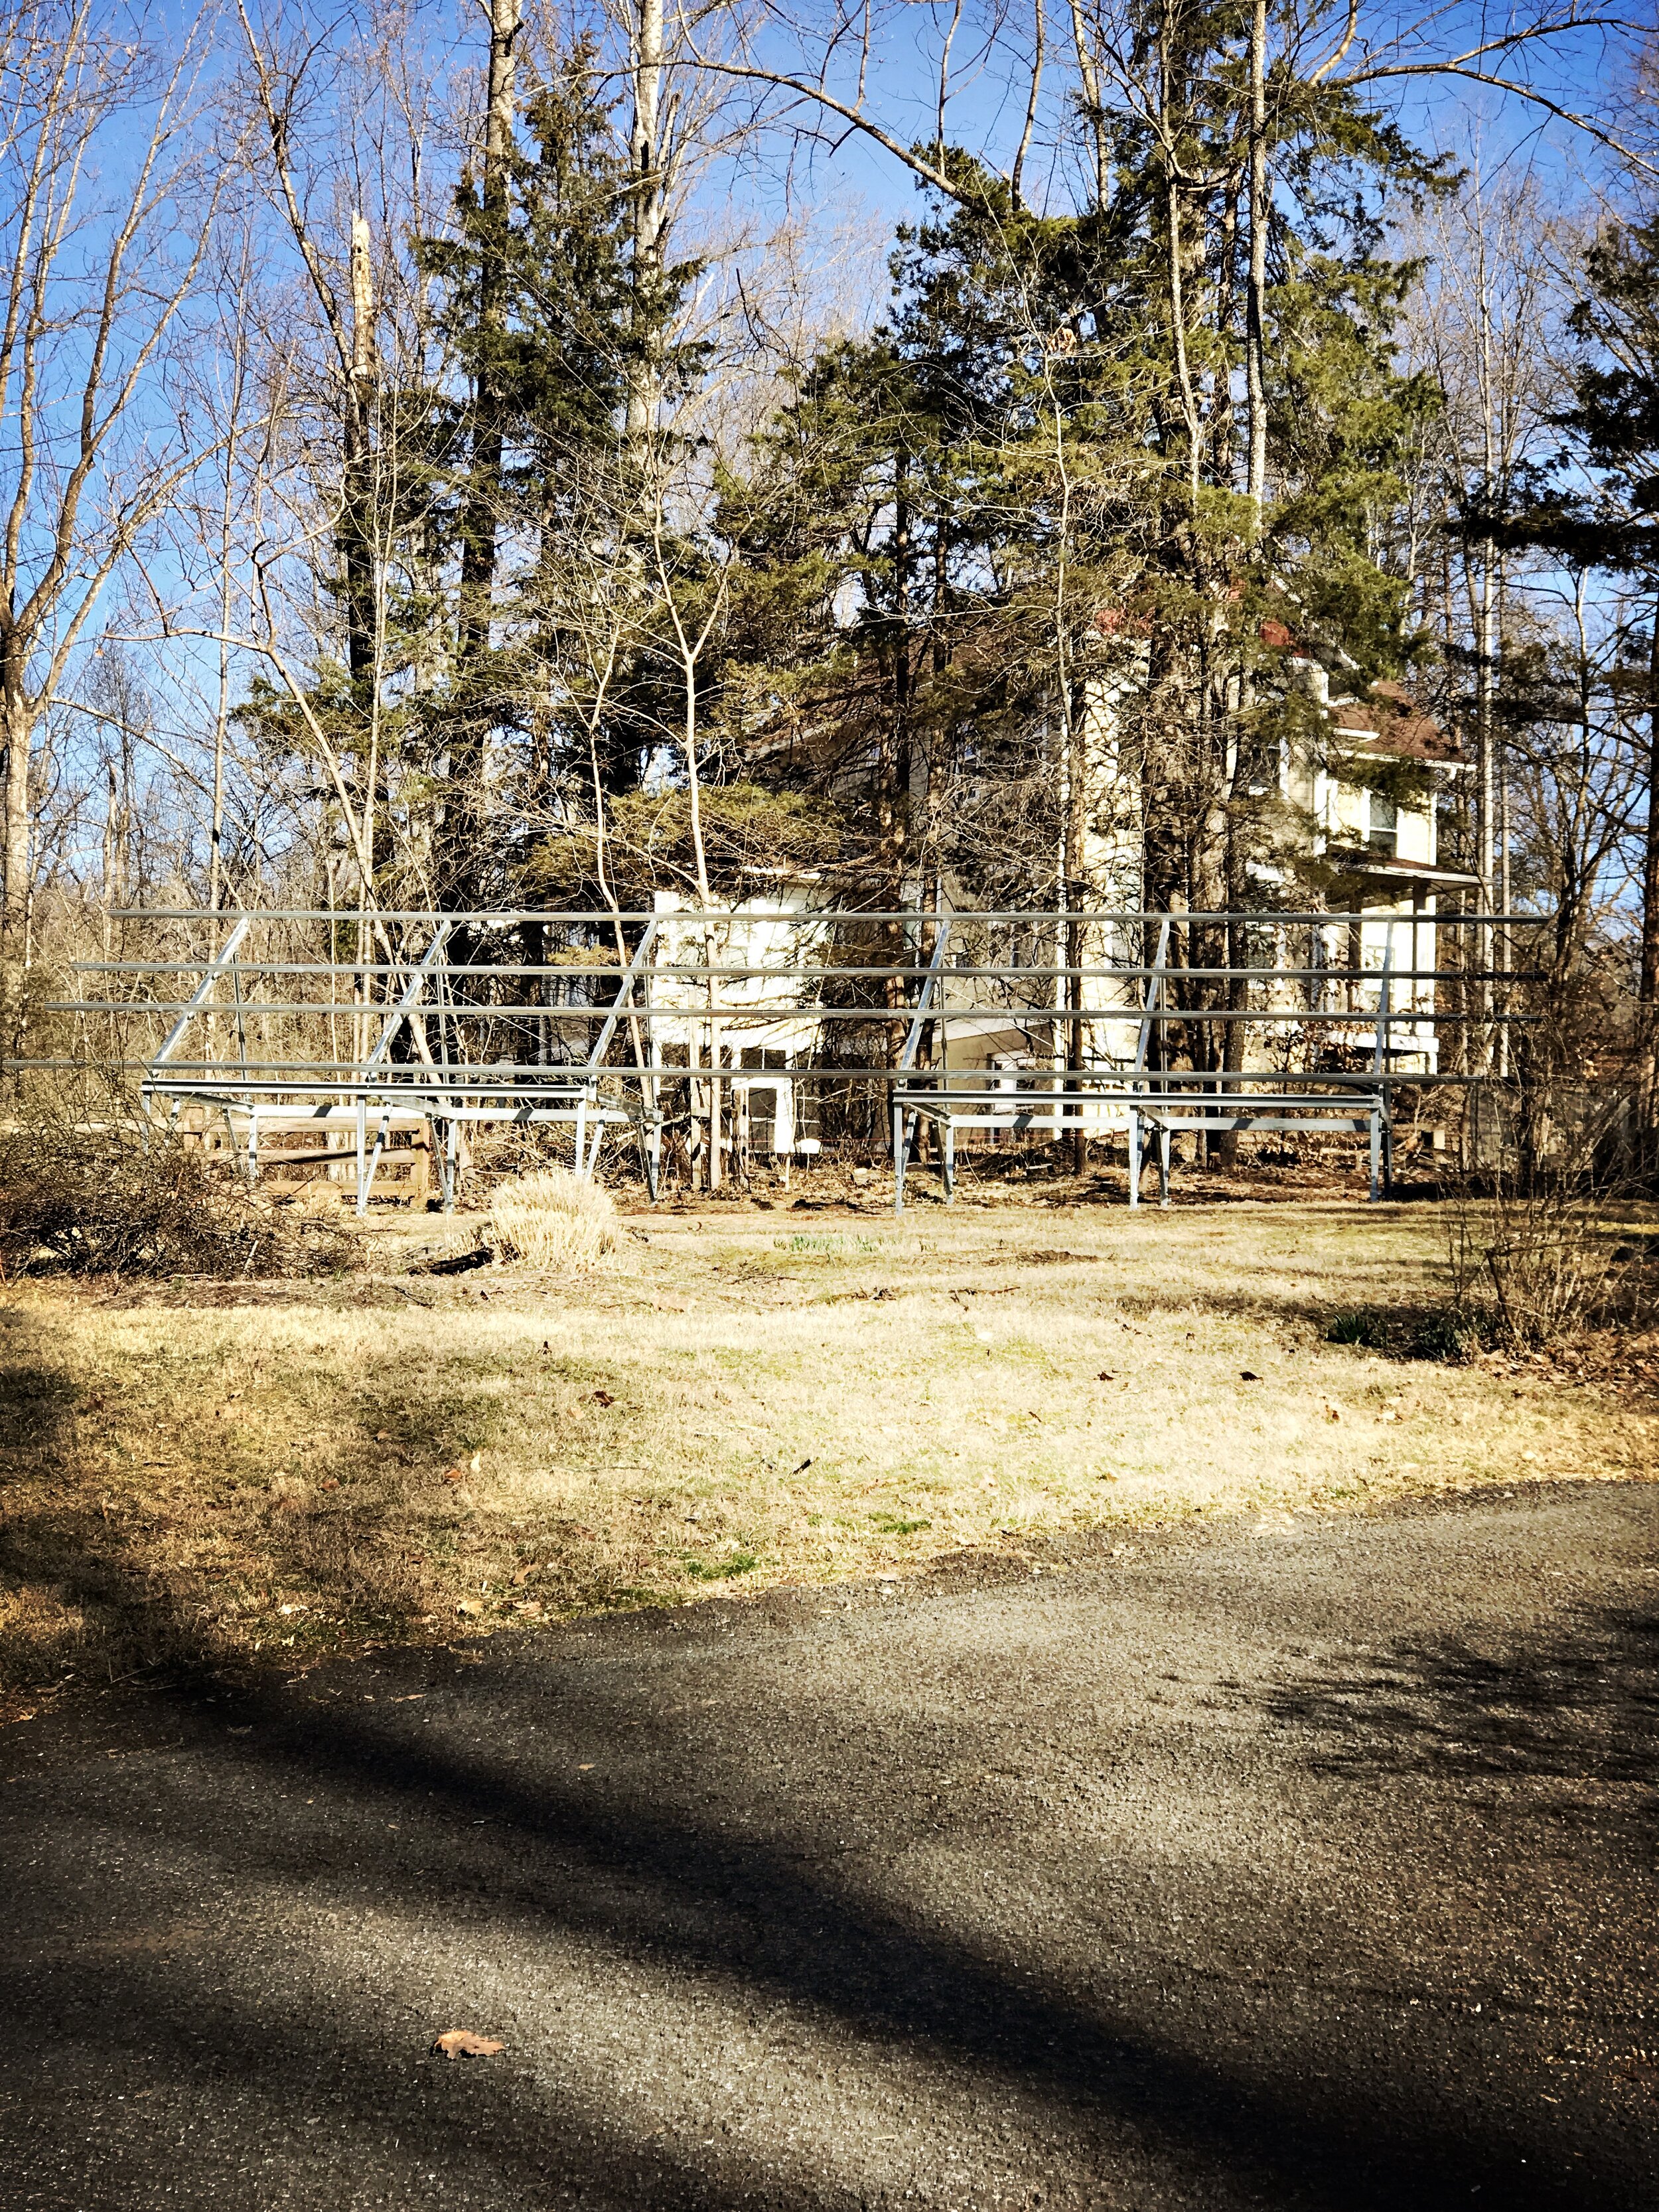
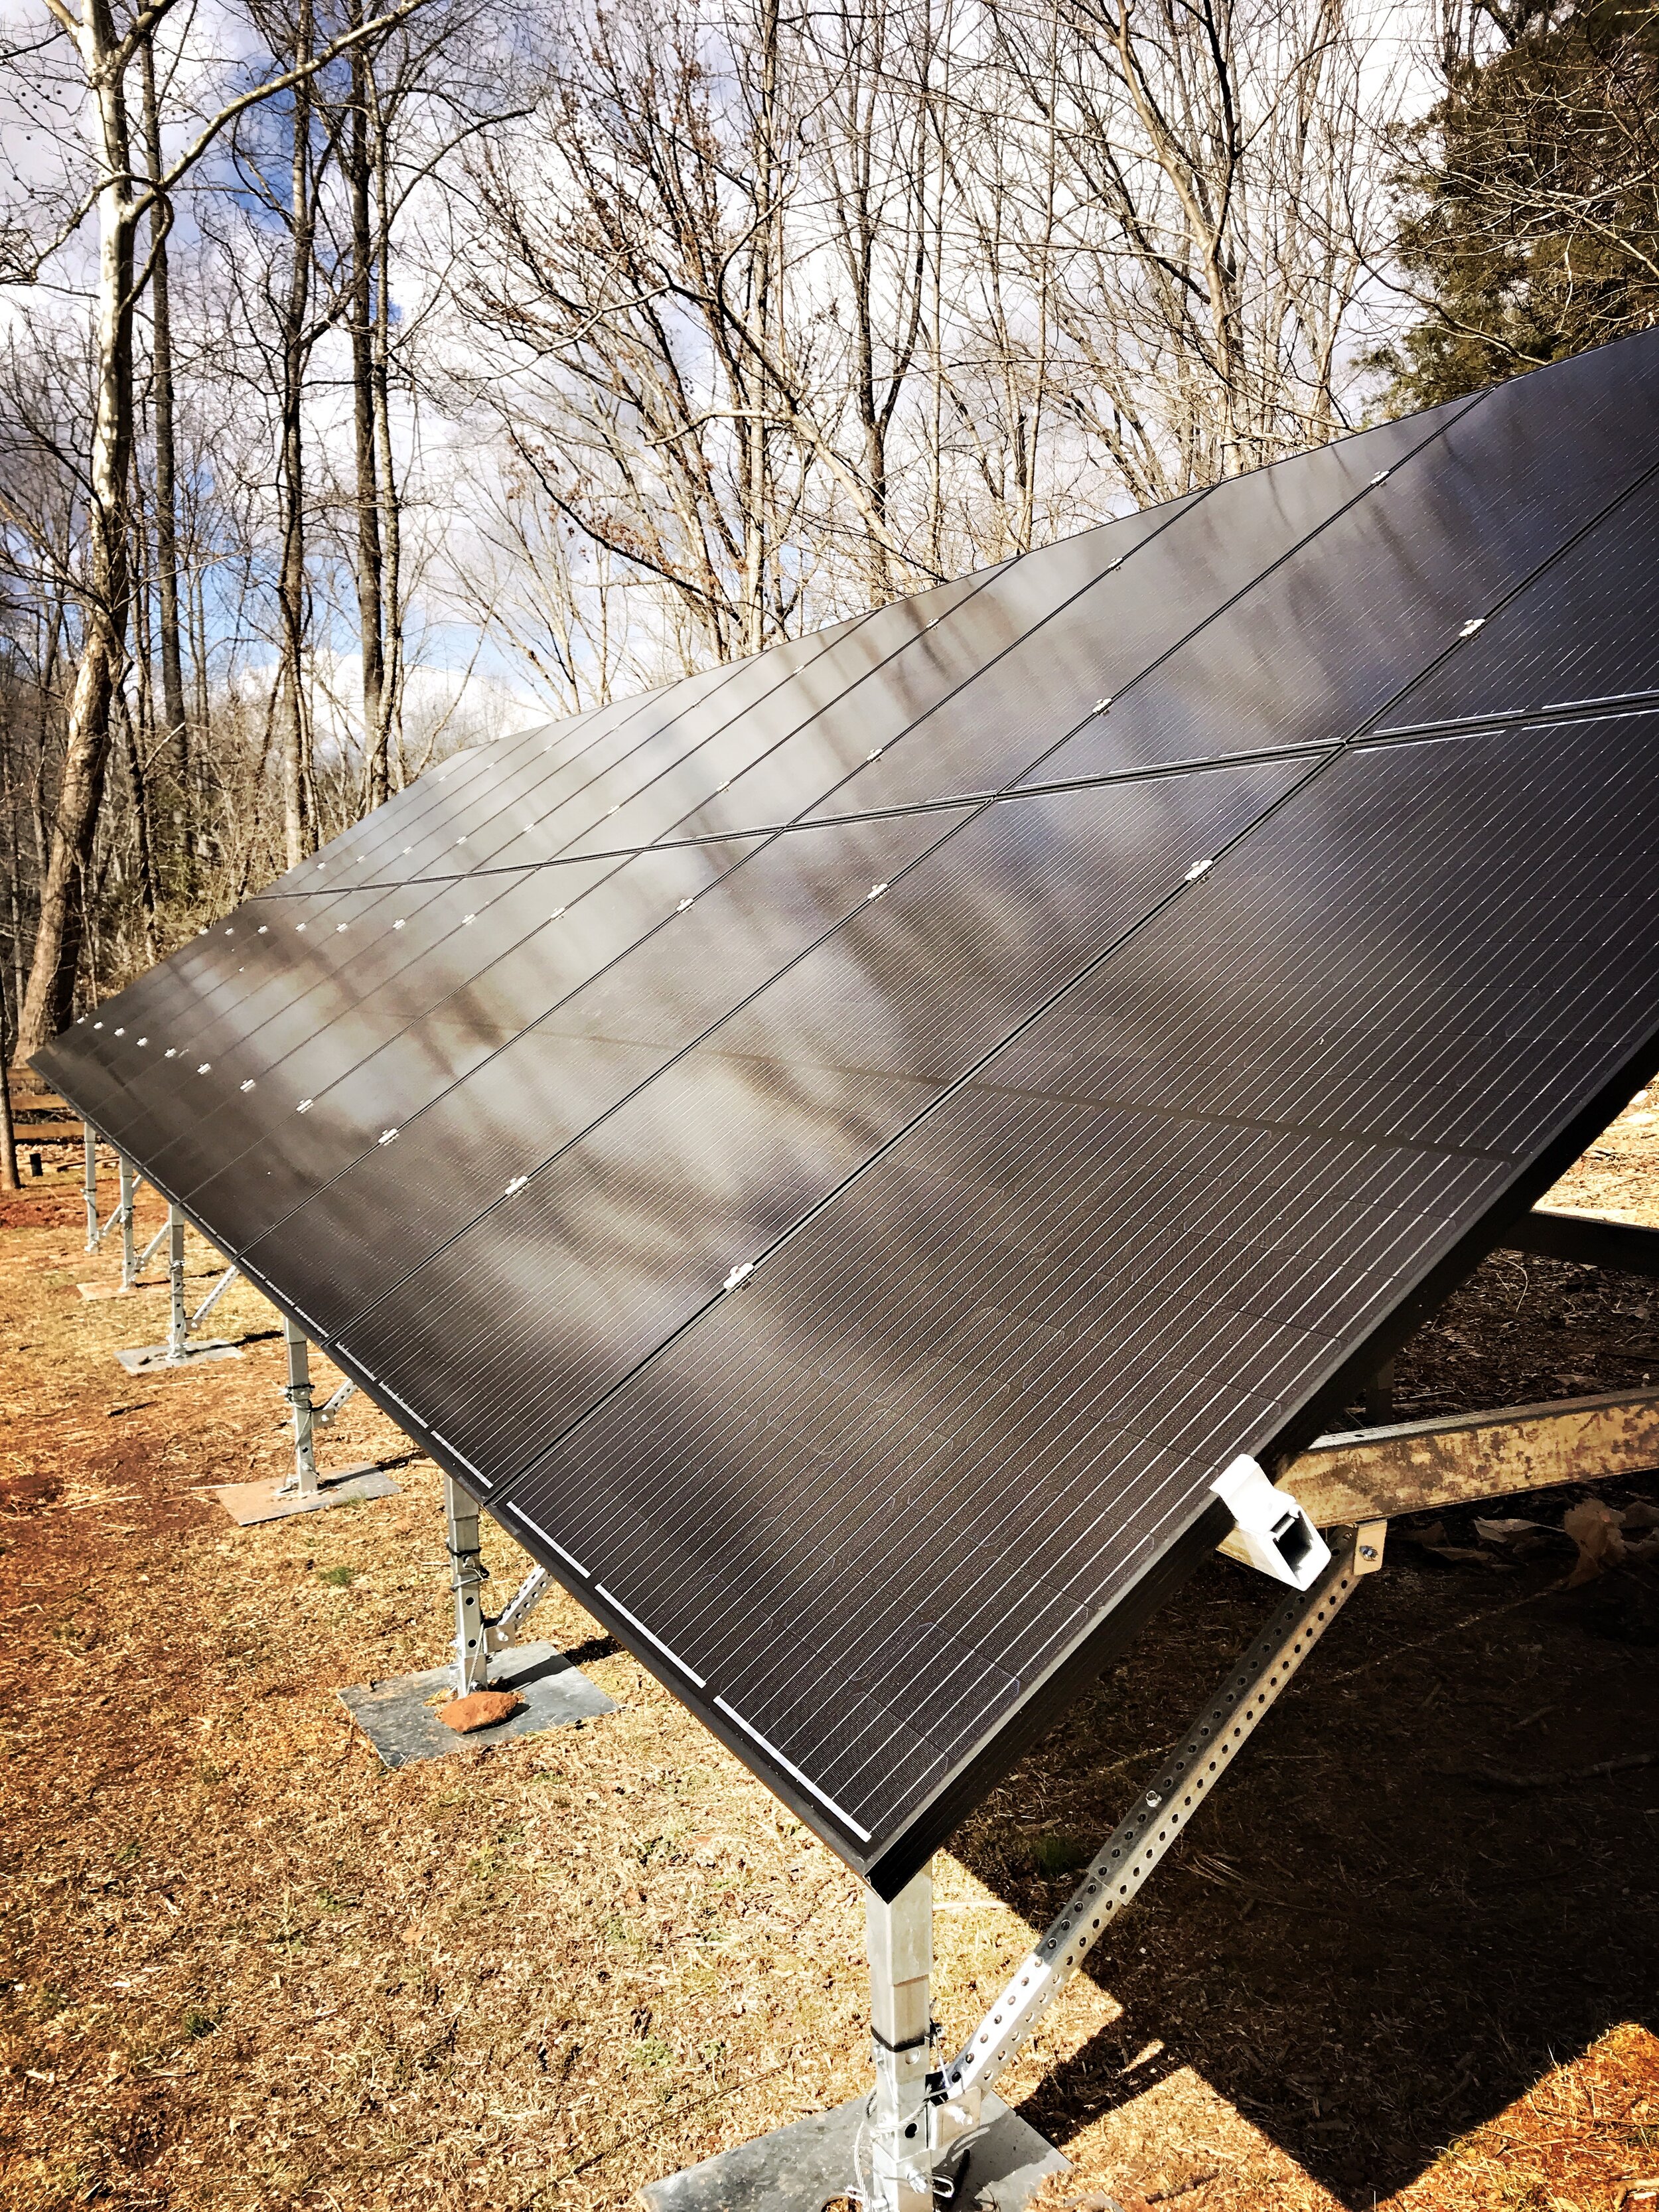
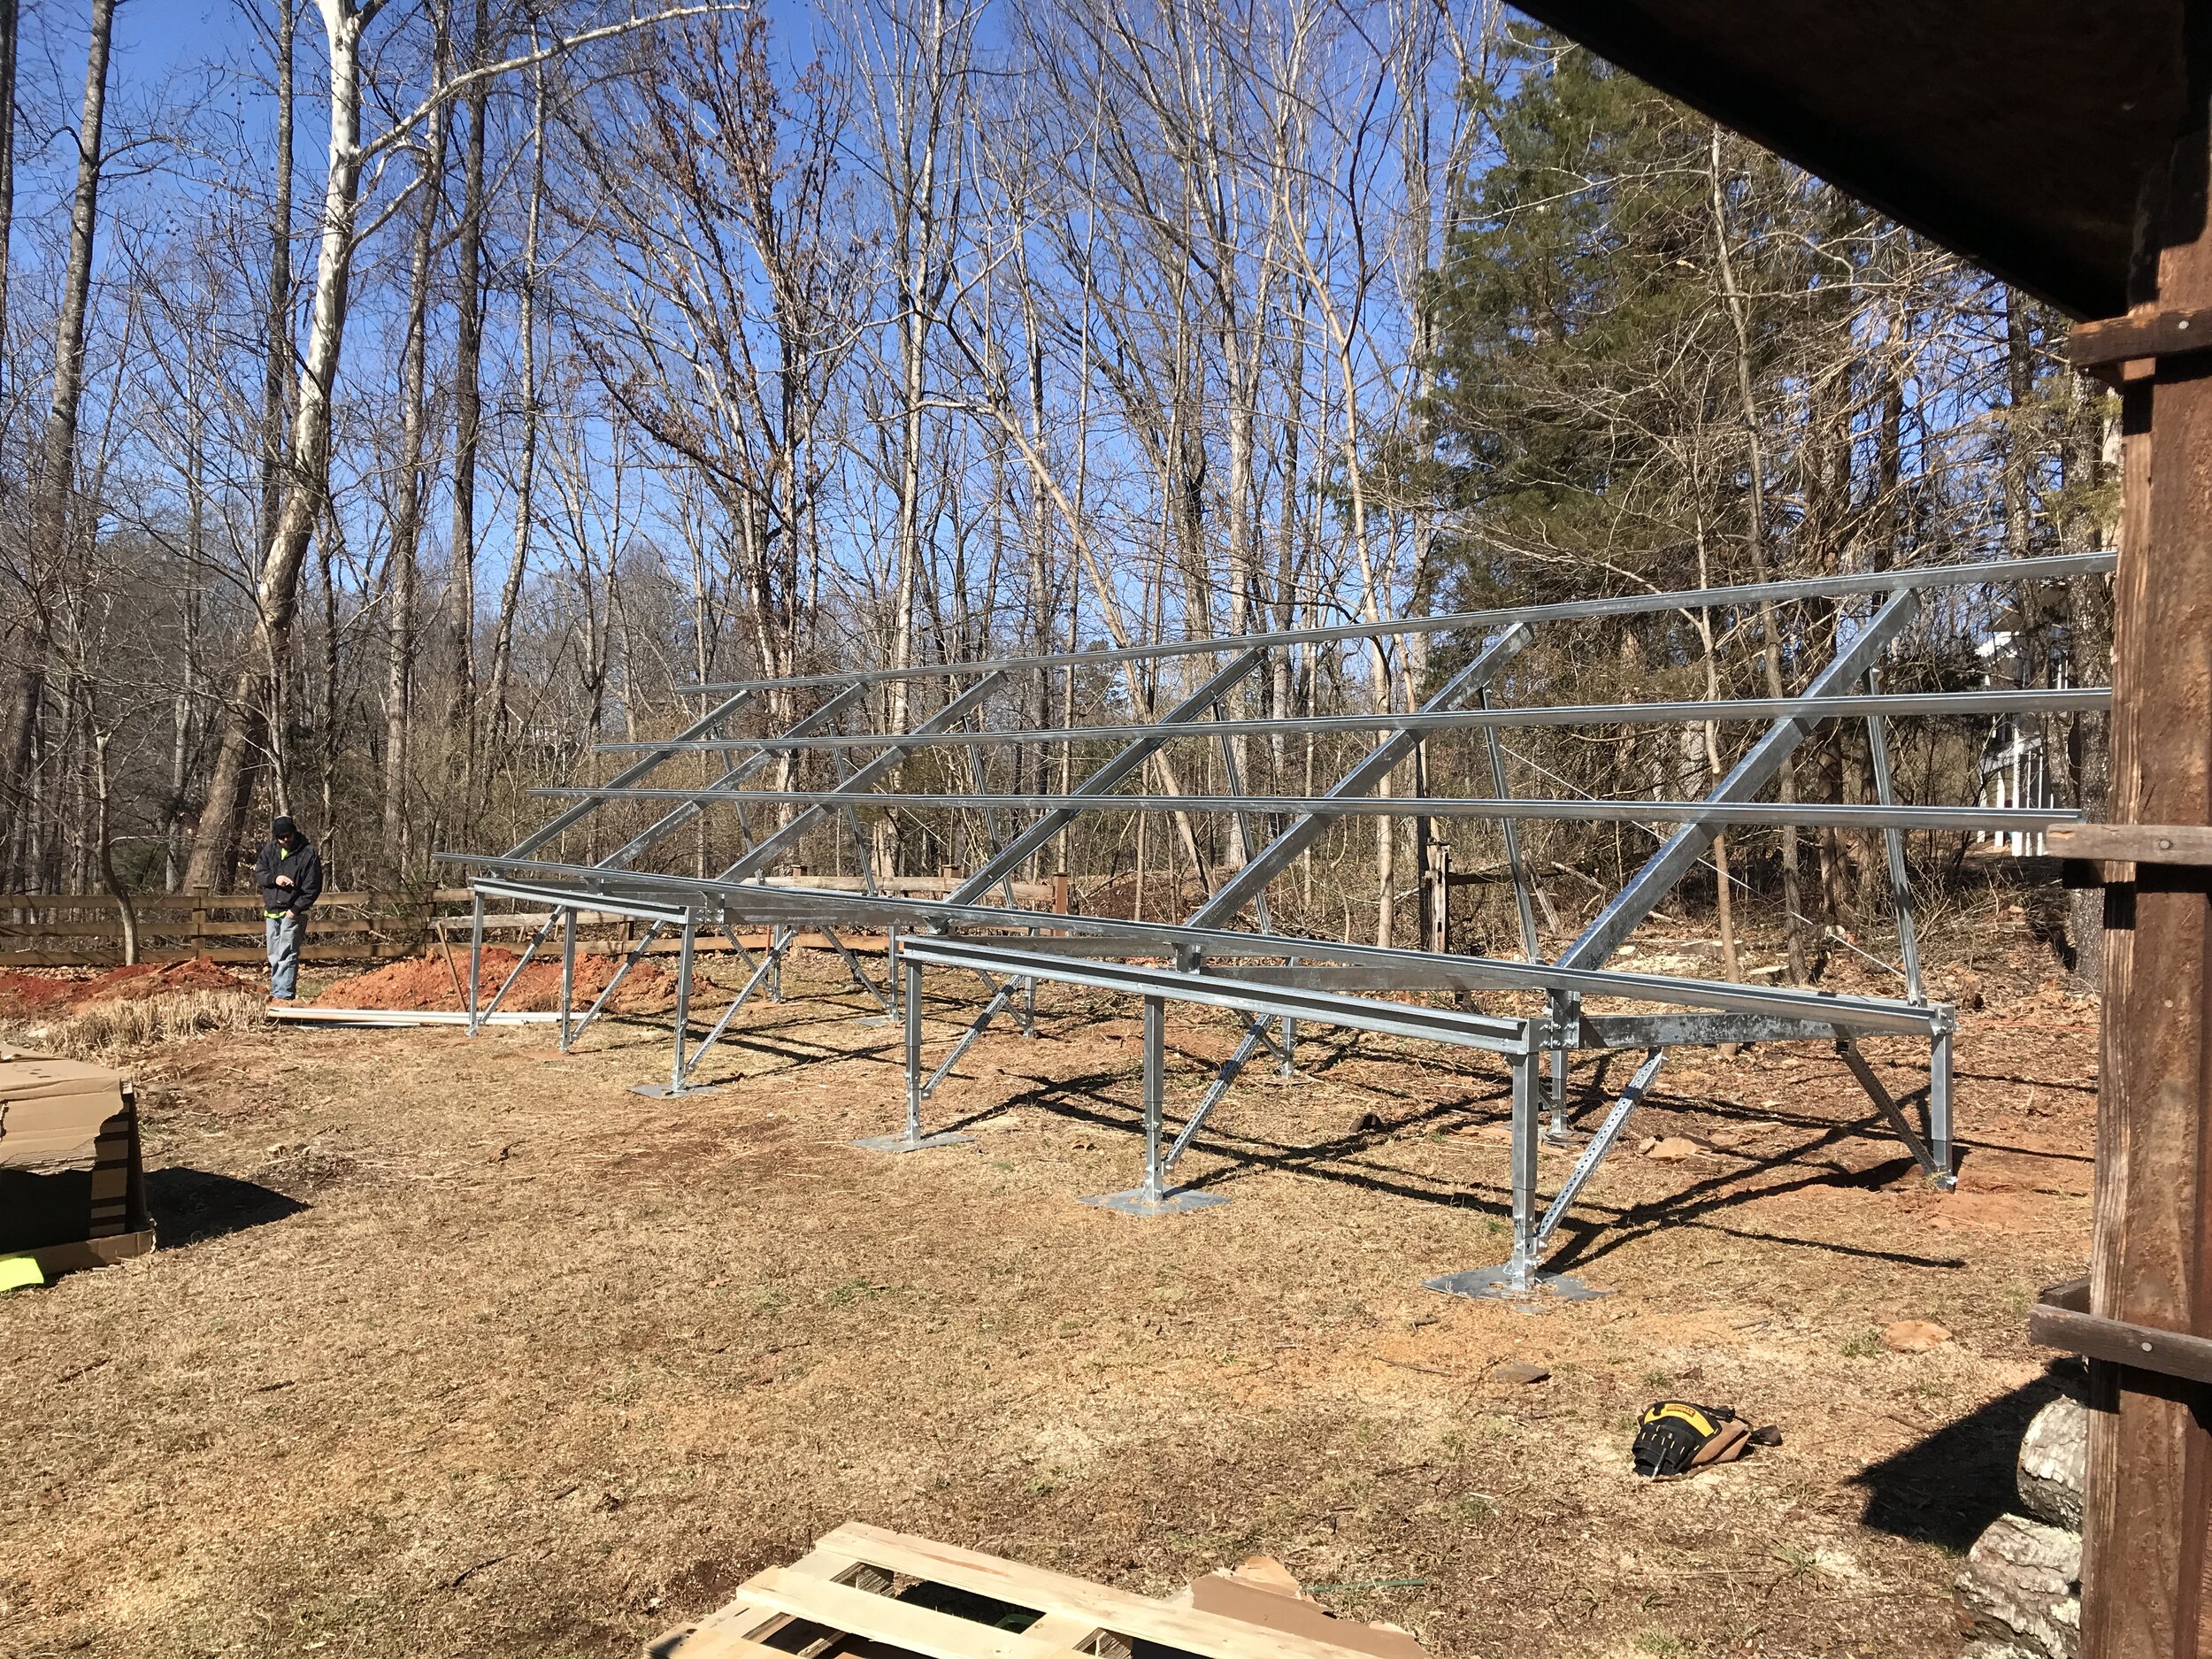
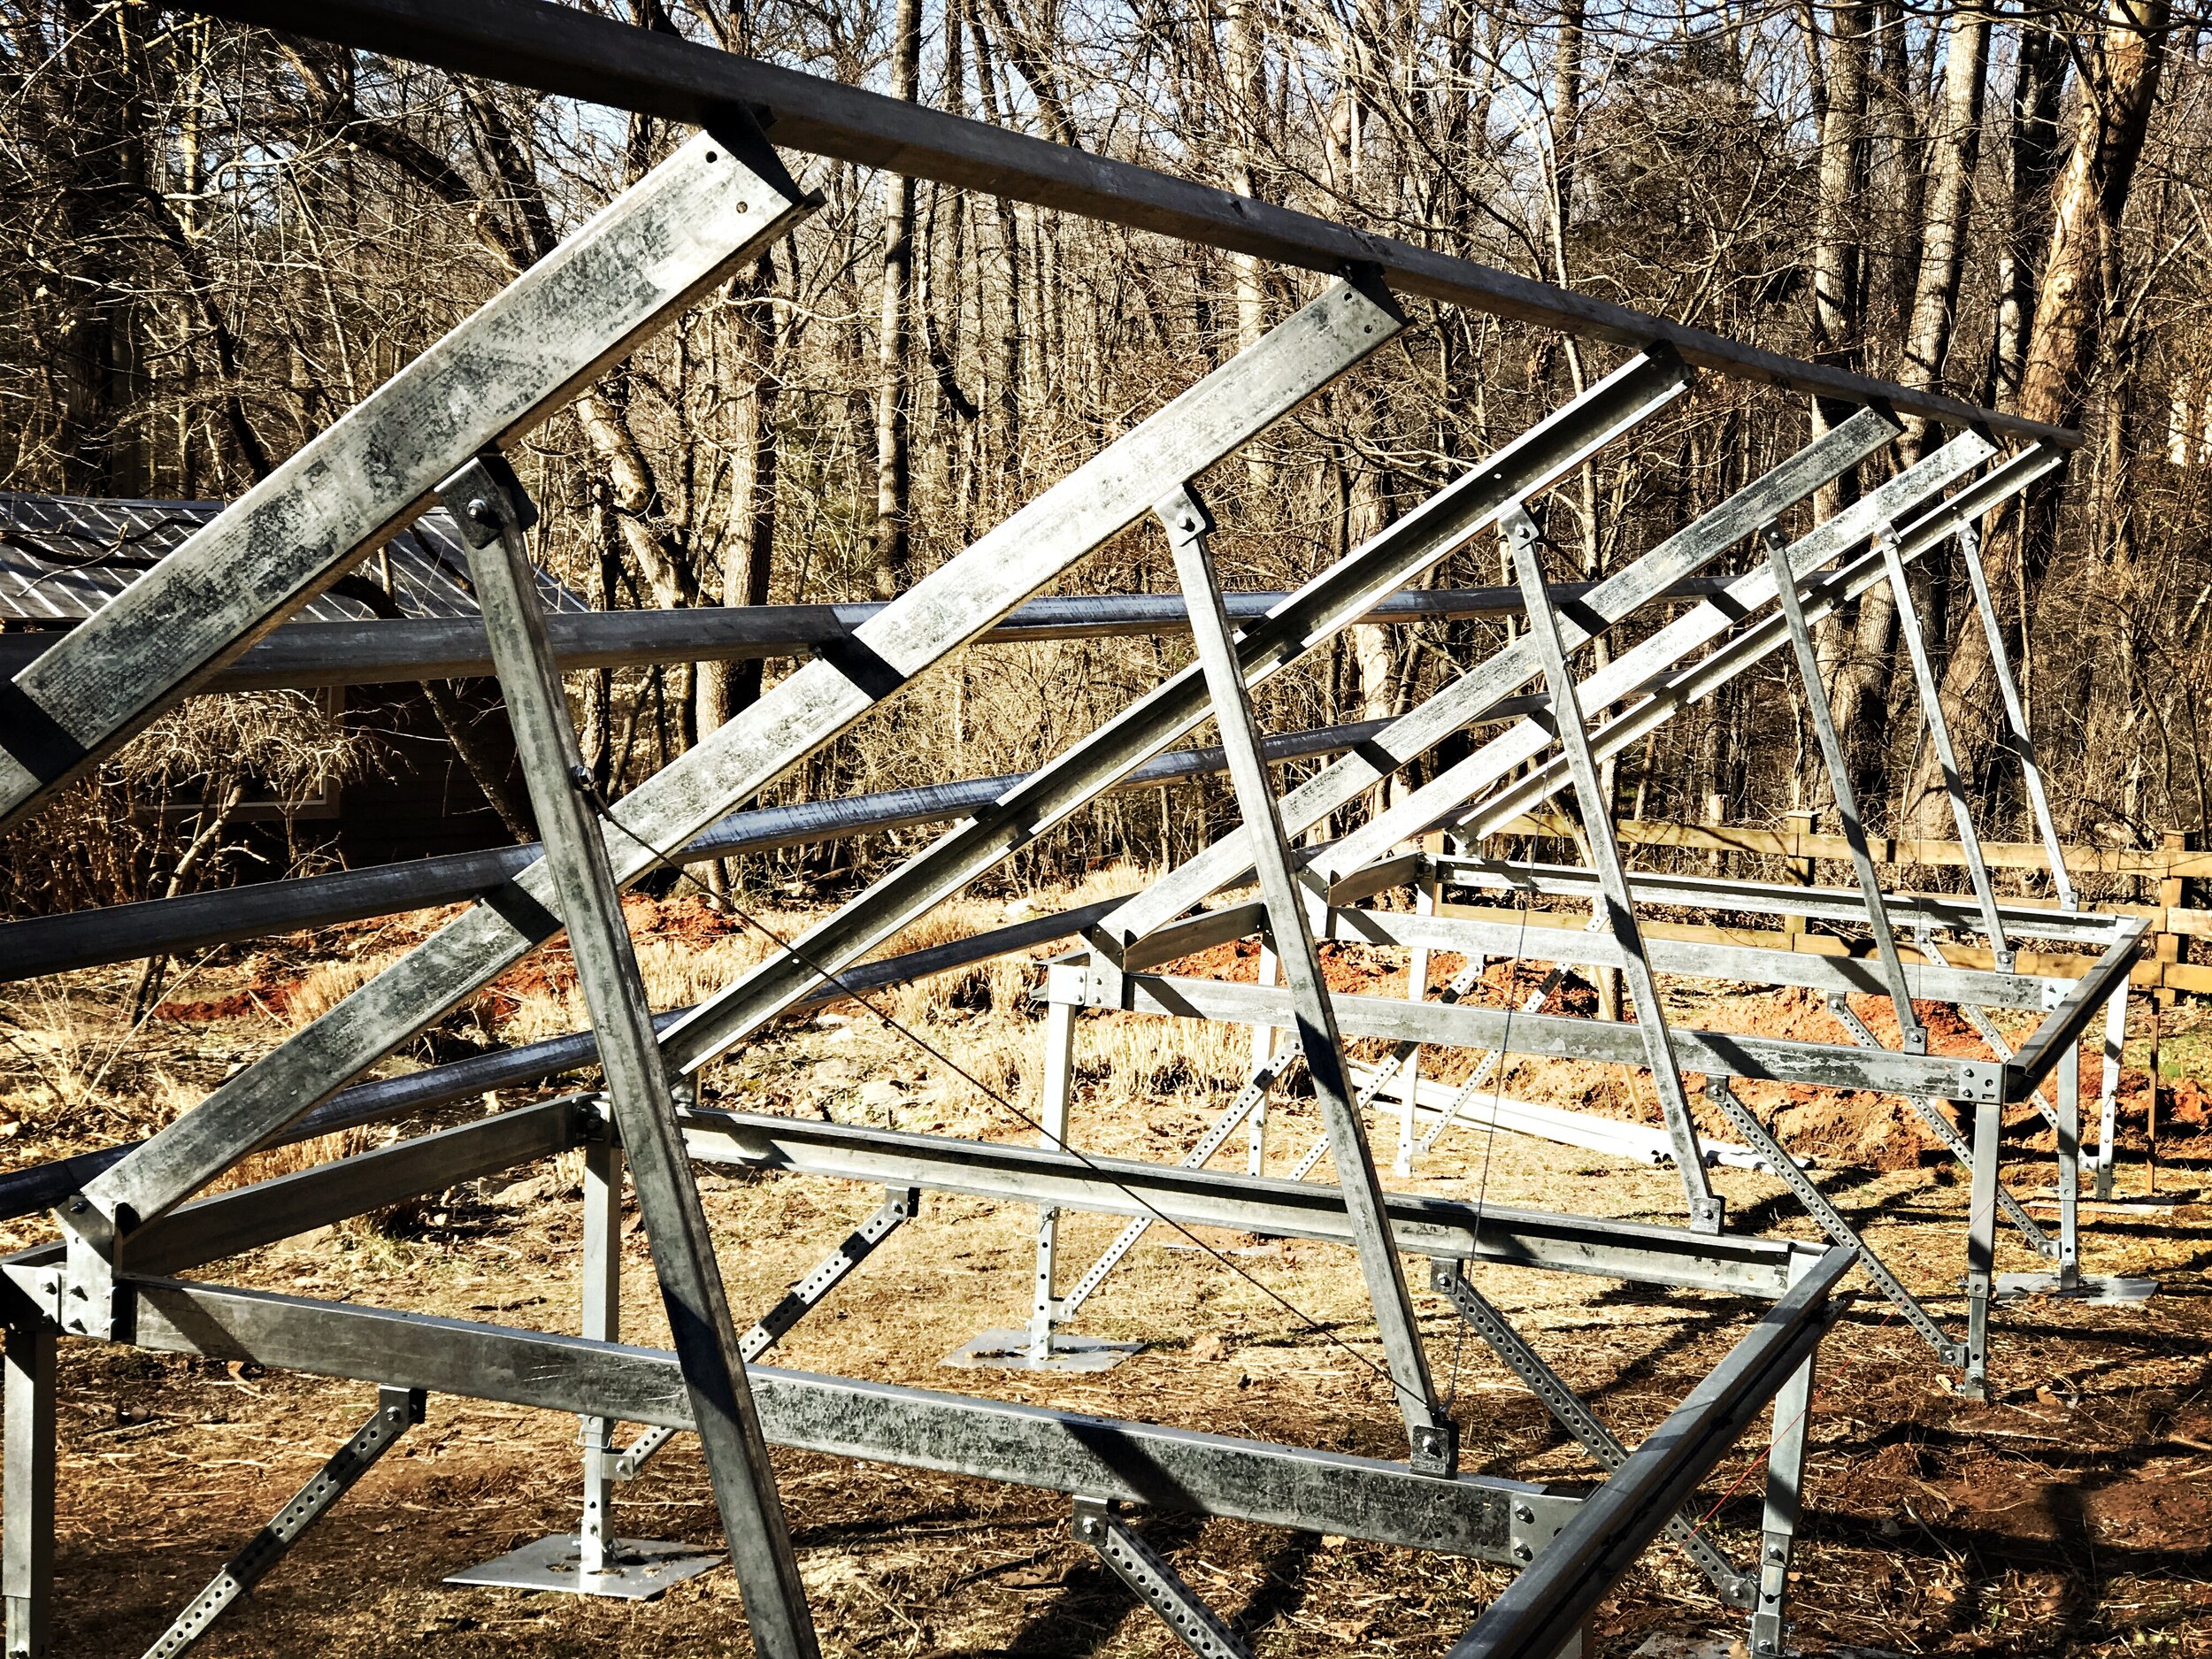
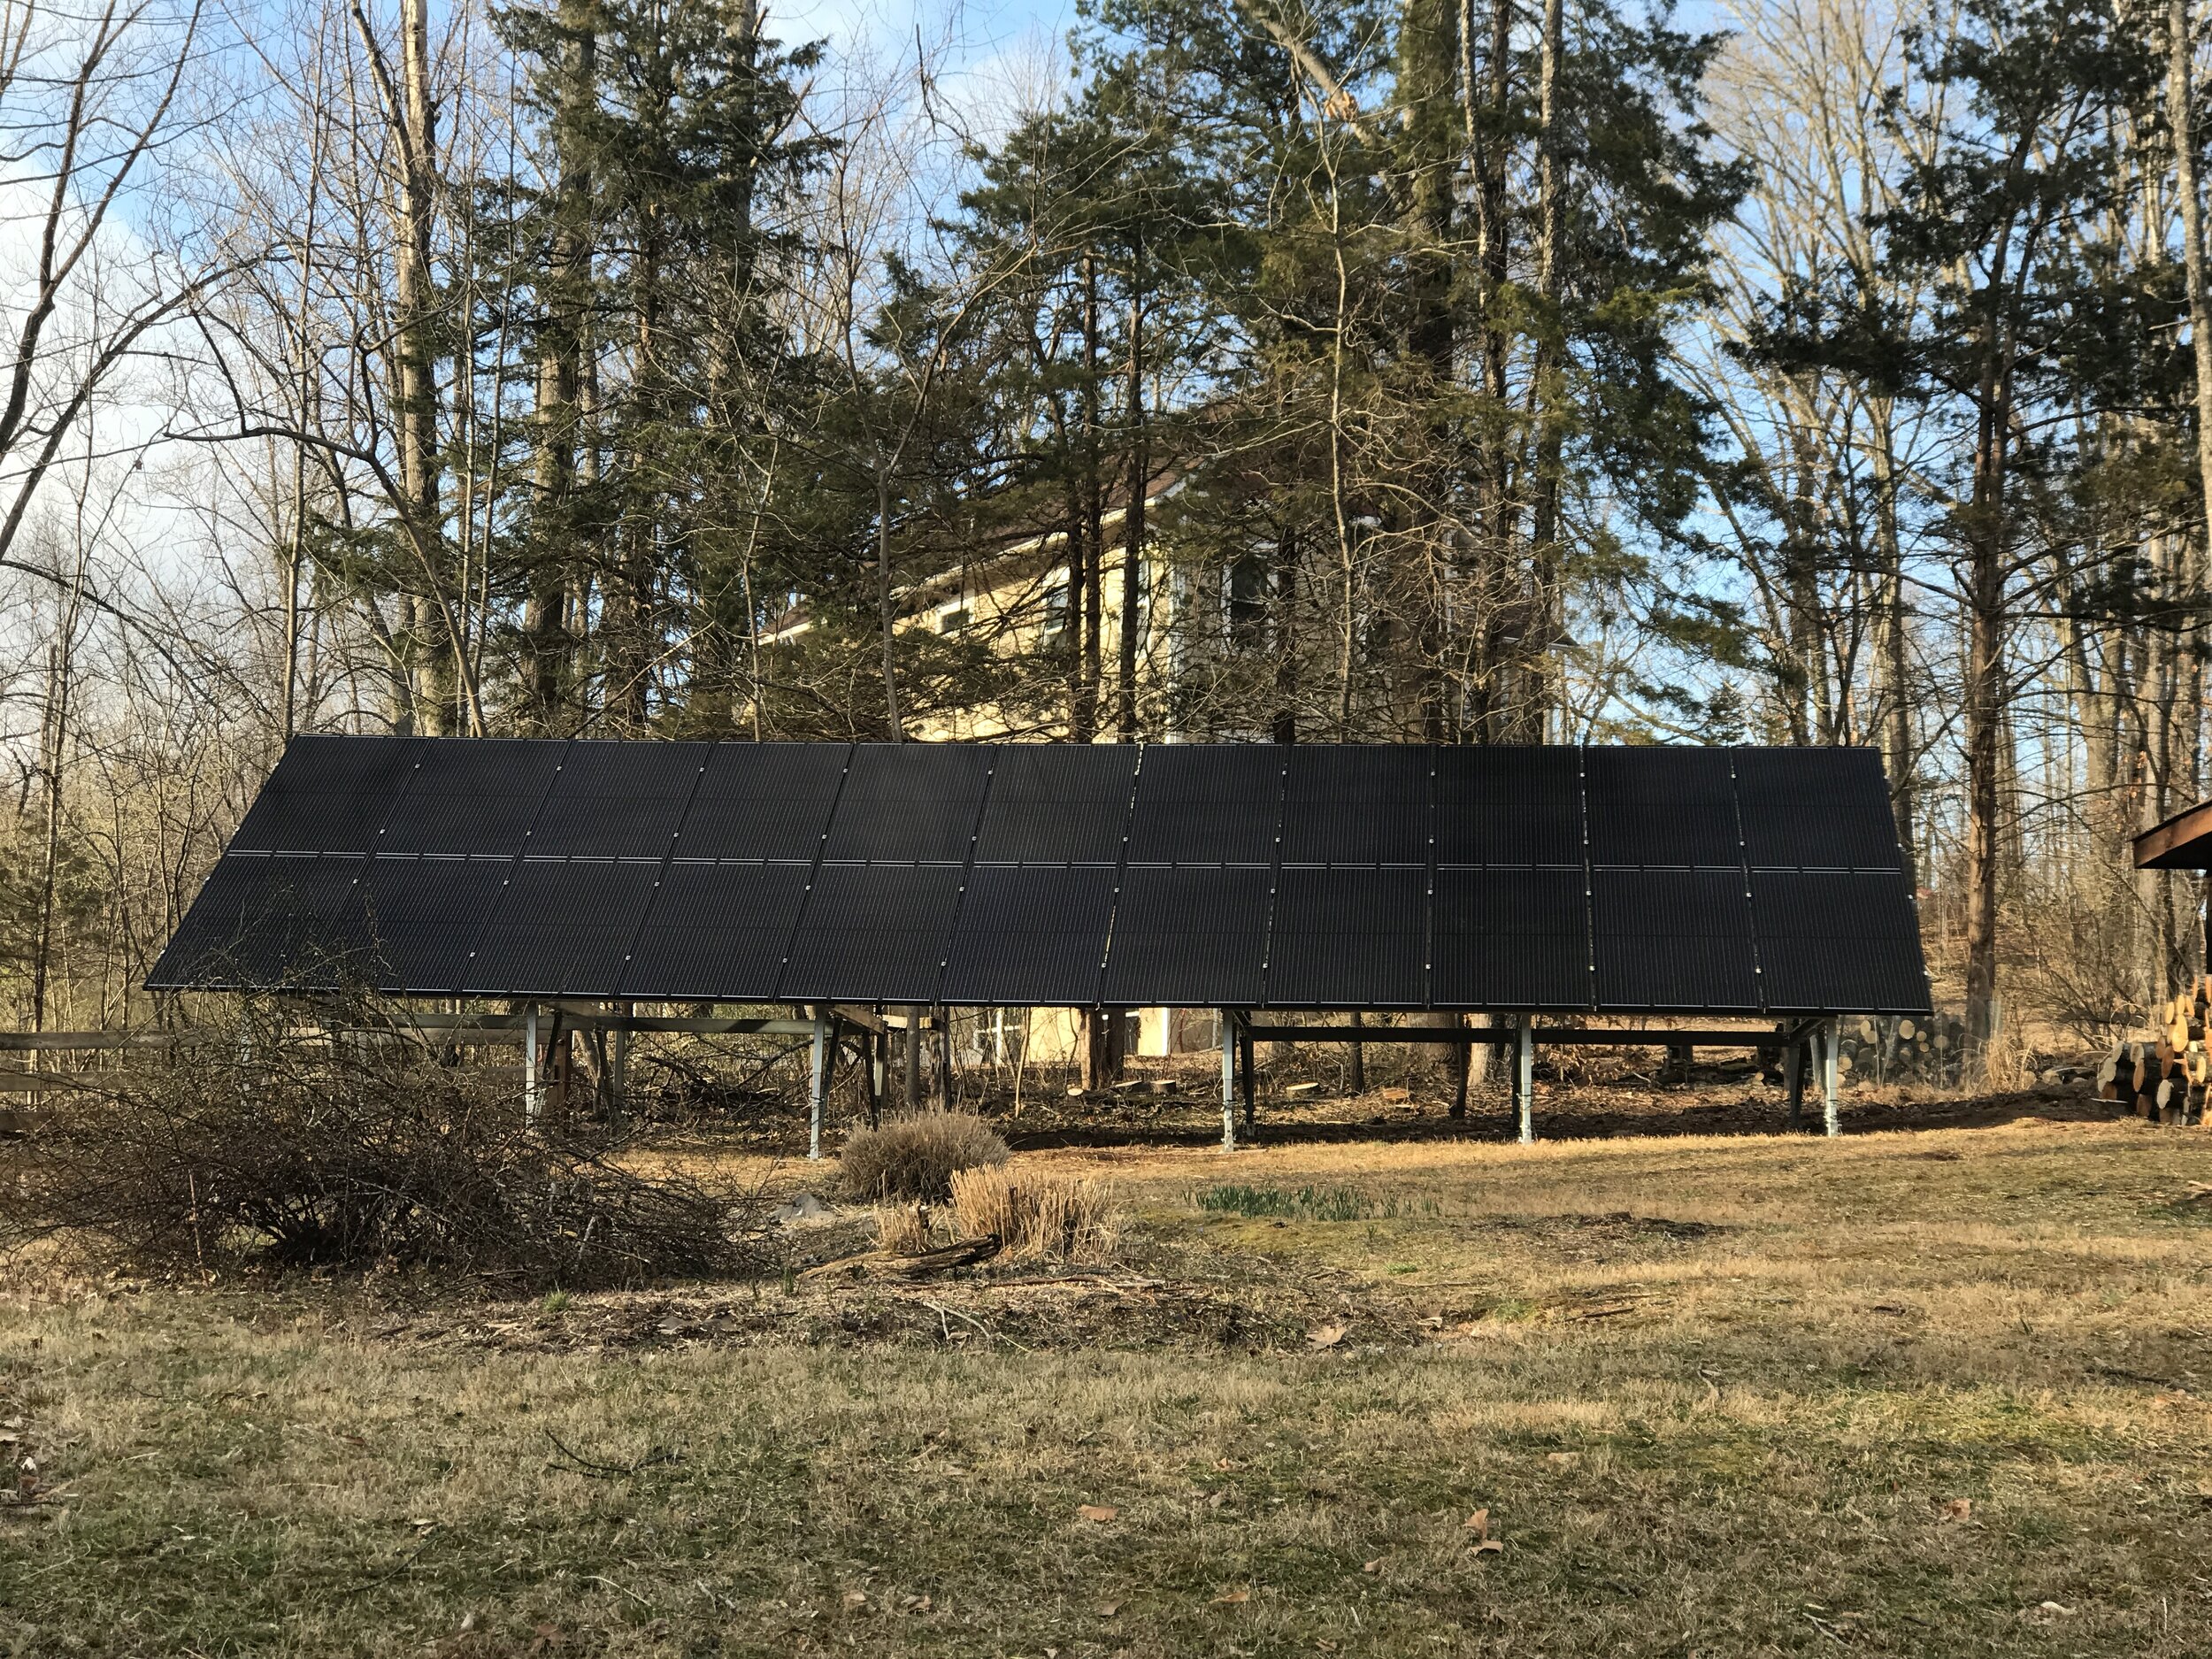
6. Ground-Mounted Solar Panel RACKING SYSTEM
Whether roof or ground-mounted, all racking systems are not created equal. Ask how the racking might impact your roof or your land. Are they bringing in heavy machinery and pouring concrete footers, or can you use a more time/cost-effective system like the latest Osprey PowerPlatform. Either way, it’s hard to move anything once the racking is installed, so measure twice and cut once.
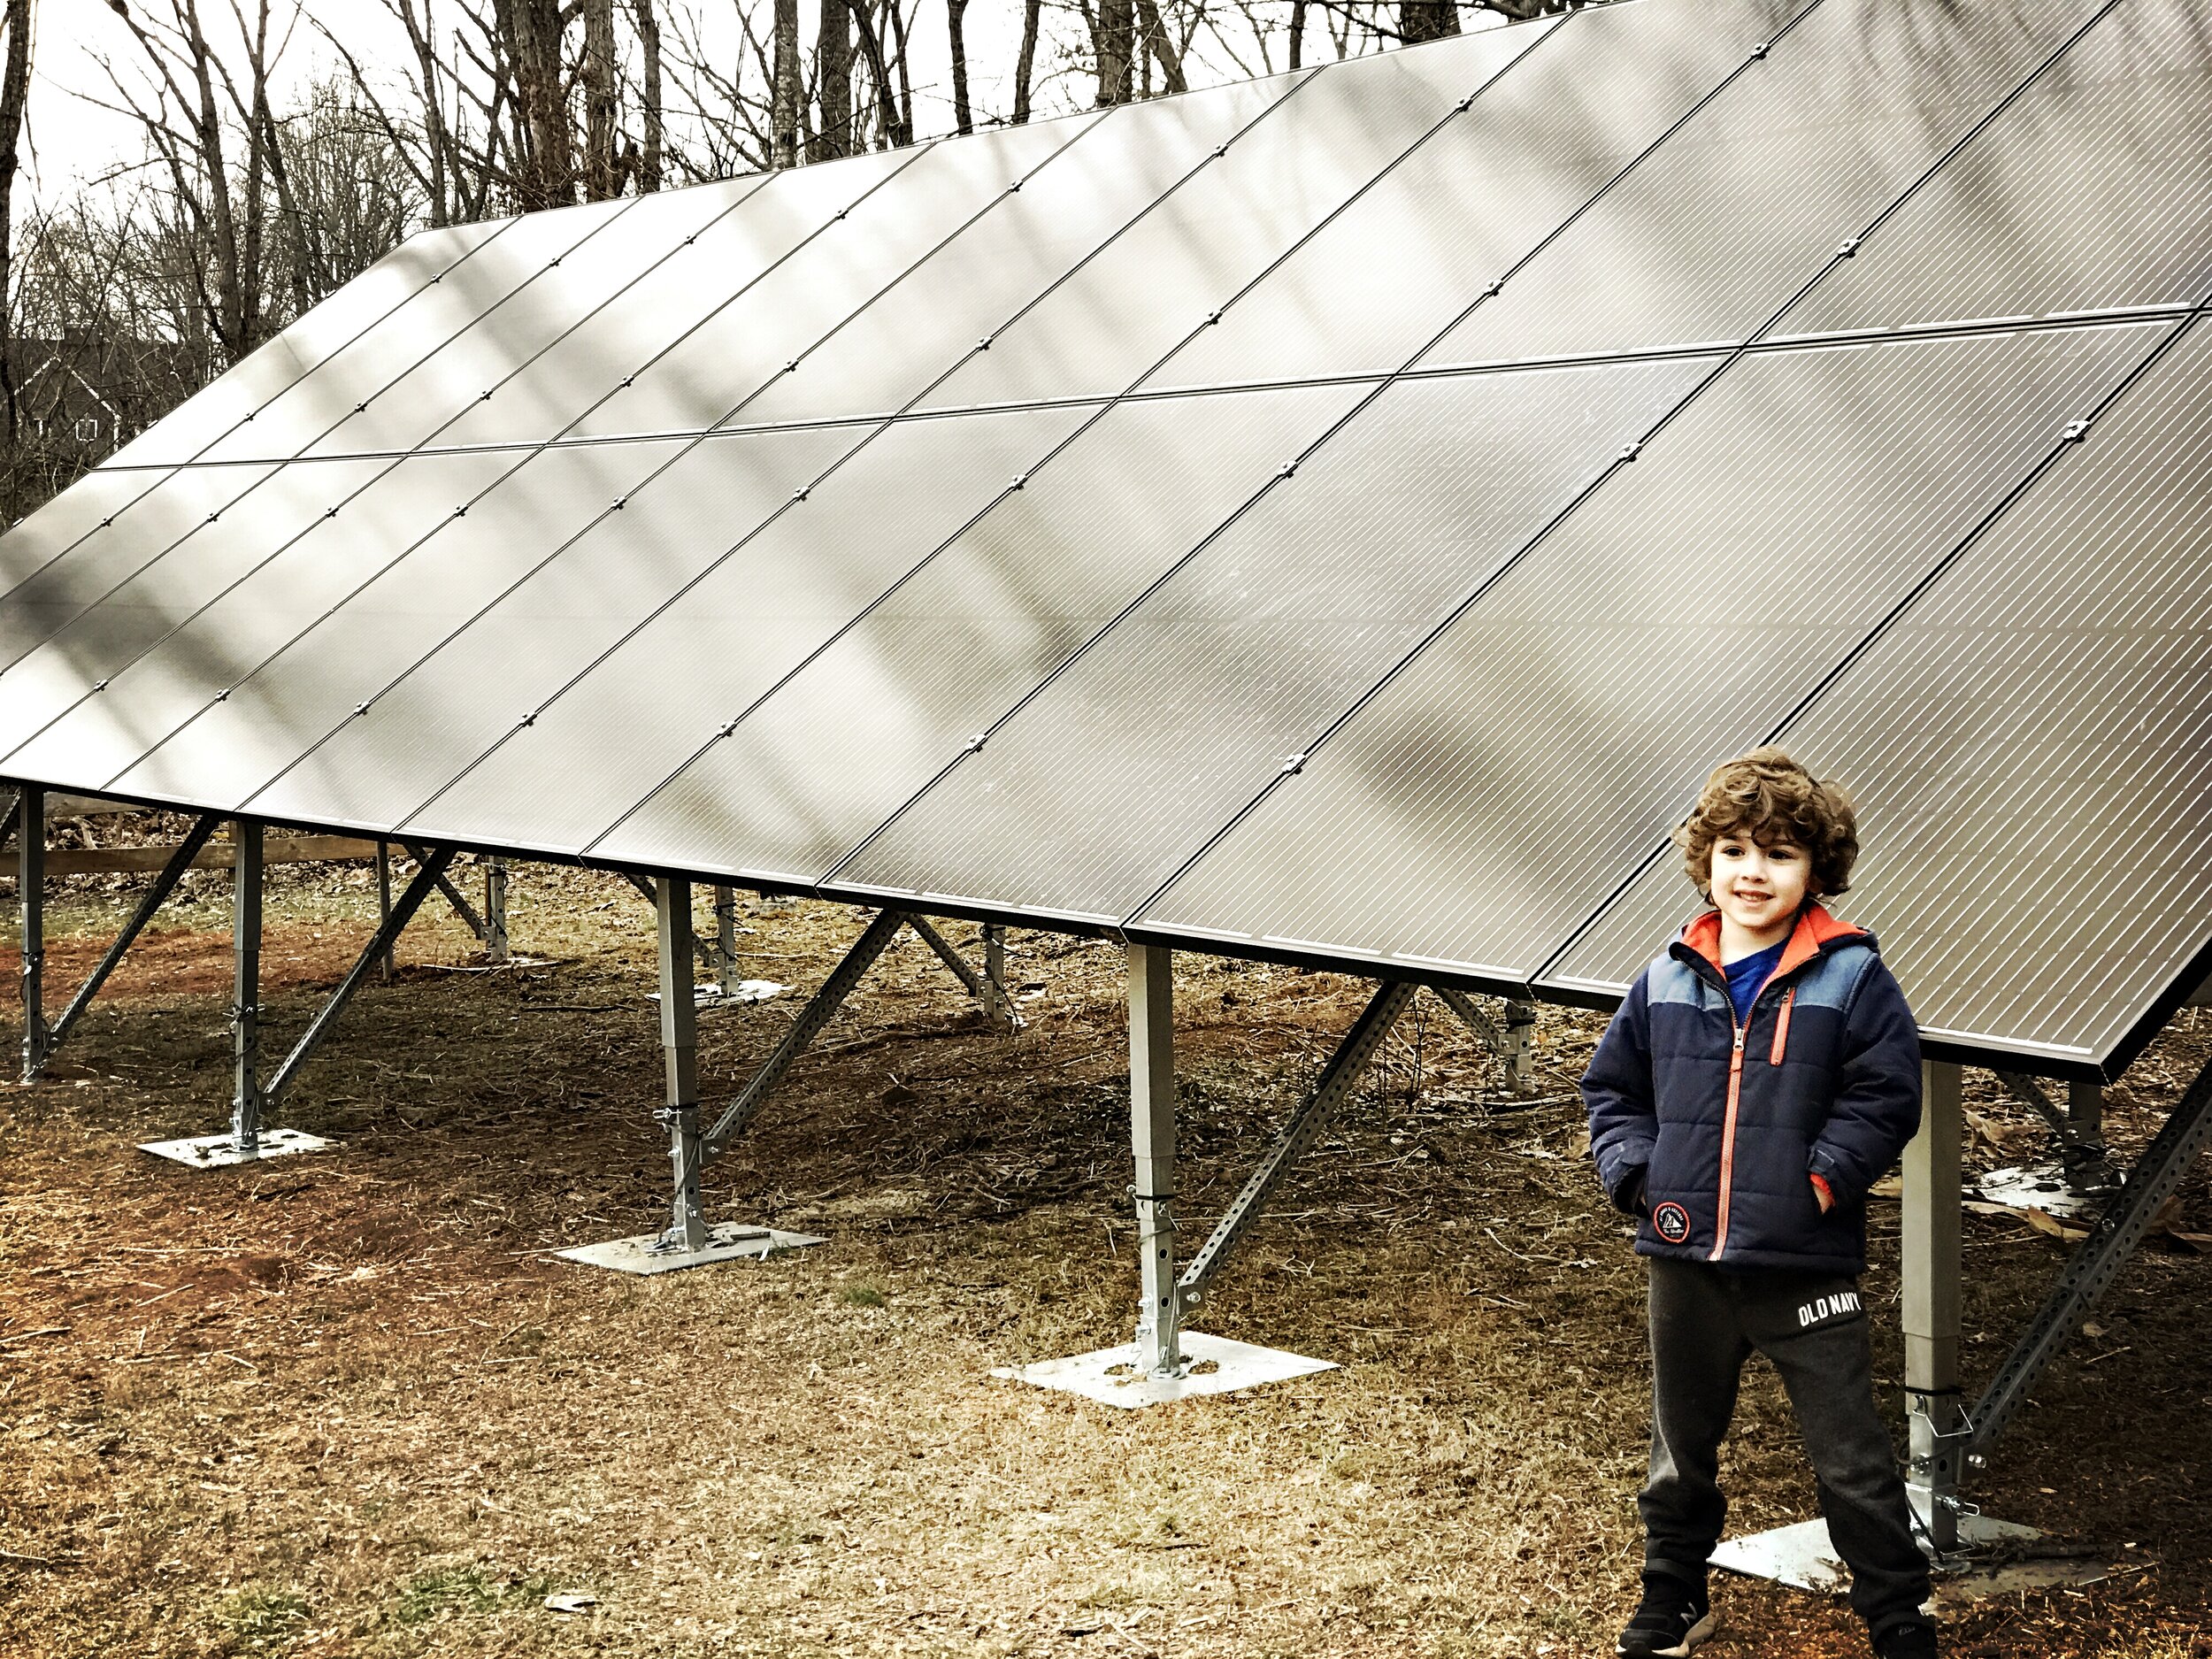
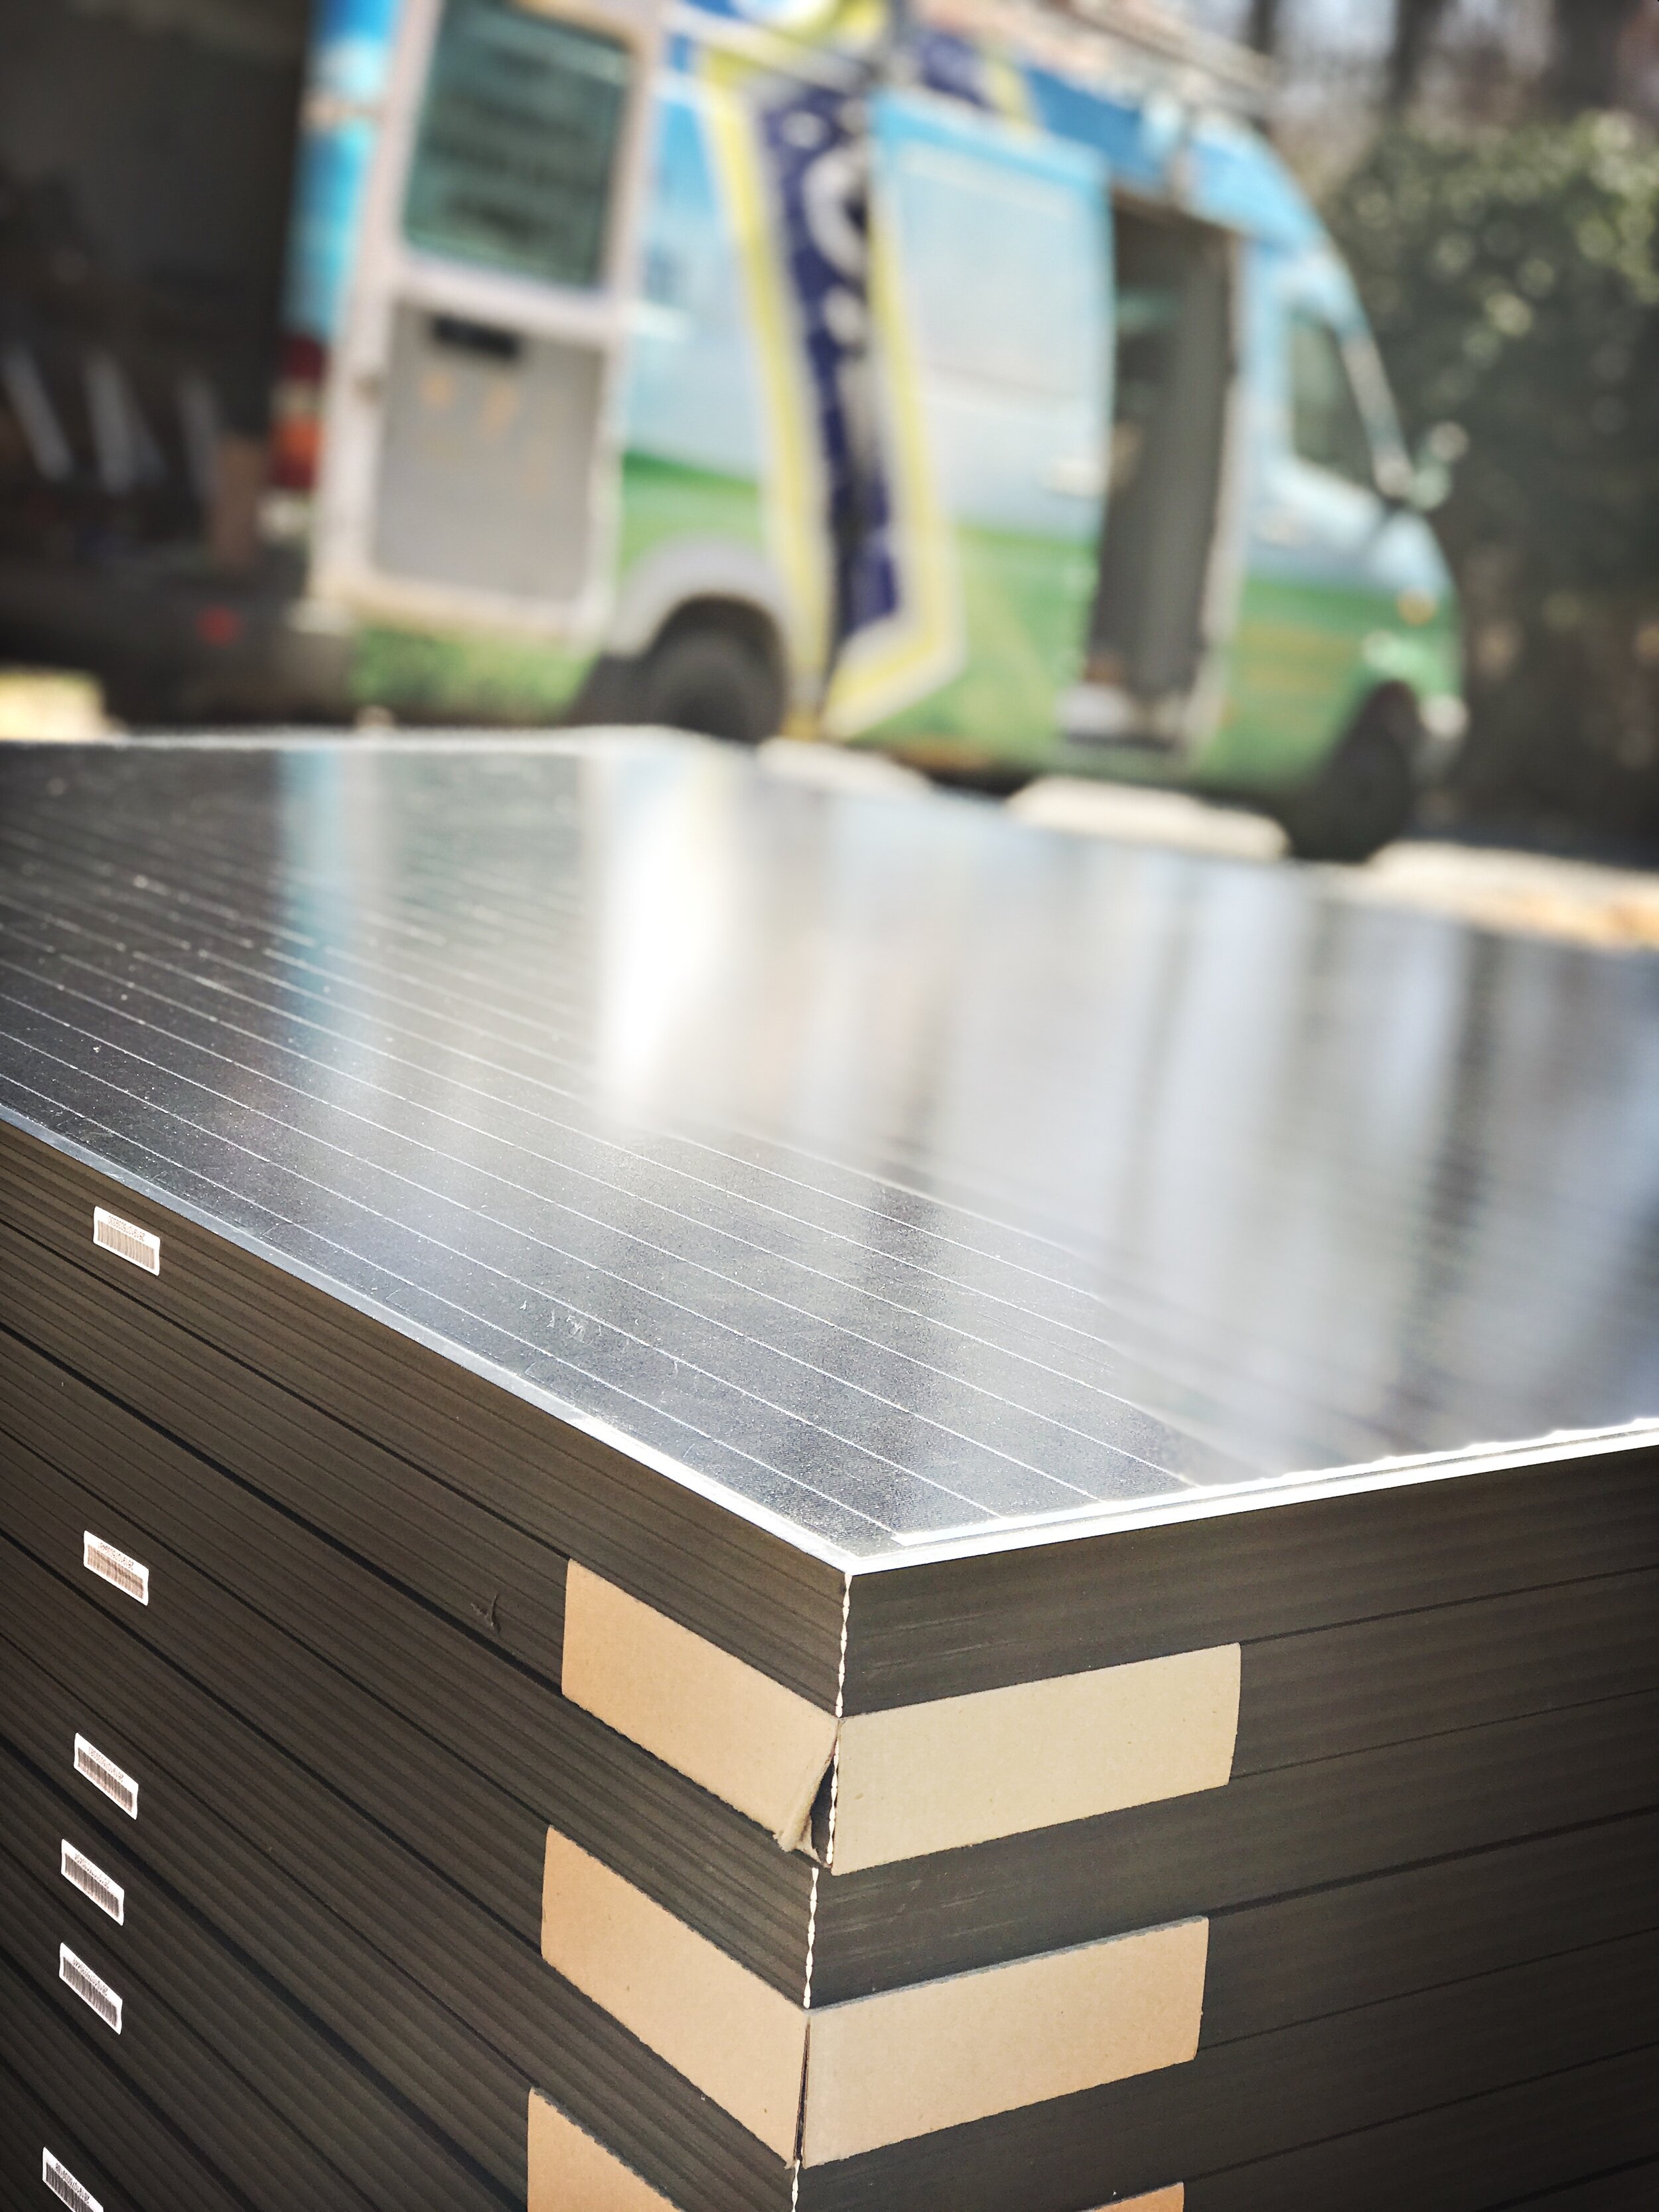
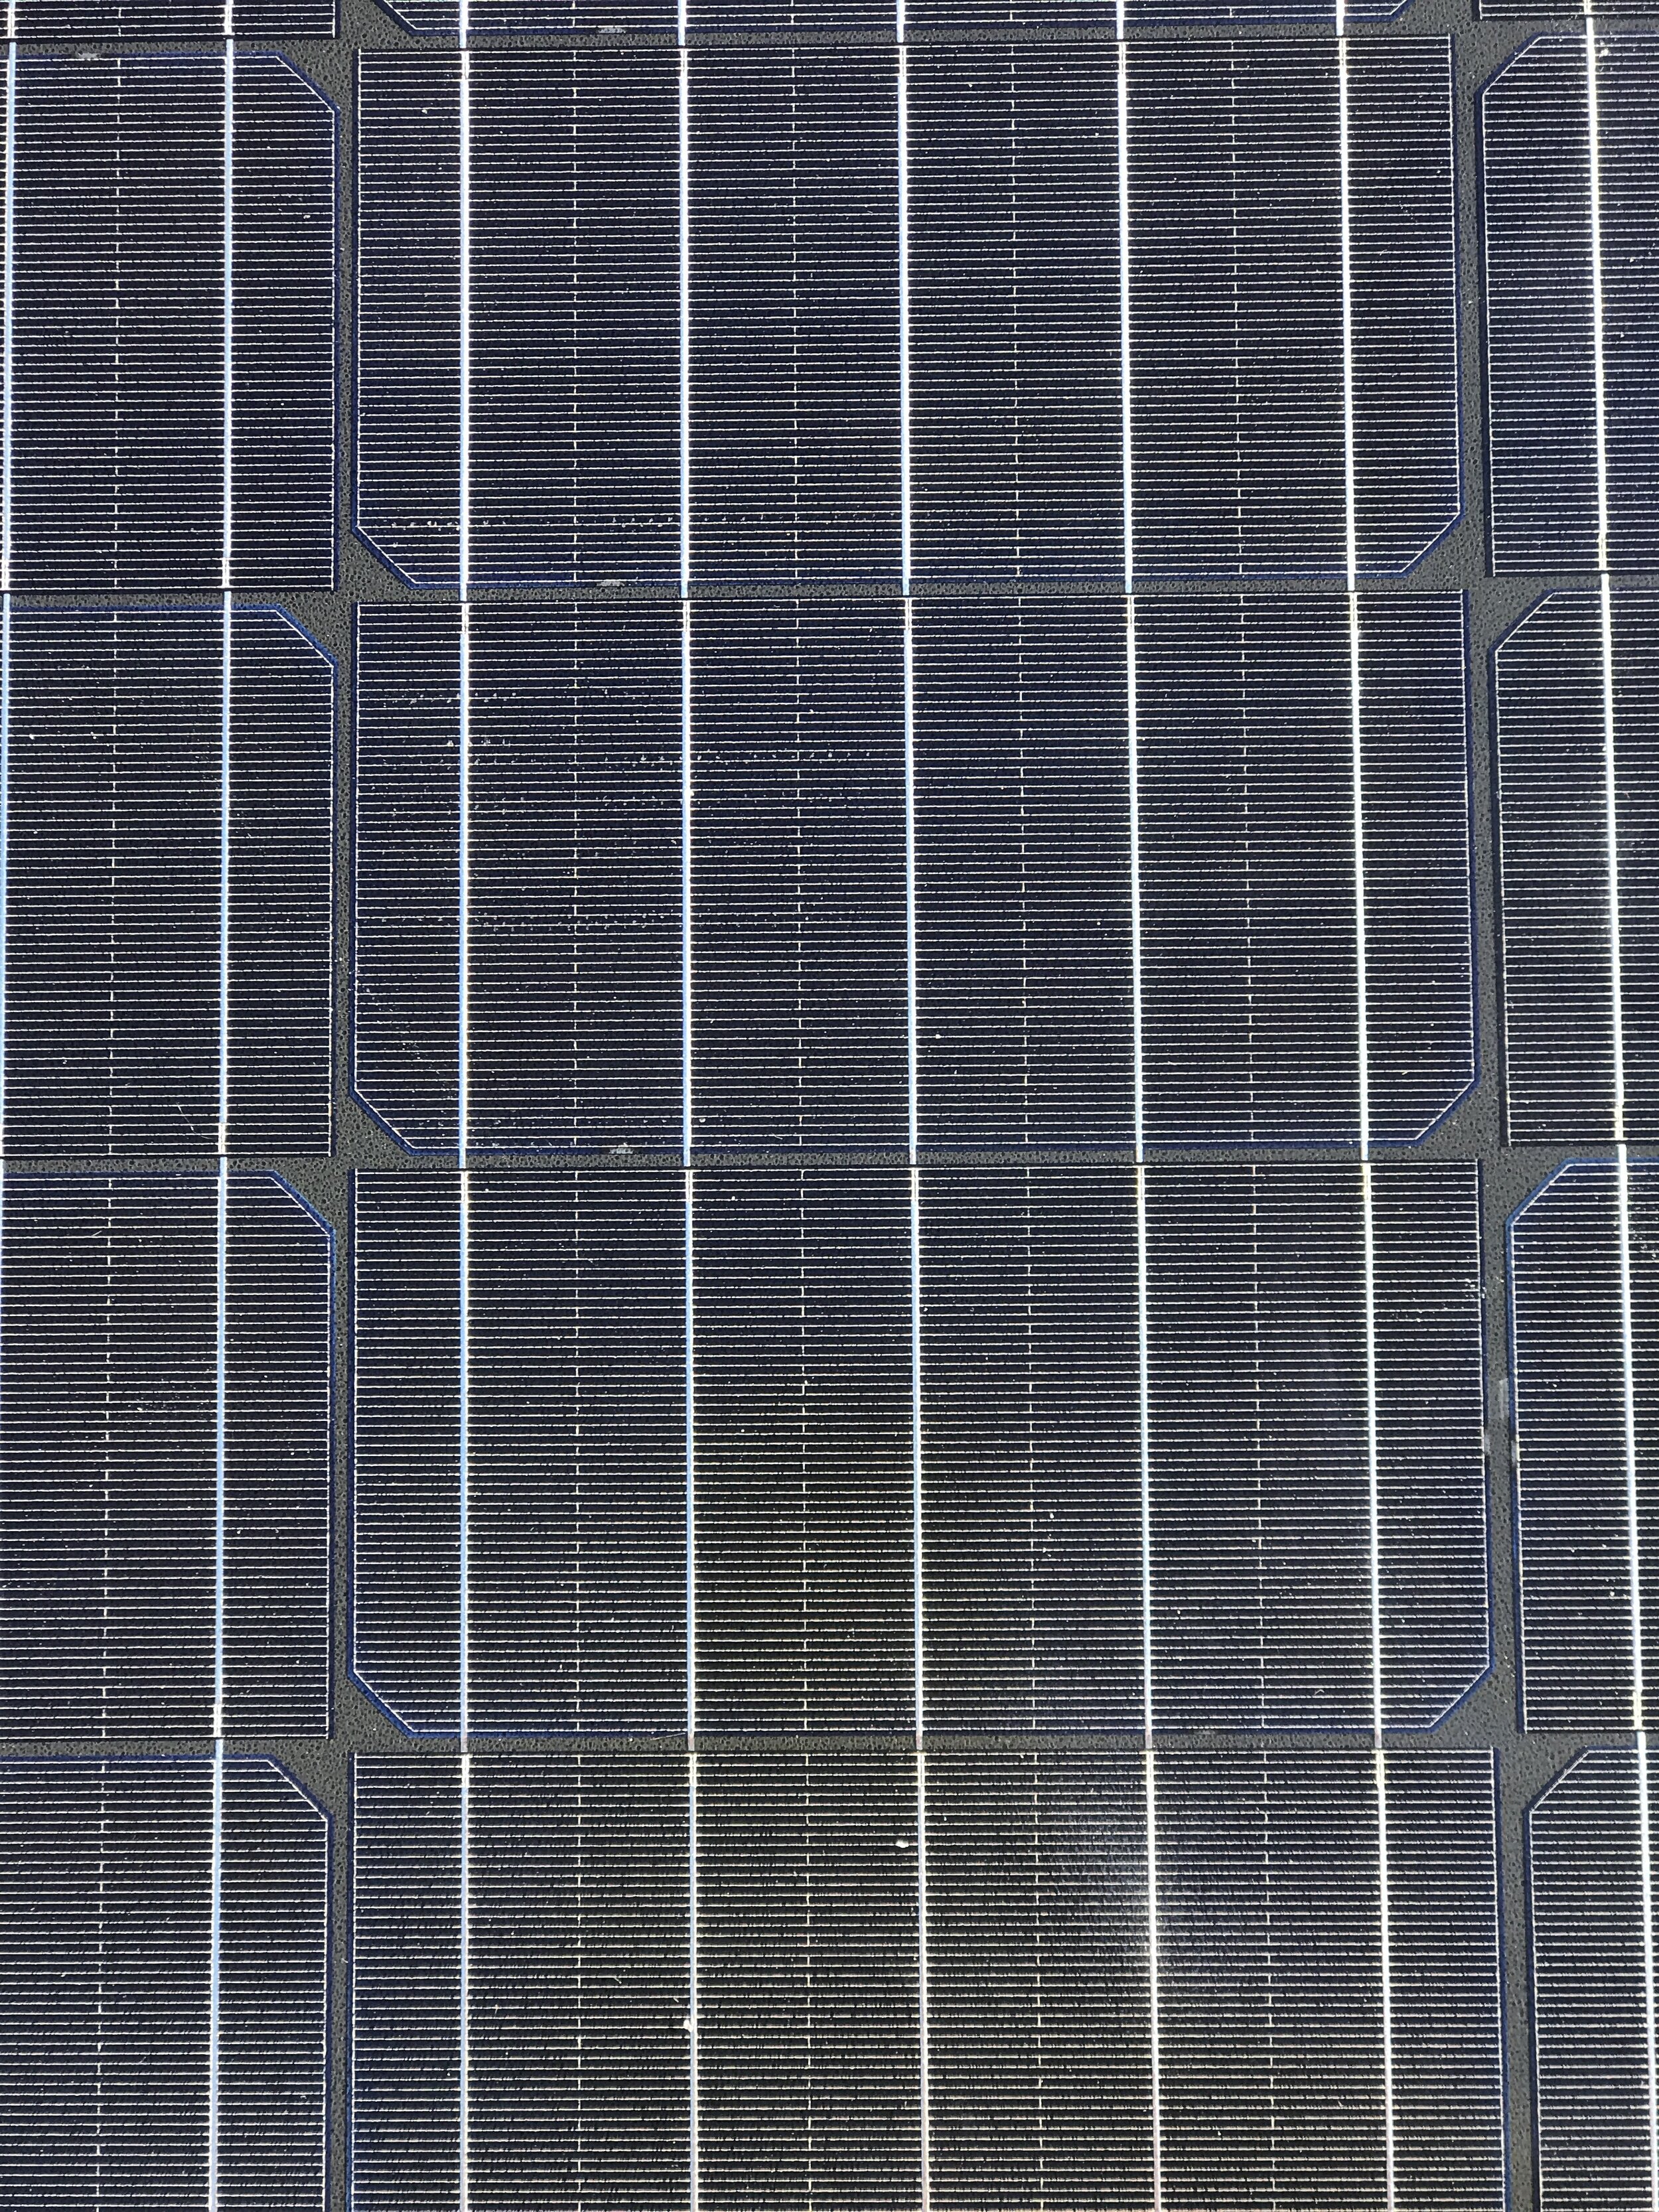
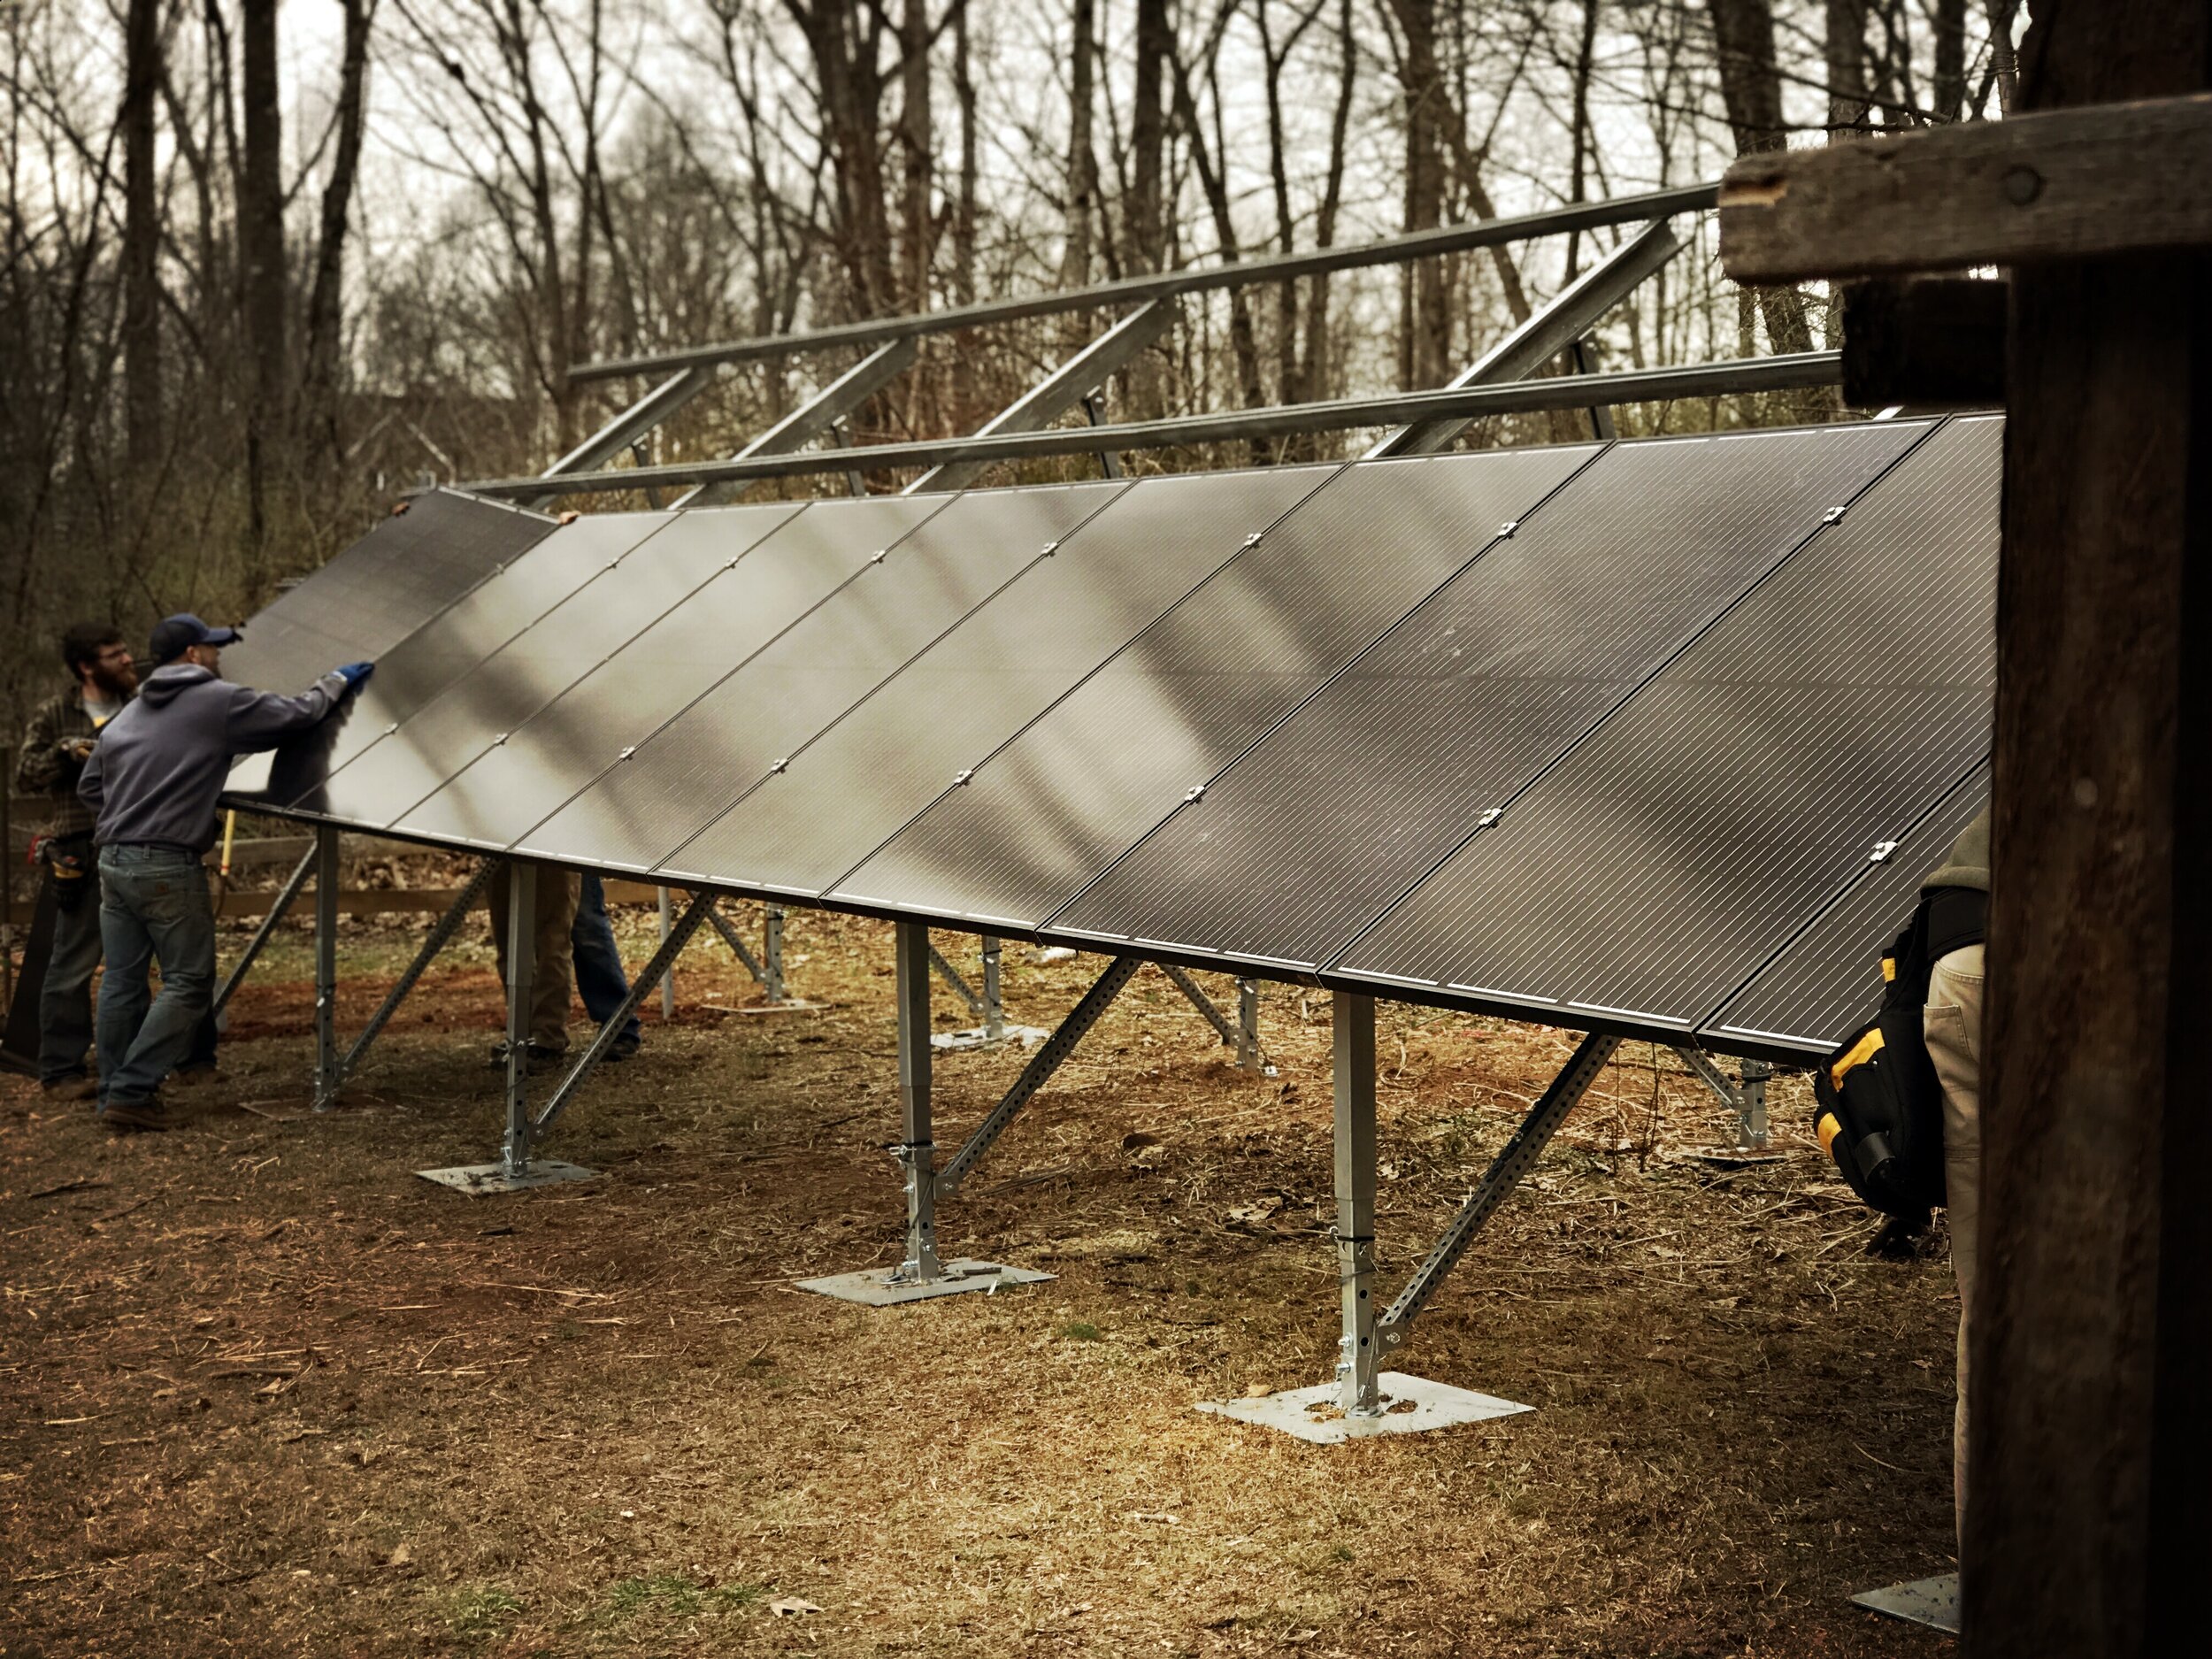
7. PANELING
Do similar homework (ahead of this step) to be sure you like the look, size and specs of the panels themselves. Companies now offer all-black panels, thin-film, and other low-profile options as compared to the silver/gray panels. Make sure the specs are rated for wind and snow and look at their efficiency over time. Companies release new models year after year, so if you have to replace a panel at some point, you may not be able to find your original model anymore.
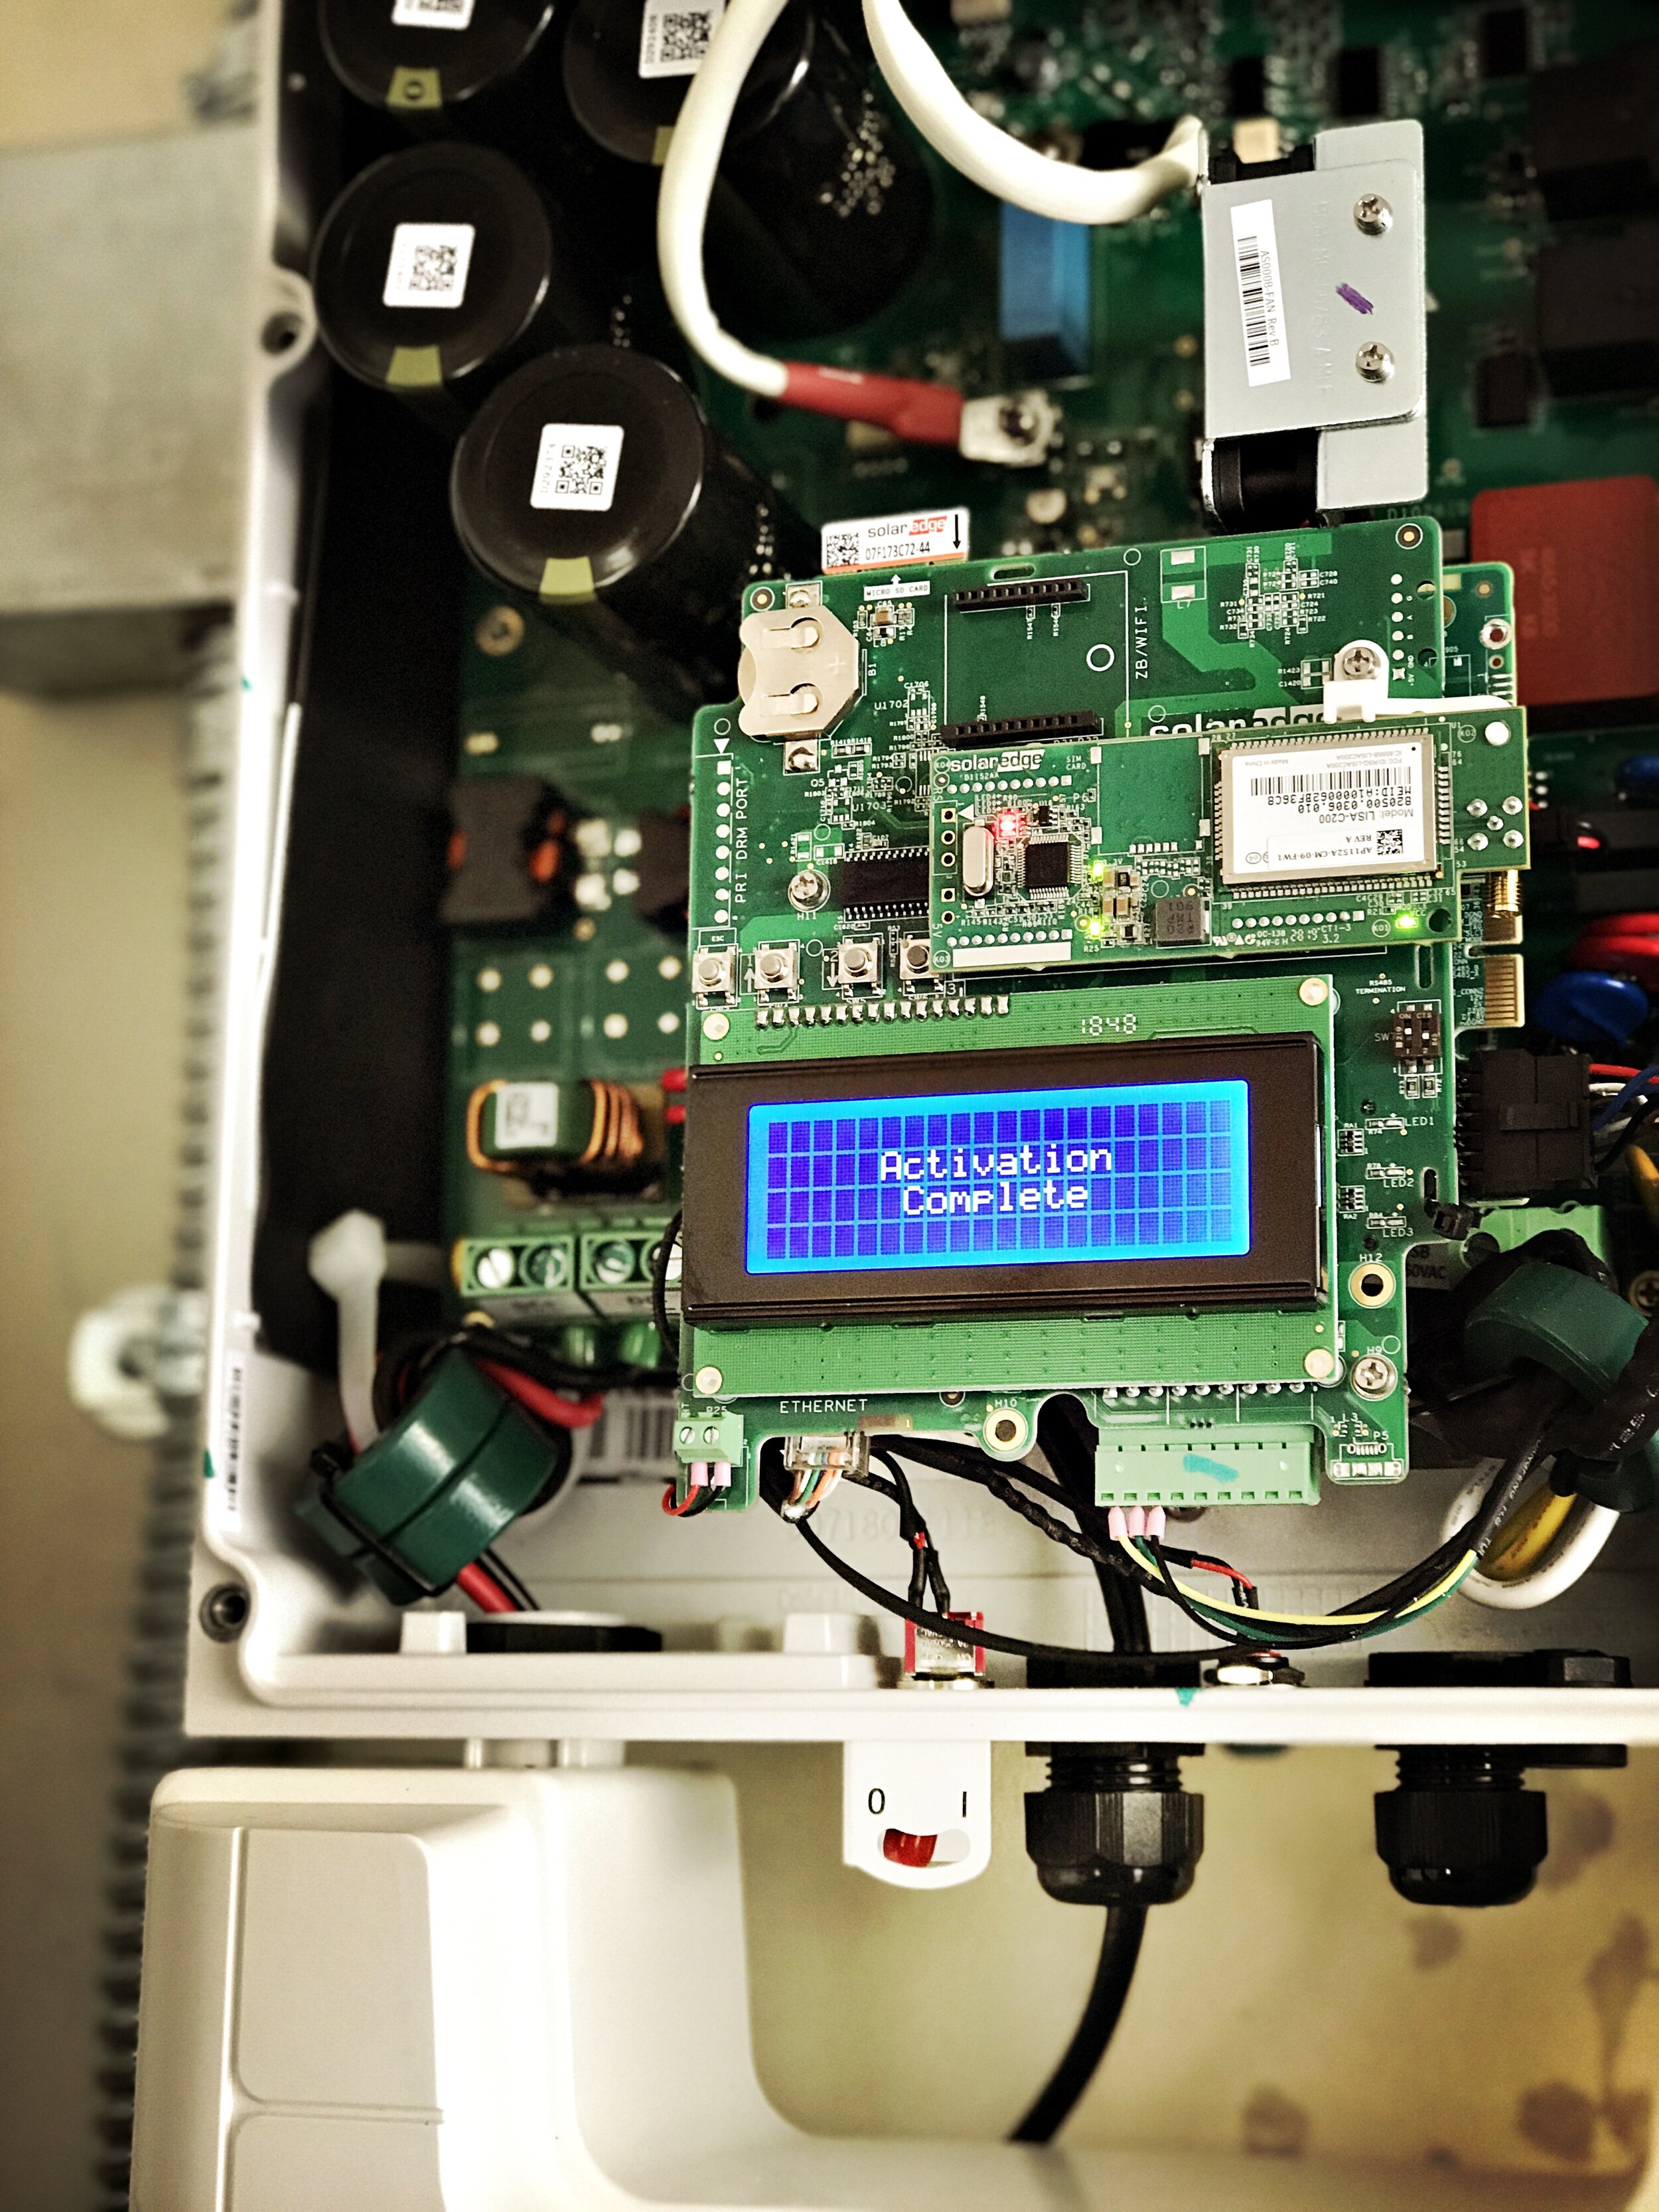
8. WIRING & INVERTERS
This is where the installer connects the array to an inverter, which converts DC power to the AC power used by your home, and then connects this inverter to your breaker panel, and hopefully goes live! Again, do some research (here’s a great review of the SolarEdge inverter we chose). Make sure your inverter can accommodate a battery backup system if you’re thinking of going that direction (also make sure it’s installed in a spot where you can fit that battery unit next to it or nearby). Understand how to switch everything on and off, or restart after a power failure.
9. Solar mONITORING
Ask if your installer offers 24/7 remote monitoring support (so they know before you do if a panel malfunctions, for instance) and download any remote monitoring apps available so you can keep an eye on things. Look at how your system is performing over time and watch for any aberrations (low production on a sunny day, for instance). Here’s the SolarEdge monitoring platform/app that came with our inverter.
10. Solar TAX CREDITS
A 30% tax credit for solar projects was available in 2019, and that number went down to 26% for 2020-2022, down to 22% in 2023. Make sure you keep all receipts and invoices, and submit for tax purposes for the year of your installation (we won’t get the credits for our February 2020 installation until we get our tax return after filing in April 2021, for instance, assuming the country is still functioning by then). Also look into Solar Renewable Energy Credits (SRECs). You jump through some hoops to register and it takes a while to kick in, but then get paid a fixed or variable market rate ($30-70 for every MWh of energy you produce, for instance). My system produced 6.58 MWh in its first full year of production, so that’s potentially another $350+ of extra income each year.
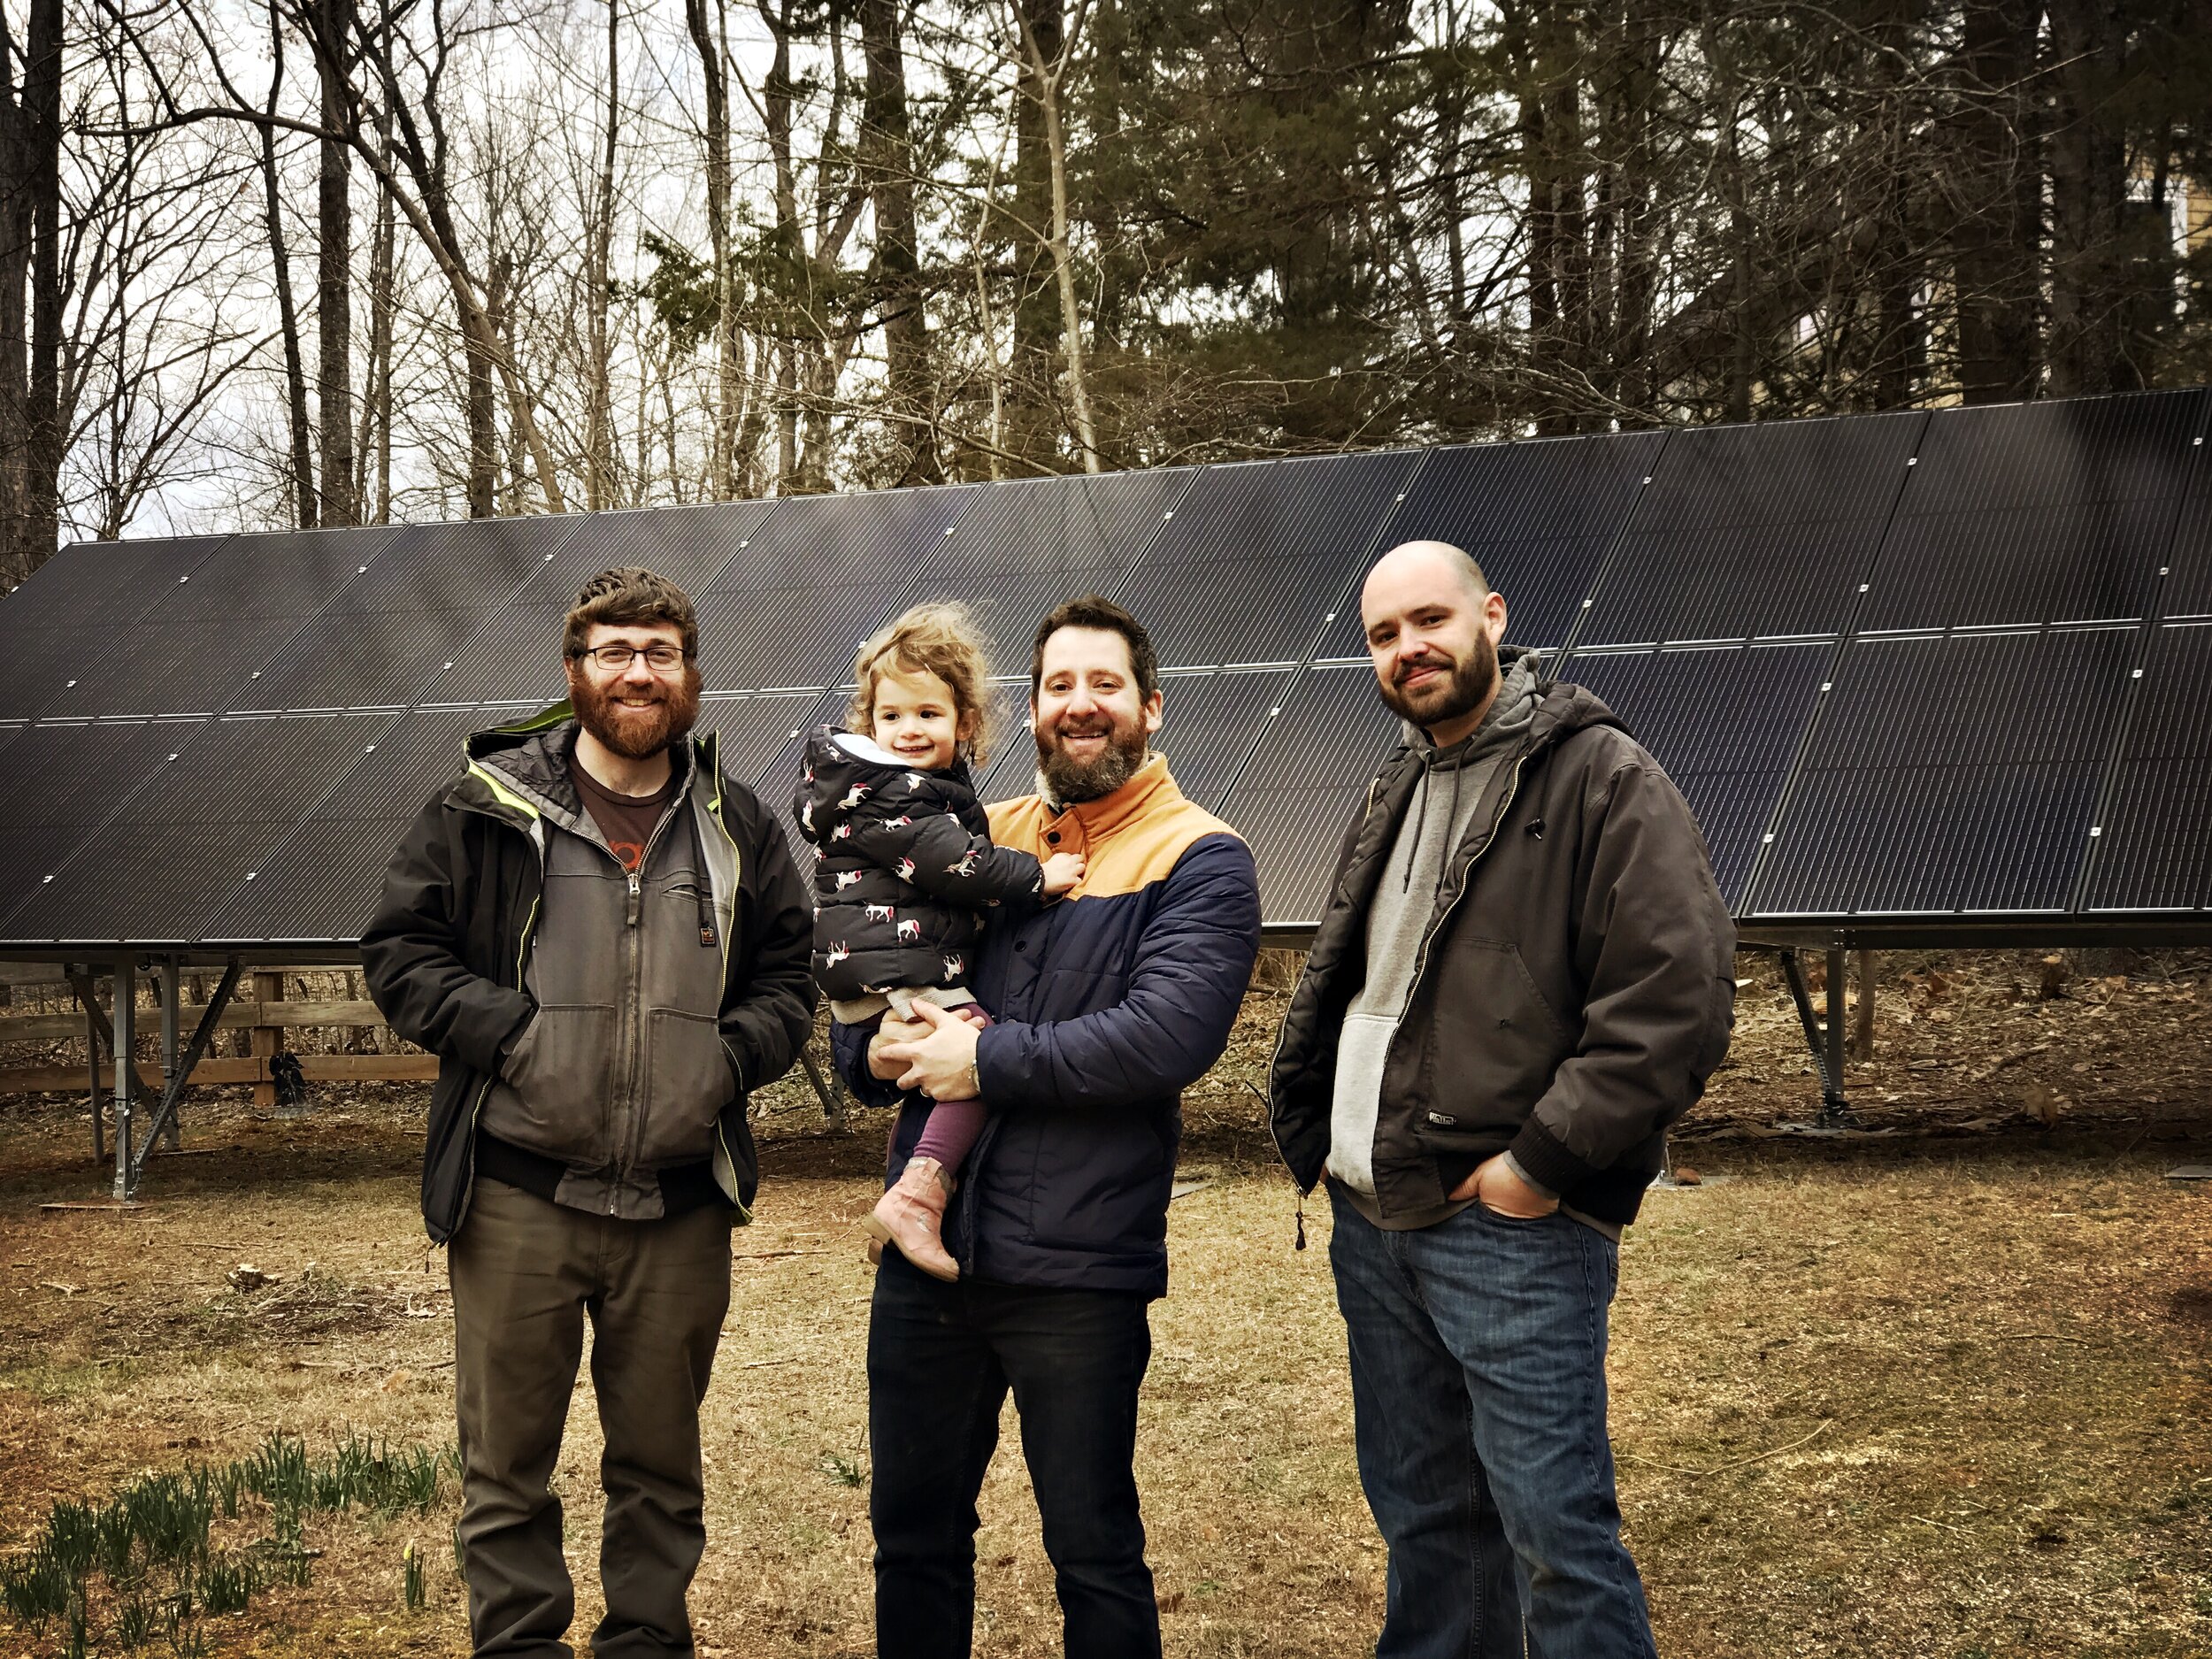
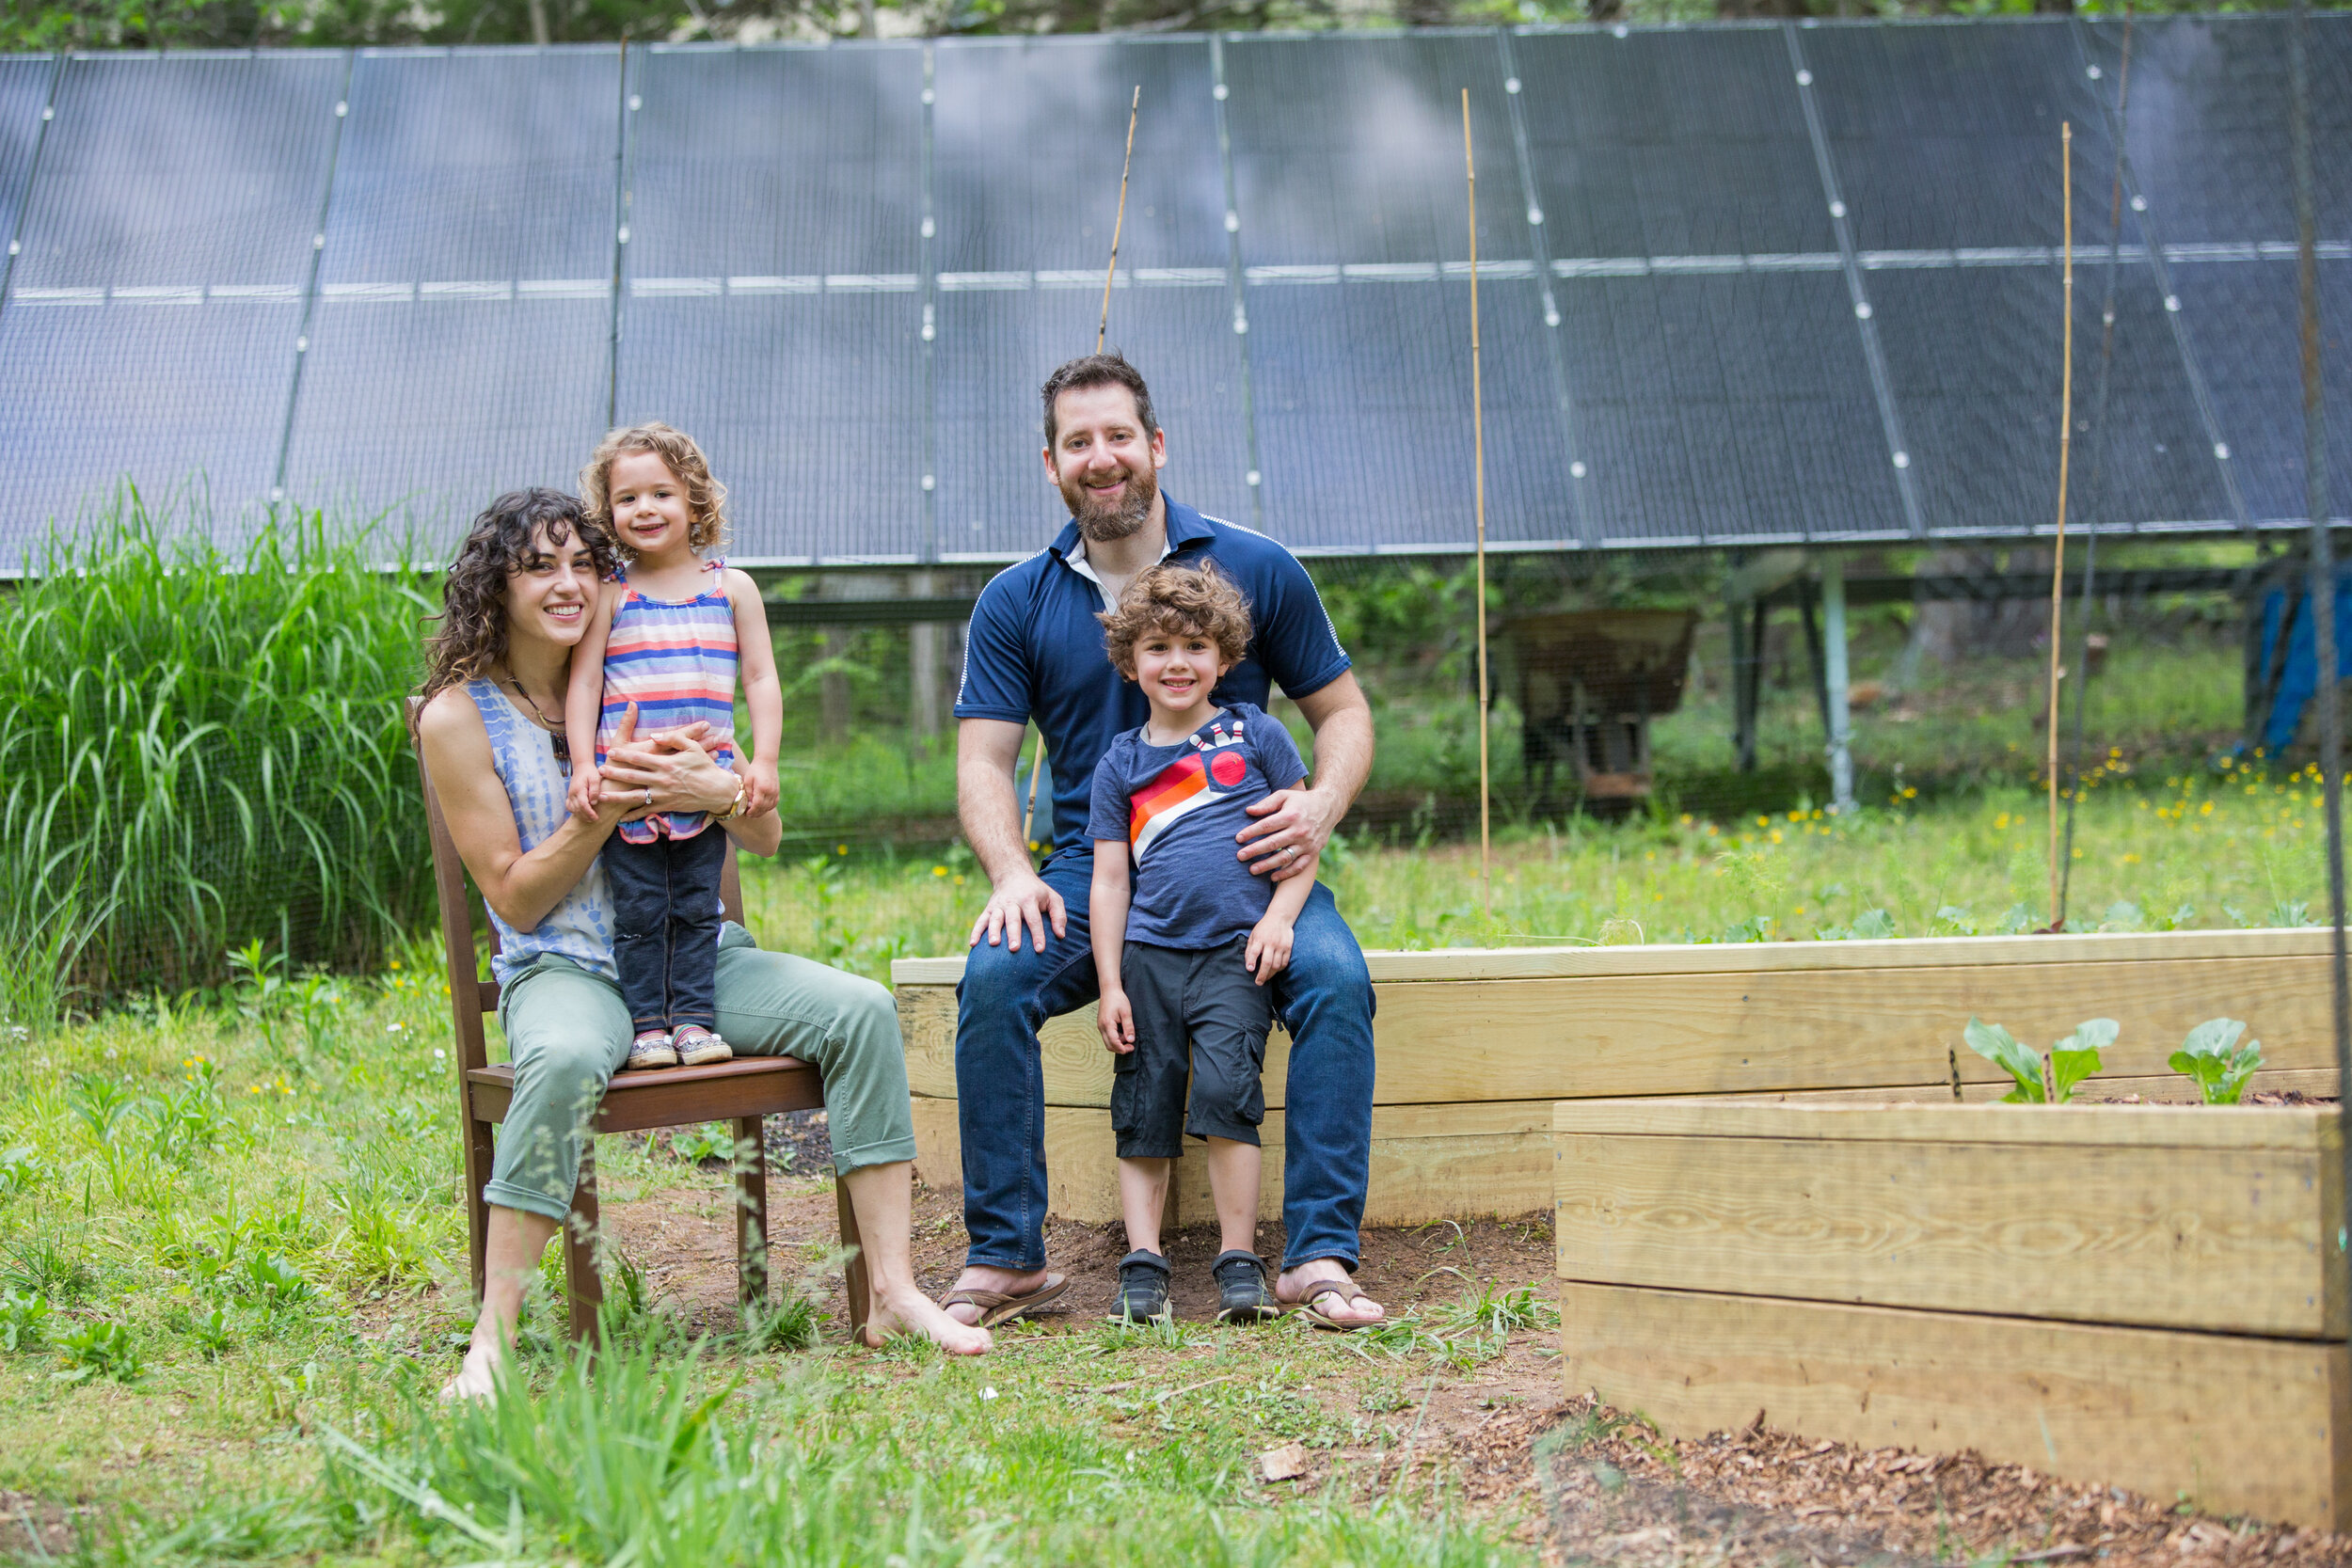
11. END ON A HIGH NOTE
Aside from the financial issue, remember all the tangible and intangible benefits of going solar. It’s great for the planet, potentially good (or at least break-even) for the wallet, and represents the kind of commitment to lowering consumption and increasing self-reliance that so many people are being called to consider. Think of it as an opportunity to talk with your kids or neighbors about how power is produced, how energy is consumed. This may be a one-off project, or one step of a much larger commitment to more sustainable living.