How to Use a Wood Burning Stove: Tips & Techniques
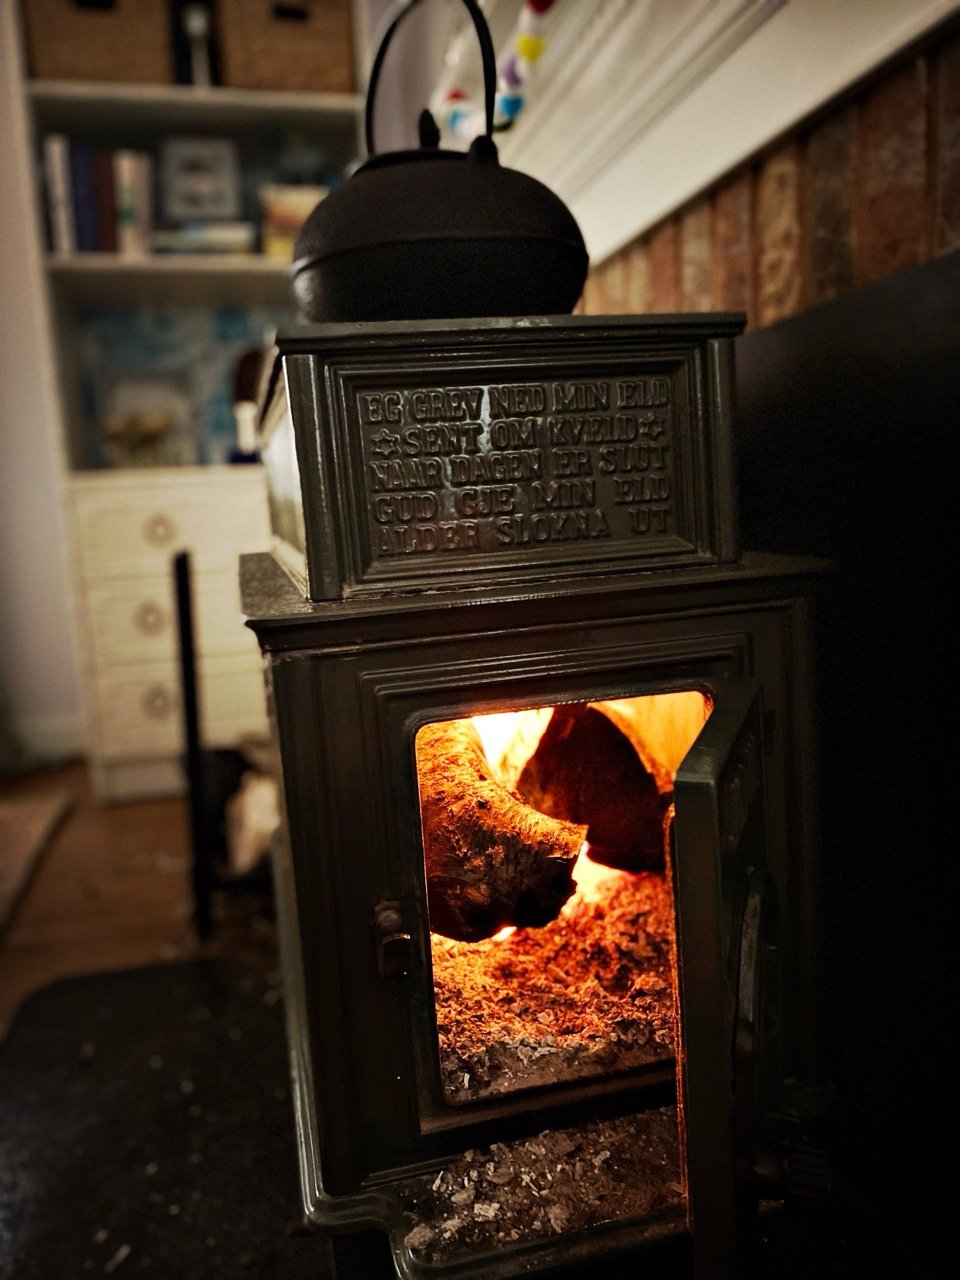
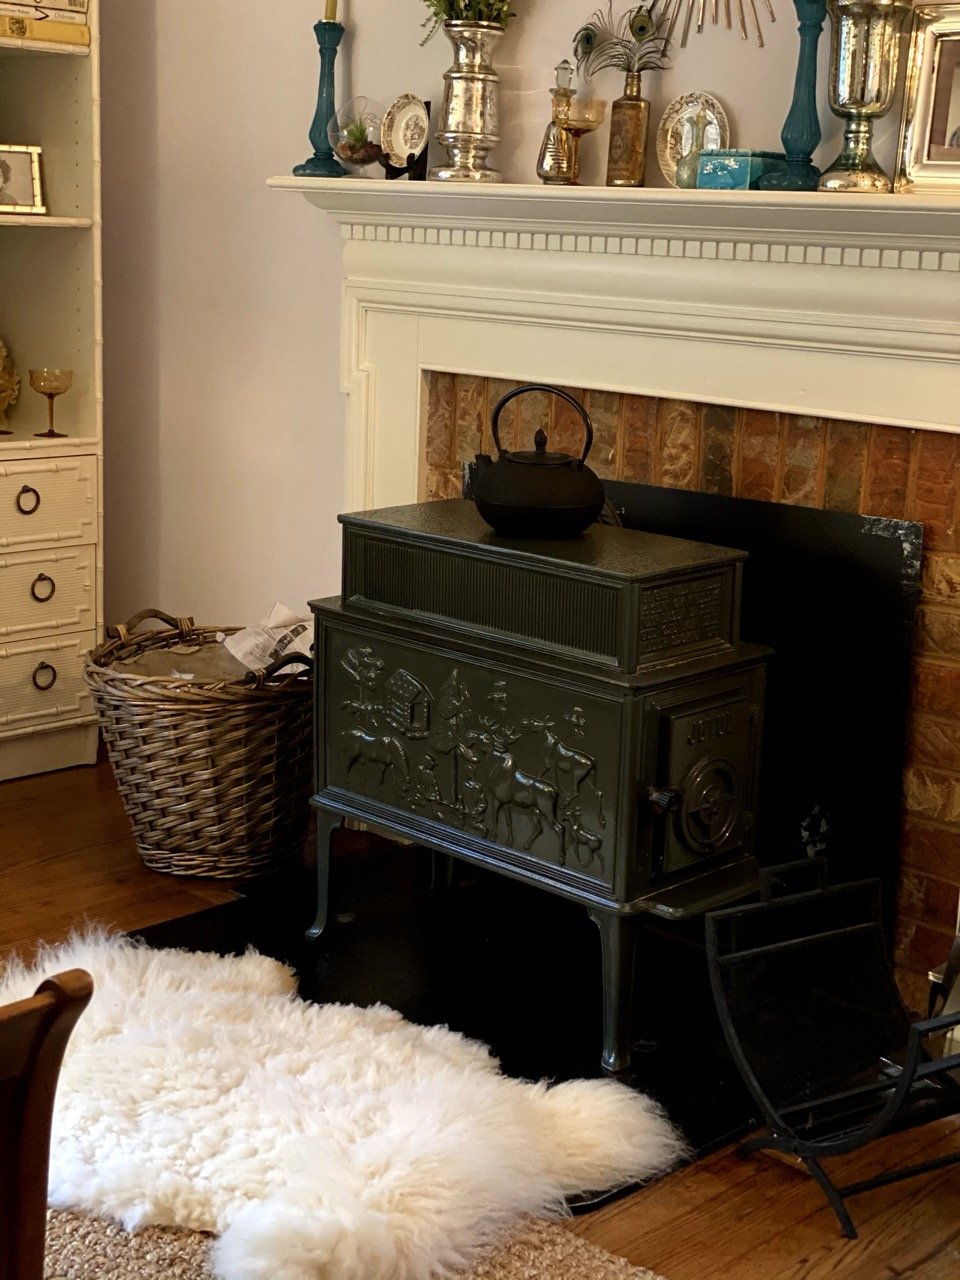
Fresh off a recent power outage, our Jotul 118 wood burning stove has been putting in work. Winter storms and heavy winds often trigger falling trees on our property, so we've got a solid amount of seasoned wood saved up to burn in our wood stove. These things can kick out a surprising amount of heat, so we try to get a fire burning when it's cold in order to help with heating costs. Plus, it looks cool.
I won't go into a whole thing about how to build a fire from scratch, but here are a few tips and add-ons to get the most comfort out of your stove once it gets going.
This post may contain an affiliate code or link that is no additional cost to you, and I may earn a small commission when a purchase is made.
Benefits of a Wood Burning Stove
Our HVAC relies on two electric heat pumps, which work by transferring heat from the air or ground, making them highly energy-efficient in the warmer months of the year. However, in the winter months, electric heat pumps can struggle to pull enough heat from the air and shift to an "auxiliary heat" mode, where they generate warmth via electric resistance heating coils, like baseboard heating, which is less efficient and more expensive.
During power outages, while our portable gas generator and portable power stations help with other electricity needs, they're not great for heating purposes, so the wood burning stove can be a lifesaver.
Types of Wood Burning Stoves
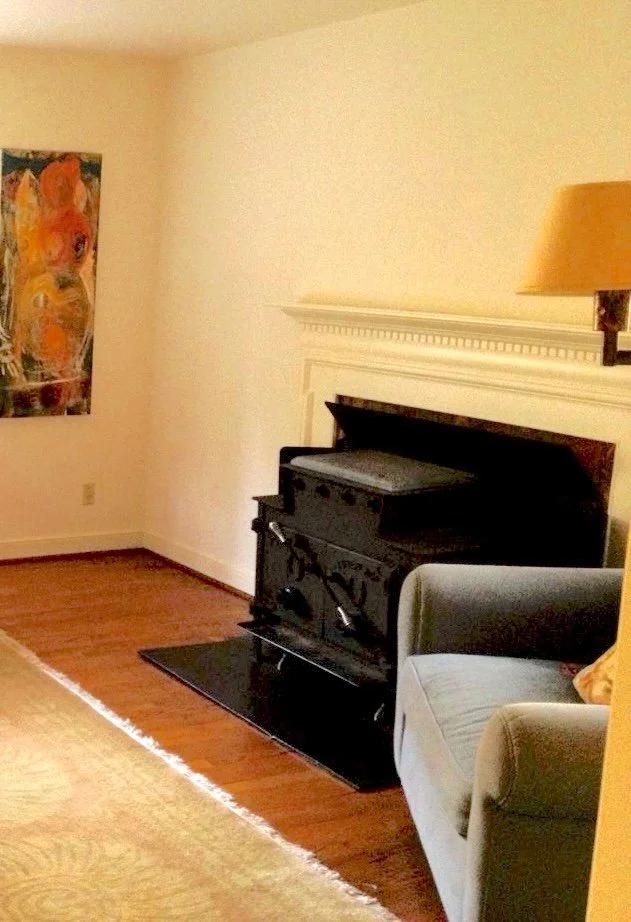
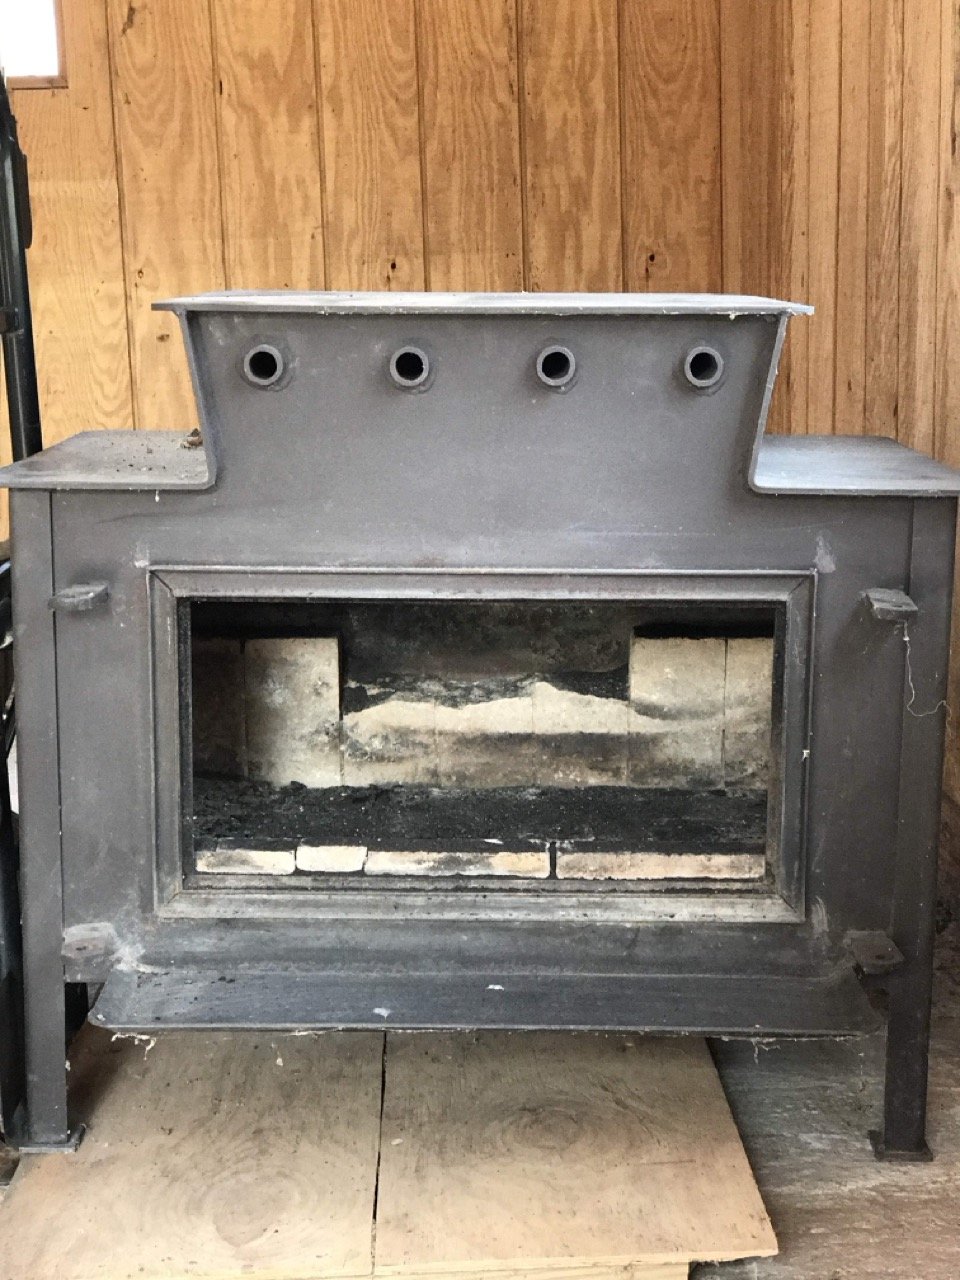
Our house came with two cast iron wood burning stoves, and one of them was an absolute beast to the point where when we got a fire going, it'd heat up the whole house to the point of being a problem. Kate also hated how it looked, so it had to go. We swapped in the house's other, cuter Jotul wood stove to this room, and that's what we're sticking with for now (I promise we don’t keep that faux-fur rug in the pic near the stove when we’re using it).
So I'm no expert here — it's not like I've tested out dozens of models myself — but there are several types of wood burning stoves to choose from.
The first type is the traditional cast iron stove — or even something like this with an actual food oven and cooktop — which offers excellent heat retention and durability.
You could also go with a steel stove, which is comparatively lightweight, heats up quicker than cast iron, and offers a more modern, sleek look if that's your thing.
You can also look into pellet stoves like this or this, which use as fuel recycled sawdust and other particles that have been compressed into wood pellets. I've never used but I hear they're eco-friendly and some people go nuts for them.
Finally, there’s the fully electric stove, something like this Masarflame electric fireplace insert we got for Kate’s office, if you like your fires a little goofier with different colors, sound effects, and heat settings.
Tips for Using a Wood Burning Stove
1. Preparing the Wood Stove
Clean the stove and remove any debris or ash
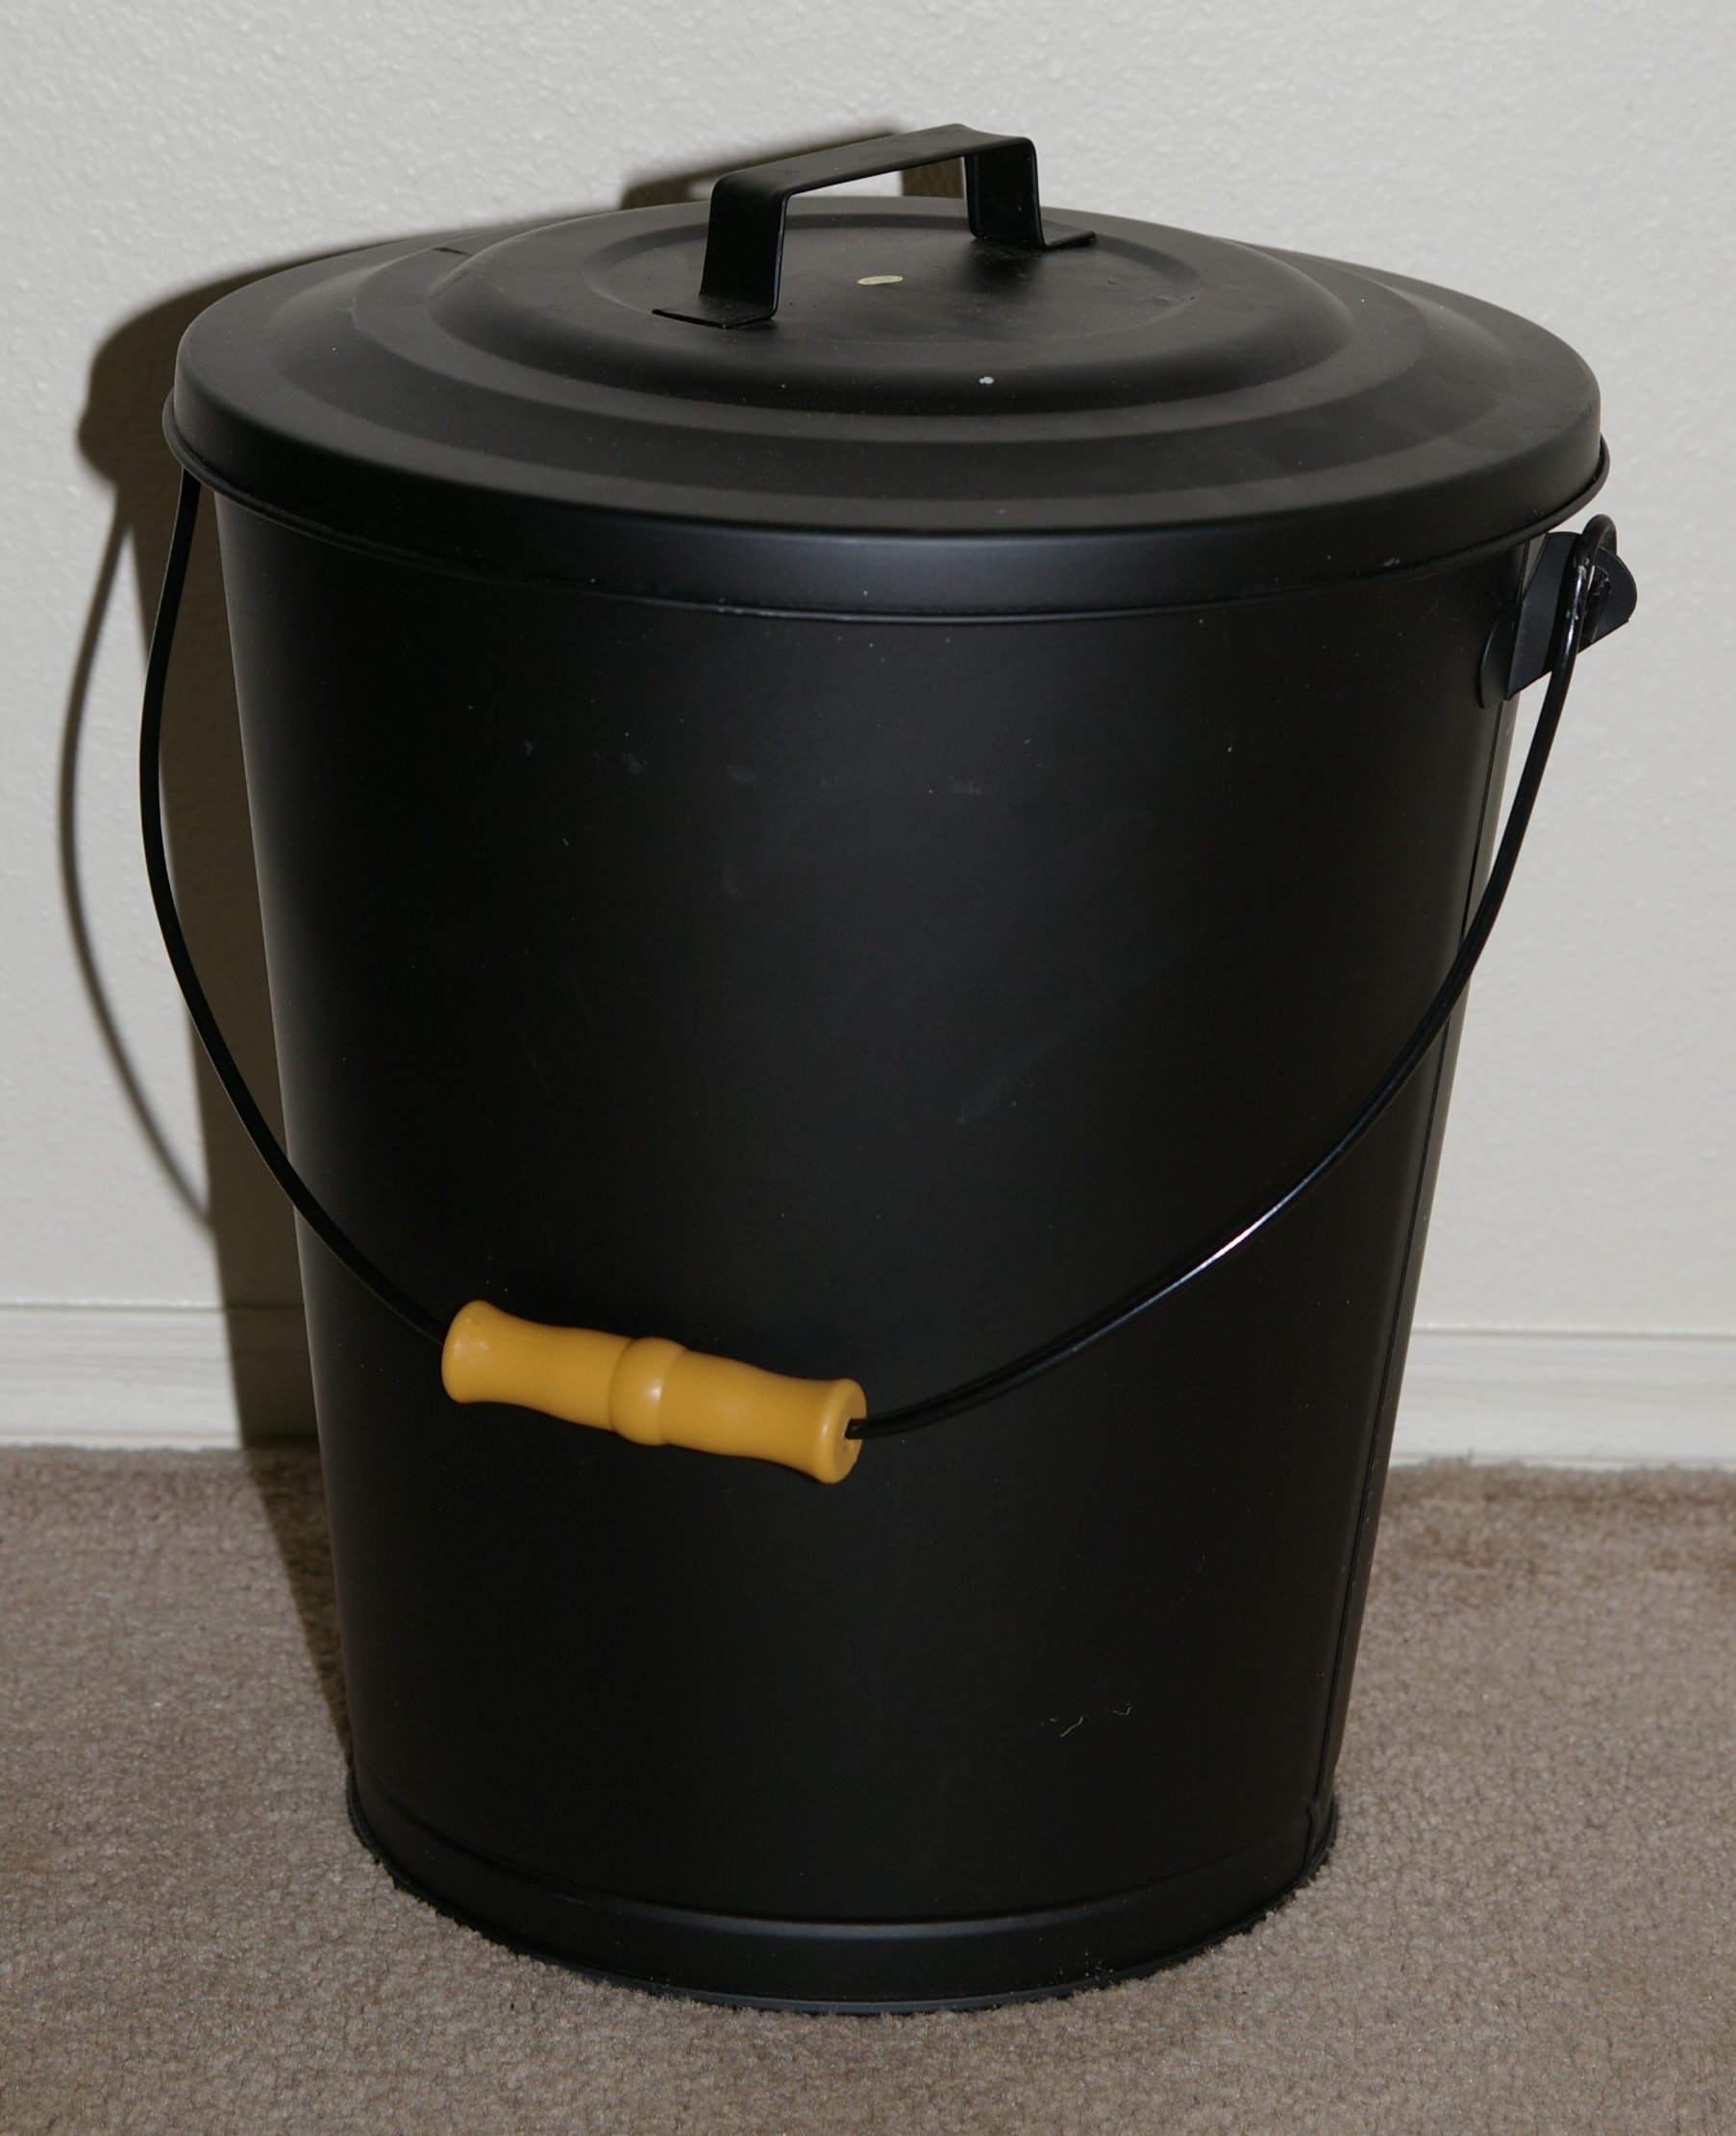
Wood burning stoves hold fires, so they're not clean. Don't go overboard with cleanliness, but it's worth removing any obvious built-up debris or ash piles that may have accumulated during the offseason. When the stove is completely cool grab an ash bucket, small broom and shovel and gently sweep some of the built up ash into it. You can get fancy ash vacuums if a broom and pickup are just too low-tech for you, but I definitely wouldn't recommend using a general purpose vacuum here, as it'll pretty much destroy the machine and likely spread some ash particulate throughout the room.
I like keeping a little ash in the bottom of the firebox, maybe an inch or so, as it creates some insulation and a bed for the organic material.
You can either immediately (and safely) empty the bucket (of cold ashes) into a garbage recepticle, OR you can hang onto this wood ash and use it to amend your garden soil or compost, deter pests, or various other fun and sustainable uses.
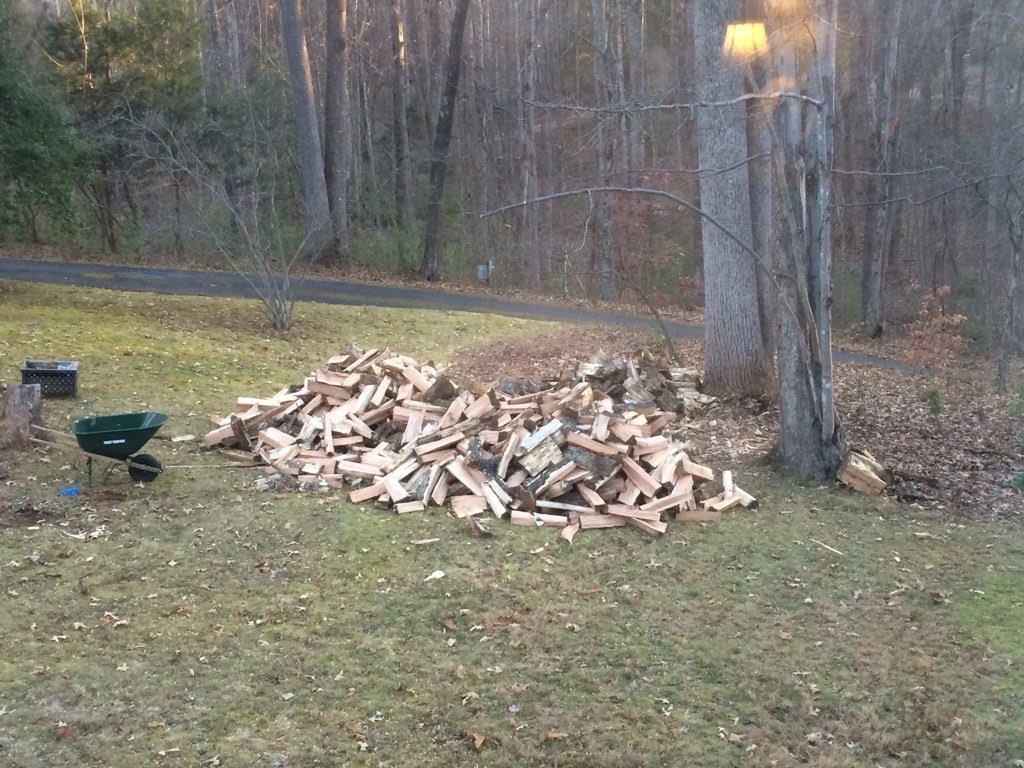
Gather dry and seasoned firewood
This may be obvious but if you're new to indoor fire building in general...
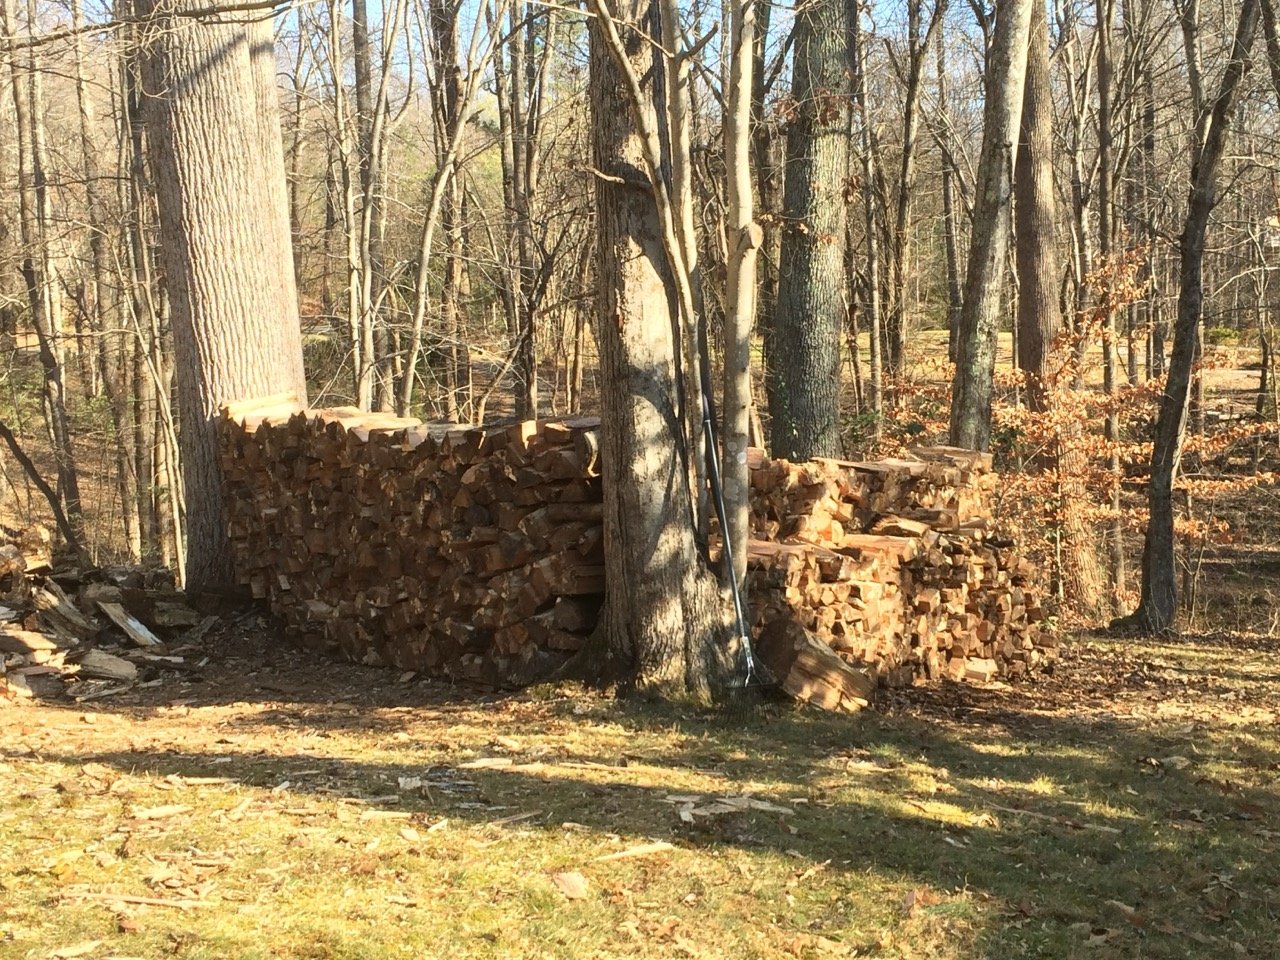
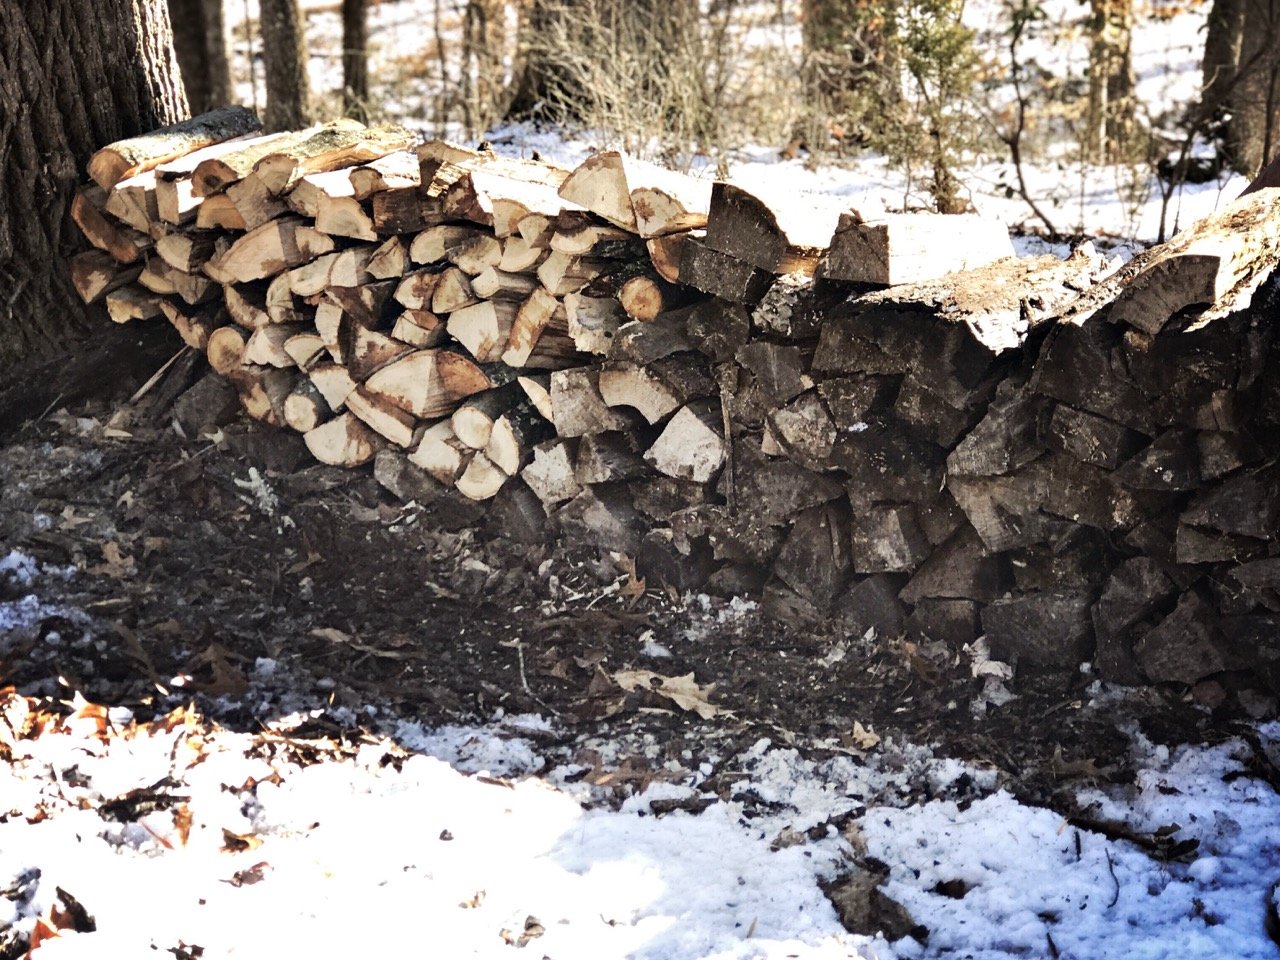
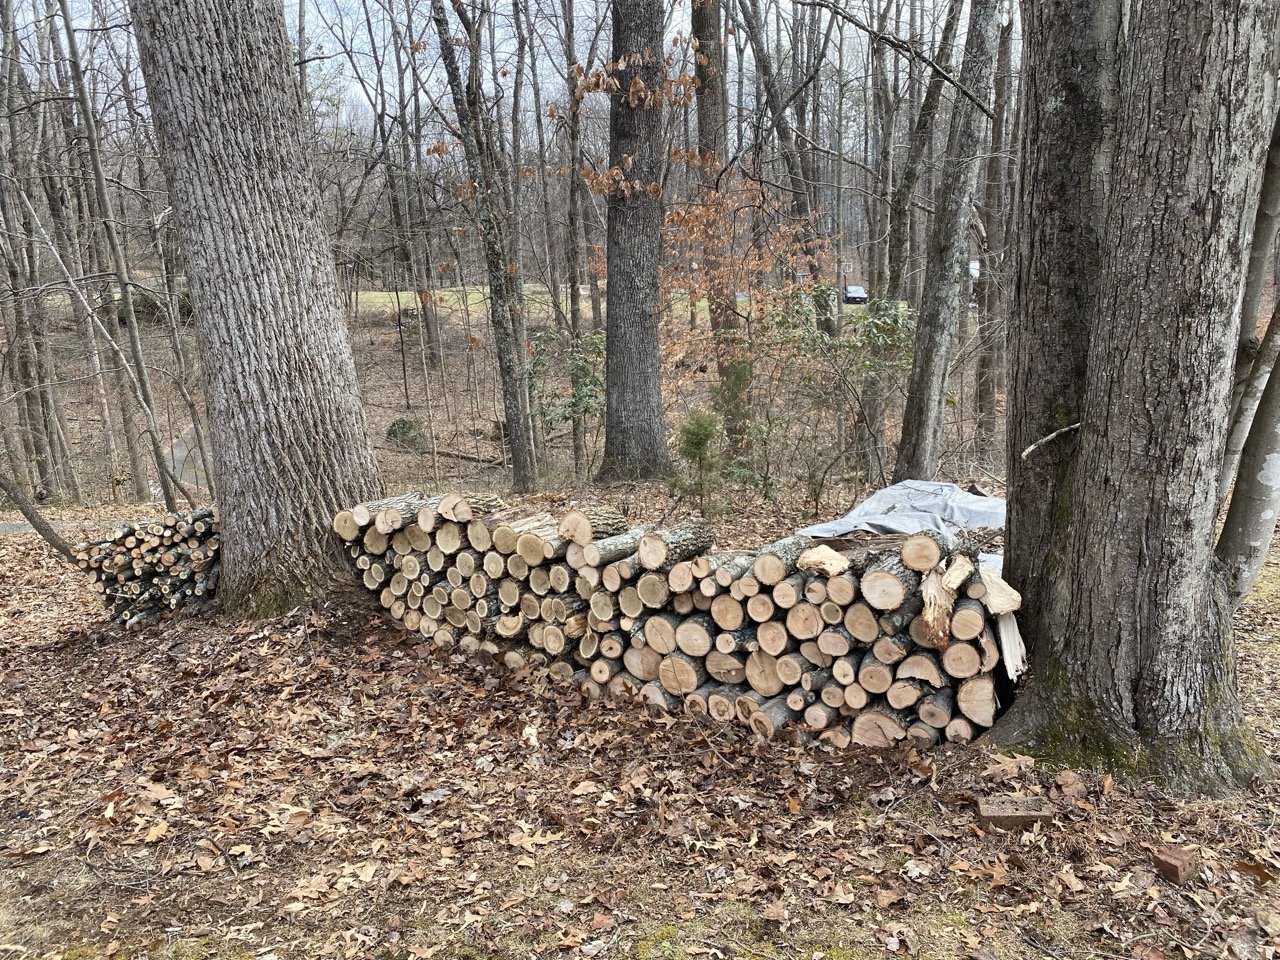
Dry wood burns hotter and produces less smoke, reducing the risk of chimney fires and improving air quality. Always try to use wood that has been split and nicely stacked for at least six months ("seasoned wood").
Hardwoods like oak, maple, or birch are ideal for a long-lasting and consistent burn, but don't use pine or other sappy woods in a wood stove or indoors in general, as this will cause a lot of sticky buildup ('creosote") inside your woodstove and chimney. Also avoid using wet or "green wood," as it can create excessive smoke, cause buildup, decrease the overall efficiency of your wood burning stove, or just generally not burn very well.
Ensure proper ventilation and draft control
Good airflow or "draft" pulls fresh warm air from the room, through the stove door or adjustable grate, drawing smoke up the stovepipe or chimney into the colder air outside. Above all, first check to see if your wood stove or the stovepipe itself has a flue or damper that opens up the pathway from the firebox to the chimney, and make sure it's in the open position (our fireplaces have this flue, but our wood stove doesn't).
Sometimes, even if the flue is fully open, if a stove hasn't been used for a long time (like the first time we used our wood stove in our home) you'll see smoke seeping into the room. This can be caused by a trapped air pocket of coldness sitting in the chimney or stove pipe, and the fire hasn't yet built up enough heat to push it up and out (in general, a dinky fire that doesn't get the draft going can cause smoke to settle in your room rather than rush up the chimney).
TIP: keep a leaf blower on hand when making your first fire of the season, and if you suspect an air pocket or notice any smoke in the room, try aiming it into the adjustable vents of your (closed!) stove door.
2. Starting a Fire in a Wood Stove
Again, I won't get deep into how to start or build a fire here, but here's real quick checklist:
Open the damper and air vents completely.
Place some crumpled or twisted newspaper or fire starters like this at the bottom/front of your wood stove. If you're using fire starters, make sure they're right-sized and intended for wood stoves versus those that are meant for open fireplaces, pellet stoves, outdoor fires, or barbeques, you numbskull.
Arrange small sticks or other pieces of kindling on top of the newspaper and fire starters.
Light the newspaper or fire starters using a match or firelighter of choice.
3. Building and Maintaining a Fire
Gradually add larger pieces of firewood to the stove
There's a kind of art to fire building that I find really enjoyable -- it's a living breathing and potentially wildly dangerous thing you're attempting to domesticate and control, so always treat fire with respect, lest it burn the roof of the proverbial sucker.
But once you've got your kindling going you can start adding larger pieces of wood to the stove.
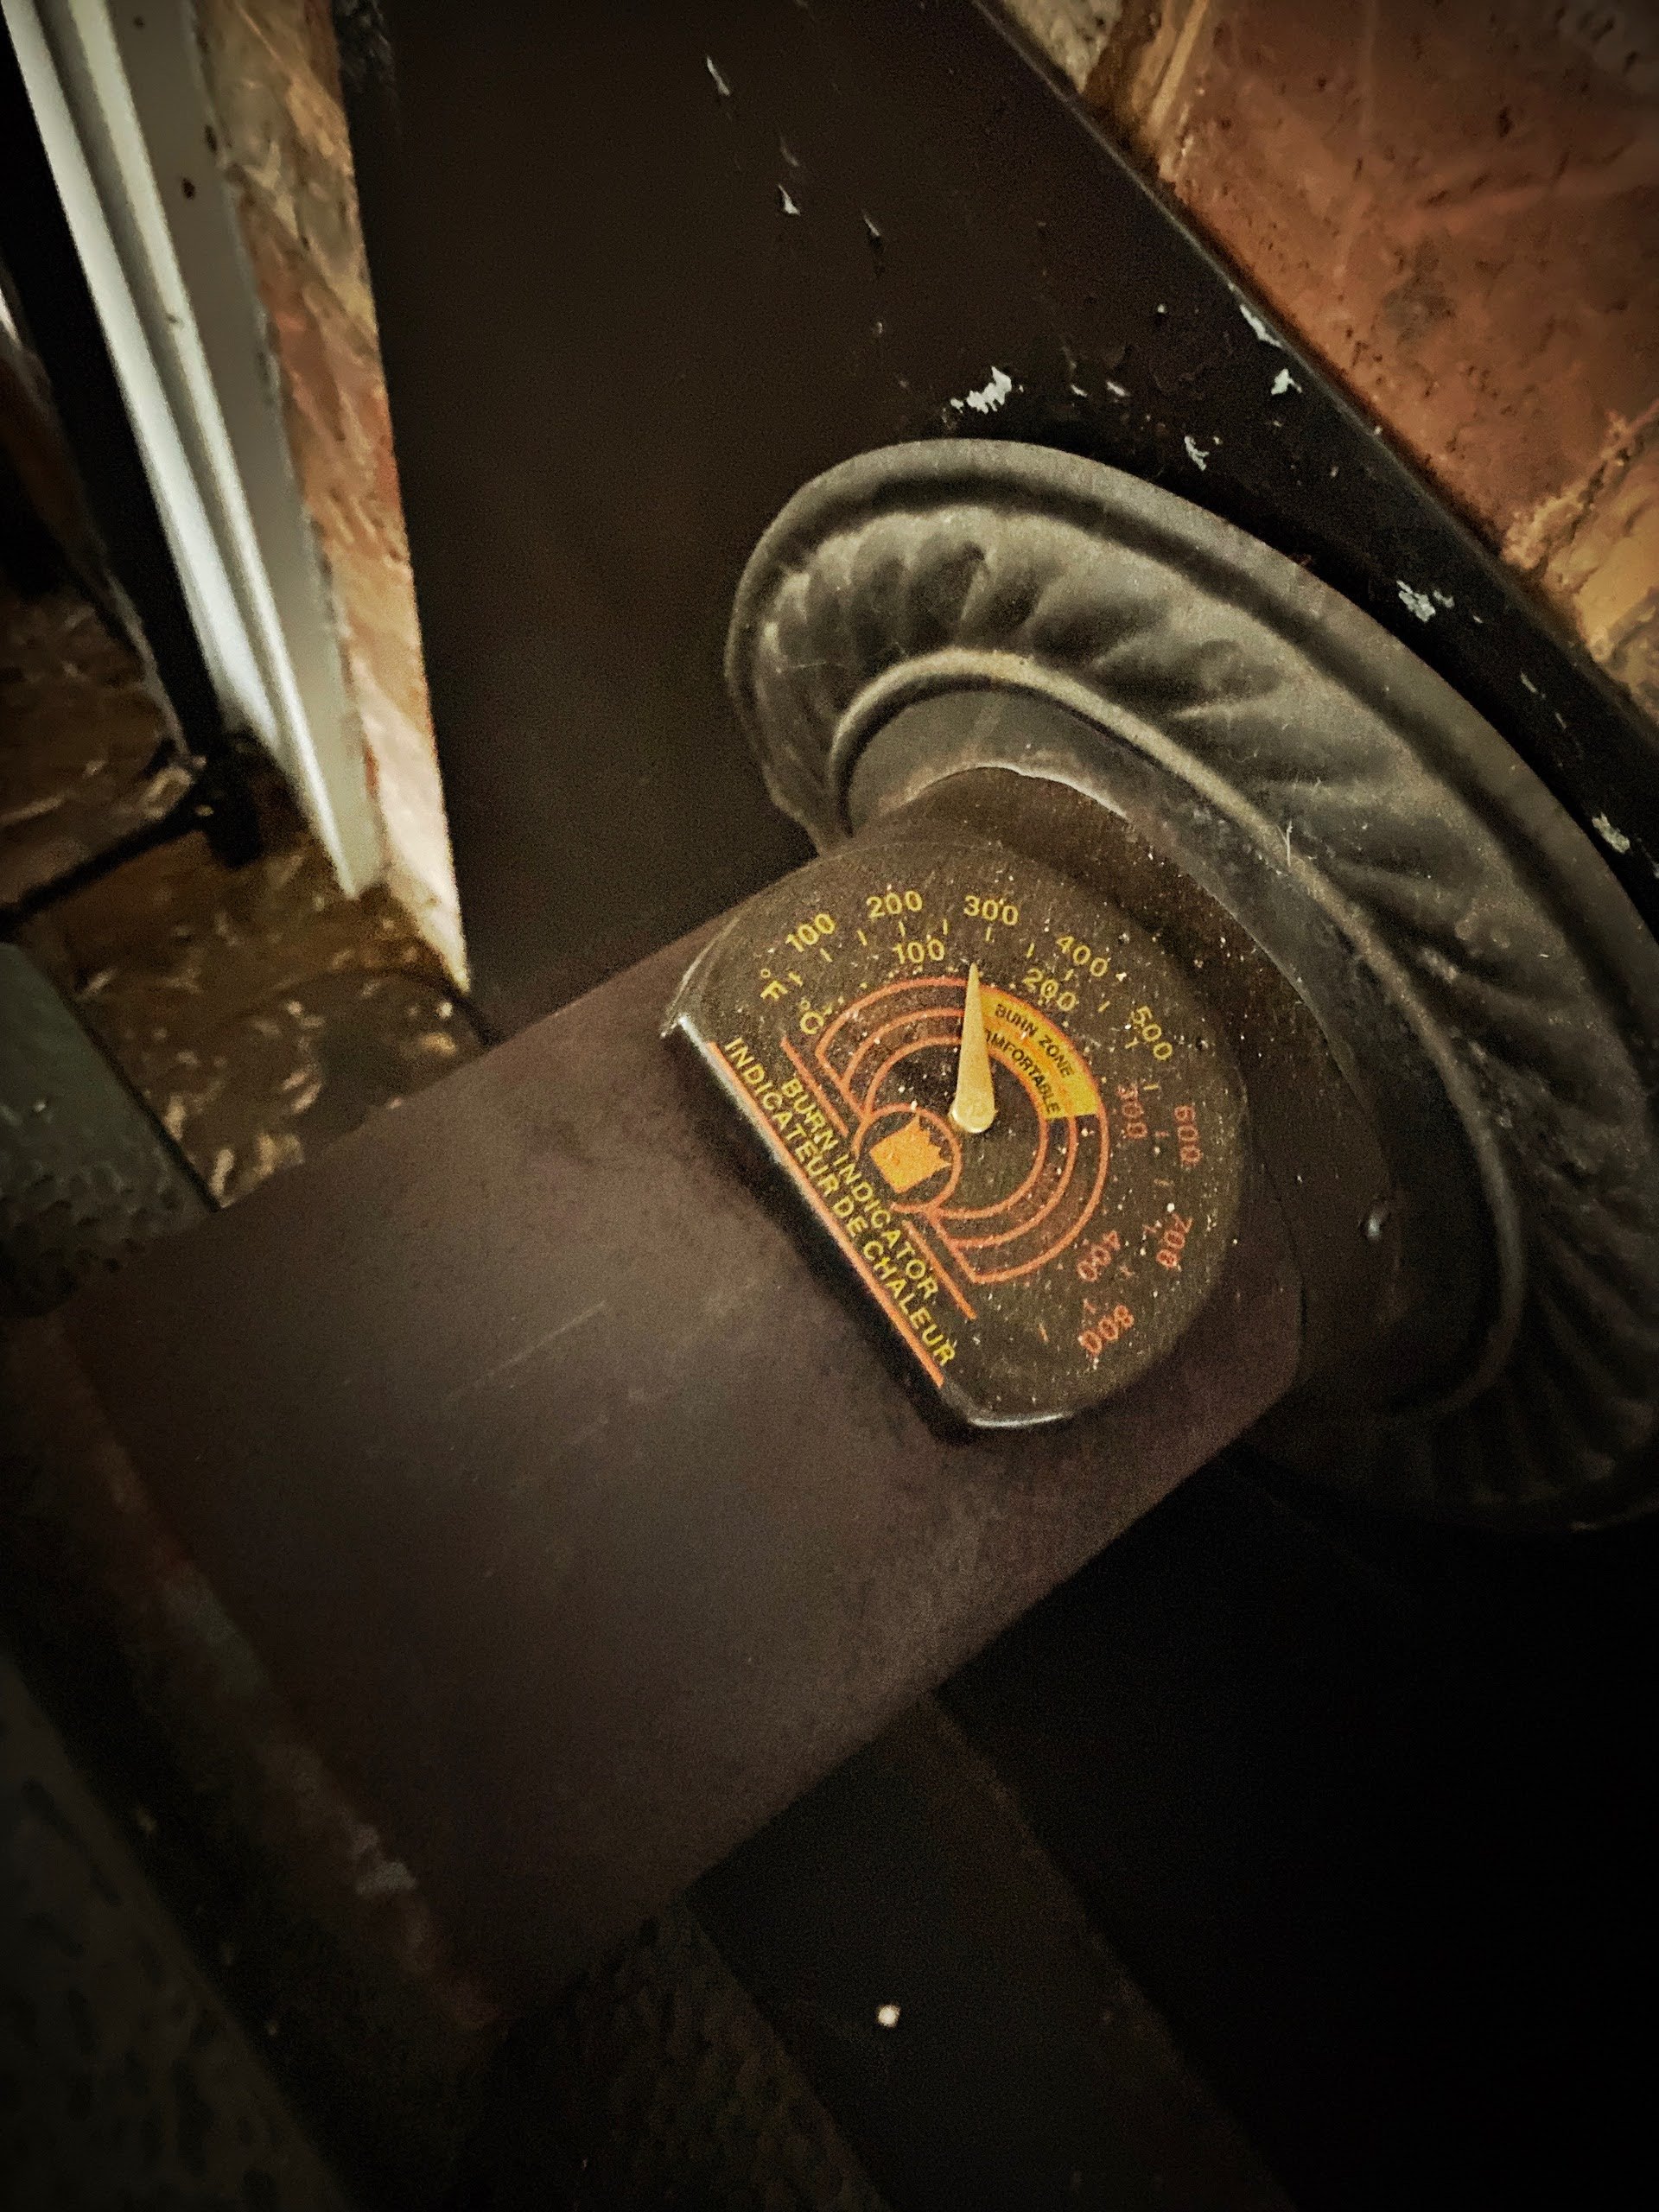
Adjust the air vents to control the intensity of the fire
Think of how an outdoor firepit can be annoyingly smoky (too cold) or else dangerously intense (too hot) vs. when it's giving off that invisible jiggly heat (just right). You're aiming for that same Goldilocks middle-ground with a wood stove.
A magnetic wood stove thermometer or burn indicator helps you monitor the heat to stay in that sweet spot where it's adding good heat into the house, rather than just pouring smoke out the chimney or creating a real burner that can risk getting out of control.
Redistribute hot coals to optimize your fire
Again, this may be obvious, but air moves from the opening of the stove (the door) toward the back. So if you've got a deep/long firebox like we do, periodically rake some of the hot coals forward or toward the door. Then, as you add more wood the flames will catch in the front and draw backward, quickly engulfing the entire length of the log.
Keeping the fire going overnight
Before going to bed I add a few larger logs to the fire to create a long-lasting coal bed. Logs that are still "in the round" and have their bark (as opposed to logs that have been split already) tend to burn slower and longer, so I try to stuff a bunch of these in just before bedtime.
I then close the damper, leaving a little sliver open to control the airflow and prevent the fire from burning too quickly. As long as your stove door closes completely and securely, your fire should burn through the night to the point where you'll still have some smoldering coals in the morning, which you can then add some kindling to when you wake up and get it going all over again (this is called "banking the coals").
4. Wood Stove Comfort and Safety Tips
Managing air quality
Goes without saying, but it's essential to Install smoke and carbon monoxide detectors like this and this nearish to the stove.
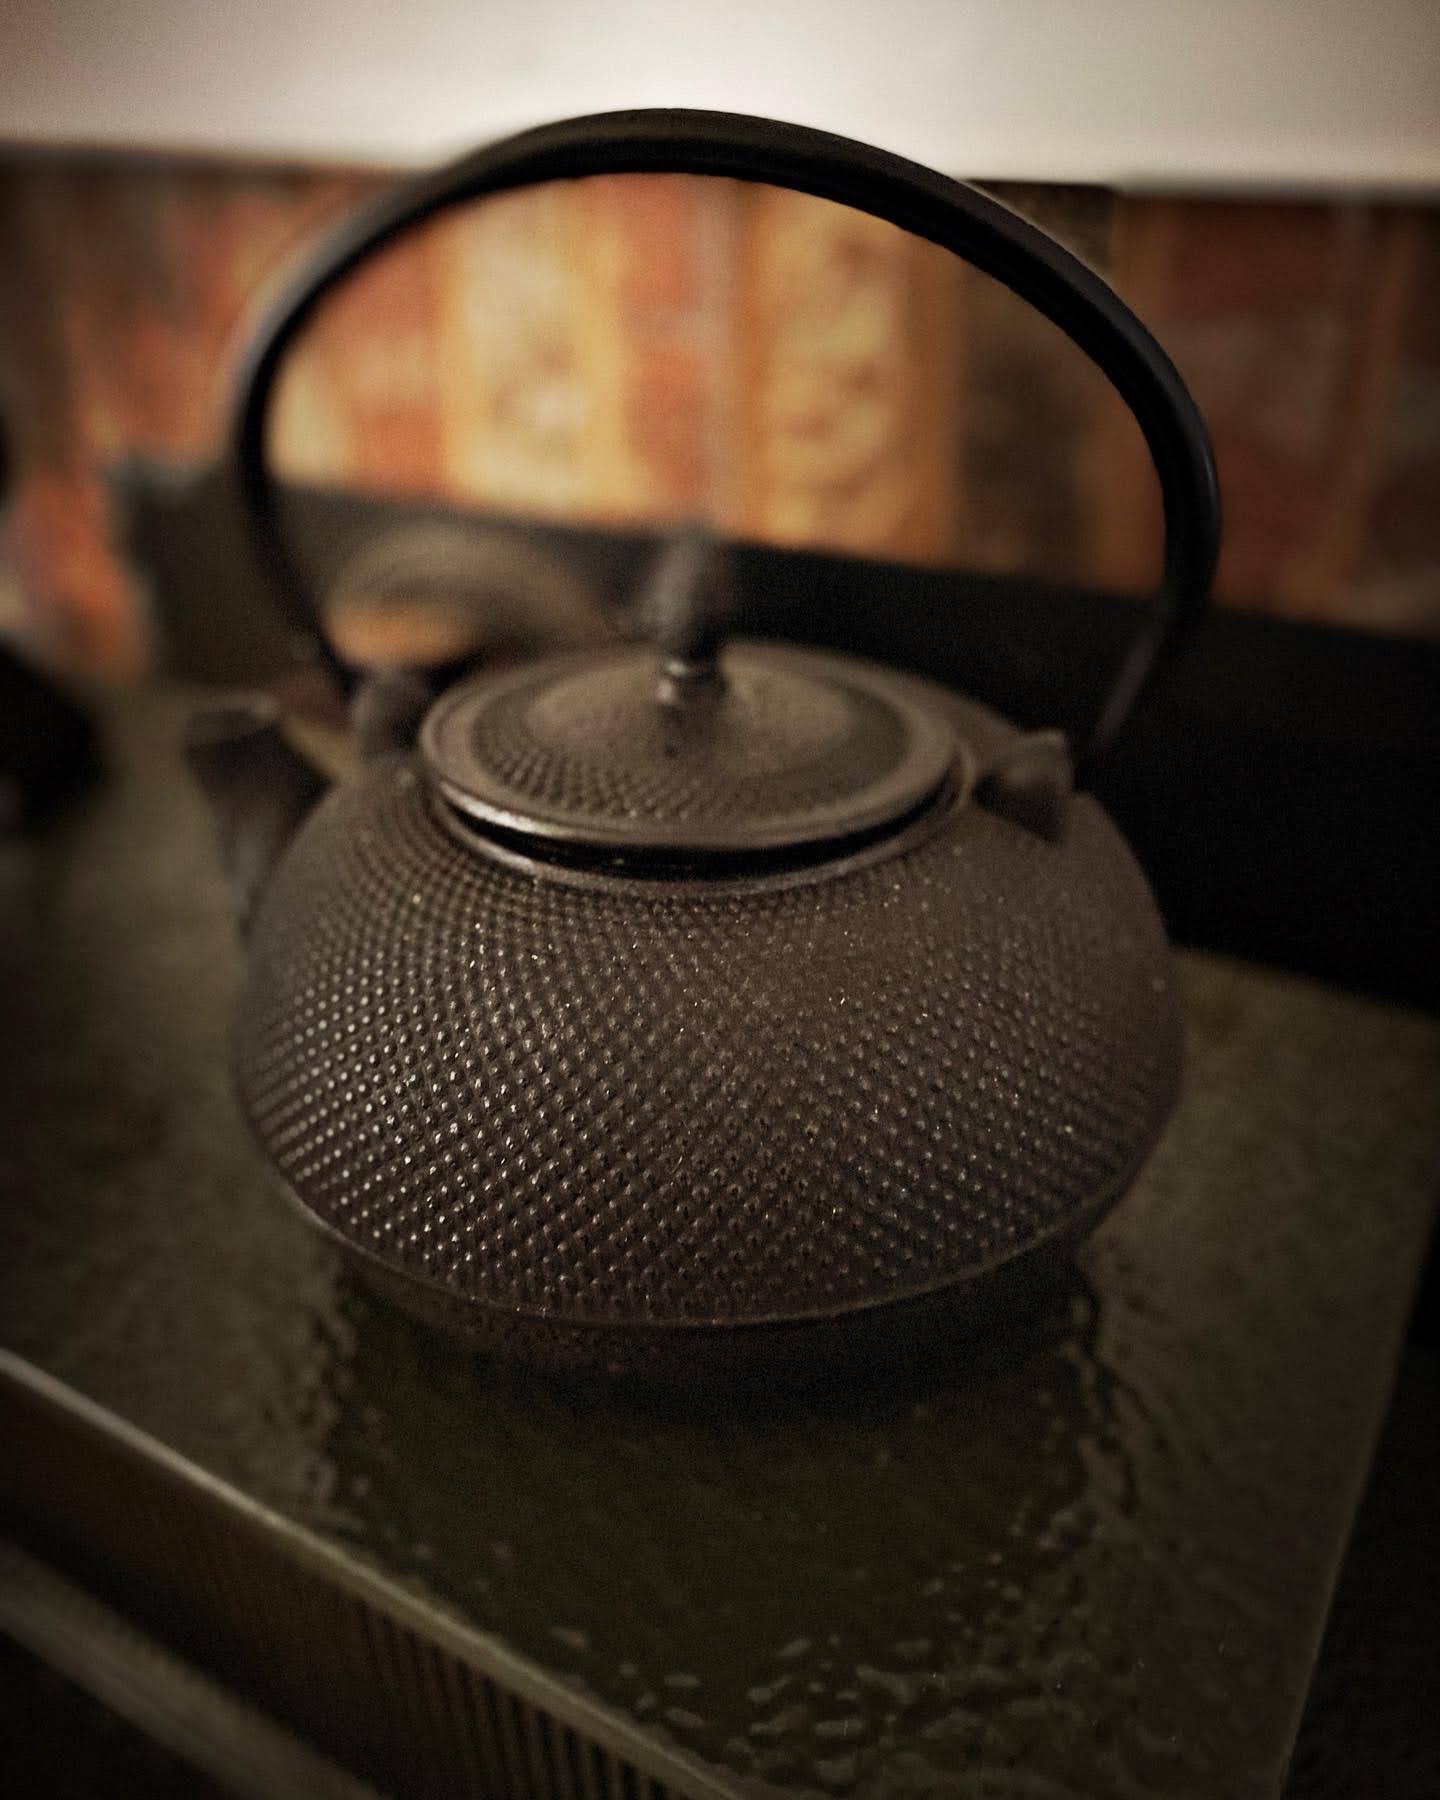
Beyond that, if you find your throat hurts a bit when you have a fire going, it's because wood stoves produce a very dry heat output, removing moisture from the air. A tea kettle or even a steamy pot of water placed on top of the stove adds humidity back into the air and makes the house more comfortable. Bonus is you also now have a ready source of hot water for tea/hot chocolate.
You can add a couple drops of essential oils to the kettle if you wanna get cute with it, we sometimes use this set and it smells up the house real nice.
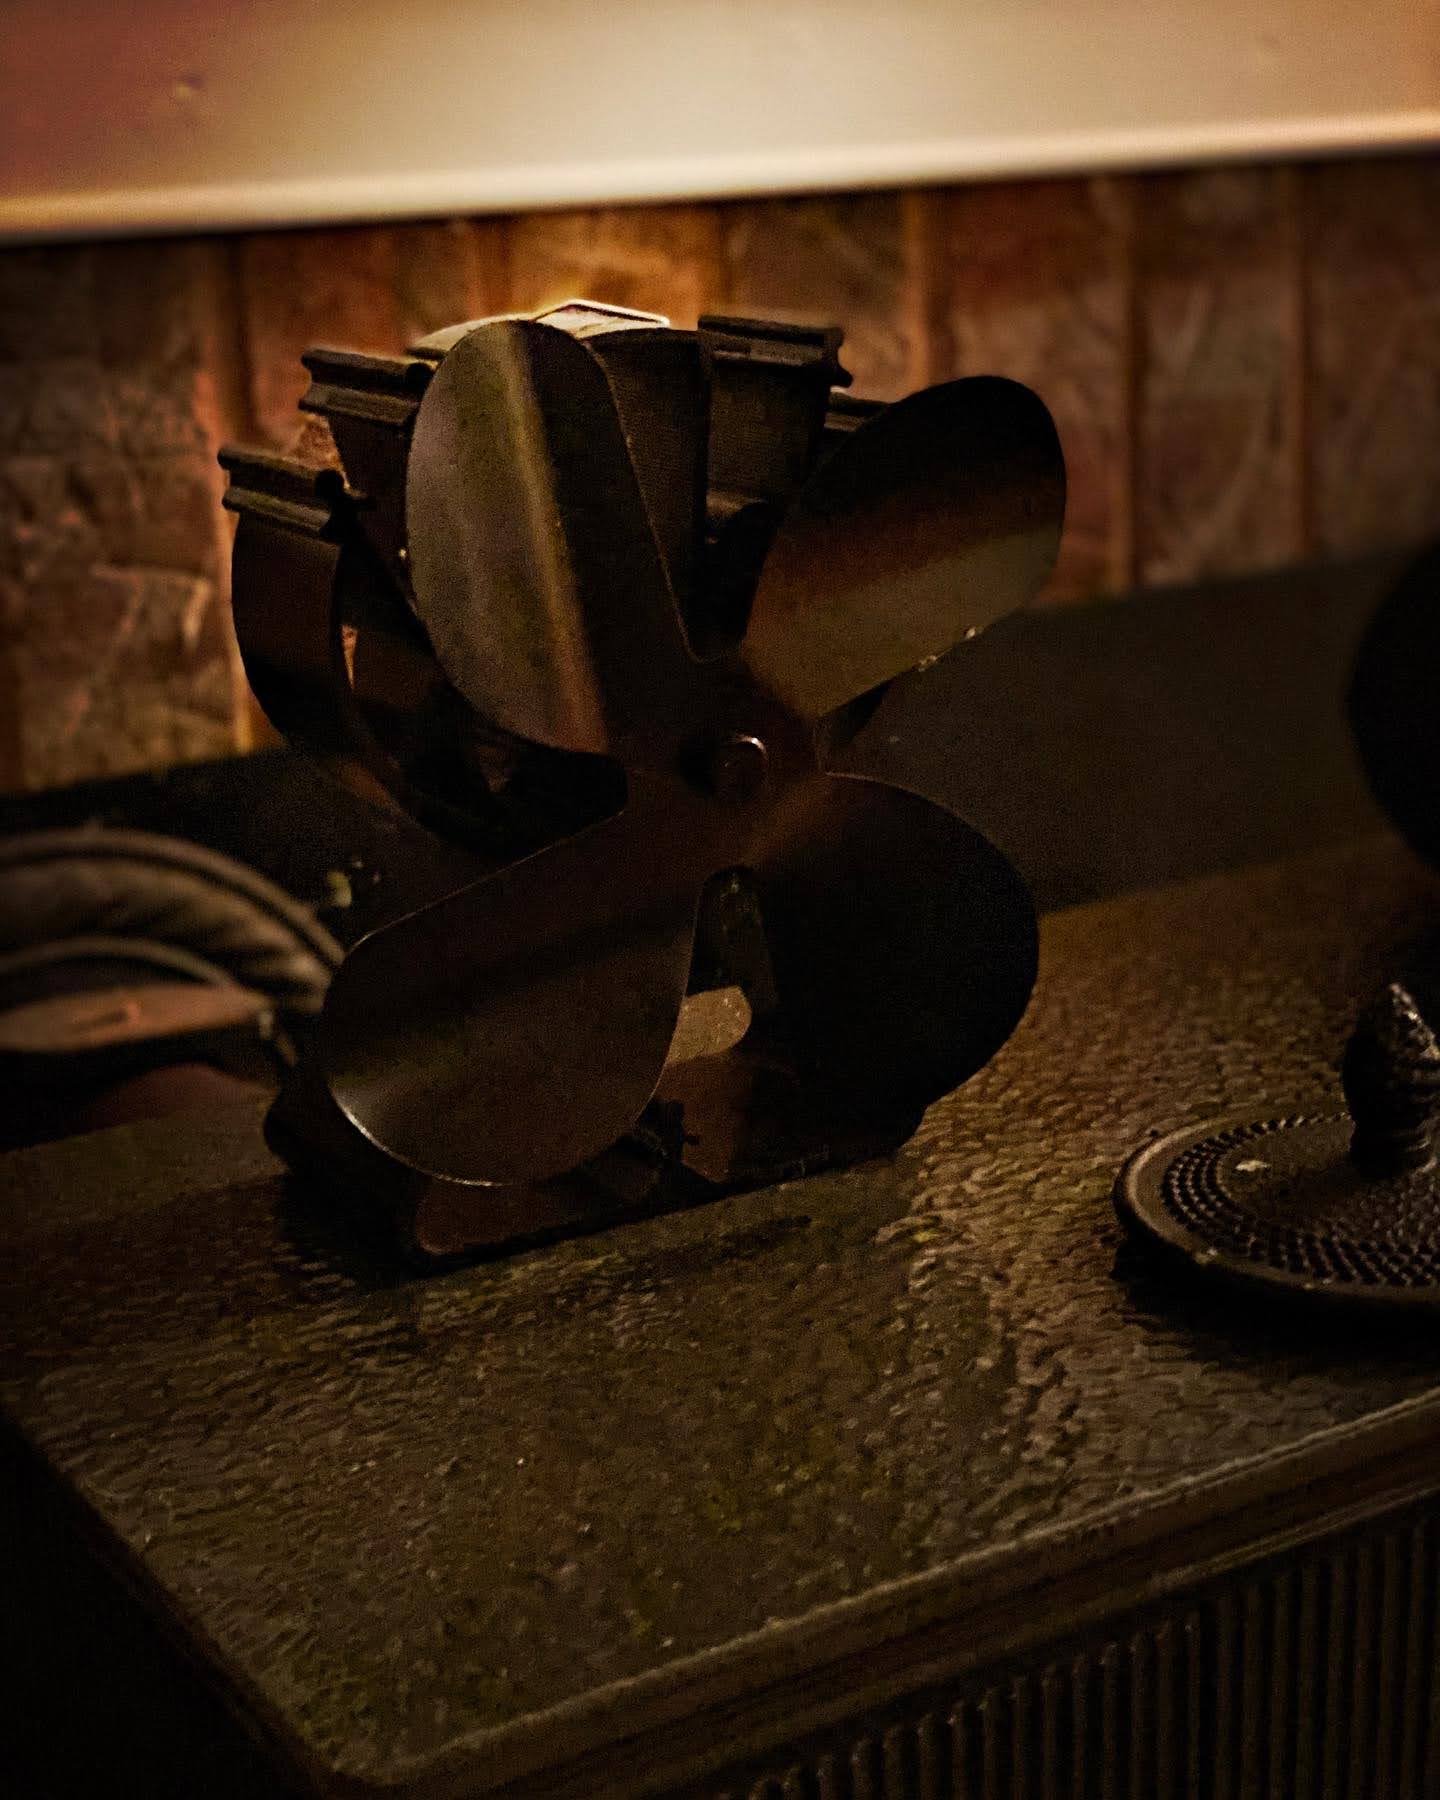
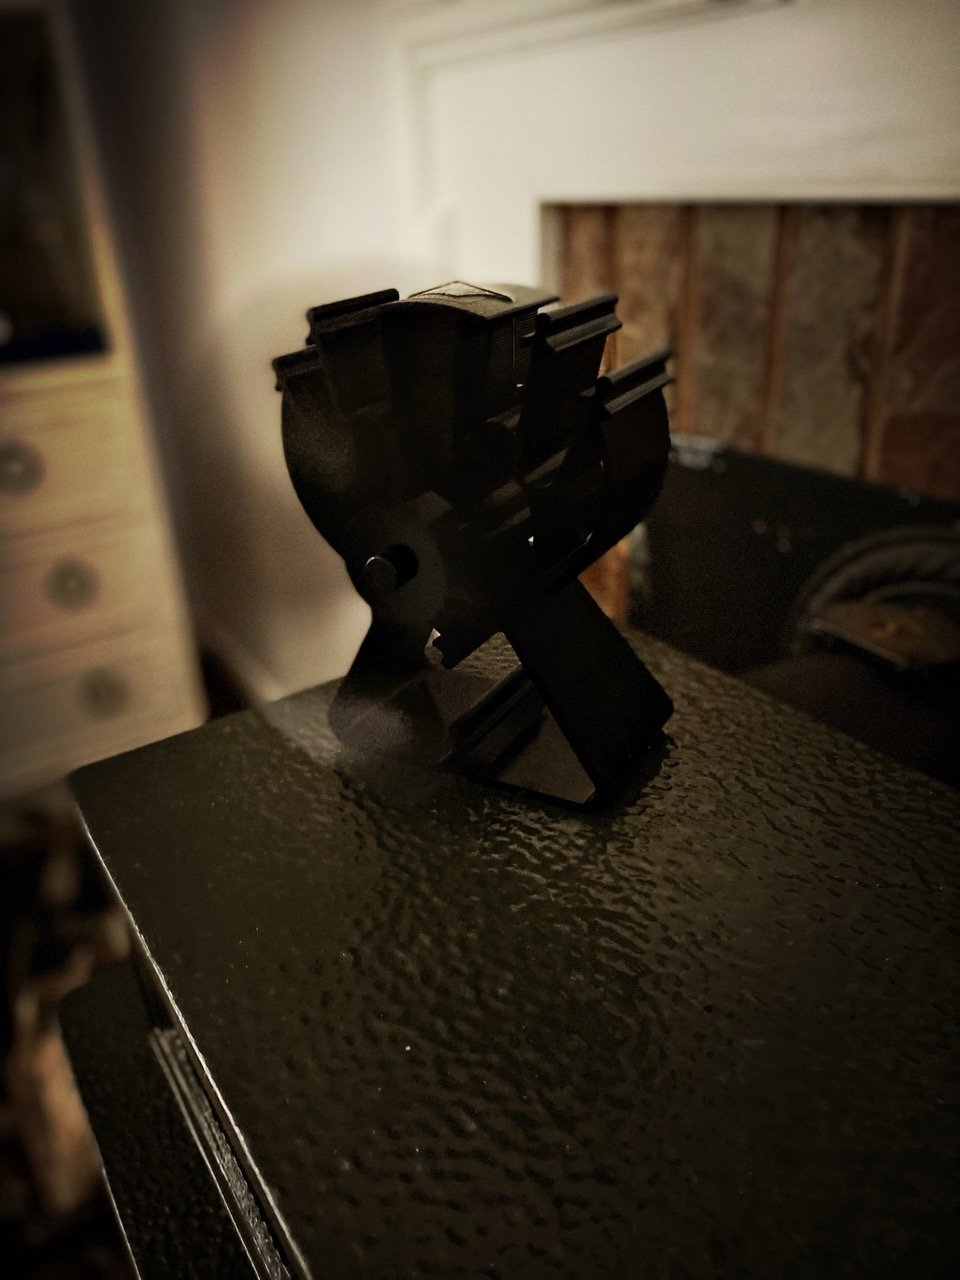
A wood stove fan is another useful piece of air control. These fans are non-electric, but instead heat-powered (the heat of the stove itself makes the blades move through something called the Peltier or Seebeck effect). This fan helps to more efficiently distribute the warm air into colder parts of the room or house.
Try not to burn the house down
Along with the smoke and CO2 detectors, it's a good idea to place a fireproof mat or hearth pad in front of the wood stove. Keep flammable materials away from the stove.
Conventional wisdom is you do not leave the stove unattended. That said, there have been instances like power outage that we're using this stove as the sole heat source for the house, and maybe you have to go shovel the driveway or run an errand so... as long as you have a stove with a door that closes completely and securely, use your judgment. Fire is unpredictable.
Of course, have a fire extinguisher nearby in case of emergencies.
Conclusion: Practice Regular Stove Maintenance
At the end of your fire-making season, start the process over by cleaning the stove, chimney, and flue to prevent buildup of creosote. I've used creosote removal logs like this, and they seem to work well. Also inspect and replace any damaged parts or gaskets, so you're prepared for next season.
If you don't feel like dealing with this yourself — or even if you do — it's important to schedule a professional chimney cleaning once every year or two to make sure there's no unseen issues.
That's it for now. Stay warm!